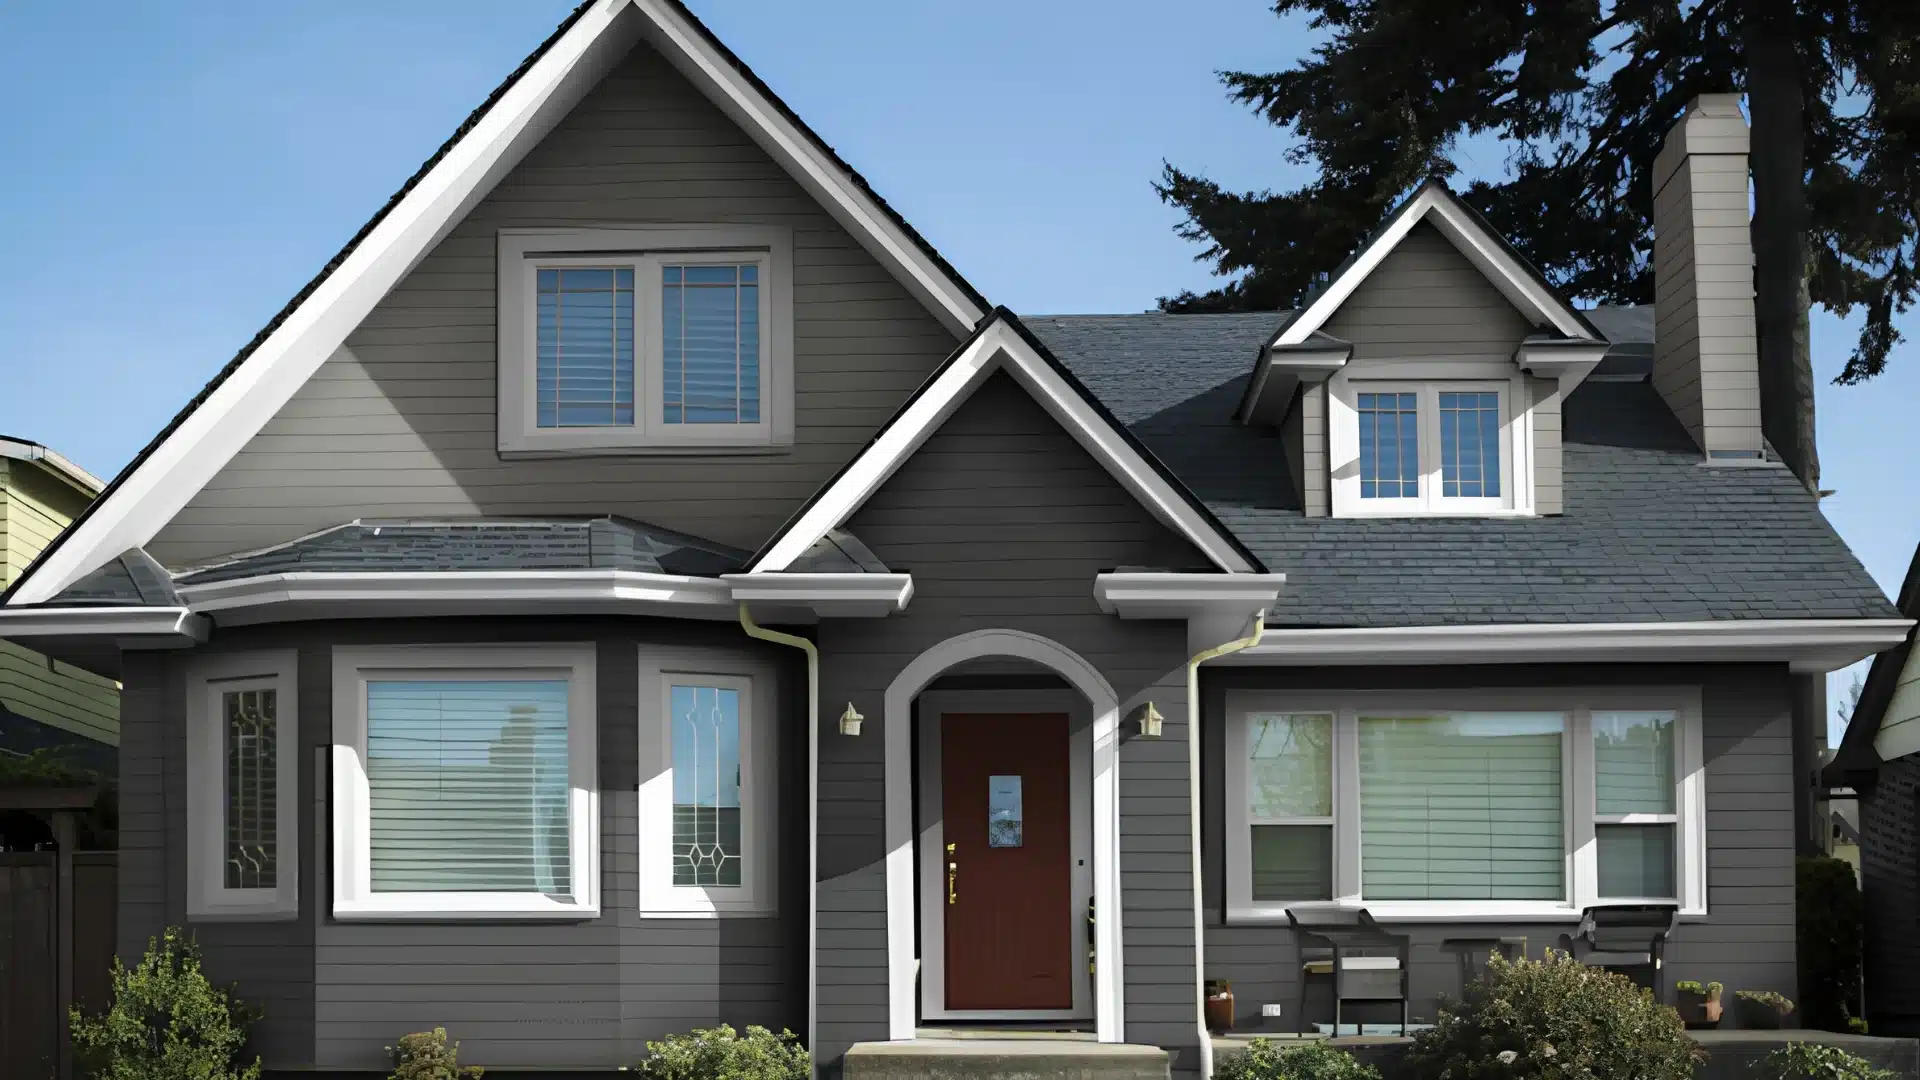
I stand before my canvas, brush in hand, eager to capture the beauty of the outdoor world.
But timing is everything. I know that certain conditions can turn an idyllic painting session into a frustrating ordeal.
High humidity causes my paint to dry improperly, while strong winds carry dust and debris, ruining a perfect stroke. Extreme temperatures affect both the paint’s consistency and my comfort.
Rain is an obvious deterrent, but even the threat of precipitation makes me think twice. The quality of light matters too, with harsh midday sun creating unflattering shadows and glare.
By understanding these particular times to avoid painting outside, I can save myself unnecessary headaches and wasted materials. My goal is simple: paint when nature cooperates, rest when it doesn’t.
When Not to Paint Outside: Recognizing Unsafe Conditions
Painting outdoors can yield beautiful results, but I’ve learned that it’s important to recognize when it’s unsafe to do so. Certain conditions can compromise both the quality of the paint job and my safety.
Here are the key factors to consider:
Extreme Weather Conditions
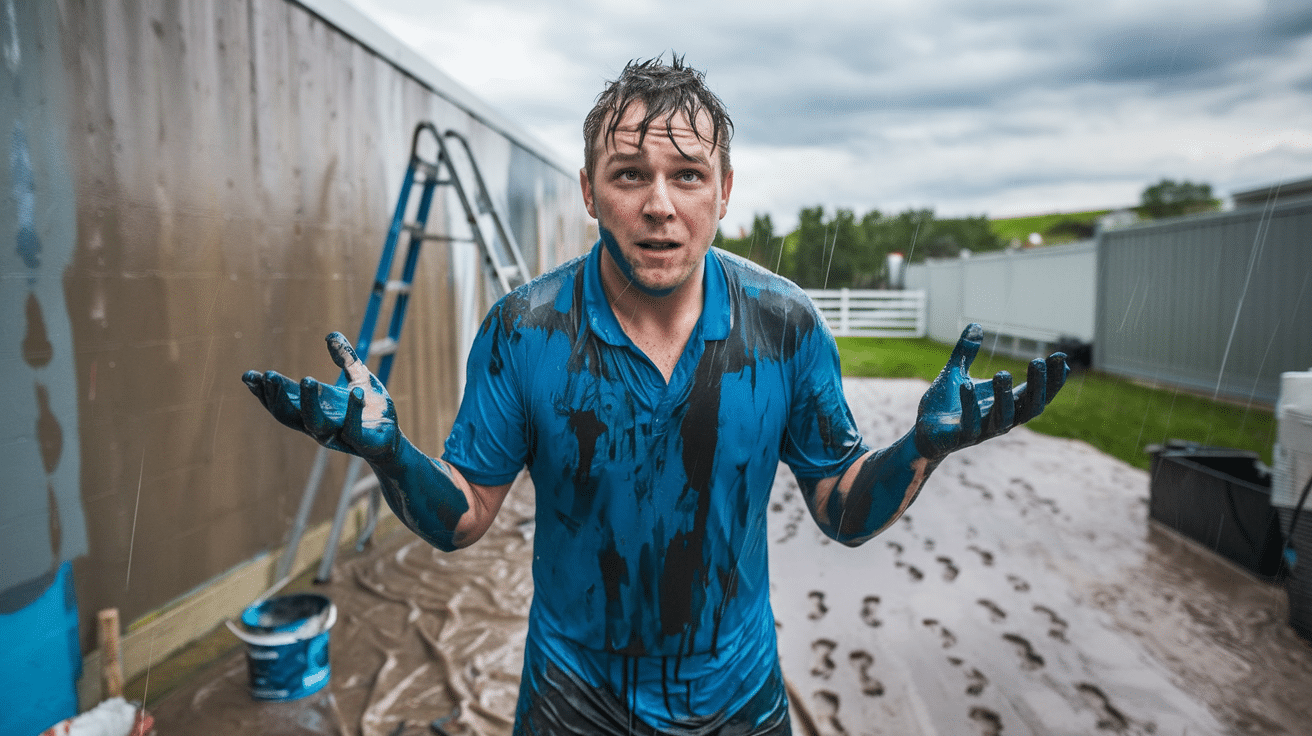
I know that painting outside is unsafe during extreme weather events like heavy rain, strong winds, or storms.
Rain can wash away my paint, while high winds can cause debris to stick to wet surfaces, ruining the finish.
These conditions can lead to a messy project, with the risk of wasted materials. so always make sure the weather forecast is clear before starting my project to avoid unexpected disruptions.
Freezing Temperatures
Temperatures below 5°C (41°F) can cause paint to freeze, which leads to poor adhesion and streaks.
For the best results, I paint only when the temperature is above 5°C, as freezing temperatures slow down the curing process.
Also avoid working if it’s likely to dip below this mark soon after because the paint won’t set correctly. In these conditions, it’s better to wait for warmer weather.
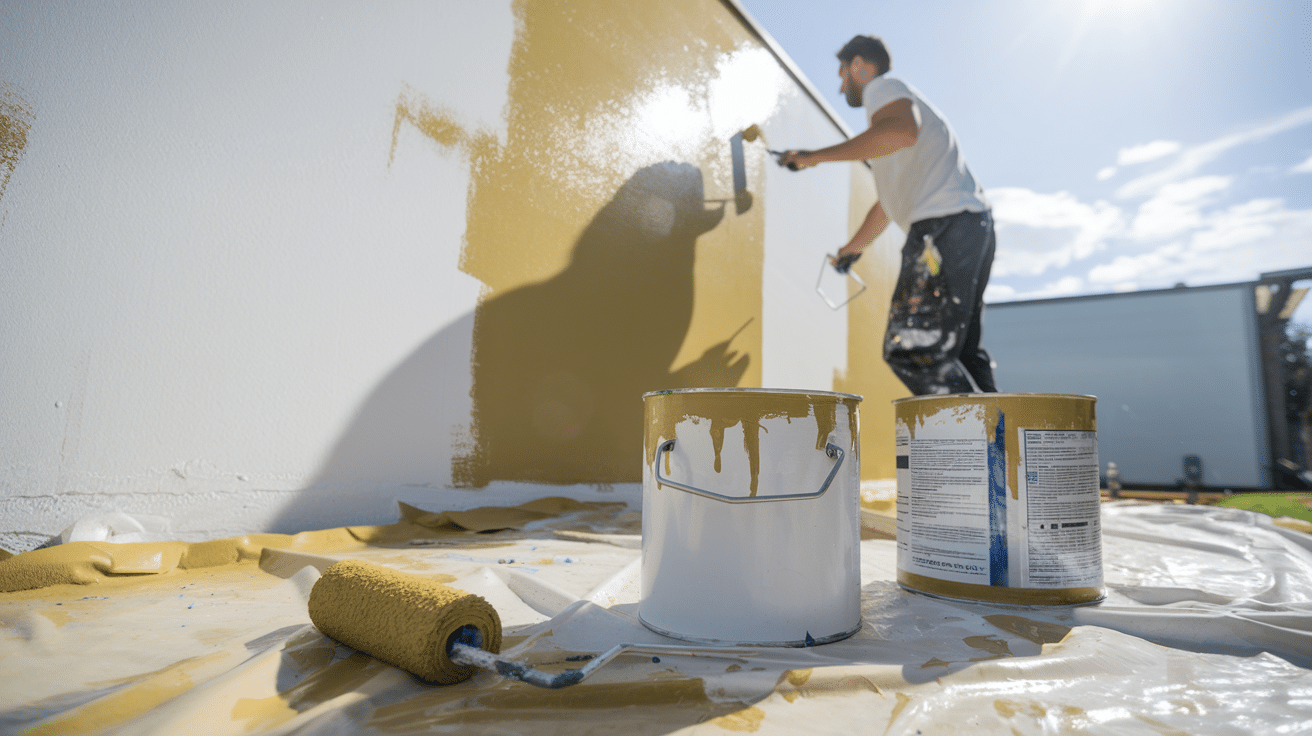
Excessive Heat
Extremely hot weather, especially temperatures above 30°C (86°F), can cause my paint to dry too quickly, leading to cracking or uneven coverage. Paint needs time to adhere properly, and high heat prevents that.
The surface may also become too hot to work with safely, causing the paint to burn and dry too fast before it can get the right finish.
It is preferred to paint during cooler periods to ensure a smooth and lasting application.
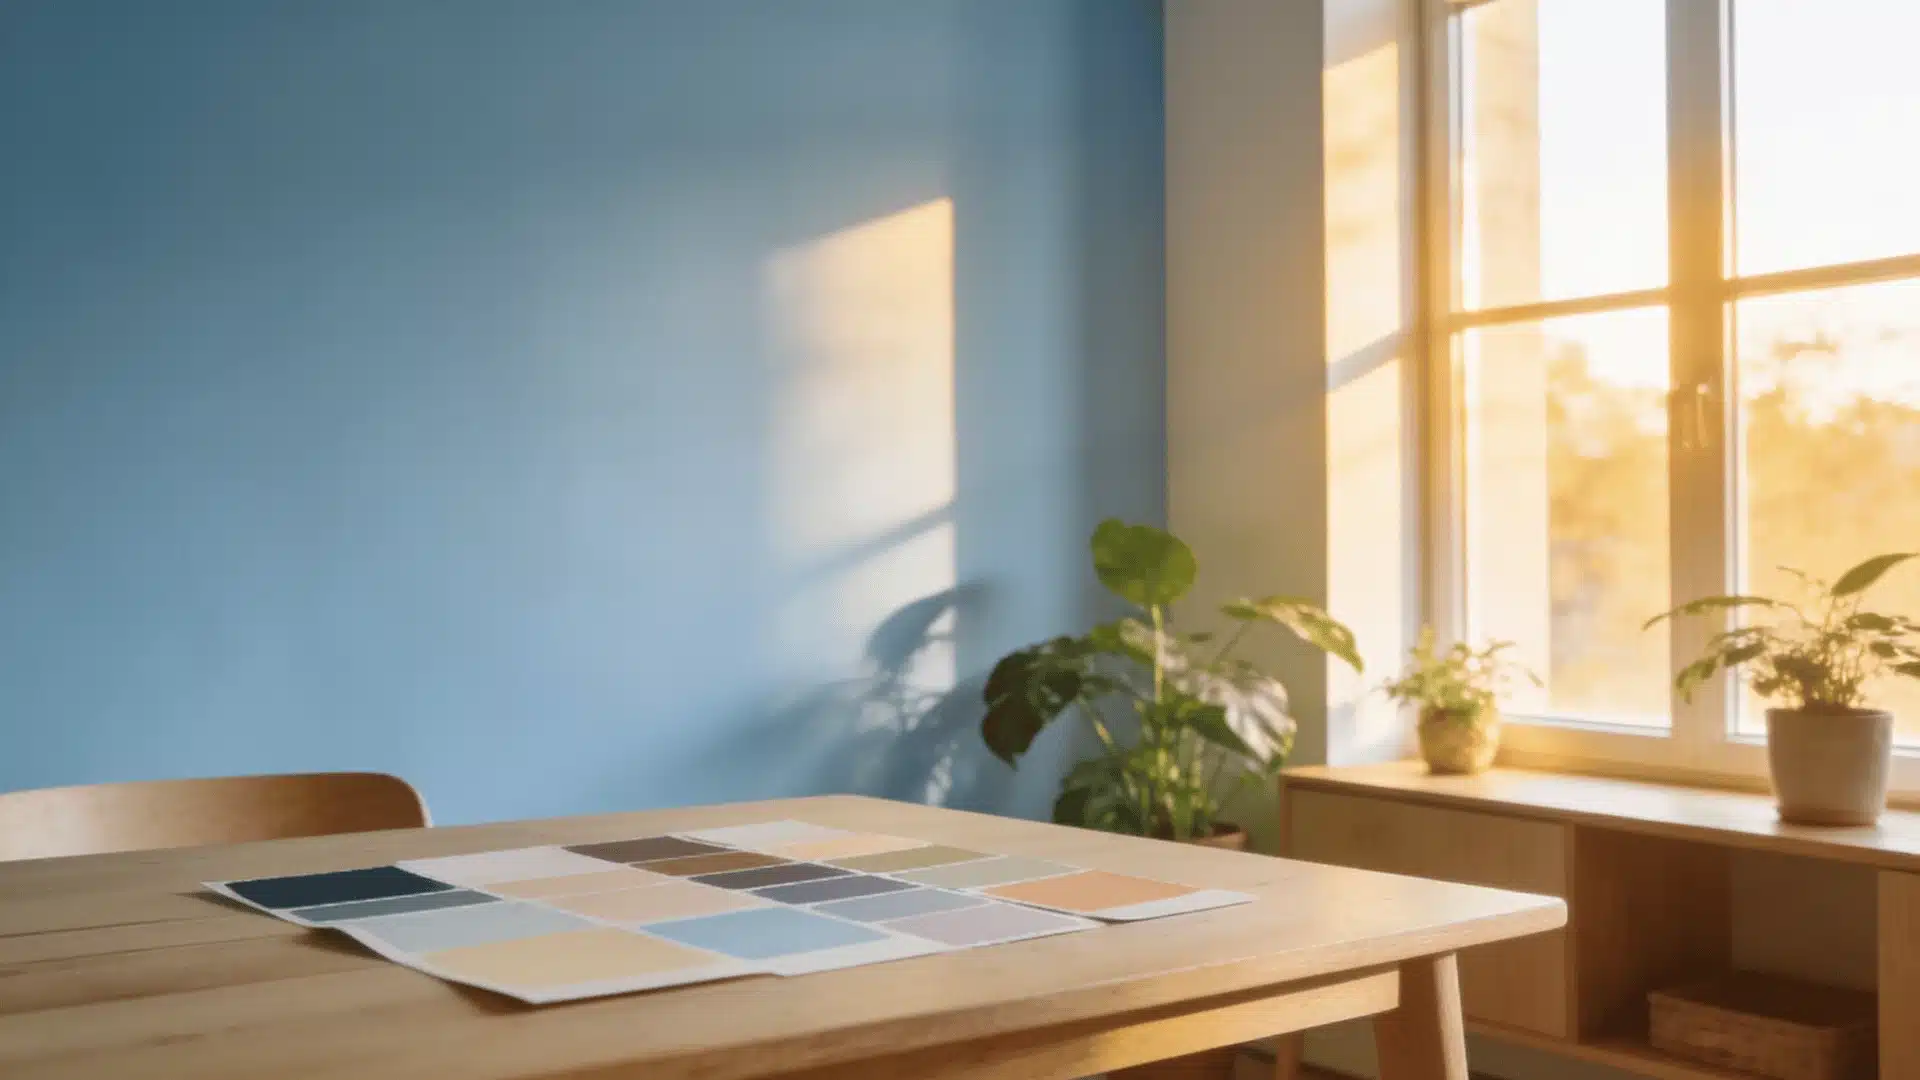
High Humidity
High humidity can affect how paint dries and may lead to blistering or poor adhesion.
If the air is too damp, the paint may take too long to dry or cure, and the finish can be compromised.
I always check humidity levels before painting. When the air is humid, the paint is more likely to trap moisture, leading to undesirable results.
Avoiding painting on these days ensures a more even and durable finish.
The Timing Challenges: Comprehending Paint’s Connection with Time
When it comes to outdoor painting, timing is everything. The right timing ensures a smooth application, better adhesion, and a long-lasting finish.
I consider several timing factors, including the time of day, the season, and the condition of the surfaces. Here’s how I manage these timing challenges effectively.
The Impact of Daylight: The Ideal Times for Outdoor Work
- Early Morning: The sun isn’t as intense, and temperatures are usually cooler, allowing the paint to dry slowly for a smooth finish.
- Late Afternoon: The heat of the day starts to cool down, and the sun is less harsh, which gives me more control over the drying process.
- Avoid Midday Sun: Direct sunlight can cause the paint to dry too quickly, leading to brush marks, streaks, and uneven coverage. I try to avoid painting in the midday sun to prevent these issues.
Seasonal Methods: Choosing the Ideal Time of Year to Paint
- Spring and Fall: These seasons are ideal for painting as temperatures are moderate, and there’s usually less rain or humidity, making it easier for the paint to adhere and dry correctly.
- Summer: It can be too hot, especially for certain types of paint. The heat may lead to cracking or improper curing, so I have to be cautious when painting in the summer.
- Winter: It’s too cold for most paints, making it difficult for them to adhere and dry properly. If possible, I avoid painting during this season.
- Rainy Seasons: I always check the forecast before painting. Rain and high humidity can ruin the paint job and extend drying time, so I wait for drier conditions.
When Temperature Conditions Are Uncertain
- Optimal Temperature: I know paint works best within a specific temperature range, between 1.7°C and 37.8°C. If the temperature is outside this range, the paint may not adhere properly, dry too quickly, or fail to cure entirely.
- Professional Guidance: When I’m unsure, I consult experts who can assess the temperature and decide if conditions are suitable for painting or if it’s better to wait for more favorable conditions.
Situations on the Surface: Examining Your Wall
- Dry and Clean Surfaces: I make sure the surface is completely dry and free from dust, dirt, or debris. Wet or damp surfaces can cause peeling or uneven paint application, so I always ensure my surfaces are in good condition.
- Avoid Hot Surfaces: Surfaces exposed to prolonged sunlight may be too hot for the paint to bond correctly. I check the temperature of the surface and ensure it’s within the recommended range for painting.
- Material Considerations: Different materials like wood, metal, or brick require specific surface conditions. For instance, wood should be clean and sanded, while metal should be free of rust before applying paint.
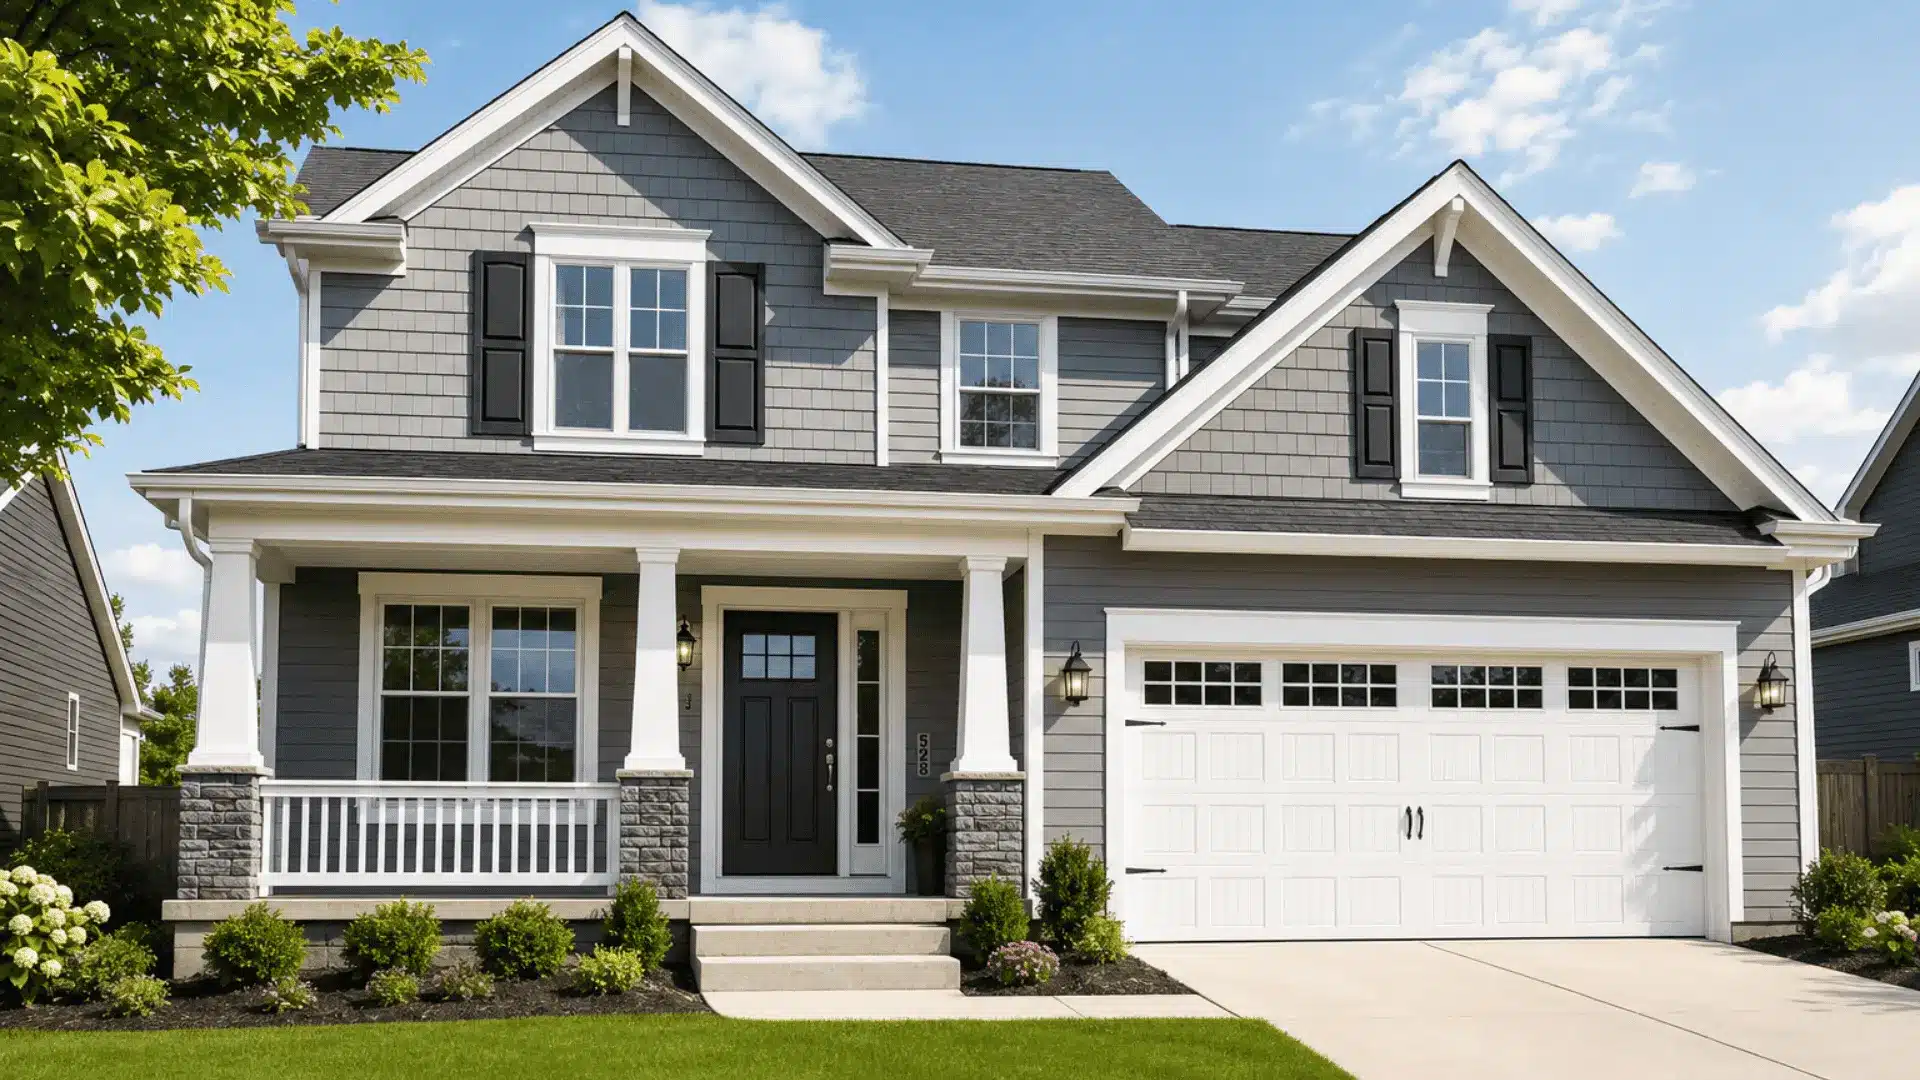
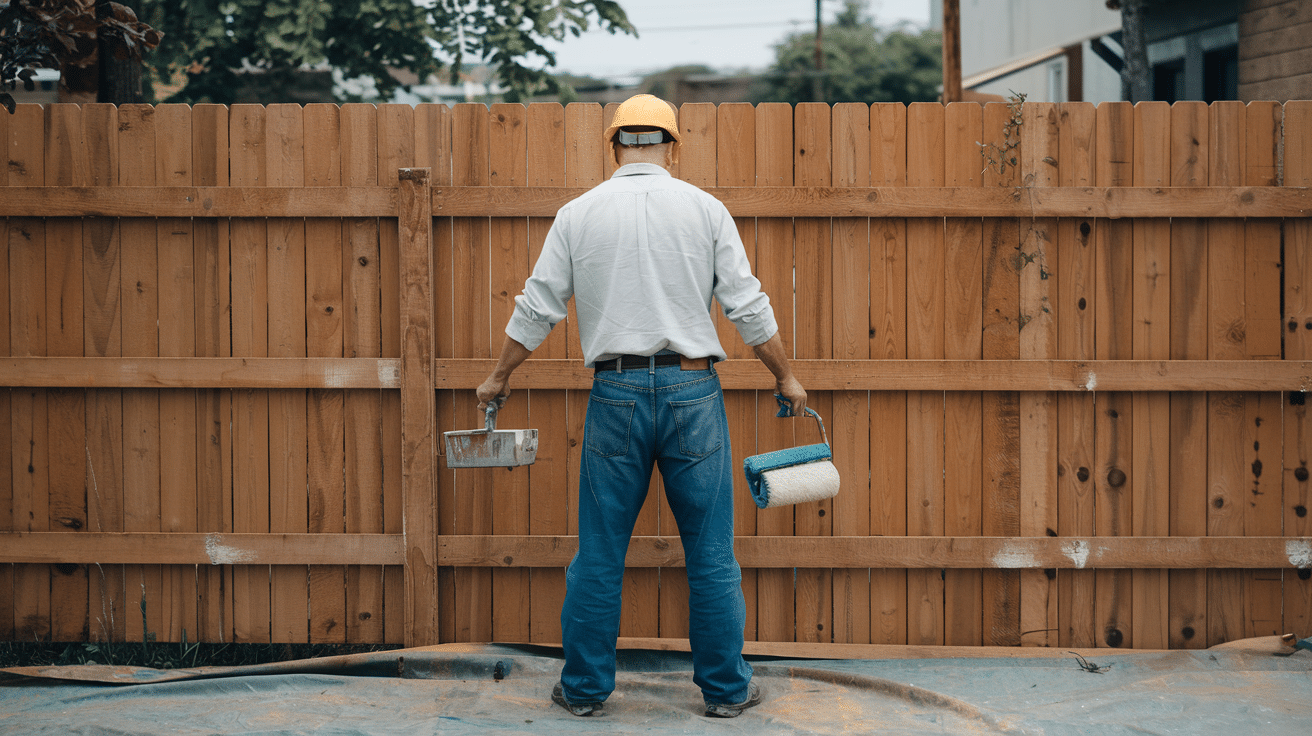
Essential Preparations to Do Before Painting Outside
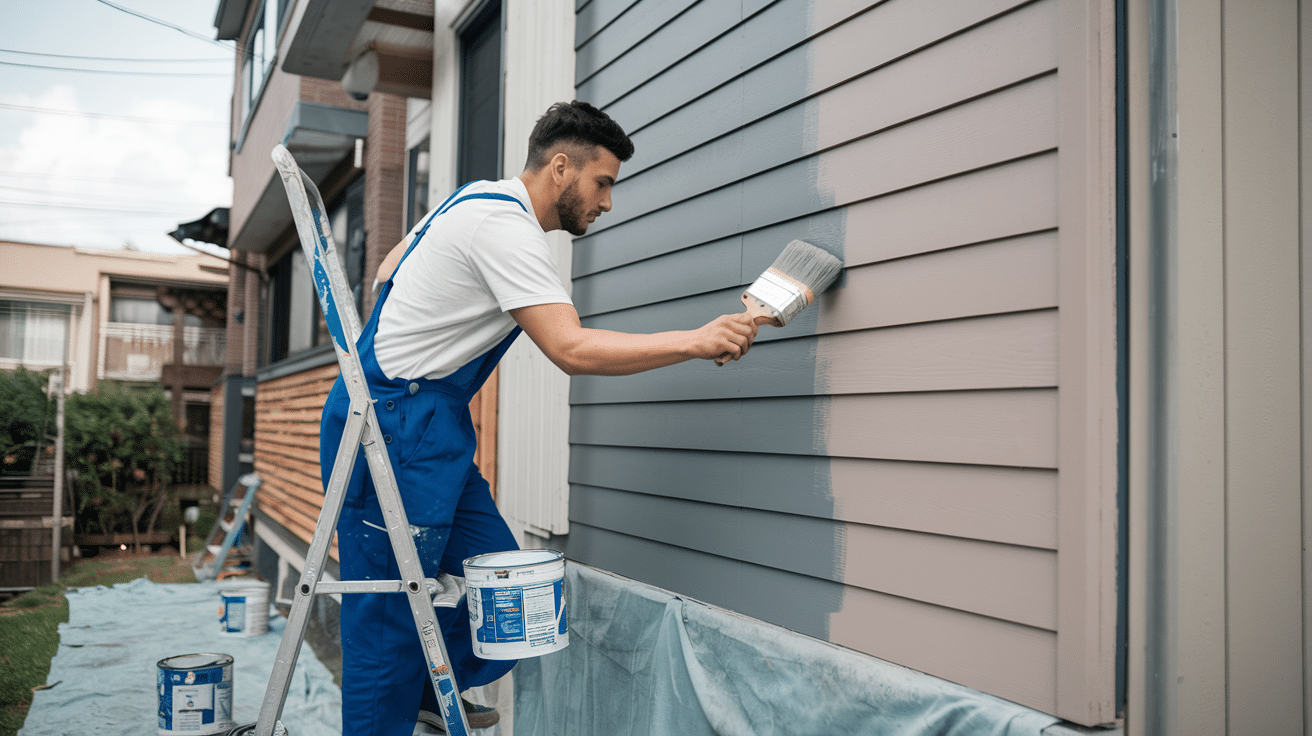
Proper preparation is essential for achieving a smooth, durable, and long-lasting paint job.
Skipping this step can result in poor adhesion, peeling, and a finish that doesn’t last. Here are the essential steps to follow to ensure my surfaces are ready for a fresh coat of paint:
Protect Surrounding Areas
Cover plants, outdoor furniture, air conditioners, and exhaust vents with drop cloths or plastic sheeting to protect them from paint splatters.
Tie back shrubs and tree limbs to prevent them from getting painted.
Clean the Surface
Scrub the surface to remove dirt, dust, mildew, and old, peeling paint.
If my home was built before 1978, I use a test kit to check for lead paint. If lead paint is found, I hire a certified lead-abatement contractor for proper surface preparation.
Clean using a wire brush, scrub pad, or pressure washer, and use a detergent like Red Devil TSP for a deep clean.
Remove Mildew
Mix a solution of chlorine bleach and water, or use a commercial mildew remover to clean any mildew off the surface.
Always wear gloves, a mask, and eye protection while scrubbing the mildew.
Allow the area to dry thoroughly before painting.
Repair Damaged Areas
Examine the surface for cracks, holes, or rotted wood.
Scrape out damaged areas and fill them with wood filler.
Sand the surface smooth and allow it to dry completely.
For extensive damage, consider replacing the affected boards or materials.
Caulk and Prime
Inspect and scrape away old, cracked caulk around windows, doors, and trim.
Apply fresh acrylic caulk to prevent moisture from entering my home.
If painting bare wood, apply a primer recommended by the paint manufacturer or use a high-quality self-priming paint if appropriate.
Check for Surface Temperature
Ensure the surface temperature is within the recommended range for my paint, usually between 50°F and 85°F (10°C to 29°C).
Avoid painting if the surface temperature is too hot or too cold, as this can affect paint adhesion.
How CR Tests Exterior Paint
Consumer Reports (CR) rigorously tests exterior paints to help homeowners like myself make informed decisions about the best products for their needs.
Their testing process evaluates several important factors that affect the paint’s durability, ease of application, and long-term performance. Here’s how CR tests exterior paints:
Key Testing Criteria
- Durability: CR evaluates how well the paint holds up under different weather conditions, including exposure to UV rays, moisture, and temperature fluctuations. They simulate wear and tear caused by rain, sun, and humidity to see how the paint performs over time. This is especially important for me, as durability is a top priority for outdoor projects.
- Adhesion: Paint must adhere well to the surface it’s applied to in order to avoid peeling or chipping. CR tests the paint’s ability to stick to wood, metal, and other common exterior surfaces after extended exposure to environmental stressors. This ensures that the paint I choose will stay intact and look good over time.
- Ease of Application: CR assesses how easily the paint spreads and covers the surface. They look for a smooth, even finish with minimal streaking or brush marks. Ease of use is a major factor for me, especially if I’m tackling a DIY project and want a hassle-free experience.
- Resistance to Mildew and Mold: Since outdoor surfaces are exposed to moisture, CR tests each paint’s ability to resist mildew and mold growth, which can degrade the paint’s appearance and effectiveness over time. I appreciate knowing that the paint I choose won’t suffer from these issues.
- Color Retention: CR examines how well the paint maintains its color after prolonged exposure to the sun. This is crucial for me since I want the paint to retain its vibrancy and not fade or discolor quickly, especially on surfaces that face constant sunlight.
- Cleaning and Maintenance: CR evaluates how easy it is to clean and maintain the painted surface. Paint that resists dirt, stains, and fading will require less frequent touch-ups and cleaning, which is a huge plus in terms of upkeep.
Top-Ranked Exterior Paints From CR’s Tests
Based on CR’s extensive testing, here are five of the top-rated exterior paints that excel in durability, coverage, and ease of use:
Behr Marquee Exterior Paint & Primer
Known for its excellent coverage and durability, Behr Marquee delivers superior protection against fading, mildew, and mold, making it ideal for a variety of climates.
Sherwin-Williams Emerald Exterior Acrylic Latex Paint
Offering a smooth application and exceptional resistance to weathering, Sherwin-Williams Emerald is praised for its ability to retain color and resist mildew growth.
Benjamin Moore Aura Exterior Paint
Benjamin Moore Aura is top-rated for its outstanding color retention and long-lasting durability. It’s formulated to resist cracking, peeling, and mildew growth, making it perfect for harsh weather conditions.
Valspar Duramax Exterior Paint + Primer
Valspar Duramax offers excellent adhesion and is highly resistant to the elements. It’s also a great choice for DIY projects due to its ease of application and quick drying time.
Behr Unfading Dusk Exterior Paint & Primer
This paint combines great value with superior durability. Behr Premium Plus Ultra provides strong protection against the elements while delivering a smooth, consistent finish.
Summing Up
My quest as an outdoor painter is one of partnership with nature. Learning to read the signs and recognize when not to pain outside when conditions aren’t favorable.
I’ve learned that patience often yields better results than stubbornness. There’s no shame in packing up my supplies when the weather turns or waiting for a better day.
After all, my studio offers a controlled environment when outdoor conditions won’t cooperate. But with proper planning and awareness of these challenging times, I can maximize my outdoor painting experiences.
The reward for this wisdom? Fewer ruined canvases, less wasted paint, and more successful works that truly capture nature’s beauty.
Sometimes, the best painting decision is simply knowing when not to paint outside at all. The elements will still be there tomorrow, perhaps under kinder conditions.