Tired of the same plastic pumpkins and cookie-cutter ghosts in every store? Me too!
Halloween shopping can be frustrating. Everything looks the same, costs too much, and lacks personality. When your neighbors have identical decorations, what’s the point?
Here’s a simple solution: convert ordinary witch hats into magical decorations that scream horror. With just a basic black witch hat and a few simple supplies, you can create decorations no one else will have. No crafting experience is needed!
I’ve collected my favorite witch hat makeover ideas that turn boring into bewitching. These projects use easy-to-find materials and simple techniques anyone can handle.
What Are DIY Witch Hat Decorations?
DIY witch hat decorations are fun craft projects that convert plain witch hats into unique Halloween creations. You start with a basic black hat, then add your flair with ribbons, flowers, glitter, fake spiders, and more!
These personalized hats can be:
- Worn as part of a costume
- Displayed as spooky home decor
- Used as party centerpieces
- Made into miniature versions for tabletops
Perfect for crafters of all ages and skill levels, witch hat decorations let you express your style – from classic spooky designs to colorful, offbeat creations.
The best part? You can make them as simple or fancy as you like, using materials you probably already have at home!
What You Need to Know Before Decorating Witch Hats
Getting ready to craft the perfect witch hat? Here’s what you should know before you start:
- Basic hat options include store-bought felt hats and making your own from cardboard or craft foam. Black is traditional, but don’t be don’td to start with purple, green, or even orange bases for unique looks.
- Always check your hat’s mathat’s before choosing decorations: Some glues won’t stiwon’t certain fabrics, and some materials can’t hancan’teat from glue guns. Test in a small, hidden area first!
- Consider the hat’s purhat’s If it’s for it’sing, keep it lightweight and balanced. If it’s pureit’secorative, you can go all out with heavier embellishments.
- Plan your design before starting: Sketch ideas or create a mood board with images that inspire you. This helps avoid a cluttered, random look.
- Gather all supplies before beginning: Nothing’s worse than getting halfway through your project only to find out you’re missing essential items!
DIY Custom Witch Hat For Hallowen: Beginner-Friendly Guide
Create your very own unique witches with this detailed DIY guide! Using 2mm HD foam, a few simple tools, and some creativity, you can craft a one-of-a-kind hat perfect for Halloween, cosplay, or any spooky-themed event.
This beginner-friendly project allows you to personalize your hat with custom details and a fun, cartoonish style. Let’s get it!
Supplies Required: Tools and Materials
Tools and materials are essential resources needed to complete a task or project. They ensure proper execution and help achieve the desired results efficiently.
Tools Required:
-
Utility knife
-
Scissors
-
Pencil and string
-
Straight pins
-
Dremel rotary tool
-
Tape measure
-
Coat hanger or wire
-
Glue gun and glue sticks
-
Sanding drum
Materials Required:
-
2mm HD foam
-
Super glue (Bob Smith)
-
Plasti Dip
-
Polyfill
-
Paint (purple, metallic)
-
Ribbon or decorative foam
-
Foam for buckle decoration
-
Small wire for shaping
Step-by-Step Tutorial: Create Your Witch Hat
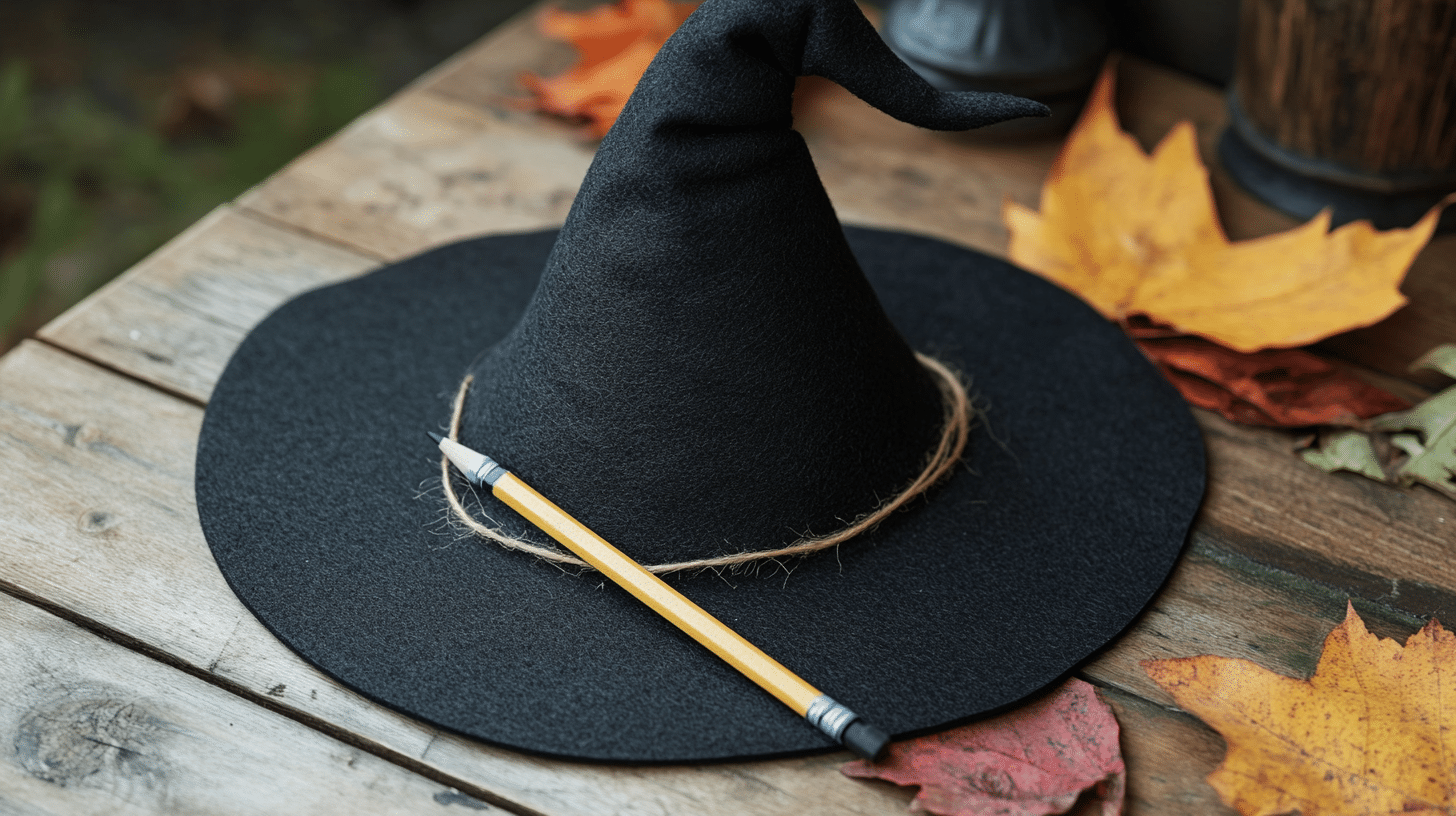
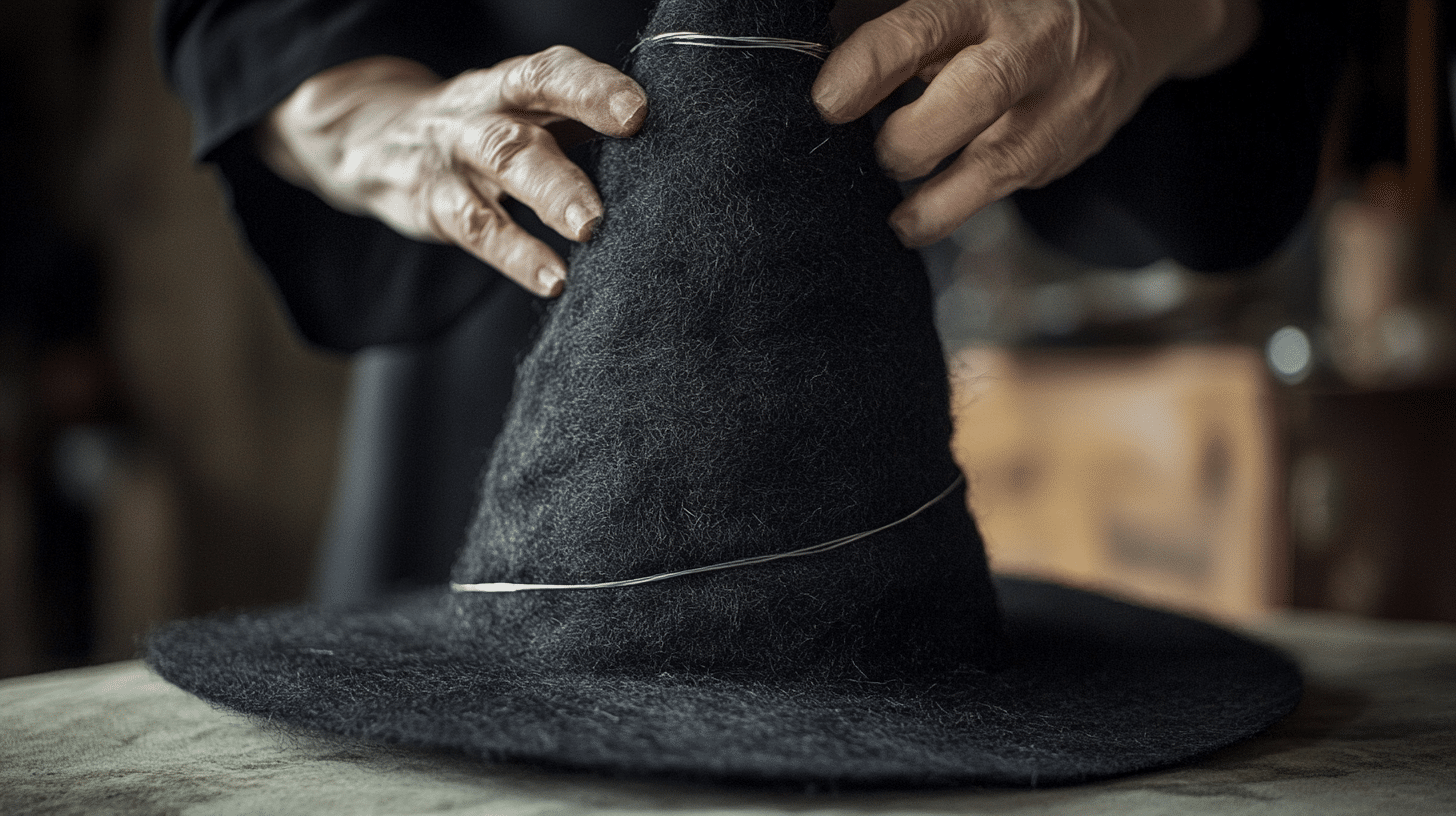
Step 1. Prepare the Hat Top Template
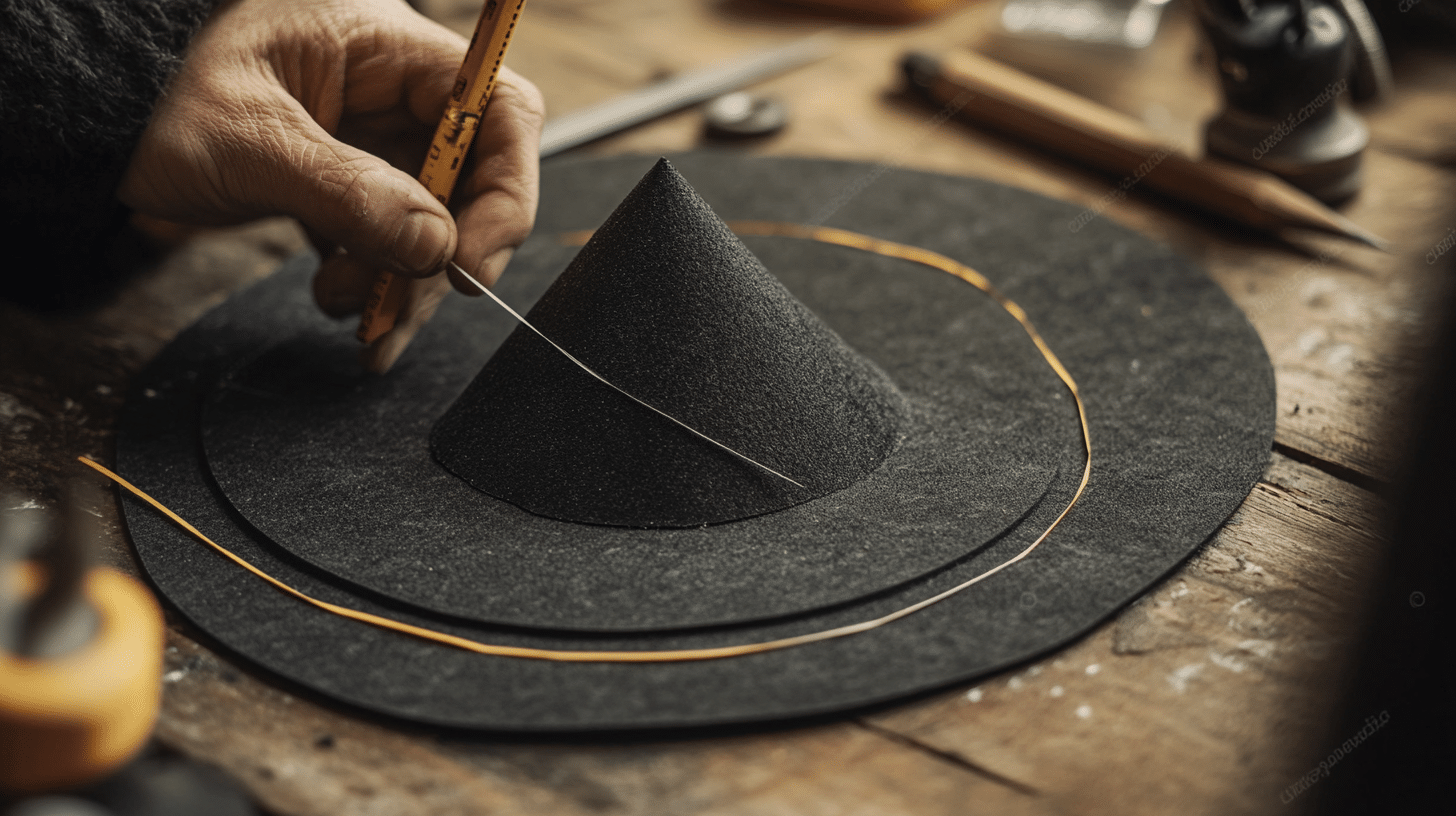
Begin by gathering your materials. To create the top of the witch’s hutch, you’ll neyou’lloll of 2mm HD foam. Take a piece of string and tie a pencil at one end.
Measure the string to the desired radius of the hat’s tophat’sfix it at one corner of your foam.
Pull the string taut while moving the pencil around to draw a quarter circle. Cut the quarter circle out using a utility knife, shaping it into the cone for the hat.
Step 2. Create the Hat Brim
To make the brim, you need to create two gs – one smaller inner circle and one larger outer circle. First, create a custom guide by tying a pencil to a piece of string again and holding it in the center of the foam.
Draw two circles: one smaller in the middle and one larger on the outside. Cut out both circles. The larger outer section can be set aside for later use.
Next, cut slits in the foam along the brim’s edbrim’shelp it bend and fit comfortably around your head.
Step 3. Form the Hat’s Cone Shape
Start gluing the quarter circle into the hat’s cone shape. Use Bob Smith Super Glue to join the edges, working carefully from the bottom edge upwards.
Try to keep the seam as neat as possible to avoid unevenness at the top of the cone. Hold the seam together for a few seconds to ensure it adheres securely.
Step 4. Attach the Brim to the Hat
Now that the cone is ready, it’s time to attach the brim. Cut slits into the base of the cone, folding the flaps back and securing them to the brim using glue.
Be sure to apply glue along each flap and press them securely onto the outer edge of the brim. Continue this process around the entire cone until the top and brim are firmly attached.
Don’t worry. Don’t out the seam; it will be covered later with a decorative ribbon.
Step 5. Add Wire for Structure
To give the top of your hat some character and stability, you’ll neyou’lle wire. You can use a coat hanger or any thin, flexible wire.
Measure the wire to fit around the top of the hat and bend it into the shape you want. Apply a small piece of foam to the wire’s enwire’sprevent it from poking through the hat.
Then, glue the wire to the top inside of the hat, curling it slightly to hold its shape.
Step 6. Add Polyfill for Volume
Once the wire is in place, add some polyfill to give the hat a fuller, more dramatic look. Place just enough polyfill to fill up half of the cone, and carefully bend the top of the hat into your desired shape.
The wire will keep the foam from returning to its original form, allowing it to hold the shape more effectively.
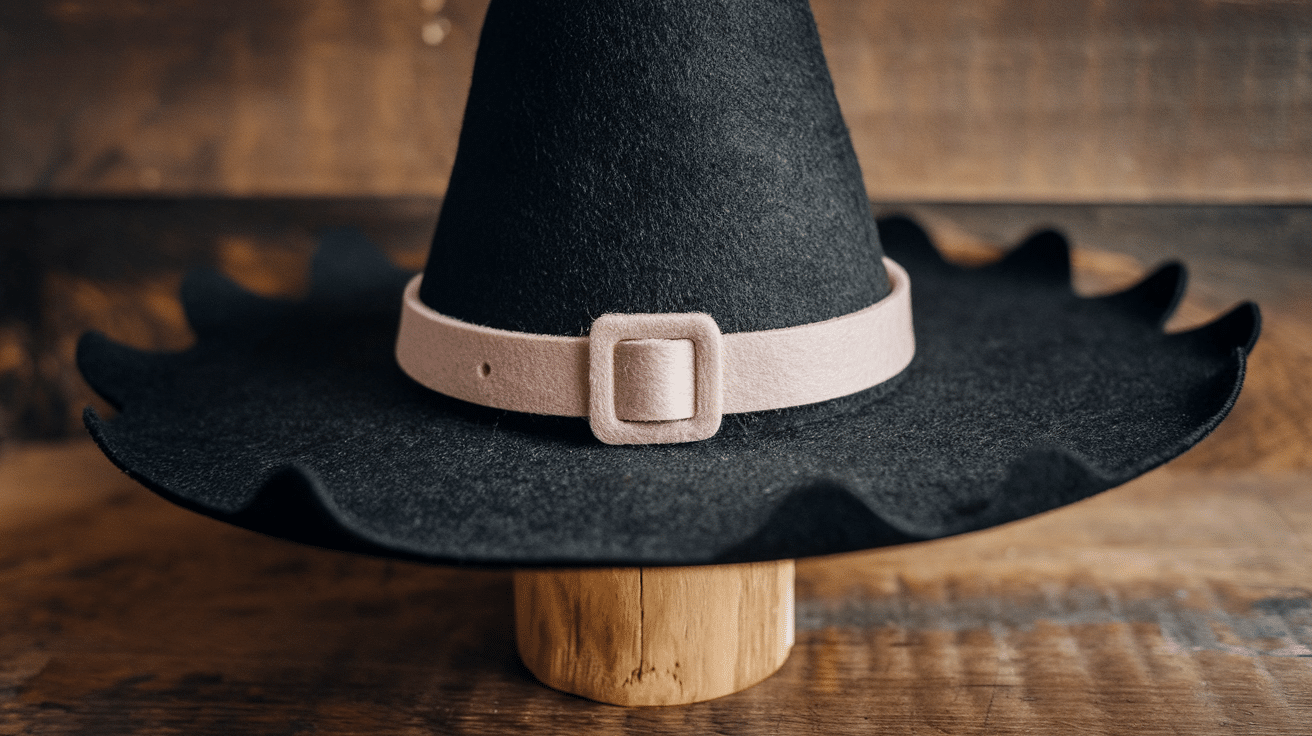
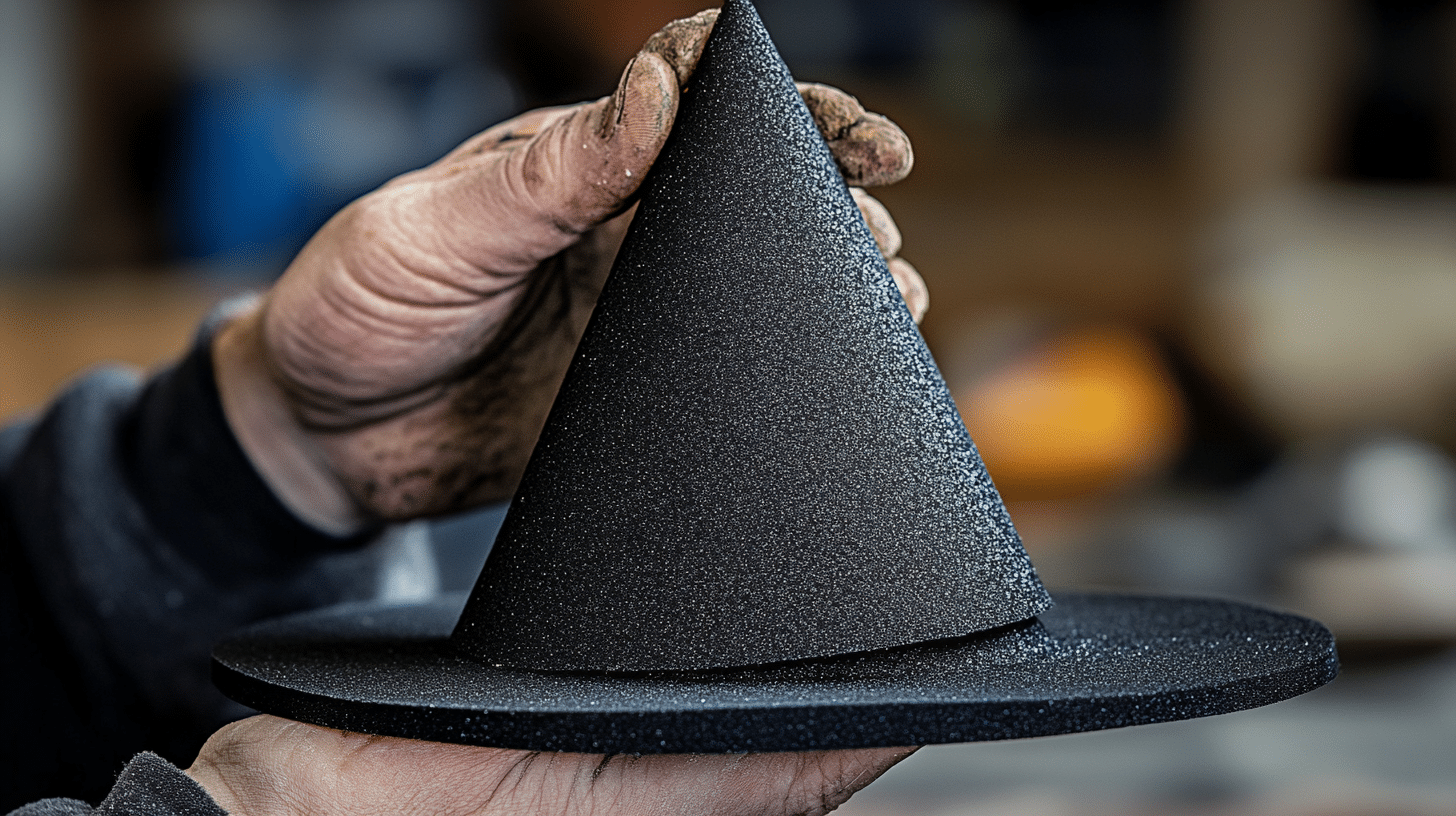
Step 7. Final Decoration & Painting
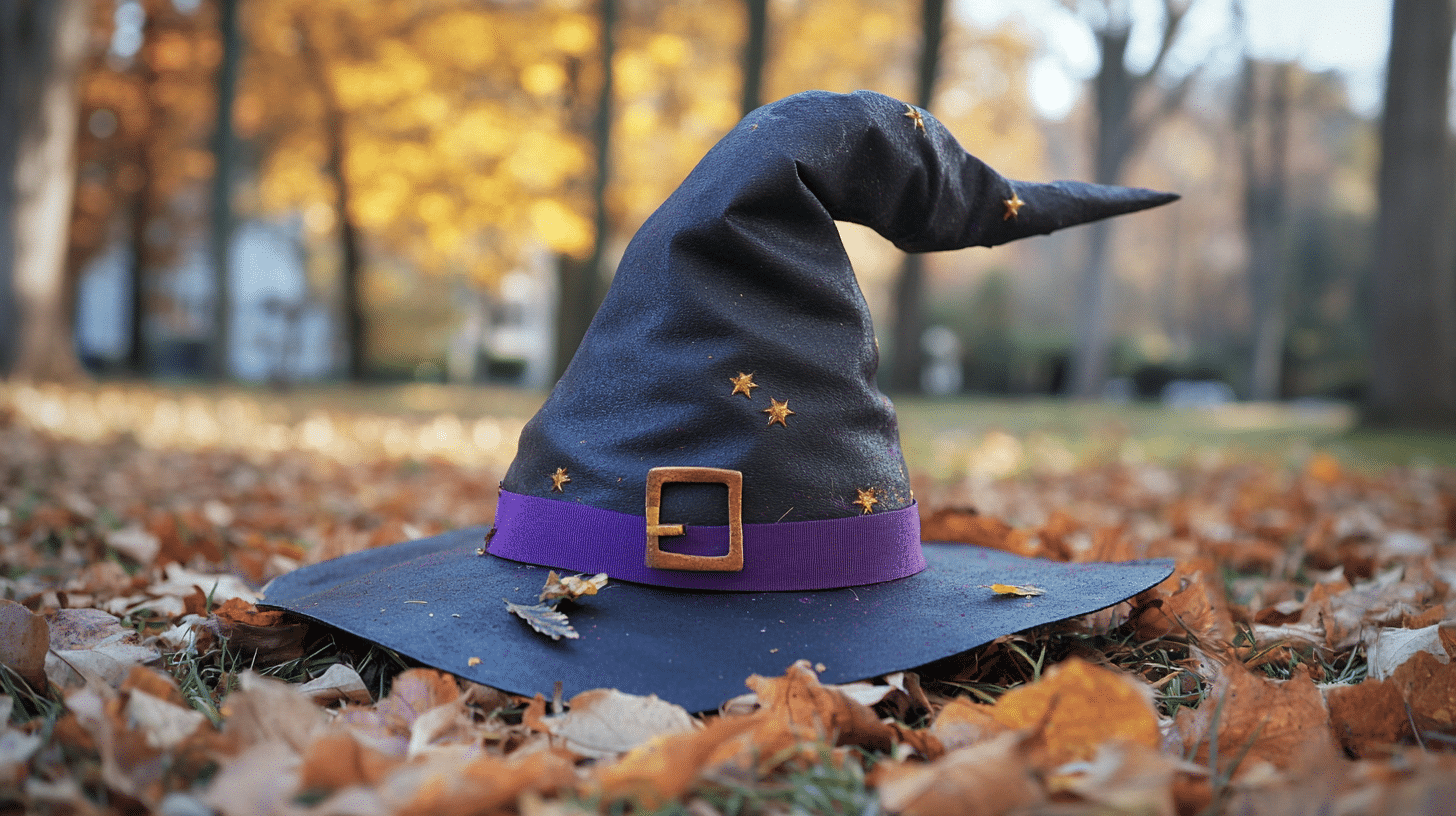
Now, it’s time to add the finishing touches. To cover the seam, start by attaching the remaining large ring of foam around the base of the brim.
You can glue a ribbon or use any decorative embellishments you like. For painting, use Plasti Dip to seal the foam for durability.
After it dries, lightly spray the underside of the hat with purple paint for a contrasting effect.
Finally, use metallic paint for any hardware or details, such as a buckle, and touch up the edges with a contrasting color to make the hat pop. Let the paint dry thoroughly before wearing your new custom witch’s
For More Detailed Instructions, refer to the YouTube video below:
Fanciful Witch Hats: Fun Ideas for Kids
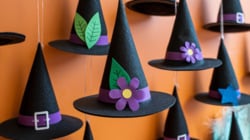
Get creative with these playful and easy-to-make witch hats perfect for kids! From sparkly glitter designs to quirky monster features, these projects allow kids to personalize their hats with fun colors and unique embellishments.
Whether it’s addiit’soogly eyes, flowers, or shimmering stars, these fun witch hat ideas offer a magical way for kids to unleash their creativity and have a blast this Halloween or during any costume event!
1. Sparkly Glitter Witch Hat

Create a magical, eye-catching witch hat by covering it with glitter glue or spray glitter. Add stars, sequins, or moon shapes for an extra touch of sparkle and charm.
With customization options like glow-in-the-dark glitter, this hat will shine brightly at night, making it a perfect addition to any spooky celebration or costume event!
- Ideal Material to Use: Glitter glue, spray adhesive, sequins, star and moon-shaped stickers.
- Budget Range: Approximately $5-$10.
2. Monster Witch Hat
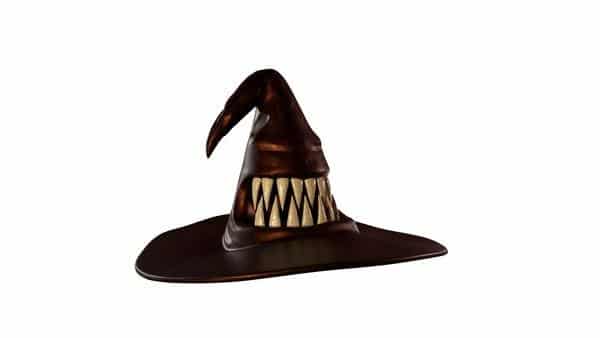
Add googly eyes, felt teeth, and colorful yarn for hair to craft a fun and quirky monster-inspired witch hat. Let your creativity run wild with vibrant neon colors and playful features, making each hat unique.
This magical design is perfect for kids or anyone looking for a fun, lighthearted twist on the classic witch’s hat!
- Ideal Material to Use: Felt, googly eyes, yarn, fabric glue, hot glue gun.
- Budget Range: Approximately $5-$8.
3. Flower Crown Witch Hat

Decorate a beautiful, nature-inspired witch hat with vibrant faux flowers, leaves, and vines. Wrap the brim with a beautiful flower garland and add greenery for a fresh, magical touch.
This is perfect for a garden-themed costume or for those who want to bring a soft, enchanting vibe to their witch look!
- Ideal Materials to Use: Faux flowers, artificial leaves, floral wire, hot glue gun, ribbon.
- Budget Range: Approximately $6-$12.
Nature-Inspired Witch Hat Decorating Ideas for a Magical Touch
Create a fanciful, nature-themed witch hat with faux flowers, leaves, and vines. Perfect for adding a magical, earthy charm to your costume, these ideas bring the beauty of the outdoors to life in a fun, creative way!
4. Woodland Witch Hat
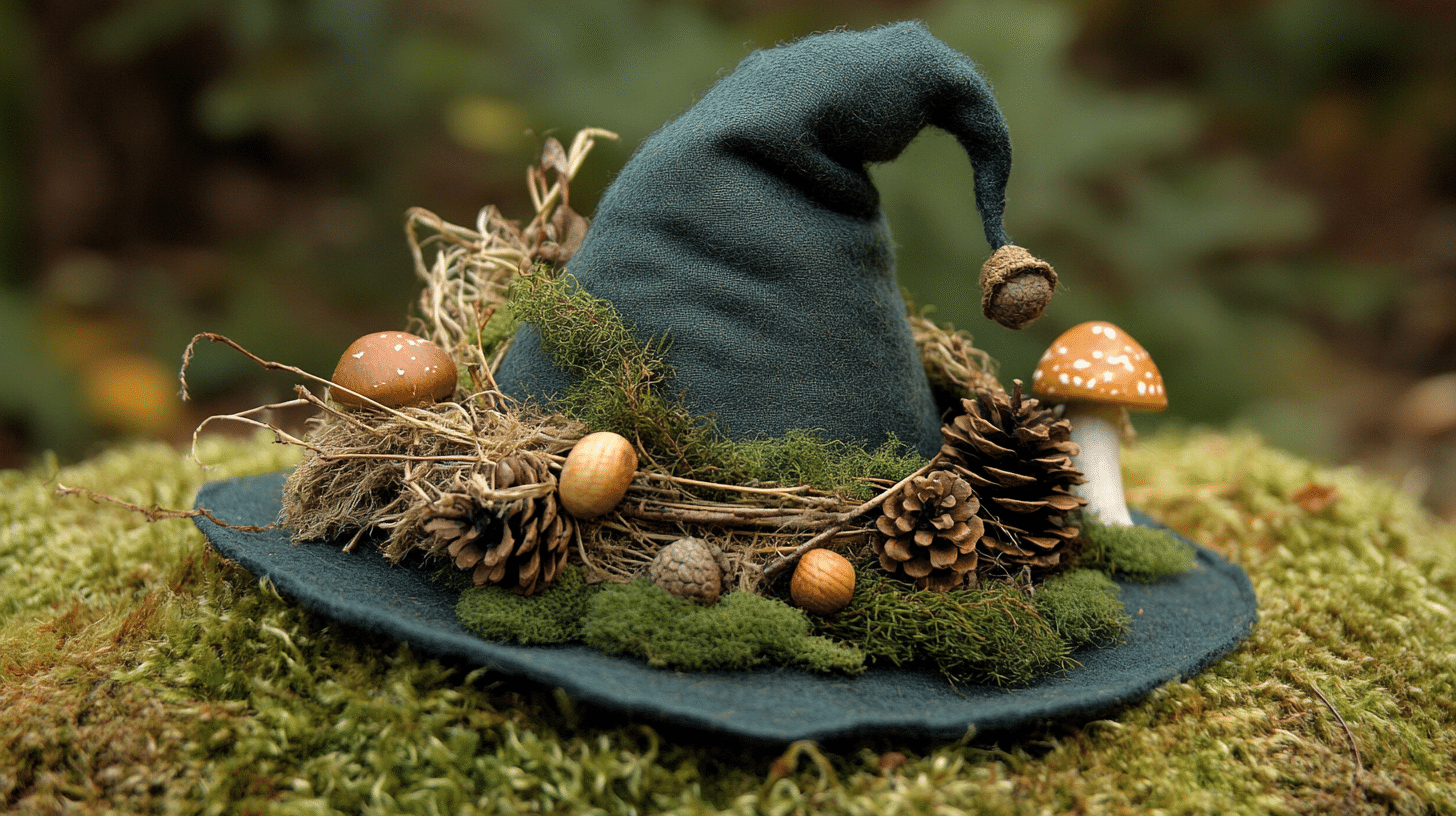
Craft a forest-inspired witch hat by adorning it with faux moss, small twigs, and pinecones. Add a rustic burlap ribbon for a natural, earthy touch.
This enchanting design captures the charm of the woods, creating a magical woodland witch look perfect for a nature-themed costume or fall festivities!
- Ideal Material to Use: Faux moss, twigs, small pinecones, burlap ribbon, hot glue gun.
- Budget Range: Approximately $7-$12.
5. Autumn Harvest Witch Hat
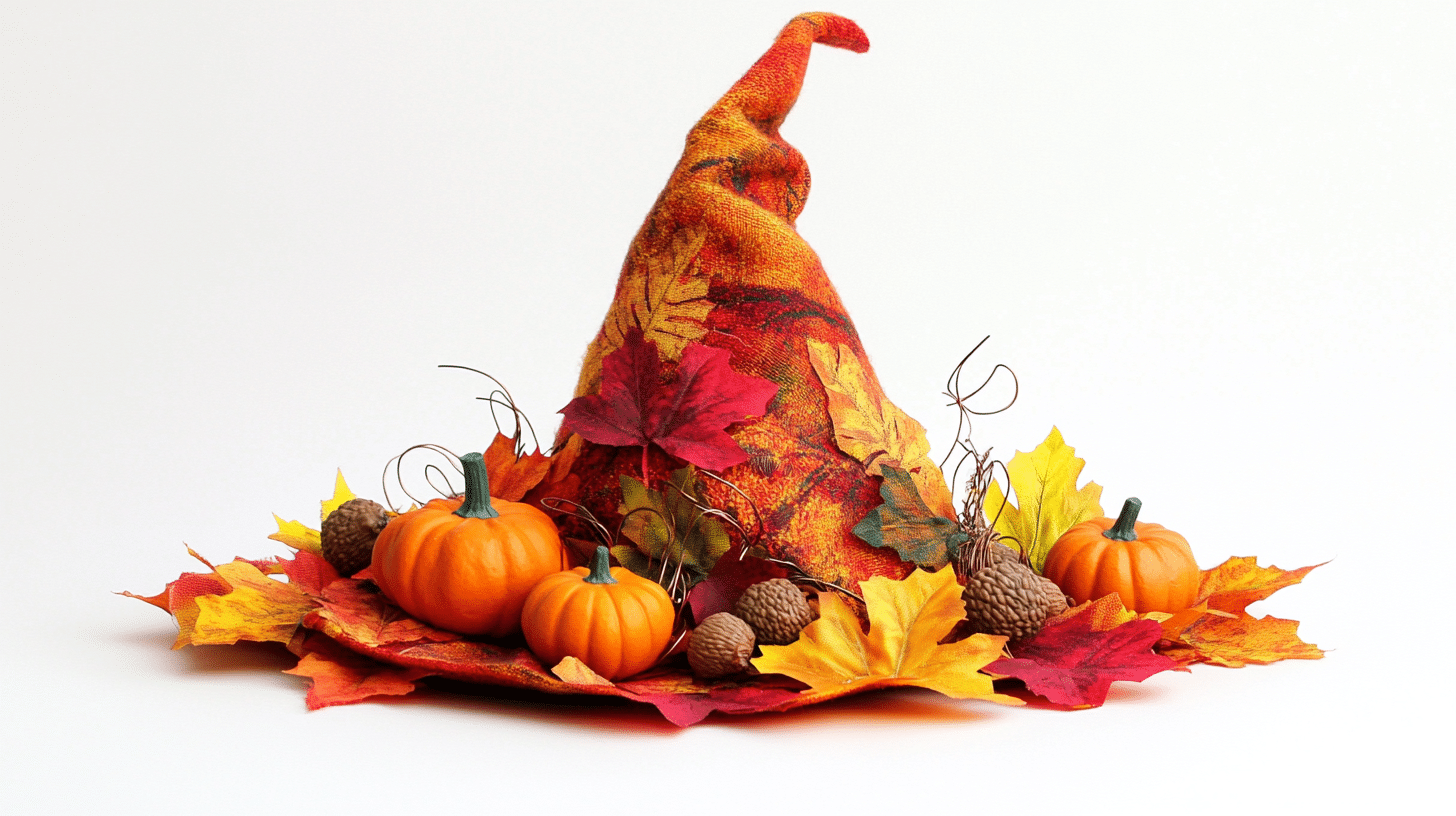
Create a warm, seasonal witch hat by decorating it with faux autumn leaves, acorns, and small pumpkins. Use rich golden, orange, and red hues to capture the essence of fall.
This harvest-inspired design adds a festive, cozy touch to your Halloween or autumn-themed costume, perfect for celebrating the season!
- Ideal Material to Use: Faux leaves, acorns, small pumpkins, floral wire, hot glue gun.
- Budget Range: Approximately $6-$10.
6. Flower Garden Witch Hat
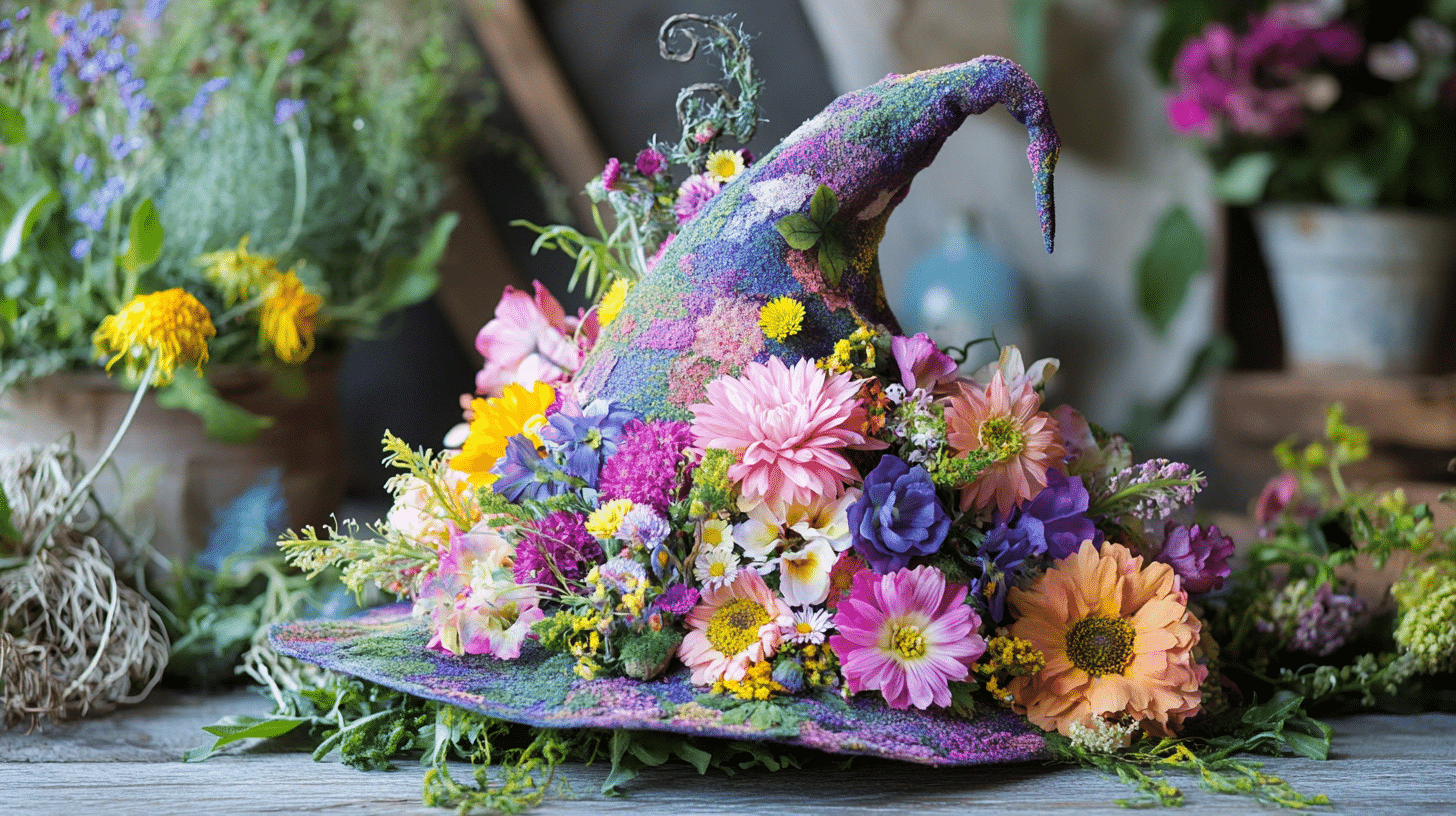
Decorate a beautiful, nature-filled witch hat with an assortment of vibrant faux flowers, greenery, and faux vines.
Wrap the brim with a beautiful flower garland to enhance the garden-inspired look. This hat brings a fresh, enchanting touch, perfect for a flower-loving witch or a magical garden-themed costume!
- Ideal Materials to Use: Faux flowers, floral garland, fake ivy or vines, floral tape, and a hot glue gun.
- Budget Range: Approximately $8-$15.
For a More Detailed Explanation, refer to YouTube video: Witch Hat Halloween Floral Centerpiece – Halloween Decorating
7. Scary Forest Witch Hat
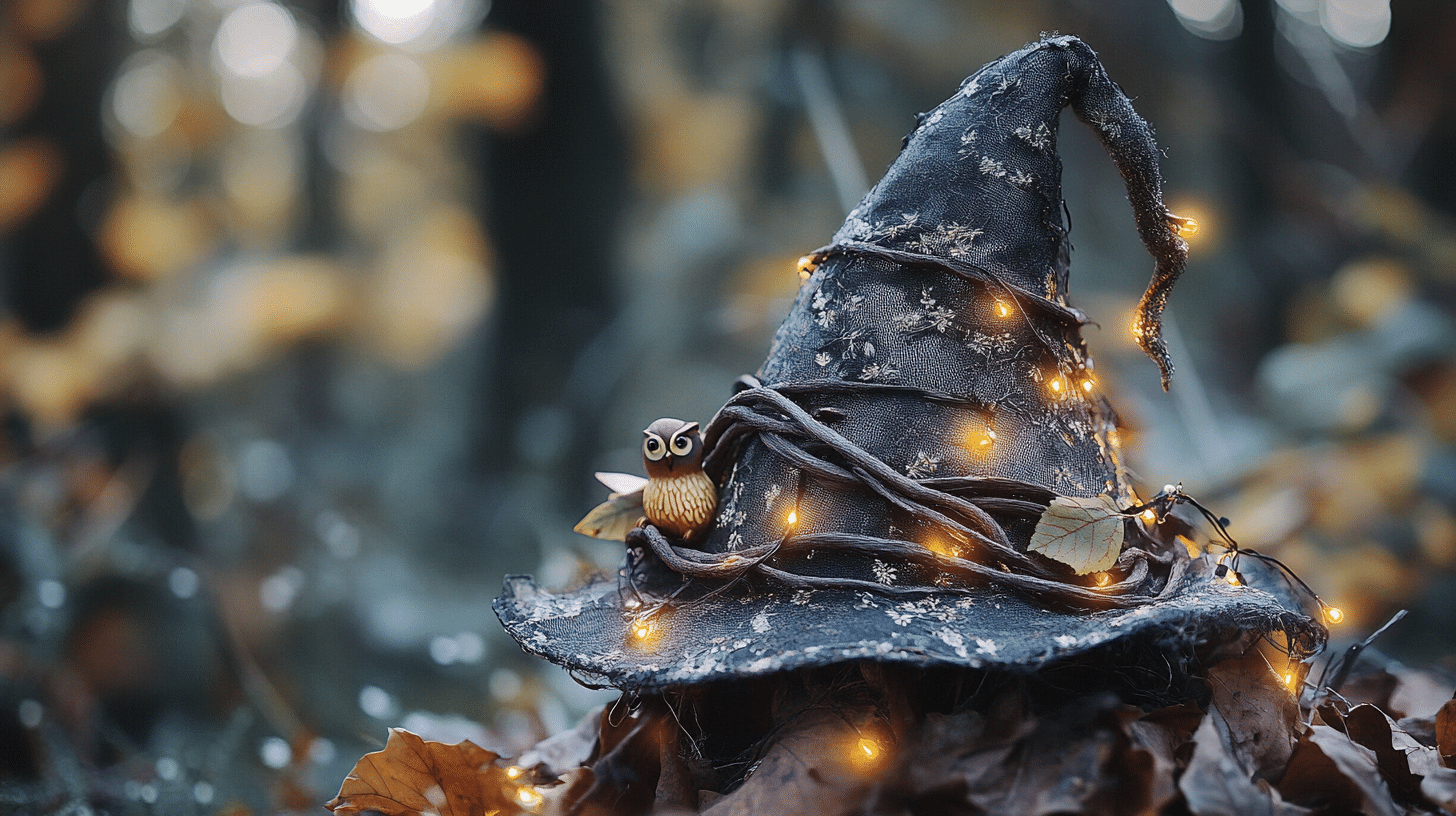
Incorporate small branches, dried leaves, and fairy lights to create a mystical, woodland-inspired witch hat.
Wrap the hat in lace or mesh fabric to give it a dreamy vibe. Add tiny fairy figurines or miniature animals like owls and foxes to enhance the enchanted forest feel, perfect for a offbeat and magical costume!
- Ideal Materials to Use: Small branches, dried leaves, fairy lights, lace fabric, and a hot glue gun.
- Budget Range: Approximately $10-$18.
Eco-Friendly Witch Hat Decorating Ideas for Halloween
Make a sustainable witch hat using recycled materials like old fabric, cardboard, or natural elements such as twigs and leaves.
These eco-friendly designs let you craft a magical hat while reducing waste, perfect for a green Halloween or nature-inspired costume!
8. Recycled Paper Witch Hat
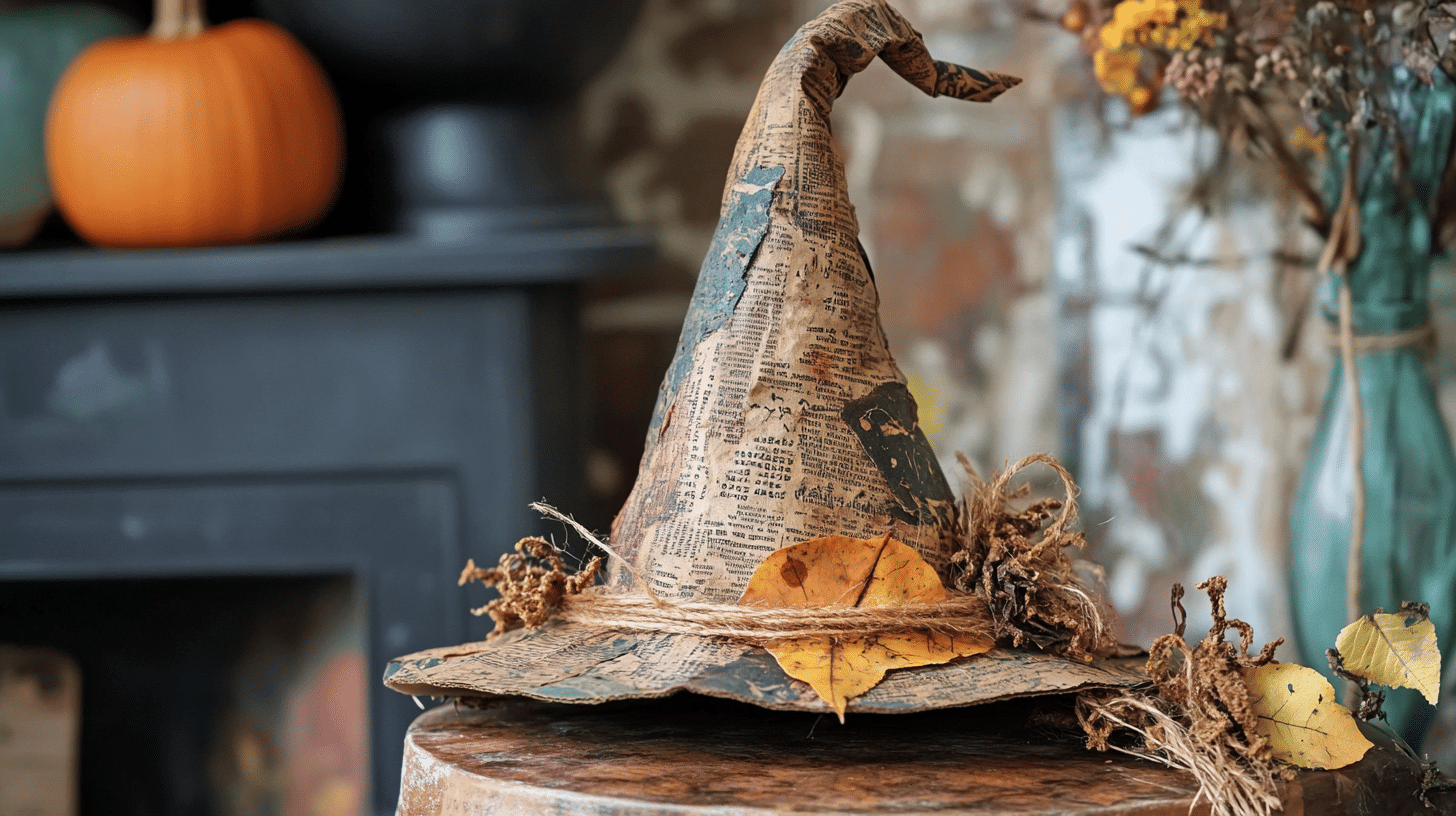
Craft an eco-friendly witch hat by repurposing old newspapers or recycled cardboard. Shape and decorate the hat using natural dyes or eco-friendly paints for a sustainable look.
Embellish with twine, fabric scraps, or pressed leaves for a personalized touch. This is a creative and environmentally conscious choice for your Halloween costume!
- Ideal Material to Use: Recycled cardboard, old newspapers, eco-friendly paint, twine, fabric scraps.
- Budget Range: Approximately $3-$8.
9. Fabric Scraps Witch Hat
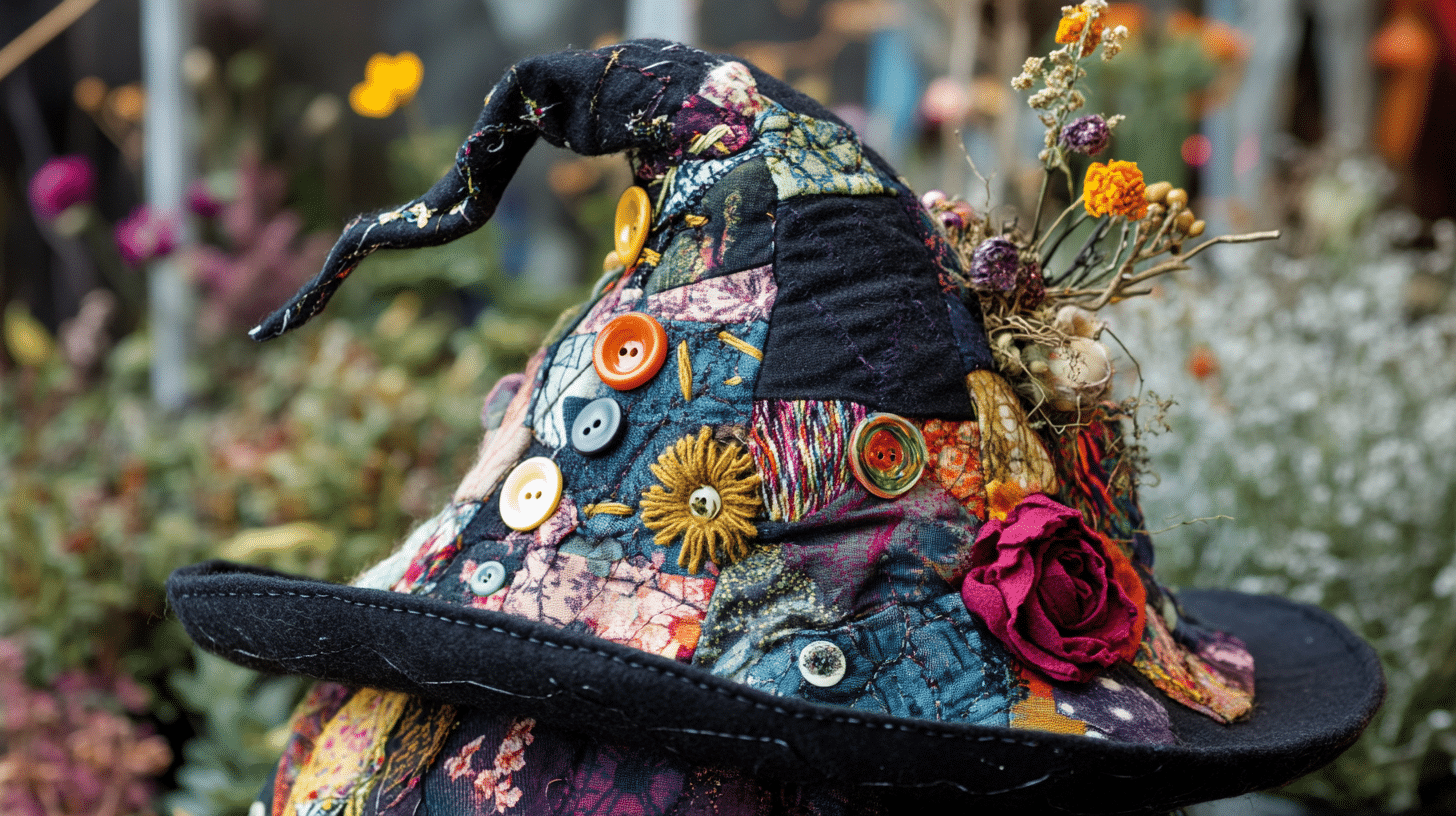
Create a unique and eco-friendly witch hat by using leftover fabric scraps like cotton, linen, or hemp.
Combine various fabrics to form a colorful patchwork design, and embellish with natural buttons, dried flowers, or yarn for added texture. This sustainable and creative design is perfect for a one-of-a-kind witch hat with a personal touch!
- Ideal Materials to Use: Fabric scraps, natural buttons, hemp thread, dried flowers, and a hot glue gun.
- Budget Range: Approximately $5-$12.
10. Upcycled T-Shirt Witch Hat
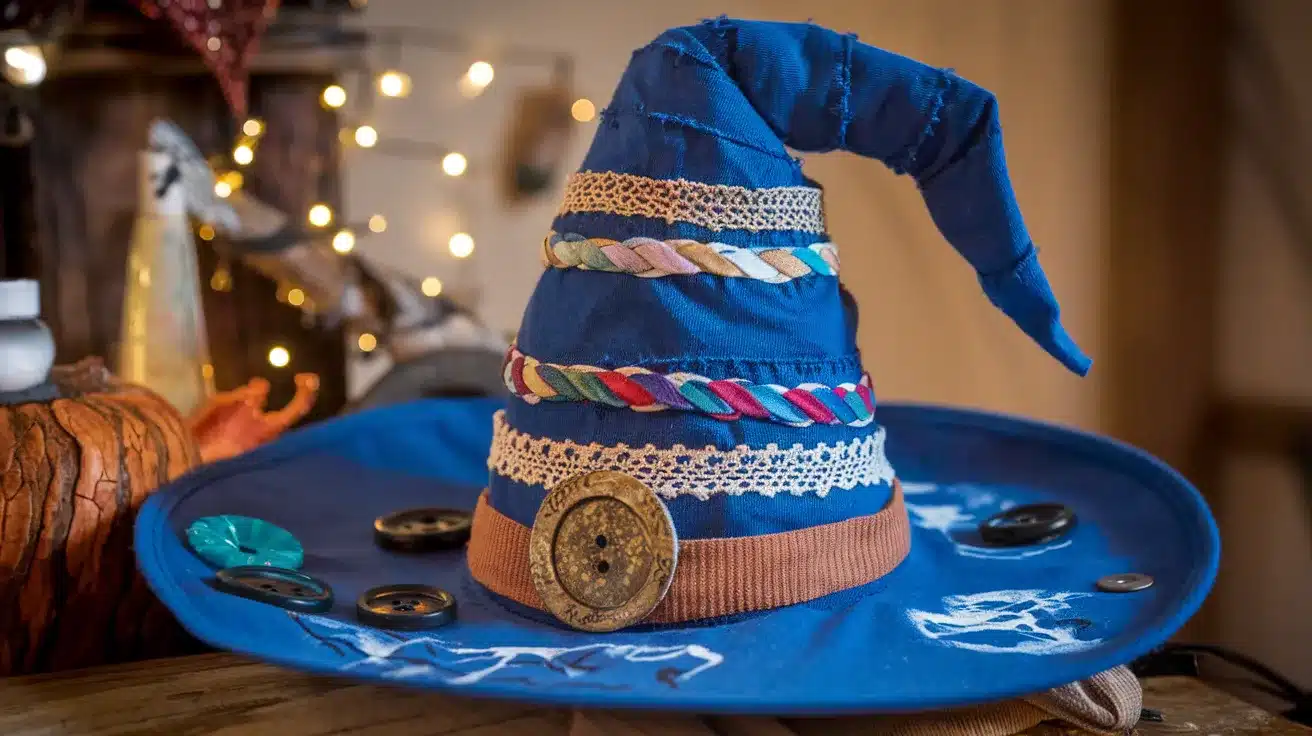
Convert an old t-shirt into a soft, eco-friendly witch hat by cutting the fabric into strips and braiding or twisting them together.
Add creative embellishments like buttons, lace, or fabric paint to personalize your hat. This sustainable design is a fun and budget-friendly way to craft a magical witch hat with a personal touch!
- Ideal Materials to Use: Old t-shirt, fabric paint, buttons, lace, needle, and thread.
- Budget Range: Approximately $4-$9.
11. Paper Mâché Moonlit Witch Hat
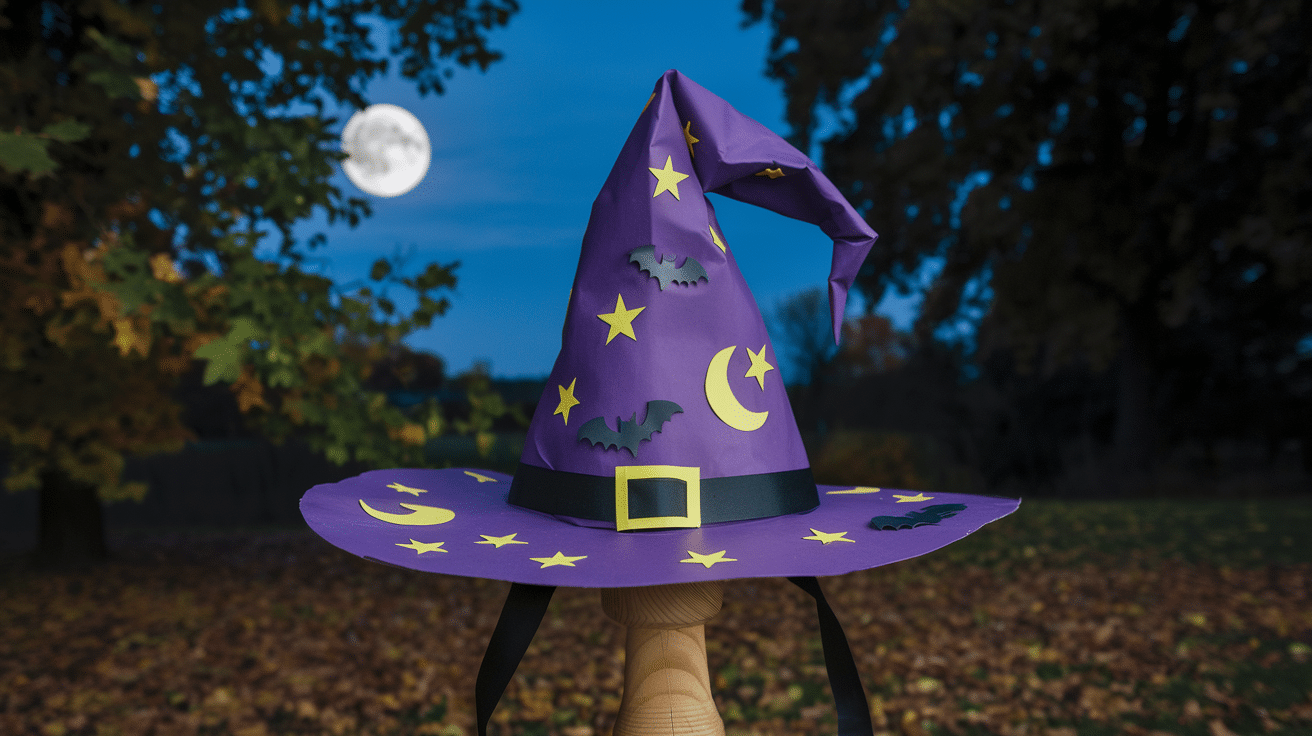
Sculpt your witch hat from homemade paper mâché using recycled newspaper and a flour-water paste. Once dry, paint it with non-toxic, eco-friendly paint in shades of midnight blue or charcoal black.
Embellish it with hand-cut moon and star shapes made from cereal boxes or scrap cardboard, then wrap the base with natural raffia or hemp cord for a mystical finish.
This zero-waste design blends spooky style with sustainability!
Ideal Material to Use: Recycled paper, flour-water paste, scrap cardboard, natural cord, eco-friendly paint.
Budget Range: Approximately $2–$6.
12. Jute Twine Witch Hat
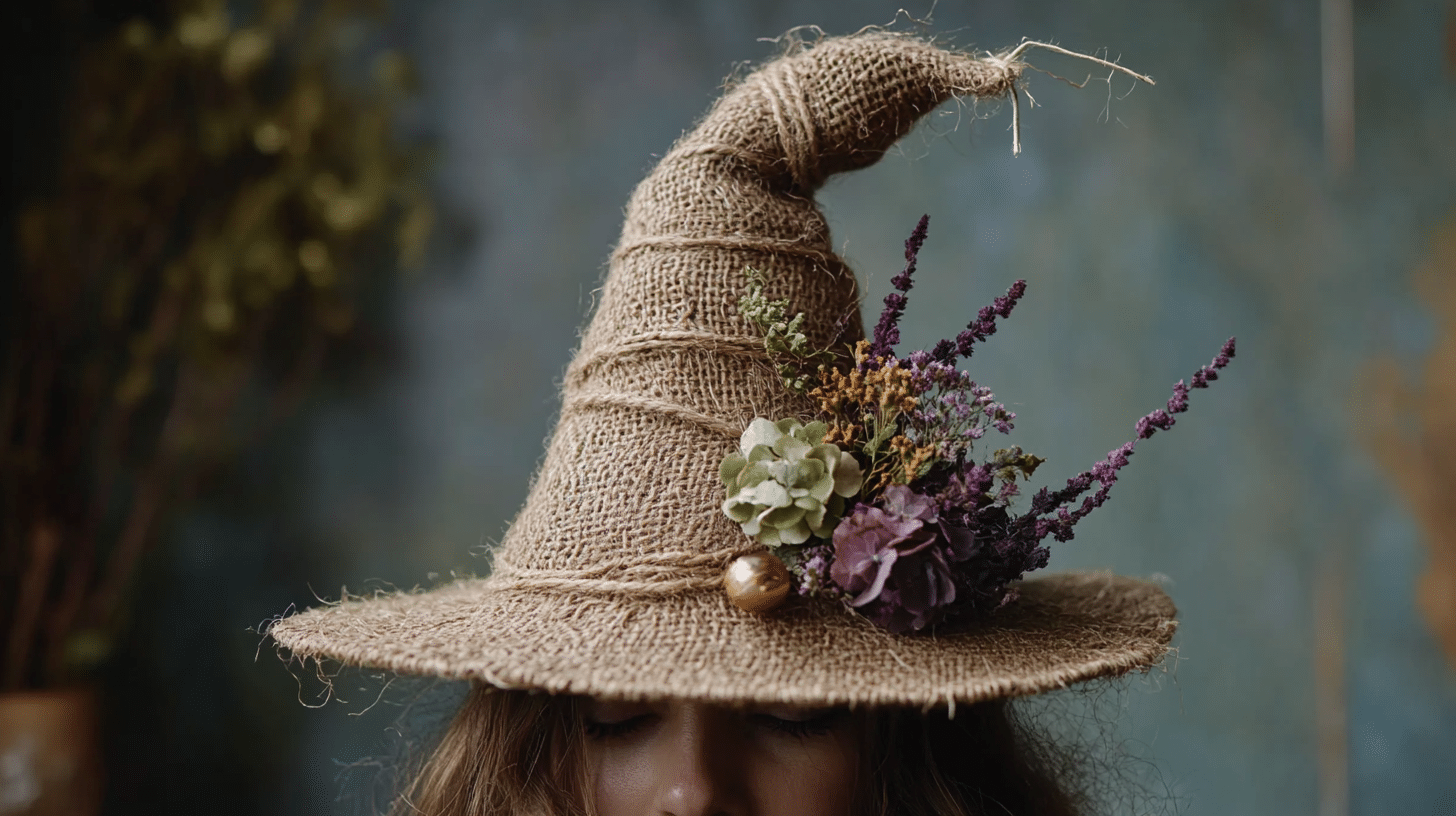
Create a witch hat by wrapping a cardboard base with jute twine, a sustainable material. Secure the twine with eco-friendly glue and add a natural fabric band around the base.
- Customization Options: For a rustic look, decorate the hat with small dried flowers, beads, or a simple burlap bow.
- Ideal Material to Use: Cardboard, jute twine, burlap fabric, dried flowers, eco-friendly glue.
- Budget Range: Approximately $6-$11.
For more detailed instructions: Jute Twine Witch Hat Wreath Form from Dollar Tree
The Bottom Line
So there you have it – all the inspiration you need to create your magical witch hat decorations this Halloween.
What makes witch hat decorating ideas so special? It’s accessible, affordable, and allows for endless creativity. No matter your style – from beautifully spooky to wildly colorful – there’s a witch hat design perfect for your home.
What’s next? Grab a basic hat, gather some supplies from around your house, and start crafting! Don’t worry about perfection – the handmade quality is what makes these decorations unique and charming.
Share your creations on social media or leave a comment below with your decorating ideas. Remember, the best Halloween decorations are the ones that bring you joy while you make them!