Finding good orange crescent rolls at stores can be tough. They’re often too sweet, not fresh enough, or just don’t have that homemade taste we all want.
Plus, store-bought rolls can get expensive when you’re feeding a family or hosting friends.
I can help you make the best orange crescent rolls right in your kitchen. These rolls turn out soft and flaky and are filled with fresh orange flavor that beats anything from a package.
In this blog, I’ll show you my simple recipe for orange crescent rolls, share some tricks for getting the perfect texture, and offer tips to add your own spin to these breakfast treats.
You’ll soon be baking rolls that everyone will ask for again and again.
Recipe for Making Orange Crescent Rolls
Making these rich, buttery, and sweet orange crescent rolls is a delightful experience. Today I will help you recreate this delicious treat at home:
Step 1: Gather All the Required Material
-
Warm Water: ½ cup (113 grams)
-
Sour Cream: ½ cup (112 grams)
-
Sugar: ½ cup (92 grams)
-
All-purpose Flour: 4 ½ cups (566 grams)
-
Yeast: 14 grams
-
Salt: A pinch
-
Butter: 2 sticks (1 cup), salted
-
Orange Zest: From 3 oranges
-
Orange Zest & Sugar Mixture: To taste
Tools/Materials:
-
Bread Machine (optional)
-
Microplane (for zesting)
-
Rolling Pin
-
Pizza Cutter or Bench Scraper
-
Measuring Cups and Spoons
-
Microwave-safe Bowl
-
Baking Sheets
-
Parchment Paper or Silpat
-
Paper Towels
-
Flour (for the surface)
Step 2: Prepare the Dough
- Add ½ cup warm water to your bread pan (113 grams).
- Add ½ cup sour cream (112 grams), 3 beaten eggs, 4 ½ cups all-purpose flour (566 grams), ½ cup sugar (92 grams), a pinch of salt, and 14 grams yeast.
- If you’re using a bread machine with a preheat cycle, you don’t need to warm the ingredients—the machine will do that for you.
Step 3: Mix the Dough
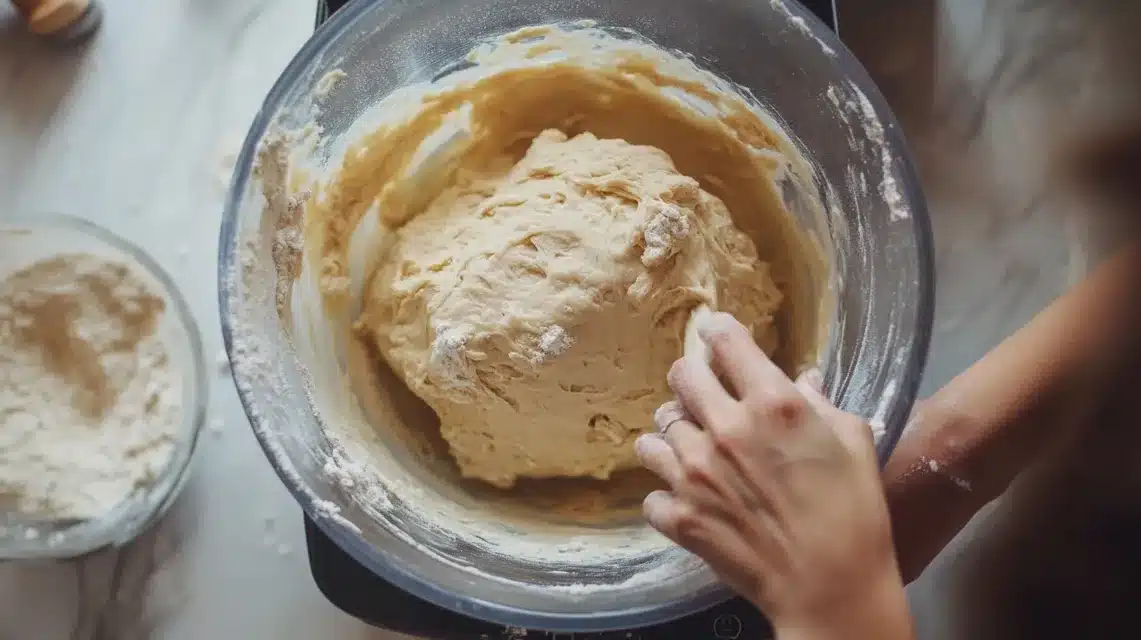
- Put all your ingredients into the bread machine.
- Let it mix and knead for about 90 minutes. The dough will be rich and soft, but it may not form a smooth ball (don’t worry, that’s normal).
Step 4: Prepare the Orange Filling
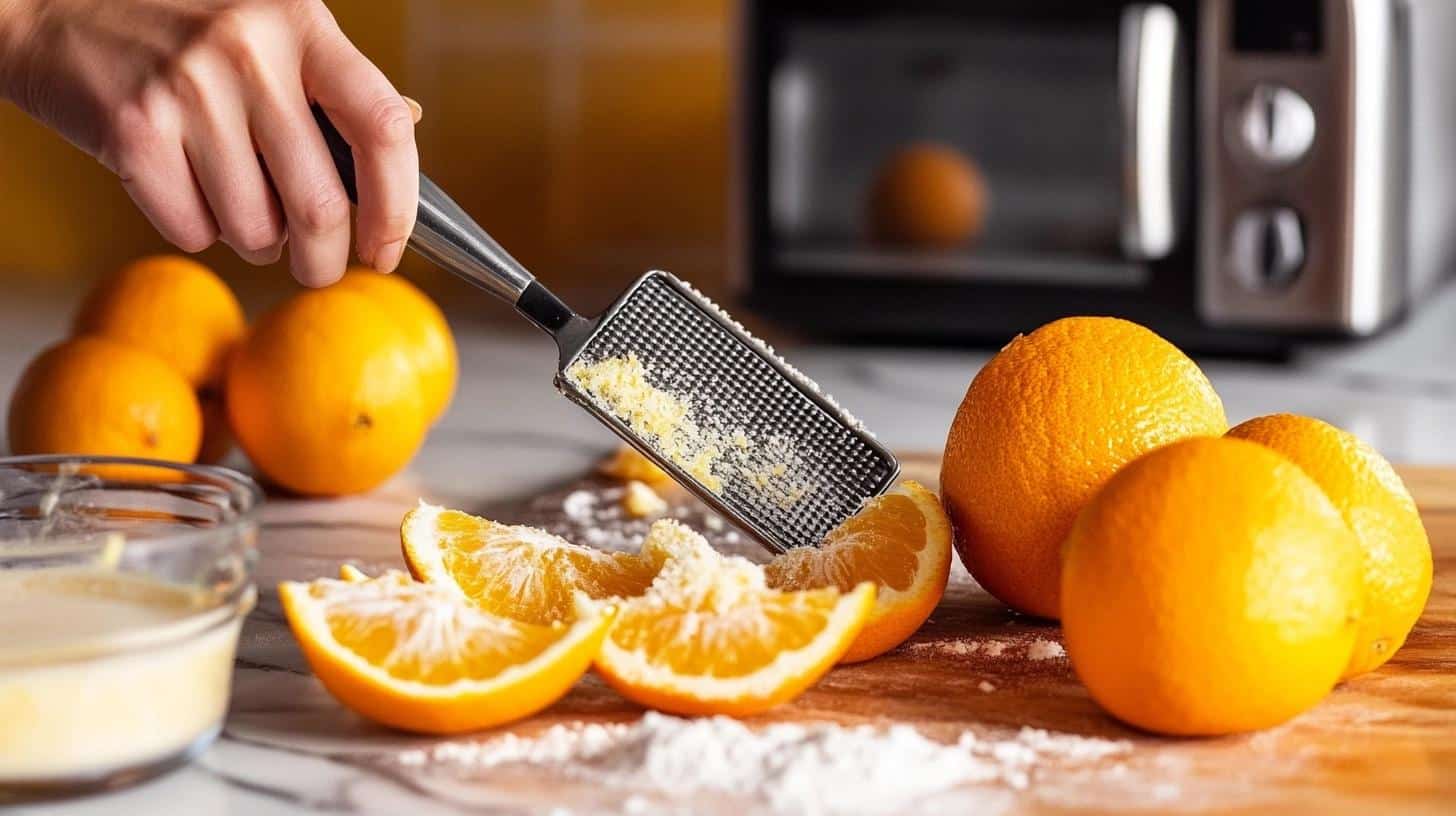
- Zest 3 oranges using a microplane, just the outer peel (no bitter white part).
- Blot the zest with a paper towel to dry it.
- Mix the zest with 2 cups sugar (you can adjust the sweetness to taste).
- Melt 2 sticks (1 cup) salted butter in the microwave. This will be for brushing and the filling.
Step 5: Roll Out the Dough
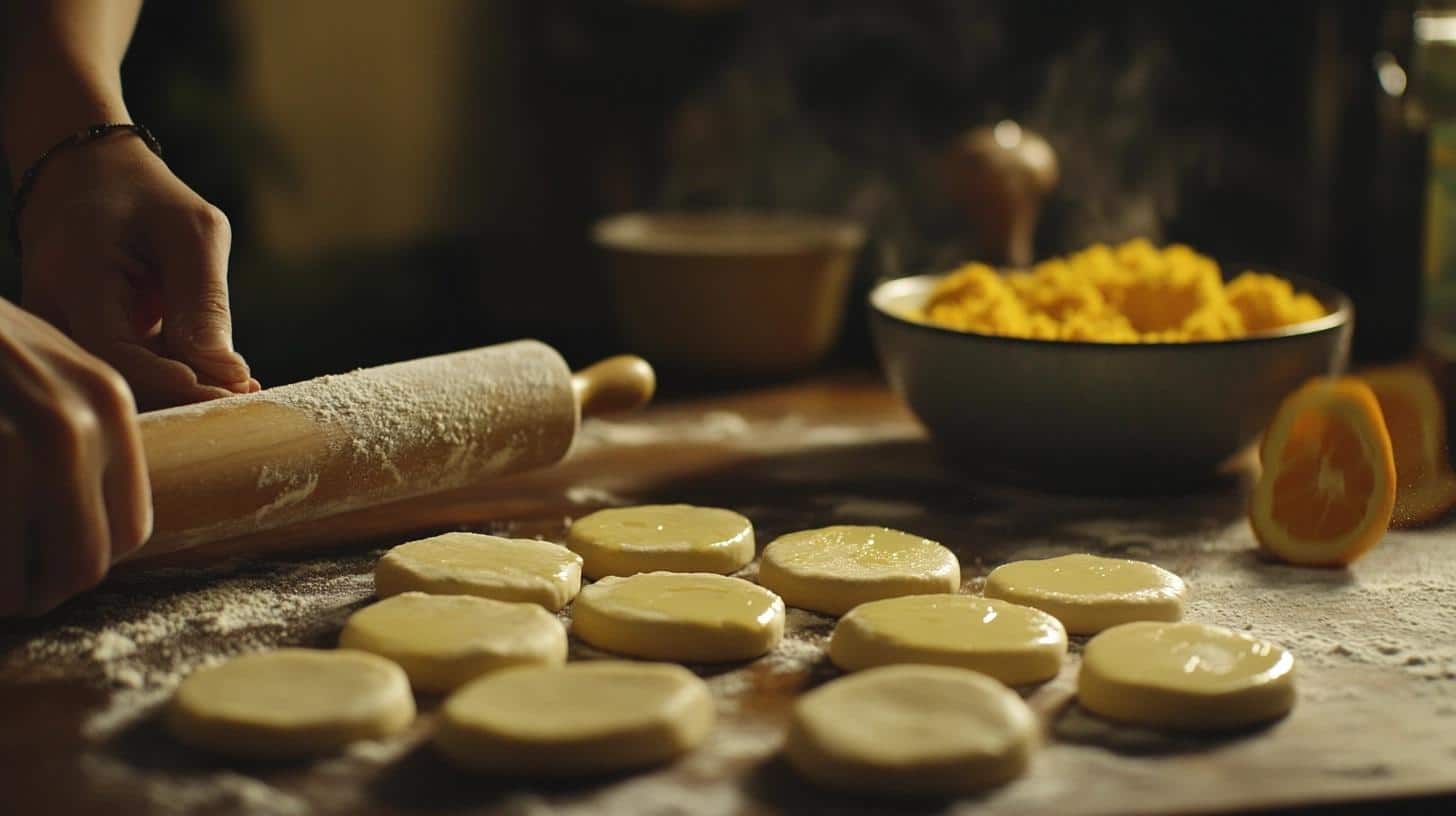
- Once the dough is ready, lightly flour your surface and rolling pin.
- Divide the dough into 3 or 4 pieces and roll each into a circle. Don’t worry about making it perfect!
- Brush each circle with melted butter, then sprinkle generously with the orange zest and sugar mixture.
Step 6: Cut and Roll the Dough
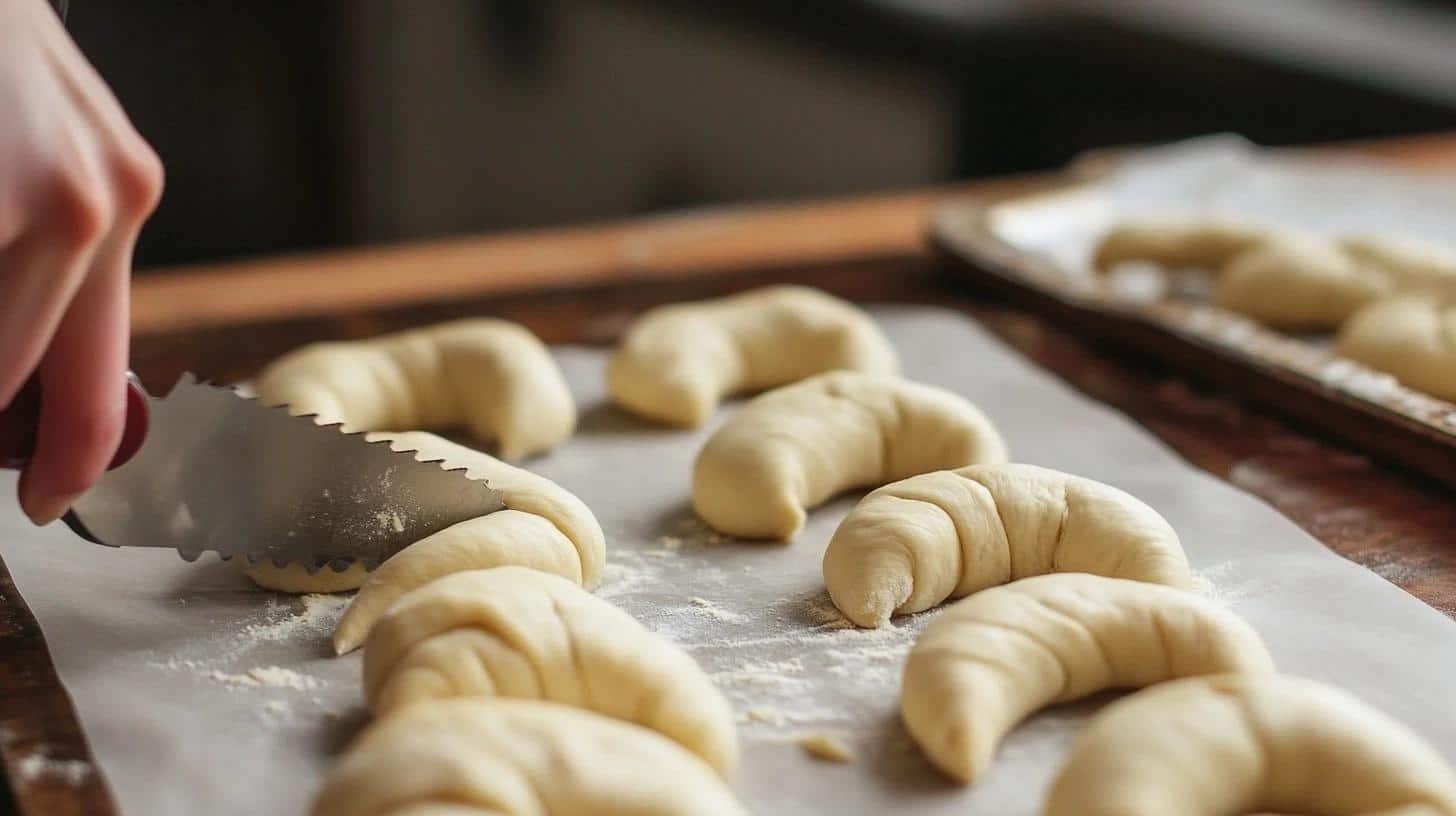
- Cut each dough circle into wedges (like a pizza) using a pizza cutter or bench scraper.
- Roll each wedge from the wider edge to the skinny end to form crescent shapes.
- Place the rolled crescent rolls on a baking sheet lined with parchment paper.
Step 7: Let the Rolls Rise
- Brush the tops of the rolls with more melted butter and sprinkle with extra orange sugar if you like.
- Let the rolls rise in a warm spot for about 45 minutes. Tip: Turn on your oven for 1 minute, then turn it off and place the rolls inside to rise.
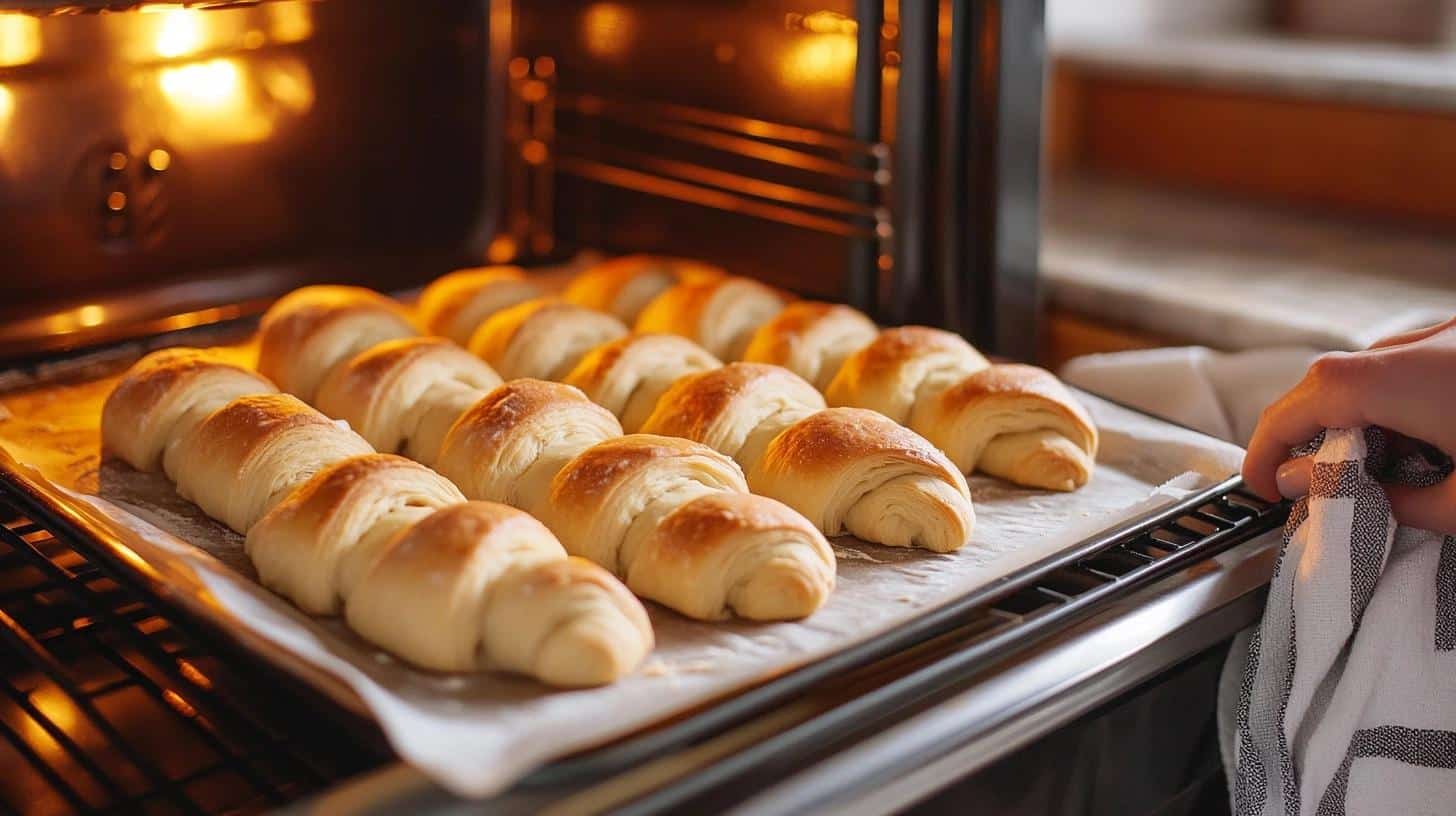
Step 8: Bake and Serve

- Preheat your oven to 350°F (175°C).
- Bake for 12-15 minutes, until golden brown and cooked through.
- Let them cool a bit before serving. Enjoy the buttery, orange-y goodness!
For a more detailed tutorial on how to make Orange Crescent Rolls, check out the video below:
What I Serve with The Orange Crescent Rolls
While these orange crescent rolls are absolutely delicious on their own, I love pairing them with a few things that really elevate the experience. Here are some of my favorite combinations to serve alongside these sweet and flaky rolls:
- Fresh Fruit: I always love adding a side of fresh fruit like berries, citrus slices, or melon. The light and refreshing taste of the fruit balances out the rich, buttery rolls, making for a perfectly balanced breakfast.
- Cream Cheese or Whipped Butter: A little spread of cream cheese or whipped butter on top of the warm rolls is such a treat! The creamy texture complements the orange flavor and adds another layer of richness to the rolls. I like to sweeten the cream cheese just a bit for a more indulgent touch.
- Coffee or Fresh Juice: These rolls go great with a warm cup of coffee—whether it’s a classic brew, a latte, or a cappuccino. If you’re in the mood for something lighter, a glass of freshly squeezed orange juice really enhances the citrus flavor of the rolls and feels super refreshing.
- Egg Dishes: Orange crescent rolls are amazing with savory egg dishes. I often serve them alongside scrambled eggs, omelets, or a quiche. The savory eggs balance the sweetness of the rolls perfectly, creating a filling and satisfying breakfast.
- Bacon or Sausage: If I’m craving a savory addition, crispy bacon or sausage is always a winner. The salty crunch of the bacon or sausage complements the soft, sweet rolls in the best way, making for a great sweet-and-savory combo.
- Yogurt and Granola: For a lighter, healthier option, I like to serve these rolls with a bowl of yogurt and granola. The tangy yogurt and crunchy granola contrast the soft, buttery rolls, and the granola adds a fun texture to the meal.
- Hot Chocolate: When I’m making these rolls for a cozy winter morning or a special holiday breakfast, I love pairing them with a mug of hot chocolate. The rich, creamy chocolate pairs so nicely with the sweet citrusy rolls, making it feel like a truly indulgent treat.
By serving these rolls with any of these options, I can create a well-rounded and satisfying breakfast or brunch. Whether it’s a casual morning or a special occasion, these combinations always hit the spot!
Can I Freeze These Orange Crescent Rolls?
Yes, you can absolutely freeze orange crescent rolls! Freezing them is a great way to have delicious rolls ready for later. Here’s how you can do it:
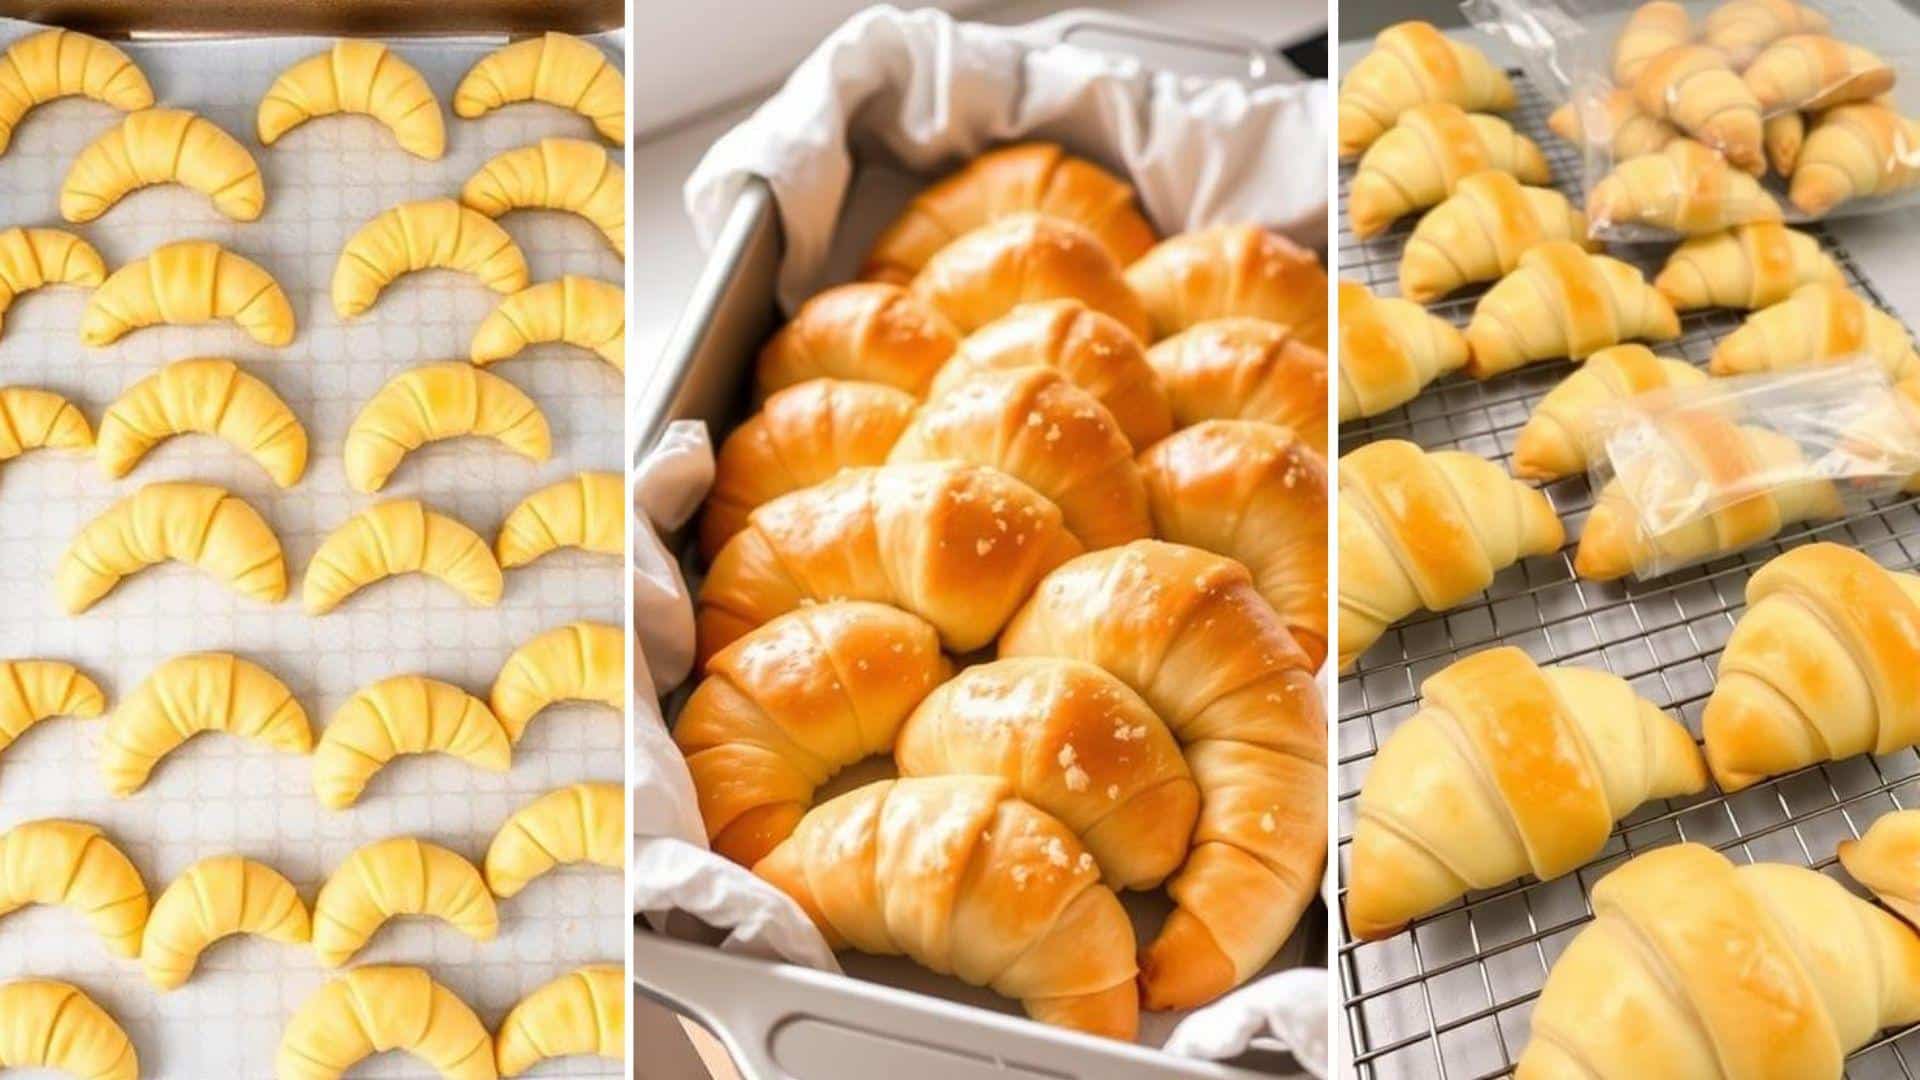
To Freeze Unbaked Crescent Rolls
- Assemble the Rolls: Prepare your orange crescent rolls as you normally would, including rolling them up and placing them on a baking sheet.
- Freeze Individually: Arrange the uncooked rolls on a baking sheet in a single layer. Place the baking sheet in the freezer and freeze the rolls for 1-2 hours or until they are solid. This will prevent them from sticking together.
- Store in a Bag: Once the rolls are frozen, transfer them to a freezer-safe bag or airtight container. Make sure to squeeze out as much air as possible to prevent freezer burn.
- Label and Date: Label the bag with the date so you know when to use them by. Frozen uncooked rolls can be kept for up to 2-3 months.
To Bake from Frozen
- Let Them Rise: When you’re ready to bake, remove the rolls from the freezer and place them in a baking pan. Cover them with a clean towel or plastic wrap and let them thaw and rise in a warm spot for about 2-3 hours (or overnight in the fridge).
- Bake as Usual: Once they’ve risen, bake the rolls at 350°F (175°C) for 12-15 minutes, or until golden brown. You may need to add an extra couple of minutes to the baking time since they’re frozen.
To Freeze Baked Crescent Rolls
- Cool the Rolls: After baking, let the rolls cool completely on a wire rack.
- Wrap and Freeze: Wrap the rolls individually in plastic wrap or aluminum foil, then place them in a freezer-safe bag or airtight container.
- Reheat When Ready: When you’re ready to enjoy them, remove the rolls from the freezer and let them thaw at room temperature. You can reheat them in the oven at 300°F (150°C) for about 10-15 minutes to warm them up and refresh the flaky texture.
Freezing is a great way to enjoy fresh-tasting orange crescent rolls whenever you want, with minimal effort!
Other Breakfast and Brunch Recipes to Enjoy
If you’re a fan of these sweet and flaky orange crescent rolls, I have a feeling you’ll love these other breakfast and brunch recipes I’ve put together.
They’re perfect for any morning or special occasion, and just like the crescent rolls, they’ll bring warmth and joy to your table. Here are some of my favorites that I can’t resist:
Banana Bread
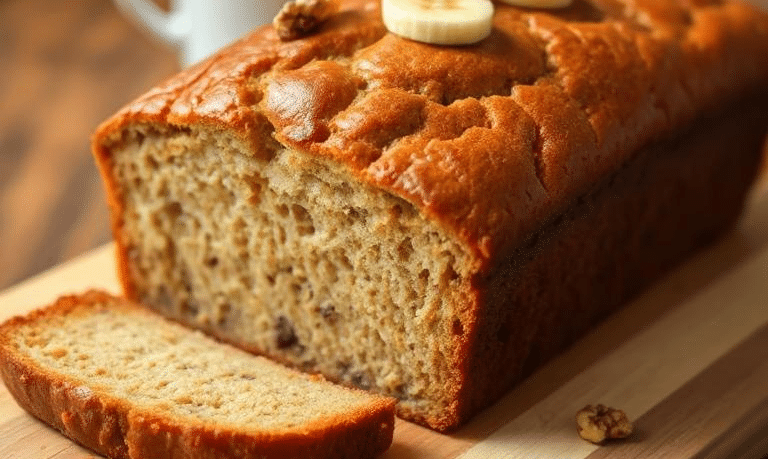
Banana bread is always a hit in my house. It’s the perfect way to use up those overripe bananas.
The bread is so moist, sweet, and I love adding walnuts or chocolate chips for a little extra crunch. It’s perfect with a cup of coffee or tea in the morning.
Quiche Lorraine

For a savory brunch option, I always go for a Quiche Lorraine. This rich, creamy quiche with crispy bacon, cheese, and a buttery crust is one of my all-time favorites.
It’s perfect for when I have guests over or for a leisurely Sunday morning with my family.
Avocado Toast with Poached Eggs
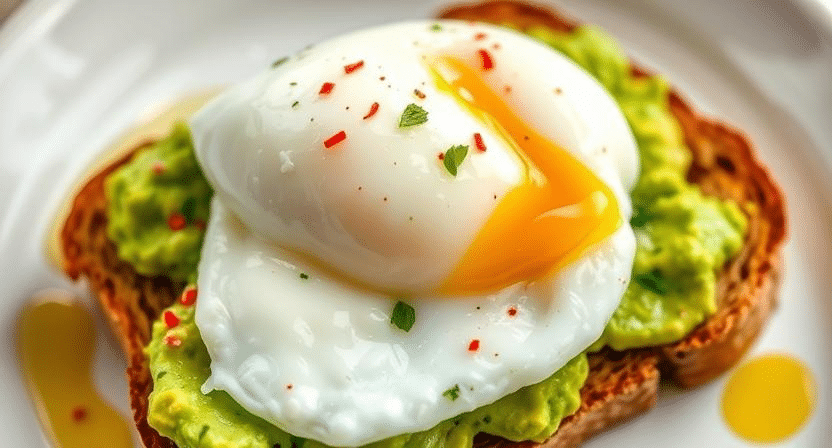
When I want something lighter but still filling, avocado toast with a poached egg is my go-to. The creamy avocado and the runny egg yolk make a perfect combination.
I also love adding a sprinkle of red pepper flakes or some fresh herbs to take it up a notch.
Blueberry Muffins

These blueberry muffins are my absolute favorite for a quick and delicious breakfast or brunch. They’re soft, buttery, and packed with juicy blueberries. Whenever I have a batch ready, they never last long in the house!
Breakfast Burritos

Breakfast burritos are such a great choice when I want something hearty and satisfying. I fill mine with scrambled eggs, cheese, avocado, bacon, and sometimes even some sautéed veggies. It’s a quick and easy meal that never disappoints.
Scones with Jam and Clotted Cream

Whenever I’m in the mood for something a little more decadent, scones with jam and clotted cream always do the trick.
These buttery scones are so satisfying, and pairing them with jam and clotted cream makes them extra special. They’re perfect for when I want a little indulgence with my morning tea or coffee.
Pancakes with Maple Syrup

Sometimes, nothing beats a stack of fluffy pancakes. I love making pancakes from scratch, and there’s something about the warm, syrupy goodness that makes breakfast feel extra special.
Whether I add fresh berries or chocolate chips or keep them simple, pancakes always hit the spot.
These recipes are perfect for mixing things up and enjoying a variety of flavors alongside your orange crescent rolls.
Whether I’m craving something sweet, savory, or a combination of both, these dishes always hit the mark and leave everyone asking for more.
Conclusion
Making sweet and flaky orange crescent rolls at home has been such a rewarding experience for me, and I know you’ll love it too!
With just a few simple ingredients and steps, you can enjoy warm, buttery rolls filled with fresh orange flavor that are so much better than anything store-bought.
Whether you eat them on their own or pair them with fresh fruit, creamy spreads, or savory dishes, these rolls are perfect for any breakfast or brunch.
Plus, you can freeze them for later, making sure you always have a delicious treat ready to go!
I can’t wait for you to try this recipe. Trust me, once you taste them, you’ll be making these orange crescent rolls again and again.
Go ahead and give it a shot and if you do, feel free to leave a comment and let me know how they turned out or share your own twist on the recipe!