Have you noticed how a string of flowers can make any space feel more inviting?
I was looking for a simple way to add color to my home when I found the answer: hydrangea garlands. These beautiful flower chains are much easier to make than they look.
I know what you’re thinking – creating a hydrangea garland sounds hard. But trust me, even if you’ve never worked with flowers before, you can make this happen. With just a few supplies and some basic steps, you’ll craft a stunning floral display.
Your hydrangea garland will brighten up your space for weeks with proper care. Plus, these lovely blooms carry meanings of gratitude and heartfelt emotion.
Ready to try your hand at this beginner-friendly project? Let me show you how to bring this floral beauty to life!
Significance of Hydrangea: Meaning and Symbolism
These full, round blooms carry rich history and varied meanings across cultures. When arranged in a hydrangea garland, they bring these meanings into homes and events.
Cultural Meanings:
- Japanese tradition links hydrangeas to heartfelt emotion and gratitude.
- Victorian England saw them as symbols of thankfulness.
- In some European traditions, they represent understanding and unity.
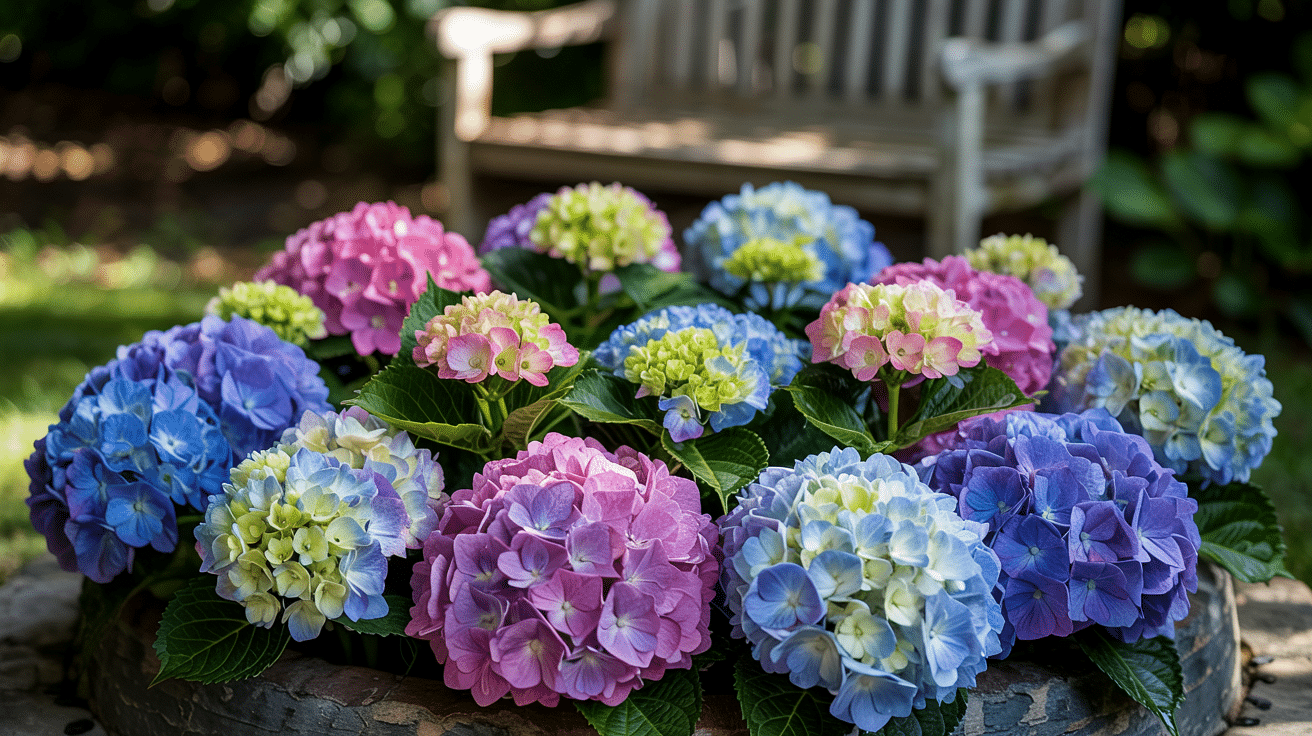
Hydrangea colors speak their own language, too. Pink blooms suggest genuine feelings, while blue ones stand for loyalty. Purple hydrangeas convey wishes for deep understanding between people.
When used in a hydrangea garland, these flowers make perfect additions to weddings, family gatherings, or home décor. Their symbolic value adds depth to their visual appeal, making them more than just pretty decorations.
Tools and Materials Needed for Creating a Hydrangea Garland
Putting together a hydrangea garland requires just a few basic items that you might already have at home. The right tools make all the difference in creating a sturdy, beautiful arrangement.
| Tools & Materials | Description |
|---|---|
| Cord/Rope | Slightly shorter than the length of your table |
| Garden String | For binding the flowers and leaves |
| Scissors | To cut the cord and garden string |
| Aralia Leaves | For the lush leafy base |
| Hydrangea Leaf Stems | To add volume and rich green color |
| Alchemilla Stems (3 per layer) | For texture and a soft green hue |
| Pink Hydrangea Flowers | The show-stopping blooms |
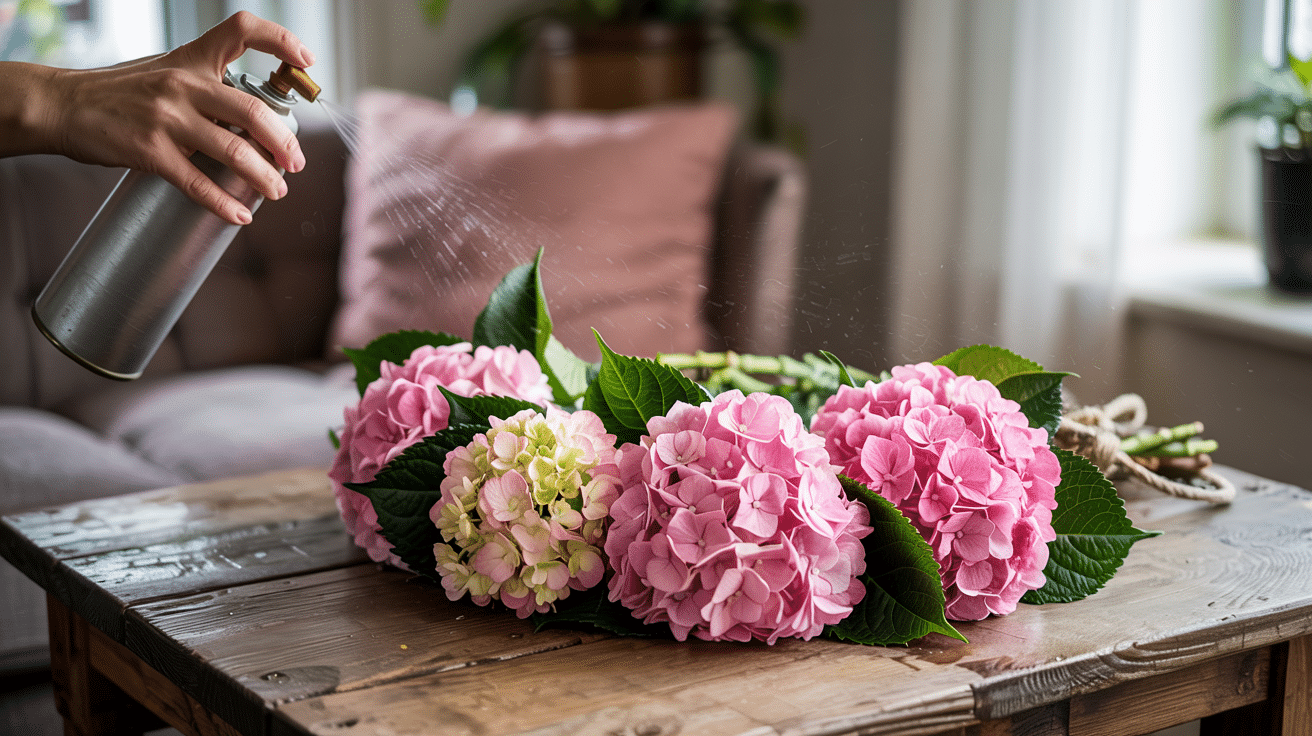
| Water Spray Bottle | For misting the arrangement and keeping it fresh |
With these supplies gathered and ready, you’re fully prepared to start crafting your hydrangea garland. These simple materials will help ensure your floral creation looks professional and lasts as long as possible.
How to Create a Stunning Hydrangea Garland for Any Occasion
Making a hydrangea garland is simpler than it looks, even for those new to floral projects. These steps walk you through the process of creating a beautiful display for your home or event.
Step 1: Prepare Your Base
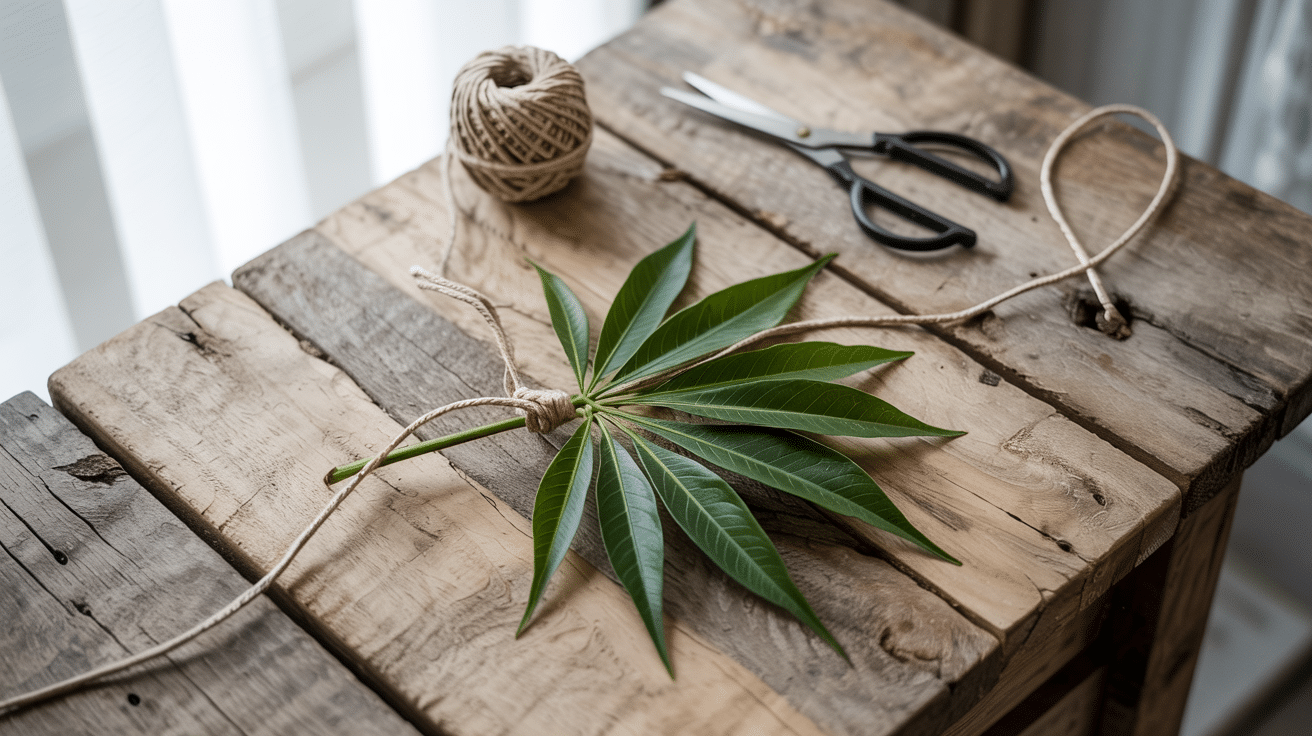
Start by measuring and cutting your cord so it’s slightly shorter than your table’s length. Lay it out on a clean, flat surface to give yourself a clear workspace.
Next, select a fresh, healthy aralia leaf. Position it at one end of the cord and tie it securely using garden string with a simple but tight knot. This leaf will act as the anchor for your entire garland.
Leave the garden string attached after tying.
Step 2: Begin the Layering
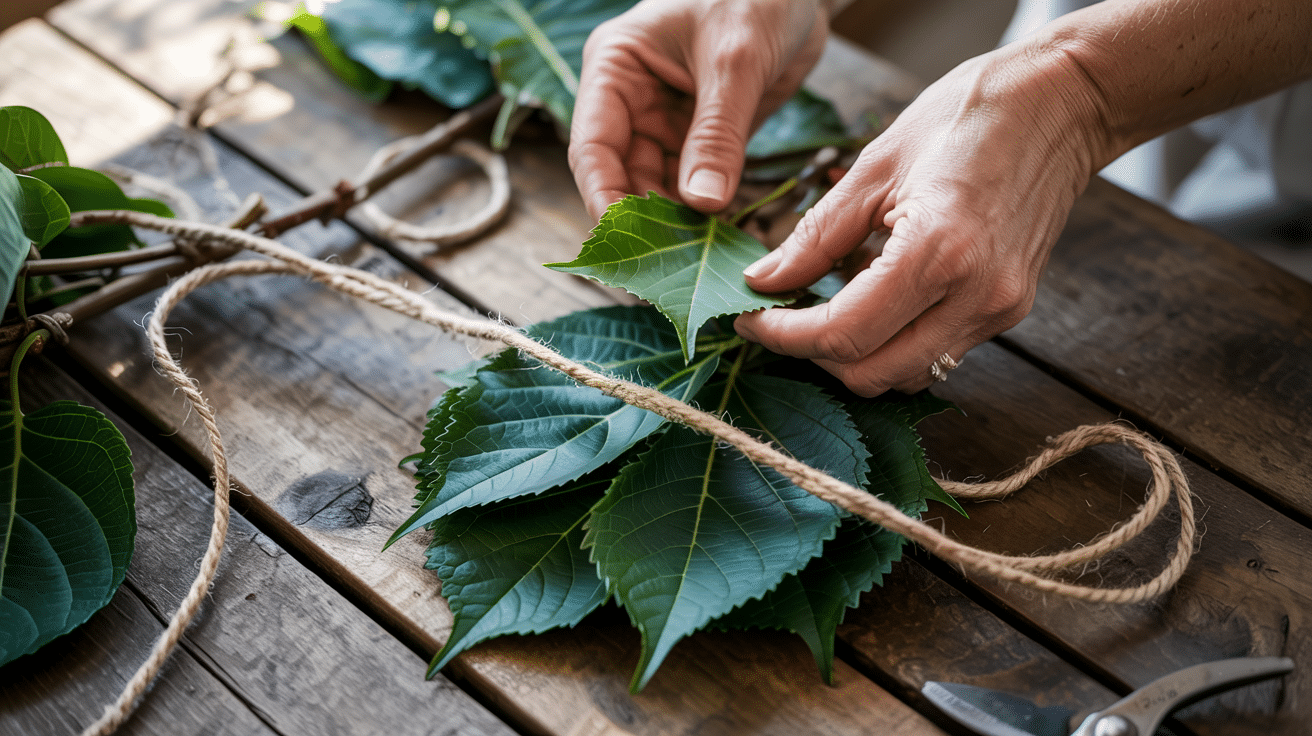
With your aralia leaf secured, it’s time to start building the lush foundation of your garland. The layering process is essential for creating a full and flowing design.
Here’s how to begin layering:
- Take a hydrangea leaf stem and place it directly on top of the aralia leaf.
- Align the hydrangea leaves so they peek just slightly below the edge of the aralia.
- Wrap the string firmly around the hydrangea stem and the cord, pulling it tight each time.
As you add each new piece, your garland will slowly begin to take shape, layer by layer, in a beautiful natural flow.
Step 3: Add Texture and Depth

Once the leaves are in place, it’s time to start weaving in texture and color to bring life to your garland. This step builds depth and dimension.
Here’s how to add texture:
- Gather three fresh stems of alchemilla.
- Place them directly over the hydrangea and aralia leaves, forming another graduated layer.
- Pull the garden string tightly around the first two leaf stems, and then continue wrapping around the newly placed alchemilla stems.
Step back after this layer and take a quick look; your arrangement should start feeling dense and lush at this stage.
Step 4: Introduce the Blooms

Begin by selecting a lively pink hydrangea bloom, ensuring it’s fully open and fresh. Nestle the hydrangea beneath the lush green alchemilla layer you just added.
Carefully bind the flower to the secured stems by wrapping the string 3–4 times around all the stems and cord. Hold the flower gently but firmly while tying to maintain its shape.
Finally, adjust the hydrangea so it angles slightly to one side, adding a beautiful, natural curve to the garland.
Step 5: Build the Garland with More Blooms
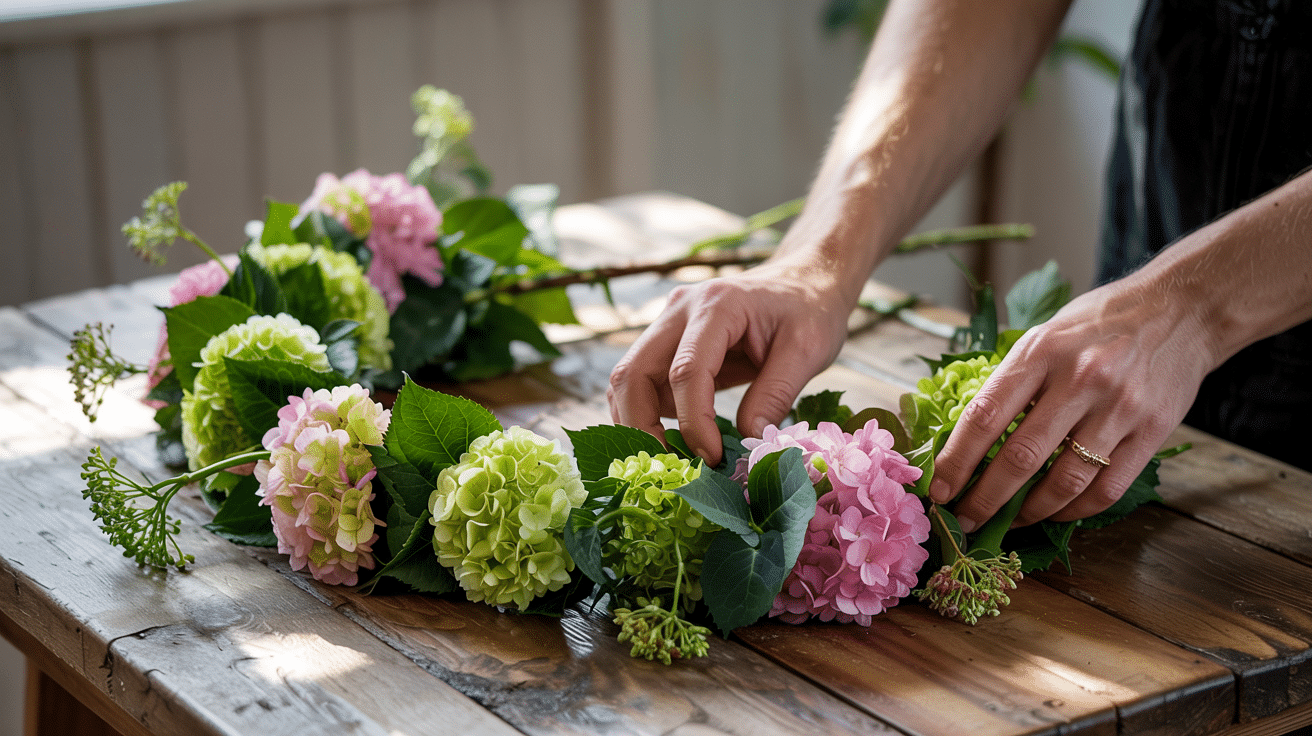
As your garland starts coming together, it’s time to continue adding life and color.
- Add another hydrangea leaf stem and cluster of three alchemilla stems using the same layering and binding method.
- Select a second hydrangea bloom and place it at an opposite angle to the first for a balanced, flowing look.
- Continue stepping back to view your work, making sure the garland looks full, lush, and three-dimensional.
Your design should now feel rich, varied, and almost complete!
Step 6: Finish with a Flourish
As you near the end, leave about 15cm (6 inches) of the rope uncovered. This ensures a neat, manageable finish.
Lay down one final cluster of alchemilla and hydrangea leaves, following the same layering style but reversing the direction for a soft, finished look. Secure everything firmly with 3–4 tight wraps of the string around the stems and cord, then tie a strong final knot.
Your hydrangea garland is now ready to shine at your next gathering or as a lovely addition to your home décor!
Creative Ways to Use a Hydrangea Garland in Your Decor
A versatile hydrangea garland offers countless ways to add natural beauty to your living spaces and special events.
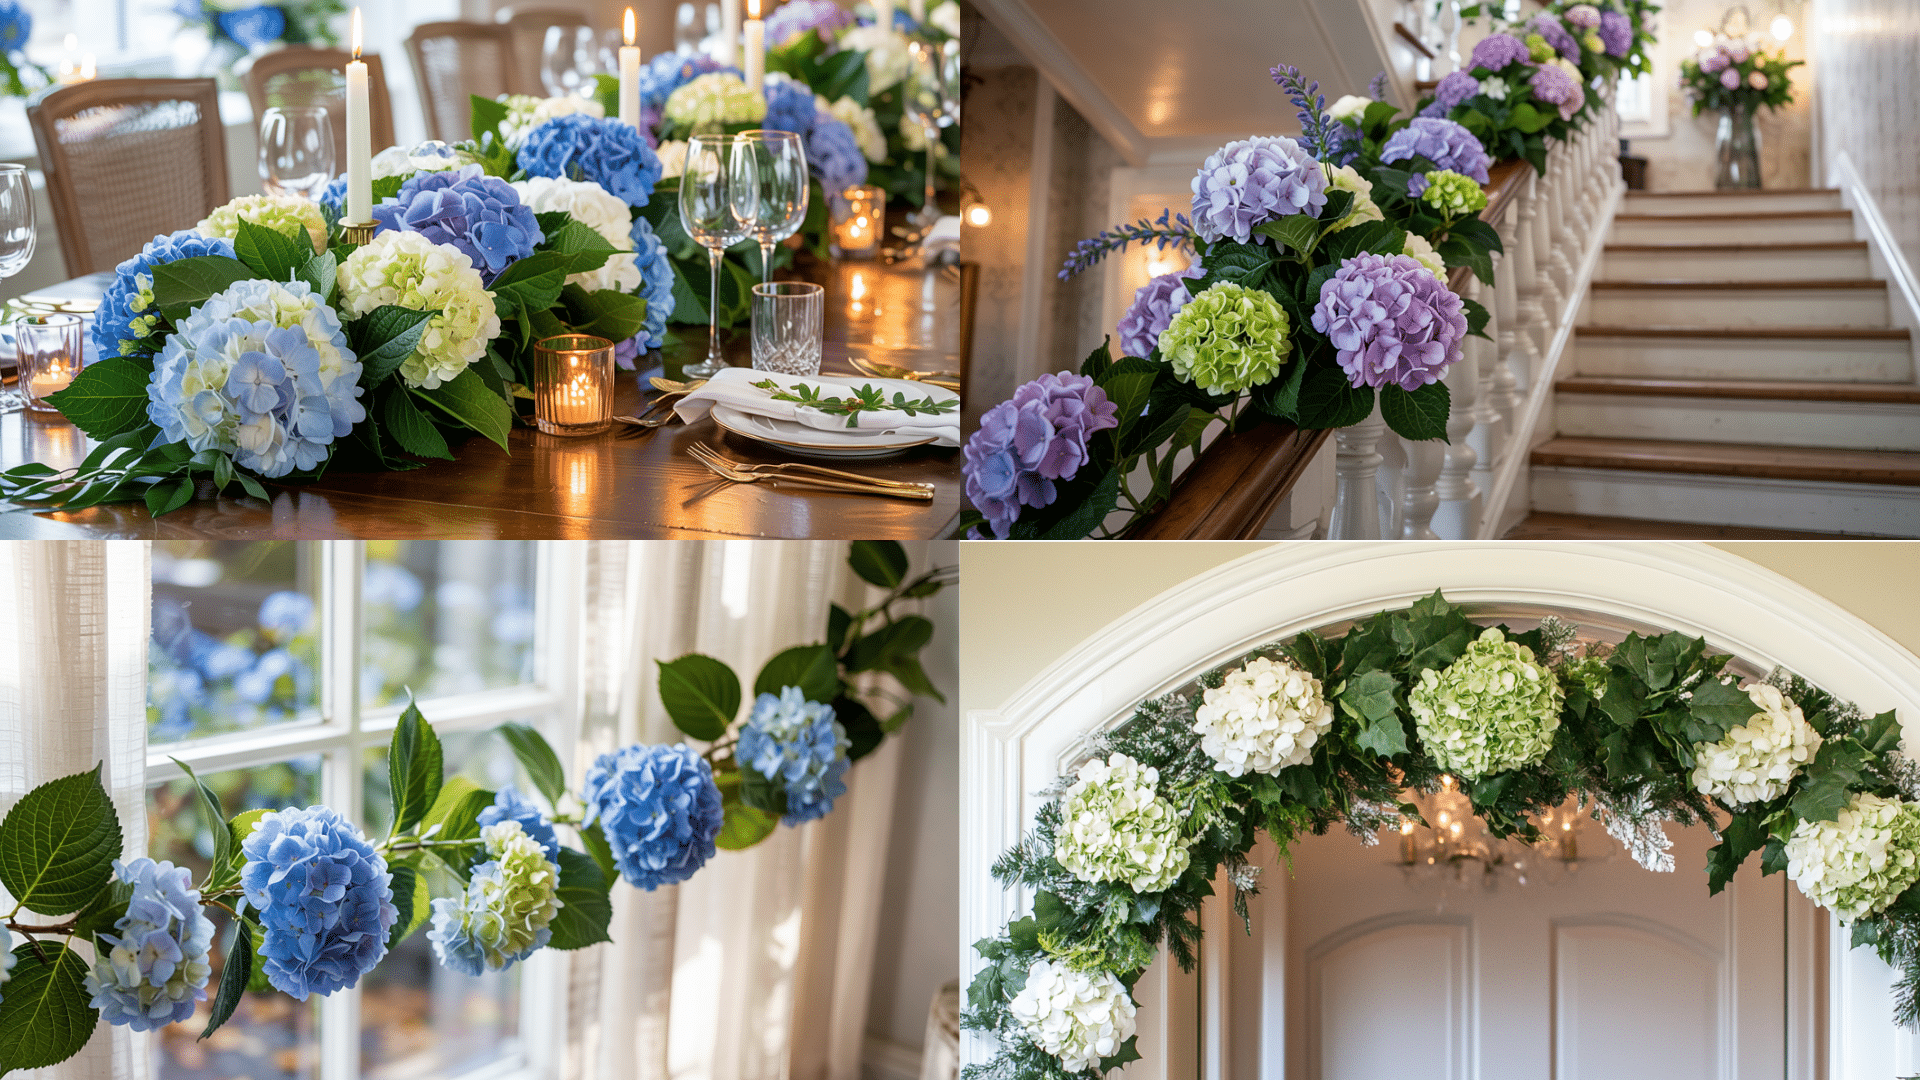
- Table runner replacement: Use a hydrangea garland down the center of your dining table instead of a fabric runner for dinner parties, creating a lush natural centerpiece that sets a garden-inspired mood without taking up too much space.
- Staircase enhancement: Wrap a hydrangea garland along your staircase railing or banister, letting it cascade gently at the curves to soften the hard lines of your home’s architecture and welcome guests with floral charm.
- Headboard decoration: Hang a hydrangea garland across your bed’s headboard for a temporary bedroom makeover that brings a touch of garden romance to your personal space without the commitment of painting or new furniture.
- Window treatment accent: Drape a hydrangea garland across the top of your curtain rod or window frame to frame your view with flowers, creating a soft border that brings outdoor beauty inside while maintaining your privacy.
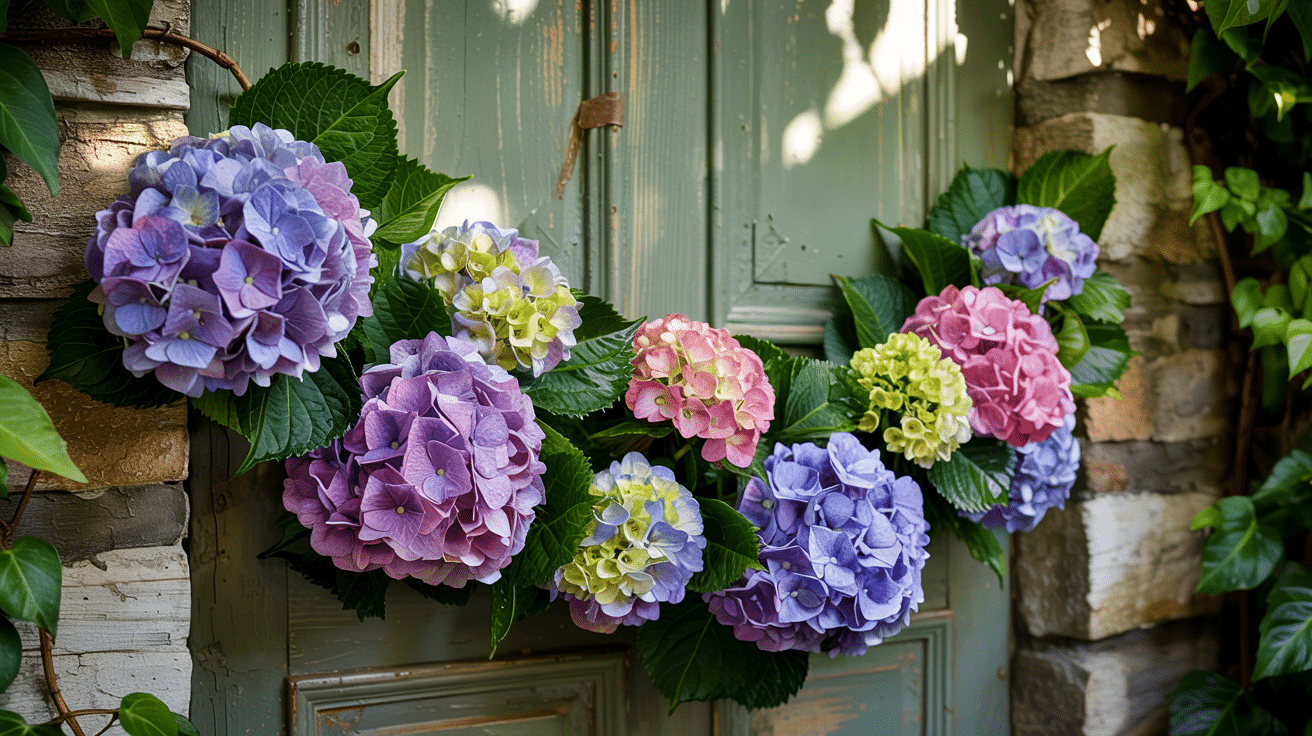
- Door frame highlight: Loop a hydrangea garland around your entryway, front door, or interior doorframes to mark transitions between spaces in your home with flowers that greet everyone who passes through.
These simple yet effective uses for a hydrangea garland can modify ordinary spaces into extraordinary ones with minimal effort and maximum visual impact.
Longevity of Hydrangea Garlands
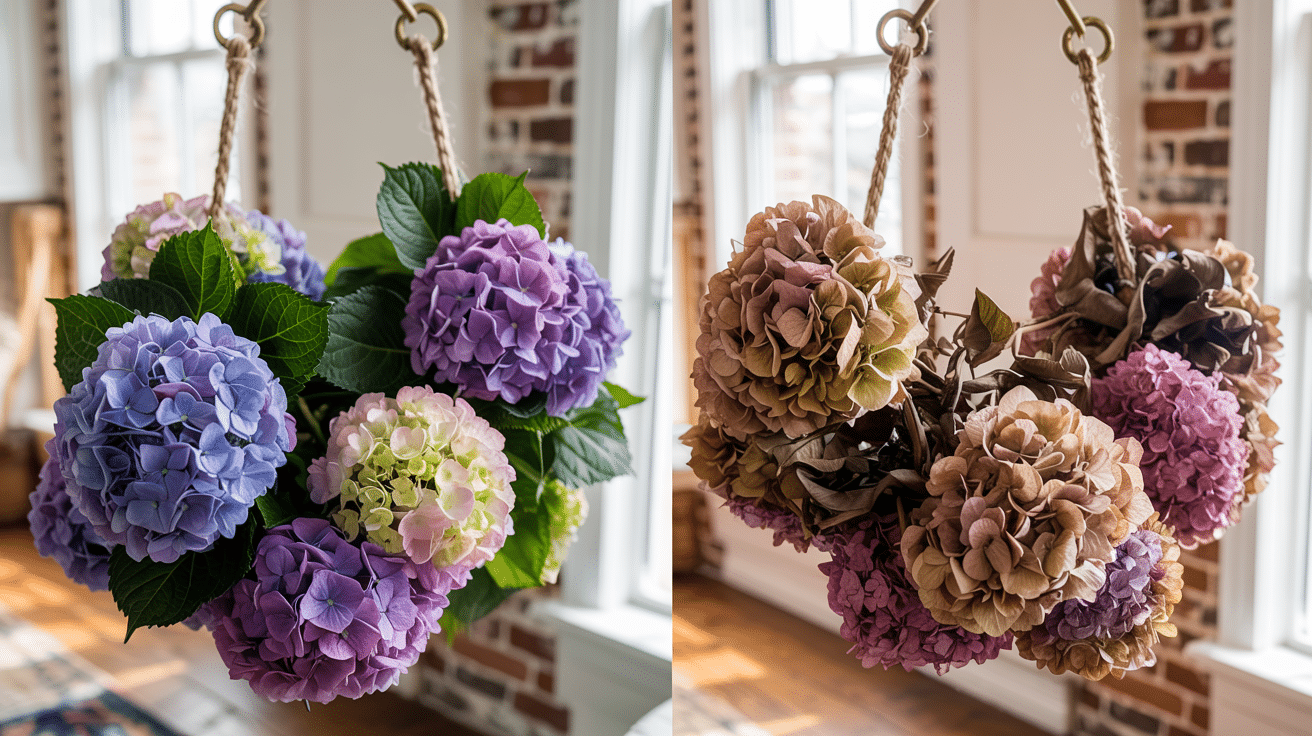
Fresh hydrangea garlands typically stay lively for 3-5 days when properly cared for with regular misting and keeping them away from heat sources. The blooms remain full and colorful during this time, making them perfect for short events like weekend celebrations or dinner parties.
Dried hydrangea garlands offer much more staying power, often lasting several months to a year when properly prepared. The key to longevity lies in selecting the right types of hydrangeas and handling them with care.
Best Varieties of Hydrangea
These varieties work well in a long-lasting hydrangea garland due to their sturdy nature:
- Annabelle hydrangeas with their strong stems and big white flowers.
- Oakleaf hydrangeas are known for their durability after cutting.
- Limelight hydrangeas dry beautifully with minimal color loss.
- Mophead varieties with their full blooms that retain shape when dried.
The right selection from these types helps create garlands that maintain their beauty over time.
Hydrangea Flowers to Avoid
Some varieties may not perform well when used in garland form:
- Newly bloomed flowers that haven’t fully matured.
- Very small bloomed varieties that shrink significantly when dried.
- Hydrangeas with thin, weak stems that break easily.
Avoiding these types saves time and prevents disappointment with the final look.
My Personal Favourites
These options consistently produce excellent results in hydrangea garlands:
- Nikko Blue for its reliable color retention.
- Little Lime for compact size and structural integrity.
- Endless Summer for versatility in fresh and dried arrangements.
These tried-and-tested varieties create stunning results with minimal effort.
The lifespan of a hydrangea garland depends largely on flower selection and proper preparation methods. With careful choices, these beautiful decorations bring lasting joy to any space.
Preserving Nature’s Beauty: Tips to Maintain Your Hydrangea Garland
Your hydrangea garland can stay beautiful longer with these simple care techniques that help preserve its natural charm.
1. Water wisely: Mist your fresh hydrangea garland lightly every other day, focusing on the blooms rather than the greenery to prevent mold growth.
2. Mind the placement: Keep your hydrangea garland away from direct sunlight, heat sources, and drafty areas that can cause rapid drying and color fading.
3. Handle with care: Touch your garland as little as possible after arranging, as oils from hands can damage the delicate petals and speed deterioration.
4. Glycerin treatment: To extend the life of your hydrangea garland beyond what normal drying allows, apply a mixture of one part glycerin to two parts warm water.
5. Quick revival: Submerge wilting sections of your hydrangea garland in room-temperature water for 30 minutes if they begin to droop prematurely.
With proper attention, a well-maintained hydrangea garland rewards you with weeks of fresh beauty or months of dried floral charm.
Wrapping It Up
Making a hydrangea garland brings a simple joy that few other floral projects can match. These versatile decorations work for weddings, home décor, or just brightening a dull space.
Remember that your choice of hydrangea variety greatly affects the longevity of your creation and how it will look when dried.
What started as my small weekend project has become one of my favorite ways to bring natural beauty into my home. The techniques I’ve shared are ones I’ve refined through many tries – some successful, some less so!
Have you made a hydrangea garland before? What colors did you choose? I’d love to hear about your experiences or answer any questions you might have. Share your thoughts in the comments below!