
Through trial and error, I’ve learned that successful touch-ups depend on having the exact same paint, using the right tools, and applying proper techniques.
In this guide, I’ll walk you through my step-by-step method for fixing those spots without having to redo your entire wall.
You’ll learn what works, what doesn’t, and how to make those patches blend in perfectly with the rest of your wall!
Understanding Eggshell Paint
Eggshell paint sits right in the middle of the paint finish scale. It’s not too shiny, not too flat. Its name comes from its slight sheen that looks similar to an actual eggshell.
Eggshell paint has enough shine to make it more washable than flat paint, but this same quality makes touch-ups more visible if not done correctly. The small amount of gloss in eggshell paint reflects light differently than flat paint, which can make patches stand out if you’re not careful.
| Feature | Eggshell Paint | Flat Paint | Semi-Gloss Paint |
|---|---|---|---|
| Shine | Slight sheen | No shine | Noticeable shine |
| Durability | Medium | Low | High |
| Washability | Somewhat washable | Difficult to clean | Easily washable |
| Touch-up Ease | Moderate | Easy | Difficult |
| Best For | Living rooms, bedrooms | Ceilings, low-traffic areas | Kitchens, bathrooms |
Can You Touch up Eggshell Paint?
Let’s answer the big question head-on: Can you touch up eggshell paint without repainting the whole wall?
The short answer is yes, but it takes care and the right approach.
- Right paint matters: The touch-up paint must match exactly, so keep leftover paint from your original job if possible.
- Prep is key: Clean the area well and let it dry fully before you start any touch-up work.
- Tools count: Use the same application tool that was used for the original paint job for the best results.
- Feathering technique: Apply paint lightly at the edges of your touch-up to blend it with the existing paint.
- Lighting affects results: What looks good in one light might look patchy in another, so check your work under different lighting.
- Time changes paint: Even stored paint can shift in color over time, making perfect matches harder.
- Small areas work best: Eggshell touch-ups show less on tiny spots than on larger areas.
With these points in mind, you can fix those small marks and scratches without calling in the pros or repainting the entire wall.
Tools and Materials Required to Touch up Eggshell Paint
Wondering if you can touch up eggshell paint successfully? You definitely can, but first you’ll need the right supplies on hand.
| Tool/Material | Description |
|---|---|
| Original paint | Ensure you have the exact paint color and sheen for accurate touch-ups. |
| 2-inch angled sash brush | A high-quality brush, preferably made from nylon filaments, for precise work. |
| Touch-up bucket or cup | A small container to hold the paint for easy access. |
| Water | To thin the paint by about 5% for better blending. |
| Spackle (if necessary) | To fill holes or deep marks before painting. |
| Paint stirrer | Essential for mixing the paint thoroughly before use. |
With these tools and materials, you’ll be well-prepared to tackle those small imperfections. Using the right tools can make all the difference between a visible patch and a seamless repair.
How to Touch Up Eggshell Paint Like a Pro
Many homeowners ask me, “Can you touch up eggshell paint without it looking obvious?”
The answer is yes – with the right technique and a bit of patience, you can make those touch-ups practically invisible to the casual eye.
Step 1: Preparing Your Paint
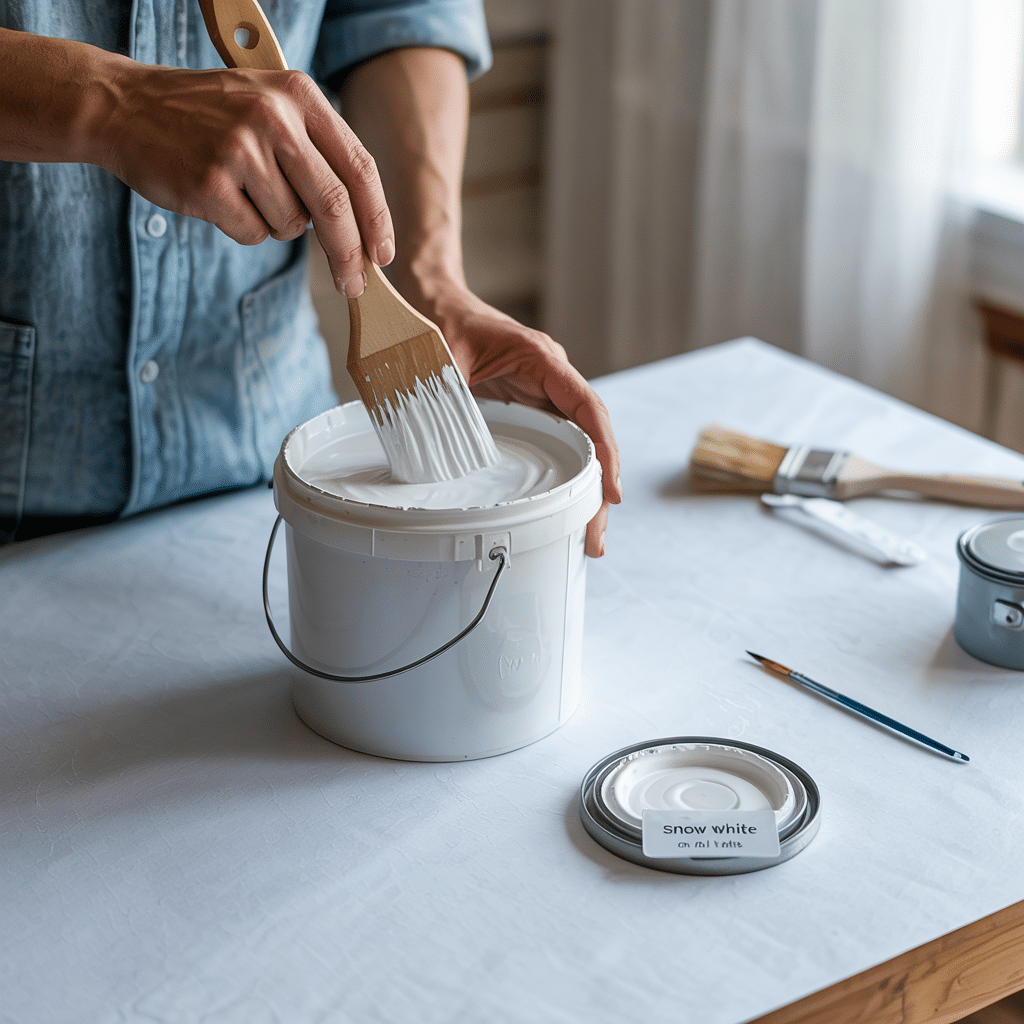
Ensure you have the original paint. If possible, use the same paint used during the initial wall painting. This will help achieve an exact match in color and sheen.
If you don’t have the original paint, make sure to take a sample to a paint store for a custom mix, though slight variations may occur.
Before you begin, stir or shake the paint thoroughly to ensure it is evenly mixed. This is important, as the pigments and base components may settle over time, which can affect the color and texture of the touch-up.
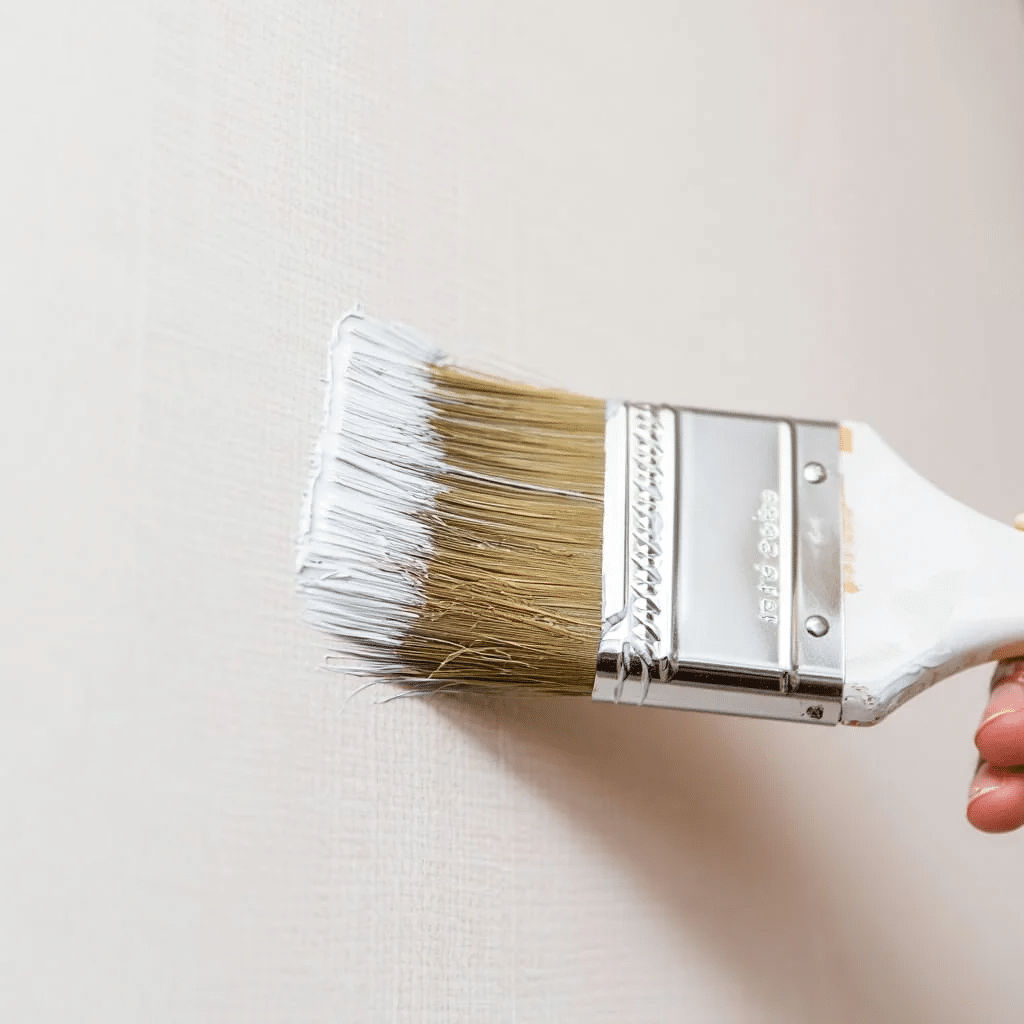
Step 2: Use the Right Brush
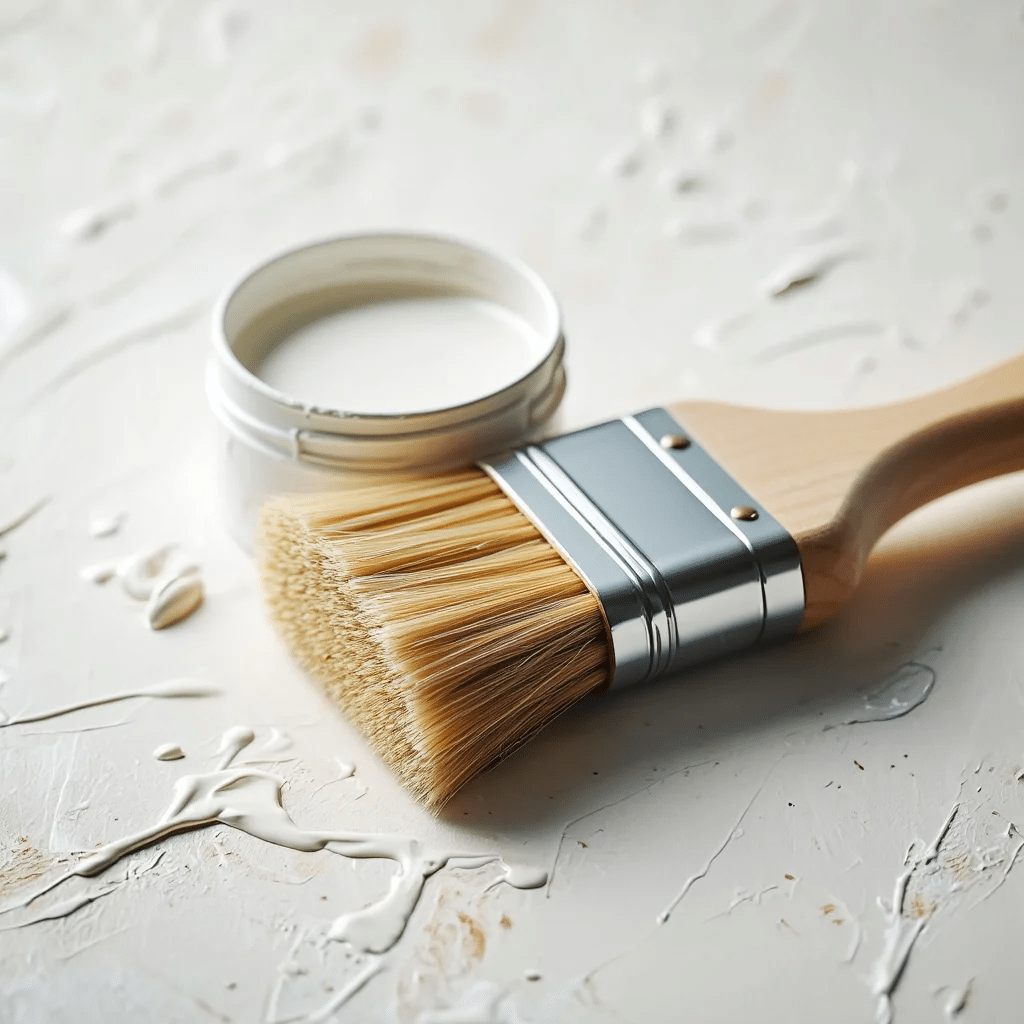
For the best results, select a high-quality, soft brush designed for touch-ups.
- Choose a 2-inch angled sash brush made of nylon filaments for precision.
- Ensure the brush is clean and dry to avoid mixing any old paint with the new.
- Go for a brush with soft filaments to ensure smooth, even coverage, reducing streaks or marks.
This brush helps you cover the spots with minimal paint buildup and better blending.
Step 3: Feather Out the Paint
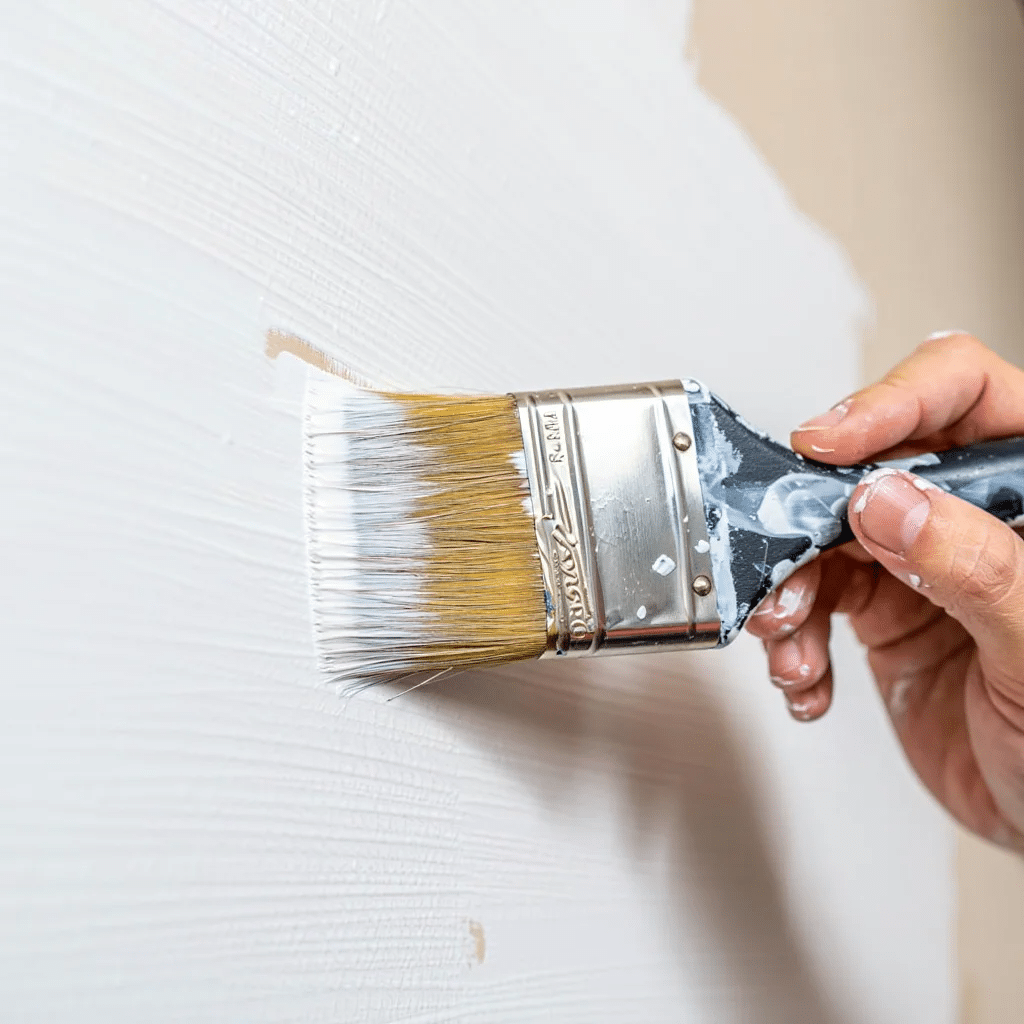
Start by dabbing the paint onto the spot with your brush. Once applied, gently blend the paint towards the edges. Use small strokes to avoid visible lines where the touch-up starts and ends.
Apply just enough paint to cover the imperfection, then feather the edges out smoothly. This technique prevents noticeable halos or harsh lines and ensures the touch-up blends seamlessly with the rest of the wall.
Step 4: Thin the Paint for a Better Match
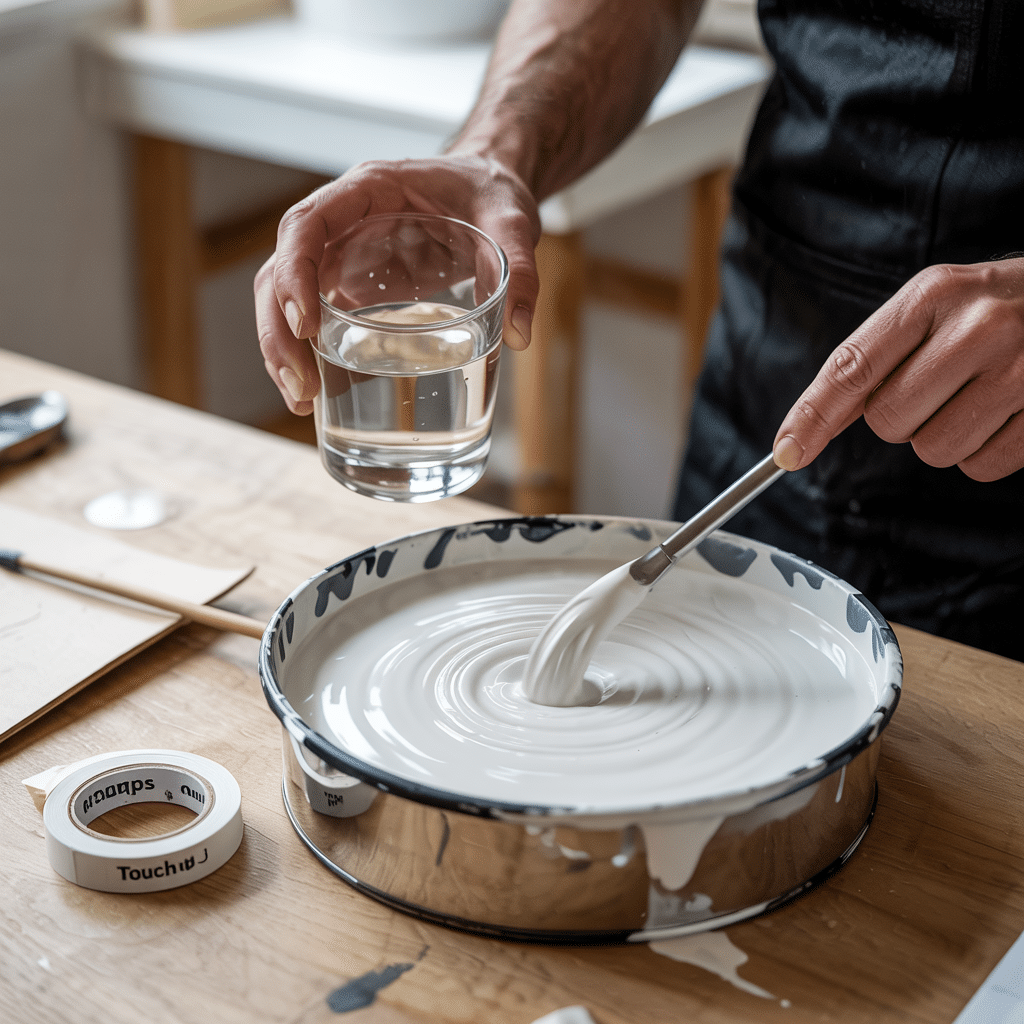
To help with the blending process and reduce the appearance of touch-up spots, slightly thin the paint.
- Add 5% water to your paint to reduce sheen buildup.
- Mix well to ensure the water and paint are thoroughly combined before application.
Thinning the paint prevents the new paint from standing out and helps it match the surrounding area more naturally.
Step 5: Avoid Overloading the Brush
It’s crucial to use a dry brush with a minimal amount of paint to avoid uneven coverage.
- Dip the brush lightly: Only use a small amount of paint at the tip of your brush.
- Apply gently: Dab the brush on the imperfection, then feather the paint outwards with minimal pressure.
- Control the amount of paint: Too much paint can create noticeable streaks or excess buildup.
This technique ensures you don’t create an obvious spot and achieves a smooth finish.
Step 6: Touch Up Small Nicks or Dings
If you’re dealing with minor nicks or dings on trim or corners, use a fine artist’s brush for precision. Gently touch the tip of the brush to the affected area.
Once the spot is covered, feather out the paint around the edges for a seamless blend. This ensures the touch-up doesn’t stand out, especially on high-traffic areas or detailed surfaces.
While the question “Can you touch up eggshell paint?” has a simple yes answer, following these specific steps truly makes the difference between an amateur patch job and a professional-looking finish!
For a more detailed tutorial on how to touch up eggshell paint, check out the video below:
The Do’s and Don’ts of Touching Up Eggshell Paint
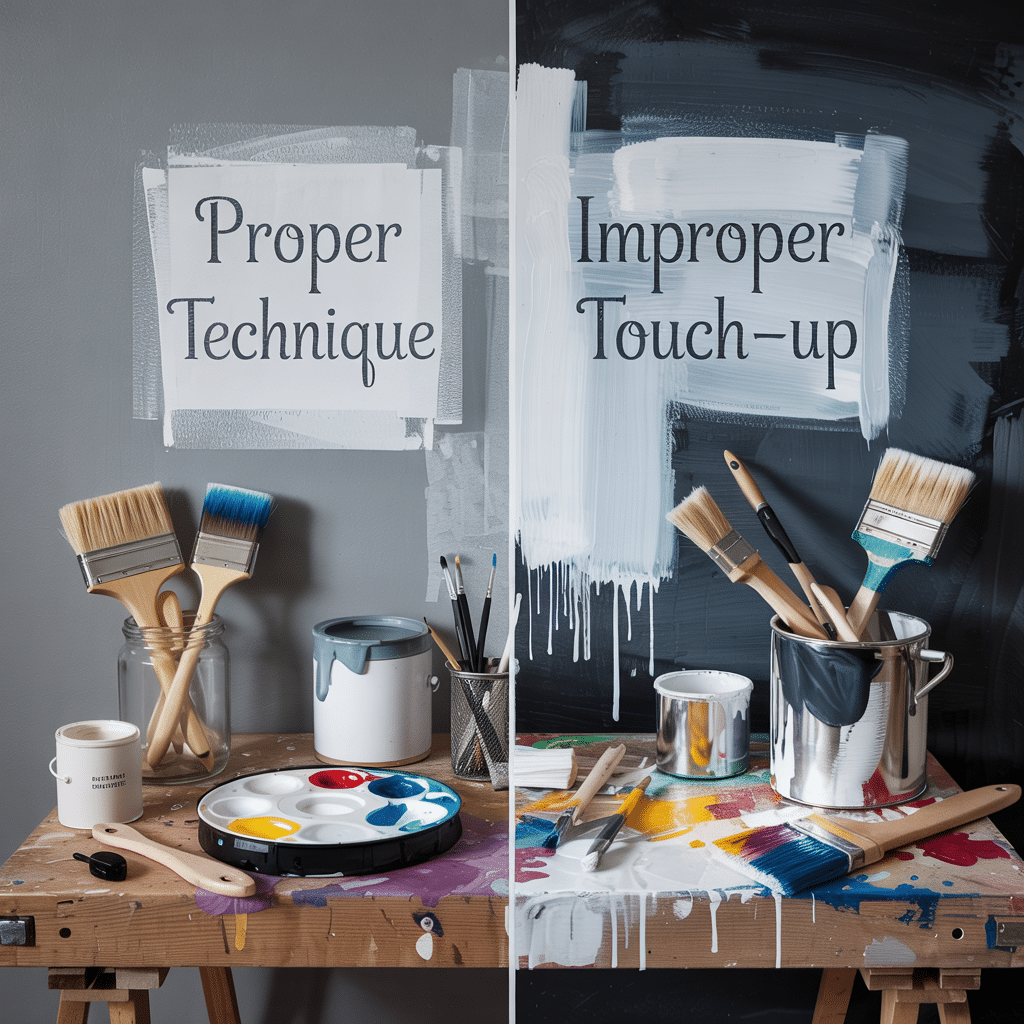
When you’re wondering, “can you touch up eggshell paint?” successfully, following these guidelines will help ensure your walls look smooth and consistent:
Do’s:
- Match the paint exactly: Use the original paint can whenever possible to ensure identical color and sheen.
- Clean the surface thoroughly: Before starting, remove all dirt, dust, and grease from the area with mild soap and water.
- Use the original application tool: If your walls were rolled, use a roller for touch-ups; if brushed, use the same type of brush.
- Test in an inconspicuous area: Try your touch-up technique on a hidden spot first to check the match before working on visible areas.
- Apply in thin layers: Multiple thin coats blend better than one thick coat when touching up eggshell finishes.
Don’ts:
- Don’t skip preparation: Rushing into touch-ups without proper cleaning and priming (if needed) will result in noticeable patches.
- Don’t mix paint brands: Even when colors match, different brands can have different sheens that make touch-ups obvious.
- Don’t overwork the area: Too much brushing or rolling can create texture differences that highlight the fact that you touched up.
- Don’t touch up if paint is years old: As time passes, can you touch up eggshell paint? Not easily – wall paint naturally ages and changes color.
Following these simple guidelines will help make your touch-ups nearly invisible, saving you time and money on repainting entire walls.
Final Thoughts
So, can you touch up eggshell paint with good results?
Absolutely! The key is having the exact same paint, proper tools, and using a gentle approach. For best results, always keep some of your original paint stored properly for future touch-ups. This simple habit can save you countless hours and money down the road.
Have you tried touching up eggshell paint in your home?
I’d love to hear about your experiences! Drop a comment below sharing your success stories or any challenges you faced during the process.


2 Responses
When touching up, the paint looks flat instead of the eggshell shine.
220 sand in a circle. Wipe with damp clean rag with minimal denatured alcohol. Blot. Let dry. Feather two thin coats