
Spring cleaning is in full swing at my house, and I bet your home needs a fresh touch too. Those plain walls are asking for something special – a handmade pussy willow wreath might be just what you need!
I was stuck with boring home decor until I tried making my seasonal items. I’ll show you how to create a beautiful pussy willow wreath that will impress your guests and brighten your space.
In this blog, I’ll walk you through finding the right materials, putting the wreath together step by step, and adding those final touches that make it yours. Let’s get creative and bring some spring charm into your home!
What is a Pussy Willow Wreath?
A willow wreath is a round, natural decoration made from the stems of pussy willow plants.
These stems are known for their soft, fuzzy buds in early spring. The wreath uses these branches arranged in a circle, often on a wire or twig base.
I find pussy willow wreaths to be among the most charming spring decorations. They’re round wall hangings made with the fuzzy catkins of pussy willow plants. I love how these soft, silver-gray buds feel like tiny cat paws (that’s how they got their name!).
What makes these wreaths special to me is their subtle beauty and how they bring a bit of nature indoors without much fuss.
Materials Needed for a DIY Pussy Willow Wreath
A DIY willow wreath is a charming, natural decoration perfect for spring or year-round displays. Using pussy willow branches and a few basic supplies, you can craft an beauty wreath with minimal effort.
Here are the materials you’ll need:
| Material | Quantity |
|---|---|
| Pussy willow branches | 10-12 stems |
| Grapevine wreath base | 1 (10-12 inches in diameter) |
| Floral wire | 1 spool |
| Hot glue gun | 1 |
| Hot glue sticks | 5-6 |
| Decorative ribbon | 1 roll (optional) |
| Scissors | 1 pair |
| Wire cutters | 1 pair |
How to Make a Pussy Willow Wreath
Making a willow wreath is a delightful and creative project that brings a touch of nature into your home. The process involves gathering natural materials, preparing your base, and artfully arranging the willow stems.
Below, you’ll find the main steps for willow pussy wreath that I use.
1. Gather and Prepare Materials
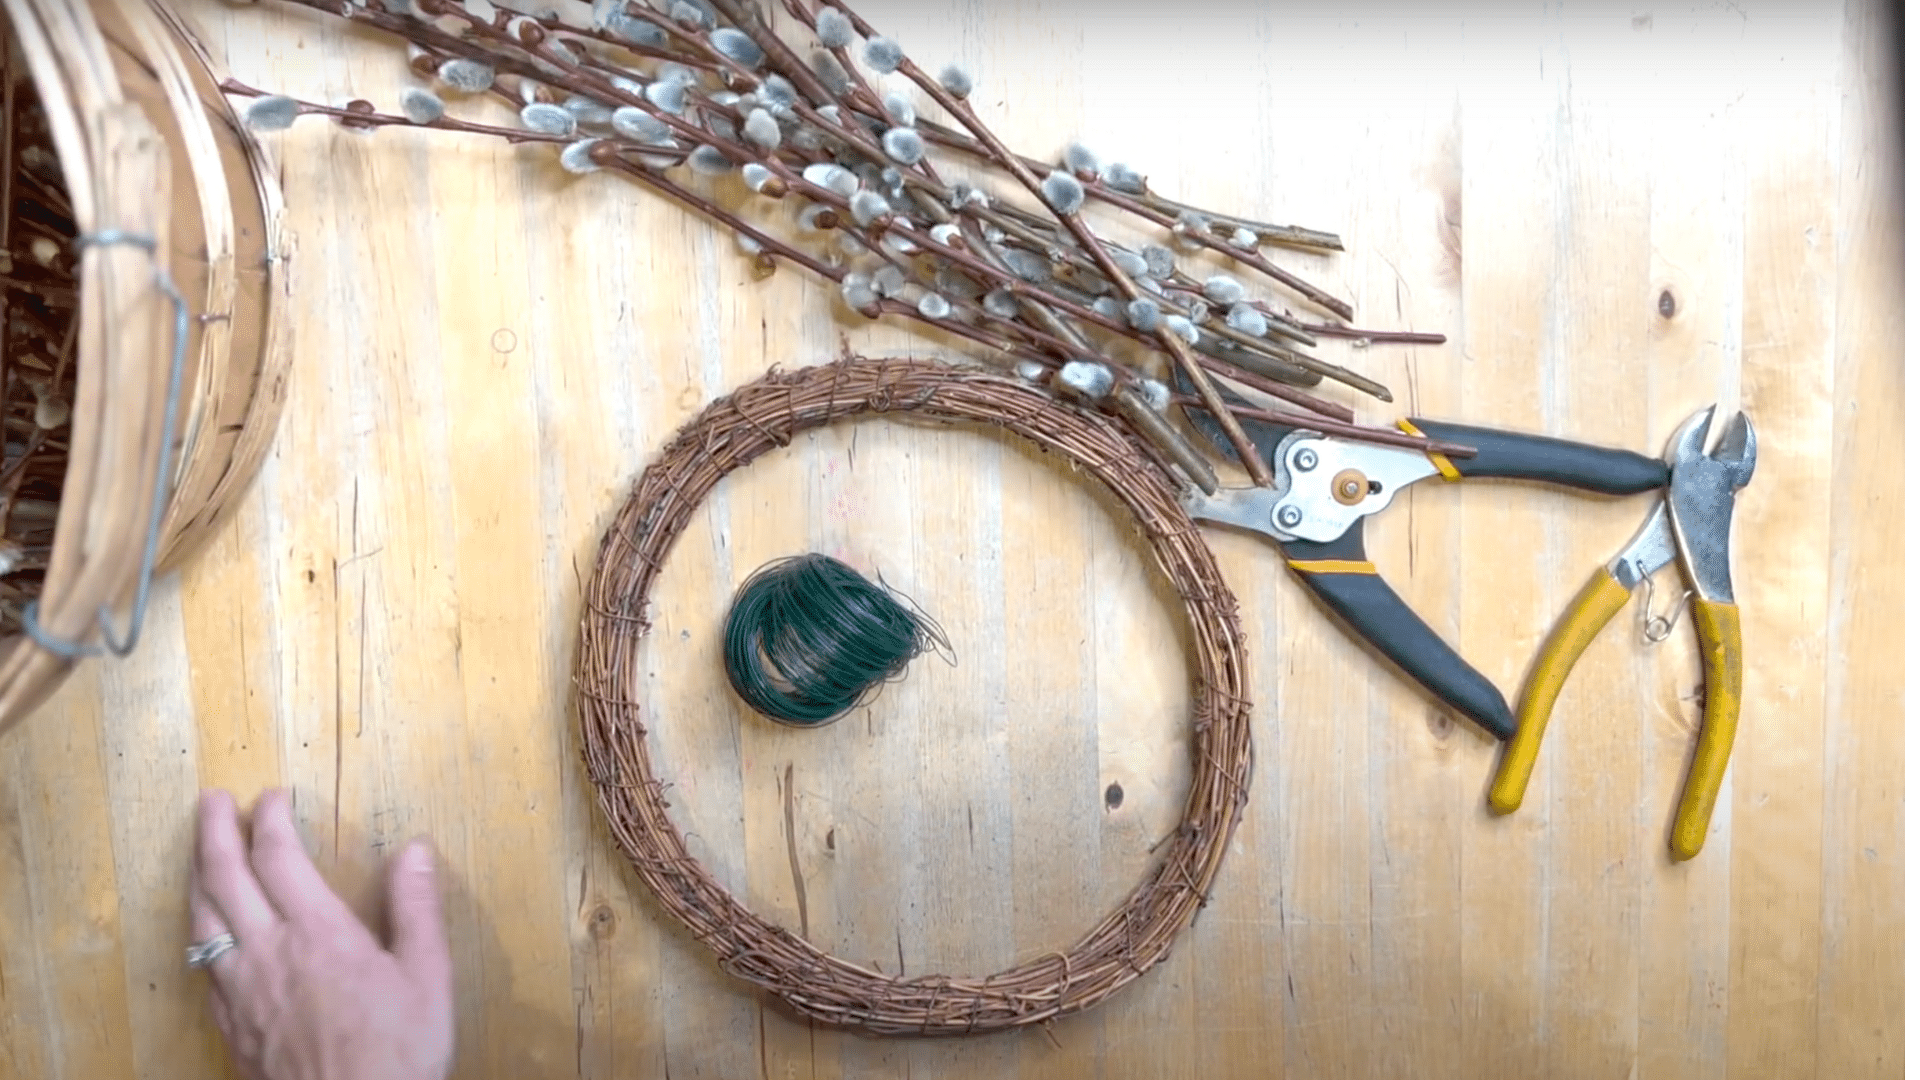
Begin by collecting all necessary materials: fresh pussy willow branches, a wreath base (wire or grapevine), floral wire, wire cutters, and optional decorative accents like ribbons or faux flowers for embellishment.
Steps to follow:
- Select healthy, flexible pussy willow branches, ideally freshly cut for pliability.
- Choose a wreath base that suits your size preference- wire or grapevine bases work best.
- Gather floral wire and wire cutters for securing branches.
- Prepare any additional decorations, such as ribbons or faux flowers, to increase the wreath’s appearance.
2. Shape the Pussy Willow Branches
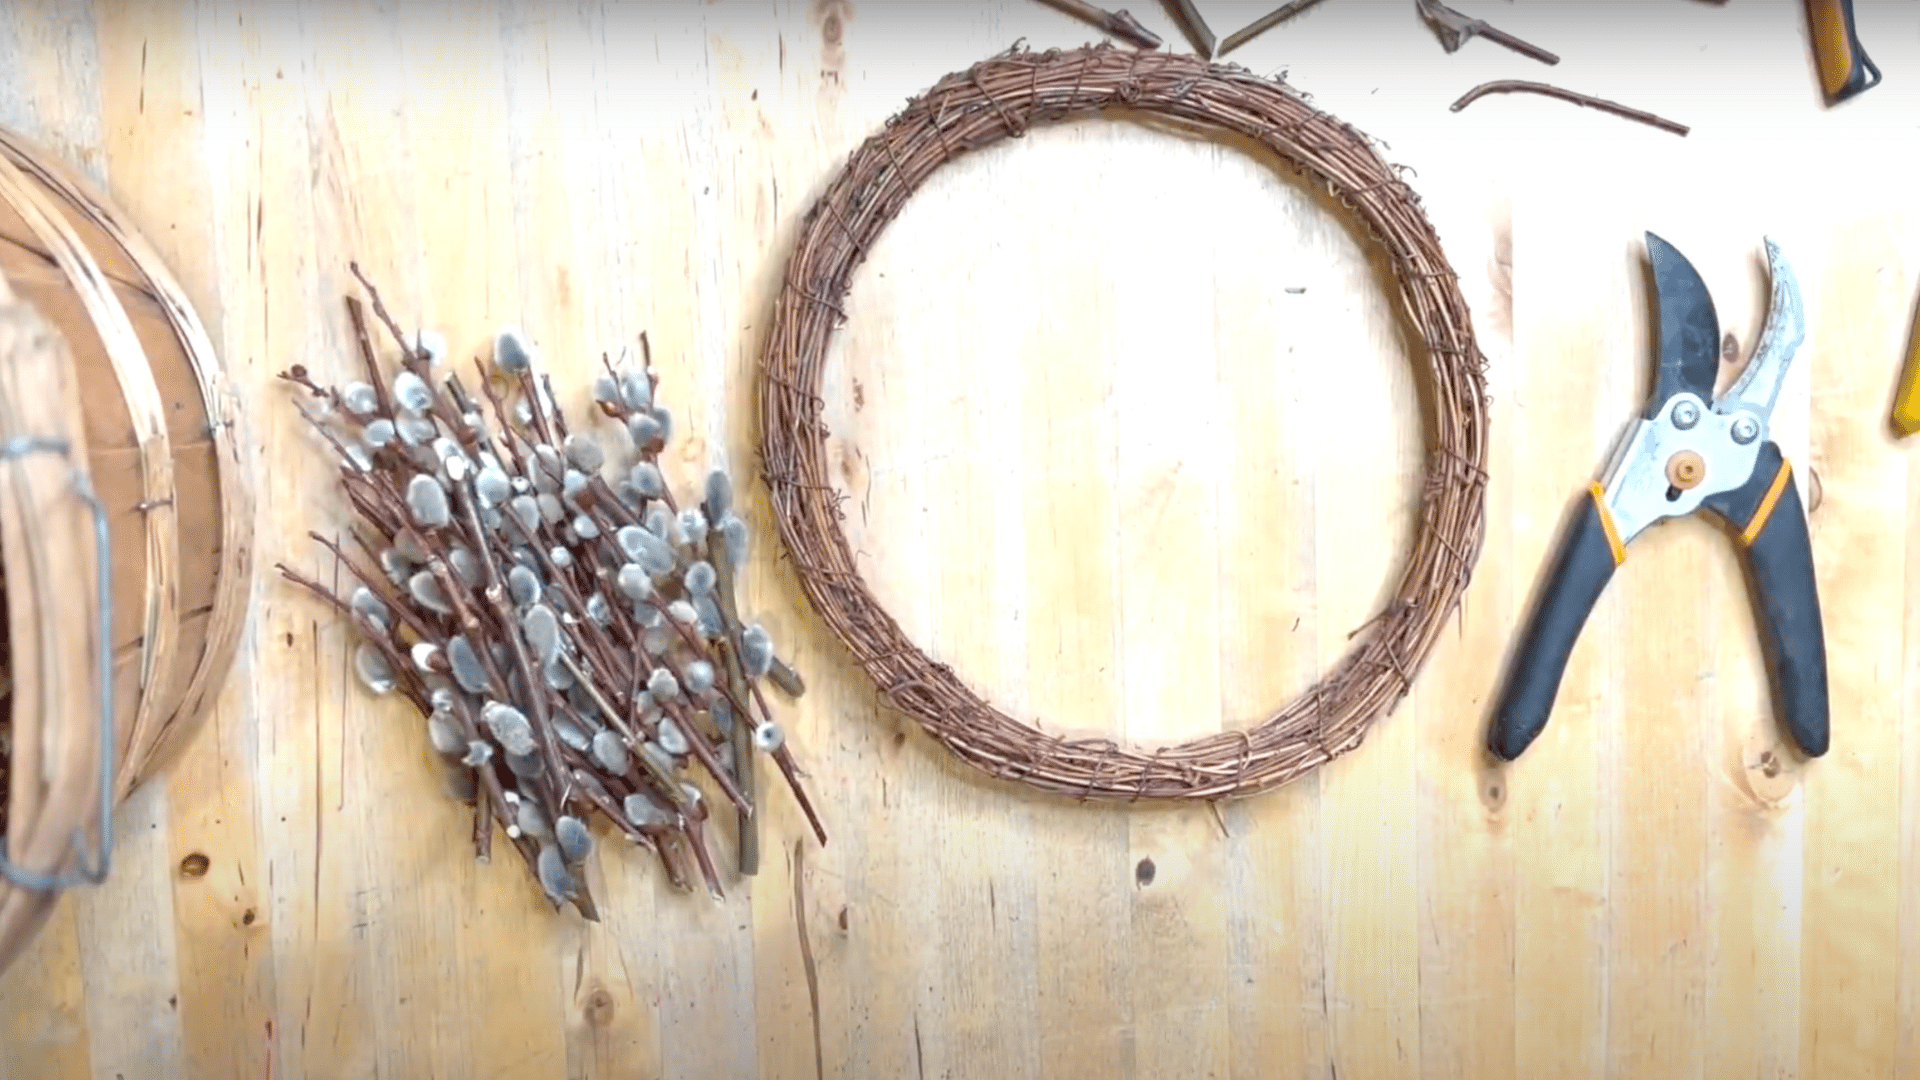
Soften and bend the pussy willow branches gently to match the curve of your wreath base. This step ensures that the branches will wrap smoothly without snapping or breaking.
Steps to follow:
- If branches are stiff, soak them in warm water for 30 minutes to increase flexibility.
- Carefully bend each branch along the intended curve, avoiding sharp angles.
- Test-fit branches around the base to ensure they follow the wreath’s shape.
- Set aside any branches that are too brittle or uneven for later use.
3. Attach Branches to the Wreath Base
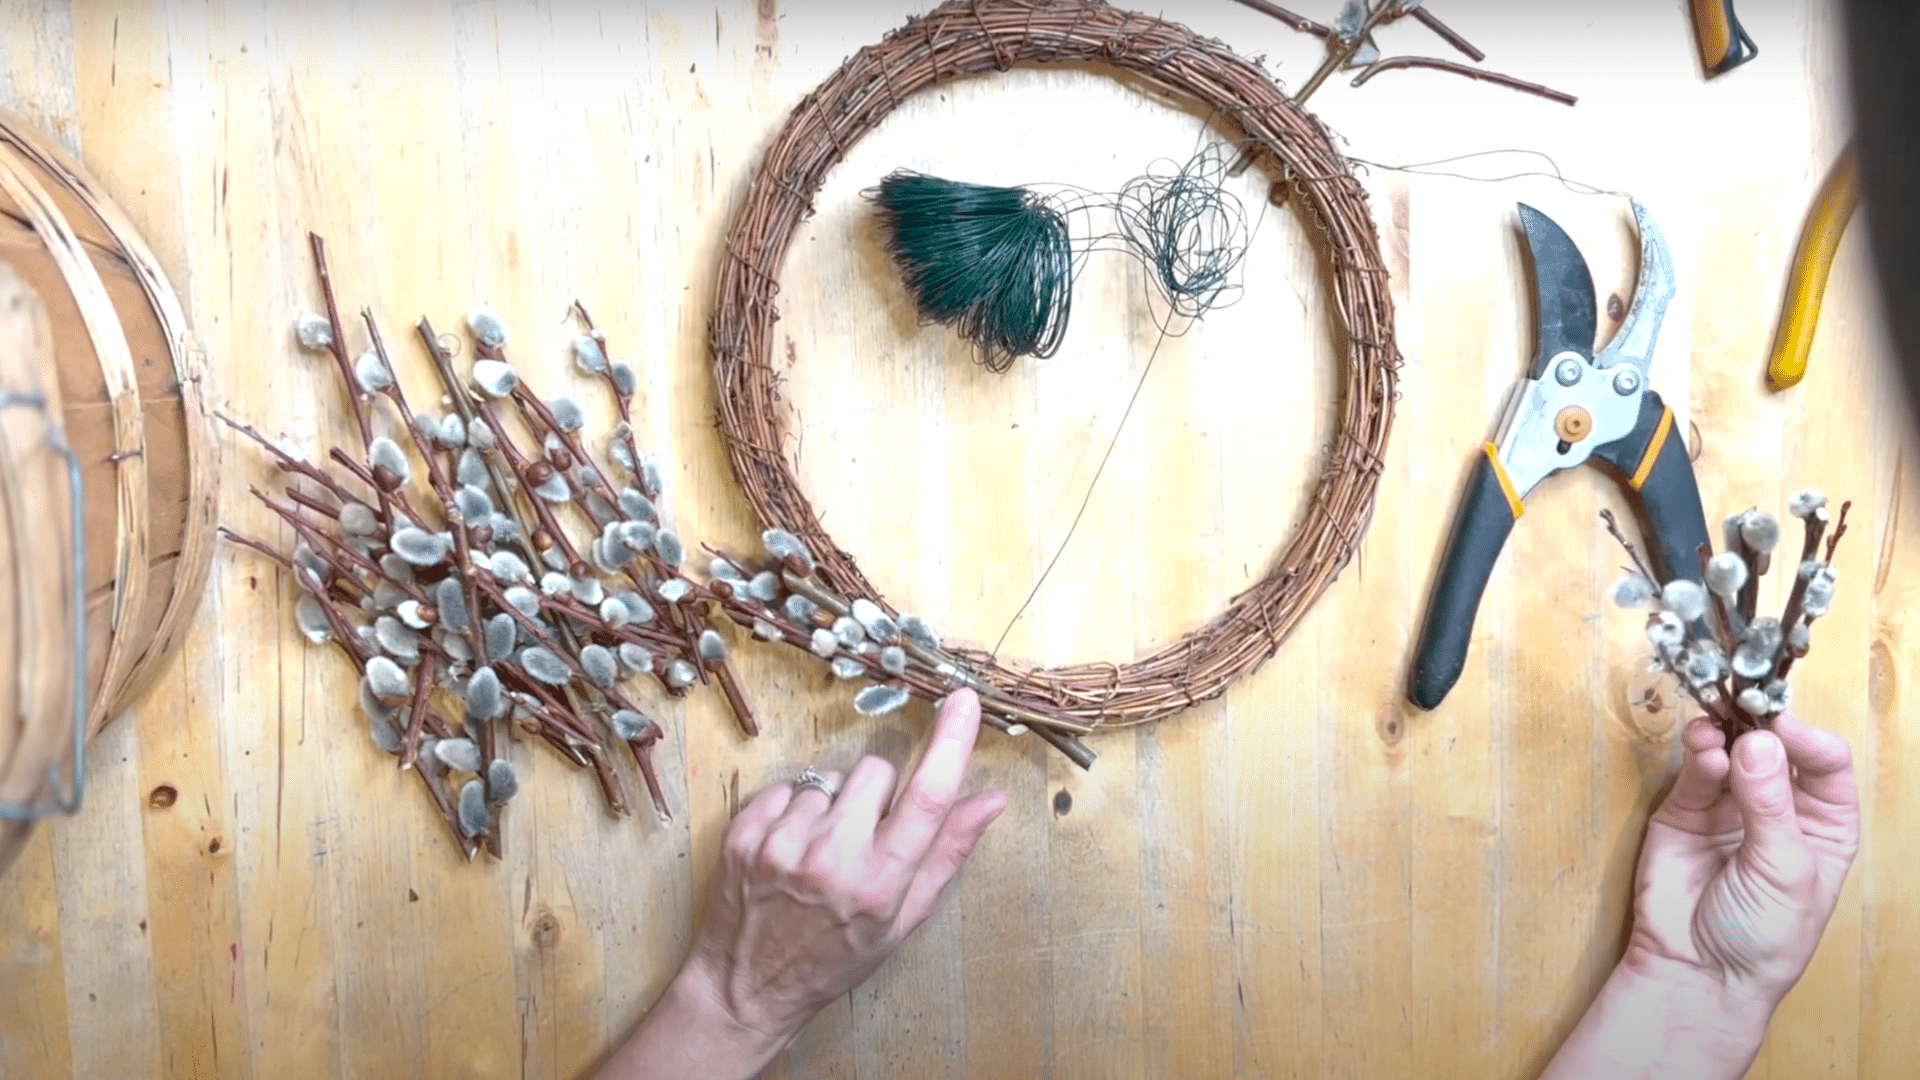
Secure the pussy willow branches to the wreath base using floral wire. Overlap the ends of each branch for a continuous, full look, and ensure all are tightly fastened.
Steps to follow:
- Starting at one section, lay a branch along the base and wrap floral wire around both the branch and the base.
- Continue adding branches, overlapping ends for fullness.
- Wrap wire securely every few inches to hold branches in place.
- Work around the entire base, adjusting for even coverage and fullness.
4. Add Decorative Accents

Personalize your wreath by adding decorative elements such as ribbons, faux flowers, or seasonal ornaments. These accents increase the natural beauty of the pussy willow and suit your decor style.
Steps to follow:
- Choose ribbons or faux flowers that complement the wreath’s colors.
- Attach accents using floral wire or hot glue, spacing them evenly or clustering for effect.
- Tuck the ends of ribbons or stems securely behind willow branches.
- Step back to assess balance and add or adjust decorations as desired for a finished look.
5. Hang and Enjoy Your Wreath
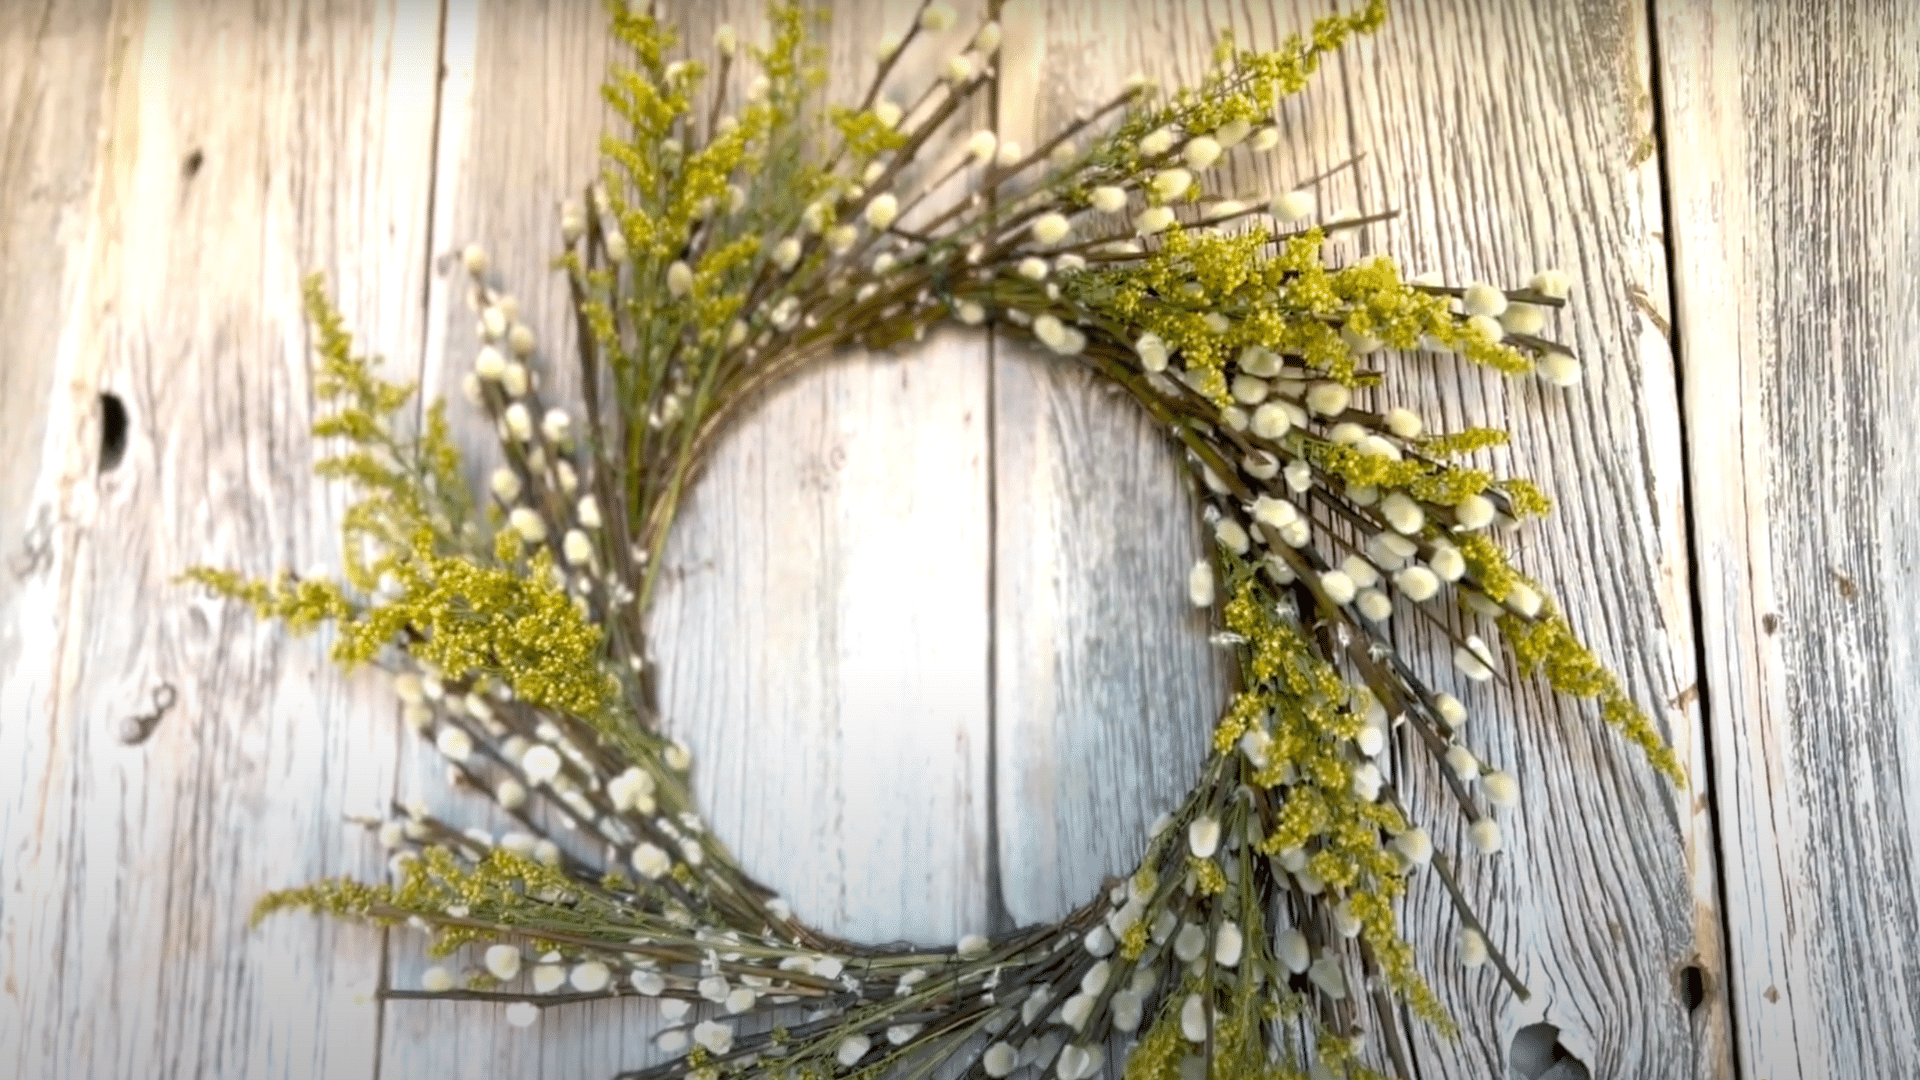
Finish your project by attaching a loop of ribbon or wire to the back of the wreath. Display your handmade wreath on a door, wall, or as a table centerpiece.
Steps to follow:
- Cut a length of ribbon or wire, form a loop, and secure it to the back of the wreath.
- Choose a prominent spot for display, such as a front door or a living room wall.
- Hang the wreath, ensuring it sits flat and secure.
- Admire your beautiful, handcrafted creation!
This step-by-step approach ensures your willow wreath is sturdy, attractive, and uniquely yours. Enjoy the process and the natural charm it brings to your space!
Caring Tips for Your Pussy Willow Wreath
I’ve had my pussy willow wreath for three spring seasons now, and it still looks amazing. The key is proper care from day one. Here are my tried-and-true tips to help your wreath stay beautiful longer.
- Mist occasionally: I spray mine with water once a week to keep the catkins from drying out too quickly.
- Keep away from heat: I avoid hanging my wreath near heaters, fireplaces, or in direct sunlight as these speed up drying.
- Don’t handle too much: I try not to touch the fuzzy catkins often since oils from my hands can damage them.
- Store properly: When not using it, I keep my wreath in a box with tissue paper to maintain its shape.
- Clean gently: I use a hair dryer on the cool setting to blow away dust rather than wiping.
- Refresh annually: I add a few new pussy willow stems each year to keep it looking full.
- Apply clear sealant: For longer life, I lightly spray with a craft sealant, which helps preserve the catkins.
Wrapping It Up
Making your pussy willow wreath brings joy beyond just having a new decoration. Through this project, you connect with nature and create something truly one-of-a-kind for your home.
The simple steps we shared make this craft easy for anyone to try. Your wreath can become a yearly tradition that marks the arrival of spring in your space.
And when visitors ask about your lovely wreath, you’ll feel proud to say, “I made it myself!”
Happy crafting and happy spring!