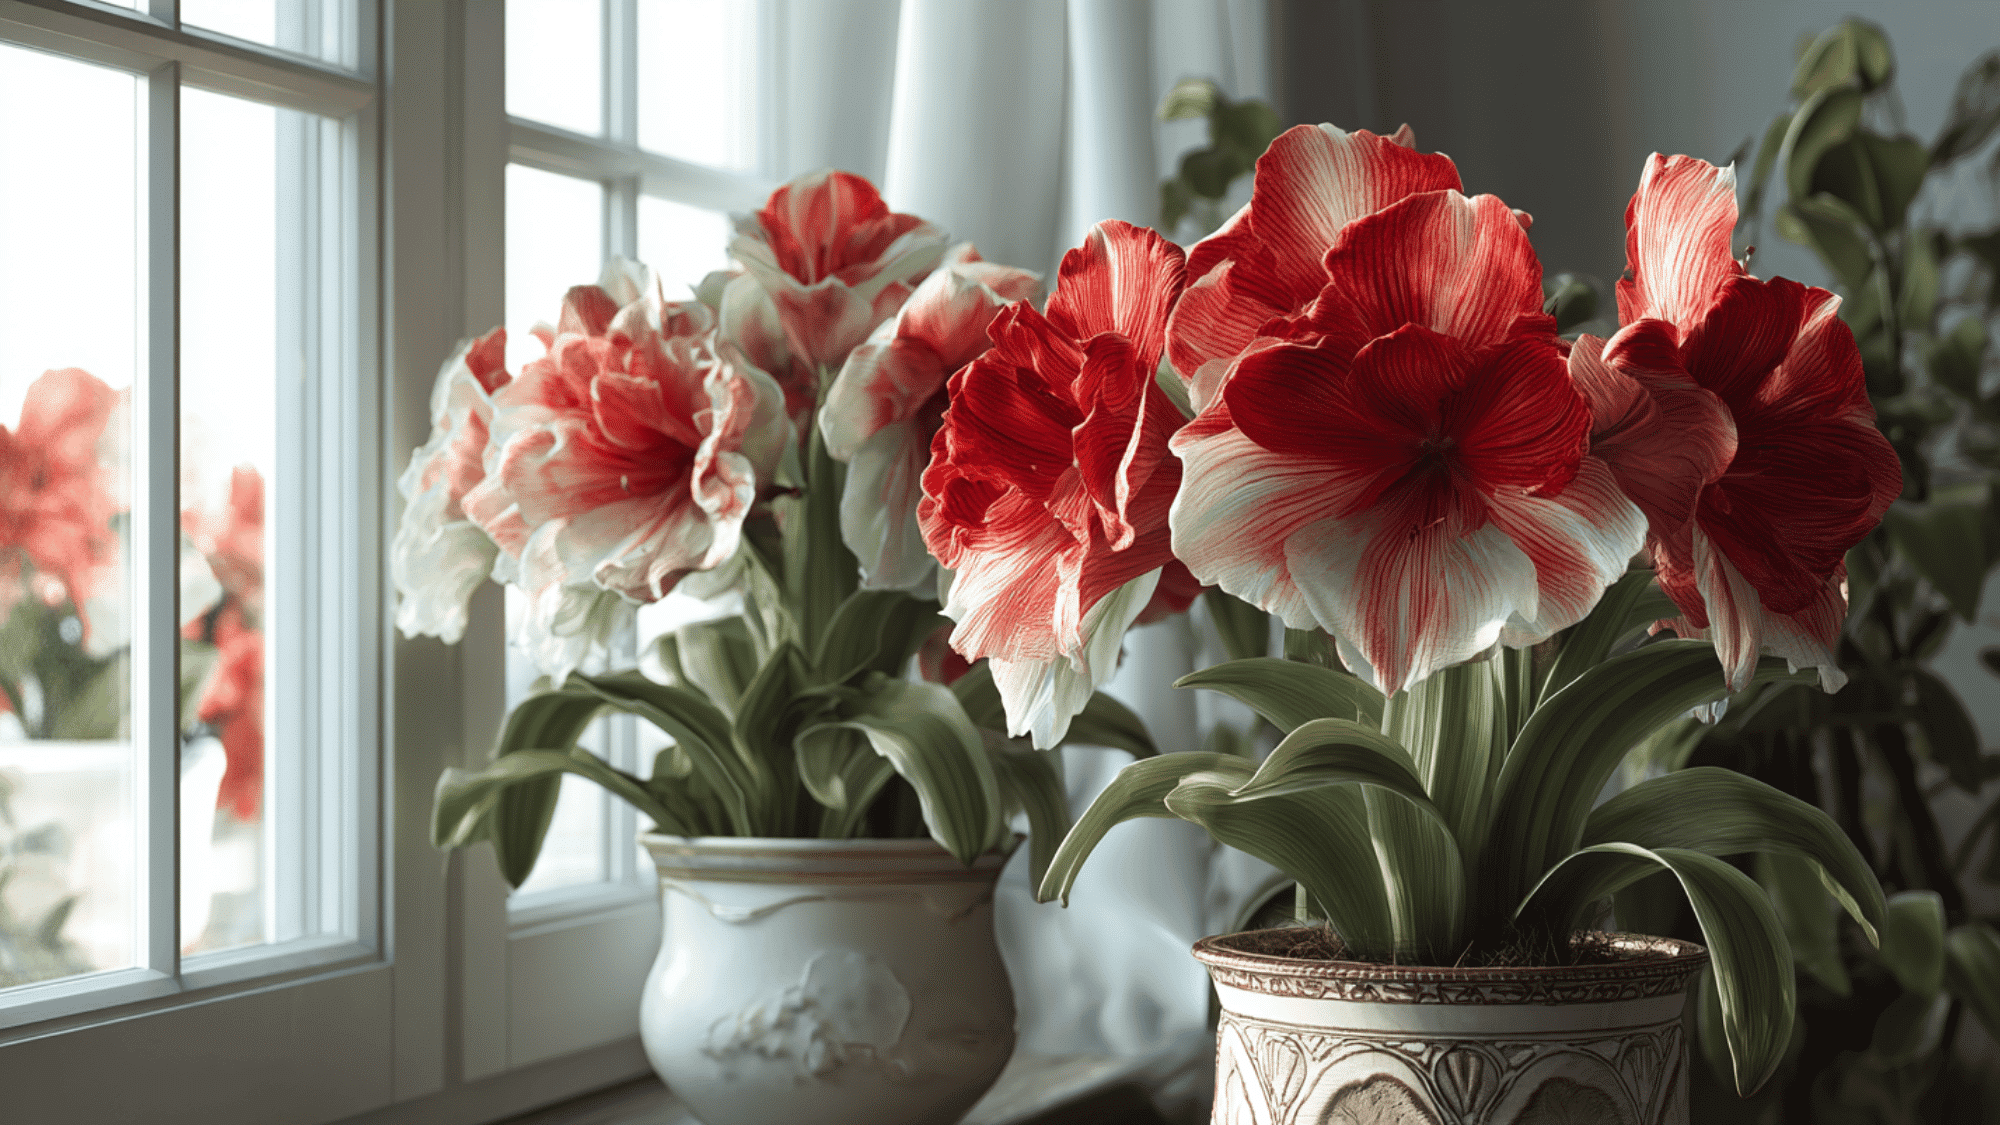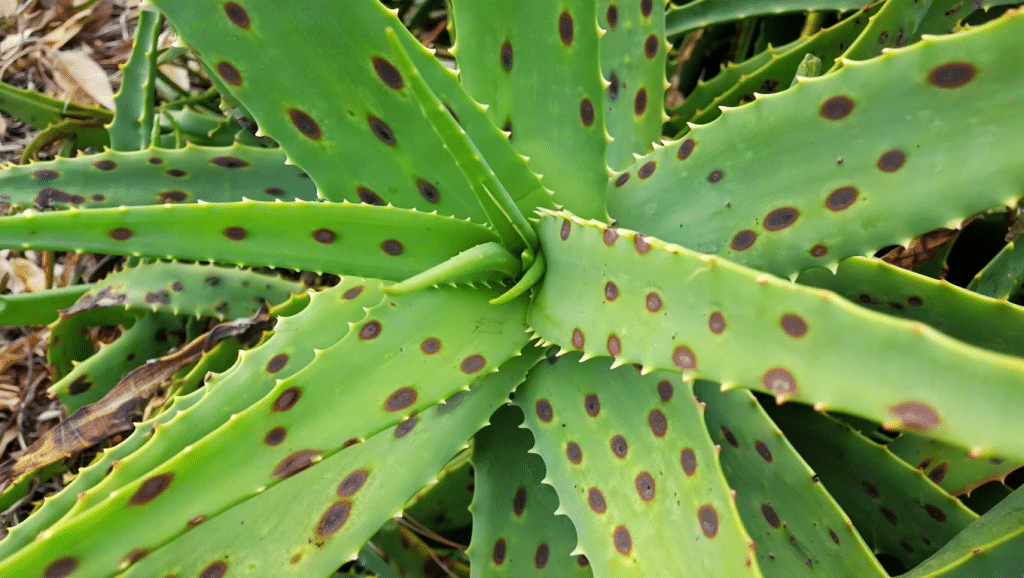
I know that sinking feeling when you spot those ugly black marks on your beautiful aloe plant.
You’re not alone, black spots on aloe plant are one of the most common problems I see plant lovers face.
These dark blemishes don’t just hurt your plant’s looks; they can actually damage its health and ruin your chances of growing new plants from it.
I’m going to show you exactly how to identify what’s causing those spots, treat them effectively, and stop them from coming back.
By the end of this guide, you’ll have simple, practical steps to get your aloe looking healthy and green again.
What Do Black Spots on an Aloe Plant Mean?

When I first see black spots on aloe plant leaves, I think of them as warning signs. Your plant is telling you something’s wrong, and it needs help fast.
Black spots usually mean one of three things:
- Fungal infections – These are the most common cause. Too much moisture creates the perfect breeding ground for fungi.
- Bacterial problems – These develop when your plant gets wounds or sits in wet conditions too long.
- Root rot damage – When roots start dying, the effects show up as dark spots on leaves.
I’ve learned that these spots don’t appear overnight. They’re usually the result of care issues that have been building up over time. Maybe you’ve been watering too often, or your plant doesn’t get enough air circulation.
The location of spots tells a story too:
- Spots near the base often point to overwatering
- Spots on leaf tips suggest poor drainage
- Random spots across leaves usually mean fungal issues
The key thing I want you to remember is this: black spots are treatable when you catch them early. But the longer you wait, the harder it becomes to save your plant.
Effective Treatments for Black Spots
When I see black spots on my aloe, I don’t panic; I follow a proven plan. Here’s exactly what I do to give my plant the best chance at recovery.
1. Stop watering immediately: Let the soil dry out completely before doing anything else.
2. Assess the damage – Check how much of your plant shows black spots. If it’s more than 50% or the base feels mushy, prepare to start over.
3. Remove infected parts – Use clean scissors to cut away all leaves with black spots. Cut at least an inch below any visible damage.
4. Apply natural treatment – Dust the cut areas with cinnamon powder to prevent further infection. It works as a natural antifungal.
5. Treat remaining healthy parts – Mix neem oil with water (follow bottle instructions) and spray the entire plant weekly for 3-4 weeks.
6. For severe fungal issues – Apply sulfur powder to affected areas if cinnamon doesn’t work after two weeks.
7. Propagate healthy sections – If you have good leaf portions left, let them dry for 2-3 days, then plant in fresh, dry soil.
8. When to give up: If the entire base is black and soft, or if new spots keep appearing after treatment, it’s time to discard the plant and start fresh.
Preventing Black Spots from Coming Back
Once I’ve treated my aloe, the real work begins, keeping those black spots from returning. The key is creating an environment where your plant thrives and fungal problems can’t take hold.
Ideal Watering Schedule
The golden rule for aloe is simple: less is more. I water mine only when the soil feels completely dry, usually every 2-3 weeks in summer and monthly in winter. Stick your finger deep into the soil. If it’s still damp, wait.
Overwatering is the main cause of black spots on aloe plants. When you do water, give it a thorough drink until water runs out the drainage holes, then let it dry completely.
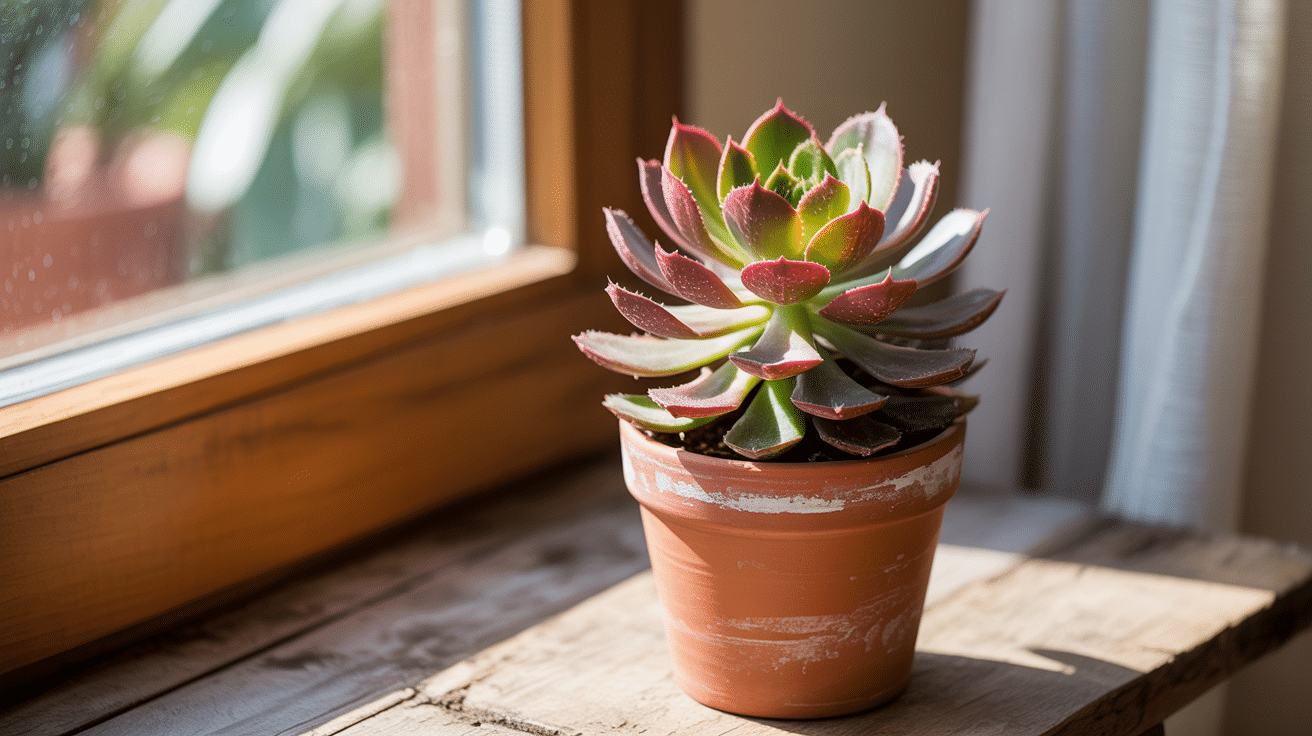
Pot Size and Drainage
Your aloe needs room to breathe, but not too much. Choose a pot that’s slightly larger than the root ball; oversized pots hold too much moisture.
The most important feature? Drainage holes at the bottom. Use a well-draining cactus mix or add perlite to regular potting soil.
Terra cotta pots work best because they let excess moisture evaporate through the walls, keeping roots healthy and preventing those dreaded black spots.
Sunlight Balance (Indoor Positioning)
Finding the sweet spot for light can be tricky indoors. Aloe plants love bright, indirect sunlight, think of a spot near a south-facing window with a sheer curtain.
Too much direct sun burns the leaves, while too little weakens the plant and makes it prone to fungal issues.
Rotate your plant weekly so all sides get equal light. If leaves start turning red or brown, move it back from the window.
Seasonal Care Changes
Your aloe’s needs change with the seasons, and adjusting your care prevents problems. During spring and summer, water more frequently as the plant grows actively.
In fall and winter, cut back significantly, and sometimes watering just once a month is enough.
Move plants away from heating vents in winter and closer to windows for extra light. These seasonal adjustments keep your aloe strong and resistant to black spots.
Sterilizing Tools
Clean tools are your best defense against spreading problems. Before trimming any plant, wipe your scissors or knife with rubbing alcohol.
This simple step prevents bacteria and fungi from jumping between plants. After removing infected parts from your aloe, clean the tools again before using them elsewhere.
Keep a small bottle of alcohol handy in your plant care kit; it takes seconds but saves you from major headaches later.
Wrapping Up
Black spots on aloe plant don’t spell the end for your green friend. With the right treatment and consistent care, most aloe plants bounce back stronger than before.
The secret lies in staying observant. Check your plant weekly, stick to that watering schedule, and trust the process. Your aloe will reward your patience with healthy, spot-free growth.
I’d love to hear how your aloe recovery goes!
Drop a comment below and share your progress, or ask me any questions that come up along the way.