Growing Ginkgo Biloba ‘Mariken’ is a dream for many gardeners, but finding reliable propagation methods can be frustrating.
This compact, ornamental cultivar makes a stunning addition to any landscape, yet most people struggle with getting new plants started.
I’ll show you exactly how to propagate Ginkgo Biloba ‘Mariken’ successfully using proven techniques that work.
This guide covers practical step-by-step methods, essential care tips, method comparisons, and common mistakes to avoid.
The Origins and Traits of Ginkgo Biloba ‘Mariken’
I first learned about ‘Mariken’ while researching dwarf ginkgo varieties. This cultivar was found in the Netherlands and named after a Dutch folk character.
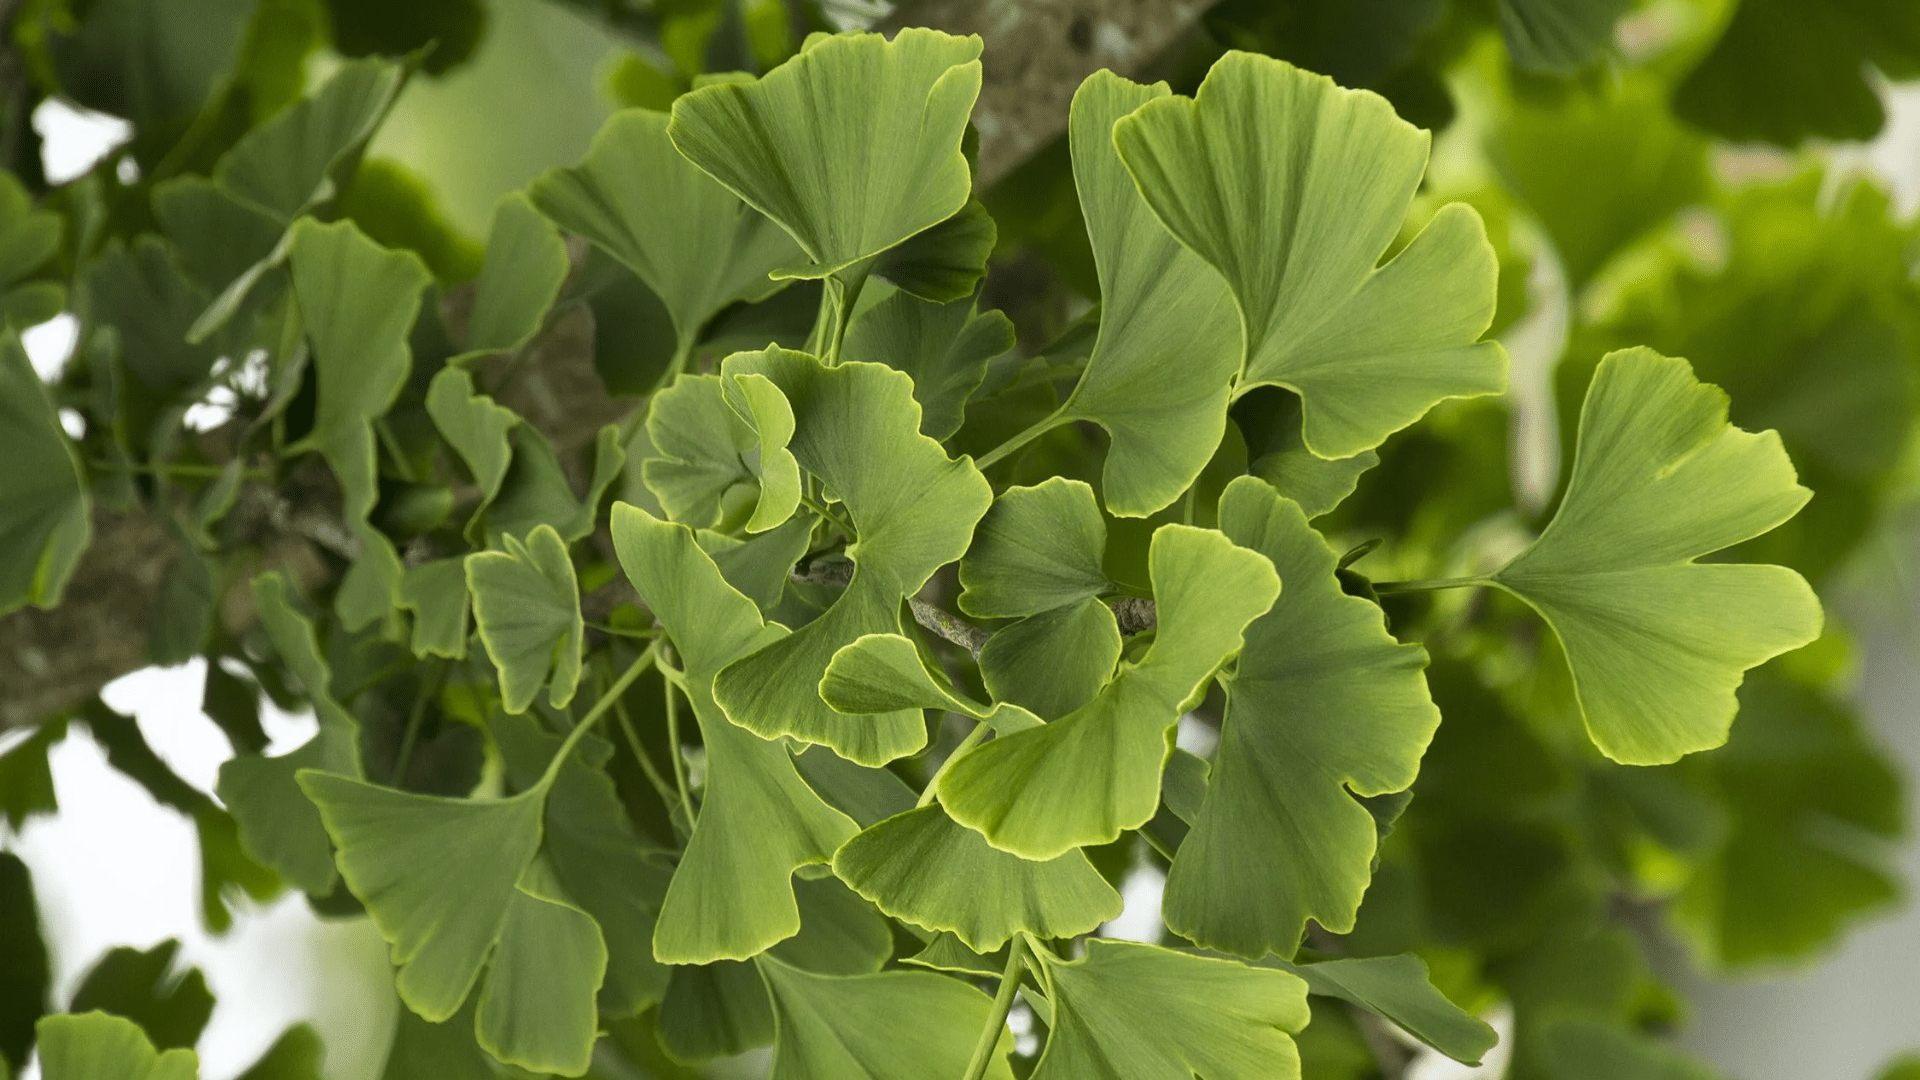
What excites me about Mariken is how distinct it is from regular ginkgo trees. While standard ginkgos can reach heights of 80 feet, Mariken remains compact, growing to just 3-8 feet.
It grows in a neat, rounded shape without the typical tall, spreading form.
The leaves are the same fan shape, but the whole tree feels more manageable for small spaces. I use Mariken mainly for landscaping and ornamental purposes. It works well in rock gardens, containers, and small yard spaces. Unlike larger ginkgos grown for leaf harvest,
Mariken isn’t practical for herbal use due to its small size. However, it’s perfect for bonsai work, which I find more rewarding than trying to harvest leaves from such a compact plant.
Proper Prep for Successful Ginkgo ‘Mariken’ Growth
I’ve learned that good preparation makes all the difference when propagating Ginkgo biloba mariken. Getting the timing right and having the proper tools ready sets you up for success.
| Category | Details | My Recommendations |
|---|---|---|
| Best Timing | Early Spring (March-April) | I prefer this window; plants have a full growing season ahead |
| Early Fall (September-October) | Works well in mild climates, gives roots time before winter | |
| Climate Factors | Cold Regions | Stick to spring planting, harsh winters can kill young cuttings |
| Warm Zones | Fall works great here; less heat stress on new plants | |
| Must-Have Tools | Rooting Hormone | I use the powder form, which lasts longer than the liquid form. |
| Clean Pruning Shears | Sharp, sterile cuts prevent disease | |
| 4-6 inch Pots | Good drainage holes are key | |
| Well-draining Mix | Perlite + peat moss works for me | |
| Budget Options | Honey Instead of Hormone | Natural rooting booster that works |
| Recycled Containers | Yogurt cups with holes punched work fine | |
| Homemade Mix | Garden soil + sand + compost |
The table shows everything I wish I’d known before my first attempt. Having the right timing and tools ready makes the whole process much smoother.
Propagation Methods for Ginkgo Biloba ‘Mariken’
Now comes the exciting part, actually growing new plants! I’ve tried different methods over the years, and some work much better than others.
Let me walk you through each approach so you can choose what works best for your situation.
Method 1: Propagating Ginkgo Biloba Mariken from Cuttings

I’ve had the best success with cuttings, and here’s exactly how I do it:
Step 1: Select Your Cuttings
I choose semi-hardwood cuttings in late spring. I look for healthy shoots that are about 4-6 inches long. The wood should bend but not snap – that’s the sweet spot.
Step 2: Prepare the Cutting
I make a clean cut just below a node with sharp, clean shears. Then remove the bottom leaves and dip the cut end in rooting hormone. This step makes a huge difference in success rates.
Step 3: Plant and Wait
I stick the cutting into my prepared potting mix, water it well, and cover with a clear plastic bag. The humidity helps roots form faster. I keep it in bright, indirect light.
Step 4: Check for Roots
After 6-8 weeks, I gently tug the cutting. If there’s resistance, roots have formed! I then gradually remove the plastic covering over a week.
My Pro Tips:
- Take multiple cuttings – not all will root
- Keep the soil moist but not soggy
- Be patient – ginkgo biloba mariken takes time
Method 2: Propagating from Seeds (and Why It’s Tricky)
Mariken seeds often don’t produce true-to-type plants. You may receive a regular-sized ginkgo instead of the compact form you prefer.
Seeds also need both male and female trees, which most home gardeners don’t have.
If you want to try anyway, collect fresh seeds in fall, remove the smelly outer coating (wear gloves!), and cold-stratify them for 3-4 months in the fridge.
Plant in spring, but expect low germination rates. I only recommend this method if you’re curious about genetics or want to experiment. For reliable Mariken plants, stick with cuttings.
Can You Graft Ginkgo Mariken?
Yes, but it’s not for beginners. I’ve tried grafting Mariken onto regular ginkgo rootstock with mixed results. The process involves joining a Mariken cutting (scion) to a young ginkgo root system.
You need to match the cambium layers perfectly and secure the union with grafting tape. Spring is the best time when the sap is flowing.
Grafting can give you faster-growing plants, but it requires skill and the right rootstock.
For most gardeners, I recommend starting with cuttings first. Once you master that technique, then consider trying grafts.
The Don’t-Do List for Ginkgo Biloba ‘Mariken’
I’ve made plenty of mistakes with the propagation over the years. Let me share the big ones so you can skip the frustration I went through.
1. Overwatering: I used to think more water meant better growth. Wrong! Soggy soil kills more cuttings than anything else. The roots rot before they even get established.
My Fix: I check soil moisture with my finger. If the top inch feels damp, I wait. Good drainage is more important than frequent watering.
2. Wrong Soil Type: Heavy clay soil was my first choice, another mistake. It needs soil that drains well. Clay holds too much water and doesn’t give roots room to breathe.
My Fix: I mix perlite or coarse sand into regular potting soil. The roots love the extra drainage and airflow.
3. Poor Pruning Timing: I used to take cuttings whenever I felt like it. Late summer cuttings often failed because the plant was preparing for dormancy.
My Fix: I stick to late spring or early summer now. The plant has more energy to put into root development during these times.
4. Not Using Rooting Hormone: I thought I could skip this step to save money. My success rate was terrible without it.
My Fix: Even cheap rooting hormone makes a huge difference. It’s worth the small investment.
5. Giving Up Too Soon: Ginkgo roots slowly. I used to toss cuttings after a month when nothing happened.
My Fix: I wait at least 8-10 weeks before checking for roots. Patience pays off with this plant.
Ginkgo Biloba Mariken vs Other Varieties
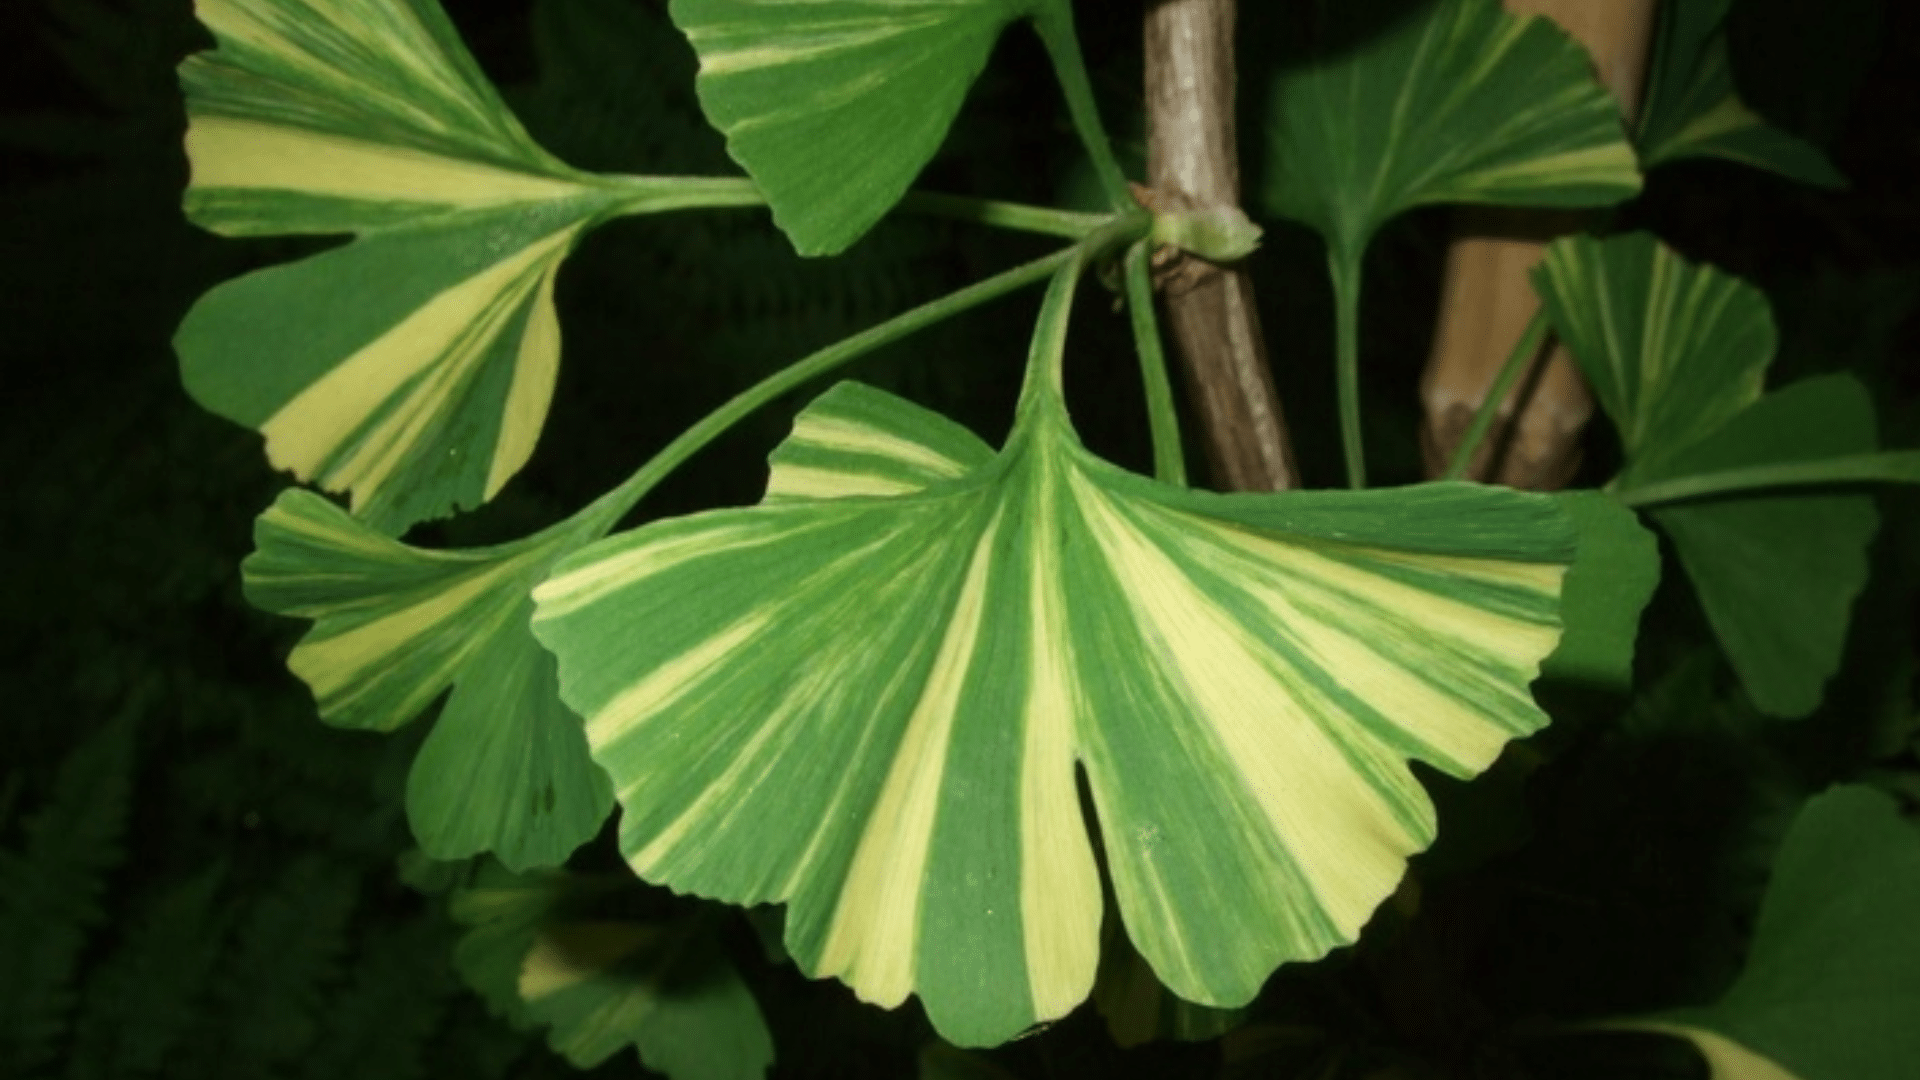
I’ve grown several ginkgo varieties over the years, and each has its own personality. While Mariken is my go-to for small spaces, other types serve different purposes in the garden.
Standard Ginkgo reaches 50-80 feet with moderate growth. I use these for large properties where you need serious shade. Maintenance is medium due to size, but they’re tough trees.
Autumn Gold grows fast to 40-50 feet with reliable yellow fall color. I recommend it for quick shade, but watch the space – it fills out rapidly.
Princeton Sentry stays narrow at 40-60 feet tall. Perfect for tight urban spots where you need height without width. Low maintenance once established.
Jade Butterflies top out around 8-12 feet with slow growth. It’s my second choice after Mariken for smaller yards – gives you more size options.
The Bottom Line
Growing your own ginkgo biloba mariken doesn’t have to be complicated.
I’ve shown you that with the right timing, tools, and patience, anyone can succeed. Yes, it takes time, but watching those first roots form makes all the waiting worthwhile.
The compact beauty of Mariken fits perfectly in small gardens where regular ginkgos would overwhelm.
You now also know how to avoid the common mistakes that trip up most beginners. I’d love to hear about your propagation attempts! Please share your successes, challenges, or questions in the comments below.


