I know how frustrating it can be to miss the perfect window for harvesting elderberries. You spend months watching those clusters grow, only to find them either too tart or already past their prime when you finally get around to picking them.
In this blog, you will walk through when to pick elderberry and its harvesting timeline.
You’ll learn how to identify ripe berries, the best harvesting techniques, and proper storage methods. The timing tips for different elderberry varieties and climate zones are also shared.
By the end, you’ll confidently know when your elderberries are ready for the picking.
Understanding the Elderberry Plant Lifecycle
Knowing when to pick elderberries begins with understanding how the plant evolves throughout the year.
The elderberry’s lifecycle follows a predictable seasonal rhythm, and recognizing each stage can help you time your harvest with confidence and precision.
Stage 1: Bud Break – Early Spring (March to April)
As winter fades, elderberry plants awaken from dormancy. Tiny green buds emerge along bare stems in early spring, usually between March and April, depending on your climate. These buds signal the start of the growing season.
Stage 2: Flowering – Late Spring (May to June)
By May or June, elderberries enter their flowering phase. Clusters of small, creamy-white flowers (called umbels) bloom across the branches.
Their sweet, floral scent attracts pollinators like bees, which play a crucial role in fruit production.
Stage 3: Fruit Set – Early to Mid-Summer (June to July)
Following successful pollination, tiny green berries begin to form where the flowers once bloomed. These small fruits gradually grow in size but remain firm and pale green.
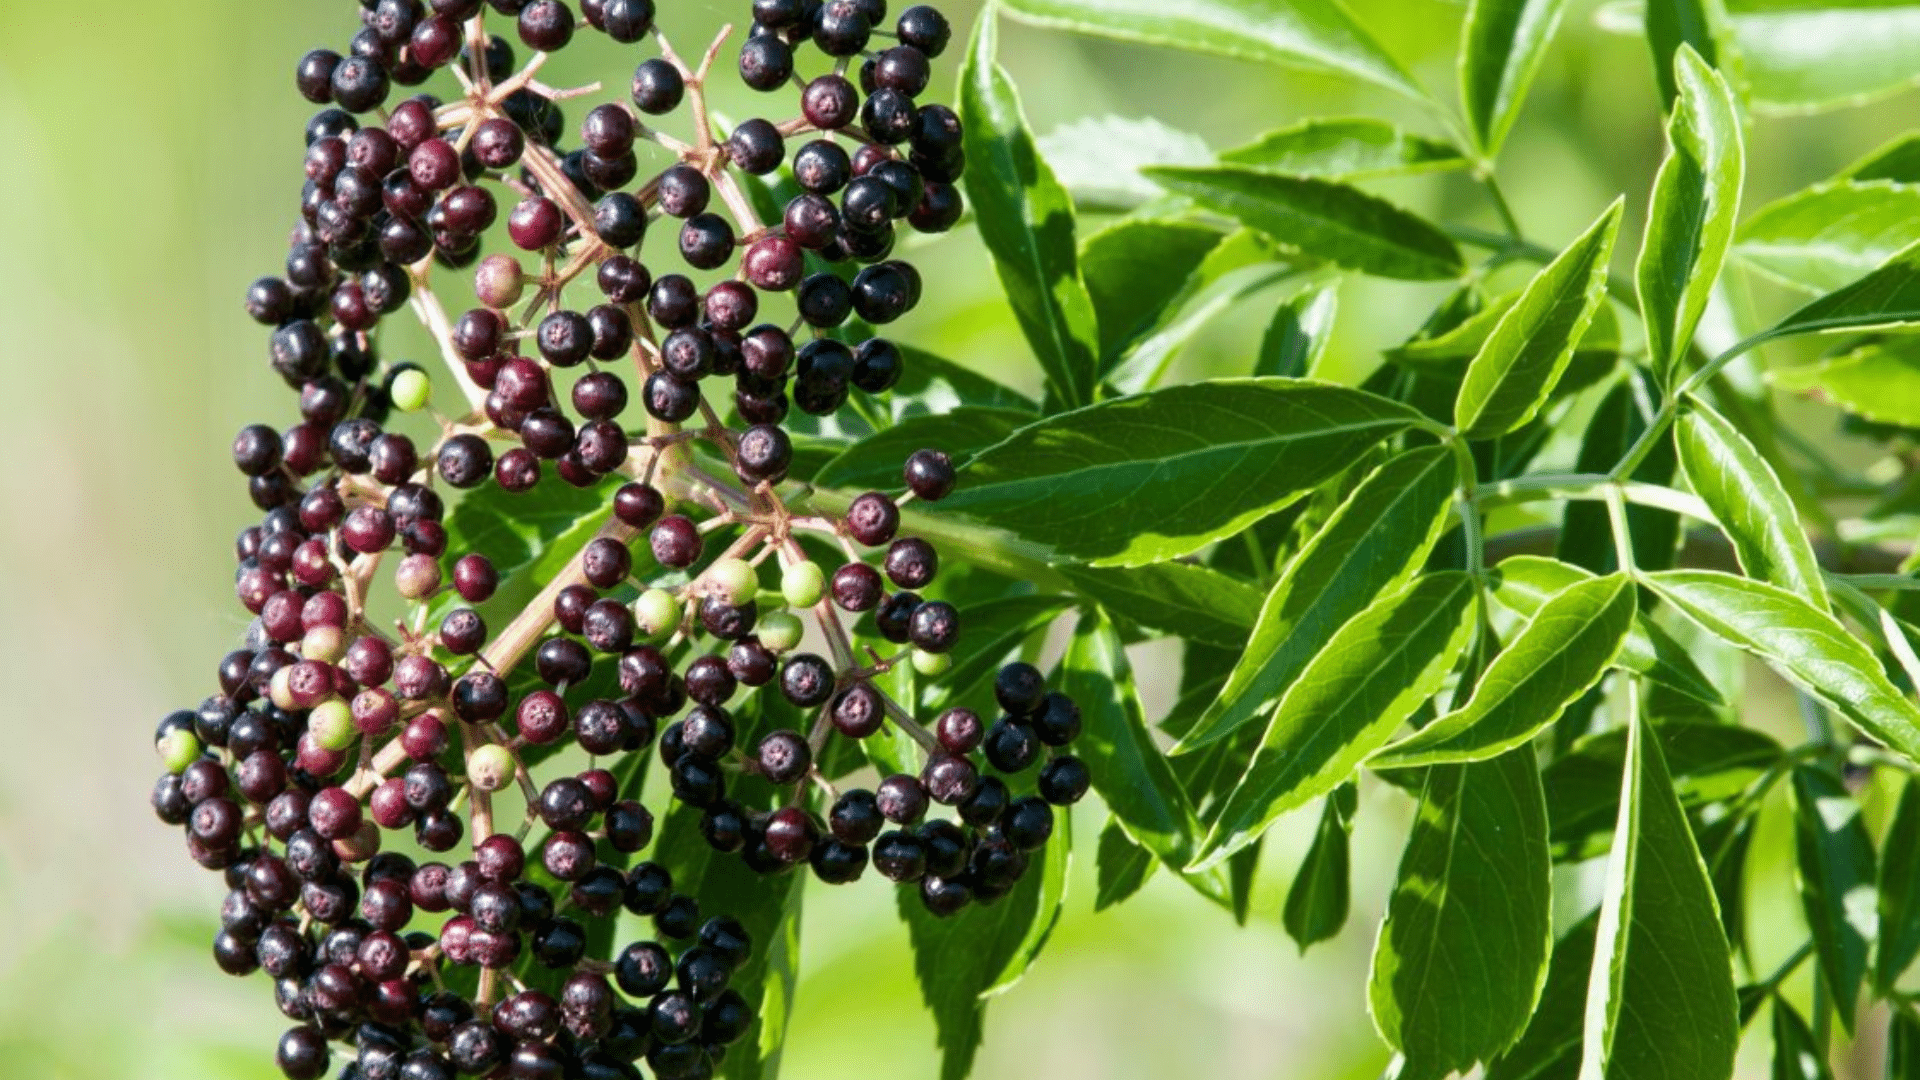
Stage 4: Ripening – Late Summer (August to September)
Over the course of 8 to 10 weeks, the berries begin to ripen gradually, changing from green to reddish-purple and finally to a deep purple-black hue.
This color transformation doesn’t happen all at once—different clusters, and even berries on the same cluster, ripen at different rates.
Stage 5: Harvest – Late August to Early October
By late August through early fall, ripe elderberries hang heavy on their stems. The ideal time to harvest is when the majority of a cluster has turned that rich, almost-black purple and the berries come off the stem with minimal resistance.
Stage 6: Post-Harvest & Dormancy – Mid Fall (October to November)
After the harvest, the plant begins to wind down. Leaves turn yellow or brown and eventually fall. Energy shifts back to the roots as the elderberry enters its dormant phase for winter.
Why This Lifecycle Matters?
Understanding the elderberry’s lifecycle doesn’t just help with harvest timing; it allows you to anticipate care needs, optimize plant health, and make use of every stage.
From flower to fruit, elderberries offer multiple harvest points, each with its own culinary and medicinal value.
Identifying When to Pick Elderberries
After years of elderberry harvesting, I’ve developed a keen eye for spotting perfectly ripe berries. There are specific visual and physical cues that tell me when these little gems are ready to pick.
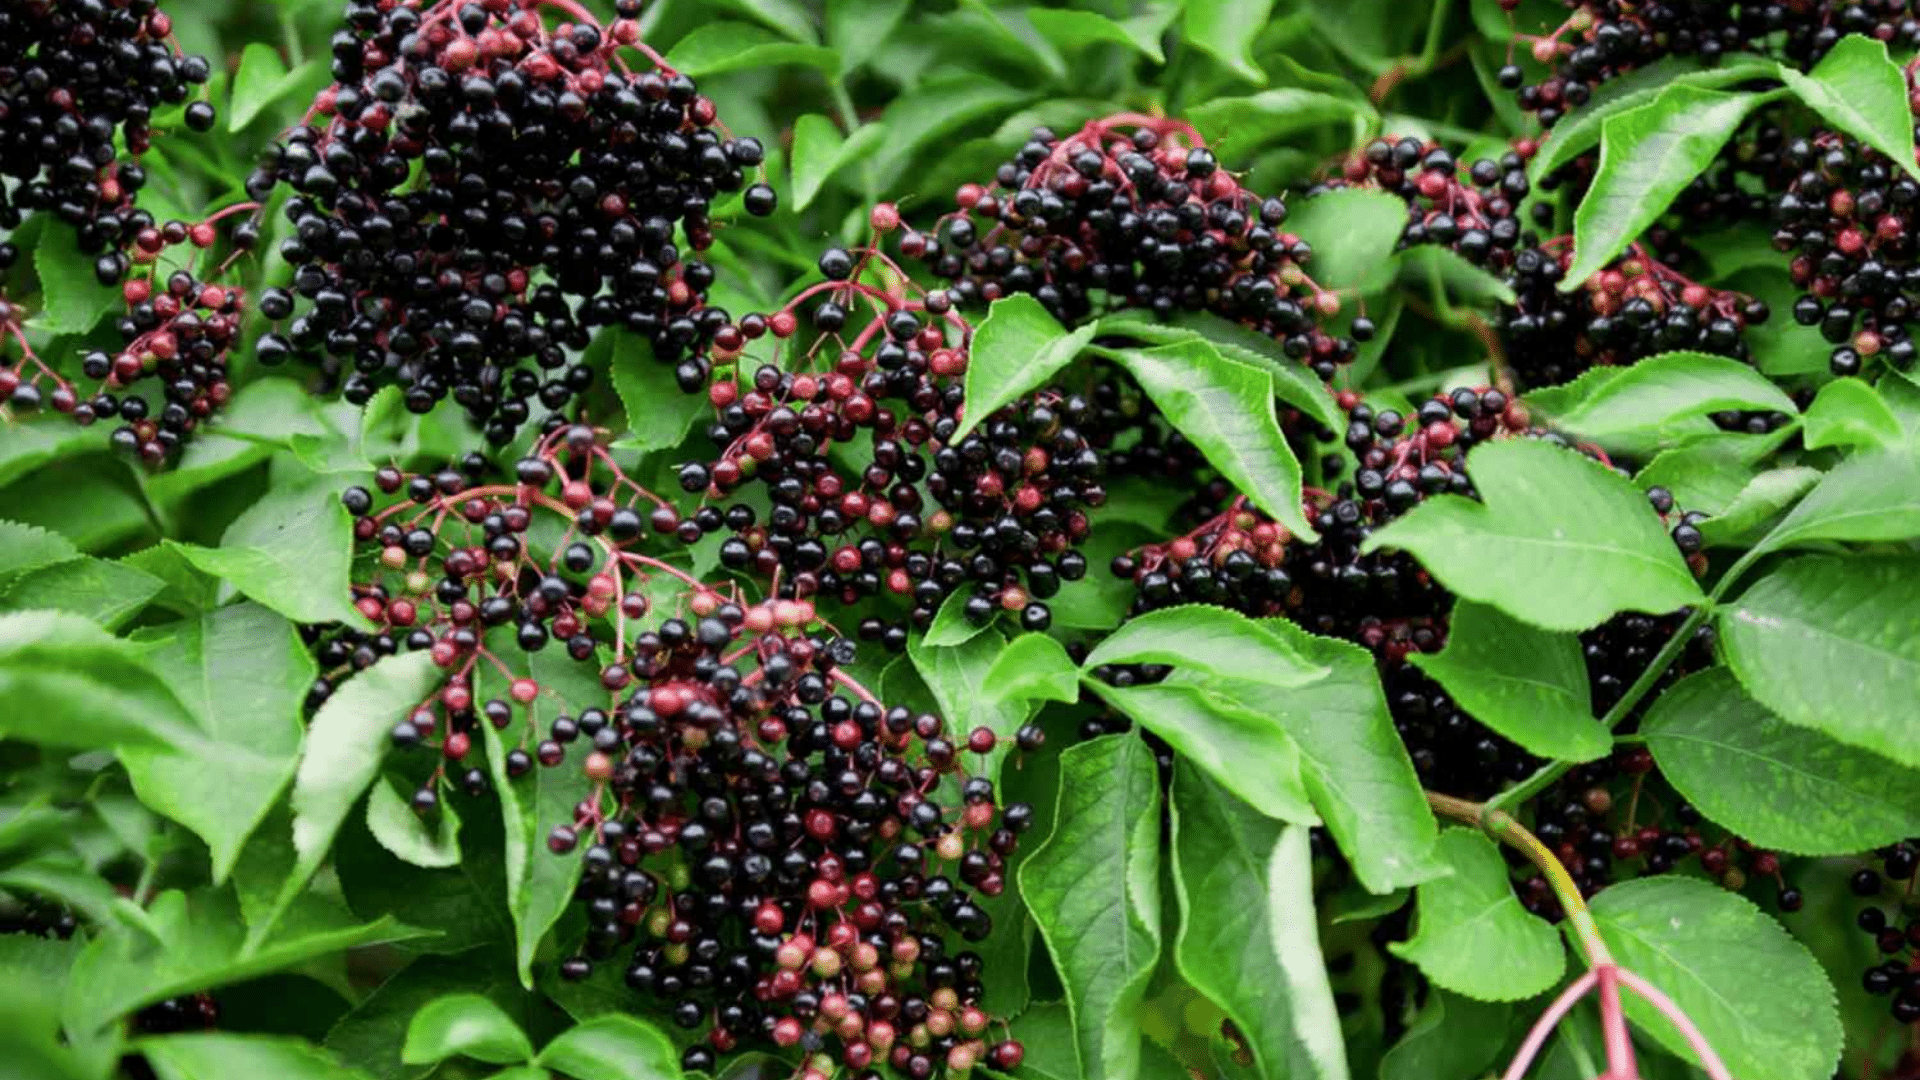
Deep Purple-Black Color Throughout
Ripe elderberries display a consistent deep purple-black color across the entire berry. I avoid any with green, red, or light purple patches since these indicate incomplete ripening.
The darkest berries always taste the sweetest in my experience. When I hold a cluster up to sunlight, truly ripe berries appear almost black with a subtle blue undertone that signals peak maturity.
Glossy Surface with Natural Bloom
I look for berries with a glossy, smooth surface that has a natural waxy bloom coating. This thin, whitish film protects the fruit and indicates freshness.
Dull or wrinkled berries have usually passed their prime. The bloom rubs off easily when touched, revealing the shiny, dark skin underneath. This protective coating helps preserve the berry’s flavor and prevents moisture loss during storage.
Plump Appearance Without Shriveling
Ripe elderberries appear full and rounded, not shrunken or deflated. I can see they’re filled with juice when I examine them closely. Wrinkled or shriveled berries are either overripe or starting to dry out naturally.
The plumpest berries in each cluster are typically the sweetest and most flavorful. I prefer these full, juicy specimens for fresh eating and cooking applications.
Firm Yet Tender to Touch
When I gently squeeze a ripe elderberry between my fingers, it feels firm but yields slightly to pressure. It shouldn’t be rock hard like unripe fruit or mushy like overripe berries.
The ideal texture gives just enough to indicate juiciness while maintaining structural integrity. I can feel the liquid inside the berry moving when I gently roll it, which tells me it’s ready for harvest.
Easy Separation from Stem
Ripe elderberries come off their stems with minimal effort when I twist or pull gently. I don’t need to yank or use excessive force to remove them.
This easy-release mechanism is nature’s way of indicating readiness for harvest. Unripe berries cling tightly to their stems and resist removal. The easiest-to-pick berries are usually the ripest and most flavorful ones available.
Sweet Aroma When Crushed
I crush a single berry between my fingers to release its aroma – ripe elderberries smell sweet and fruity. The scent reminds me of grape juice or wine with floral undertones.
Unripe berries have a green, grassy smell that’s much less appealing. This aromatic test helps me confirm when to pick elderberries when visual cues alone aren’t completely clear or when I’m uncertain about harvest timing.
Harvesting Tips For Elderberries
Knowing when to pick elderberries can make the difference between a frustrating experience and a successful elderberry harvest.
I’ve learned these practical tips through years of trial and error in my garden.
- Cut entire clusters instead of picking individual berries: This saves time and prevents damage to the plant. I use sharp pruning shears to snip clusters with 2 to 3 inches of stem attached for easier handling.
- Harvest on dry mornings after the dew has evaporated: Wet berries spoil faster and are more difficult to process. I wait until mid-morning, when the berries are cool but completely dry, for optimal quality.
- Use shallow containers to prevent crushing: I line my baskets with clean towels and avoid stacking clusters too high. This gentle approach keeps berries intact and prevents juice loss during transport.
- Process within 24 hours for best flavor: Fresh elderberries separate from stems much more easily and maintain peak taste. I clean, freeze, or cook my harvest the same day I pick it.
- Test ripeness on multiple clusters before complete harvest: I check several different areas of the bush since berries don’t all ripen simultaneously. This ensures I’m picking at optimal timing across the entire plant.
- Wear dark clothing to hide inevitable stains: Elderberry juice leaves permanent purple marks on light fabrics. I learned this lesson the hard way and now dress appropriately for harvest day.
- Bring a friend to speed up the process: Two people can harvest much faster than one person working alone. I make it a fun social activity while getting the job done efficiently.
Too Ripe to Eat? Brilliant Uses for Elderberries Past Their Prime
Don’t worry if you missed when to pick elderberries – I’ve been there too! Overripe elderberries still have plenty of uses, and I’ve found creative ways to make the most of every berry on my bushes.
1. Making Elderberry Wine or Vinegar
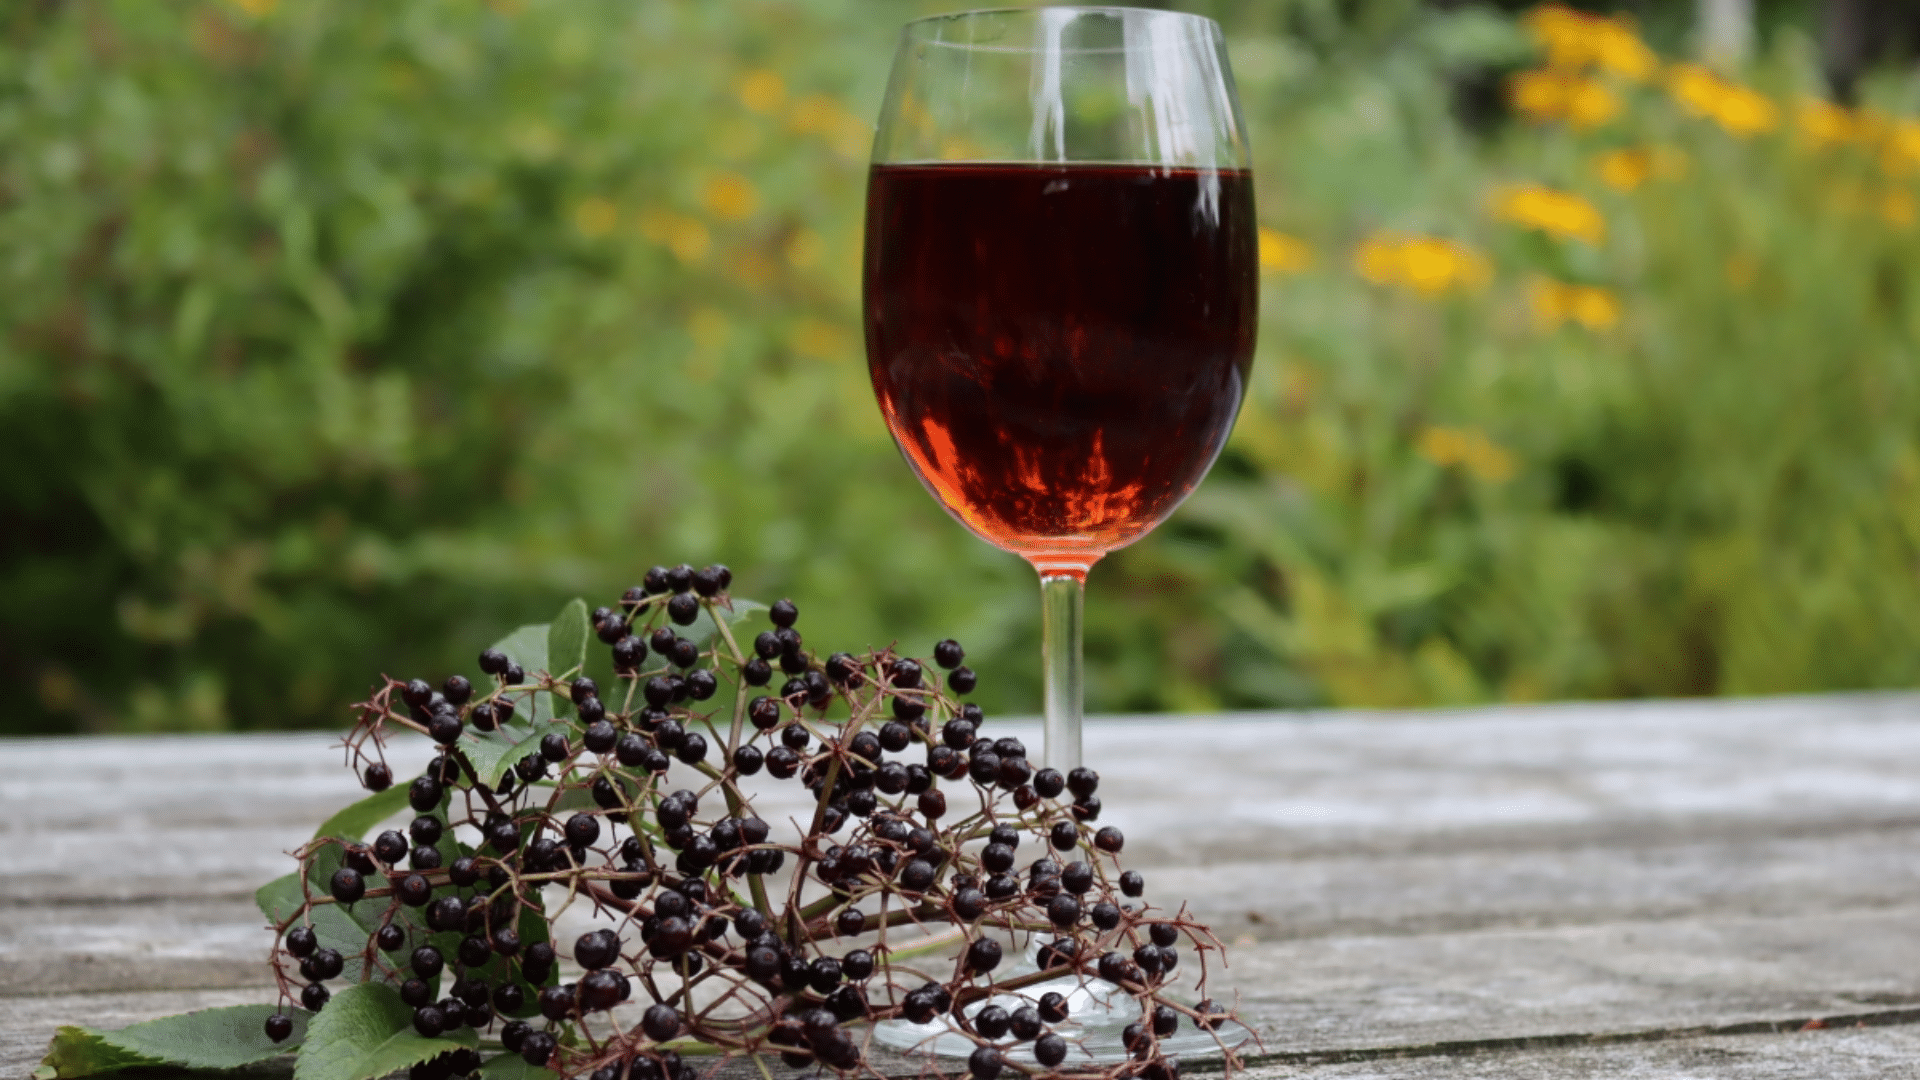
Overripe elderberries are ideal for wine-making, as their higher sugar content aids fermentation. I crush the soft berries and let them ferment naturally, adding yeast for an extra flavor boost.
The slightly mushy texture doesn’t matter for this process. For elderberry vinegar, I combine overripe berries with apple cider vinegar and let the mixture sit for several weeks to develop complex flavors.
2. Creating Concentrated Elderberry Syrup
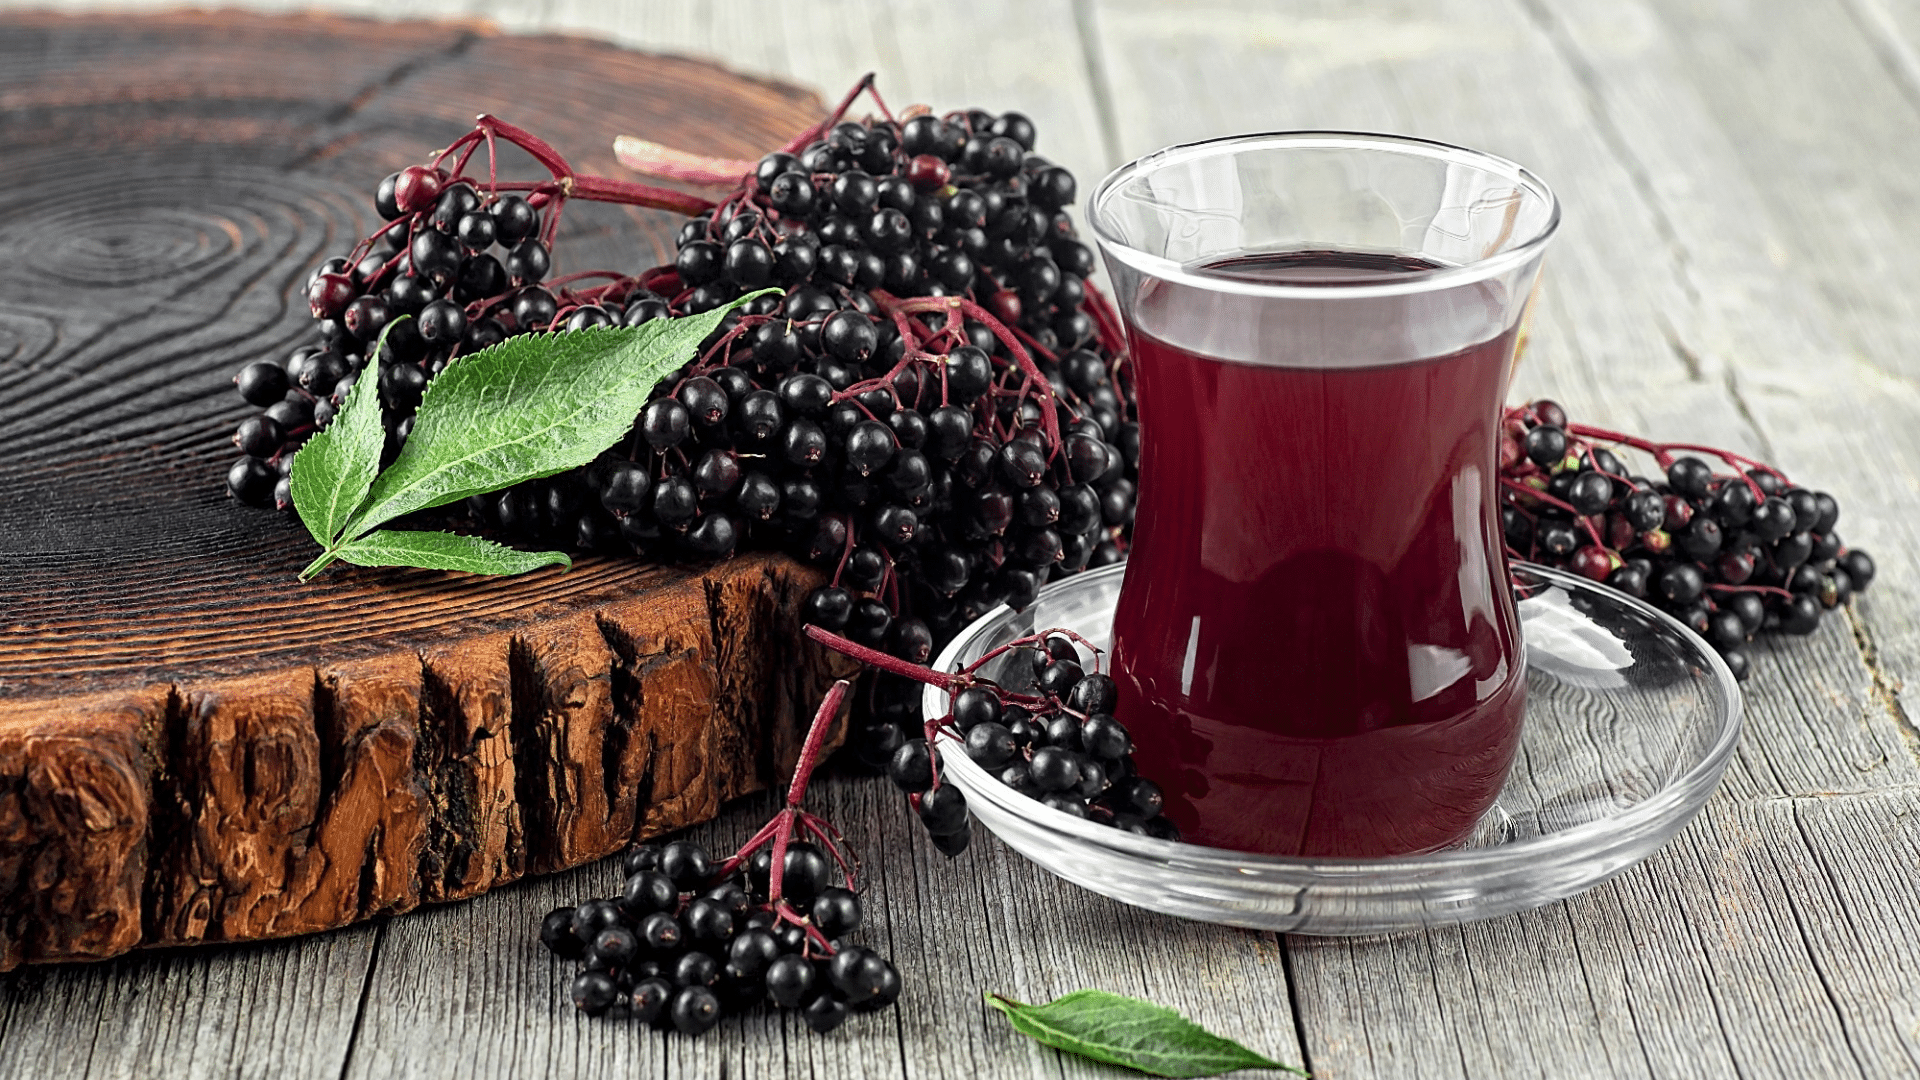
I simmer overripe berries longer to concentrate their flavors into a rich, medicinal syrup. The soft texture breaks down easily during cooking, releasing more juice than firm berries would.
I strain the mixture through cheesecloth to remove any tough skins or seeds. This concentrated syrup has an intense flavor and works great for immune support during the cold season.
3. Natural Dye for Crafts
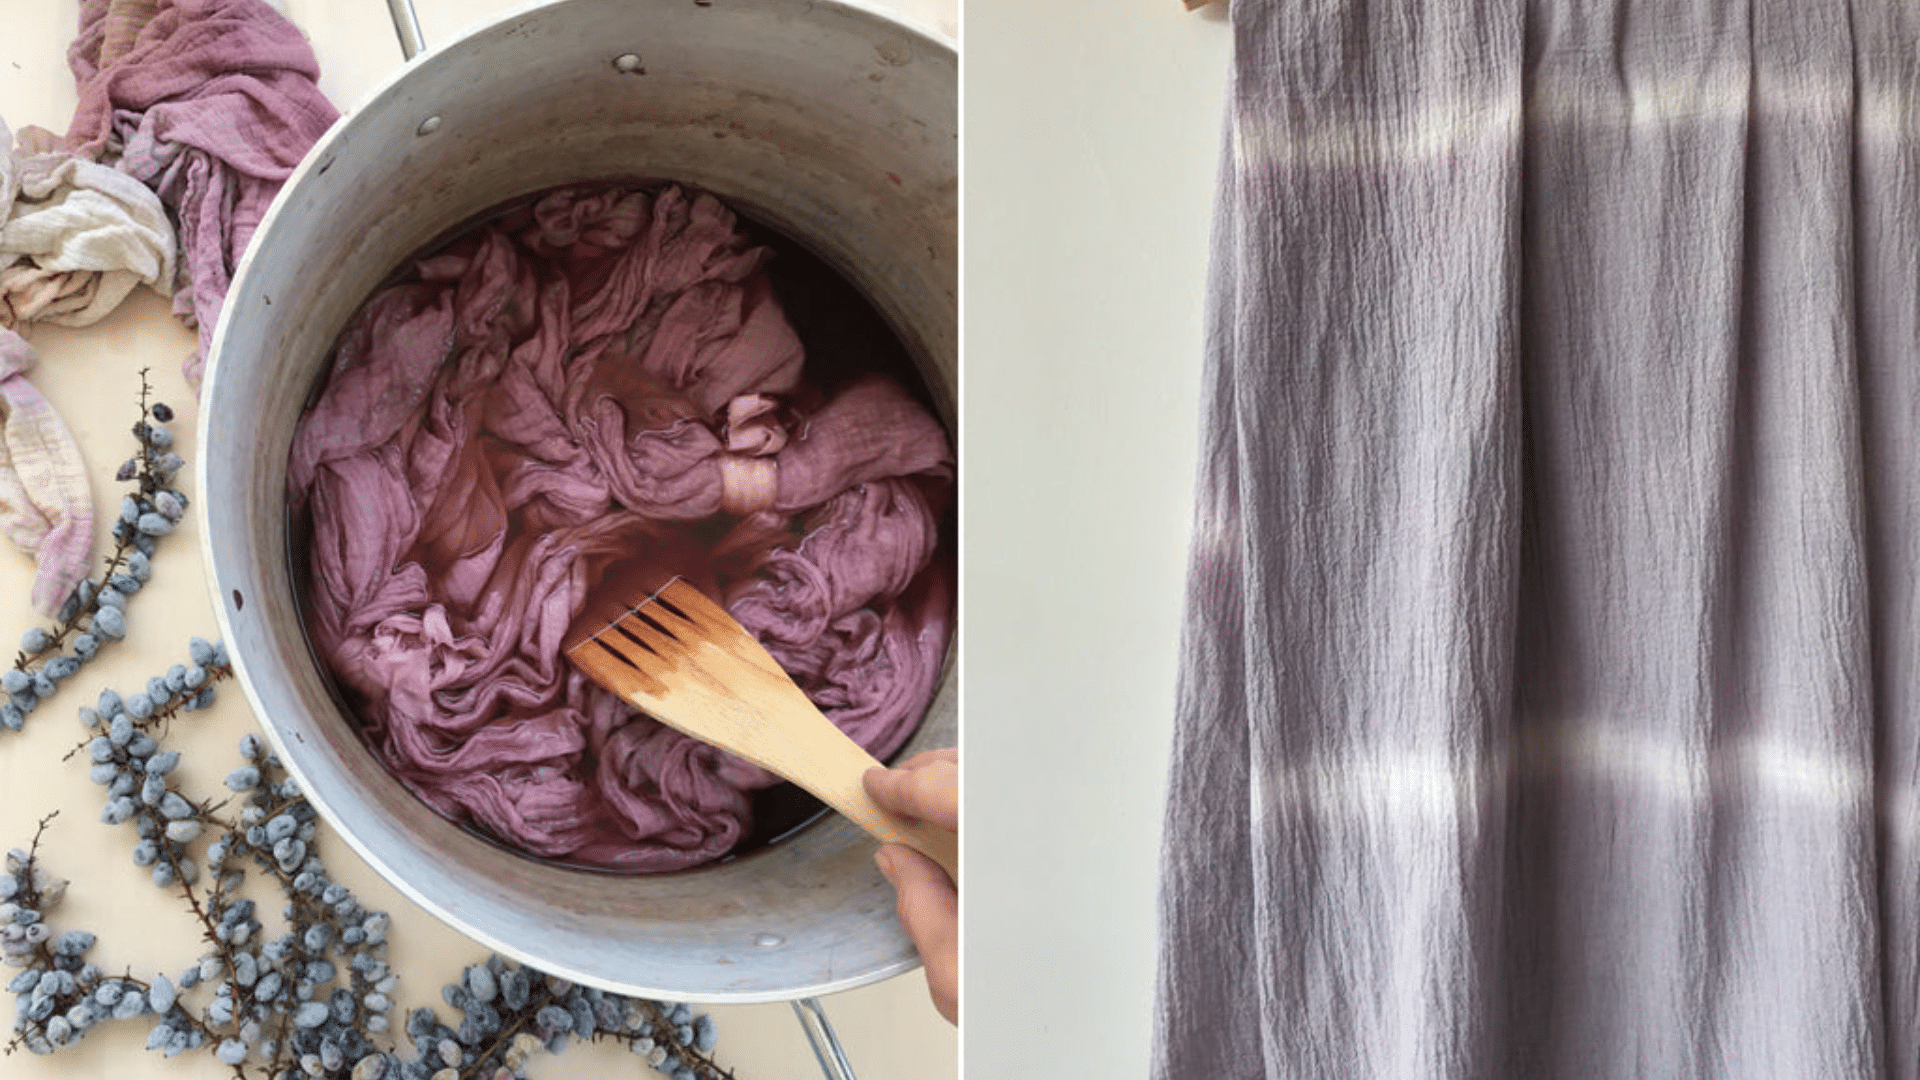
Overripe elderberries produce a beautiful purple dye that I use for fabric projects and natural art. I simmer the berries in water to extract the deep color, then strain out the solids.
This dye works well on cotton, wool, and paper. I add vinegar to help set the color permanently. Even berries that are too mushy to eat create stunning, vibrant colors for creative projects.
4. Wildlife Food Source
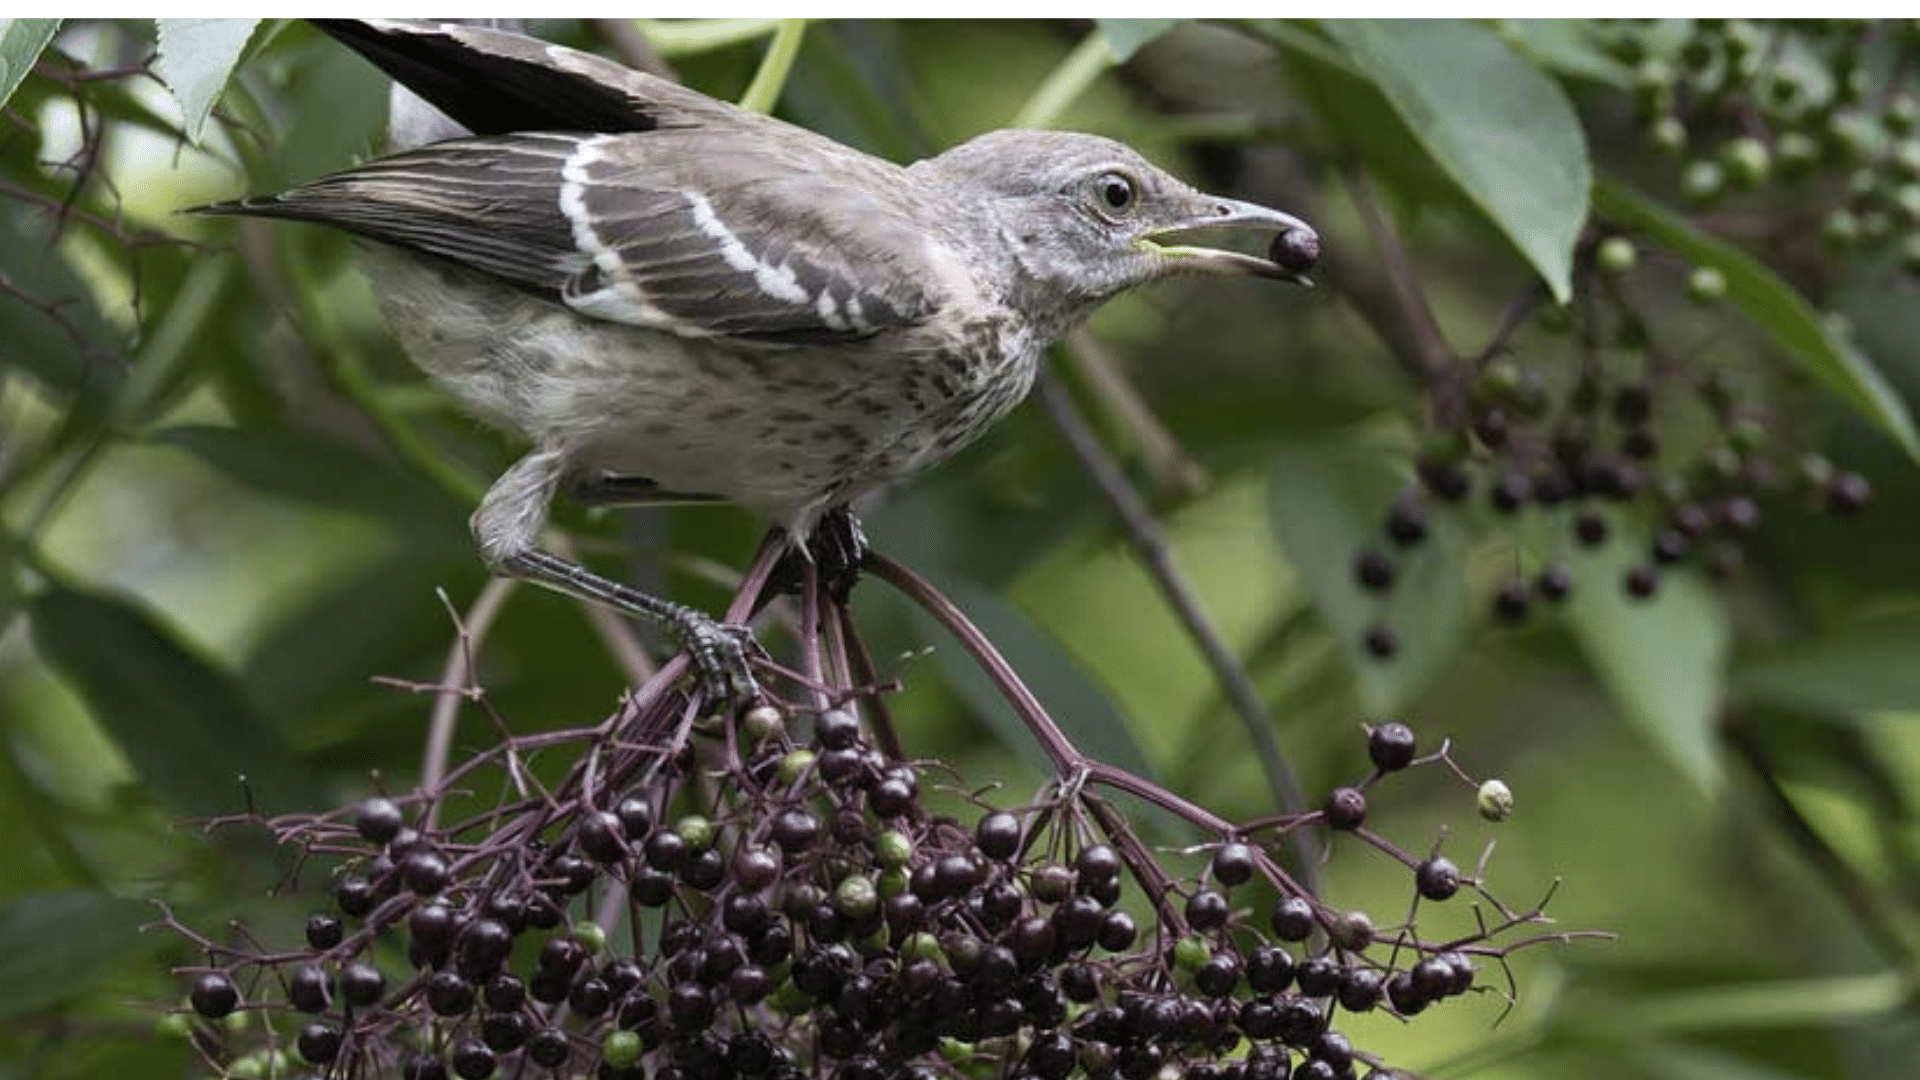
I leave some overripe berries on the bush intentionally to feed local birds and wildlife. Many species depend on elderberries as a fall food source before winter arrives.
This practice also aids in natural seed dispersal, potentially leading to the growth of new elderberry plants in my area. I consider it part of supporting the local ecosystem while managing my harvest in a sustainable and responsible manner.
5. Dried Berry Powder
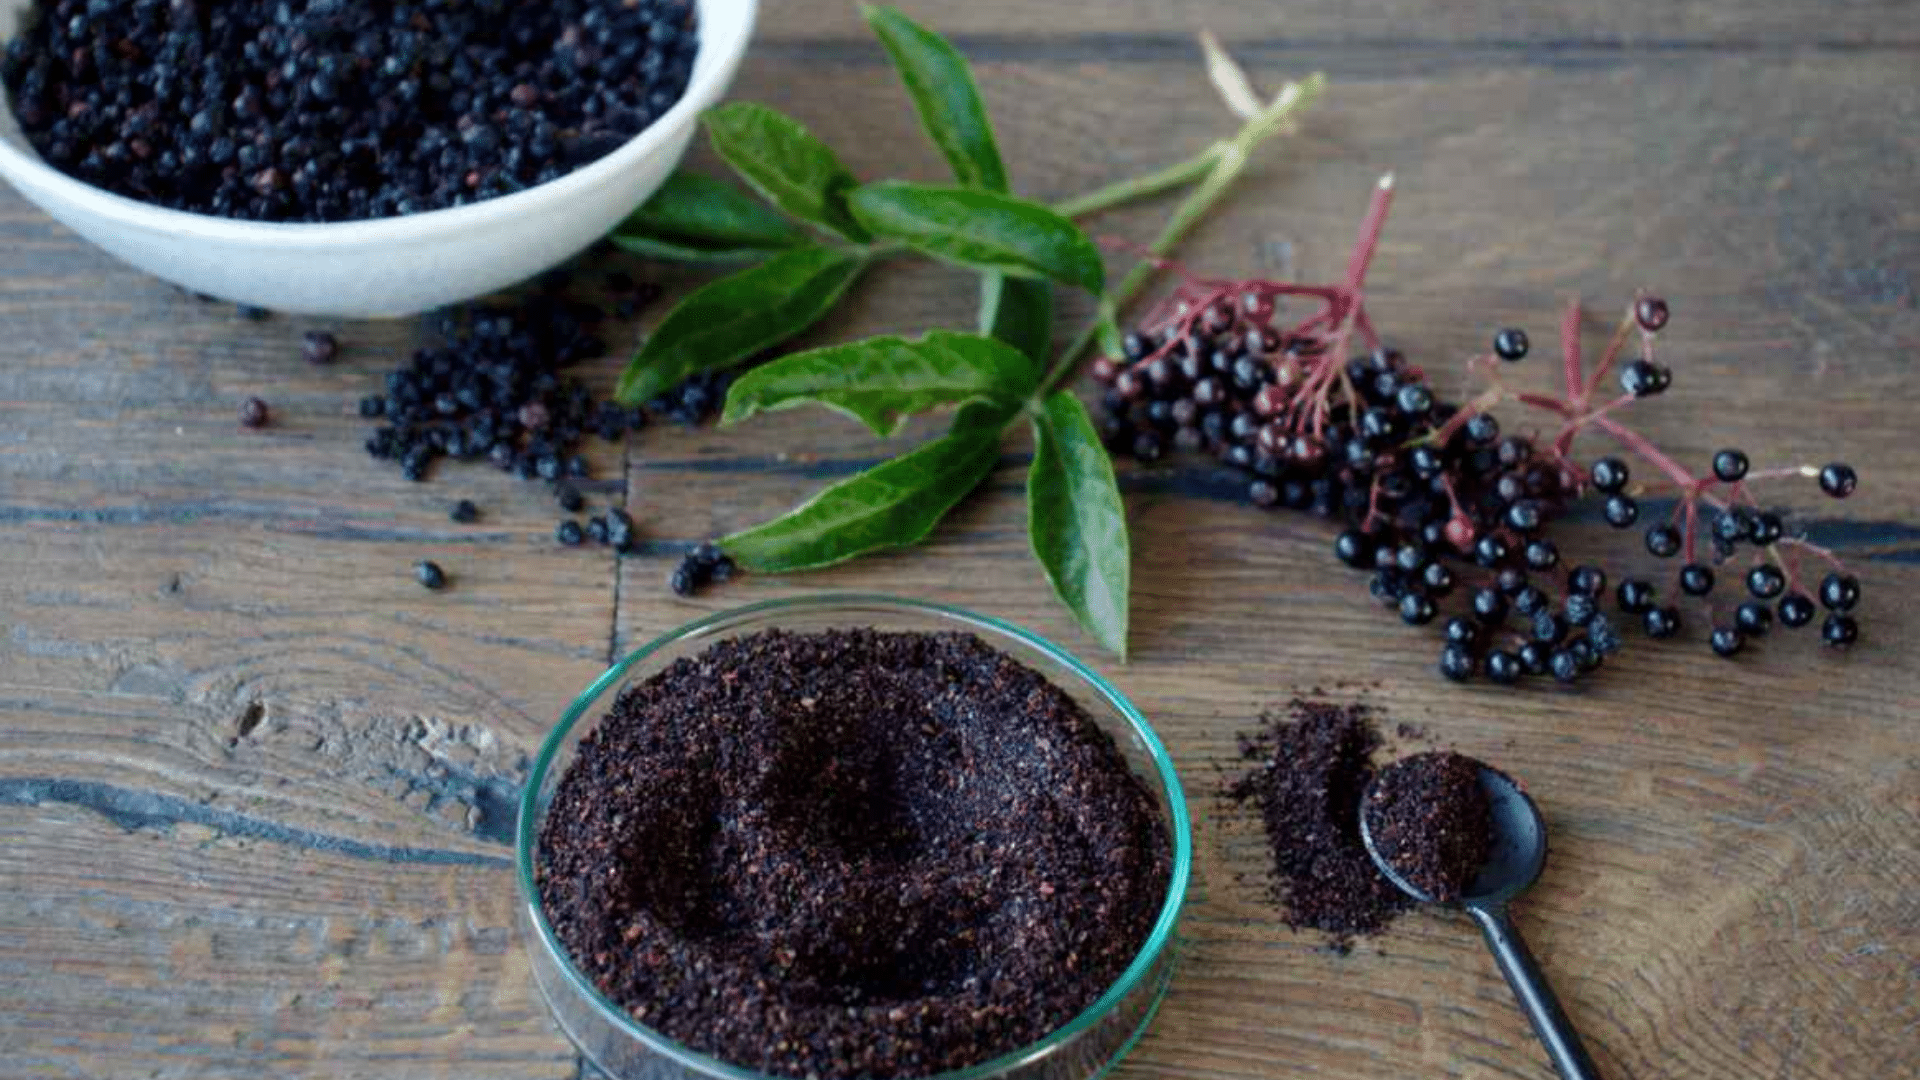
I dehydrate overripe elderberries in my food dehydrator or a low oven until they are completely dry and crisp. Then, I grind them into a fine powder using a coffee grinder or mortar and pestle.
This powder stores well and adds concentrated elderberry flavor to smoothies, baked goods, and teas.
The drying process preserves nutrients while creating a shelf-stable ingredient for year-round use.
Conclusion
Knowing when to pick elderberries and the optimal harvest timing can transform your entire cooking experience.
I’ve shared my tried-and-tested methods for identifying ripe berries, proper harvesting techniques, and post-harvest handling that preserves maximum flavor.
Remember, patience pays off when waiting for that perfect deep purple-black color. Trust your senses – touch, taste, and visual cues work together to guide your decisions.
Start checking your elderberry bushes in late August and harvest on dry mornings for the best results. Now, you’re ready to enjoy homemade elderberry syrup, jam, and wine with confidence.