Ever stared at a worn-out dining table and thought, “Could this beauty be saved?”
Good news: you absolutely can! Whether it’s a family heirloom or a thrift store find with untapped potential, refinishing a dining table is a rewarding and affordable DIY project that can transform your space.
Refinishing isn’t as complicated as it may seem – it’s all about following the right steps and using the right tools.
In this section, we’ll guide you through each step of the process, demystifying the refinishing journey.
By the end, you’ll have the confidence to turn that tired dining table into a stunning centerpiece that adds character to your home.
Ready to roll up your sleeves and refinish your dining table? Let’s get started!
Turning Old Tables into Masterpieces
Furniture restoration is more than a hobby, it’s an art form that transforms forgotten pieces into stunning focal points.
Professional restorers and DIY enthusiasts alike know the magic happens when creativity meets craftsmanship.
What separates a good restoration from a great one? It’s the ability to see beyond surface damage. You’ll learn to read wood’s hidden language, understand its unique character, and bring out its true potential.
From identifying wood types to selecting the perfect finish, this journey is about breathing new life.
Difference Between Refinish, Restore, and Refurbish
When it comes to restoring or enhancing the appearance and function of furniture, appliances, or various items, the terms “refinish,” “restore,” and “refurbish” are often used interchangeably.
However, they each have distinct meanings and involve different levels of work. Understanding the differences can help you make the best decision for your project.
Below is a table that highlights the key distinctions between these three terms.
| Term | Definition | Level of Work | Common Uses |
|---|---|---|---|
| Refinish | To give an item a new surface or finish, typically by sanding and applying a fresh coat of varnish, stain, or paint. | Moderate – Focuses on the surface treatment. | Wooden furniture, floors, and cabinets. |
| Restore | To bring an item back to its original condition by repairing, cleaning, and possibly replacing parts. | Extensive – Involves both repairs and treatments. | Antiques, vehicles, or vintage items. |
| Refurbish | To renovate or update an item to improve its appearance or function, often involving cleaning, repairs, or replacing worn parts. | Moderate – More than just a surface treatment. | Appliances, electronics, or furniture. |
Either you’re giving your furniture a fresh look or breathing new life into an antique, each term represents a different level of involvement and outcome.
Choose the right method to achieve the desired results for your items!
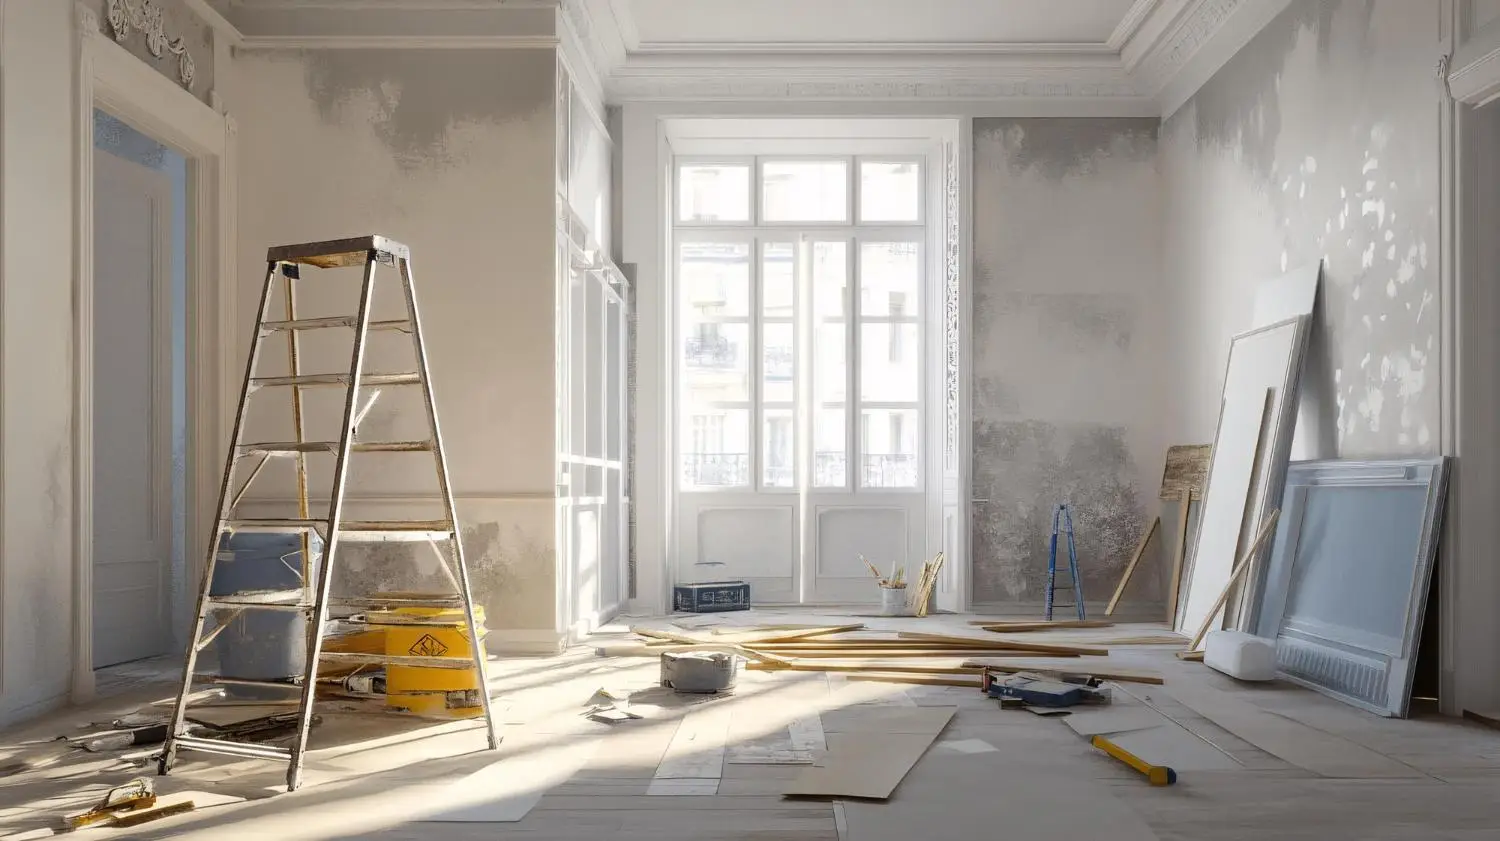
Supplies & Workspace Prep
Before diving into refinishing your dining table, it’s important to gather the necessary supplies and properly prepare your workspace.
Having the right tools and a safe, organized environment will ensure the process goes smoothly and efficiently. Here’s a list of essential supplies and workspace tips to help you get started:
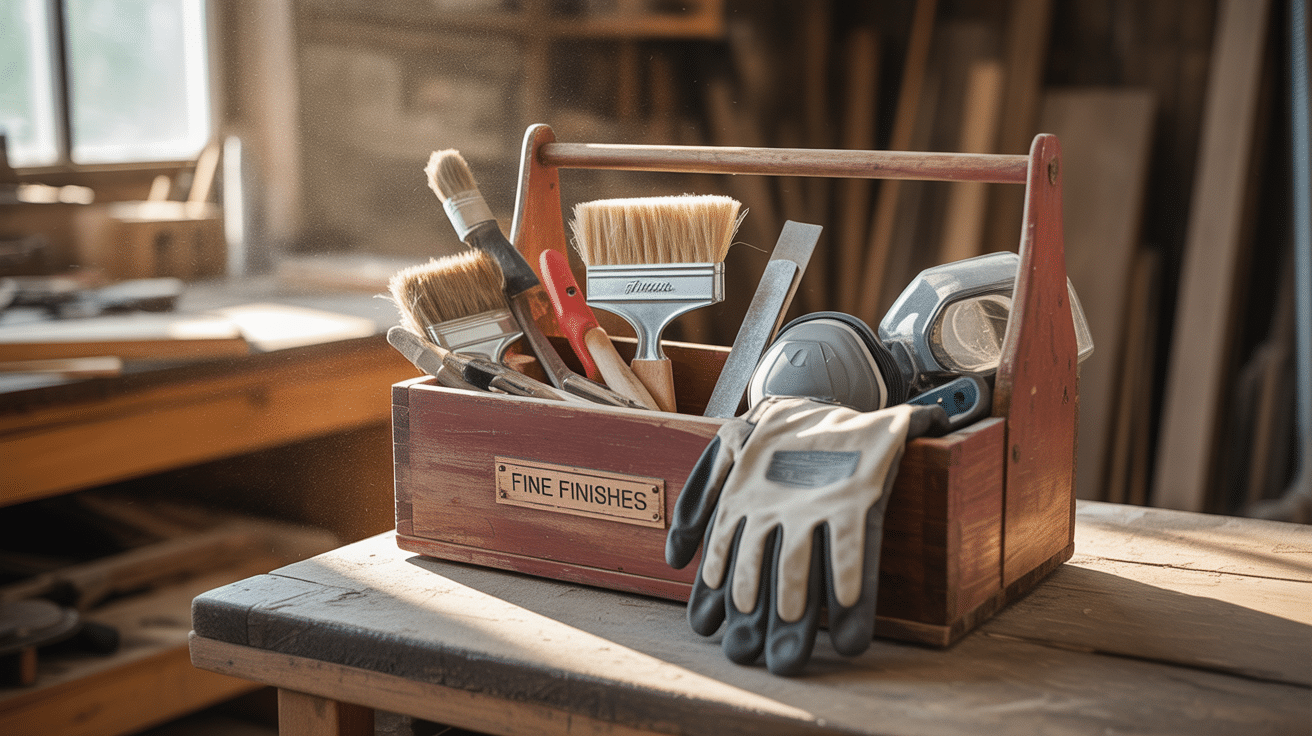
Supplies Needed
- Strippers: To remove the old finish if needed.
- Brushes: For applying stain and polyurethane.
- Scraper: For removing stubborn finish patches.
- Sandpaper: Coarse grit for initial sanding, then fine grit (220) for smoothing.
- Respirator: Protects from fumes during sanding and finishing.
- Gloves: To protect your hands from chemicals and dust.
Workspace Tips
- Ensure good ventilation to avoid inhaling fumes.
- Use drop cloths to control mess and protect surfaces.
- Wear safety gear (goggles, respirator, gloves).
Important Note: Taking the time to set up properly will lead to a cleaner and safer refinishing experience.
Step-by-Step Refinishing Process
Ready to breathe new life into your wooden table?
Our expert roadmap turns complex restoration into an achievable, rewarding DIY adventure.
Step 1: Sand the Tabletop
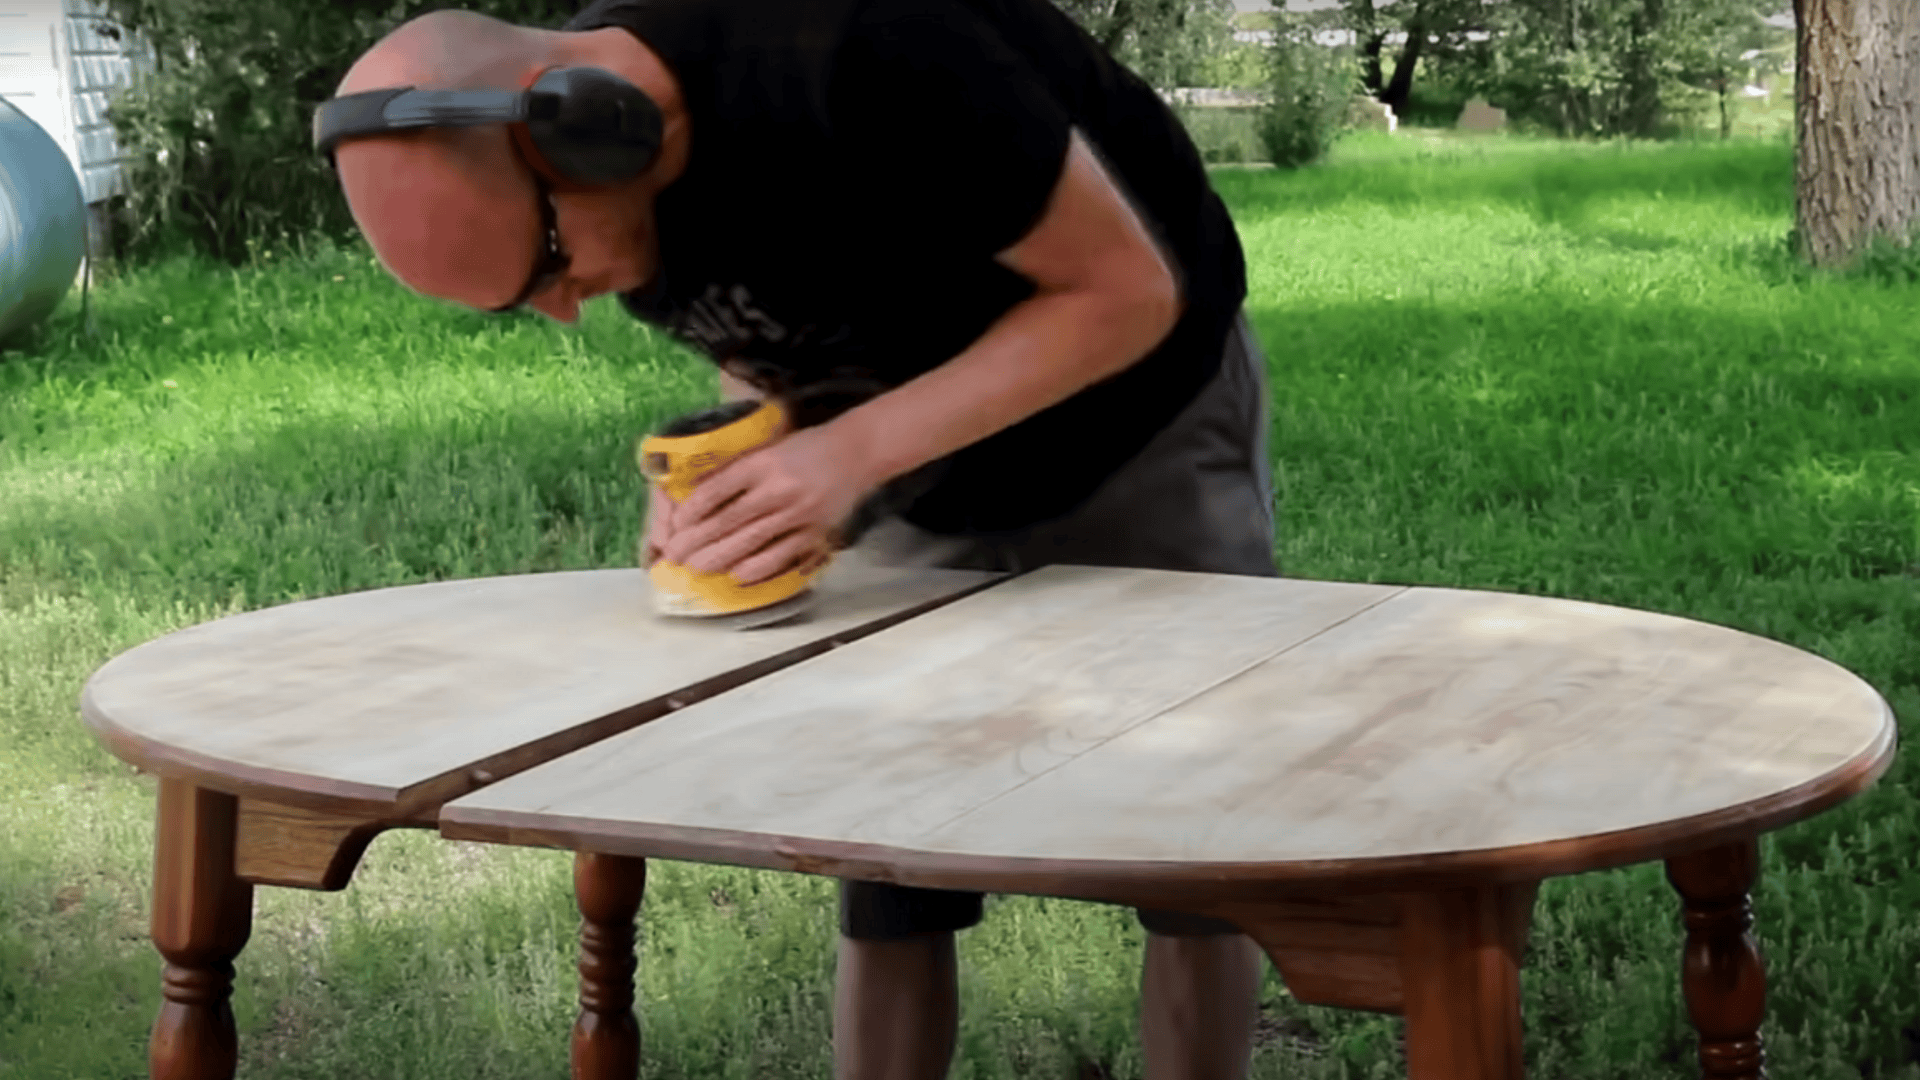
Start by using a random orbit sander with heavy grit paper to remove the old finish.
Focus on sanding the tabletop, not the legs. Sand until the surface is smooth, transitioning to finer sandpaper (220 grit) to refine the surface.
This process can take longer than expected, so be patient and ensure all peeling finish is removed for a fresh base.
Step 2: Apply Stain
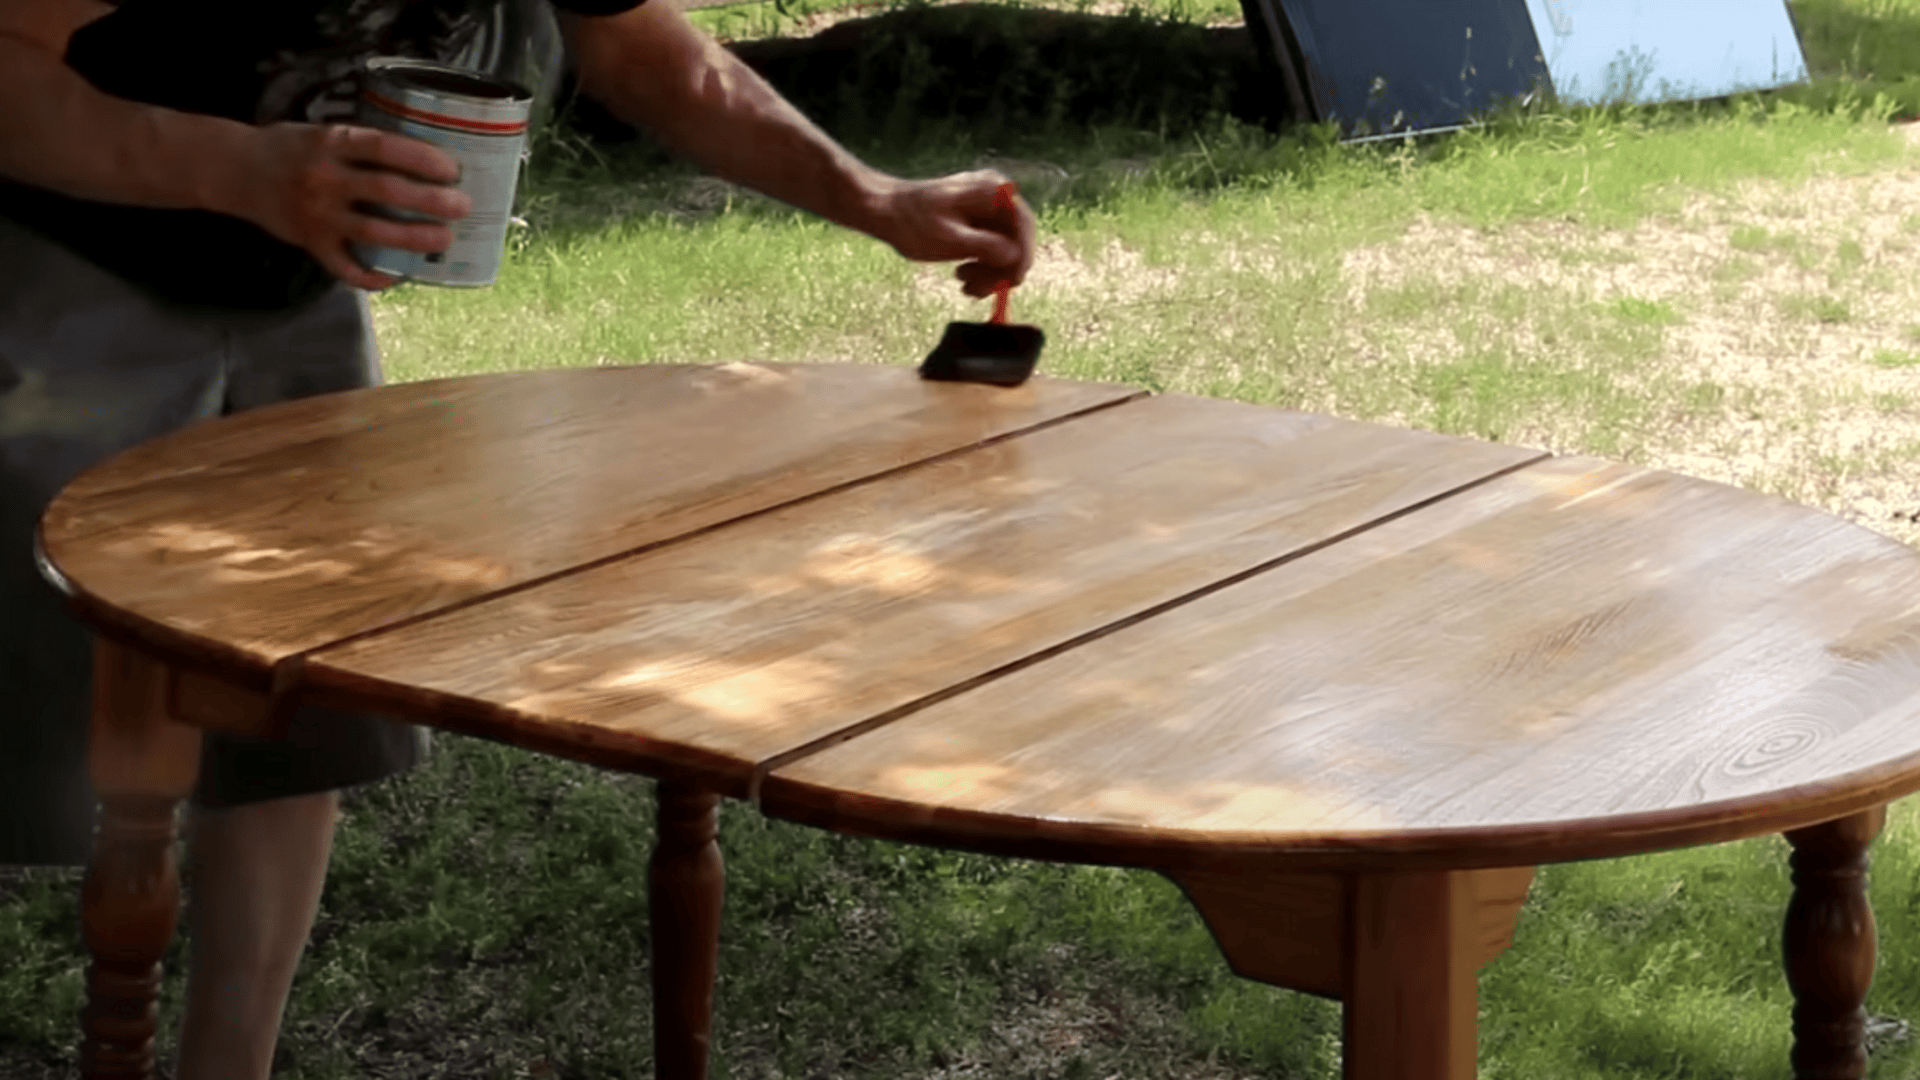
To enhance the color of the table, apply a light stain with a paper towel. This will darken the surface slightly and help the polyurethane finish blend better with the wood.
Wipe off excess stain before moving on to the next step to avoid streaks and uneven color.
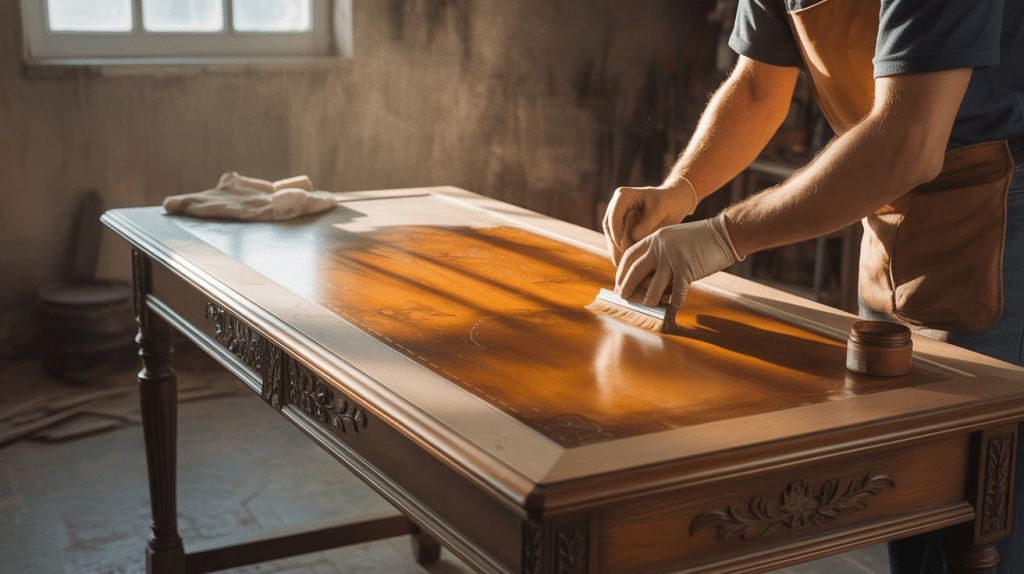
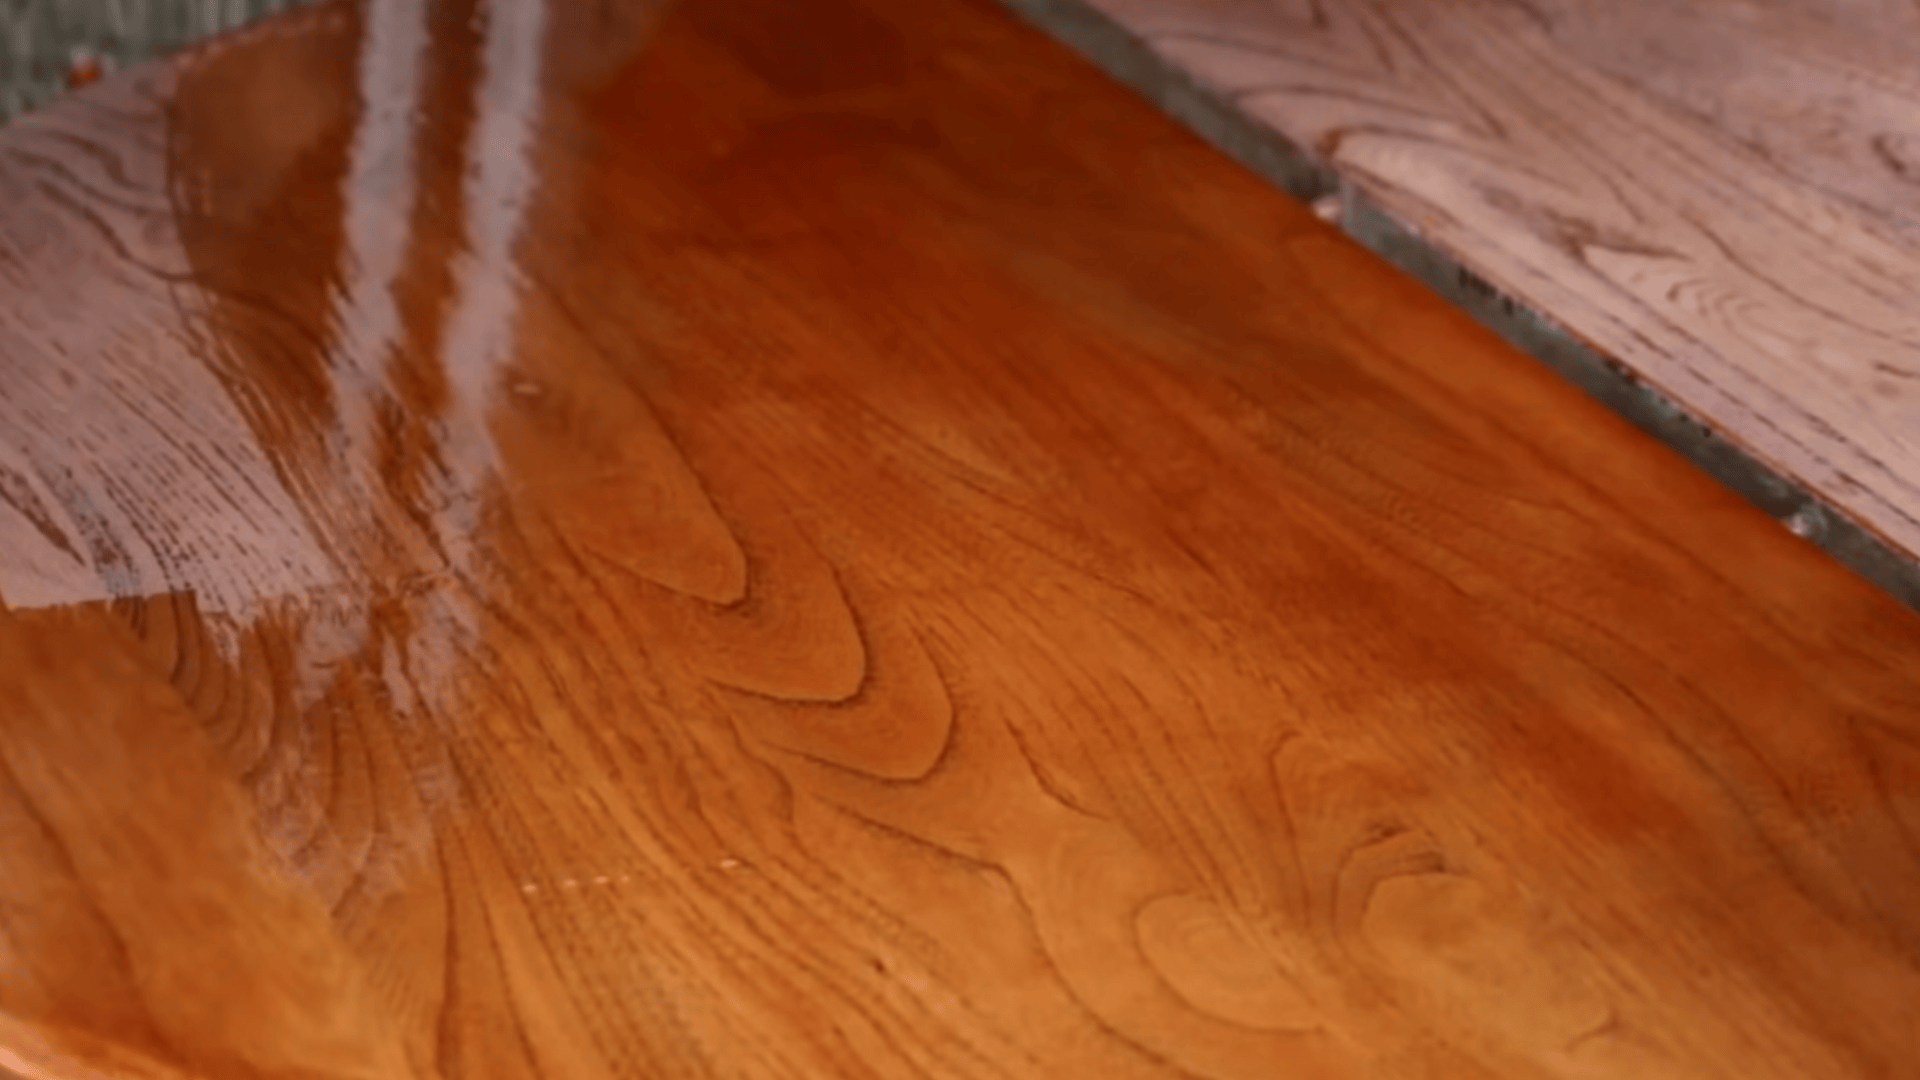
Step 3: Apply Polyurethane
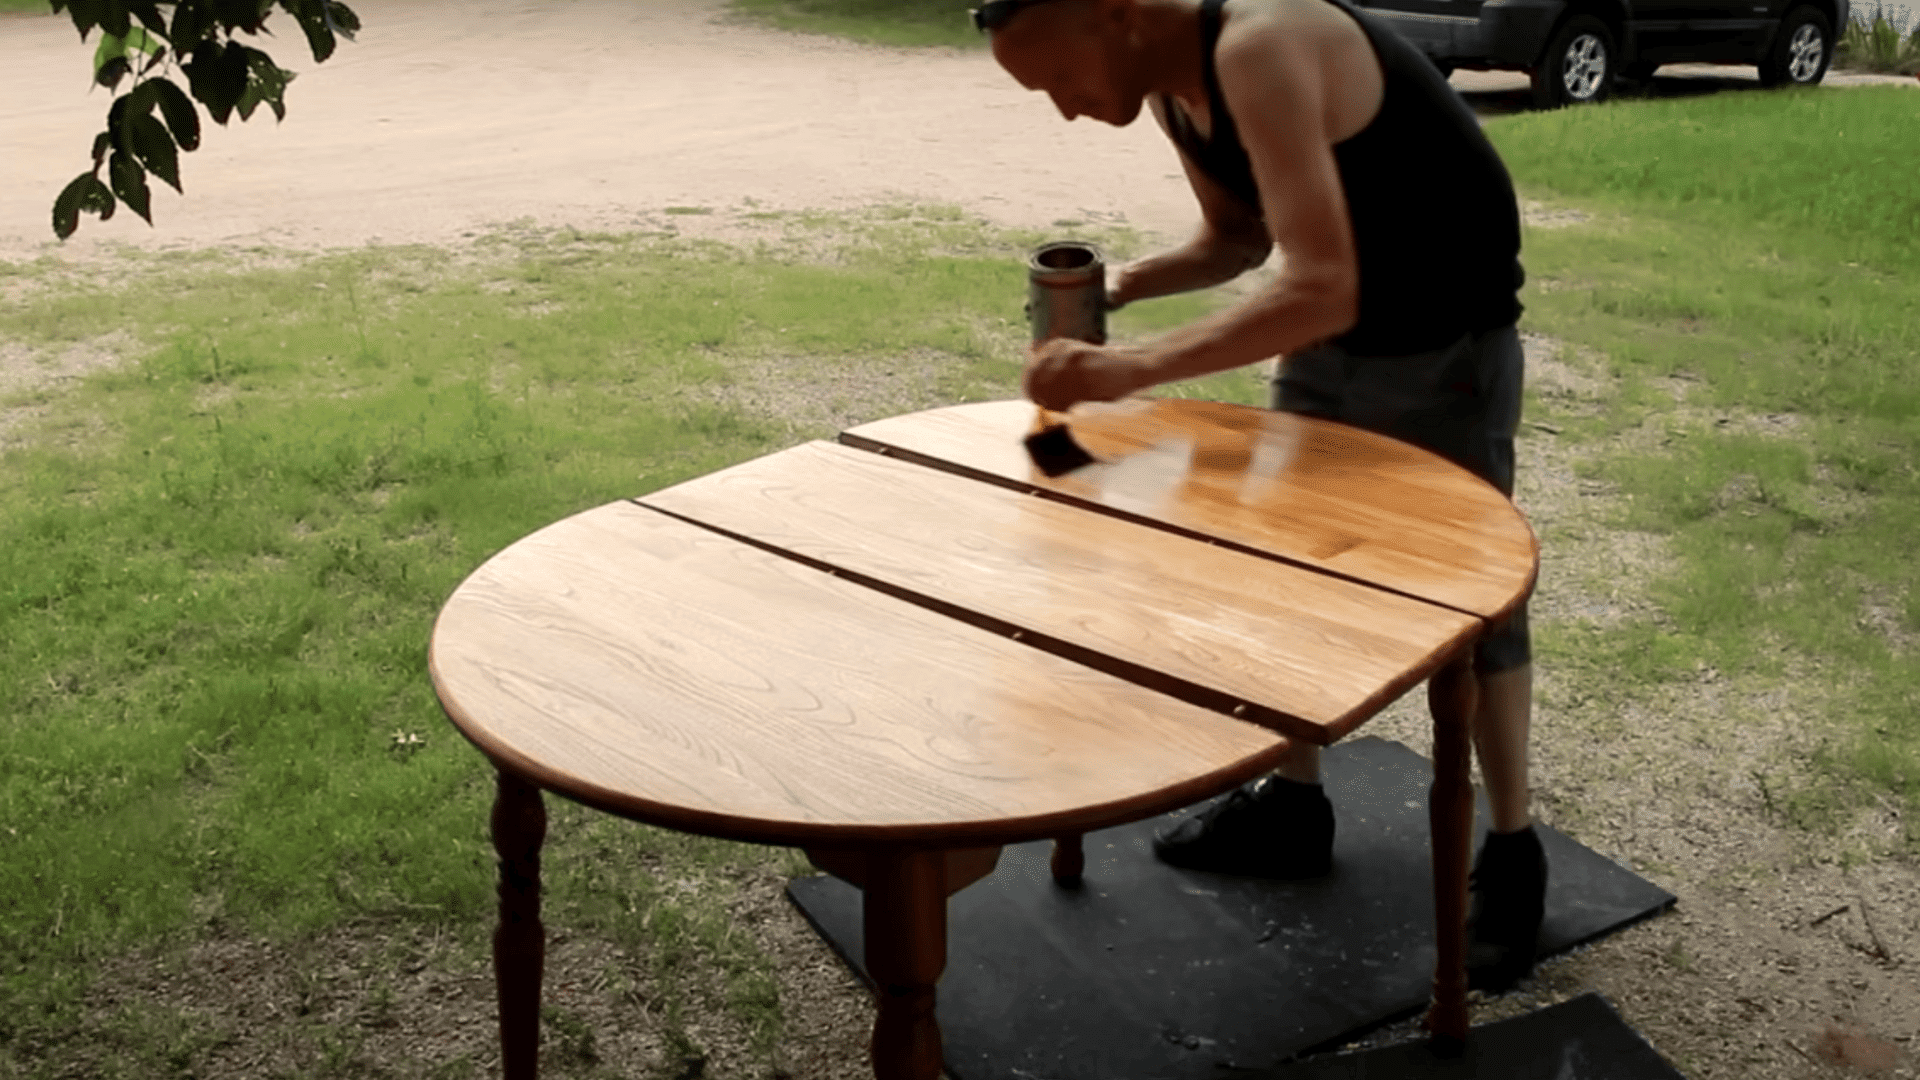
Once the stain has dried, apply the polyurethane using a foam brush. Start with a thin, even coat and use long strokes across the entire surface.
This provides a uniform finish. Allow the polyurethane to dry and then lightly sand it with steel wool before applying additional coats for a smooth finish.
Step 4: Sand Between Coats
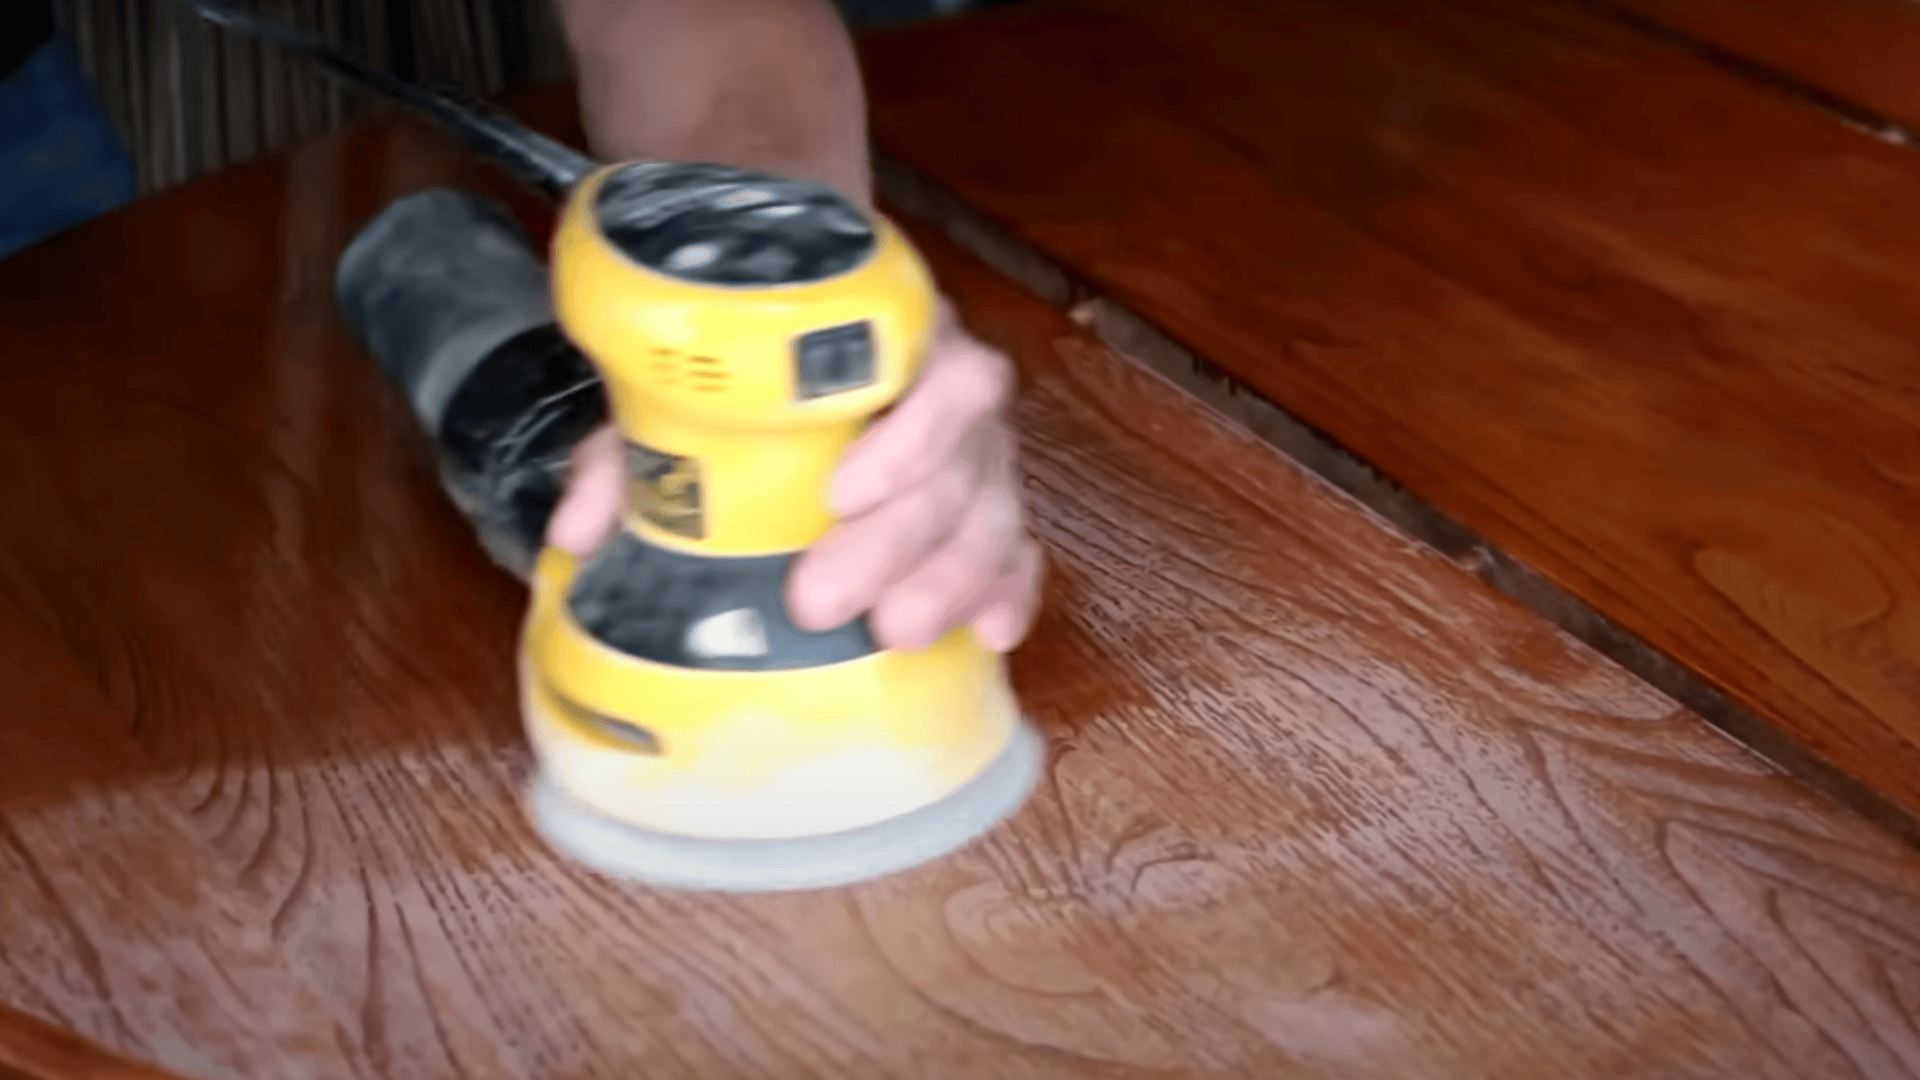
After each coat of polyurethane dries, sand the surface lightly with a fine grit (220) to smooth out any bumps or imperfections. This step ensures a flawless, glossy finish.
Repeat the process with additional coats of polyurethane, sanding between each coat for an even, durable topcoat.
Step 5: Thin the Final Coat
For the final coat, thin the polyurethane slightly with mineral spirits to create a wipe-on finish. This will provide a smoother, more even coat without heavy buildup.
Use a foam brush to apply the thinned polyurethane, ensuring you cover the entire tabletop evenly.
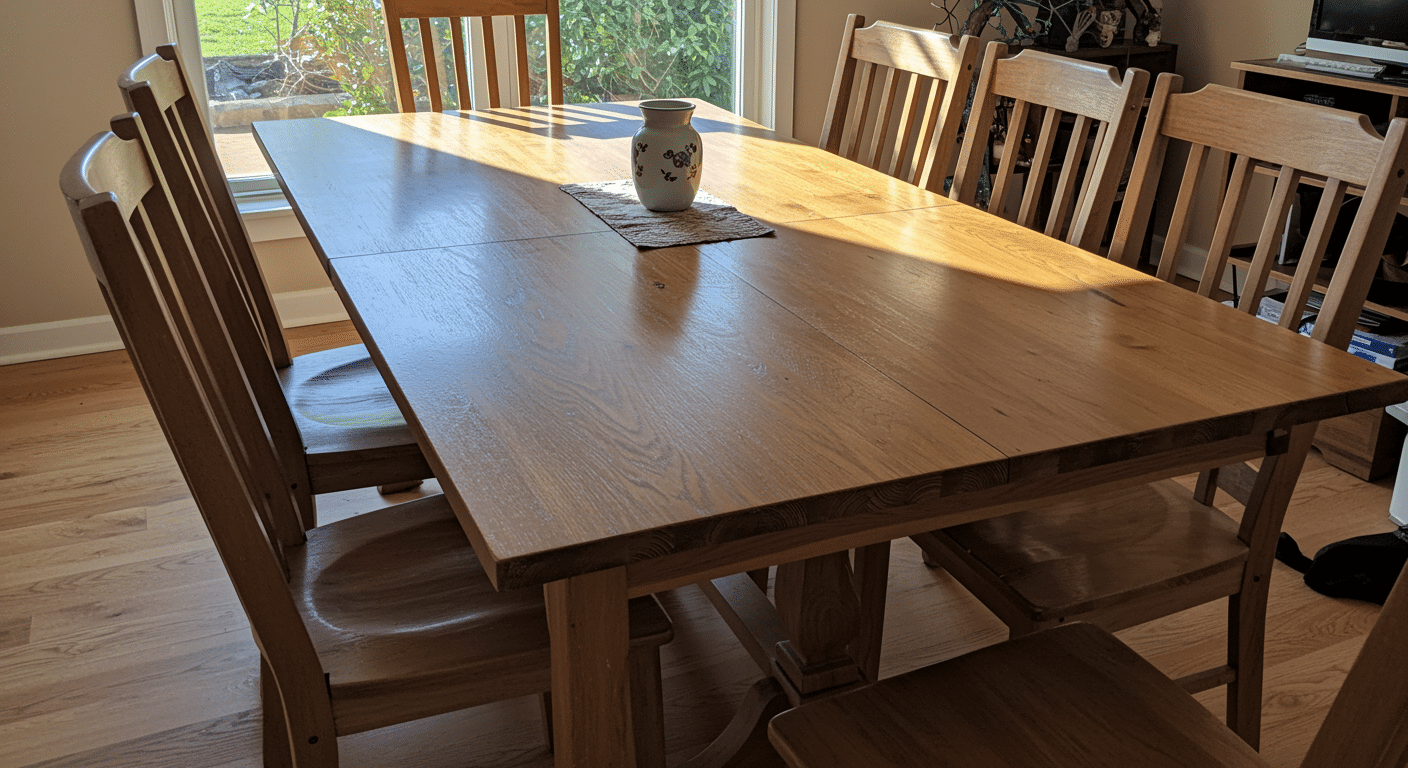
Step 6: Finish and Assemble
Once the final coat of polyurethane is dry, tighten any loose brackets on the table’s legs. Inspect the finish to ensure smoothness and uniformity.
The table is now ready to be moved back into your home for use. The refinished tabletop should look refreshed and more durable.
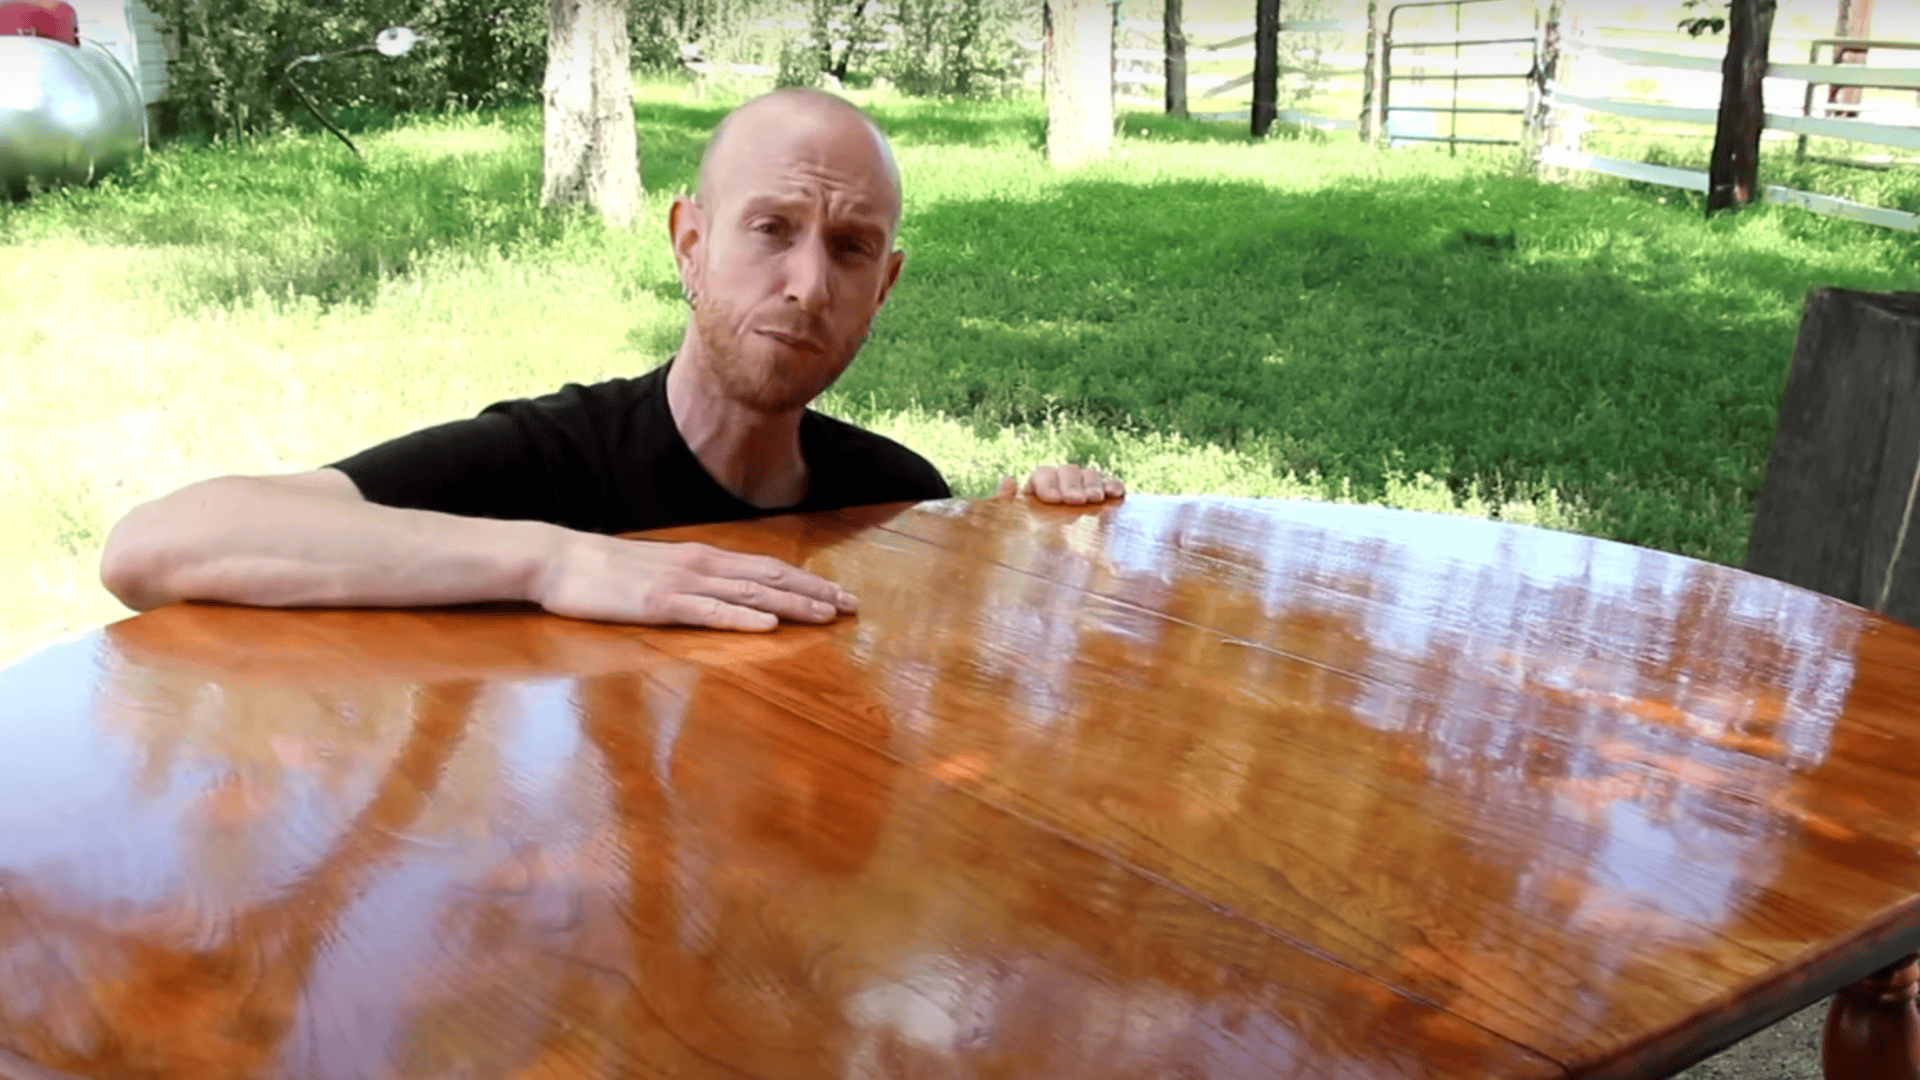
The Reveal: Before VS After
Before
The restoration, the piece seemed like a forgotten whisper of creativity, dulled by years of neglect and wear. Each carefully applied brushstroke felt like resurrection, breathing life into dormant beauty.
As layers of grime dissolved and the original colors emerged, a profound sense of connection to the artwork’s original spirit was revealed.
After
Months of meticulous work, holding the restored piece was like witnessing a miraculous transformation. The effort was unquestionably worth it, not just for the visual revival, but for the intimate travel of understanding and respecting the artist’s original vision.
This wasn’t merely restoration; it was a dialogue across time, a preservation of artistic legacy.
Common Mistakes to Avoid and Maintenance Tips
When refinishing a dining table, there are common mistakes that can affect the final result. Avoiding these pitfalls will help ensure your table looks its best and lasts longer.
Regular maintenance is also key to preserving the finish and keeping the table in good condition. Below is a table outlining common mistakes and maintenance tips:
|
Mistake to Avoid |
Tip to Prevent It |
Maintenance Tip |
|
Using the wrong sandpaper grit |
Start with coarse grit, then work your way to finer grit. |
Sand lightly between coats for smoothness. |
|
Applying too much stain or finish |
Apply thin, even coats. Allow proper drying between coats. |
Wipe up spills immediately to avoid stains. |
|
Rushing the drying process |
Be patient; let each coat fully dry before proceeding. |
Regularly clean with a soft cloth to maintain finish. |
Proper preparation and ongoing care will help your table maintain its refreshed look for years to come.
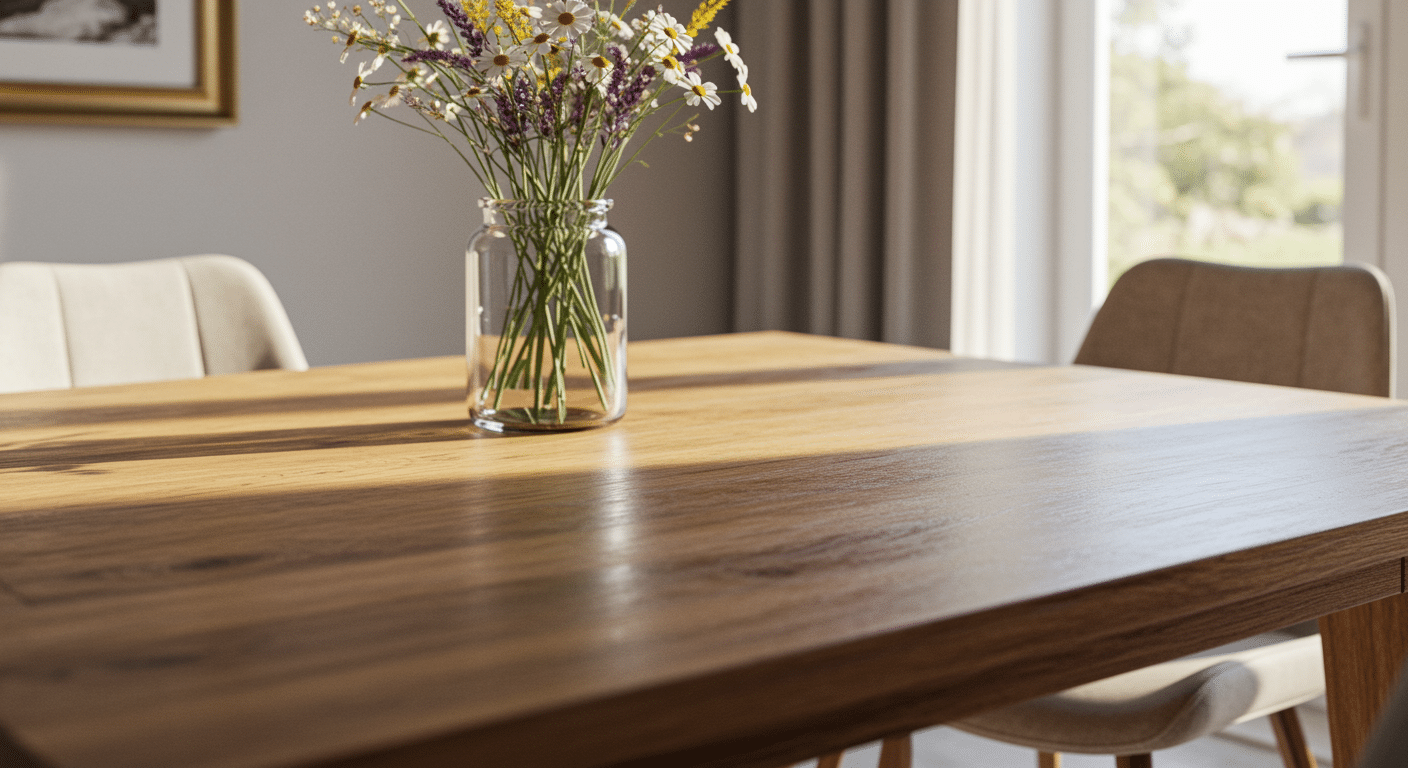
To Conclude
Refinishing your dining table is a fulfilling project that can transform an old, worn-out piece into something beautiful.
By using the right tools and following the proper steps, you can achieve a smooth, durable finish. Avoid common mistakes, such as overapplying the finish or hurrying the drying time.
Regular upkeep, such as light cleaning and occasional touch-ups, will ensure your table remains in top condition.
With a bit of patience and care, you’ll have a revitalized dining table that looks as good as new, improving both the look and longevity of your space.