I know how frustrating it can be when your brick house looks outdated or doesn’t match your style vision. Many homeowners feel stuck with their brick’s original color and think major renovations are the only solution.
Whitewashing your brick house is an affordable way to transform its appearance completely. You can achieve that fresh, modern look without breaking the bank or hiring expensive contractors.
In this blog, I’ll walk you through every step of whitewashing your brick house. You’ll learn about steps to whitewash brick house and creative design ideas.
I’ll also share maintenance tips to keep your whitewashed brick looking great for years.
Benefits of Whitewashing a Brick House
Whitewashing your brick house offers more than just a visual upgrade. I’ve seen how this simple technique can completely change a home’s character while providing practical benefits too. The following are benefits of whitewash brick house.
- Cost-effective transformation: You’ll spend a fraction of what major renovations would cost while achieving dramatic results
- Improved curb appeal: Your home will look fresh and modern, potentially increasing its market value
- Better light reflection: Whitewashed surfaces bounce more light around your exterior spaces, making them feel brighter
- Versatile style options: You can create anything from rustic farmhouse to contemporary looks, depending on your technique
- Protects the brick: The whitewash acts as a protective layer against weather damage and moisture
- Easy maintenance: Touch-ups are simple and inexpensive when needed over time
- Breathable finish: Unlike paint, whitewash allows brick to breathe naturally, preventing moisture buildup
- Customizable opacity: You control how much original brick shows through for your desired effect.
Step-By-Step Process: Whitewash Red Brick Exterior
Whitewashing a brick house gives it a timeless charm while preserving its character. It’s a rewarding DIY project that softens red brick and brightens your home’s exterior.
Follow these five easy steps to achieve a beautiful, lasting whitewash brick finish.
Step 1: Clean and Prep the Brick Surface
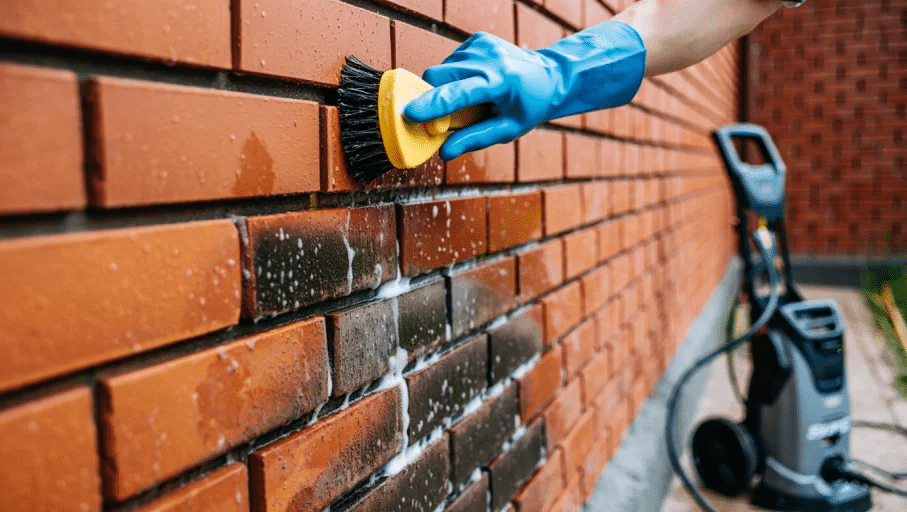
Before I started whitewashing, I gave the brick surface a deep clean. I used a stiff brush and a solution of water and mild detergent to scrub off dirt, moss, and any old paint residue.
For stubborn grime, I gently power-washed the bricks, then allowed them to dry completely for 24 to 48 hours. Clean bricks ensure the whitewash adheres properly and lasts longer, so I didn’t rush this part; it’s the foundation of a great finish.
Step 2: Protect Surrounding Areas
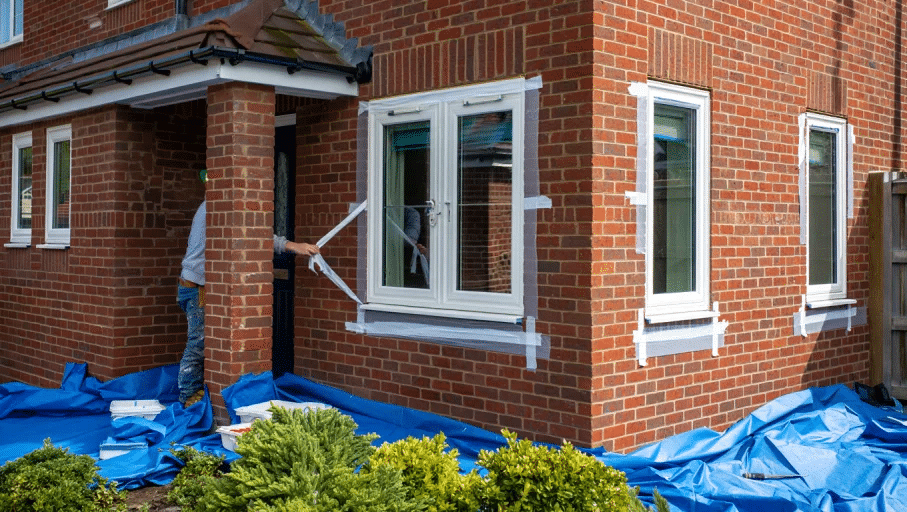
I protected the windows, doors, trim, and landscaping before starting. I used painter’s tape to cover any edges I didn’t want whitewashed and laid down drop cloths to shield the ground and shrubs.
Brick is porous and splashes can stain easily, so this step saved me cleanup time later. It also gave me the freedom to apply the whitewash confidently, knowing everything important was safely covered and protected.
Step 3: Mix the Whitewash Solution
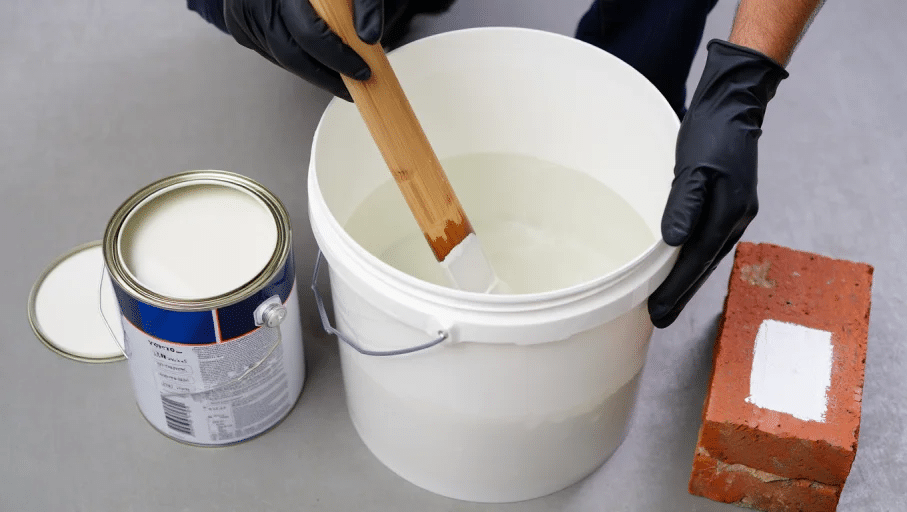
To make the whitewash, I mixed equal parts of water and white latex paint in a large bucket. I stirred it thoroughly until the mixture was smooth and consistent.
Depending on the opacity I wanted, I adjusted the ratio, more water for a sheer look, more paint for heavier coverage. I tested it on a small, inconspicuous patch of brick first. Once satisfied, I was ready to move forward with confidence.
Step 4: Apply the Whitewash to the Brick
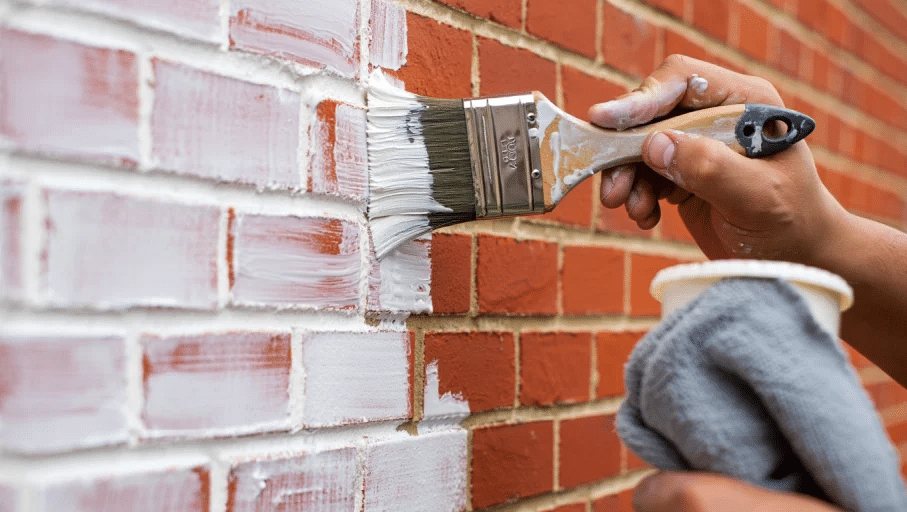
Using a large brush, I applied the whitewash in small sections, working it into the brick and mortar evenly. I avoided rollers since they don’t reach into crevices well.
As I brushed, I wiped away excess paint with a rag for a more natural, weathered look. Working in manageable areas helped me control the finish. I stayed consistent with my technique, so the wall looked cohesive from corner to corner.
Step 5: Let It Dry and Touch Up as Needed
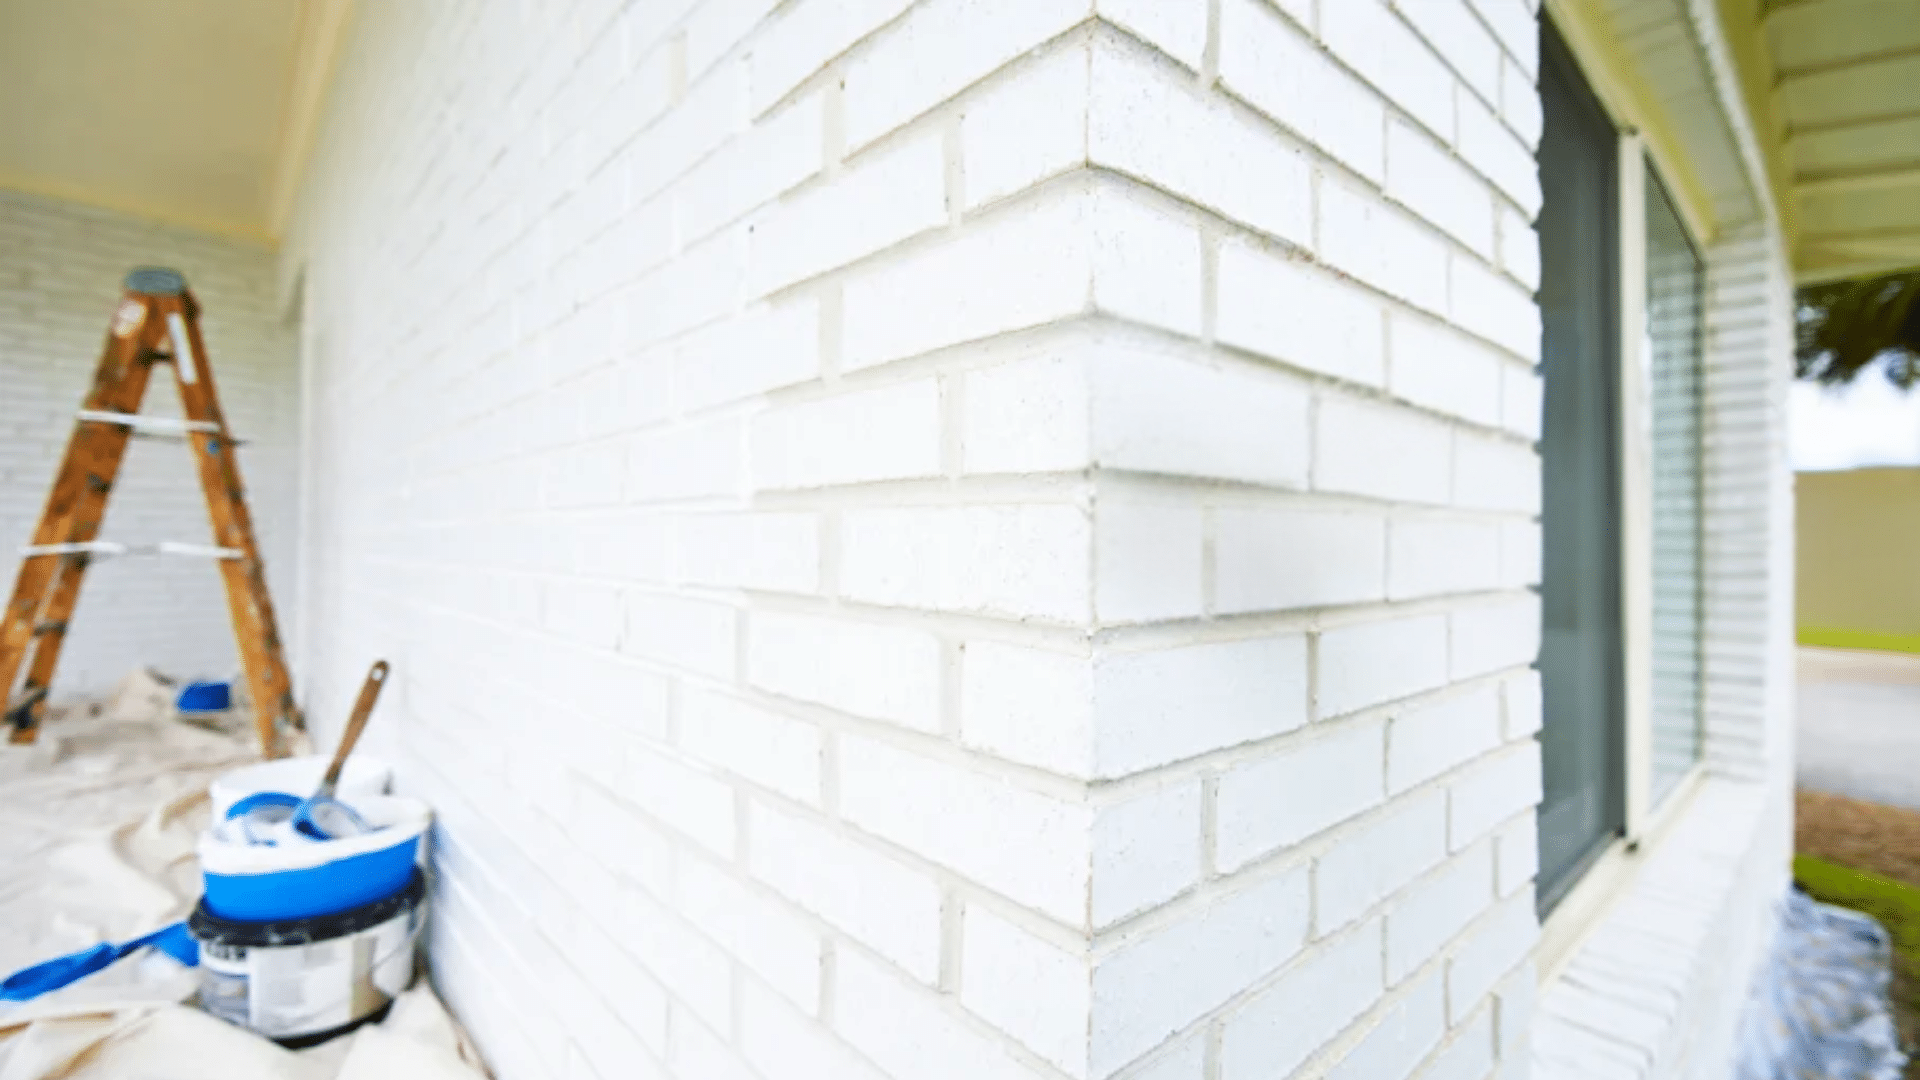
After the first coat dried completely, I stepped back to evaluate the overall look. If some spots looked too light or thin, I added a second coat or did small touch-ups.
Once dry, the bricks had a soft, chalky look with rustic charm. I gave the area a final cleanup, removed all coverings, and admired my refreshed exterior. The result was warm, classic, and exactly the upgrade I had envisioned.
For a more detailed tutorial, you can check out the following video:
Whitewash Brick House Ideas
Whitewashed brick houses exude undeniable charm, blending classic character with modern style.
The following are whitewash brick house ideas to bring this timeless finish to life, whether you love farmhouse, coastal, or contemporary looks, these whitewashed brick designs offer curb appeal and creativity for every taste.
1. Classic Farmhouse Whitewash
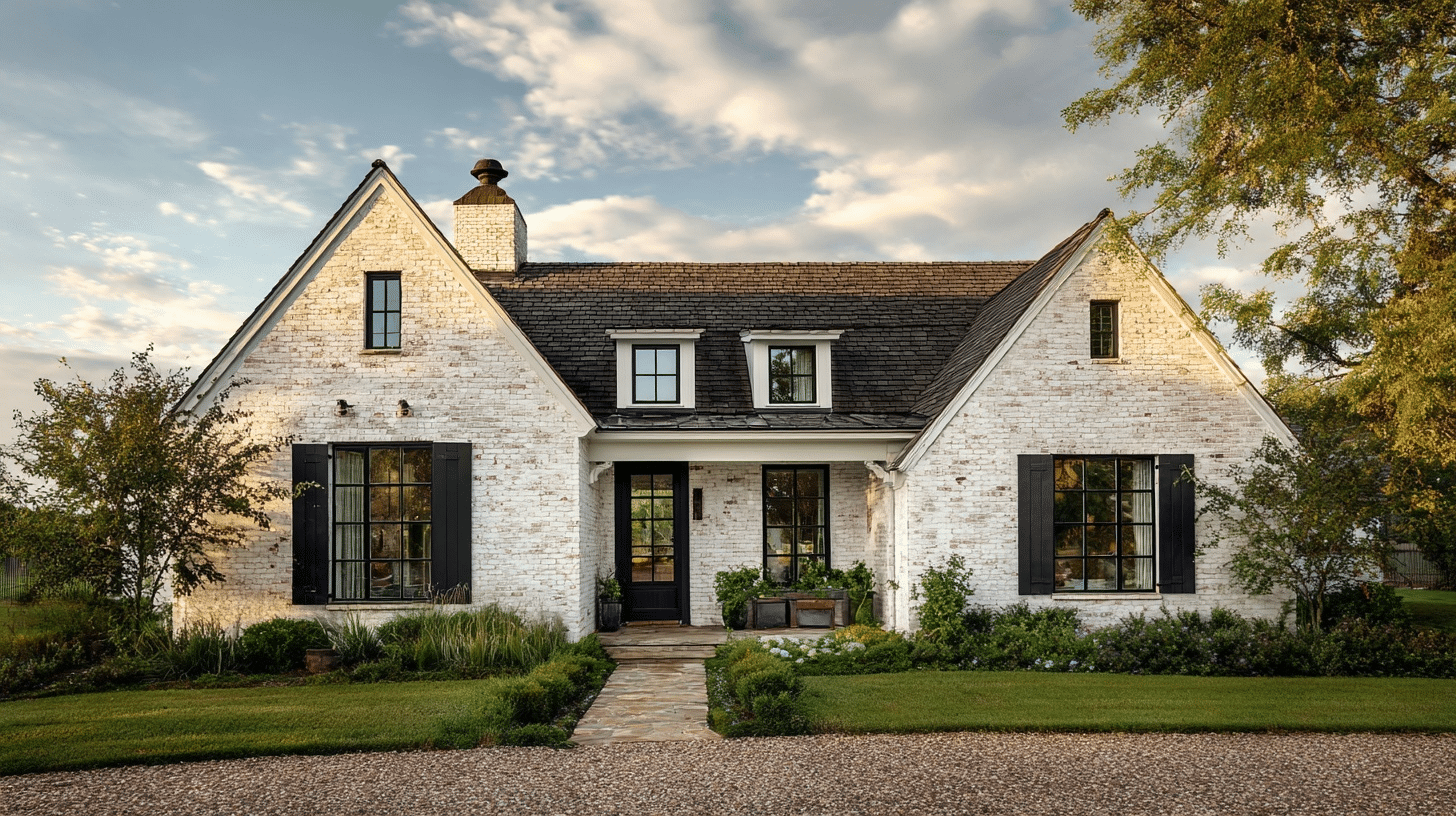
This house immediately feels like home. I love the vintage charm of the whitewashed brick paired with classic black shutters and window trim. The arched dormers, cozy porch, and casual landscaping create a perfect farmhouse vibe. It’s beautiful without being too polished, a warm, family-friendly exterior that still makes a stylish statement.
2. Minimalist Modern
This modern home uses whitewashed brick in a sleek, unexpected way. The bold lines, flat roof, and expansive glass windows give it a strong architectural presence, while the brick and stone mix keep it grounded. I’m drawn to the minimal landscaping and clean contrast; it’s a perfect balance of natural texture and sharp modernity
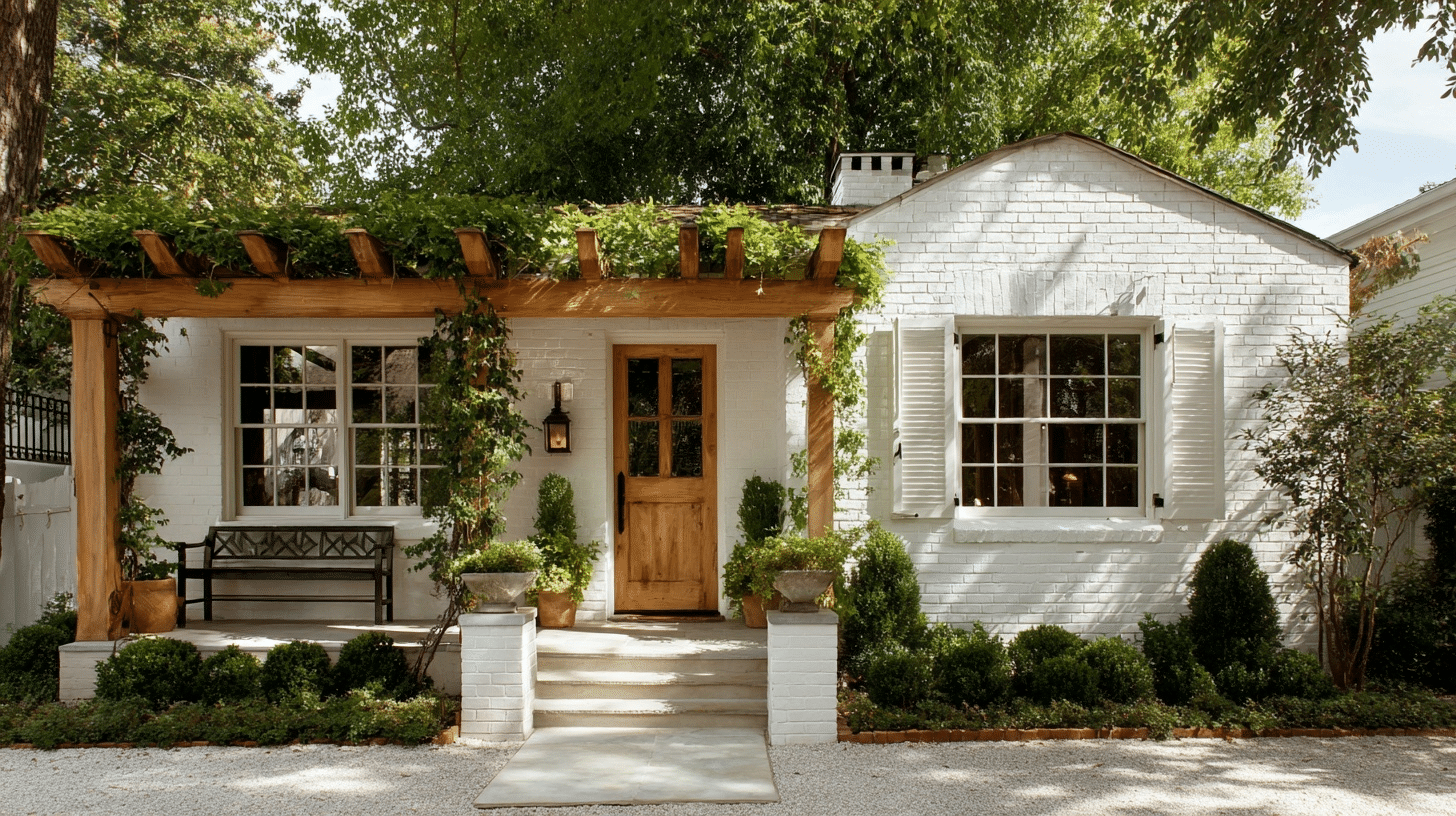
3. Whitewashed Brick with Natural Wood Accent
This charming cottage-style home feels so relaxed and cheerful. The whitewashed brick is beautifully softened by the natural wood front door and pergola. I especially love the climbing greenery and the cottage shutters; it gives the house such a cozy, garden-inspired aesthetic. It’s effortlessly warm and would be a dream for outdoor lovers.
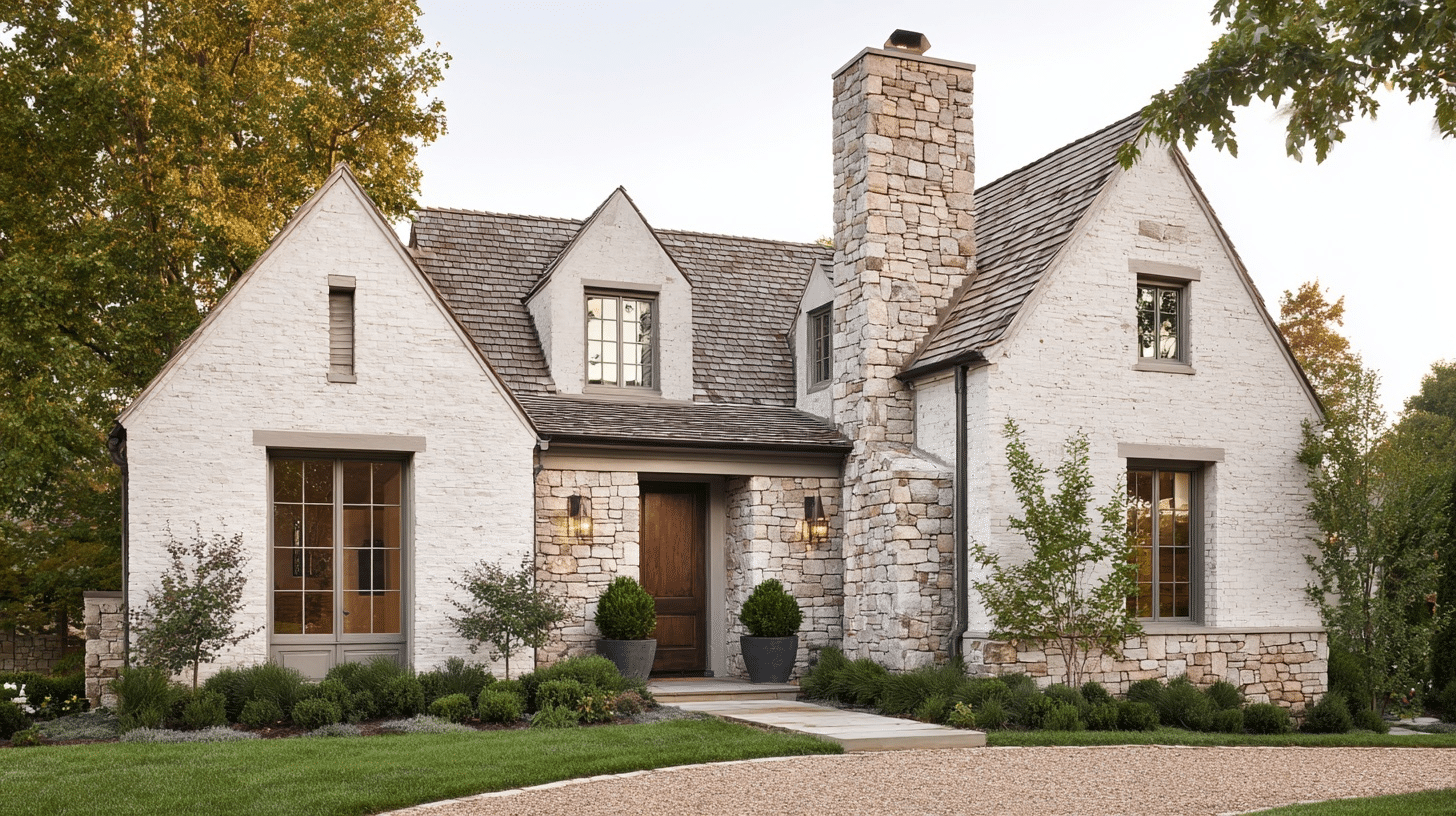
4. Stone Accents for Texture
I love how this home combines whitewashed brick with rustic stonework for a charming, storybook look. The wooden door and twin planters offer a warm welcome, while the symmetrical gables and lantern lighting add beauty. This blend of textures creates an inviting yet upscale cottage feel that’s both classic and cozy.
5. Symmetry in Design
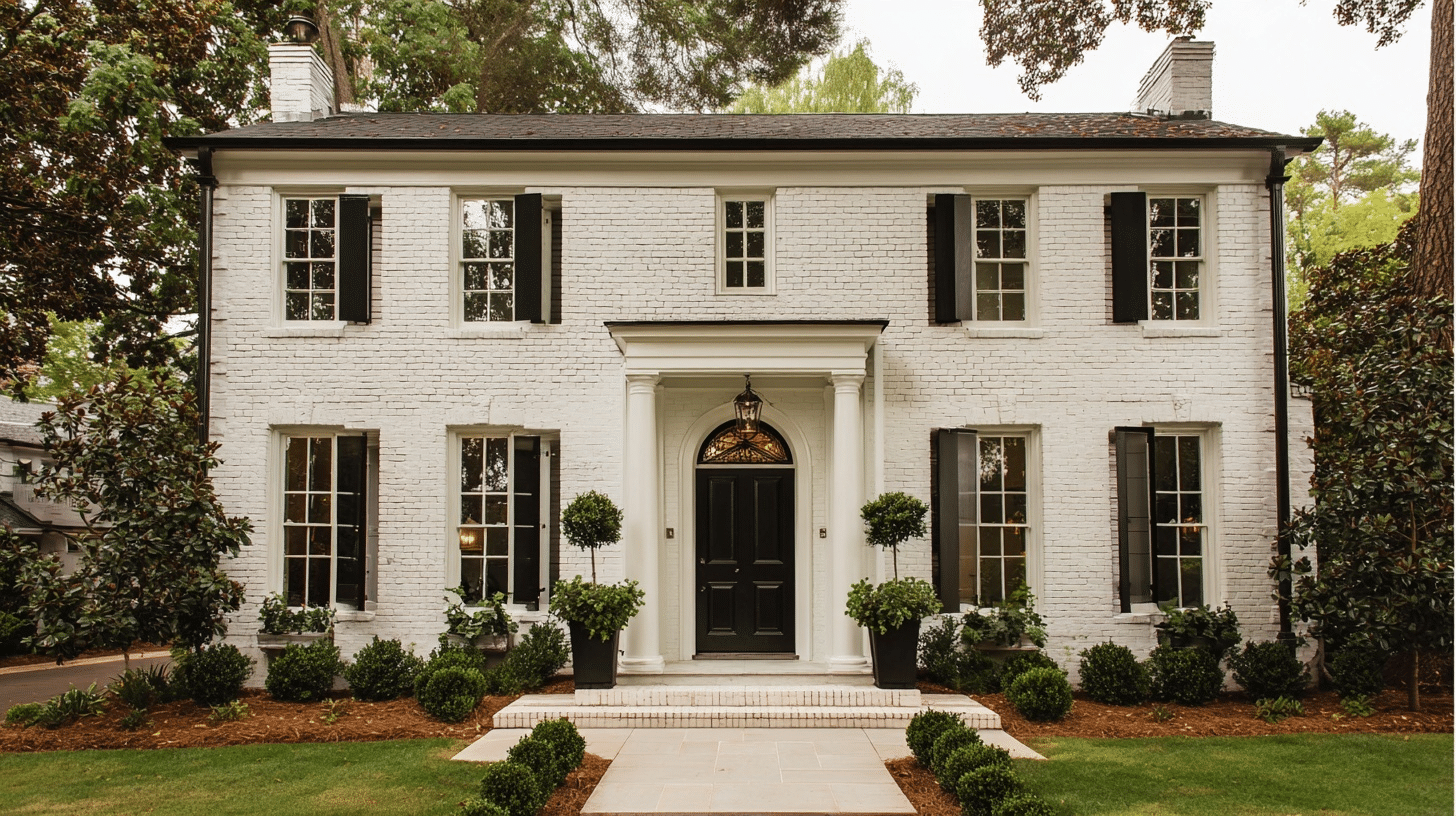
I admire the refined, formal style of this white brick home. Its perfect symmetry, dark shutters, and stately columns give it a Georgian-inspired feel. The clean black-and-white palette is a timeless choice, while the topiary and manicured shrubs add beautiful curb appeal.
6. Copper Accents

This whitewashed brick home caught my eye with its beautiful copper awnings and lantern-style sconces. The arched front entry is so inviting, and the aged patina of the copper softens the bright exterior. It’s the perfect mix of rustic luxury and old-world charm, ideal for someone who appreciates unique, artisanal architectural touches
7. Industrial Edge
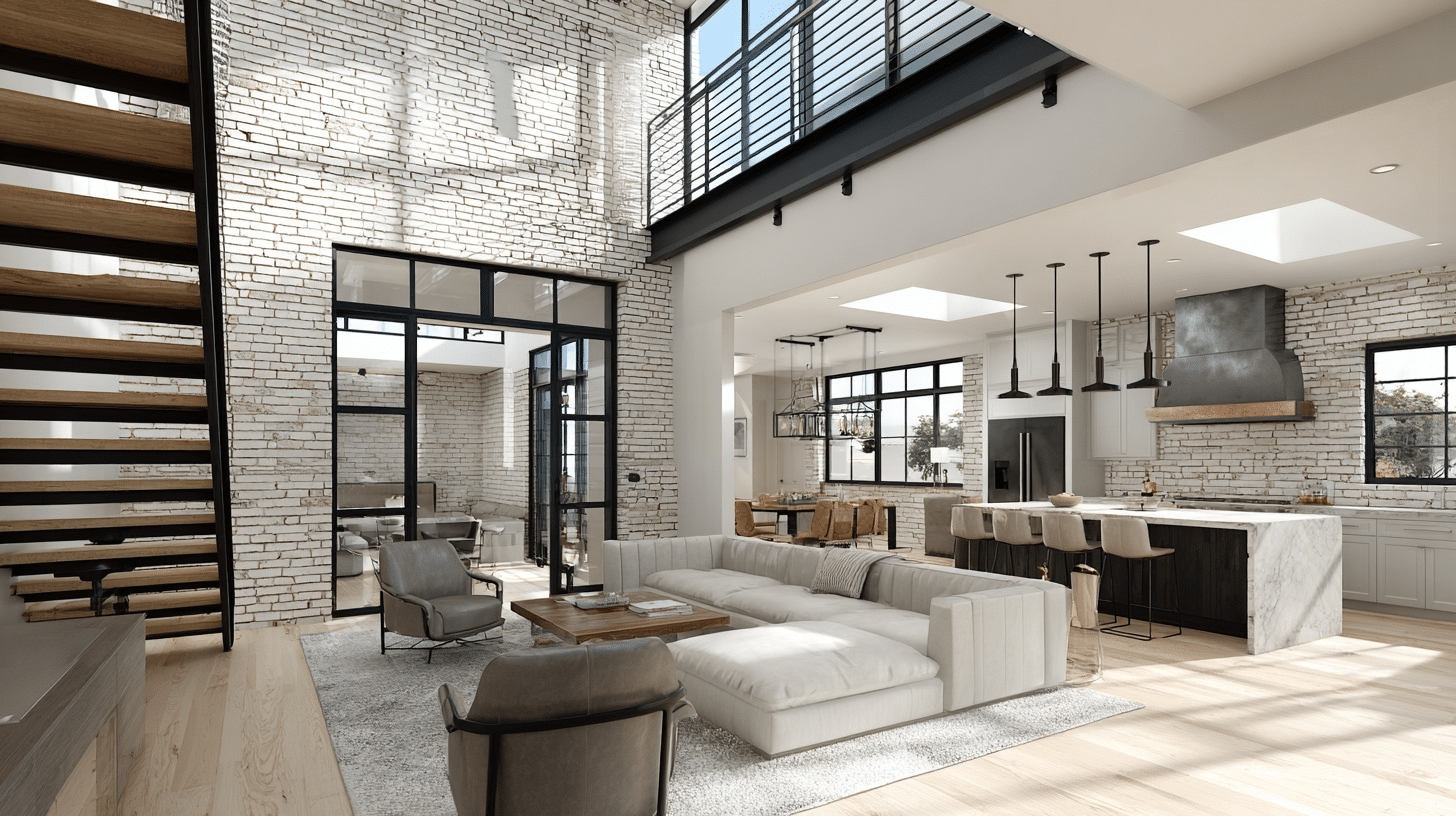
I’m drawn to the modern industrial vibe of this open-concept space. The whitewashed brick walls provide texture and warmth, while black steel-framed windows and floating stairs add bold contrast. I love the high ceilings, exposed ductwork, and sleek lighting; it feels expansive and edgy.
Maintenance Tips for Keeping Your Whitewashed Brick New
Once your whitewash brick house looks perfect, you’ll want to keep it that way. I’ve learned that proper maintenance makes all the difference in preserving that fresh appearance for years to come.
- Annual cleaning: Gently wash with a soft brush and mild soap solution to remove dirt and grime buildup
- Inspect regularly: Check for chips, cracks, or peeling areas every few months to catch issues early
- Touch up quickly: Address small problem spots immediately before they spread or worsen
- Avoid harsh chemicals: Skip bleach or abrasive cleaners that can damage the whitewash finish
- Control moisture: Ensure proper drainage around your foundation to prevent water damage
- Trim vegetation: Keep plants and vines away from whitewashed surfaces to prevent staining and scratching
- Reapply as needed: Plan for a fresh coat every 3-5 years, depending on weather exposure
- Use matching products: Stick with the same whitewash formula for touch-ups to ensure color consistency
- Clean stains promptly: Remove bird droppings, plant matter, or other stains before they set permanently
- Monitor weather damage: Pay extra attention after storms or extreme weather conditions
The Bottom Line
Whitewashing your brick house is one of the smartest home improvement decisions you can make. The transformation is incredible, and I hope this guide has shown you just how achievable it is.
You now have all the tools and knowledge needed to tackle this project successfully. From choosing the right materials to applying the perfect technique, each step builds toward that beautiful result you’re after.
Don’t let your brick house stay stuck in the past when such an affordable solution exists. Start planning your whitewash brick house project today and see how dramatically it changes your home’s entire look.