Crochet edges can look unfinished and sloppy without the right border technique. You spend hours on a beautiful project, but those raw edges make it look amateur. I understand you want your work to stand out.
I promise there’s a simple solution that will instantly change your crochet pieces. The crab stitch crochet technique creates professional-looking borders that add texture and polish to any project.
In this blog, you’ll learn exactly how to master this reverse single crochet stitch. We’ll cover the basic technique, common mistakes to avoid, and pro tips that make all the difference.
By the end, you’ll create crisp, even borders that make your crochet work look store-bought.
What is the Crab Stitch?
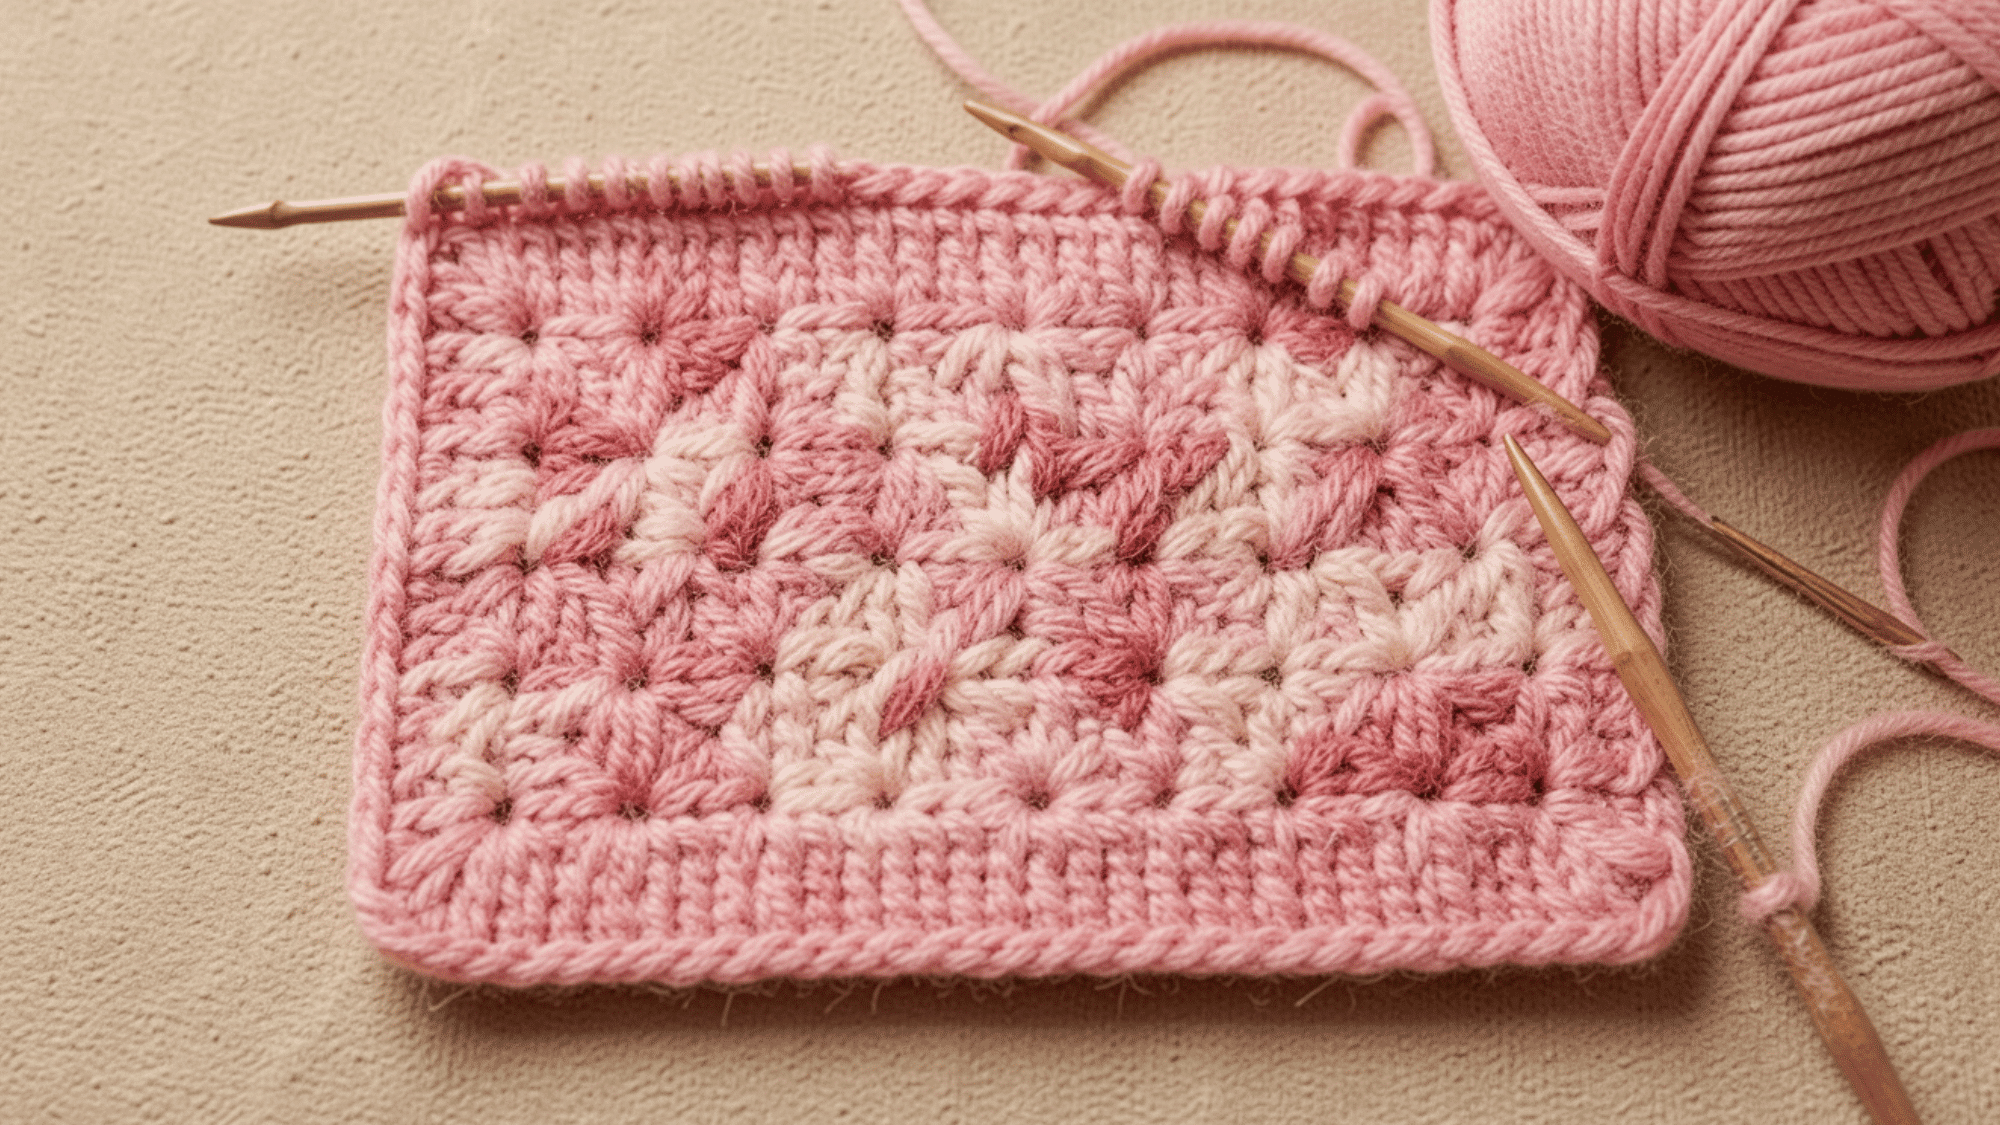
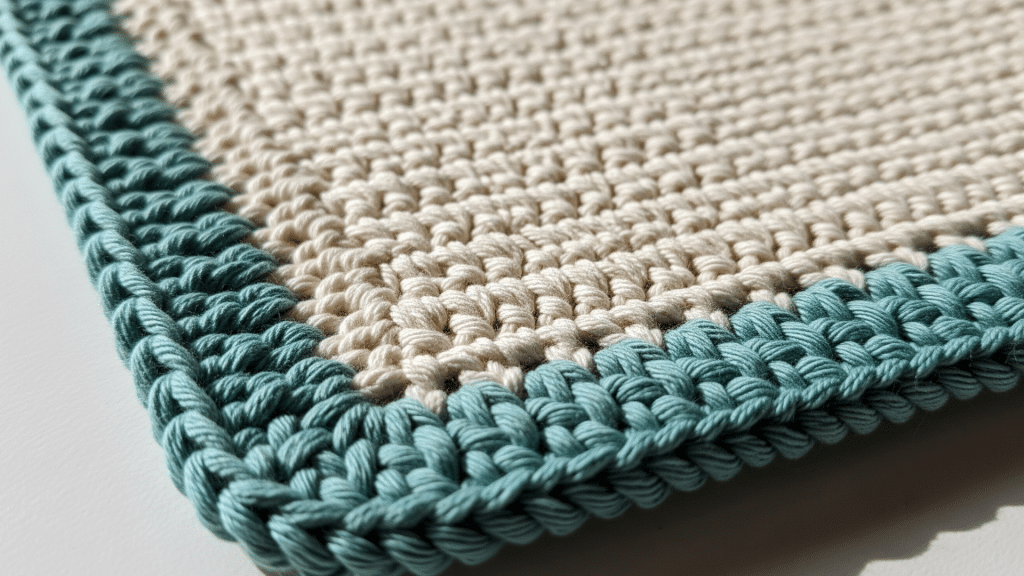
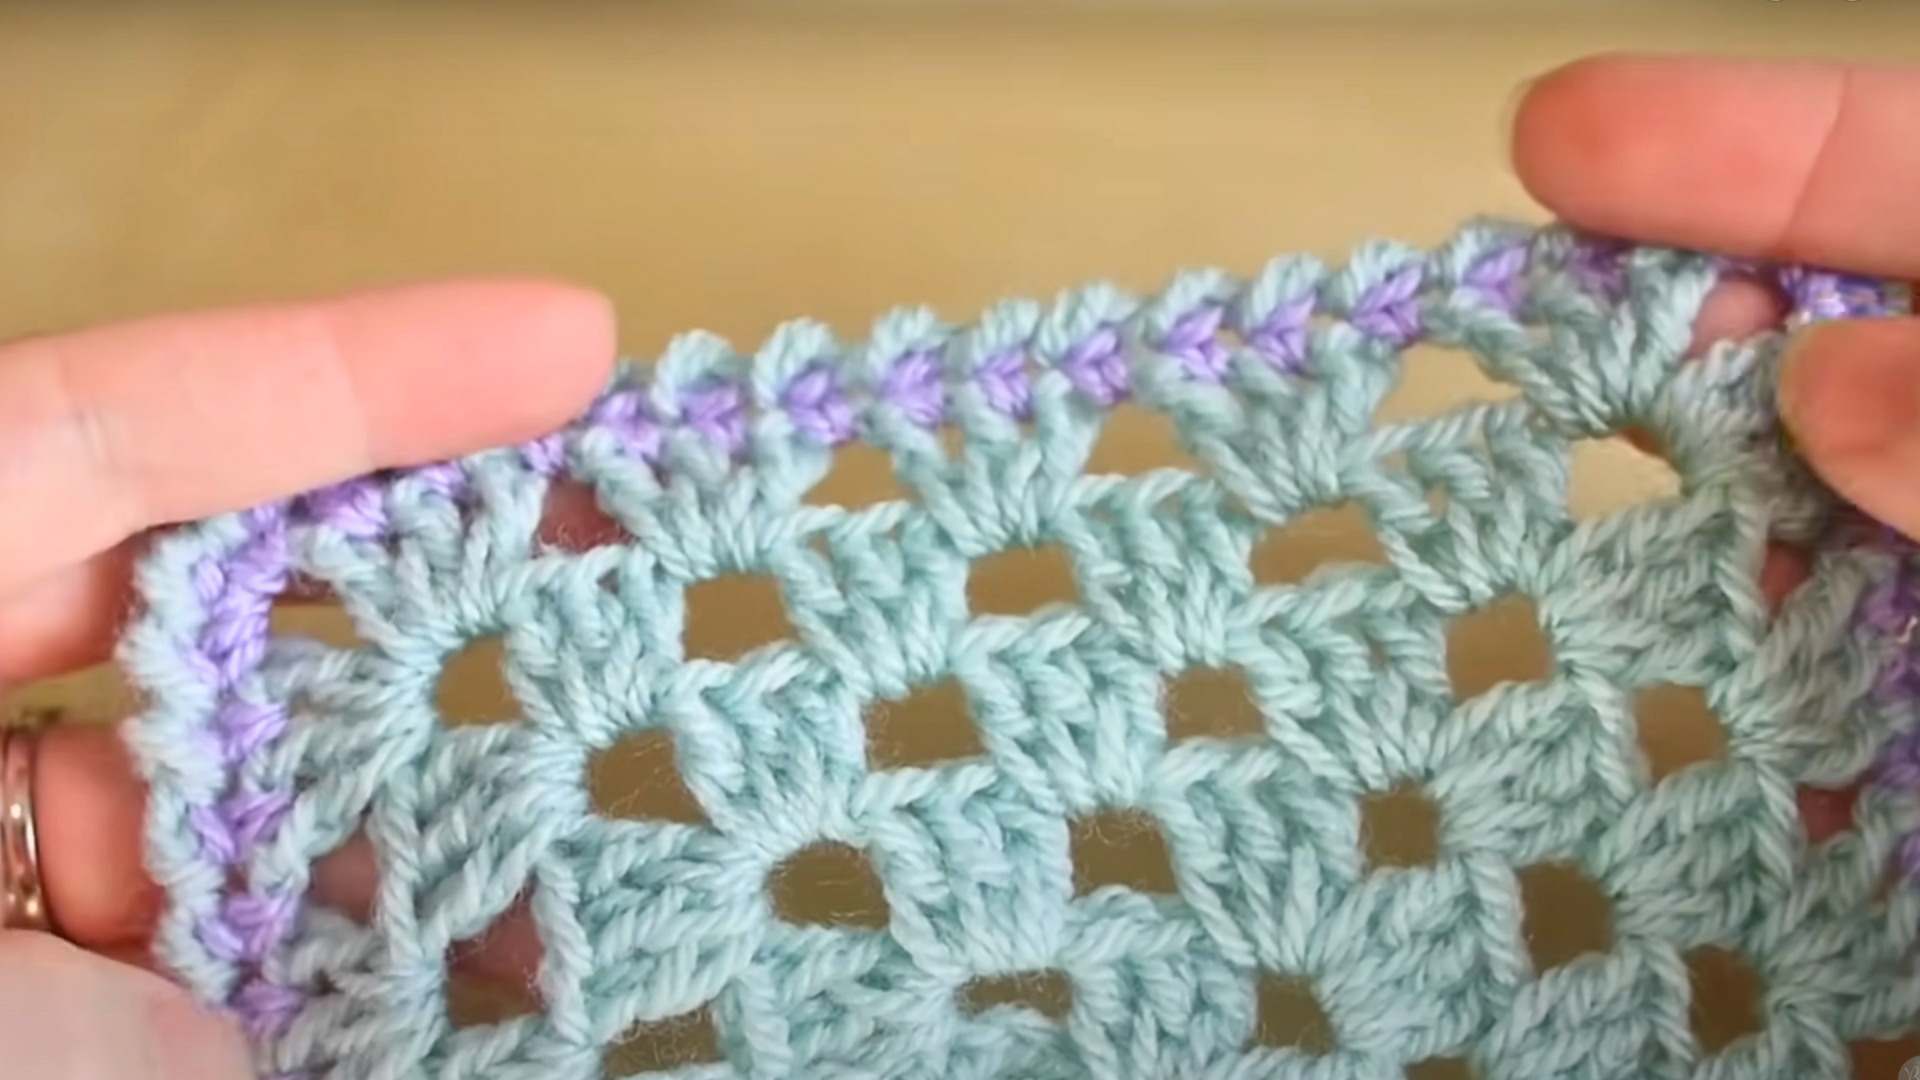
The crab stitch is a single crochet worked in reverse. Instead of moving left to right, you work right to left without turning your project. This creates a twisted, rope-like edge that stands up from your fabric.
Regular stitches create smooth, flat edges. Crab stitch twists each loop, forming a raised border with texture. Your edges look thick and finished, rather than thin and plain.
Crab stitch crochet works great on baby blankets because it prevents curling. Dishcloths stay flat at the corners, and hat brims get a professional finish. I also use it on bag edges for extra strength and scarf borders to stop them from rolling up.
I reach for crab stitch whenever I want edges that look intentional and polished. It’s my secret weapon for making any project look like it was store-bought.
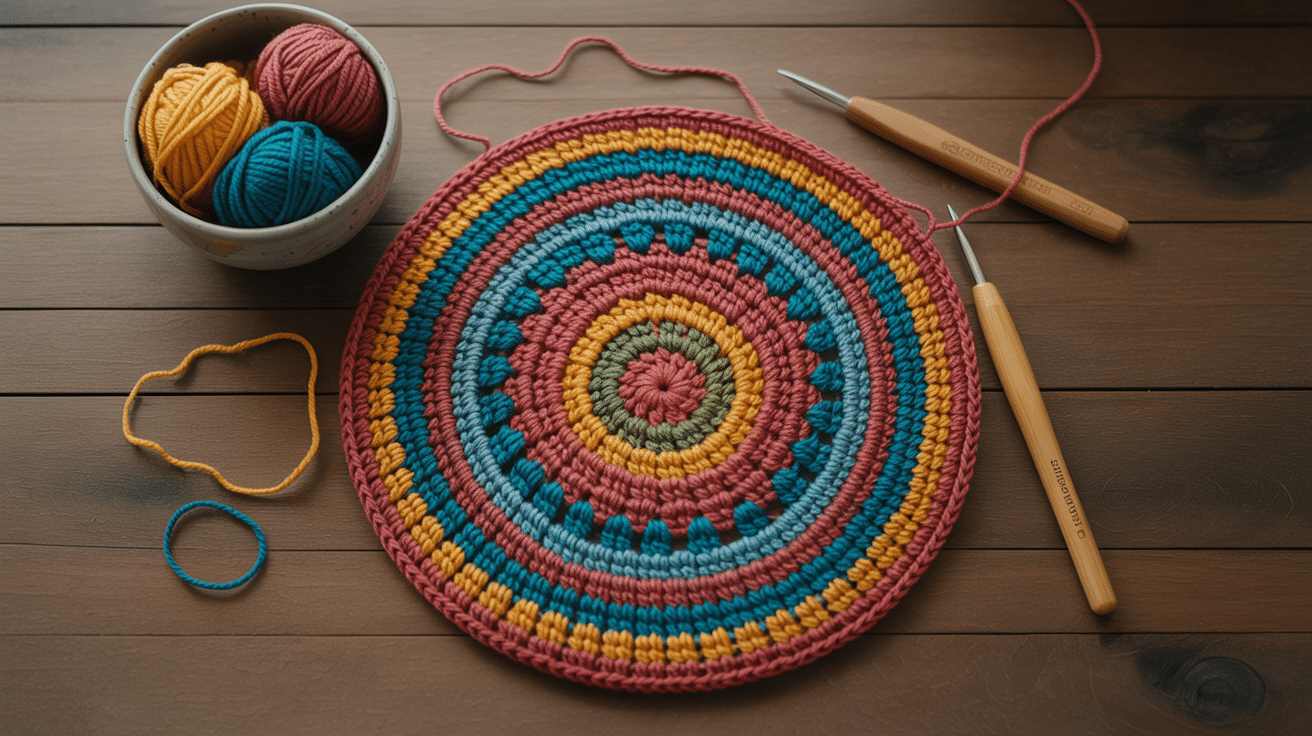
Tools and Materials You’ll Need
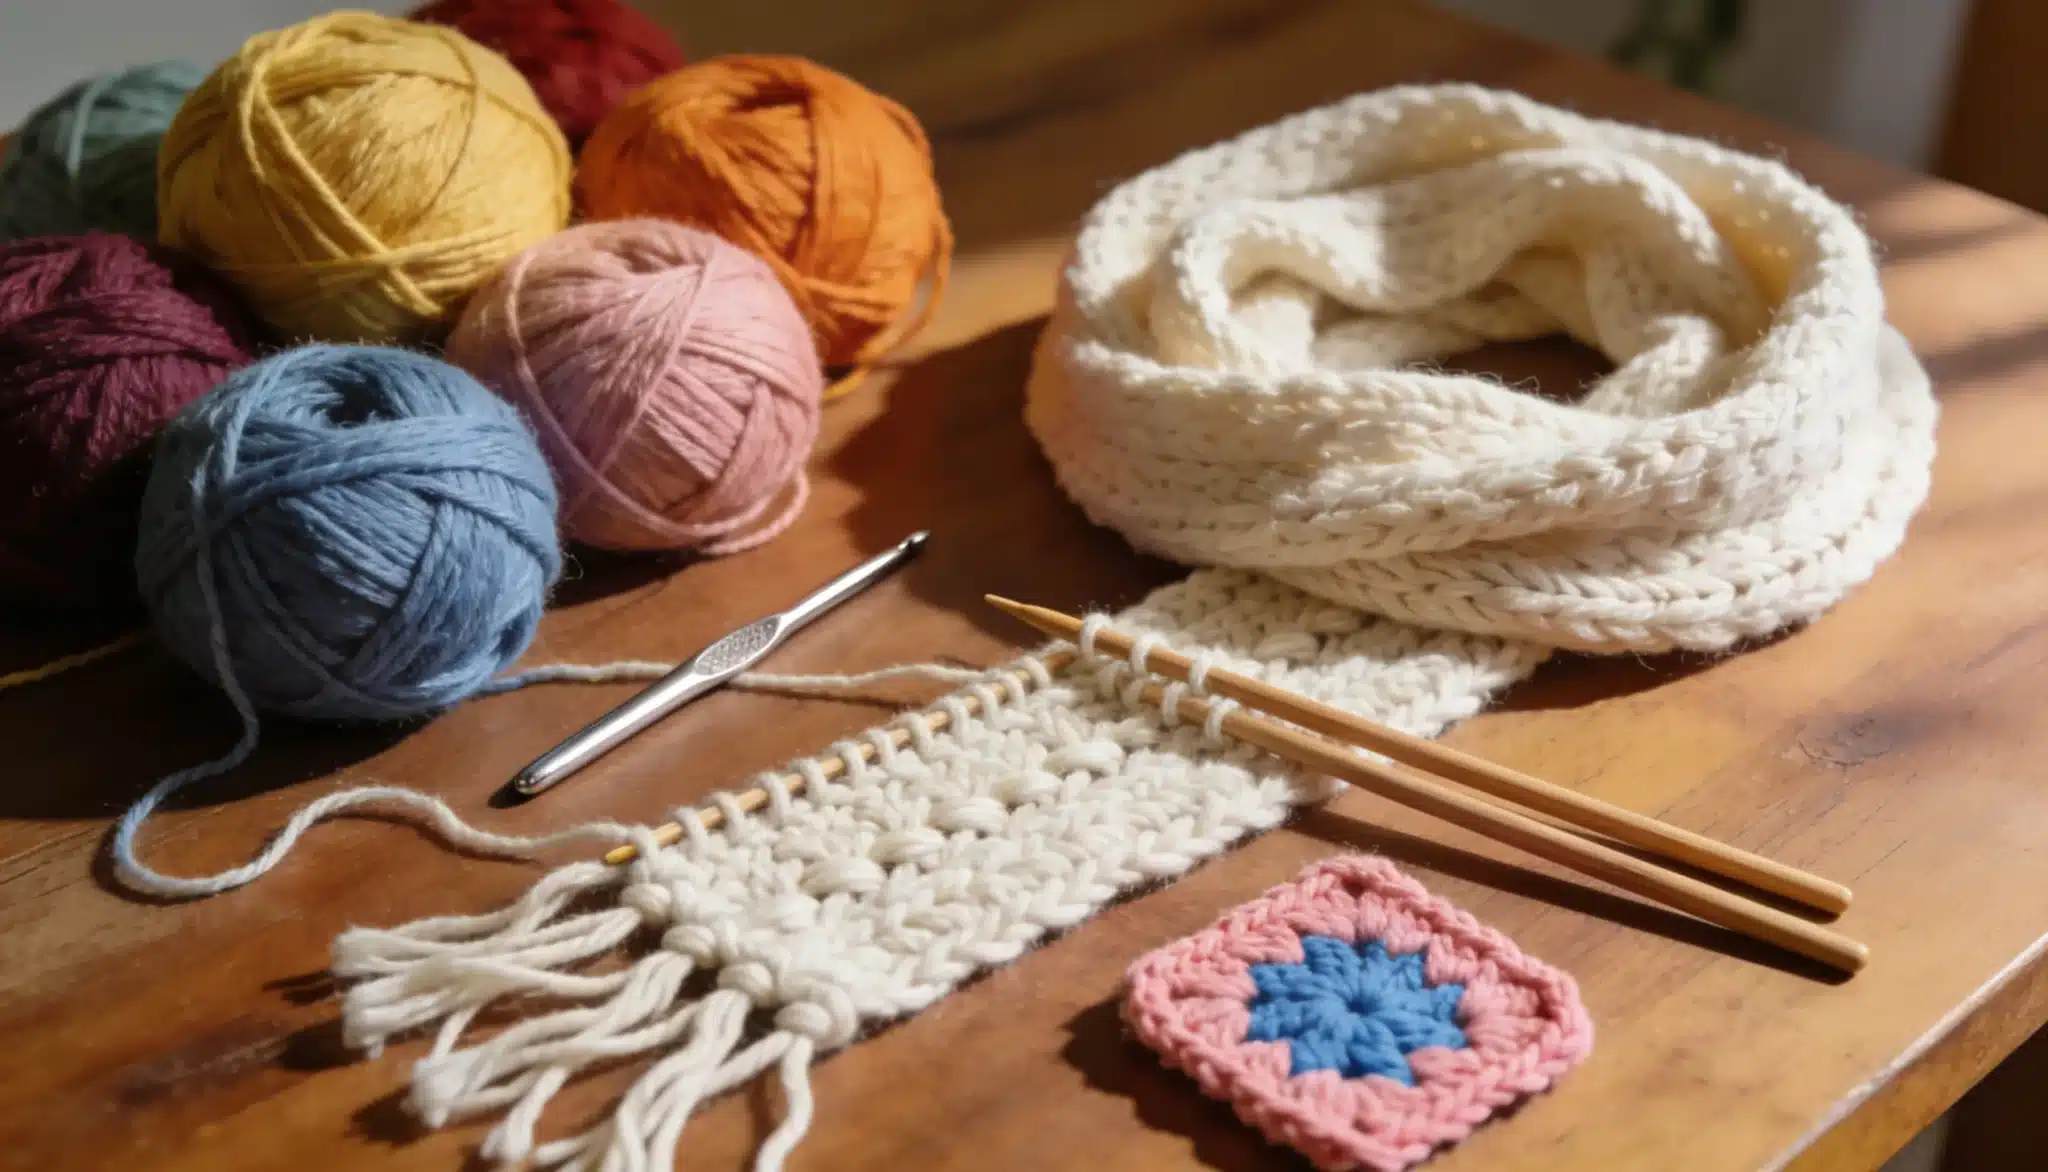
Before we start crocheting, let’s gather all the necessary materials for creating perfect crab stitch borders. Having the right tools makes this technique much easier to master.
| Item | Details / Notes |
|---|---|
| Yarn | Any yarn of your choice (DK weight works well for practice) |
| Crochet Hook | Match to yarn size (commonly 5mm for DK) |
| Scissors | For trimming yarn ends |
| Darning Needle | To weave in and secure ends |
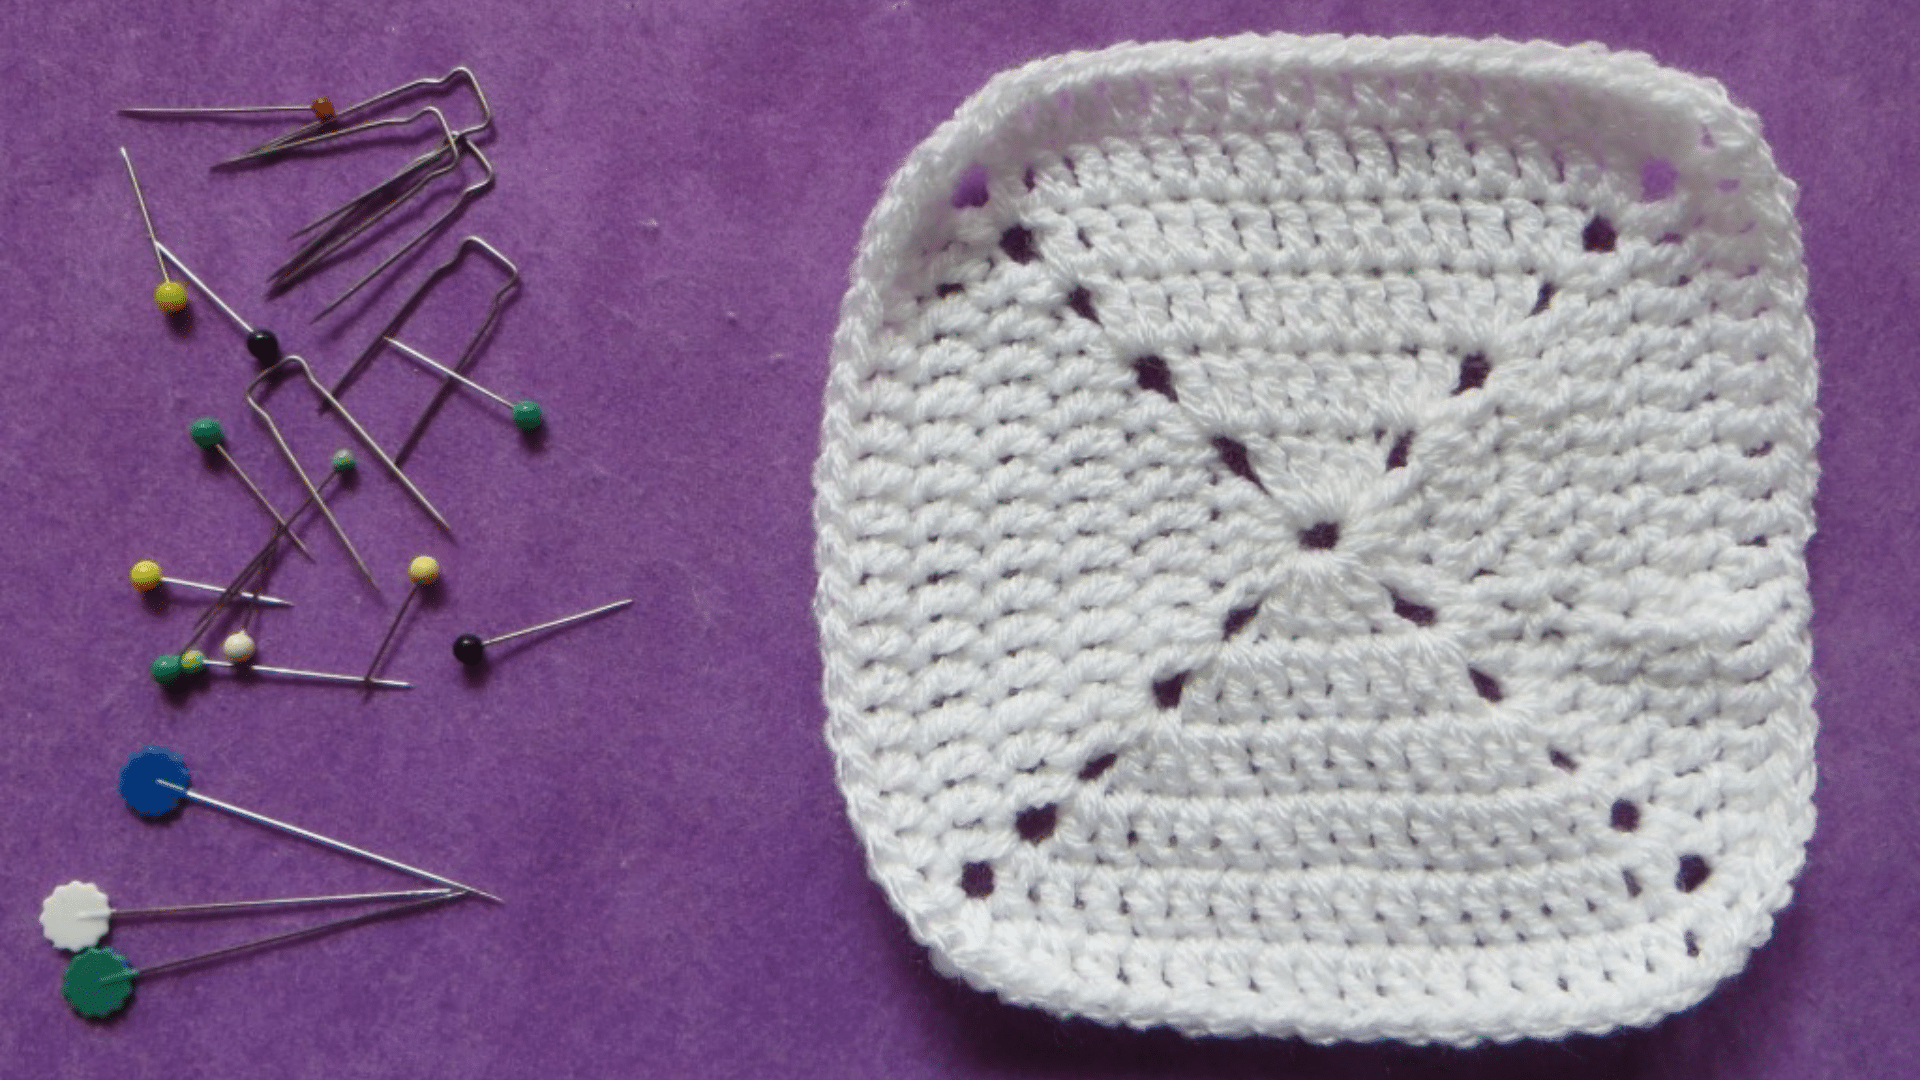
| Sample Piece | A granny square or swatch to practice the edging |
Step-by-Step Instructions for Crocheting the Crab Stitch
If you are ready to learn the actual technique, I’ll walk you through each step with clear instructions that make crab stitch crochet feel natural and easy.
Step 1: Prepare Your Base
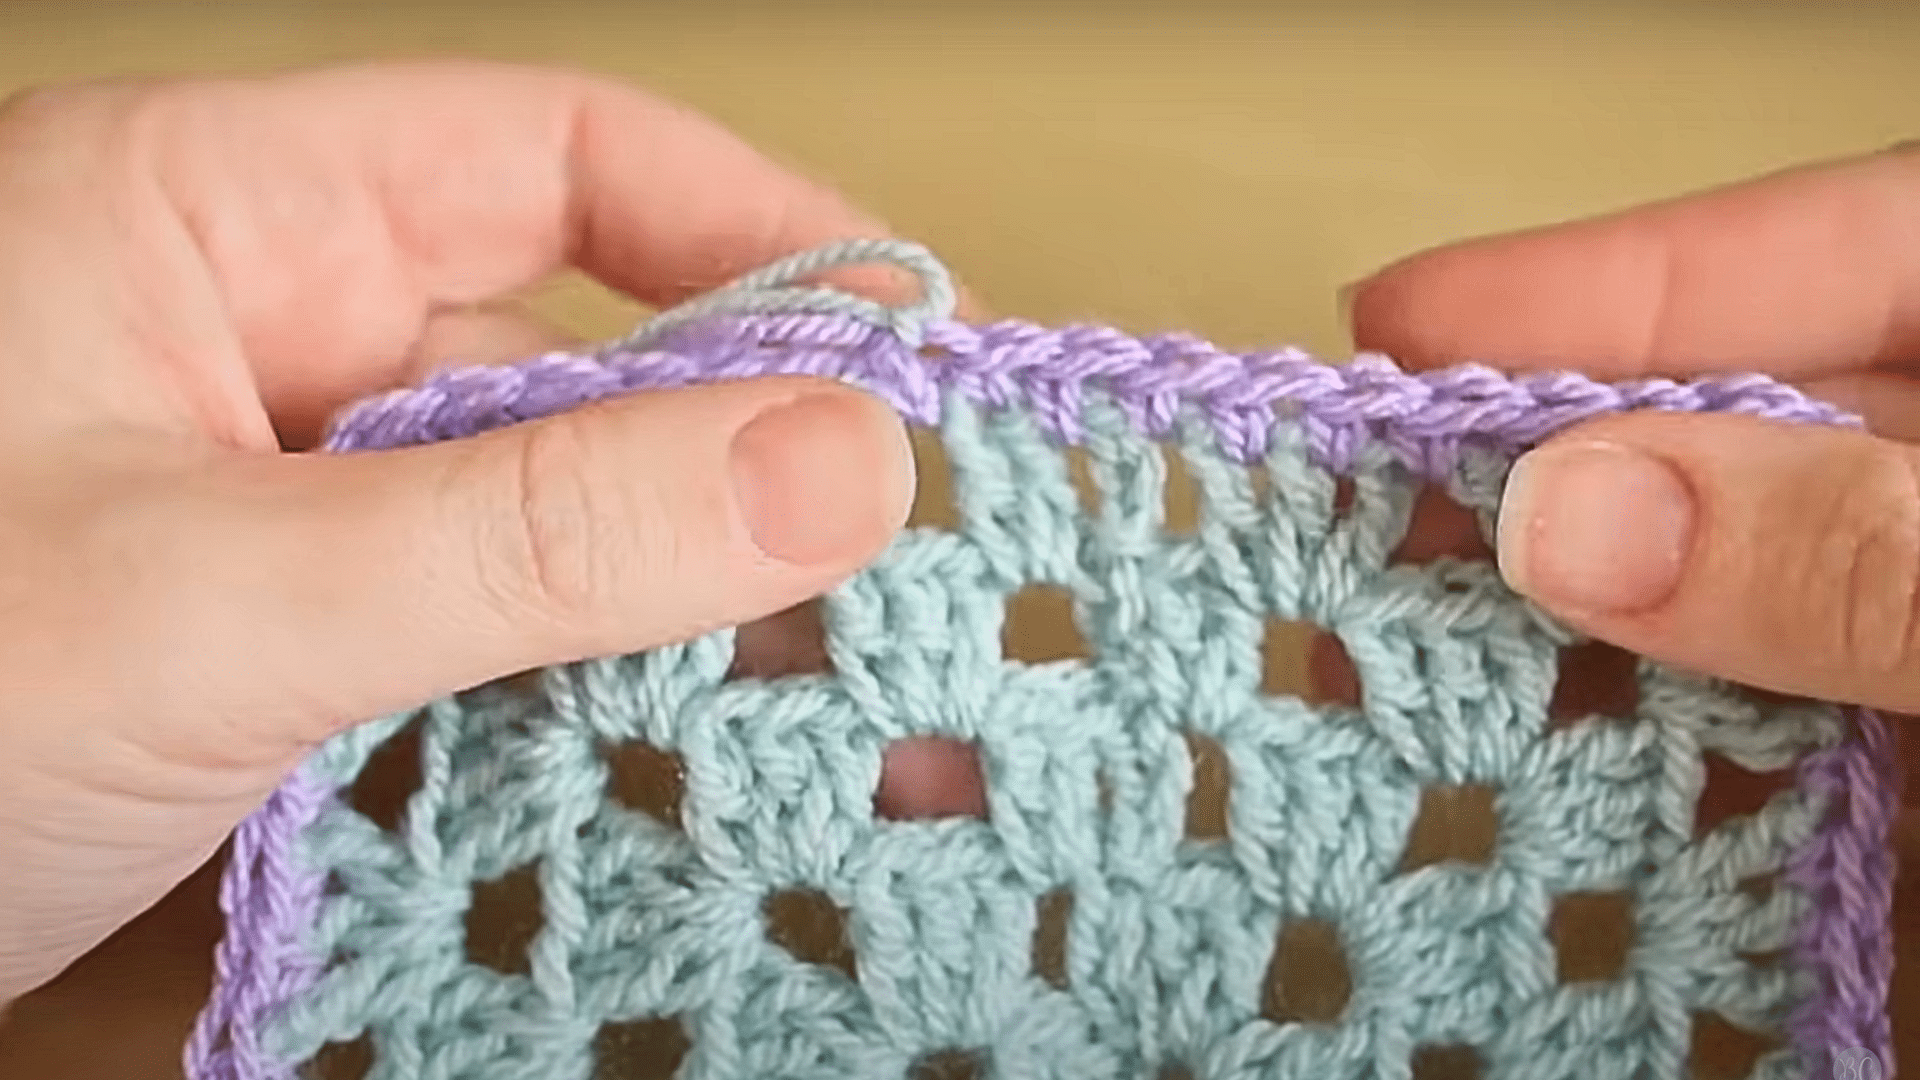
Before starting, ensure your project has a solid foundation. Finish it with a round of double crochet (single crochet in US terms). This base edge provides strength, improves the crab stitch’s appearance, and prevents uneven results.
Step 2: Attach Your Yarn
Pick the yarn you’d like for the edging, matching or contrasting your project. Insert your hook into the first stitch, draw the yarn through, and chain one to secure. This locks everything in place before you begin stitching backward.
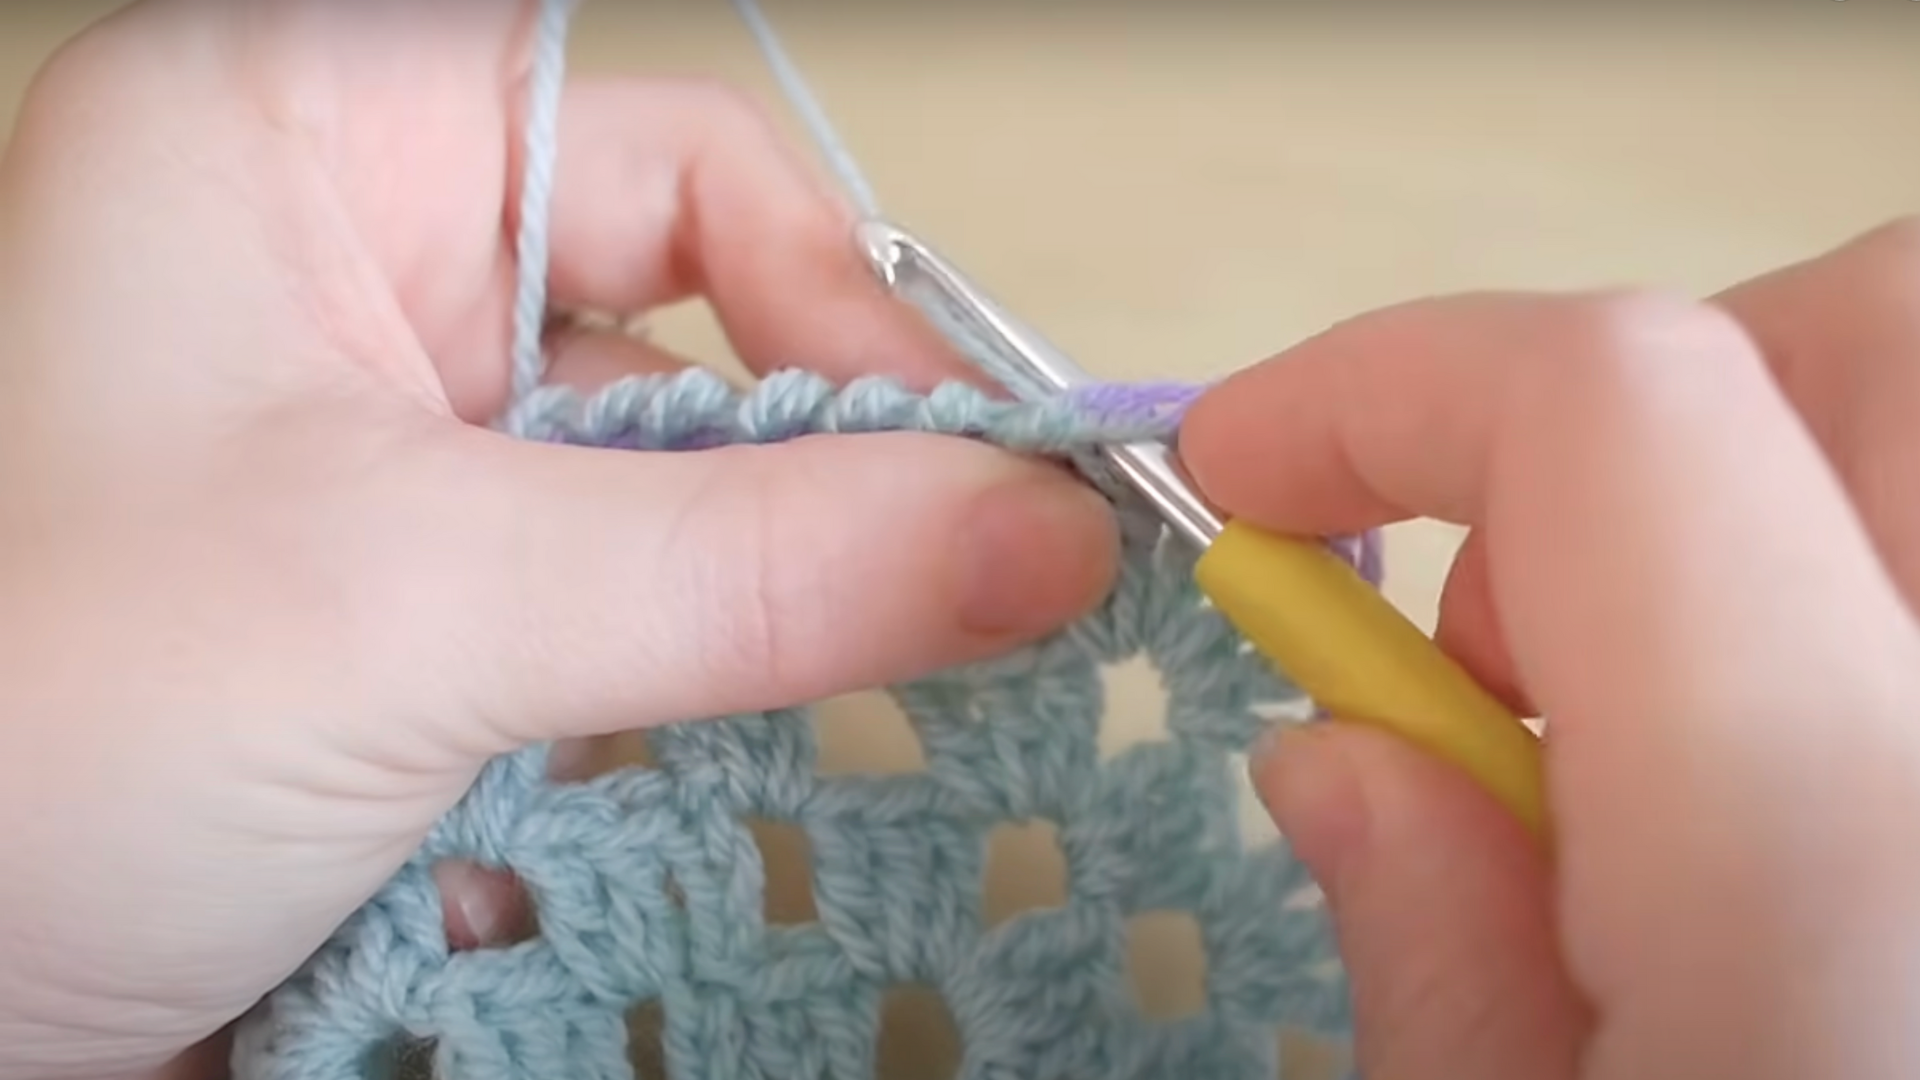
Step 3: Work Backwards Instead of Forwards
Unlike most stitches, the crab stitch is crocheted in reverse. Instead of moving forward, you’ll work back into the previous stitch. Hold the loop on your hook gently with your finger so it doesn’t slip while you continue.
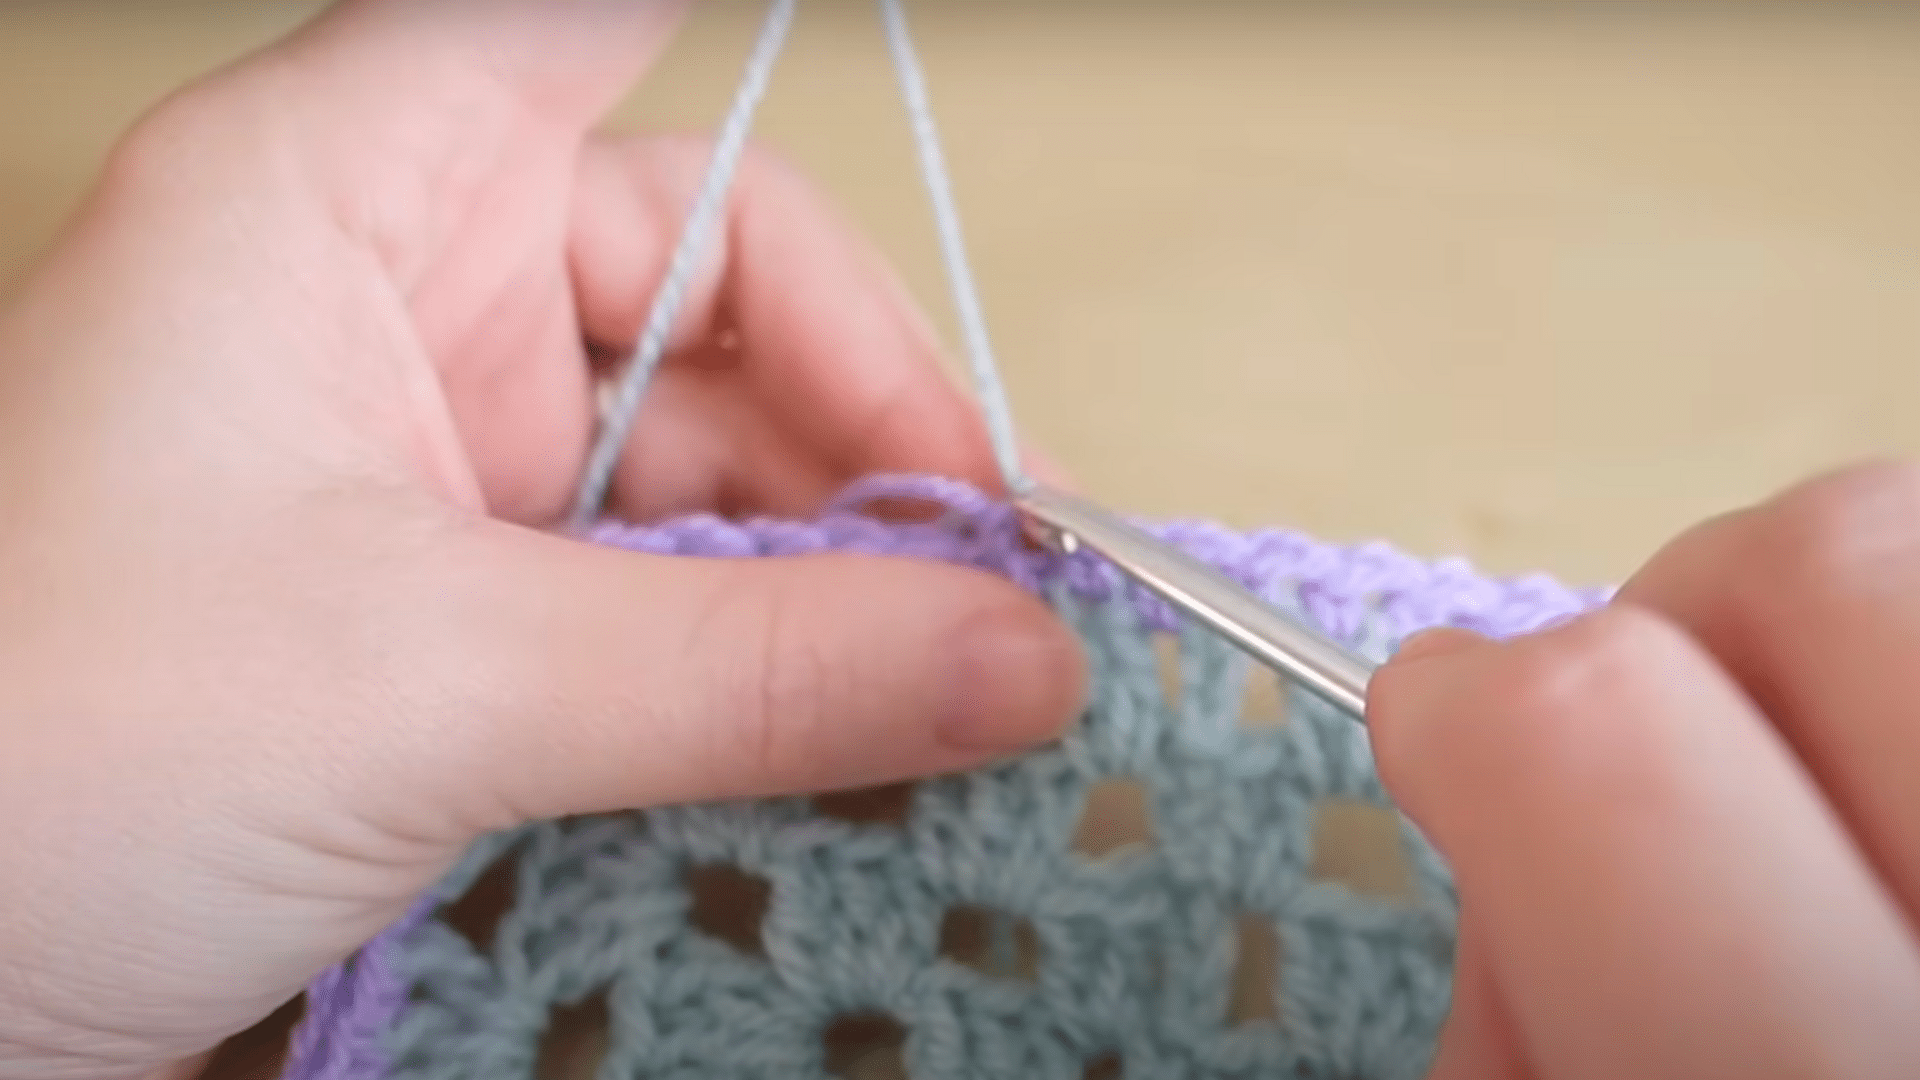
Step 4: Insert Hook into Previous Stitch
Place your hook into the stitch directly behind your current one. Pull the yarn through carefully. Now you’ll see two loops on your hook. This step feels unusual at first, but with practice, it becomes much smoother.
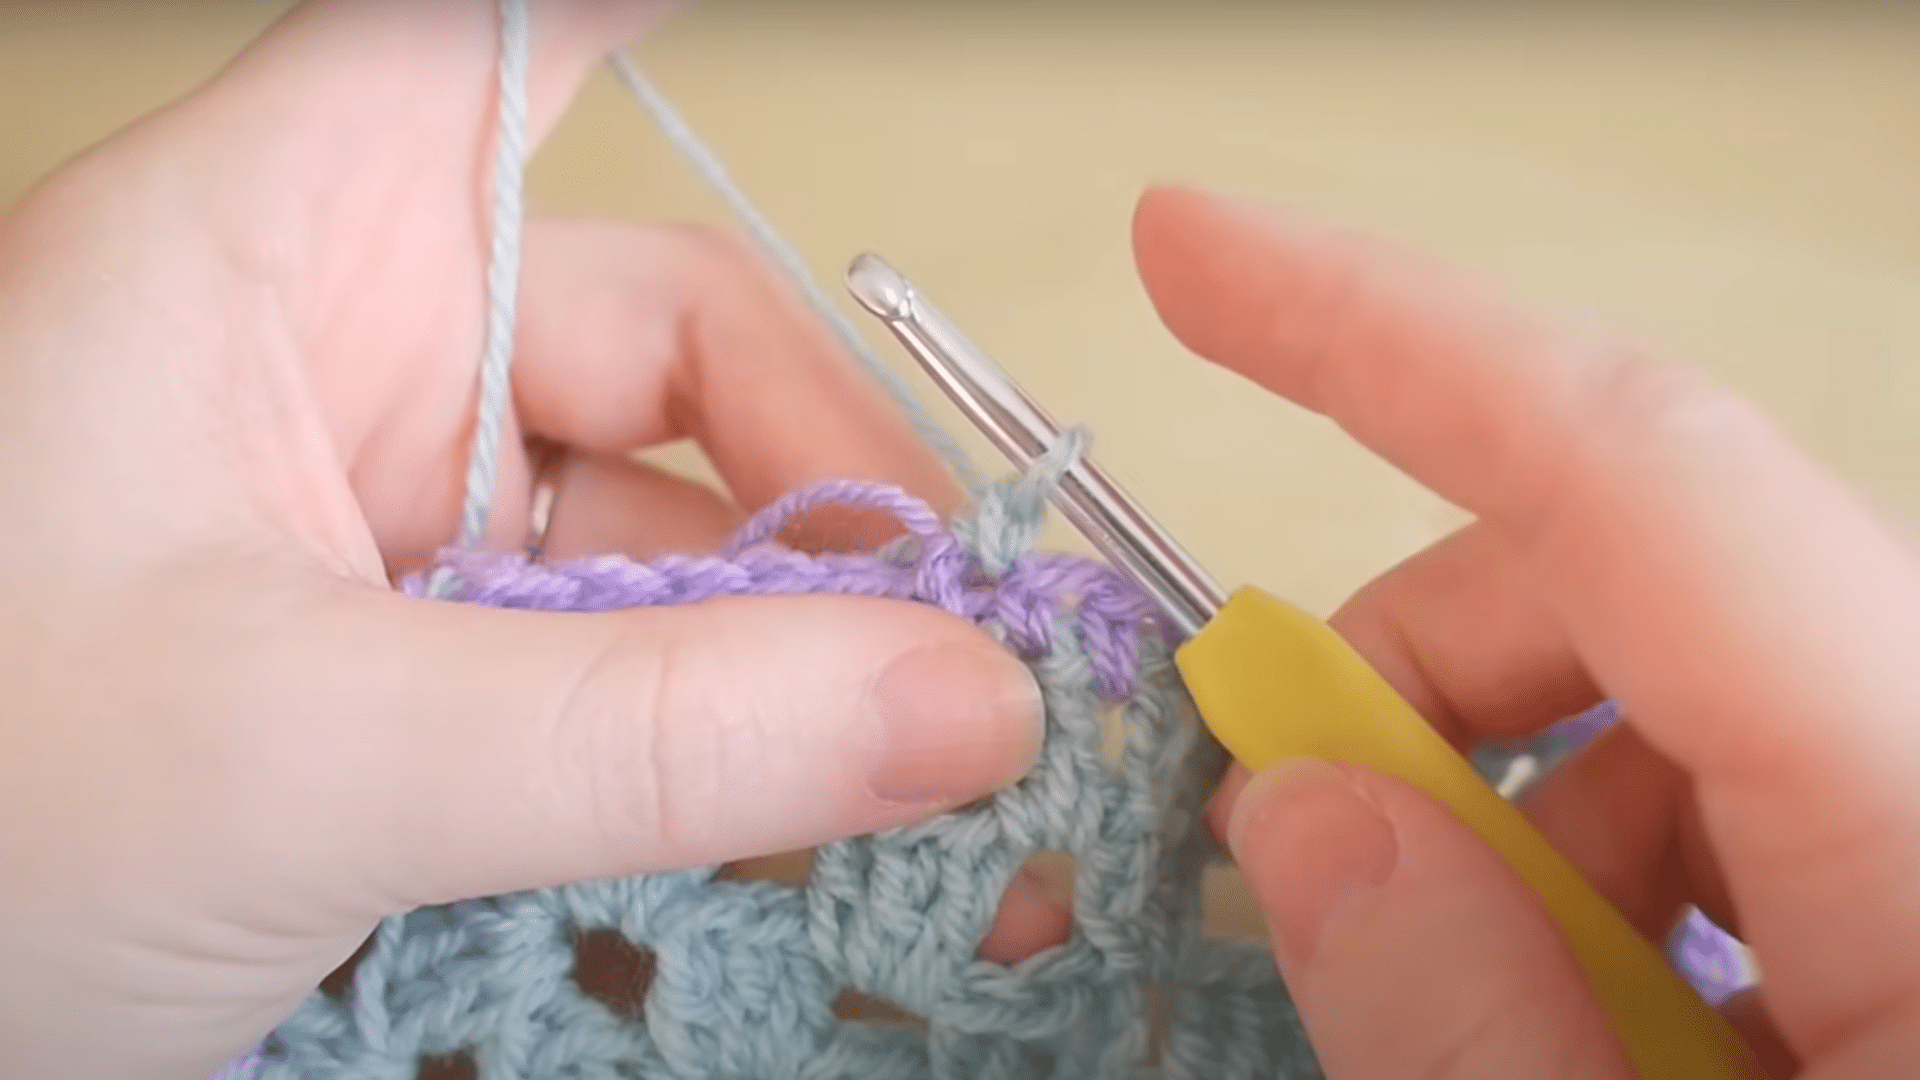
Step 5: Twist and Pull Through

Turn your hook slightly so the yarn slides easily. Yarn over, then pull through both loops on the hook. This completes your crab stitch. Keep movements gentle and steady; forcing the yarn may cause tightness or uneven stitches.
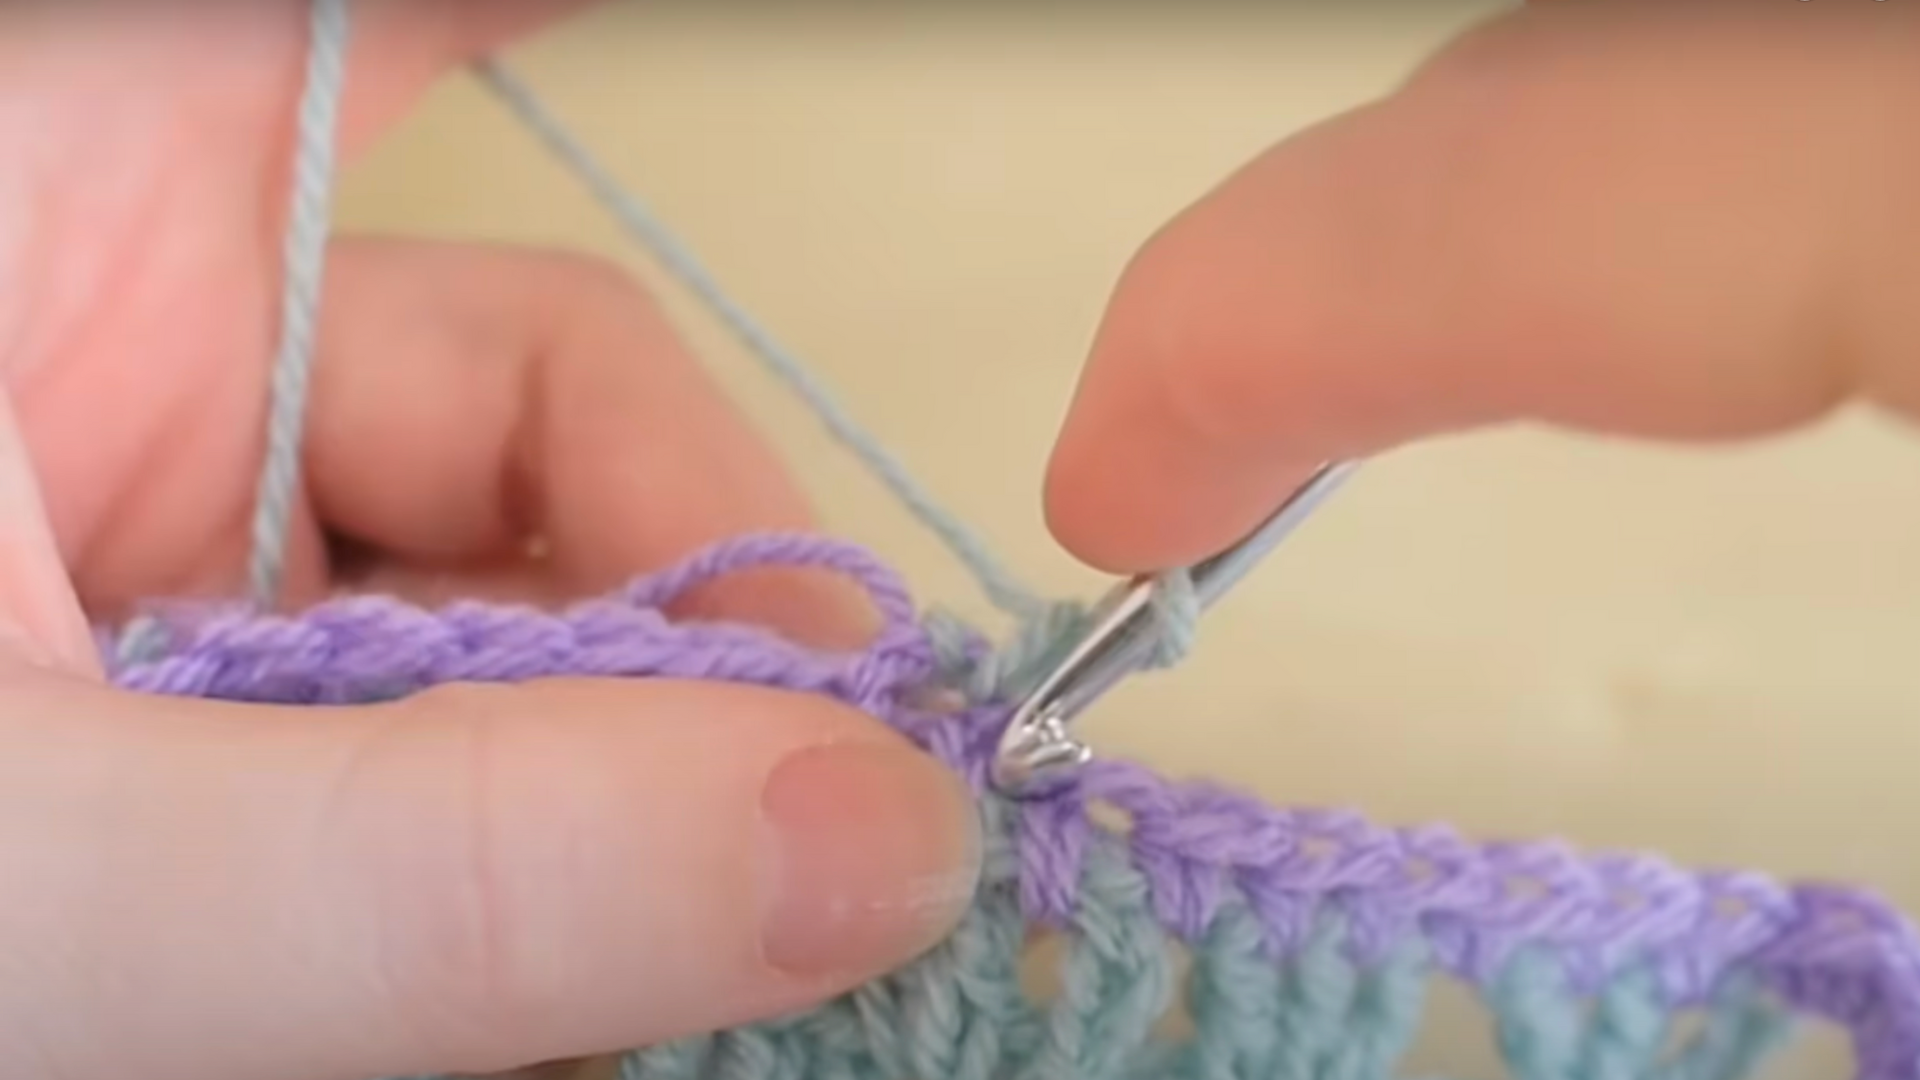
Step 6: Continue Around Your Work
Repeat the motion along the entire edge, stitching by stitch. Remember to maintain even tension. Working too tightly may cause your edge to curl, while loose stitches may sag. Aim for relaxed, consistent loops for a smooth, rope-like finish.
Step 7: Finish Off Neatly
Once you return to your starting point, make a slip stitch into the first crab stitch. Cut the yarn and pull it through the loop. Use a darning needle to weave in ends, leaving your project polished and complete.
Common Mistakes and How to Avoid Them
Even experienced crocheters struggle with the crab stitch crochet at first. Here are the three biggest problems I see, along with simple fixes that actually work.
Pulling Stitches Too Tight
Tight stitches make your edge curl and pucker. Working backwards feels awkward, so you naturally grip tighter. Keep your yarn loose and relaxed. Let it flow through your fingers naturally.
Losing Count or Skipping Stitches
Working backwards confuses your brain. You can’t see clearly where you’re going. Mark every tenth stitch with a safety pin. Count out loud until it becomes automatic.
Uneven Tension Issues
Some stitches come out loose while others look tight. This creates a wavy, sloppy border. Keep your working yarn at the same angle throughout the project. If you notice problems, take a break. Tired hands make uneven stitches.
Tips for Making It Look Neat
The difference between okay crab stitch and gorgeous crab stitch comes down to consistency and practice. These simple tips will help you create professional-looking borders every time.
- Keep a Steady Rhythm: Find your pace and stick with it. Rushing through some stitches while slowing down on others creates uneven texture.
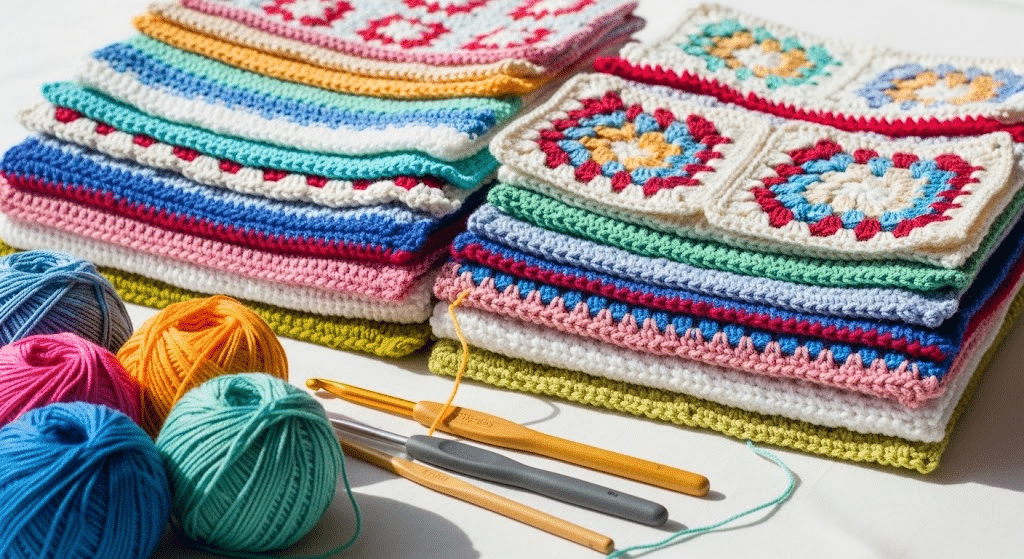
- Practice on Scrap Yarn First: Never try crab stitch for the first time on your actual project. Practice the squares until your hands become accustomed to the motion.
- Check Your Tension Regularly: Stop every few stitches to look at your work. Are the loops the same size? Small adjustments now prevent big problems later.
- Use Good Lighting: Poor lighting makes it hard to see where to insert your hook. Work near a window or use a bright lamp.
- Take Breaks When Tired: Tired hands create sloppy stitches. If you’re getting frustrated, take a few minutes to stop. Fresh hands make better borders.
- Finish Cleanly: Cut your yarn, leaving a 6-inch tail. Pull it through the last loop and weave it back through several stitches to prevent the fabric from unraveling.
Creative Uses and Applications
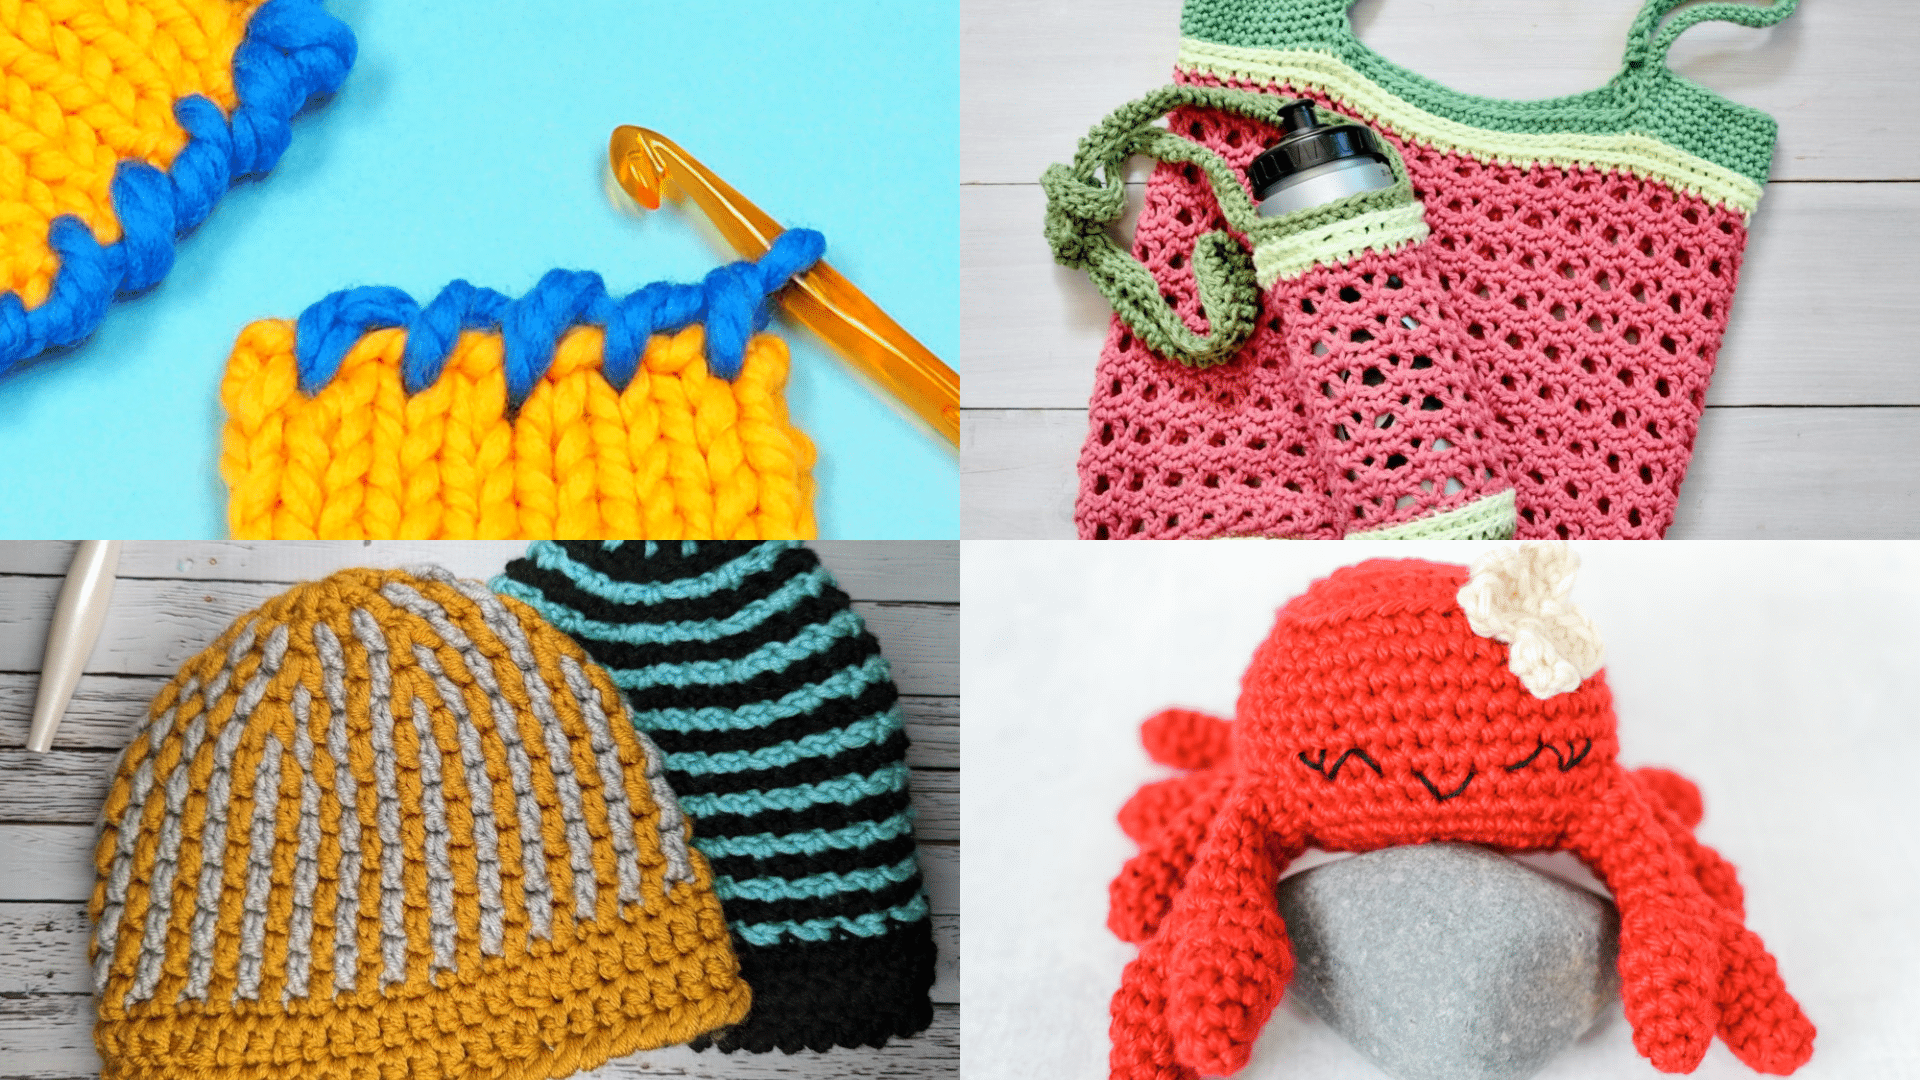
Crab stitch crochet isn’t just for basic borders. Once you master the technique, you can use it in creative ways that make your projects stand out and look more professional.
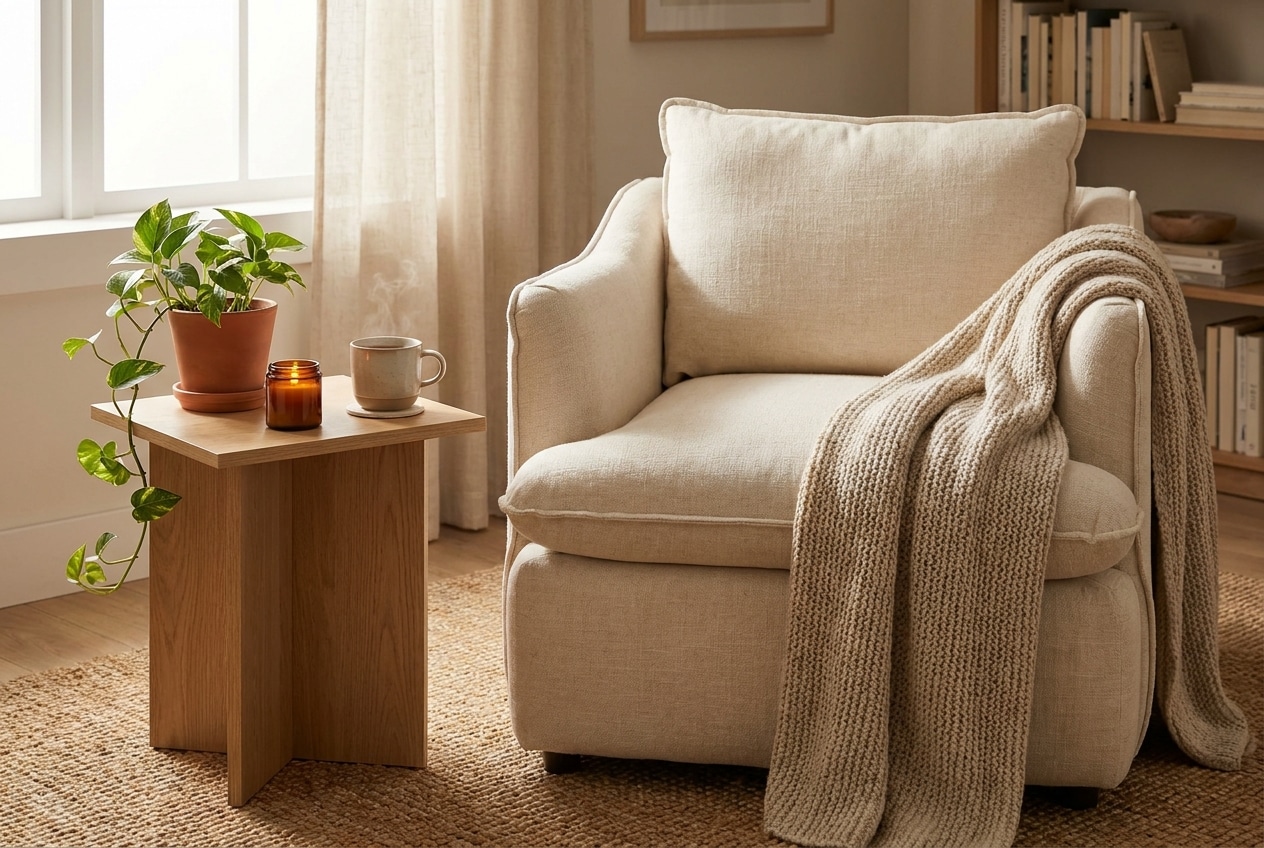
1. Stylish Borders for Home Items
Add crab stitch around baby blankets for a finished look that won’t fray. Scarves get extra weight at the edges, preventing annoying curling. I love using contrasting colors to make the border pop against the main fabric.
2. Strong Bag Straps and Edges
This stitch creates incredibly sturdy edges perfect for tote bags and purses. The twisted texture adds grip to handles, making them more comfortable to carry. It also reinforces bag openings that receive a lot of wear.
3. Structure for Wearables
Hat brims stay crisp and hold their shape with crab stitch edging. Cardigan fronts get a professional finish that prevents stretching over time. Even simple tank tops look more polished with this border treatment.
4. Fun Experimental Ideas
Try changing colors every few stitches for a striped effect. Mix crab stitch with regular single crochet for a varied texture. I’ve even used thick yarn to create decorative trim that looks like store-bought ribbon.
Conclusion
Learning crab stitch crochet has completely changed how I finish my projects. What once looked homemade now appears professionally crafted, thanks to this simple border technique.
You now have all the tools to create beautiful, twisted edges that add structure and polish to any project. Start with practice yarn, maintain consistent tension, and avoid rushing the process. The next time you complete a blanket, hat, or bag, try adding this special finishing touch.
Now grab your hook and change those plain edges into something new.