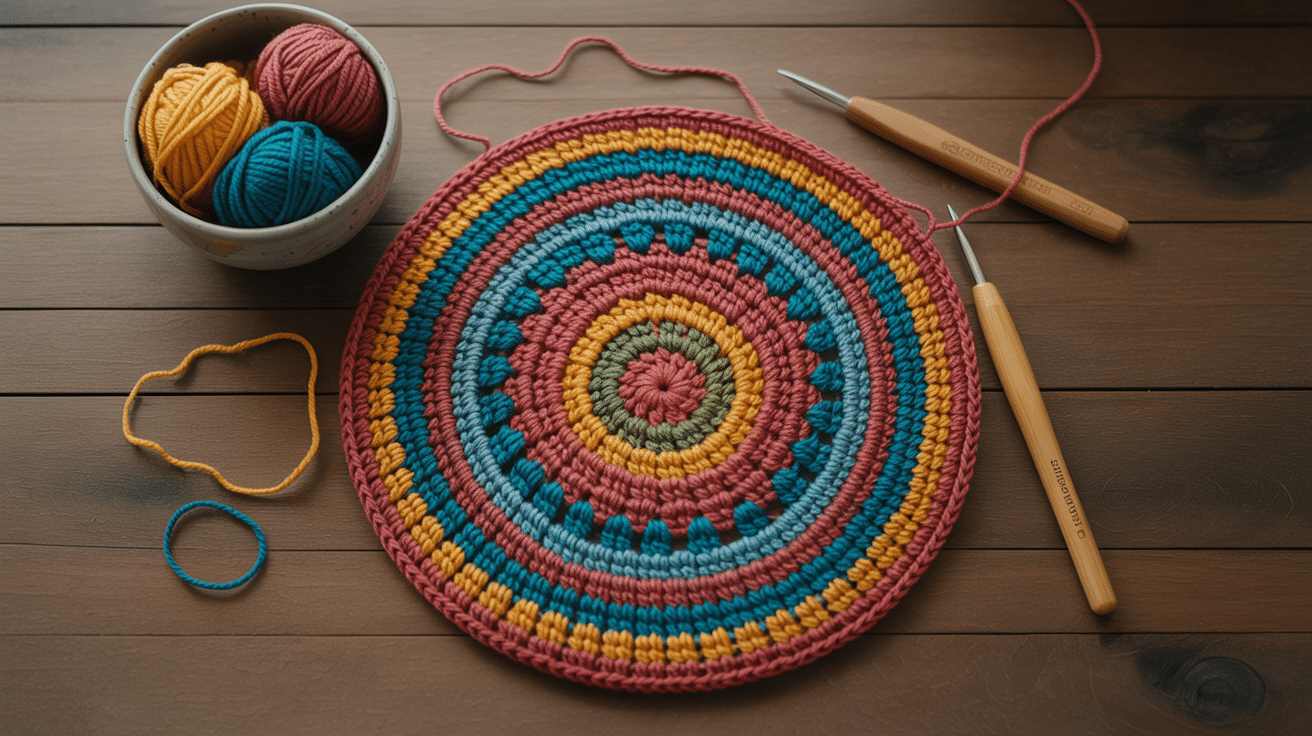
Ever finished a beautiful crochet project only to find it looks wonky and uneven?
I used to feel frustrated when my carefully crafted pieces came out misshapen. Then I learned about crochet blocking, and it changed everything.
This simple technique changes your handmade items from amateur-looking to professional quality. Your stitches will lie flat, your edges will be crisp, and your measurements will be spot-on. I’m going to show you exactly how to block your crochet projects step by step.
Let’s turn your good crochet work into great crochet work that you’ll be proud to show off.
What Does Blocking Crochet Mean?
Blocking crochet is the process of shaping your finished project to its proper size and form. Think of it as giving your handmade item a final makeover.
When you crochet, stitches can end up uneven or twisted. Your project might curl or not lie flat. Blocking fixes these issues by using moisture, heat, or gentle stretching to train yarn fibers into correct positions.
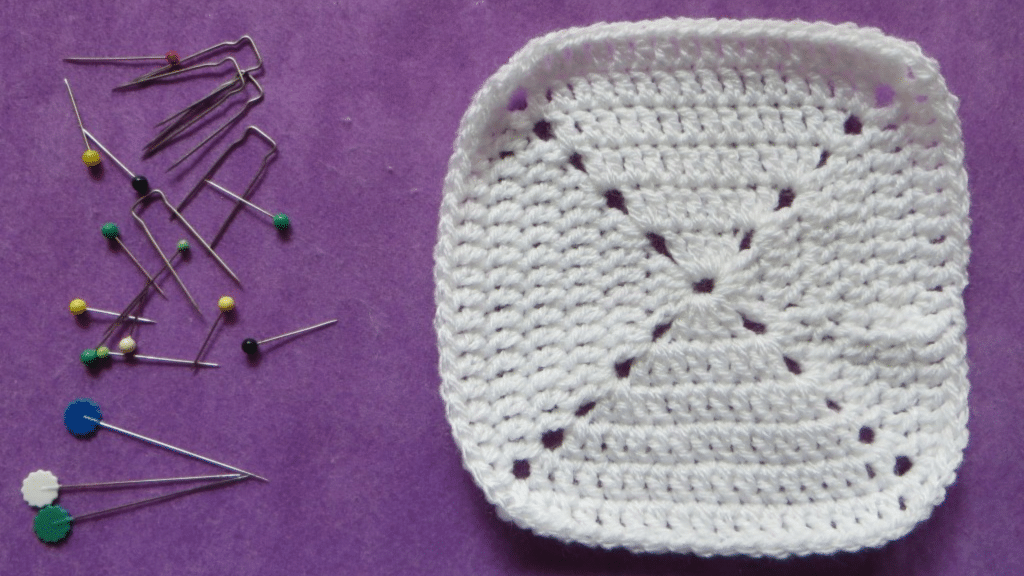
You pin your project to specific measurements on a flat surface, then apply one of the blocking methods depending on your yarn type. After blocking, stitches look more defined and even.
Your project fits better and has a professional appearance. It’s like the difference between a wrinkled shirt and a freshly pressed one.
Why Crochet Blocking is Important
I can’t stress enough how much blocking improves your finished projects. Here are the main benefits I’ve noticed over the years.
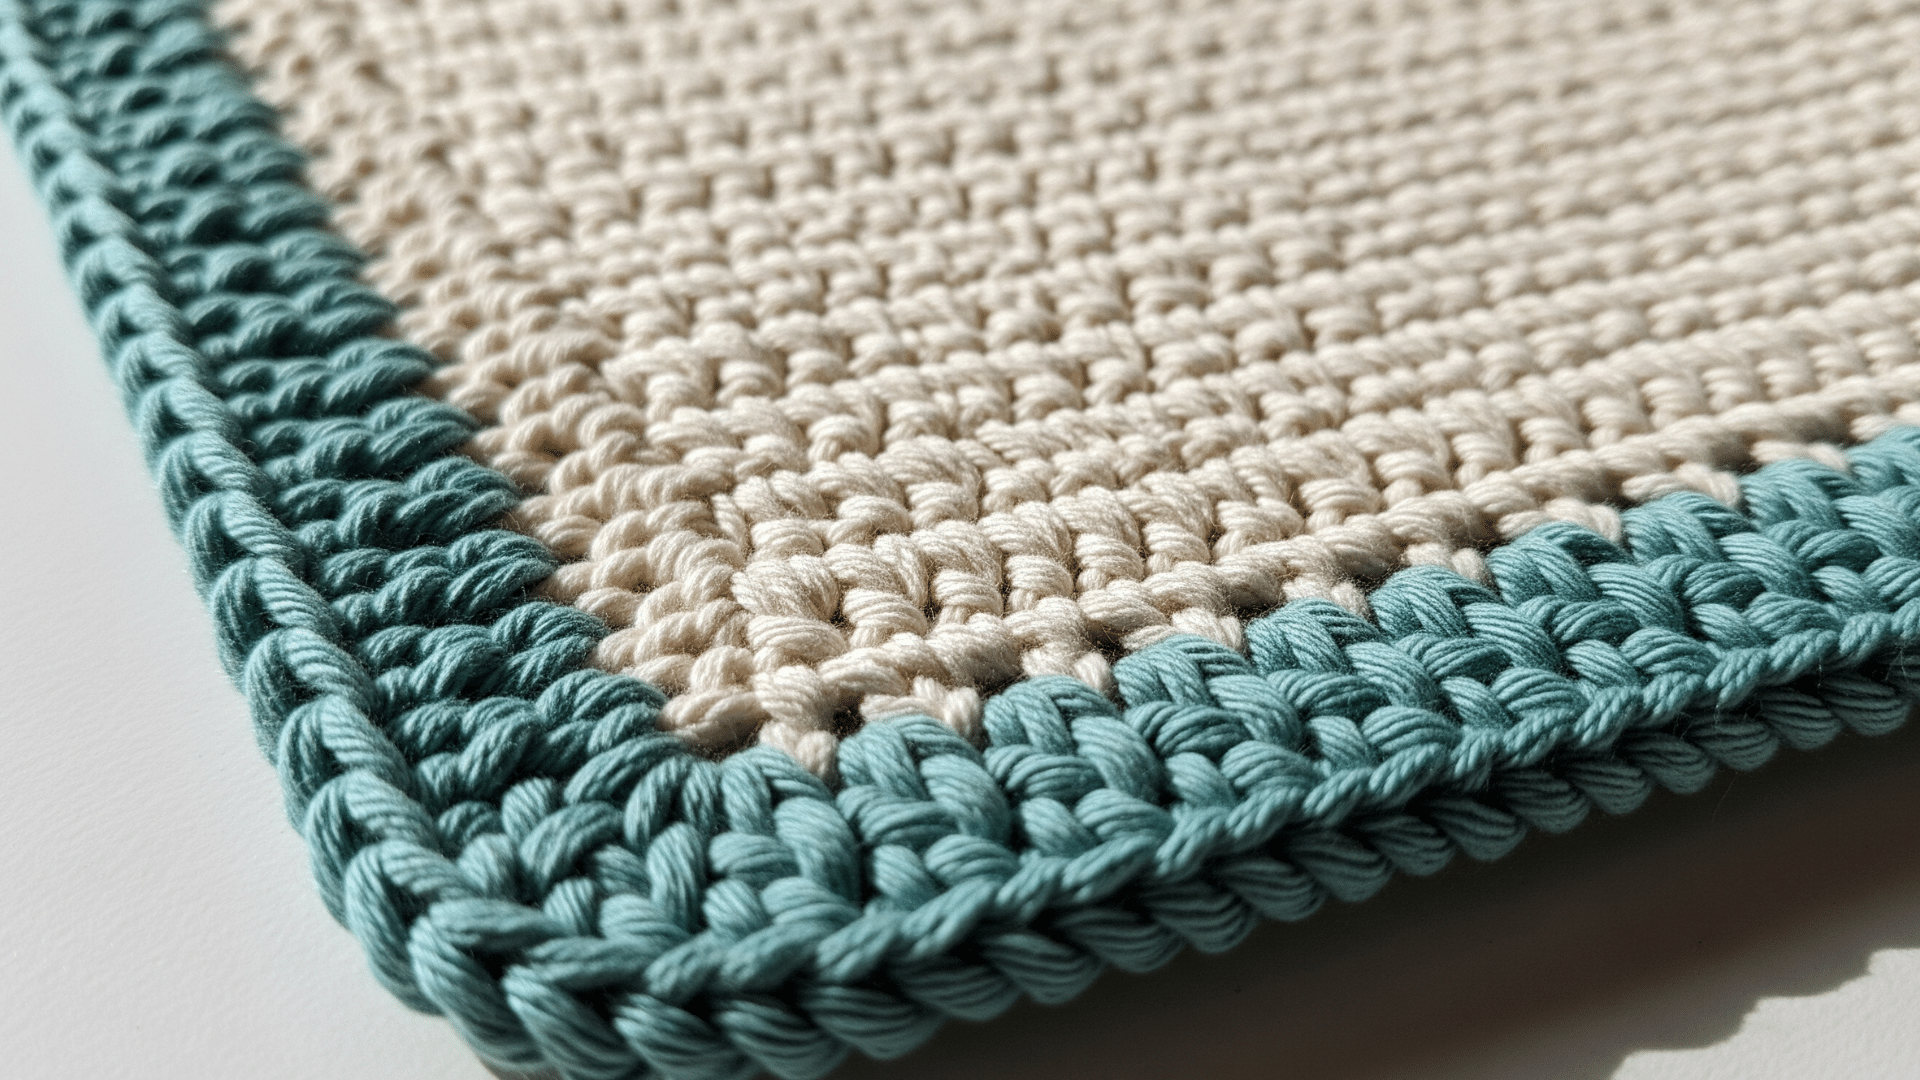
1. Creates Even Stitch Definition: Your stitches look crisp and uniform. Those slightly wonky tension spots straighten out perfectly.
2. Improves Fit and Measurements: Garments actually fit like they’re supposed to. No more too-tight or too-loose areas.
3. Eliminates Curling and Rolling Edges: No more blanket corners that curl up or scarf edges that roll. Blocking trains in these stubborn areas to lie flat and stay that way.
4. Makes Lace Patterns Pop: Lacework really needs blocking to show its beauty. The holes open up properly, and intricate patterns become clearly visible.
5. Increases Drape and Flow: Blocked fabric moves naturally instead of looking stiff. Shawls drape beautifully, and garments hang correctly on the body.
Different Crochet Blocking Techniques
There are four primary methods for blocking crochet work. Each method is more suitable for different yarns and projects.
Method 1: Wet Blocking
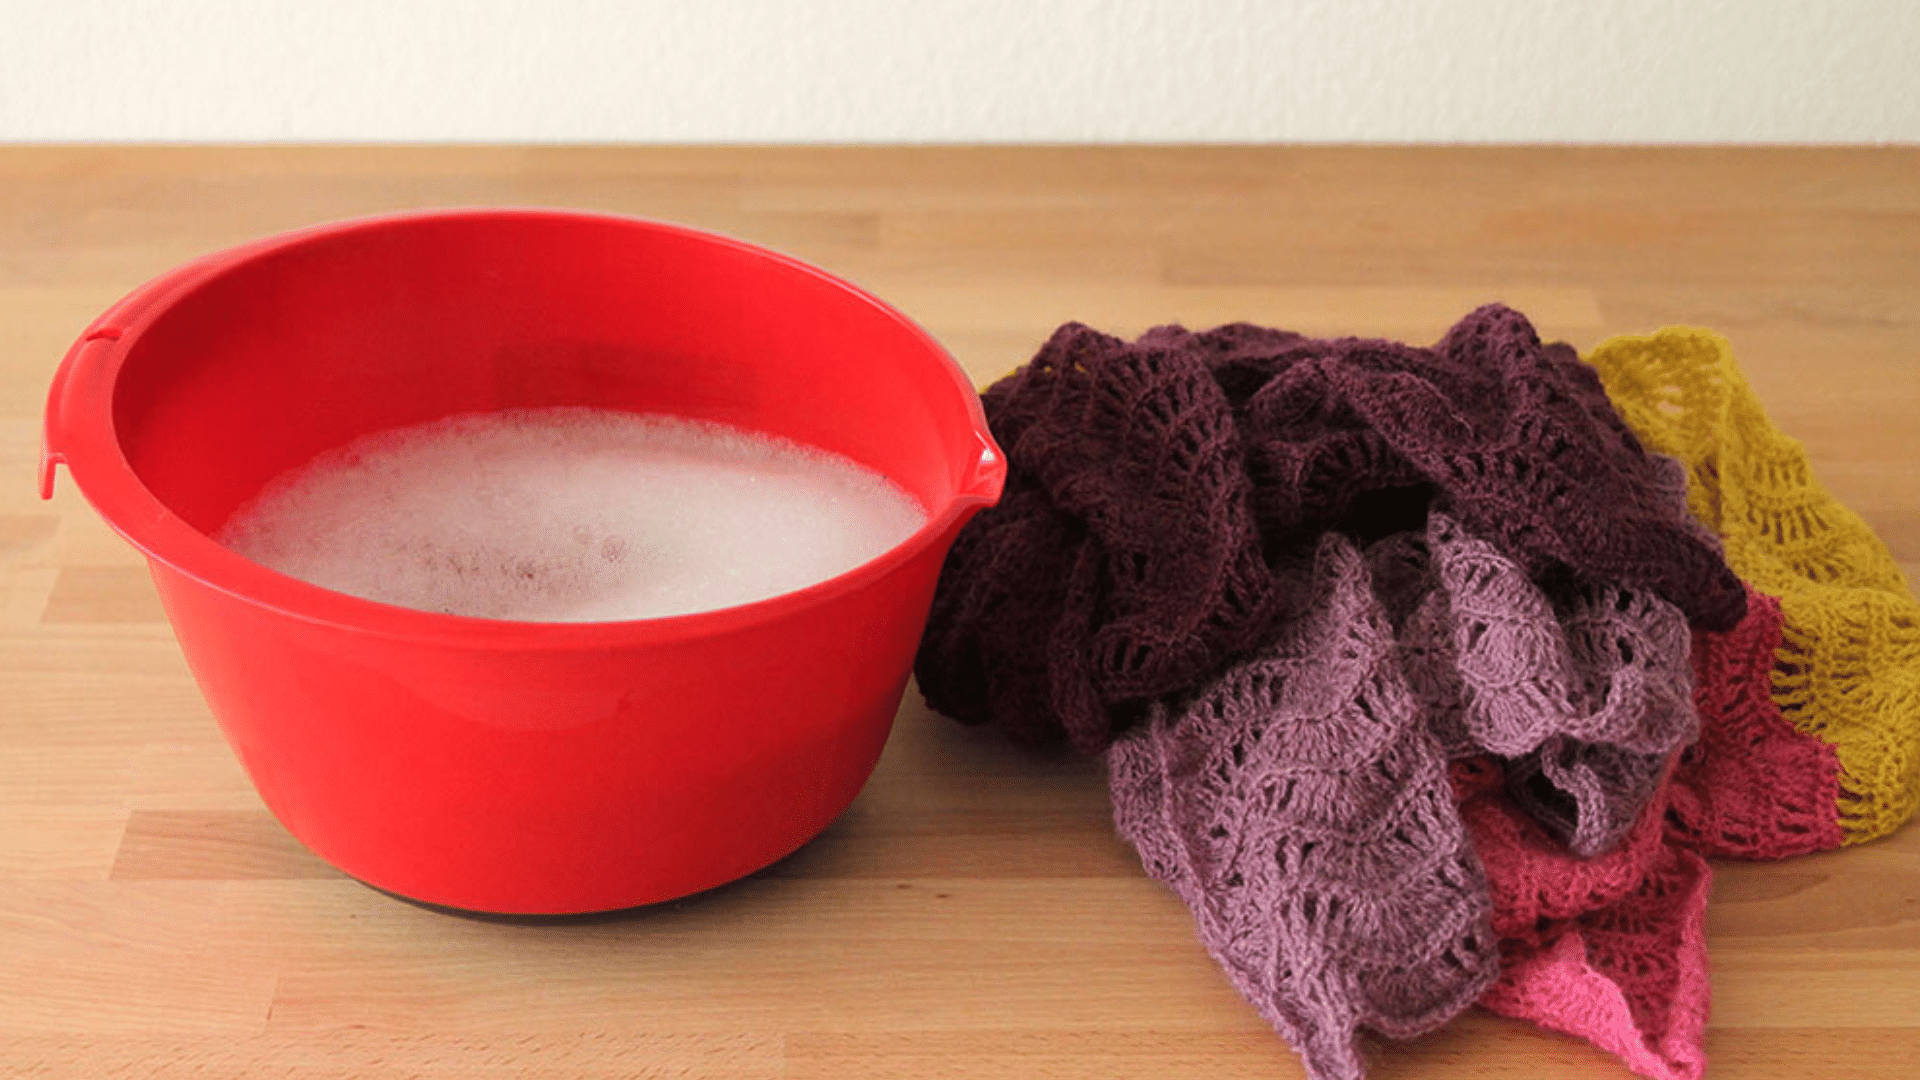
This is the most popular method for cotton and wool projects. The water completely relaxes the fibers, making them easy to reshape. Natural fibers respond beautifully to this thorough approach.
Materials Required:
- Large basin or clean sink
- Lukewarm water
- Clean towels
- Blocking mat or foam boards
- Rustproof blocking pins
- Measuring tape
Step-by-Step Instructions:
- Fill a basin with lukewarm water
- Submerge your finished project completely
- Let it soak for 15-20 minutes
- Gently squeeze out excess water (don’t wring)
- Lay the project on a blocking mat or clean towels
- Pin into the desired shape and measurements
- Allow to air dry completely (usually 12-24 hours)
Method 2: Spray Blocking
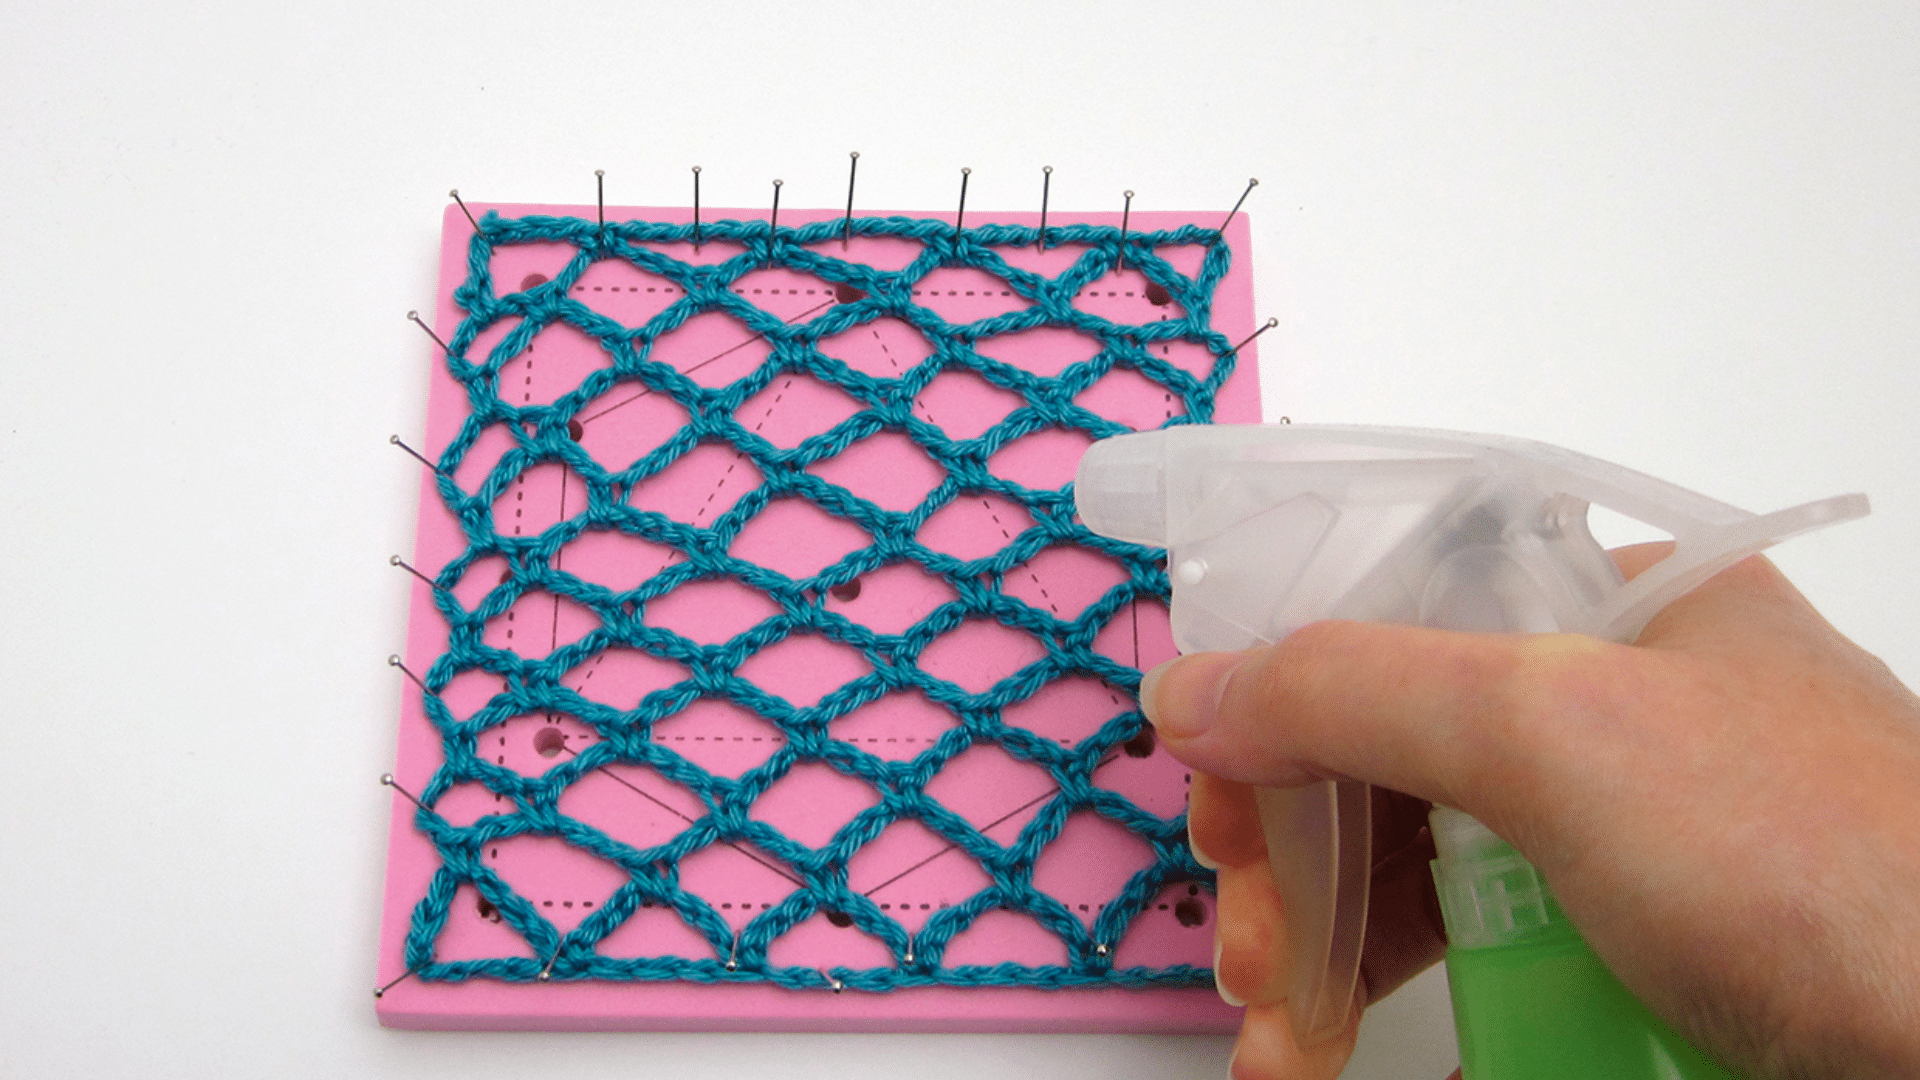
Perfect for delicate yarns that might felt or stretch when fully soaked. This gentler approach uses just enough moisture to relax fibers without causing damage.
Materials Required:
- Spray bottle
- Clean water
- Blocking mat or foam boards
- Rustproof blocking pins
- Measuring tape
Step-by-Step Instructions:
- Pin your dry project to the blocking mat first
- Fill a spray bottle with clean water
- Lightly mist the entire surface evenly
- Adjust pins if needed to achieve the proper shape
- Let the project air dry completely
- Remove pins once fully dry
Method 3: Steam Blocking
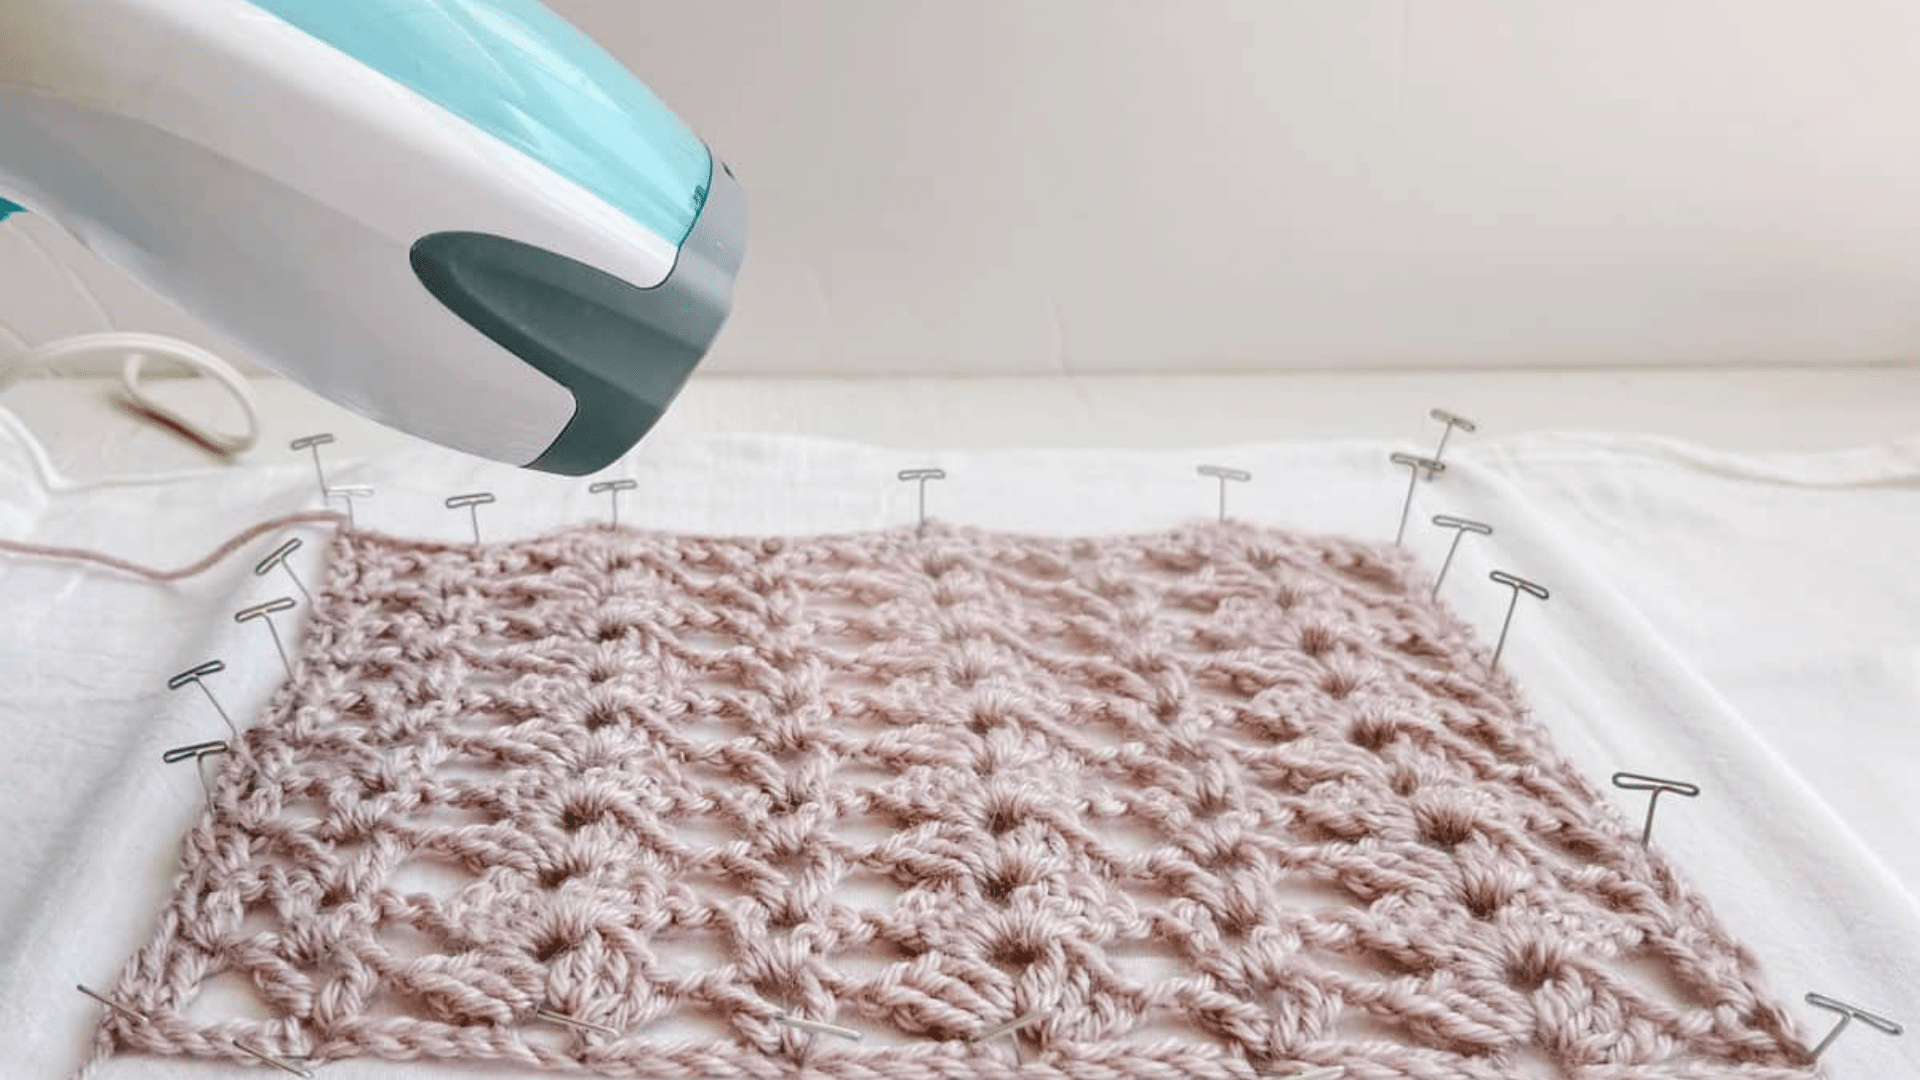
This method uses steam heat to quickly relax synthetic fibers. It’s faster than wet blocking and works well for acrylic and blended yarns that don’t absorb water easily.
Materials Required:
- Steam iron or handheld steamer
- Water for the iron
- Blocking mat or ironing board
- Rustproof blocking pins
- Measuring tape
- Heat-resistant surface
Step-by-Step Instructions:
- Set up your blocking mat and pin the project roughly
- Fill your iron with water and set it to the steam setting
- Hold the iron 2-3 inches above the fabric
- Move slowly across the entire project
- Adjust pins while the fabric is still warm and damp
- Allow to cool and dry completely before removing pins
Method 4: Cold Blocking
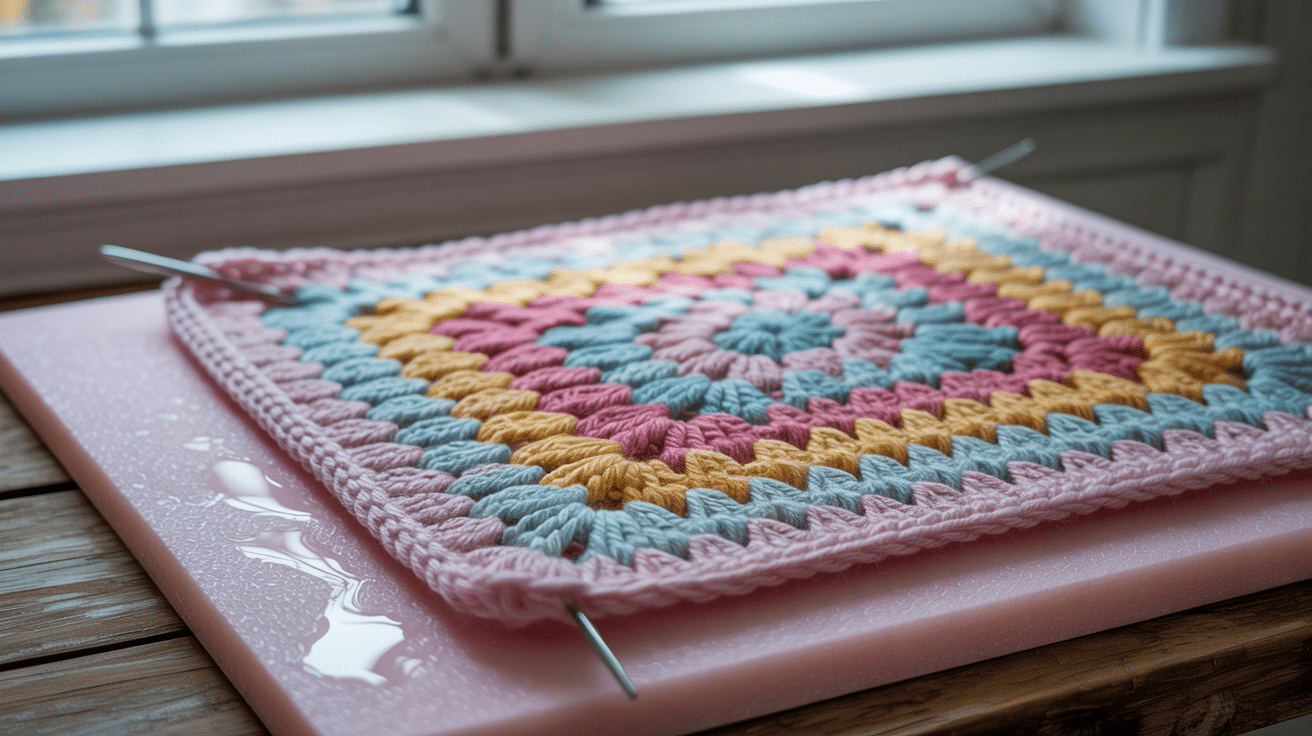
Some yarns hate both water and heat, like certain synthetics and novelty fibers. This method uses only time and gentle tension to reshape projects safely.
Materials Required:
- Blocking mat or foam boards
- Rustproof blocking pins
- Measuring tape
- Pattern or schematic for reference
Step-by-Step Instructions:
- Pin your completely dry project to the blocking mat
- Stretch gently to desired measurements
- Ensure all pins are secure
- Leave undisturbed for 24-48 hours
- Check periodically that pins haven’t shifted
- Remove pins carefully once the time has passed
Tips for Blocking Crochet Items
These simple tips will help you get perfect results every time. Small details make a big difference in the final outcome.
- Test on a swatch first: Try your chosen blocking method on a small sample piece. This prevents disasters in your finished project.
- Use rust-proof pins: Regular pins can leave stains on wet fabric. Stainless steel or T-pins are the best options for blocking.
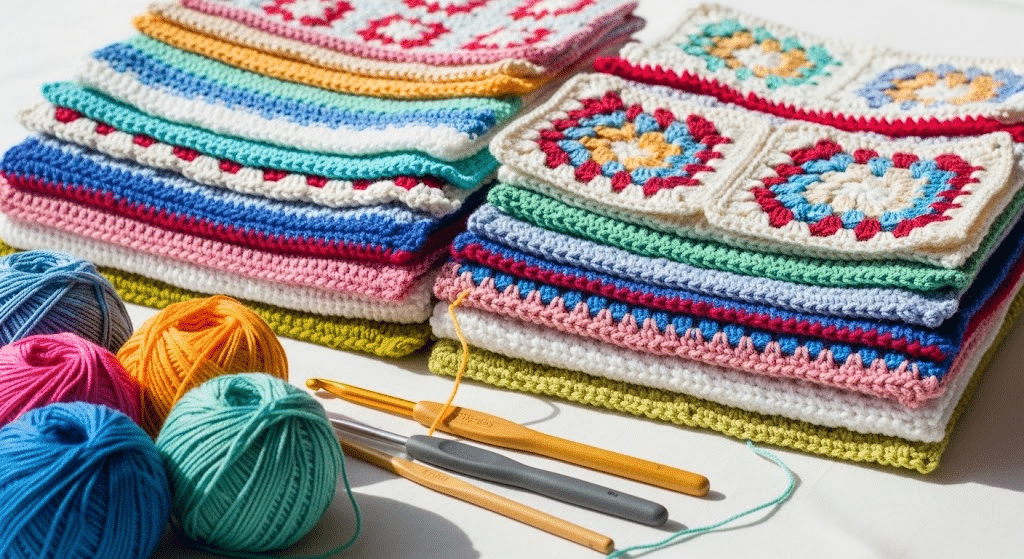
- Block before seaming: Always block individual pieces before sewing them together. It’s much easier and gives cleaner results.
- Keep measurements handy: Write down your target dimensions before starting. Check them while pinning to stay on track.
- Don’t rush the drying: Patience pays off here. Completely dry projects retain their shape much better than those completed in a rush.
Common Mistakes to Avoid
Learning from others’ mistakes saves time and heartache. Here are the biggest crochet blocking errors people make.
Using Too Much Heat on Delicate Yarn
High heat can melt synthetic fibers or felt natural ones. Always check the yarn label for temperature limits. When in doubt, use cooler settings or try spray blocking instead. A ruined project isn’t worth the time saved.
Skipping the Drying Stage
Removing pins before the project is completely dry wastes all your effort. The fabric requires time to settle into its new shape. Allow at least 24 hours for drying time, or longer if working with thick pieces or in humid weather.
Not Checking Fiber Content Before Blocking
Different fibers need different approaches. Wool loves moisture, but acrylic can melt when exposed to steam. Always read the yarn label first. When working with yarn scraps, test a small piece before blocking the whole project.
Pulling or Overstretching Stitches
Gentle shaping is more effective than aggressive stretching. Pulling too hard can permanently distort stitch patterns. The goal is to relax the fibers into their natural position, rather than forcing them into impossible shapes.
Conclusion
Now you have all the tools to make your crochet projects look absolutely amazing. I’ve shared the four main blocking methods, so you can choose what works best for your yarn and project.
Start with simple pieces like dishcloths or scarves to practice. Once you see the incredible difference blocking makes, you’ll never skip this step again.
Your friends will be amazed at how professional your work looks. They’ll ask for your secrets, and you can proudly tell them about crochet blocking.
So grab your pins and blocking mat. It’s time to change your next project from good to absolutely stunning.