Top-notch crochet with smooth color changes can be tricky. When working in rounds, those pesky color transitions often look bumpy or uneven.
I’ve struggled with this too! But good news, there are simple ways to make those color changes look nearly invisible.
I’m going to show you techniques that’ll take your color transitions from obvious to stylish.
This guide will walk you through different approaches to changing colors in crochet rounds, with step-by-step instructions and real examples. You’ll learn both standard and invisible joining methods so you can choose what works best for your projects.
Benefits of Changing Colors in the Round
For me, color changes in crochet do so much more than just add variety; they bring my projects to life. With the right colors in the right places, even the simplest stitches feel rich and dimensional.
- Visual Depth: Color changes in the round add dimension and make even simple stitches pop, turning flat pieces into eye-catching designs.
- Personal Style: Customize projects to match your décor or wardrobe with personalized color choices for a cohesive, designer look.
- Smart Yarn Use: Use up leftover yarn creatively in round projects like mandalas and coasters, reducing waste while making beautiful items.
- Creative Versatility: Multiple colors transform basic patterns into unique pieces, allowing endless variations without new techniques.
- Textural Appeal: Spirals and stripes create movement and texture, adding energy and visual interest to your crochet work.
Changing Colors in Crochet Rounds Using Different Techniques
Switching colors while crocheting in rounds can seem tricky at first, but several proven techniques make the process smooth and professional-looking.
Each method below shows unique advantages depending on your project type and skill level.
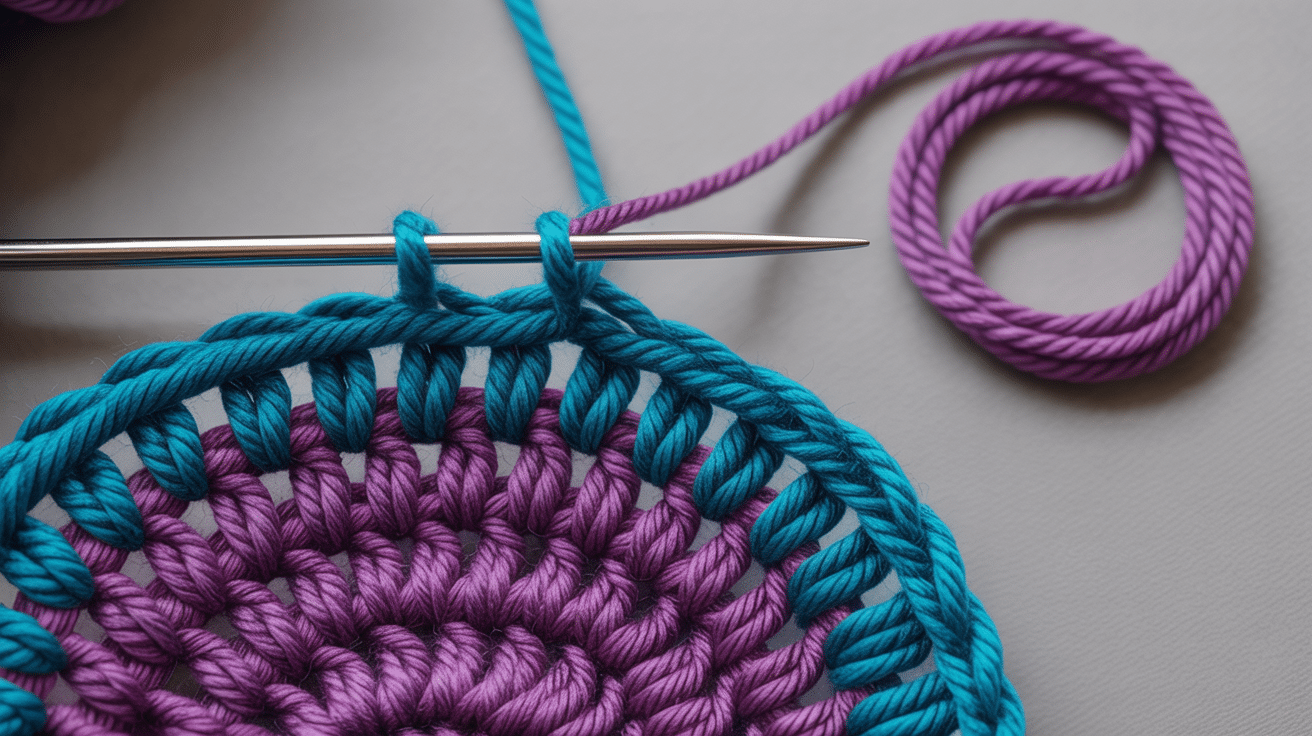
Method 1: Ending the Round with a Clean Color Change
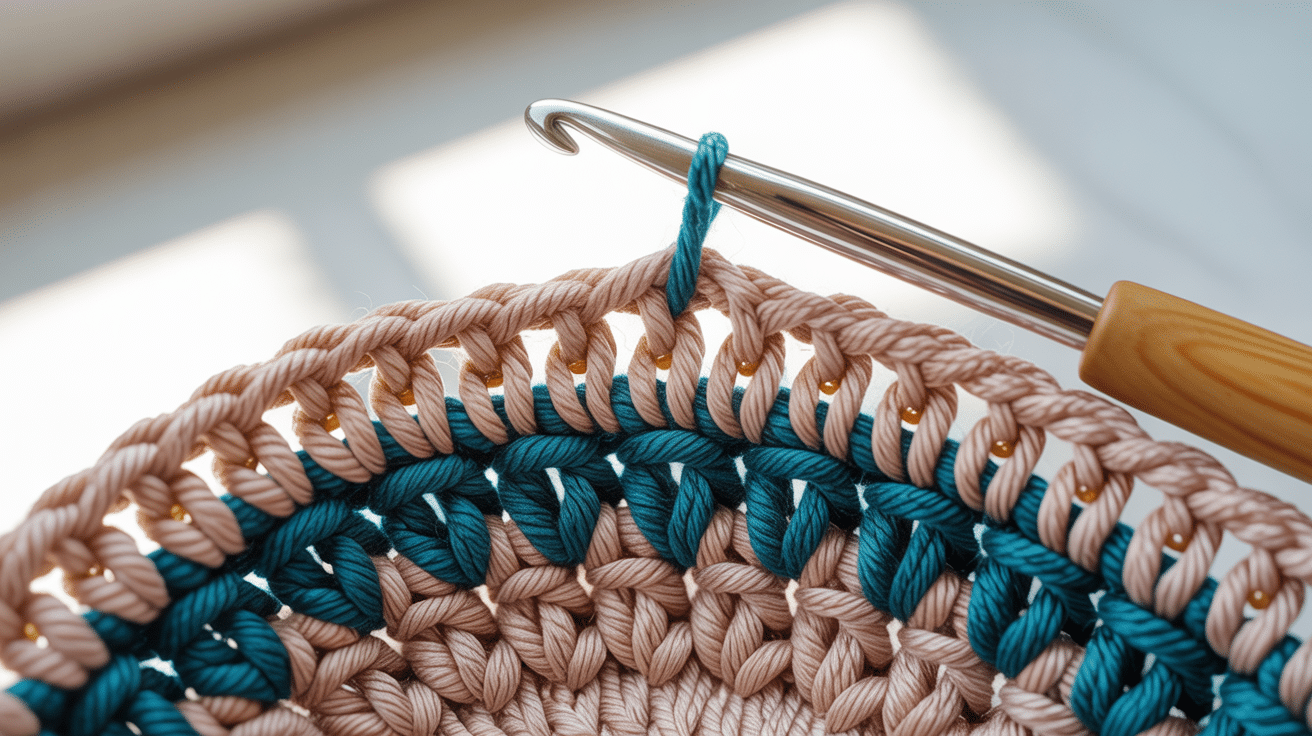
The most common way to change colors in crochet rounds is at the end of a round. Here’s how I do it:
- Work until you reach the last stitch of the round in your current color.
- Start the last stitch as normal, but stop when you have two loops on your hook.
- Drop your current yarn (don’t cut it yet if you’ll use it again later).
- Pick up your new color and yarn over with it.
- Pull the new color through both loops on your hook to complete the stitch.
- The top of your last stitch now shows the new color.
- Continue with your new color for the next round.
This method creates a more even transition than changing colors at the start of a new round. The change happens exactly where rounds meet, so it looks like a natural break point.
Method 2: The Invisible Join Method
For an even smoother look, I love using the invisible join method. This is my go-to approach for projects like amigurumi, where I want color changes to be nearly undetectable:
- Work to the end of your round in the first color.
- Fasten off and pull the yarn through the last stitch.
- Thread this end onto a tapestry needle.
- Skip the next stitch and insert your needle from back to front through both loops of the following stitch.
- Thread your yarn through the back loop of the stitch you fastened off.
- This creates a fake stitch that hides the join.
- Now join your new color with a standing single crochet (or your stitch of choice) in the first stitch of the new round.
This method takes a bit more time but creates a much cleaner look, and the color change is almost invisible. I use this technique whenever I want my projects to look extra polished.
Method 3: Carrying vs Cutting Yarn
When changing colors, you have two main options for handling the unused yarn:
Carrying yarn:
Carry the unused color along the inside of my work by crocheting over it with the working color. This works well when:
- You’ll be using the color again soon.
- You’re working with just two or three colors.
- Your project is dense enough to hide the carried yarn.
Cutting yarn:
Cut and weave in ends when:
- The color won’t be used again for many rounds
- I’m working with multiple colors
- I need the inside of my work to look neat (like for reversible items)
When I’m working on amigurumi or stuffed items, I usually carry the yarn since no one sees the inside. For items like hats or bags where the inside might be visible, I’ll cut and properly weave in my ends.
The Best Situations to Change Colors in a Round
Knowing when to change colors makes the difference between messy transitions and professional-looking results. The timing and placement of your color switches can either highlight your design or create unwanted visual breaks.
End of Round Changes
Changing colors at the end of a round creates the cleanest look in most projects. The round already has a natural ending point, so the color change blends in better. This works particularly well for:
- Striped patterns
- Color blocks
- Projects worked on in joint rounds
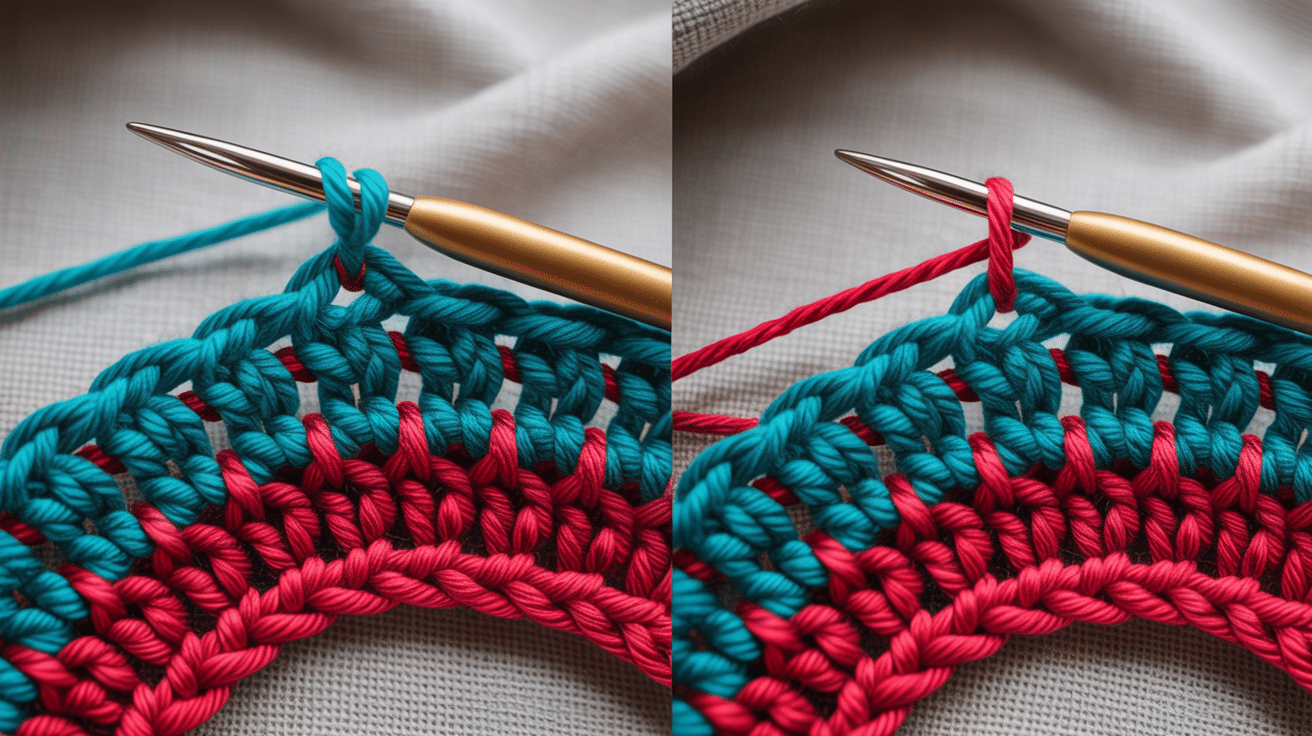
Mid-Round Changes
Sometimes you need to change colors in the middle of a round, like when creating picture designs or specific patterns. This is trickier but doable:
- Work to the stitch before where you want the color change to appear.
- Start the stitch as usual, but when you have two loops on your hook, use the new color to yarn over and pull through.
- Continue with the new color.
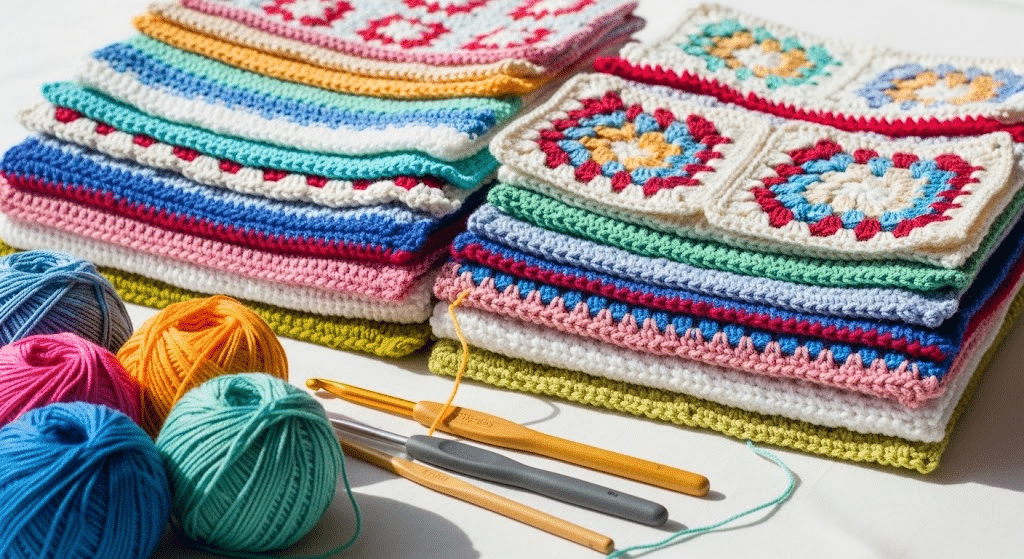
Fun Multicolor Round Projects to Try
These beginner-friendly projects let you practice color-changing techniques while creating beautiful, useful items. Each project uses simple stitches but delivers impressive results that will boost your confidence.
Two-tone Coasters
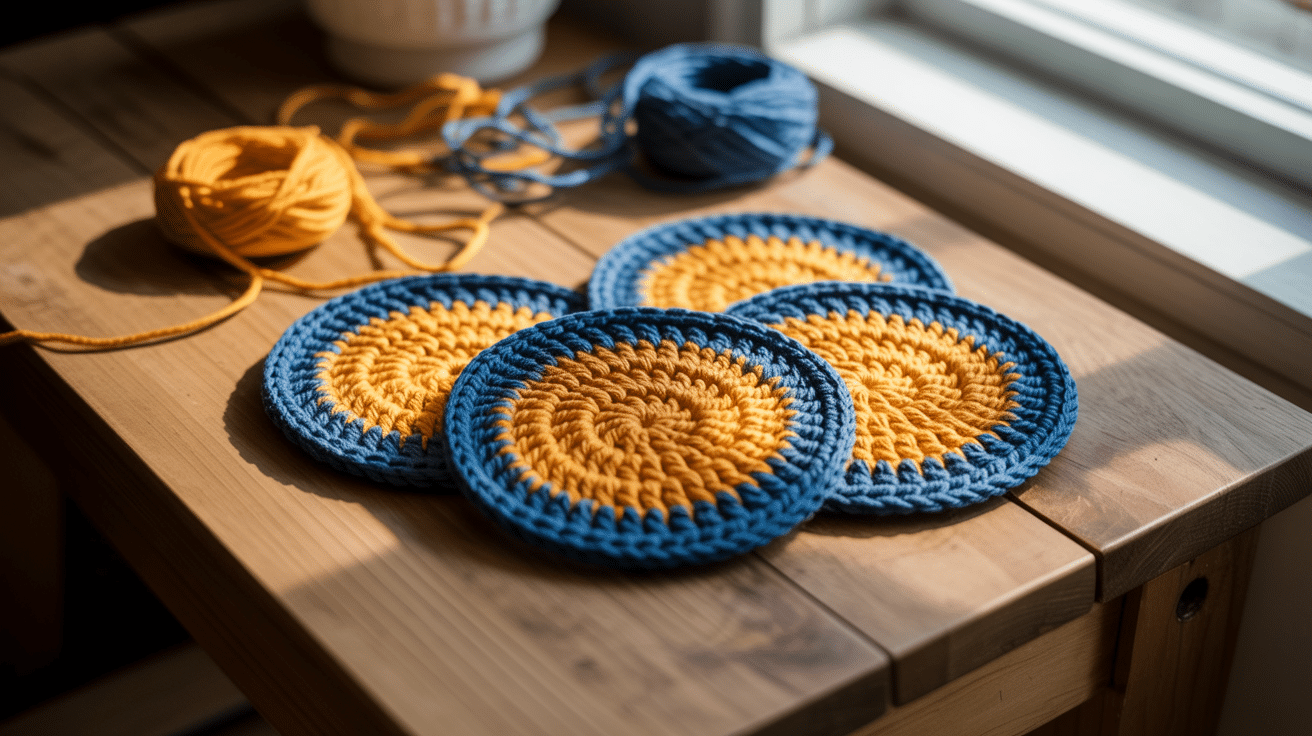
I start new crocheters with simple circle coasters using just two contrasting colors: navy blue and mustard yellow is my favorite combo. Working 3-4 rounds in each color creates bold rings that look impressive but only require basic single crochet skills.
These make perfect gifts bundled in sets of four with a ribbon tie.
The small size means you’ll finish quickly, giving that satisfying sense of completion that keeps beginners motivated.
Rainbow Mandalas
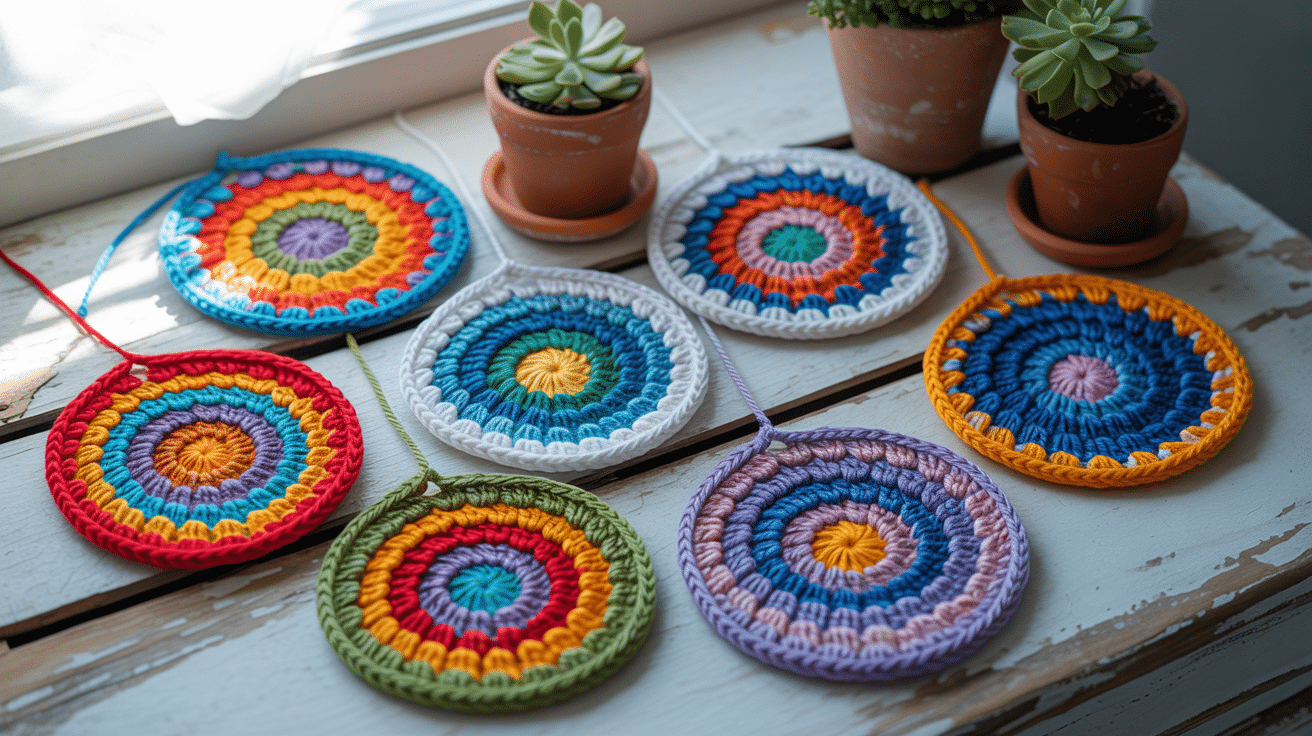
For colorful impact without complex stitches, I recommend small mandalas using 5-7 colors in rainbow progression.
Even with just single and double crochet stitches, the color changes create a stunning effect. I hang these on walls or use them as doilies under plants.
Personal Suggestion: Try arranging colors by value (light to dark) rather than the traditional rainbow order for a calm look. These work up quickly in an evening and use minimal yarn, making them budget-friendly.
Striped Beanies
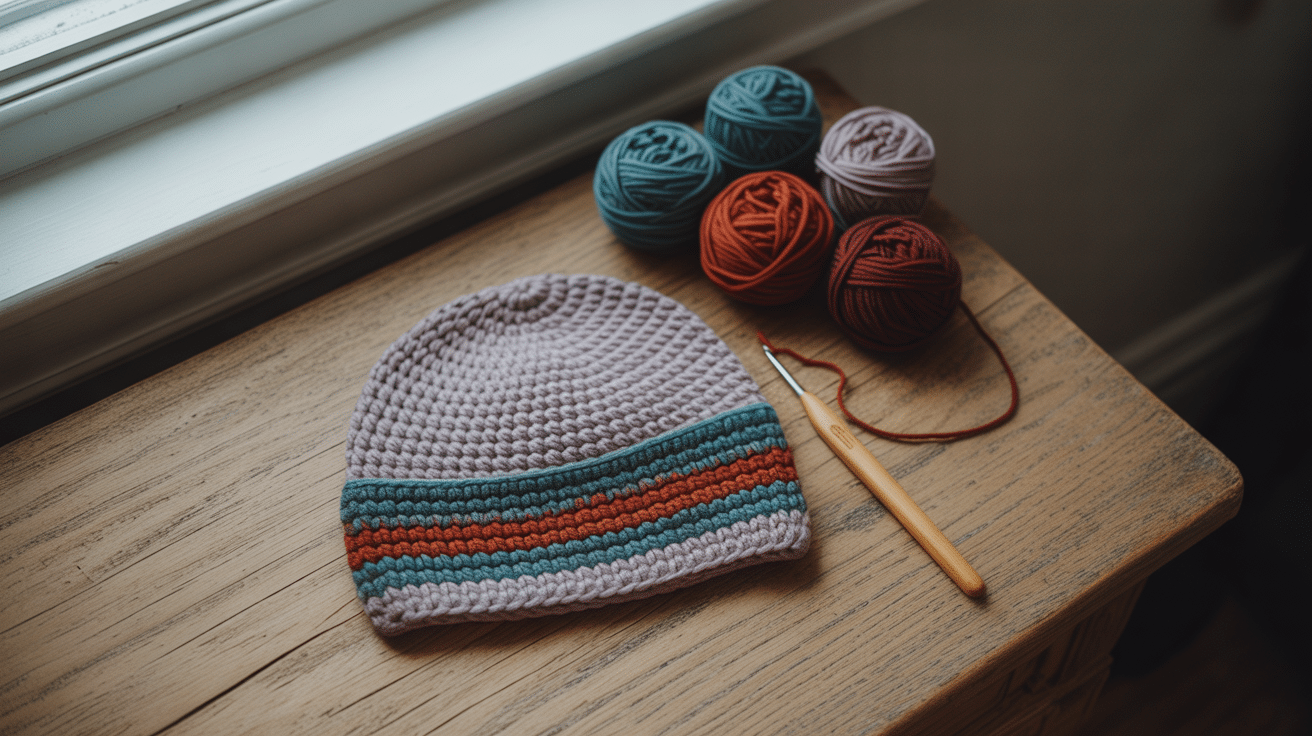
A basic beanie with 1-2 round stripes is perfect for practicing color changes while creating something wearable. I love using a neutral base (gray or beige) with pops of teal, rust, or burgundy for a modern look.
Try working the stripes in a ribbed stitch for extra texture.
For children’s beanies, playful color combos like purple and yellow or orange and blue create fun, gender neutral options.
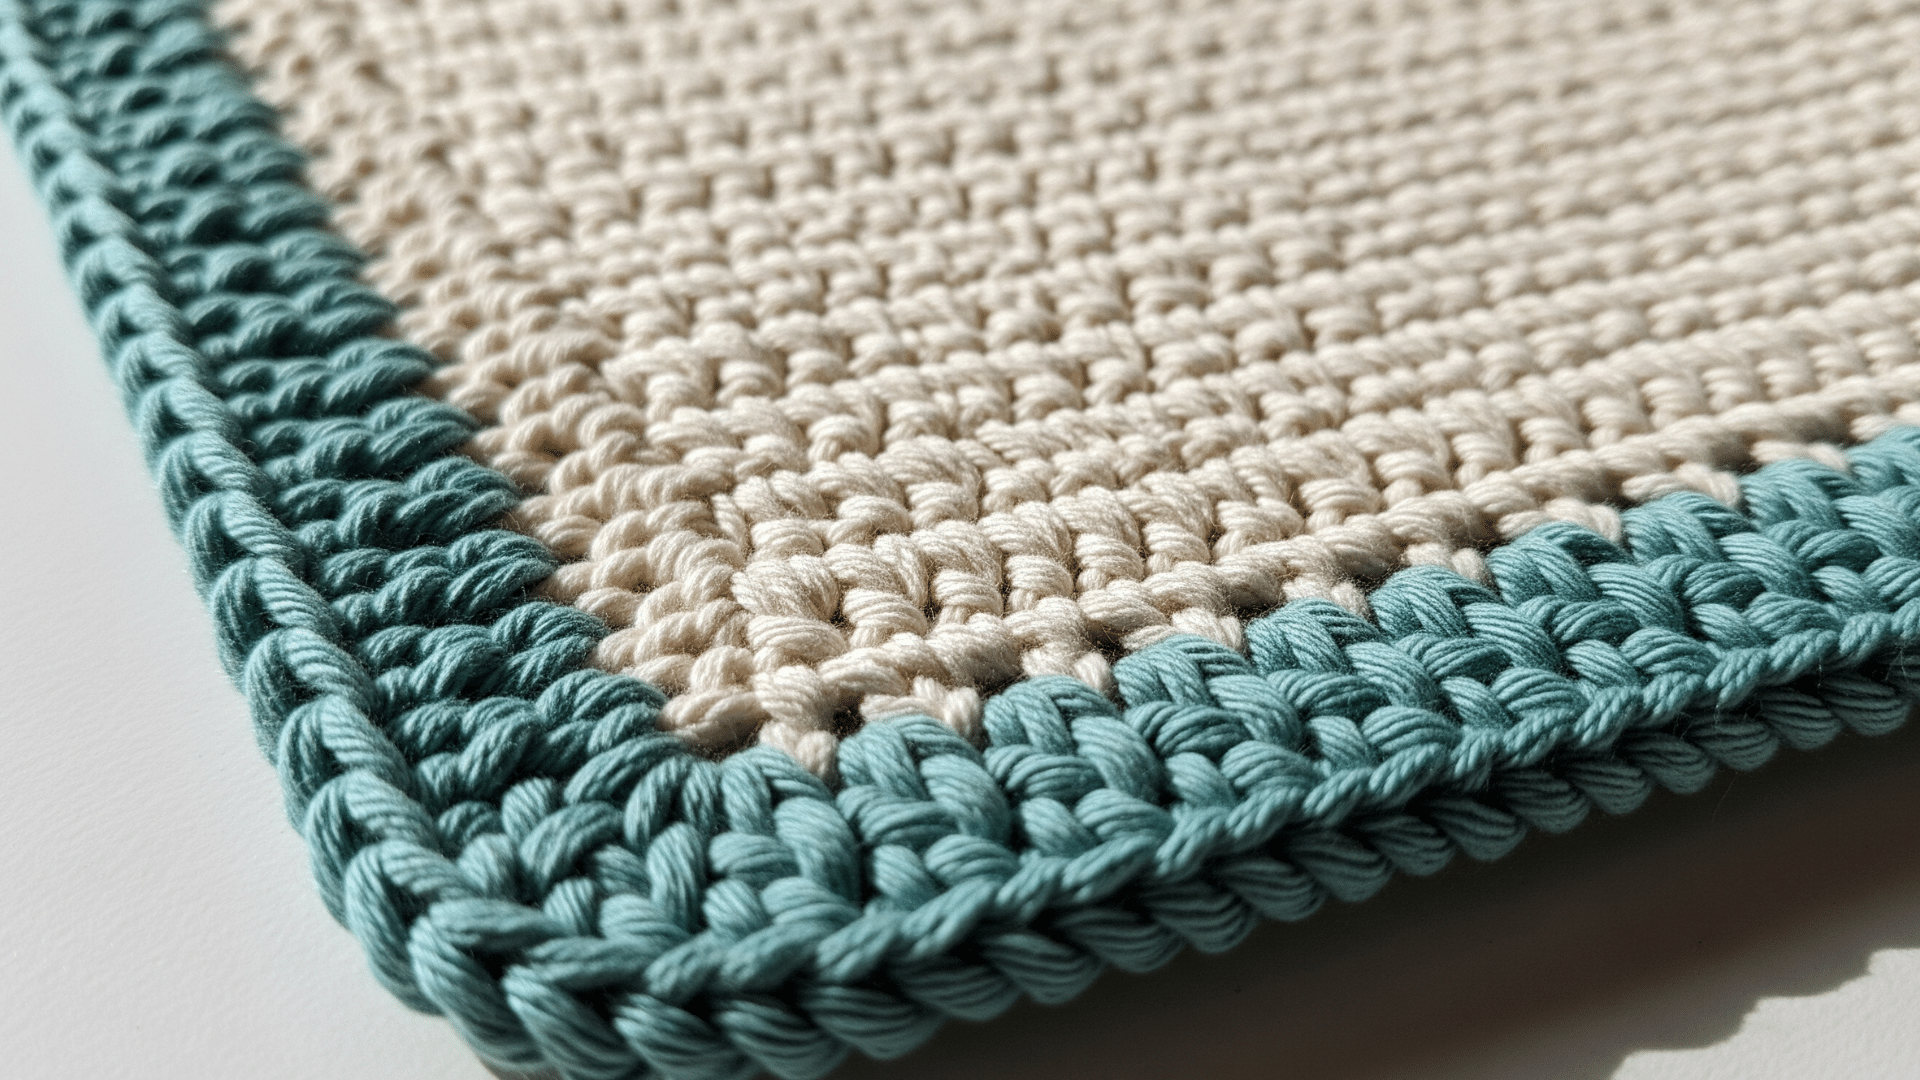
Color Block Storage Baskets
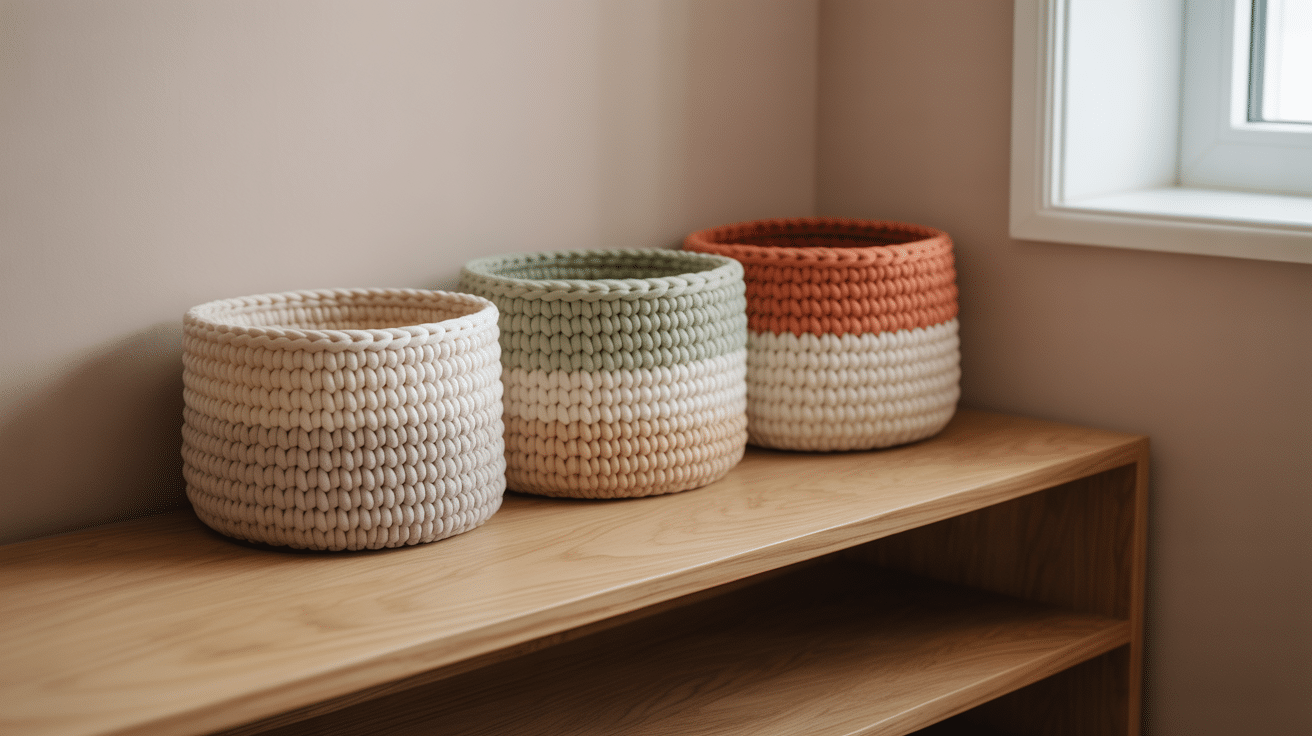
Working several rounds in one color before switching creates modern color block baskets. I typically use three colors that match my home décor currently cream, sage green, and terracotta.
The thick yarn and simple stitches make this a satisfying weekend project. Try adding a simple handle on opposite sides for extra functionality.
These baskets are perfect for organizing everything from craft supplies to kids’ toys, combining practicality with style.
Spiral Scrubby Pads
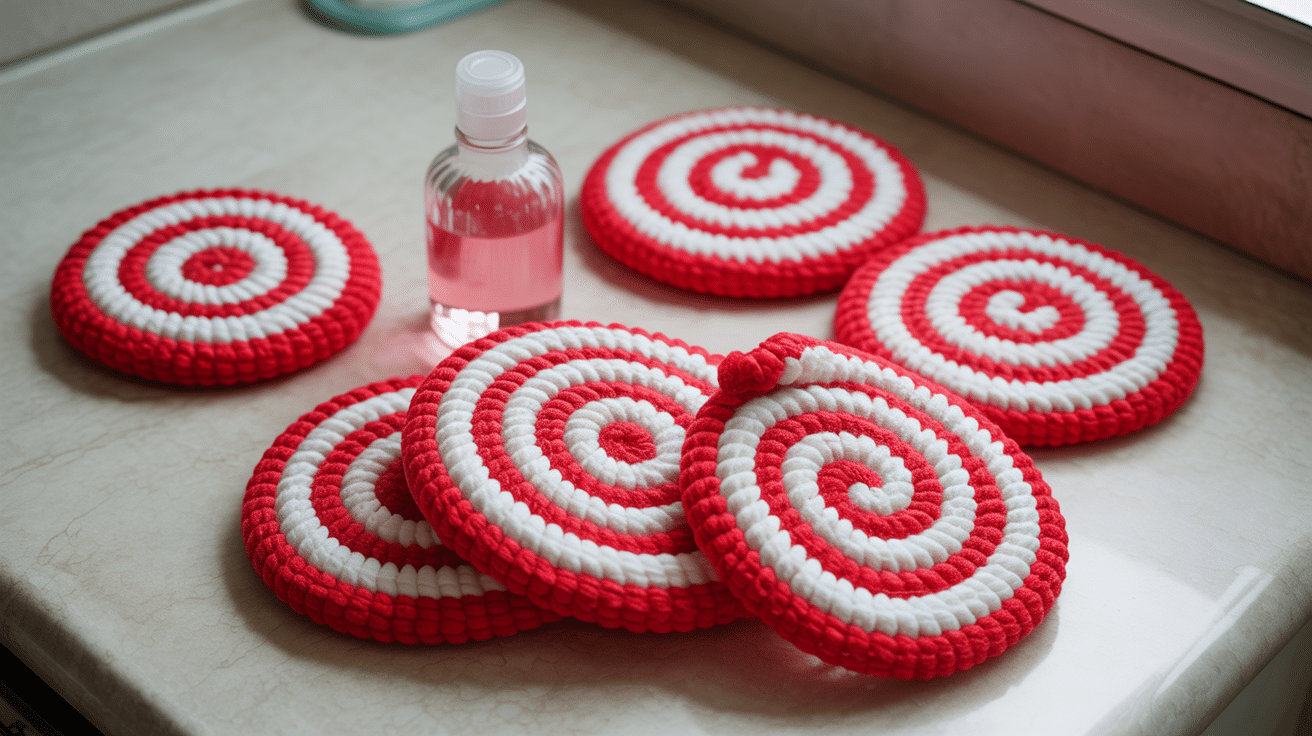
Kitchen scrubbies worked in a spiral pattern with contrasting colors (like white and red) create a peppermint look that’s both functional and festive. The texture of scrubby yarn hides any imperfections in color changes, making it extremely beginner-friendly.
Cotton or synthetic scrubby yarn works best for durability and scrubbing power.
These make practical housewarming gifts when paired with handmade soap or kitchen gadgets, and they’re much prettier than store-bought versions.
Conclusion
Now you have all the techniques you need to create stunning color changes in your crochet rounds! Remember that practice makes perfect. Even my first attempts weren’t flawless, but each project improved my skills.
Why not start with a simple two-color coaster to practice the invisible join method? Then move on to more complex projects as your confidence grows.
Play with color combinations that speak to you, try different transition methods, and don’t be afraid to experiment.
I’d love to see what you create. Share your colorful round projects and any questions in the comments below.