You don’t need a spare room to work effectively from home. A well-planned backyard home office of 3–10 square metres can provide a quiet, healthy workspace with minimal disruption to your household. Use this guide to navigate Australian conditions, compliance requirements, and practical build sequences that actually work.
This guide focuses on buildable backyard home office ideas with realistic time and budget ballparks in AUD. You’ll see orientation and shading tactics, condensation control strategies, power and data planning templates, plus a mini build plan grounded in current Australian rules.
Whether you’re converting an existing shed or installing a prefab pod, these approaches prioritise comfort, compliance, and lasting value.
Quick-Start Your Australian Backyard Home Office Plan
Before you buy or build anything, confirm three critical factors: legality, services, and site conditions. These determine your cost, comfort, and compliance outcomes. Skipping this step leads to delays, fines, or expensive rework.
What To Check First
- Submit a Before You Dig Australia (BYDA) enquiry at least one business day before any excavation, and keep utility responses on site
- Clarify your structure’s classification as a habitable Class 1 room under the National Construction Code (NCC), not a Class 10a shed
- Confirm a minimum ceiling height of 2.4 metres for habitable rooms, as required by NCC 2022 Housing Provisions
- Map orientation for daylight and heat management, prioritising north-facing light in most Australian locations
- Assess noise levels, drainage paths, access routes, and privacy considerations
One-Page Prep Checklist
- Set your budget range in AUD with a 10–15% contingency and a target timeline of 4–12 weeks
- Determine your approvals path: exempt, deemed-to-satisfy, or full building permit
- Plan electrical and data services, including dedicated circuits with residual current devices (RCDs) and structured Ethernet cabling
- Design your climate control strategy with insulation values, shading, and ventilation matched to your climate zone
- Map furniture placement so you can position power points and lighting correctly
Understand Approvals And Compliance Before You Build
If you’ll work in the structure regularly, treat it as a habitable room forming part of a Class 1 dwelling. This classification triggers NCC requirements for ceiling height, ventilation, condensation control, and energy efficiency measures. Understanding this early prevents costly surprises.
Classifications That Matter
Non-habitable sheds fall under Class 10a, but a studio used as an office cannot be classified this way. NCC 2022 Part A6 makes this distinction clear. Habitable classification also pulls in ventilation provisions, energy efficiency requirements, and safety elements you must plan for from the outset.
State And Local Variations
Rules differ significantly between states and councils. In Victoria, Class 10a sheds under approximately 10 square metres may be exempt from permits, while habitable studios typically need full approvals. Heritage overlays, bushfire zones, and flood mapping can change what is permissible on your block, so a short pre-application call with your council can save weeks of wasted effort.
Safe Digging Requirements
BYDA is Australia’s free national referral service for underground asset plans. Lodge an enquiry before any trenching work begins. In NSW, underground cable plans must be no more than 30 days old when excavation starts, and you should expose services with non-destructive digging, respect asset owner tolerances, and photograph routes for your records.
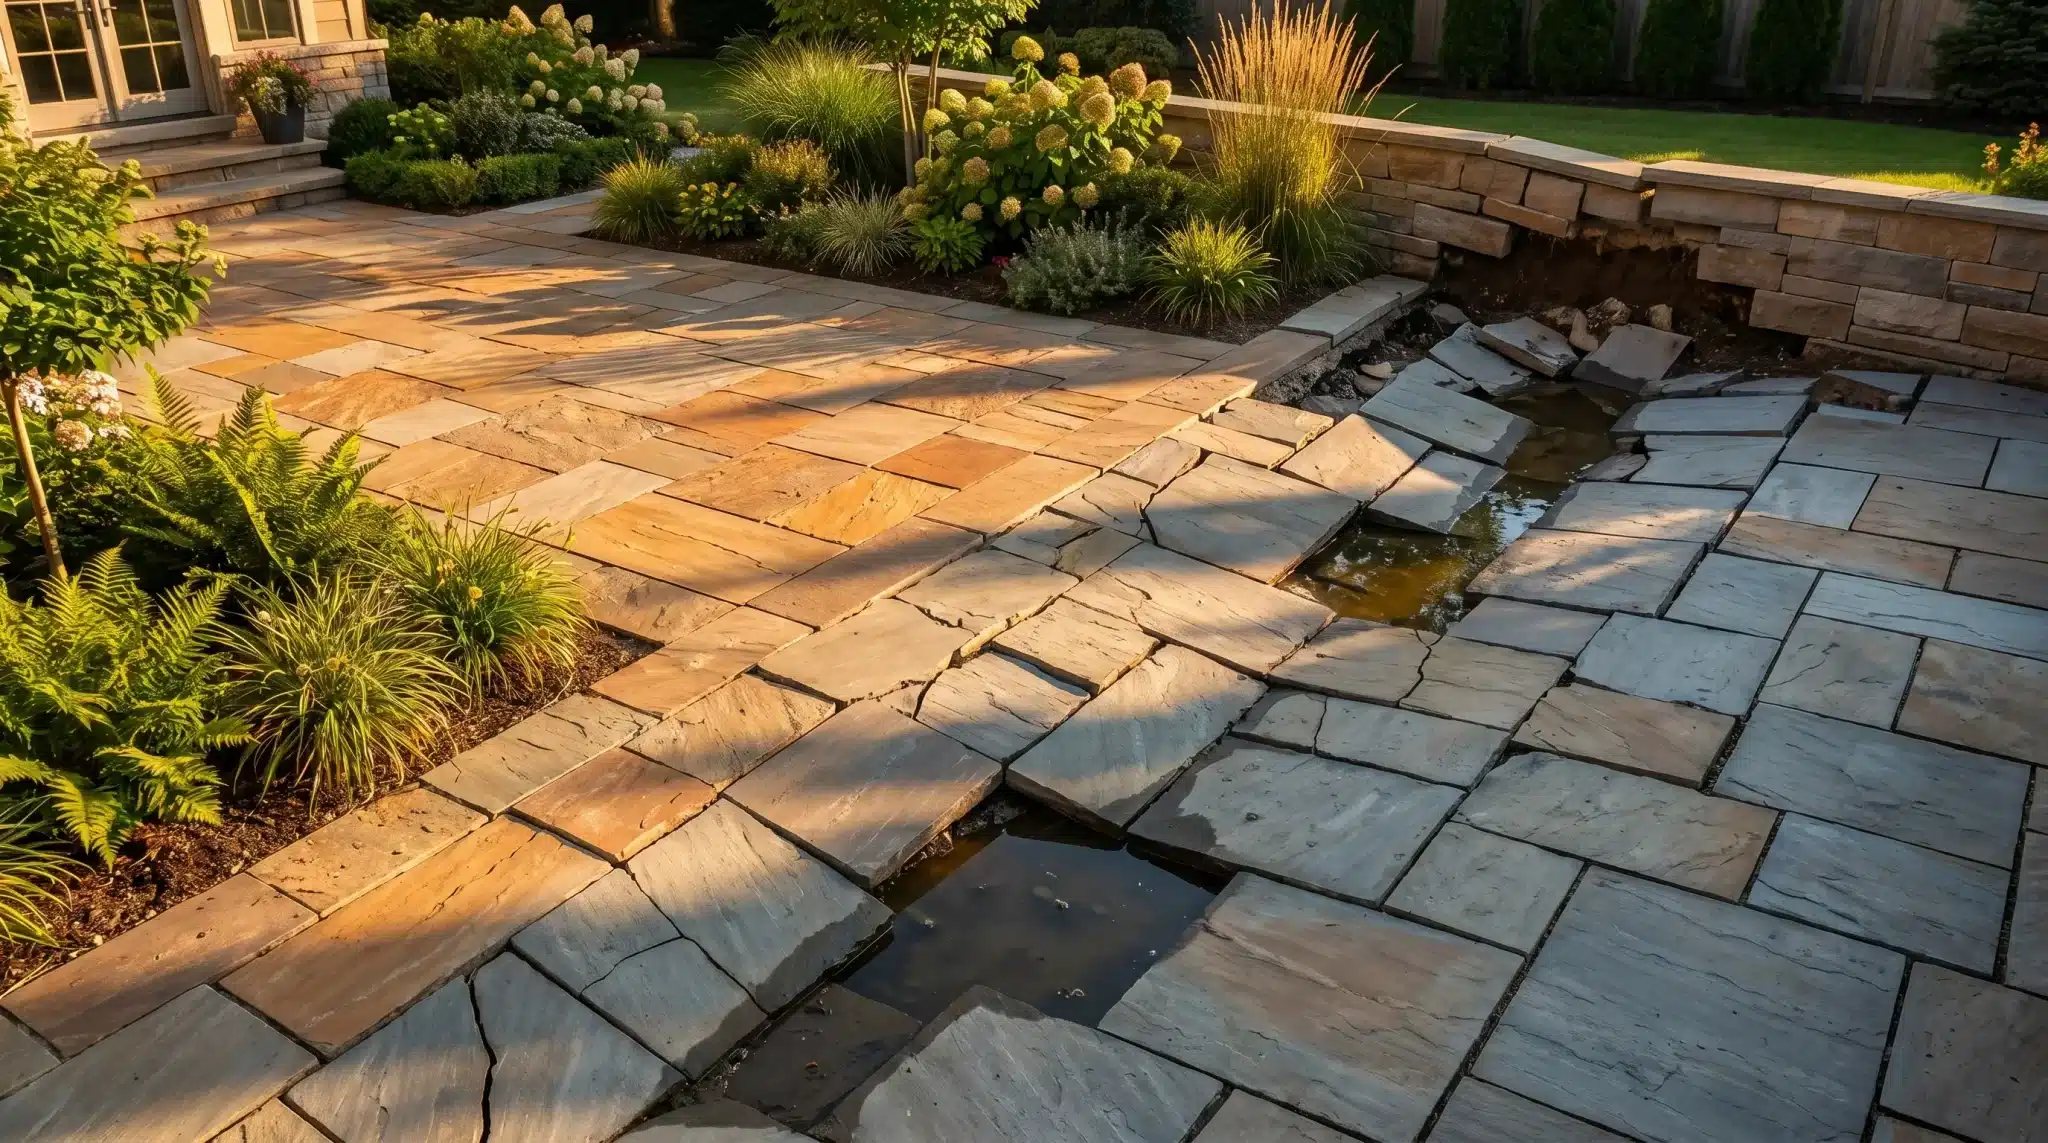
Use Site And Shell To Manage Heat, Light, And Moisture
Orientation and shade are the cheapest ways to lock in year-round comfort and lower running costs. Getting these right during planning costs very little but delivers benefits every day you use the space.
Orientation For Comfort
For most of Australia south of the Tropic of Capricorn, prioritise north-facing glazing. This captures valuable winter sun while allowing easy summer shading with correctly sized eaves. Block low-angle east and west sun using vertical screens, adjustable louvres, or deciduous trees, and place heat-generating equipment such as printers and UPS units on the shaded side.
Sizing Eaves And External Shade
As a practical rule of thumb, size eaves to roughly 45% of the sill-to-eave height so winter sun enters while summer sun stays out. Extend shading beyond the window width for complete protection. Combine fixed eaves with operable awnings or blinds for seasonal flexibility.
Condensation Management
NCC 2022 strengthened condensation management requirements significantly. In cooler climates, place vapour-permeable wraps outside insulation so assemblies can dry to the exterior. Duct all exhaust fans outdoors rather than into the roof void, and add continuous sarking while sealing all penetrations carefully.
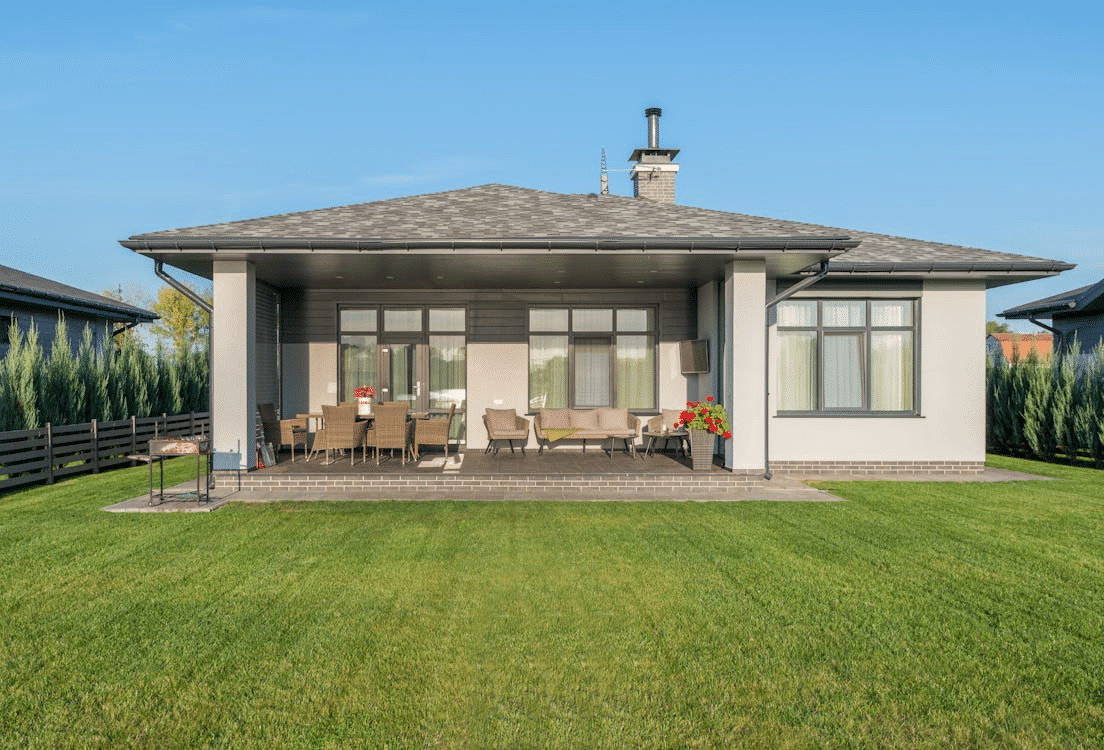
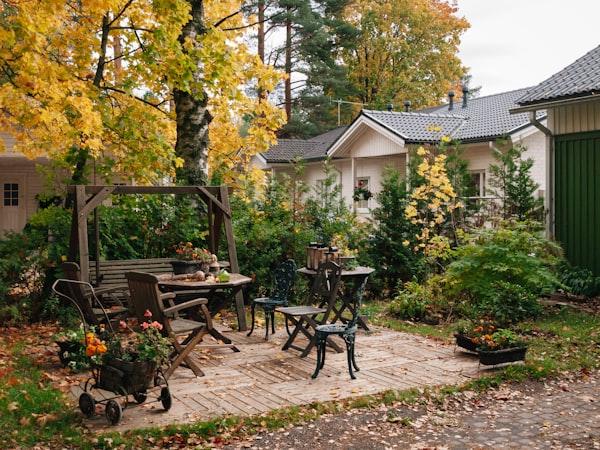
Pick A Prefab Backyard Home Office For Fast Installation
For homeowners balancing cost, time, and neighbour impact, a small detached workspace at the back of your property can be the simplest way to add a professional environment without touching the main house.
If you want a fast, low-mess installation with insulation and glazing sized for Australian weather, consider Greenspan Buildings’ backyard office pods as a prefab option that can be delivered and installed with minimal disruption. Prefab pods offer speed, factory-controlled insulation quality, and predictable timelines that custom builds cannot match.
Prefab Vs Custom Vs Conversion
Speed varies dramatically between approaches: prefab can be delivered and installed in days, custom builds typically take 6–12 weeks or longer, and conversions depend entirely on the existing structure’s condition. Approval requirements apply regardless of approach if the space will be used as a habitable room. Prefab usually sits in the mid-range for upfront cost with clear inclusions, while custom builds range widely based on finishes and site access challenges.
Match Backyard Home Office Ideas To Your Budget And Build Path
Choose one idea that matches your budget, approvals path, and appetite for disruption. Each concept includes compliance watch-outs and climate-smart moves so you do not design regret into your build.
Idea 1: 10m² Permit-Friendly Micro Pod
This suits renters or owners seeking speed and minimal red tape for short desk sessions, with a footprint of around 3×3 metres and a small deck landing. Budget $7,000–$12,000 for the kit plus $1,500–$3,000 for electrical and data work, with assembly taking 2–5 days on site. Use only for non-habitable purposes to avoid triggering full compliance requirements.
Idea 2: 12–15m² Habitable Garden Studio
Daily work-from-home users need a true room with year-round comfort. Plan for 3×4 to 3×5 metres with a 2.4-metre minimum ceiling height and budget $20,000–$45,000 depending on finishes and access. This triggers full NCC compliance, including ventilation, condensation control, and energy efficiency measures.
Idea 3: Shed-To-Office Conversion
Owners with a robust, watertight shed shell can upgrade effectively. Retrofit insulation, vapour-permeable wrap in cooler zones, new windows, and subfloor damp control, and budget $8,000–$25,000 over 2–6 weeks. If the use becomes habitable, treat it as a Class 1 room with full compliance.
Idea 4: Insulated Panel Kit Room
Handy DIYers wanting speed and better R-values appreciate structural insulated panels. Expect 8–12 square metres with assembly in 3–7 days and a budget of $10,000–$18,000. Pay close attention to junction sealing to manage condensation and reduce thermal bridging.
Idea 5: Shipping Container Studio
People who like an industrial aesthetic and have crane access can achieve 14–28 square metres of space. Budget $20,000–$40,000 all-in, including container, cranage, and fitout. Containers require cut-outs, insulation, careful condensation control, and often a raised roof section to meet the 2.4-metre ceiling requirement.
Containers require cut-outs, insulation, careful condensation control, and often a raised roof section to meet the 2.4-metre ceiling requirement. This setup is ideal for creating a professional office container right in your backyard.
Idea 6: Timber-Frame Studio With Verandah
Warm or wet climates benefit from shade and rain cover at entries. Plan 12–16 square metres plus a 1.2–1.8 metre verandah, with a budget of $18,000–$35,000 over 4–10 weeks. Deep shade on east and west faces plus ceiling fans on the verandah maximise comfort.
Ideas 7–11: Climate-Adaptive Options
Consider a semi-outdoor office on an existing deck with louvres for mild climates at $5,000–$12,000, or a garden room plus pergola breezeway for shaded transitions at $12,000–$28,000. Green-roof micro offices cost $25,000–$50,000 but mitigate urban heat effectively, and solar-ready studios add $2,000–$5,000 in pre-wire allowances plus panel costs. Off-grid kits with photovoltaic (PV) panels and battery storage run $4,000–$10,000 for remote sites.
Ideas 12–16: Specialised Workspaces
Acoustic quiet boxes for call-heavy roles need solid-core doors and perimeter seals at $1,500–$5,000, and biophilic offices integrate plant zones for wellbeing benefits at $500–$3,000 in fitout costs. Dual-desk studios for couples need 12–15 square metres with adequate circuits, while convertible craft spaces require durable flooring and dust control. Heatwave-resilient offices prioritise external shade and light-coloured roofing.
Ideas 17–21: Specific Needs
Cool-climate cocoons for climate zones 6–8 need higher R-values and careful air-sealing at $3,000–$8,000, and privacy-first offices use high-level windows and screening at $1,000–$4,000. Accessible compact offices with level thresholds and wider doors run $2,000–$8,000, while rental-friendly no-dig setups avoid trenching entirely at $1,000–$6,000. Budget porch offices using existing verandahs start at $1,000–$5,000.
Use A Licensed Electrician In Melbourne For Safe Power
For any backyard home office or garden studio, reliable power, data, and clear compliance paperwork protect your equipment, your insurance position, and your family’s safety over the long term in every season. If you want the job done safely and signed off with a Certificate of Electrical Safety (COES), contact a trusted residential electrician in Melbourne to design a dedicated sub-circuit, trench in conduit, and issue the paperwork.
J3T Electrical can usually quote and schedule in the same week. In Victoria, electrical installation work must be performed by a registered electrical contractor, and a COES must be issued for all completed work.
Specify a dedicated circuit sized for your anticipated load, including heating, cooling, monitors, and chargers. Include whole-of-home or point-of-use surge protection for IT equipment. Use weather-resistant fittings for any external points with correct IP ratings, and run structured Ethernet cabling via a registered cabler who certifies to AS/CA S009 standards.
Tune Lighting And Ergonomics For Longer, More Productive Workdays
Aim for 300–500 lux at the desk surface depending on your tasks. Screen-heavy work needs around 300 lux, while paper-based tasks benefit from closer to 500 lux. Layer daylight with dimmable ambient lighting and a focused task lamp for flexibility throughout the day.
Position monitors perpendicular to windows to control glare and reflections. Choose warm-neutral 3000–4000K LEDs to maintain alertness without harshness. Set monitor height so the top sits at or below eye level at roughly arm’s length distance, and match desk and chair heights so elbows rest at approximately 90 degrees with wrists neutral.
Size Climate Control For Comfort And Low Running Costs
Reverse-cycle air conditioners deliver 300–600% efficiency, which makes them the most efficient heating and cooling option for small studios. Right-size the unit to your room load, because oversizing causes short-cycling and humidity problems. Pair the system with a ceiling or pedestal fan for air movement.
Fans make a space feel around 3°C cooler at minimal running cost. Each degree of thermostat adjustment shifts energy use by roughly 5–10%. Use this strategically: nudge your cooling setpoint up a degree or two and run the fan to maintain comfort while saving energy.
Plan Budget And Timeline Around Shell Quality And Services
Spend first on shell quality, external shade, and services. Decorate last when function is proven. Keep a 10–15% contingency for surprises such as rock in trenches or unexpected termite remediation.
Under $2,000 gets you a porch enclosure refresh with blinds, task lighting, and quality used furniture. The $7,000–$12,000 range covers a DIY 10-square-metre kit with licensed electrical work and basic furniture. Budget $15,000–$30,000 or more for prefab pods or custom studios with professional trades, climate control, and data infrastructure.
Prevent Common Backyard Home Office Mistakes With Quick Fixes
Most regrets come from ignoring winter sun angles, underspecifying power and data, or skipping condensation control. Each problem is fixable if caught early enough.
- Insufficient eaves: add external blinds, awnings, or a pergola on east and west sides
- East or west glare: reorient your desk, add vertical screens, and choose matte monitor finishes
- No roof moisture pathway: add roof ventilation in cooler zones and duct all exhausts outdoors
- Single power circuit or Wi-Fi only: add dedicated sub-circuits with RCDs and run Ethernet as primary
- Noisy AC placement: relocate outdoor units away from bedrooms and isolate them on antivibration pads
Treat Your Backyard Home Office As Real Infrastructure
A small, well-sited, code-aware backyard home office delivers outsized benefits: fewer distractions, better comfort, and healthier workdays without overspending. Pick a concept from these 21 backyard home office ideas, confirm your classification and services requirements, and follow proper sequencing to avoid common pitfalls. Document everything from BYDA responses to electrical certifications so your new workspace remains safe, compliant, and adds genuine value to your property.