I finished painting the living room ceiling last spring. It looked perfect until I turned around and saw demolition offcuts, flatpack boxes, and a sagging three-seater blocking every walkway.
That’s the trap. Renovators obsess over tile selections and paint swatches, then treat clean-up as an afterthought. The result is weeks of living around debris, a missed council collection, and a last-minute scramble that costs twice what it should.
The fix is a regulation-aware workflow that treats clean-up as part of the build, and treats seating layout as part of the plan. You’ll finish safer, stay legal in NSW, and get a room that works on day one.
- Stage waste across keep, sell, donate, Community Recycling Centres (CRCs), and skip streams.
- Size seating using viewing-angle rules, then verify clearances and power access.
- Follow NSW rules for skip placement, hazardous waste, and asbestos thresholds.
- Choose between a skip, a DIY dump run, and council cleanups based on volume and materials.
- Run a day-by-day order of operations from demolition through the styled reveal.
Front-load the plan so your reveal photos show a finished room, not an active worksite.
What Is a Renovation Clean-Up Plan?
A clean-up plan keeps waste moving out at the same pace work moves forward.
A renovation clean-up plan is a parallel workstream to your design and construction schedule. It aligns decluttering, hazard controls, and disposal logistics so waste doesn’t pile up faster than you can move it.
The components are straightforward: a scope list of rooms and zones, a material inventory, a hazards screen, and a disposal map that routes every item to reuse, donation, CRC, or skip. Add a calendar for deliveries, permits, and pick-ups, plus a budget covering bin hire, tip fees, PPE, and cleaning supplies.
Your output should fit on one page and live where decisions happen, usually near the kettle. If everyone can see the flow, decisions don’t stall and debris doesn’t migrate into hallways.
Three Benefits of Planning Clean-Up Upfront
Clean-up planning saves time, money, and injuries because it removes friction from the worksite.
Investing a few hours in home renovation planning before demolition day pays off in three practical ways.
1. Faster Handover
When trades aren’t stepping over rubble, work moves faster. Paint cures better in a dust-controlled space, and rework drops.
2. Lower Costs
A right-sized skip, fewer tip runs, and zero council fines can save hundreds. You also avoid double-handling, which quietly inflates labour and weekend time.
3. Safer Site
Screening for lead, asbestos, and silica before you sand or cut reduces exposure risks. It also prevents compliance surprises that stop a project mid-stream.
Hazard Triage Before You Touch a Wall
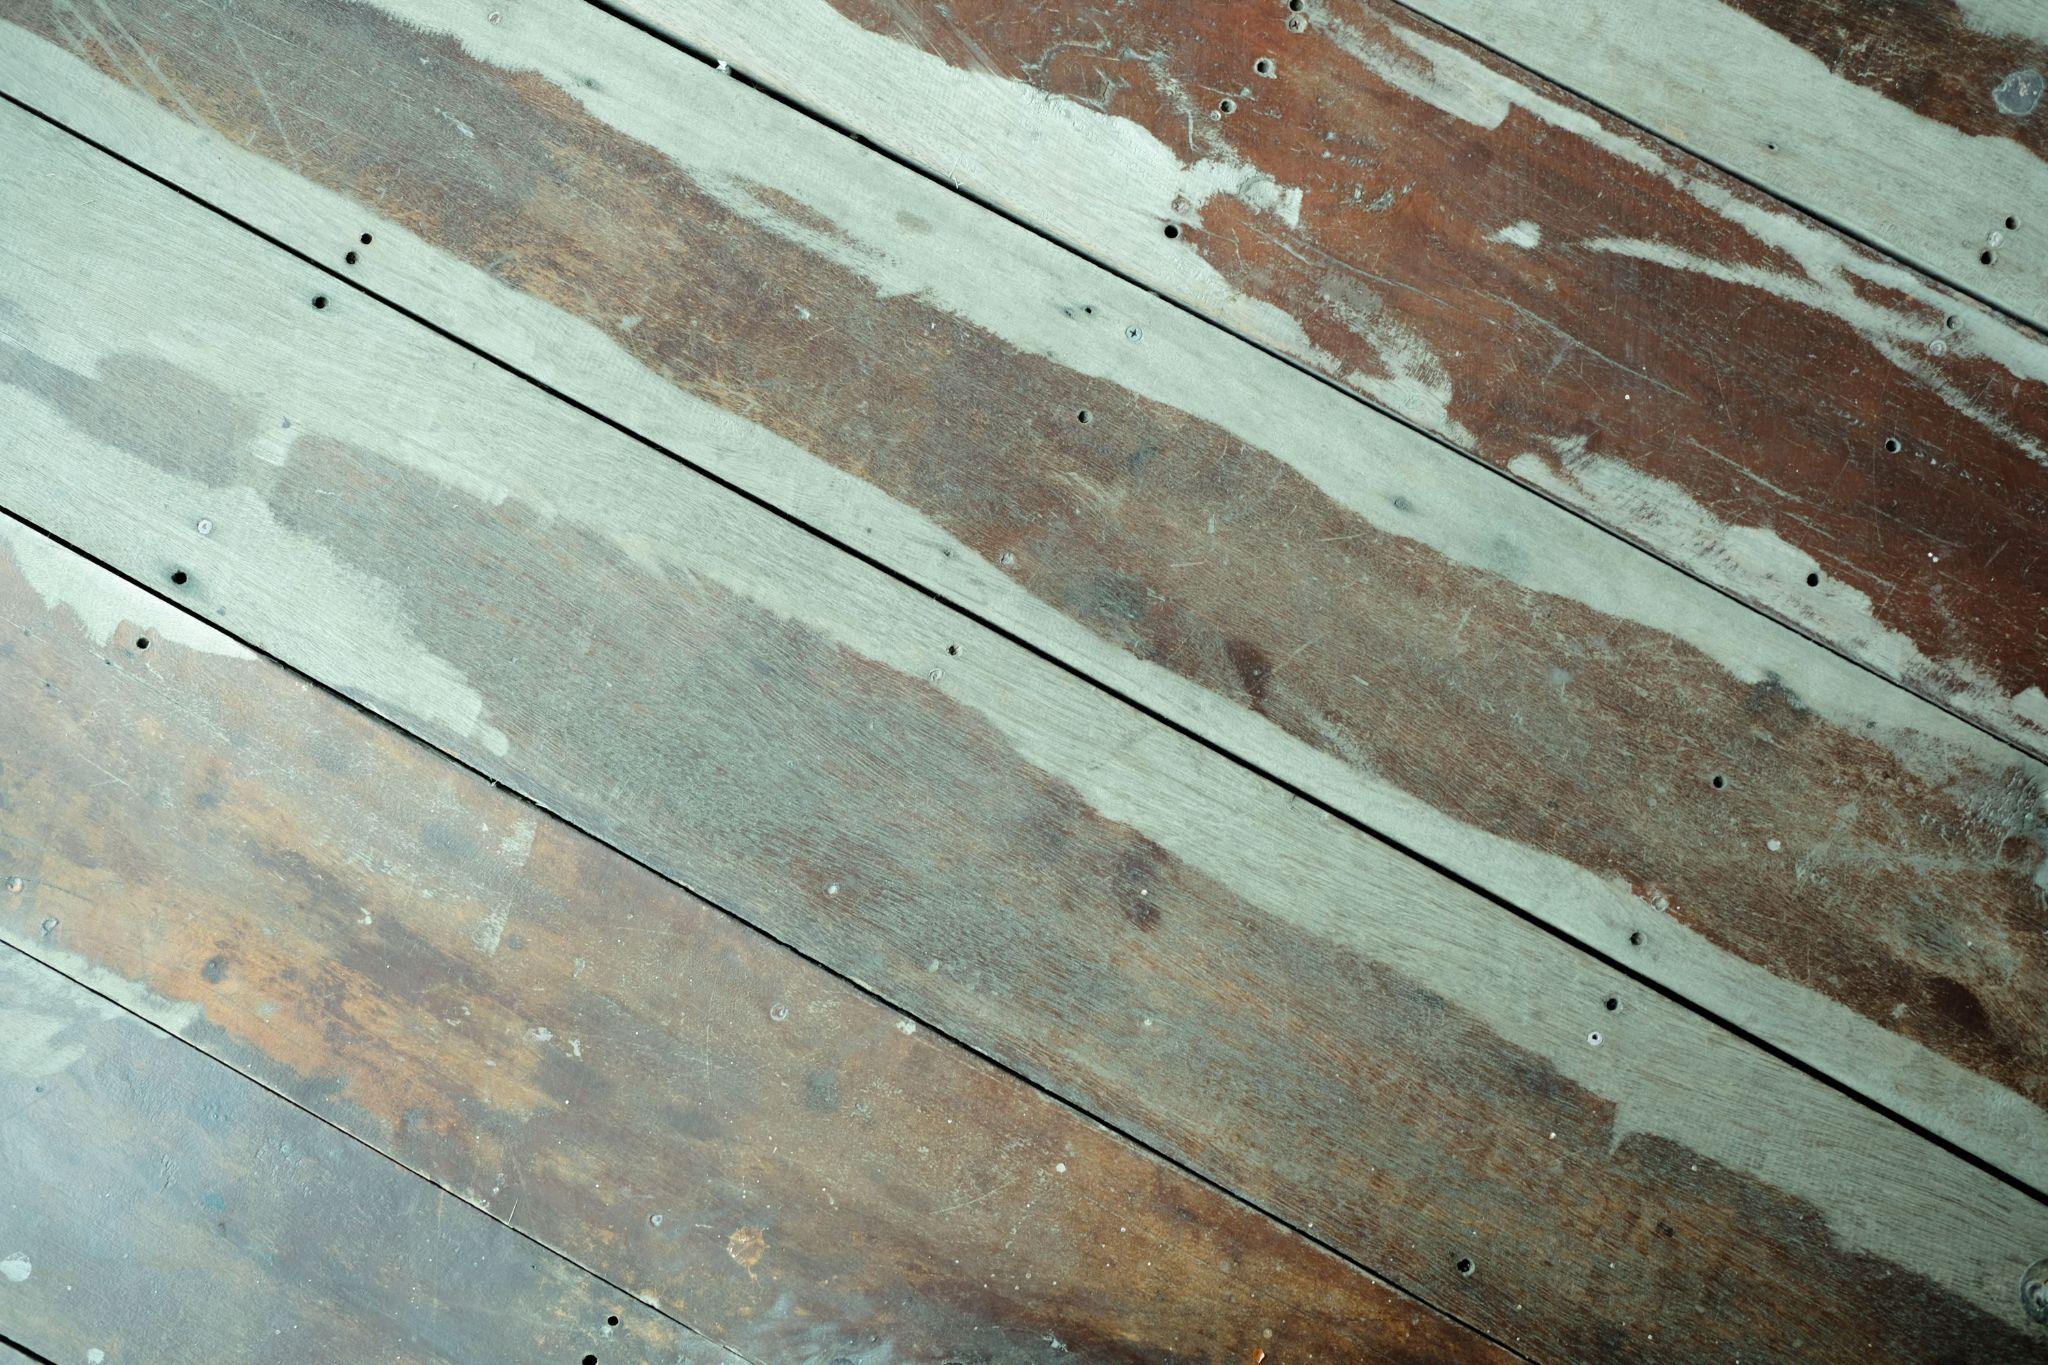
Assume older materials can be hazardous until you confirm otherwise.
Lead paint: Widely used in Australian homes before 1970. Treat any pre-1970 painted surface as suspect, test with a kit or a professional, then use wet methods and containment if you proceed with disturbance.
Asbestos: In NSW, removing any friable asbestos or more than 10 square metres of non-friable asbestos requires a licensed removalist. Disposal must go to a licensed landfill, and self-transporting more than 100 kilograms or 10 square metres triggers EPA reporting after disposal.
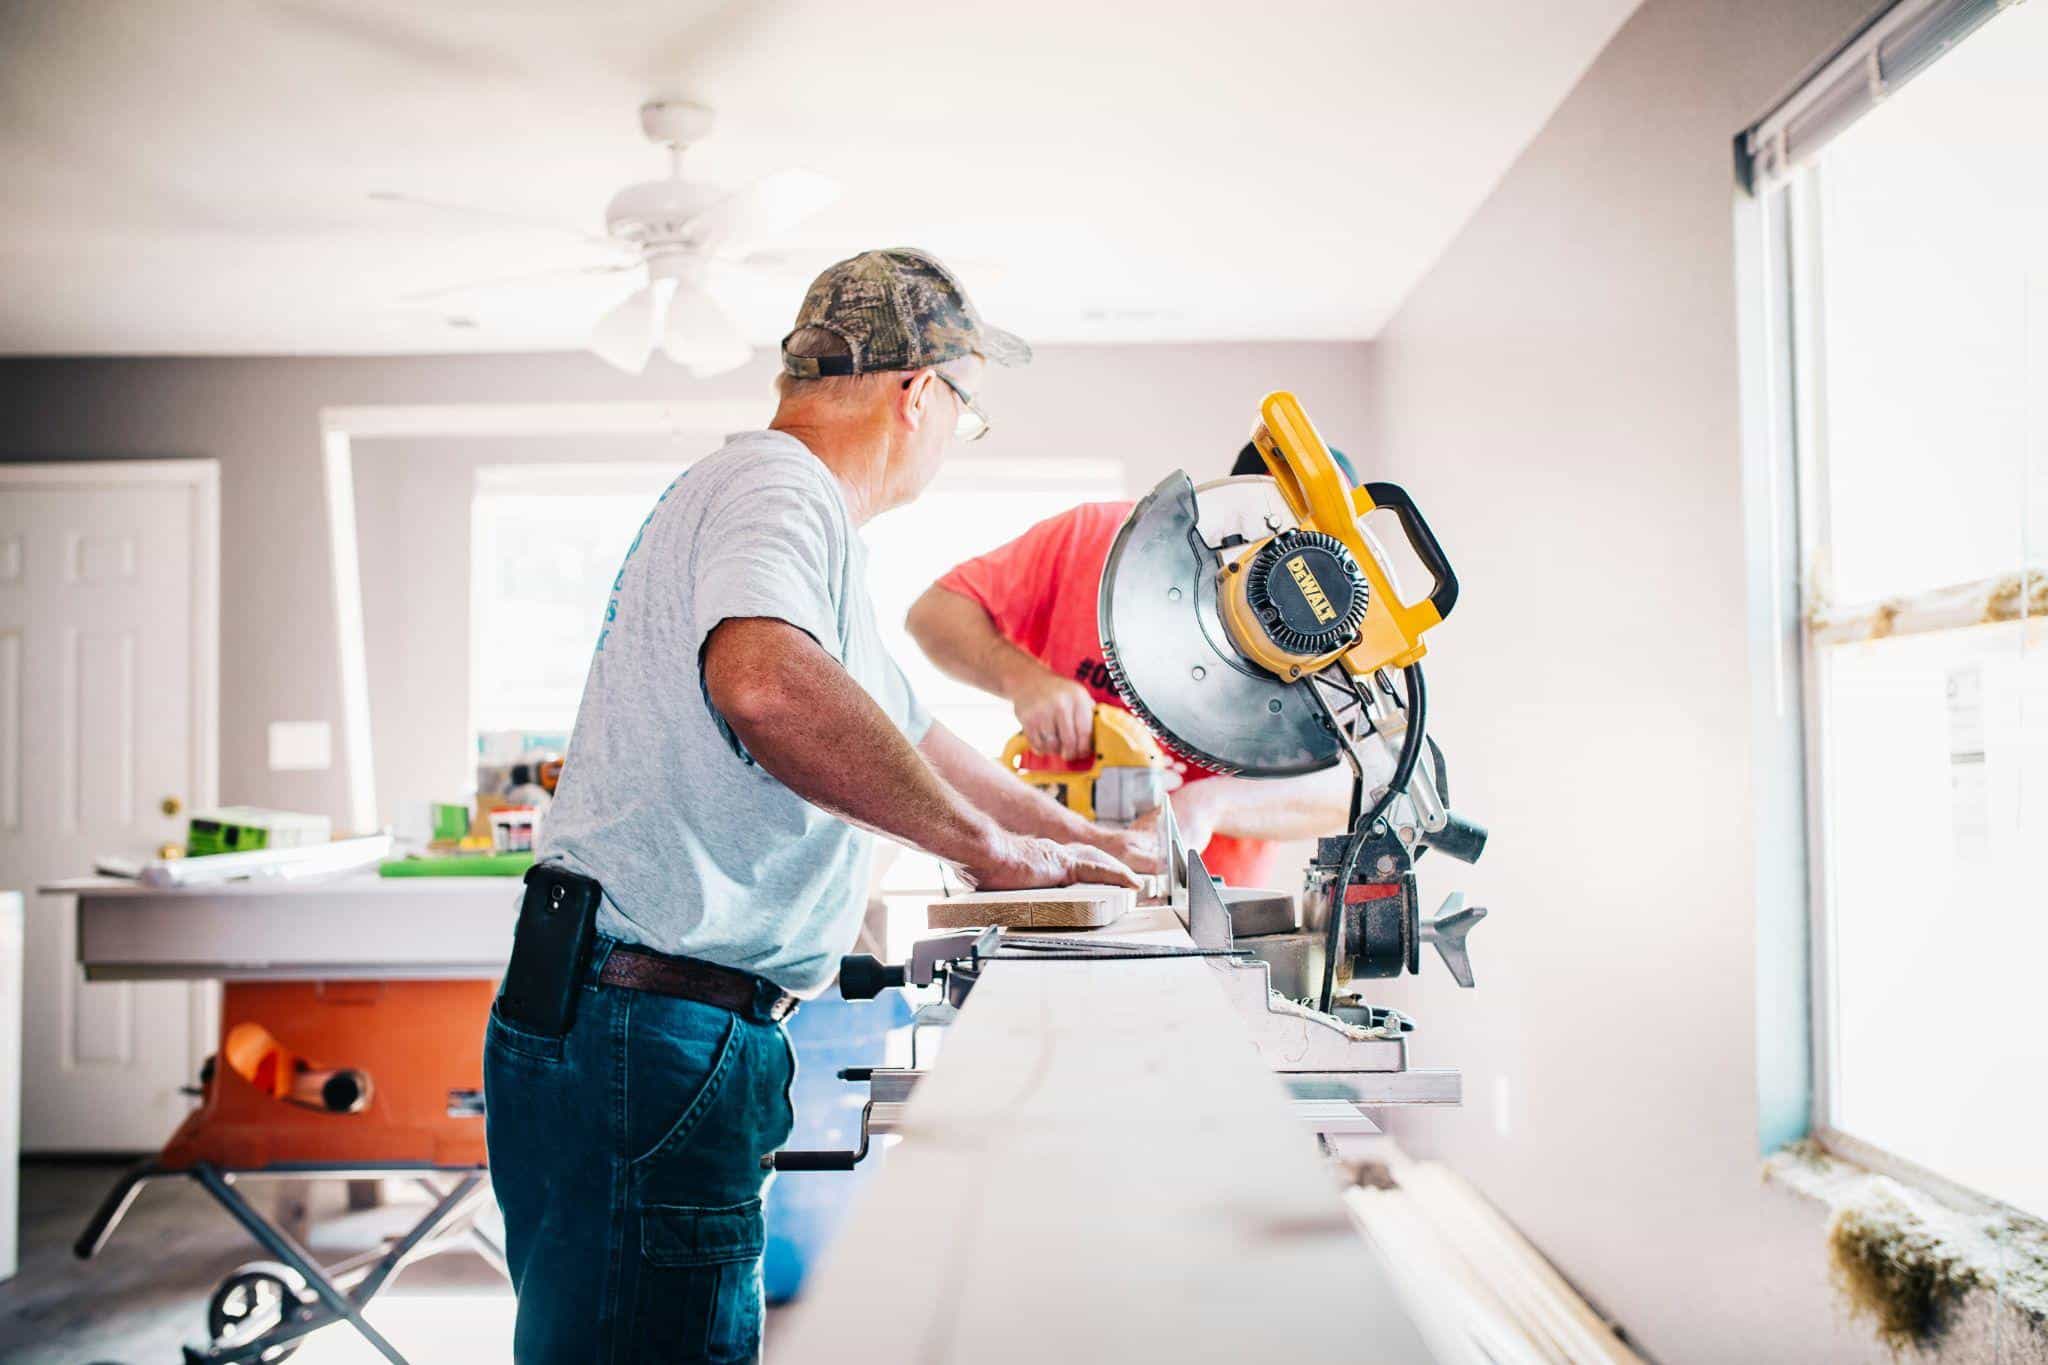
Silica: From 1 July 2024, a national prohibition on the manufacture, supply, processing, and installation of engineered-stone benchtops, panels, and slabs came into effect. Legacy removal or repair is still permitted but requires strict dust controls. From 1 September 2024, Australia also strengthened regulation of all work with materials containing at least one percent crystalline silica.
PPE baseline: Use P2 respirators (particulate-filtering masks), plastic sheeting, and an H-class vacuum (high-hazard filtration) as a minimum. If you can’t identify a material, stop work and call a licensed professional.

Decluttering Sprint: 48 to 72 Hours
A short, focused sprint prevents the “temporary pile” from becoming a permanent storage system.
Speed prevents re-clutter, so stage decisions fast using a five-zone system.
- Keep: Items returning to the renovated room.
- Donate or sell: Book collection slots with local reuse hubs a week out, then list sale items the same day you clean them.
- CRC: Segregate paint, batteries, gas bottles, and fluoro tubes into labelled totes. Observe the 20-litre or 20-kilogram limit per waste type per visit.
- Skip: Heavy, dense materials go to the bottom. Doors and appliances go last for easy lifting and sorting.
- Storage: Anything you’re keeping but can’t house during construction goes off-site or into a sealed garage zone.

Work clockwise through each room and enforce a ten-second decision rule. Add AM and PM micro-deadlines on a whiteboard so the sprint stays sharp.
Cinema Recliner Chairs
Choose seating from the screen and sightline first, then confirm comfort features and power needs.
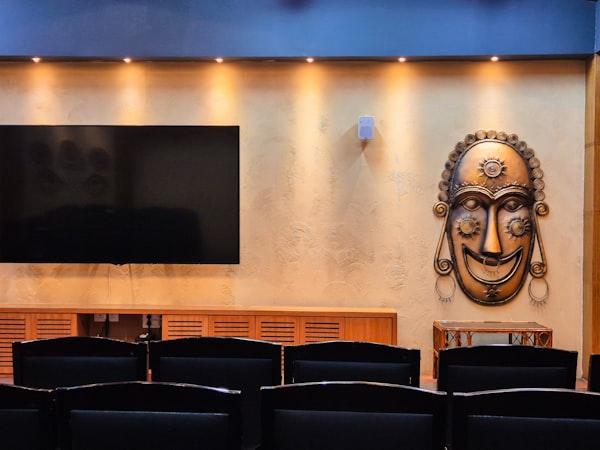
Seat for the screen you actually watch, not the biggest panel that fits the wall. THX recommends viewing angles around 36–40 degrees for an immersive home-theatre experience, with eye height close to screen centre.
For a 65-inch display, that typically places your primary seat about 2.2 to 2.7 metres from the screen. Validate with your room length and your preferred field of view, then mark the seat line on the floor before ordering furniture.
Clearance matters just as much as distance. In most living rooms, plan 60–80 centimetres for walkways and 40–50 centimetres from seat front to coffee-table edge for reach. Typical sofa seat height sits around 40 centimetres, so confirm your screen height and neck angle with a quick sit test using dining chairs and a taped centreline.
Recliners also have a footprint in both positions, so measure closed depth, fully reclined depth, and back clearance from the wall. If you’re choosing powered recliners, confirm each seat’s outlet access and the cable path so cords don’t cross walkways.
For dedicated viewing rooms, a two- or three-seat recliner row can replace a bulky L-shaped sofa while keeping aisles clear. Modular configurations also let you add cupholders, storage arms, and tray tables without breaking the plan.
If you’re narrowing down seating options, take five minutes to write your must-haves: number of seats, whether you need a centre console, if cupholders are non-negotiable, and how you’ll run power without creating trip hazards. Once those constraints are clear, it’s easier to compare real-world dimensions and configurations, including Amplify AV’s range of cinema recliner chairs designed for media-room layouts.
Skip vs Dump Run vs Council Cleanup
The right disposal route depends on volume, material type, and whether you can keep waste separated.
Choose your disposal method by volume, material type, and site access. If you can sort early, you’ll keep hazardous items out of the wrong stream and reduce fees.
|
Method |
Best For |
Limits |
Gotchas
|
|---|---|---|---|
|
Council kerbside |
Small, non-hazardous bulky items |
Often excludes tiles, soil, reno waste |
Booking windows fill fast |
|
CRC drop-off |
Paint, oils, gas bottles, batteries, globes |
20 L or 20 kg per type per visit |
No construction debris accepted |
|
DIY dump run |
One trailer load of mixed waste |
Must restrain and cover load |
Tip fees, ID checks, penalties for unsecured loads |
|
Skip bin |
Mixed demolition waste, bulky volumes |
Common domestic sizes 2–12 cubic metres |
Permit needed on public land; no hazardous items |
General-waste skips typically prohibit hazardous materials. Paint, chemicals, asbestos, gas bottles, and e-waste must go to appropriate facilities. Treat “not allowed in skip” as a planning problem, not something to negotiate at pick-up time.
Construction and demolition waste accounts for roughly 57 percent of all NSW waste, with a 78 percent recycling rate in 2022–23. Your easiest wins are clean timber, metals, reusable fixtures, and problem wastes routed to CRCs.
How To Sort, Load, And Transport Waste Legally
Good sorting and load control prevents rejected bins, roadside mess, and compliance problems.
Start by separating what can’t go in a general skip. Create a small “problem waste station” with lidded tubs for paint, solvents, batteries, gas bottles, oils, and fluorescent tubes, then schedule one CRC run when the tubs are full. Keep that station away from cutting and sanding so labels stay readable and containers don’t pick up dust.
For skip loading, build a stable base. Place concrete, bricks, tiles, and soil low and centred so the bin doesn’t become unbalanced during lift. Lay flat sheets, such as plasterboard, as tight layers rather than dropping them in at angles, which creates voids you pay for. Break down bulky items so the skip volume is used efficiently, but don’t smash materials that can be reused or recycled cleanly.
- Keep everything below the rim: Overfilled bins can’t be transported legally, and providers may refuse collection.
- Bag fine debris: Dusty sweepings and insulation should be bagged to reduce blow-out during transport.
- Separate liquids: Wet paint, oils, and chemicals belong in sealed containers for CRC, not in the bin.
- Secure DIY loads: For tip runs, use a rated tarp and straps so nothing can shift, lift, or fall.
If you’re doing a dump run, plan the route and timing. Avoid peak traffic, bring ID if the facility requires it, and know the site rules for mixed loads. A single rejected item can turn a quick drop-off into a long re-sorting session in a public queue.
Hire Skip Bins
For bigger rip-outs, a correctly sized, legally placed skip reduces handling and keeps the site moving.
For Blacktown and Parramatta-adjacent projects, a locally serviced skip can handle bulky mixed waste in a single pick-up. Book your first bin to align with demolition start, then consider a second delivery before the pre-paint deep clean.
Typical hire windows run three to seven days. Place the bin on your driveway where possible to avoid council permits. If street or nature-strip placement is your only option, Blacktown City Council and City of Parramatta generally require approval before you occupy the road reserve.
Load smart: keep heaviest items low and centred, stack flat sheets, and keep everything below the rim. Keep paint, gas bottles, batteries, chemicals, asbestos, and e-waste out, then route those to a CRC or licensed facility instead.
When you’re pulling out tiles, plasterboard, and cabinetry, the fastest way to keep momentum is to have one dedicated disposal point that’s sized for the job and positioned where barrows and wheelie bins can reach it safely. For Western Sydney projects where kerbside collections won’t take mixed demolition debris, typically hire skip bins in Seven Hills through 7 Skip Bins and ask for guidance on sizing and placement for your site.
Room-by-Room Clean-Up Playbook
Repeatable sequencing saves time because you stop reinventing decisions in every room.
Standardise the same sequence across each space: clear, protect, demolish, remove waste, then detail clean before reinstall and styling.
- Living room: Remove legacy seating first. Mark your viewing distance on the floor with tape. Cable-manage before laying rugs, then finish with textiles and cushions.
- Kitchen: Segregate benchtop offcuts carefully and re-check the silica note above. Route liquids to CRC, box small e-waste, and schedule whitegoods recycling separately.
- Bathroom and laundry: Separate tiles and ceramics from green waste. Donate fixtures only if they’re safe, functional, and cleanable.
- Bedroom: Pair the wardrobe cull with the declutter sprint. Route bedside batteries and globes to CRC, and bag soft furnishings for donation.
- Garage and shed: Seal paints with tight lids and labels, route oils to CRC, metals to scrap, and cut timber lengths to fit the skip.
Budget and Timeline
A simple budget and calendar prevents “urgent” waste decisions that cost the most.
Key budget lines include skip hire, permits if street-placed, PPE, CRC fuel runs, cleaning supplies, and professional testing or removal for lead and asbestos. A mid-scale interior update in Sydney commonly needs one to two skips, one CRC run, and a half-day deep clean.
Sample timeline: T-7 book donations and a skip. T-3 complete hazard checks. T-1 stage CRC totes. Day 0 declutter sprint. Days 1–2 demolition and skip loading. Day 3 CRC drop-off and any dump runs. Day 4 deep clean. Day 5 seating install and styling. Day 6 photograph the reveal.
Cleaning for the Reveal
Dust control is the difference between “freshly renovated” and “still under construction.”
During sanding, use zip walls for containment and negative-air setups where practical. After construction wraps, work top-down with an H-class or M-class vacuum for fine particles, then damp-dust every surface.
Clean vent and return grilles last so you don’t redistribute dust. Swap HVAC filters, scrub window tracks and skirtings, and only then lay rugs and soft furnishings so textiles don’t absorb fine residue.
Make the Clean-Up Work for You
A clean finish comes from systems, not willpower at the end of a long project.
Front-load hazard checks so lead, asbestos, and silica don’t become mid-project surprises. Stage donations and marketplace listings early to free floor space before trades arrive. Route problem wastes through CRCs to keep your skip legal and your site safer.
Once debris is gone and surfaces are clean, your renovation reads the way you intended. The room works, the seating fits, and clutter doesn’t bounce back from the garage.
That’s what strong home renovation planning delivers, a better result and a process you’d actually repeat.
FAQ
These are the decisions that most often stall clean-up or create avoidable fines.
Do I need a permit for a skip bin on the nature strip?
In most Sydney local government areas, yes. Councils like City of Parramatta and Blacktown City Council typically require approval before a skip occupies any road reserve, footpath, or nature strip. Placing the bin on your private driveway usually avoids the permit requirement.
What can I take to a Community Recycling Centre and how much?
NSW CRCs accept problem household wastes including paint, oils, gas bottles, batteries, smoke detectors, and fluorescent tubes year-round at no charge. The general limit is 20 litres or 20 kilograms per waste type per visit.
Can I put paint, chemicals, or gas bottles in a skip?
No. General-waste skips prohibit hazardous materials such as paint, chemicals, asbestos, gas cylinders, batteries, and e-waste. Divert these items to a CRC or a licensed disposal facility.
How do I know if my home has lead paint?
Lead paint was widely used in Australian homes before 1970. If your property predates that era, assume risk on painted surfaces, use a DIY test kit or engage a professional assessor, and apply wet removal methods with containment if disturbance is necessary.
What if my old benchtop is engineered stone?
From 1 July 2024, a national ban prohibits the manufacture, supply, processing, and installation of engineered-stone benchtops, panels, and slabs. Controlled legacy removal, repair, and disposal are still permitted but require strict dust controls and may trigger notification obligations.
How do I size a screen and seat row for a media room?
Use THX viewing-angle guidance of 36–40 degrees. For a 65-inch screen, this places primary seating roughly 2.2 to 2.7 metres away with eye height near screen centre. Measure your room, confirm recline clearance, then choose seat configurations that fit.
What skip bin size suits a bathroom or kitchen rip-out?
A 4 to 6 cubic metre bin handles most single-room demolitions. Common Australian domestic skips range from 2 to 12 cubic metres. Confirm weight limits with your provider, as tiles and concrete are significantly heavier than timber framing.