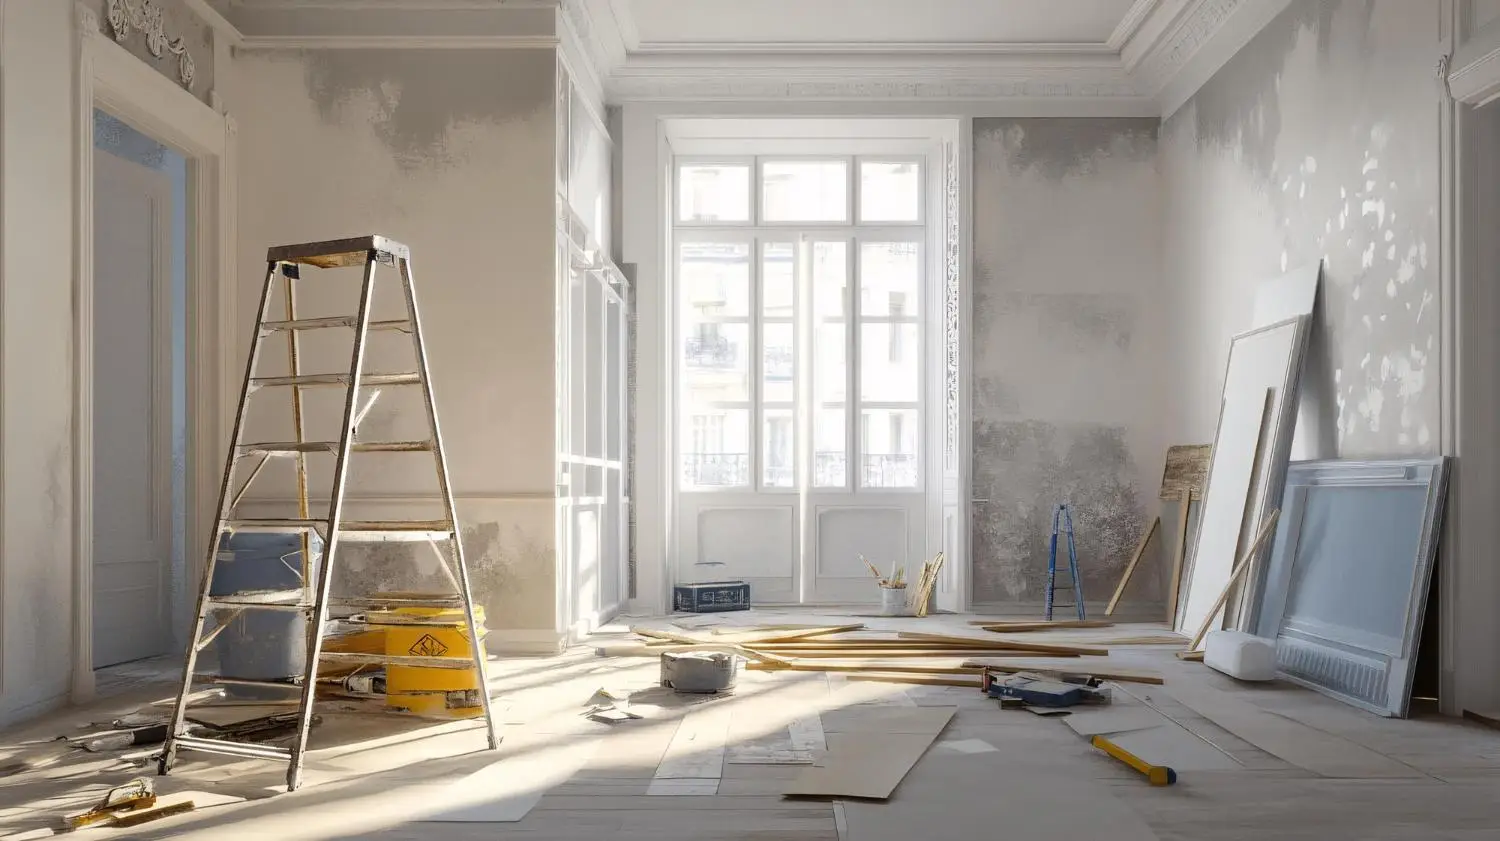
Floors are the last thing people plan and the first thing they regret getting wrong. Most homeowners spend weeks obsessing over furniture and paint colors, then rush the one decision that covers every square foot of the house. By the time the renovation is halfway done, there’s still no real plan for what goes on the ground, and that’s where the regret usually starts.
Take your time with this choice because color is honestly the least important part of the decision. If you’re starting your research, browsing Really Cheap Floors pre finished hardwood gives you a good sense of what different species, grades, and price points look like before you commit to anything.
Which Room Gets the Floor First?
A kitchen and a bedroom don’t put the same kind of stress on a floor, and treating them the same way is where most renovation mistakes begin. One space deals with water, dropped things, and constant foot traffic throughout the day, while the other barely sees any of that. Running the same material through every room without thinking it through is how people end up with warped planks sitting two feet from the sink.
Before you look at a single sample, walk through each room and think about what that space puts a floor through on a regular week. That question cuts through a lot of bad options before you’ve even picked up a swatch.
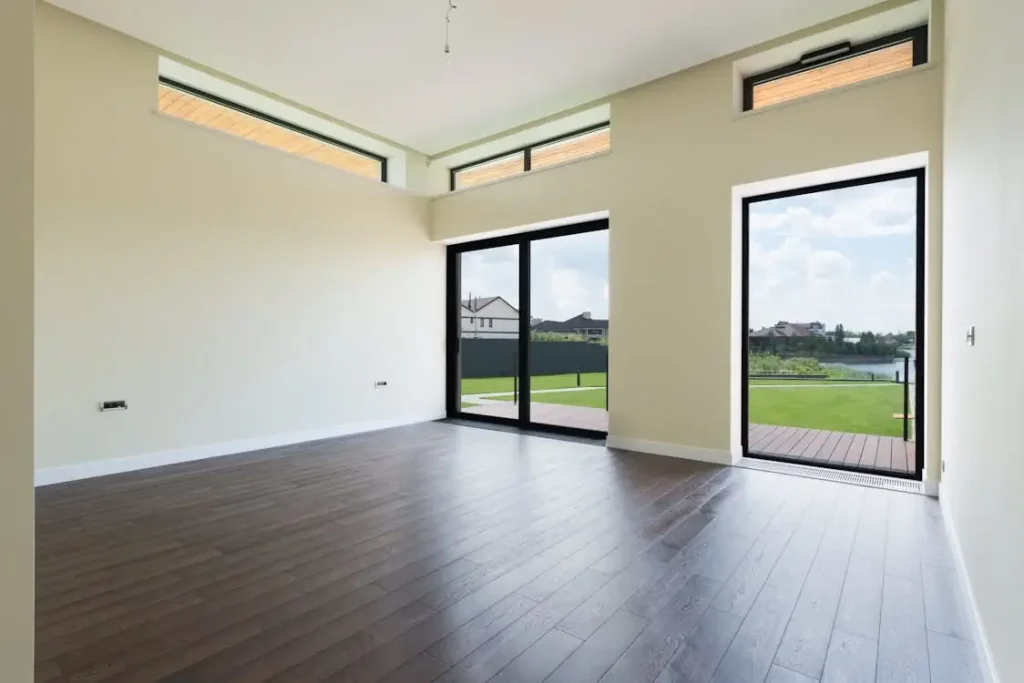
Rooms That Take a Beating
In high-traffic areas like entryways, hallways, and open living spaces, the finish does as much work as the wood itself. A floor that photographs beautifully on install day but starts showing scuffs by month three simply isn’t the right floor for that space.
Prefinished hardwood with an aluminum oxide coating holds up well in these conditions, and the National Wood Flooring Association notes that factory-applied finishes are generally harder and more uniform than finishes applied on site by hand. In a busy entryway or open living area, that durability gap becomes visible over time.
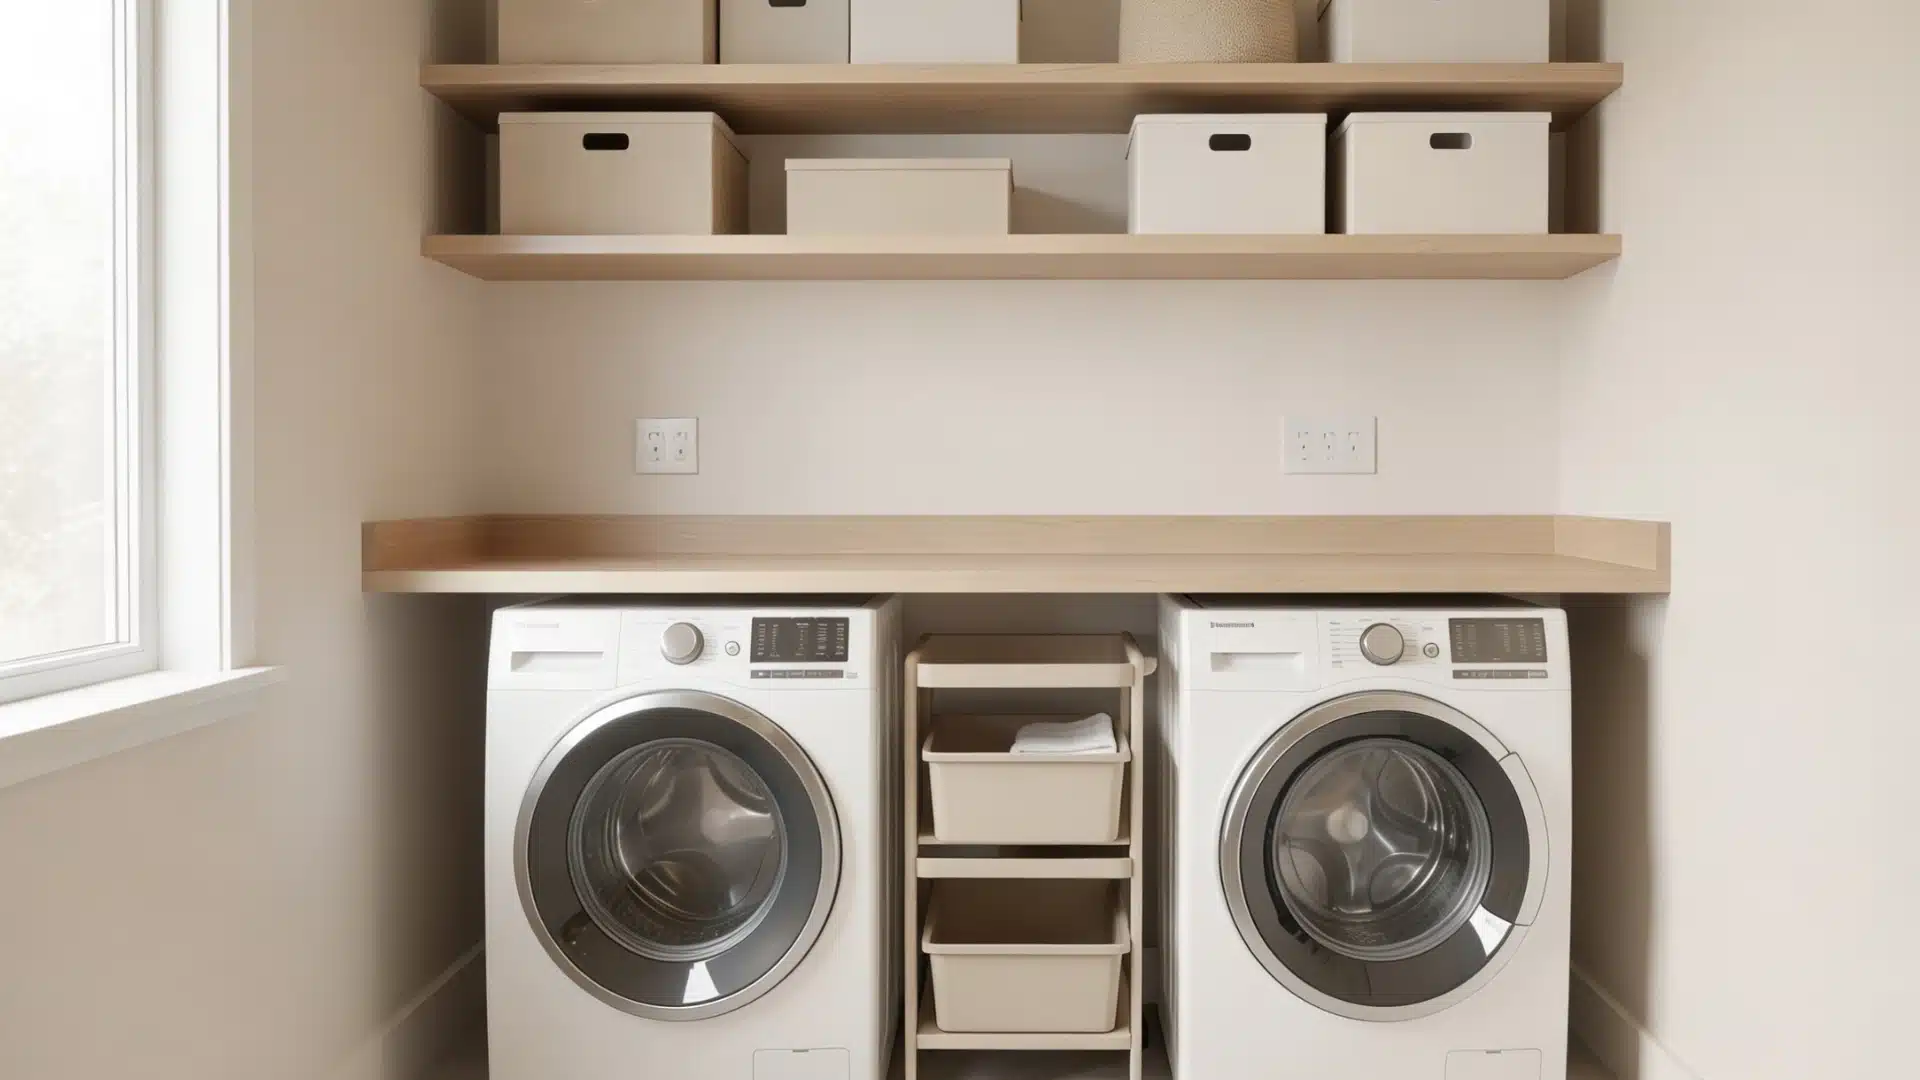
Rooms Near Water
Flooring ads make wood near water look like an easy choice, but most solid hardwood warranties tell a different story. When humidity climbs, solid wood expands, and when it drops, the boards pull back, and that repeated back-and-forth wears on the material in ways that don’t show up until the damage is already done. Tile and luxury vinyl handle wet conditions without that problem, while engineered hardwood tolerates some humidity better than solid wood does, though it still shouldn’t sit right next to a tub or directly in front of a sink.
Solid or Engineered: Does It Actually Matter?
The difference between these two options isn’t really about quality. It comes down to how each one behaves over the years of use, and that gap becomes more obvious the longer the floor is down.
Solid hardwood runs top to bottom as one piece of milled timber, and you can sand it down every decade and have it looking new again. Engineered hardwood bonds a real wood veneer over a layered core, which keeps it more stable when indoor temperatures swing between seasons. Refinishing engineered wood is possible, but only a few times before the veneer gets too thin to work with.
For most room updates, prefinished is where things get practical:
- Prefinished solid hardwood ships with the finish already on the plank, so you can install it and walk on it the next morning without dealing with sanding dust or clearing the house because of fumes.
- Site-finished hardwood gives you full control over the stain color, which some people genuinely care about, but that control costs you several days of dry time and a sharp chemical smell through the whole house.
- Prefinished engineered hardwood stays more stable over concrete subfloors or in spaces with mild humidity variation, like a basement or an open-plan addition.
Wood Species and Grade Labels Explained
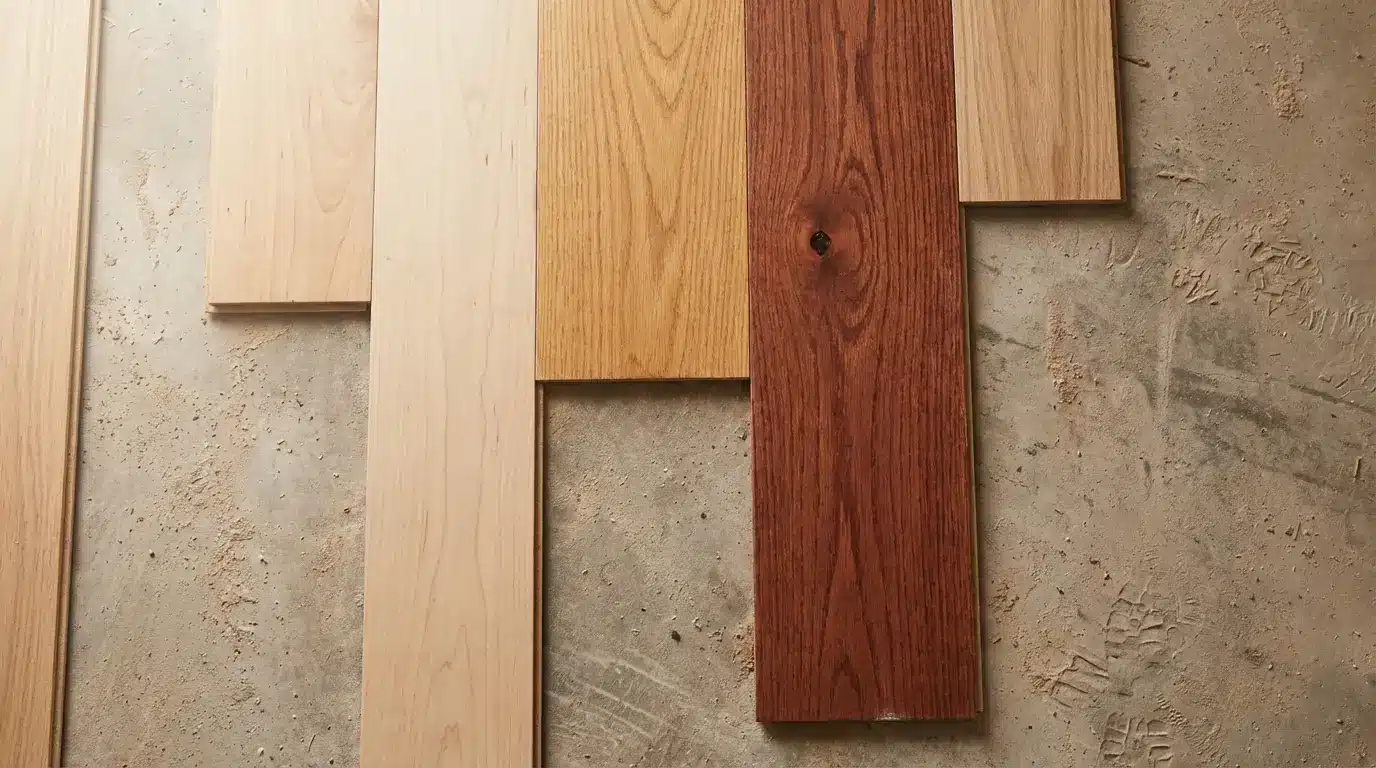
These two labels confuse more people than anything else in the flooring aisle, and once you understand what they’re describing, the whole shopping process gets easier. Species refers to the type of tree the wood came from, while grade tells you how uniform the planks look across a box, not whether the wood itself is good or bad quality.
Clear grade means tight, consistent grain with almost no knots, while No. 2 Common has knots, color shifts, and mineral streaks running through the boards. Plenty of people pay more for the clean, uniform look of clear grade, but others go specifically for the variation because a lower-grade floor with character can look far more interesting in the right room.
Species worth knowing before you shop:
- White Oak is dense, neutral in tone, and doesn’t show surface scratches the way lighter species do. It’s dominated the market for a few years running and that demand doesn’t show any signs of slowing down.
- Hard Maple has a very hard surface with a clean, light look, though fine scratches show up more visibly than they do on oak, so it’s worth thinking carefully before putting it somewhere with heavy daily use.
- Hickory has bold, high-contrast grain and is extremely hard underfoot. It looks right at home in casual or farmhouse-style spaces but can feel visually overwhelming in a cleaner, more minimal room.
- Red Oak has been the American standard for decades, offering warm undertones and open grain at a lower price point than most alternatives without giving up much in return.
Price follows species fairly closely, with white oak and hickory running higher than most. A character-grade red oak floor placed in the right room can look just as good and cost noticeably less per square foot.
Why Installation Method Is Worth Getting Right
Choosing the right floor and then installing it the wrong way is a more common problem than most people realize, and the method has to match the subfloor type. Getting that wrong leads to squeaking, gapping, or a floor that shifts underfoot within the first year.
Solid hardwood over a wood subfloor gets nailed down, engineered hardwood over concrete gets glued, and floating floors connect only at the edges and rest on top of the subfloor with no fasteners or adhesive at all, which works well for engineered products laid over radiant heat systems.
The step that gets skipped most often is acclimation, and it’s the one that causes the most first-year problems. It is recommended to let wood planks sit in the room for 48 to 72 hours before installation because wood responds to indoor humidity levels, and boards that haven’t adjusted will shift after they’re fastened down. Most of the gapping and buckling complaints in year one trace back to this one skipped step, and fixing it costs nothing but two days of patience.
Matching the Floor to the Room’s Look
Plank width changes how a room reads more than most people expect, with wide boards in a small space making it feel less boxed-in than narrow strips do. Light-toned wood pulls brightness into rooms that face north or don’t get much direct sun, while matte finishes show less daily dust and pet hair than gloss does, which sounds like a small thing until you’re wiping down a shiny floor every other day.
If you’re working through a broader home decor refresh, start from the elements that are hardest to change and work outward from there. Cabinetry, trim color, and wall paint take real effort to redo, so picking a floor that works quietly alongside those fixed points tends to hold up better visually over time than one that competes with them. Neutral floor tones also leave room to repaint or redecorate years later without the floor suddenly looking out of place.
Wire-brushed and hand-scraped finishes hide wear marks and add visual depth as the floor ages, while smooth finishes look sharp in modern interiors but show every scratch more clearly. Neither is a wrong choice as long as it suits how the room actually gets used.
What Flooring Actually Costs, Broken Down
Material price is the number people focus on first, but it’s only one part of what you’ll end up spending once labor, underlayment, transition strips, and removal of the existing floor are all factored in. For prefinished solid hardwood, here’s a realistic range to plan around:
- Material cost runs $3 to $12 per square foot, depending on the species and grade you choose.
- Professional installation typically adds $3 to $6 per square foot on top of that.
- Underlayment and subfloor prep usually land between $0.50 and $2 per square foot.
- Waste allowance should be at least 10% above your measured square footage to cover cuts and mistakes.
Buying straight from a supplier tends to beat big-box store pricing, especially once the job gets above a few hundred square feet, and pulling quotes from two or three sources before committing often saves a meaningful amount on a larger project.
Before You Place That Order
Get samples, but don’t just hold them up to the light in the store. Put them flat on the actual subfloor in the room you’re doing and leave them there for a few days, because morning light reads differently than afternoon and evening lamp light changes things again.
A plank that felt warm and inviting at the supplier can look flat and cold once it’s sitting in a north-facing room with limited natural light. A floor you’ll live with for twenty years is worth slowing down for, so take the extra time before placing that order.