TL;DR: Building a professional home studio does not require a massive budget or endless gear. By focusing on minimal setups, smart color choices, and affordable lighting, you can create a highly versatile space. Set up a simple backdrop, control your light, and start capturing amazing images right from your spare room.
Every freelance photographer and ambitious beginner eventually hits the same roadblock. You want to produce professional work, but you assume a real studio setup requires a massive budget and a dedicated warehouse. The truth is much simpler. A clean, minimal setup is completely achievable on a tight budget, and it actually produces much more versatile results.
Your environment shapes your work just as much as your camera does. When you build a thoughtful, stripped-back space at home, you take complete control over your final images. The stunning work displayed in a photography portfolio comes from mastering light and environment, not from buying the most expensive gear on the market. Let us walk through exactly how to build a highly effective home studio without overspending.
Why Minimal Is Actually Your Biggest Advantage
When building a home studio, less really is more. Stripped-back studio setups naturally produce cleaner, much more consistent images. Beginners frequently over-invest in expensive gear before they solve the absolute basic problems of light and space. They buy massive strobe lights and complex backdrop systems, only to realize their spare bedroom feels cramped and chaotic.
Clutter constantly competes with your subject. Whether you shoot portraits or products, a busy background distracts the viewer’s eye. This is exactly why professional photographers constantly return to bare-bones setups for their content work. A single light, a simple background, and a clear subject will always create a powerful image.
When you create a strong photography portfolio, you need consistent lighting and a repeatable background to create a cohesive look. Adopting a minimal mindset forces you to master the basics. You learn how shadows fall and how light wraps around your subject. These limitations will make you a much better photographer, and they’ll keep your bank account happy too.
Choosing the Right Space and Backdrop Without Breaking the Bank
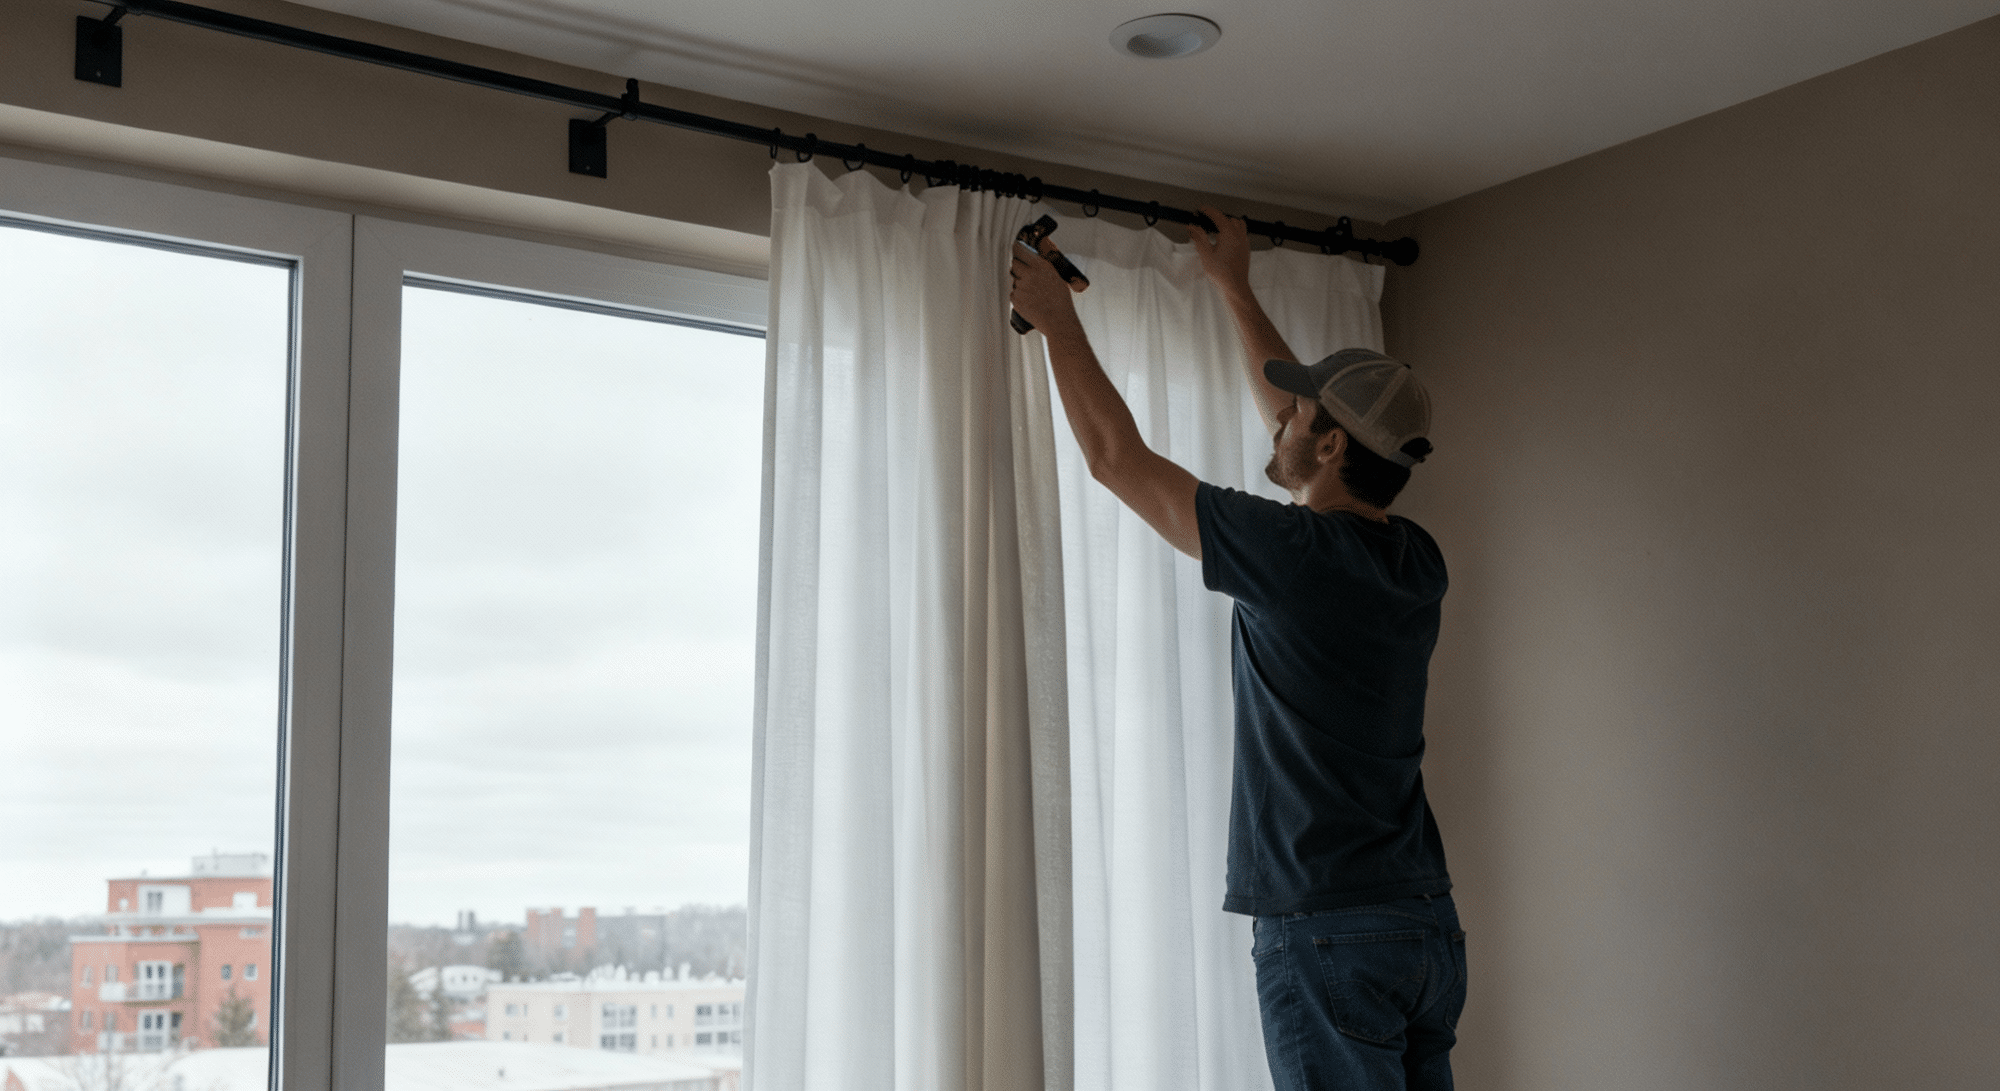
You do not need an entire empty room to create a functional studio. You simply need to assess a corner of your home for its true potential. Look for a space with good natural window light, decent floor clearance, and enough ceiling height to stand up a basic light stand.
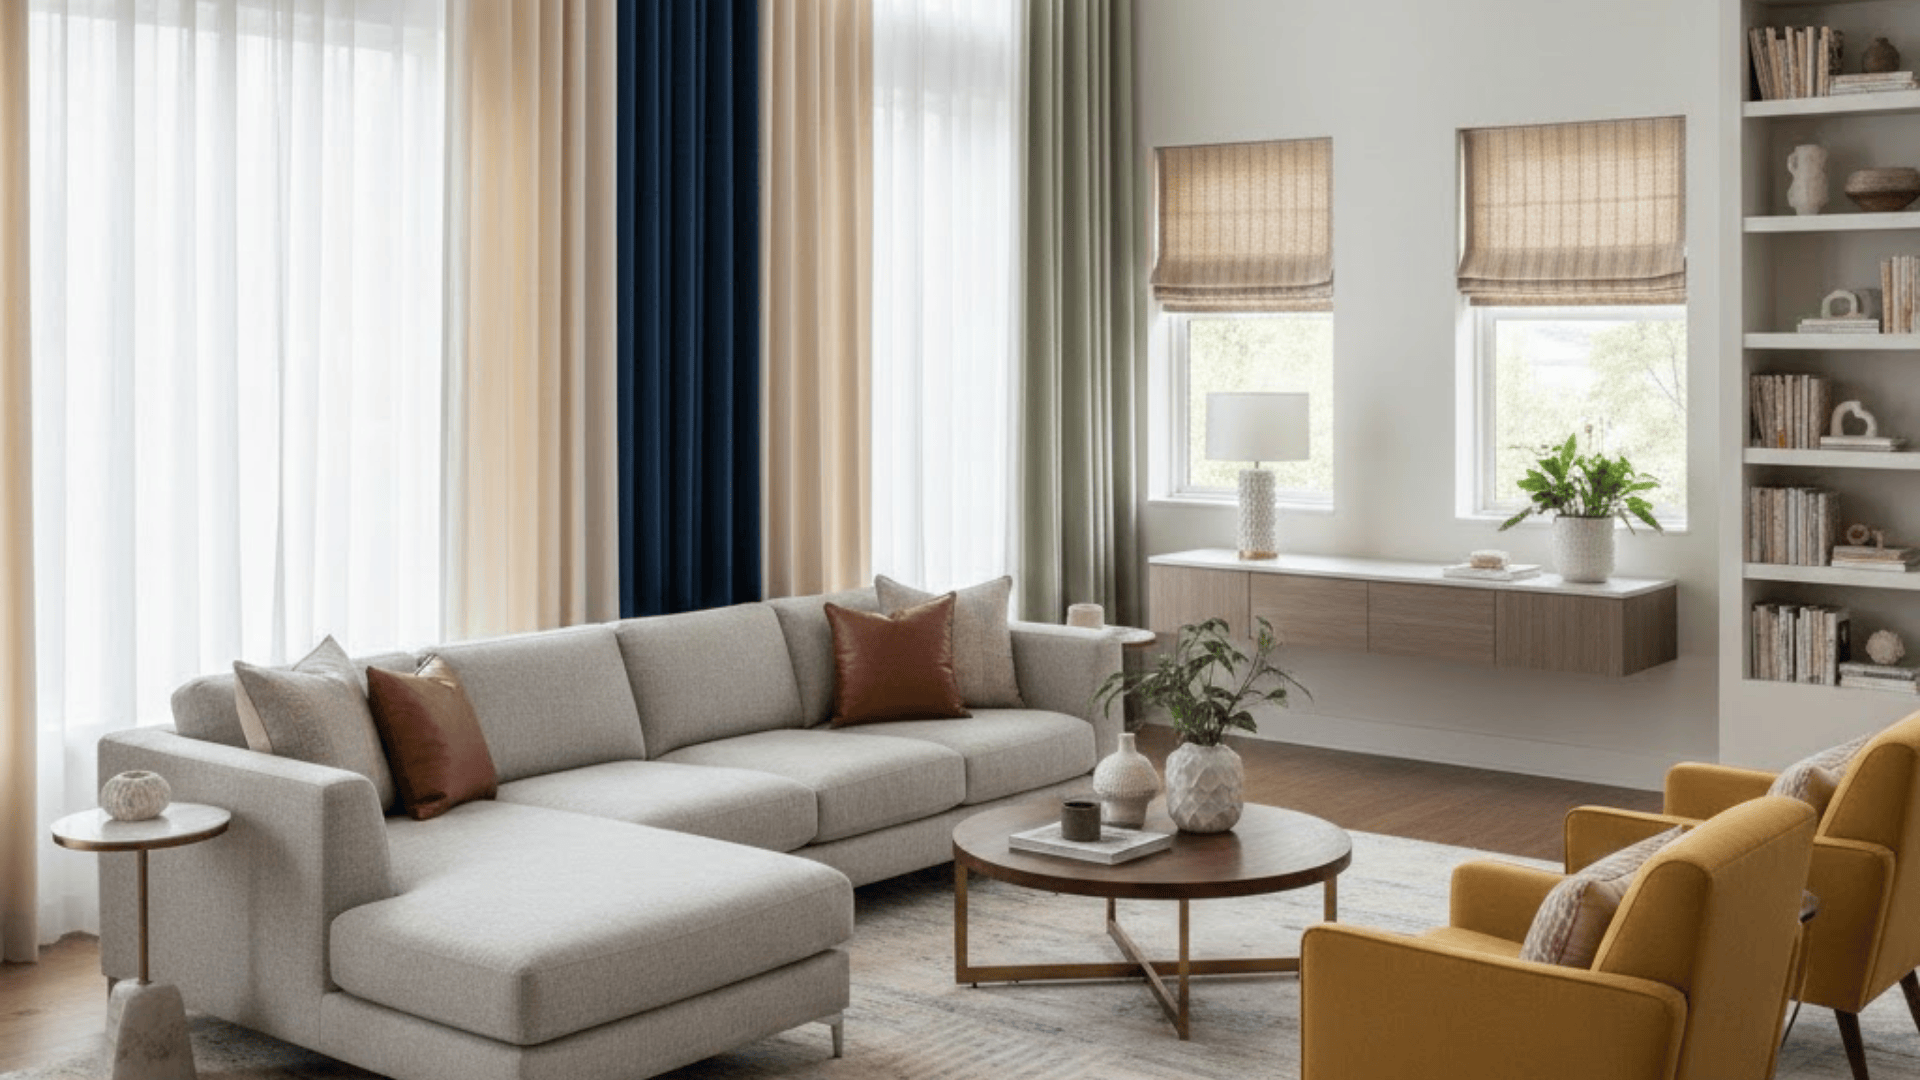
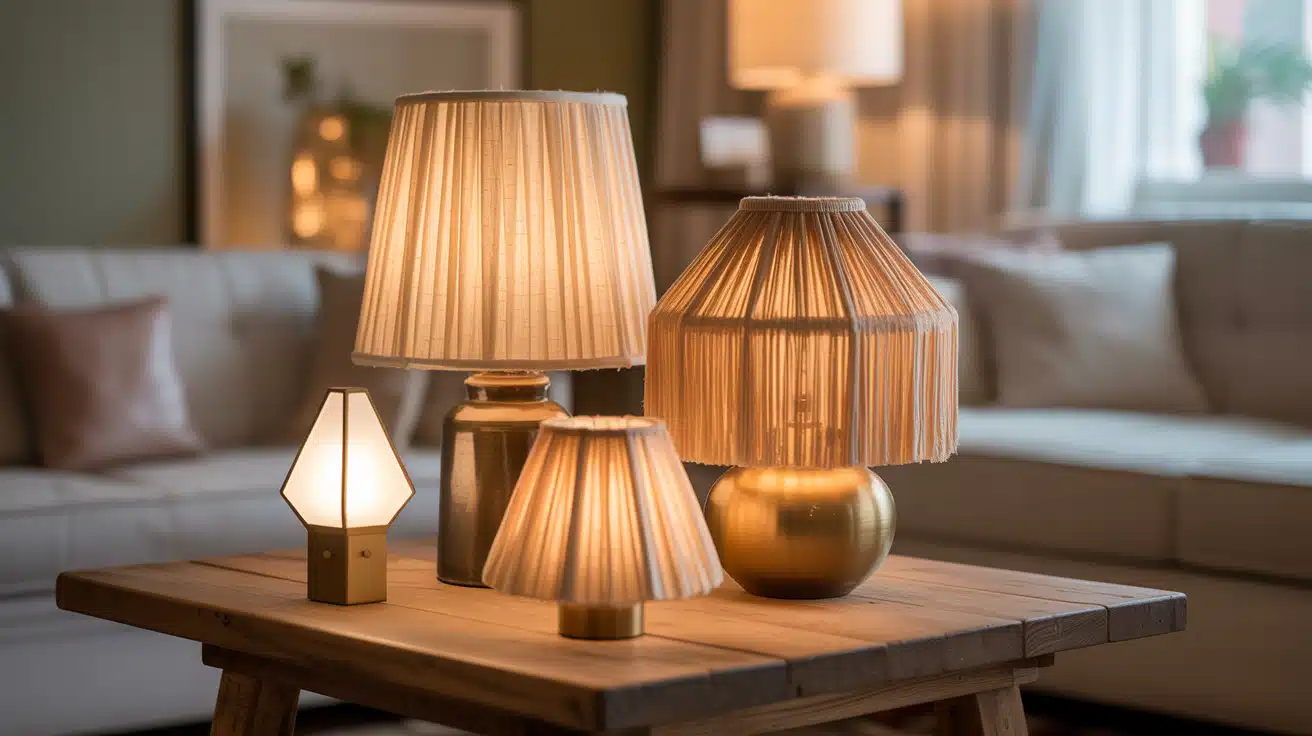
The colors on your walls deeply affect your final images. Light bounces off the walls and lands on your subject. Using soft colors helps manage this light bounce. Warm neutrals diffuse light beautifully, giving portraits a gentle glow. Cooler tones often suit product photography, keeping the whites crisp and clean.
You also have plenty of affordable backdrop options. A blank white wall works perfectly as a starting point. If you need something movable, you can buy seamless paper rolls for under thirty dollars. Fabric from a local craft store offers great texture—just iron out the wrinkles before you shoot. For a truly budget-friendly build, you can construct a simple backdrop stand using cheap PVC pipes from a hardware store. Throw a piece of fabric over the frame, and you instantly have a professional-looking background.
Nailing Your Colour Palette on a Budget
Color consistency across a set of images instantly raises the perceived quality of your entire body of work. When your tones match, your work looks intentional and professional. You can easily select a cohesive palette for your props, backdrops, and shooting surfaces without buying brand-new gear.
Start by looking around your house. You can use paint swatches, fabric offcuts, and existing household items to build a unified look. If you shoot food or small products, inexpensive vinyl floor tiles make fantastic, durable surfaces. You can also paint cheap wooden boards from the hardware store to match your exact aesthetic.
Understanding undertones makes a huge difference. A helpful color guide can teach you how different paint colors behave under various light conditions. This knowledge applies directly to choosing your backdrop and prop colors. A beige with warm undertones will look vastly different under a cloudy window than it will under a bright LED panel. Test your colors under the exact light you plan to use.
Budget Lighting That Actually Works
You do not need to spend thousands of dollars on lighting equipment to get incredible results. Three main affordable approaches can cover almost any minimal shooting situation.
First, maximize your natural window light. Place your subject next to a large window. Use a cheap piece of white foam board from a dollar store as a reflector on the opposite side to bounce light back into the shadows. This setup costs about three dollars and produces gorgeous, soft light.
Second, consider a single continuous LED panel. You can find solid options online for under forty dollars. These panels allow you to see exactly how the light hits your subject in real time, making them incredibly easy for beginners to master.
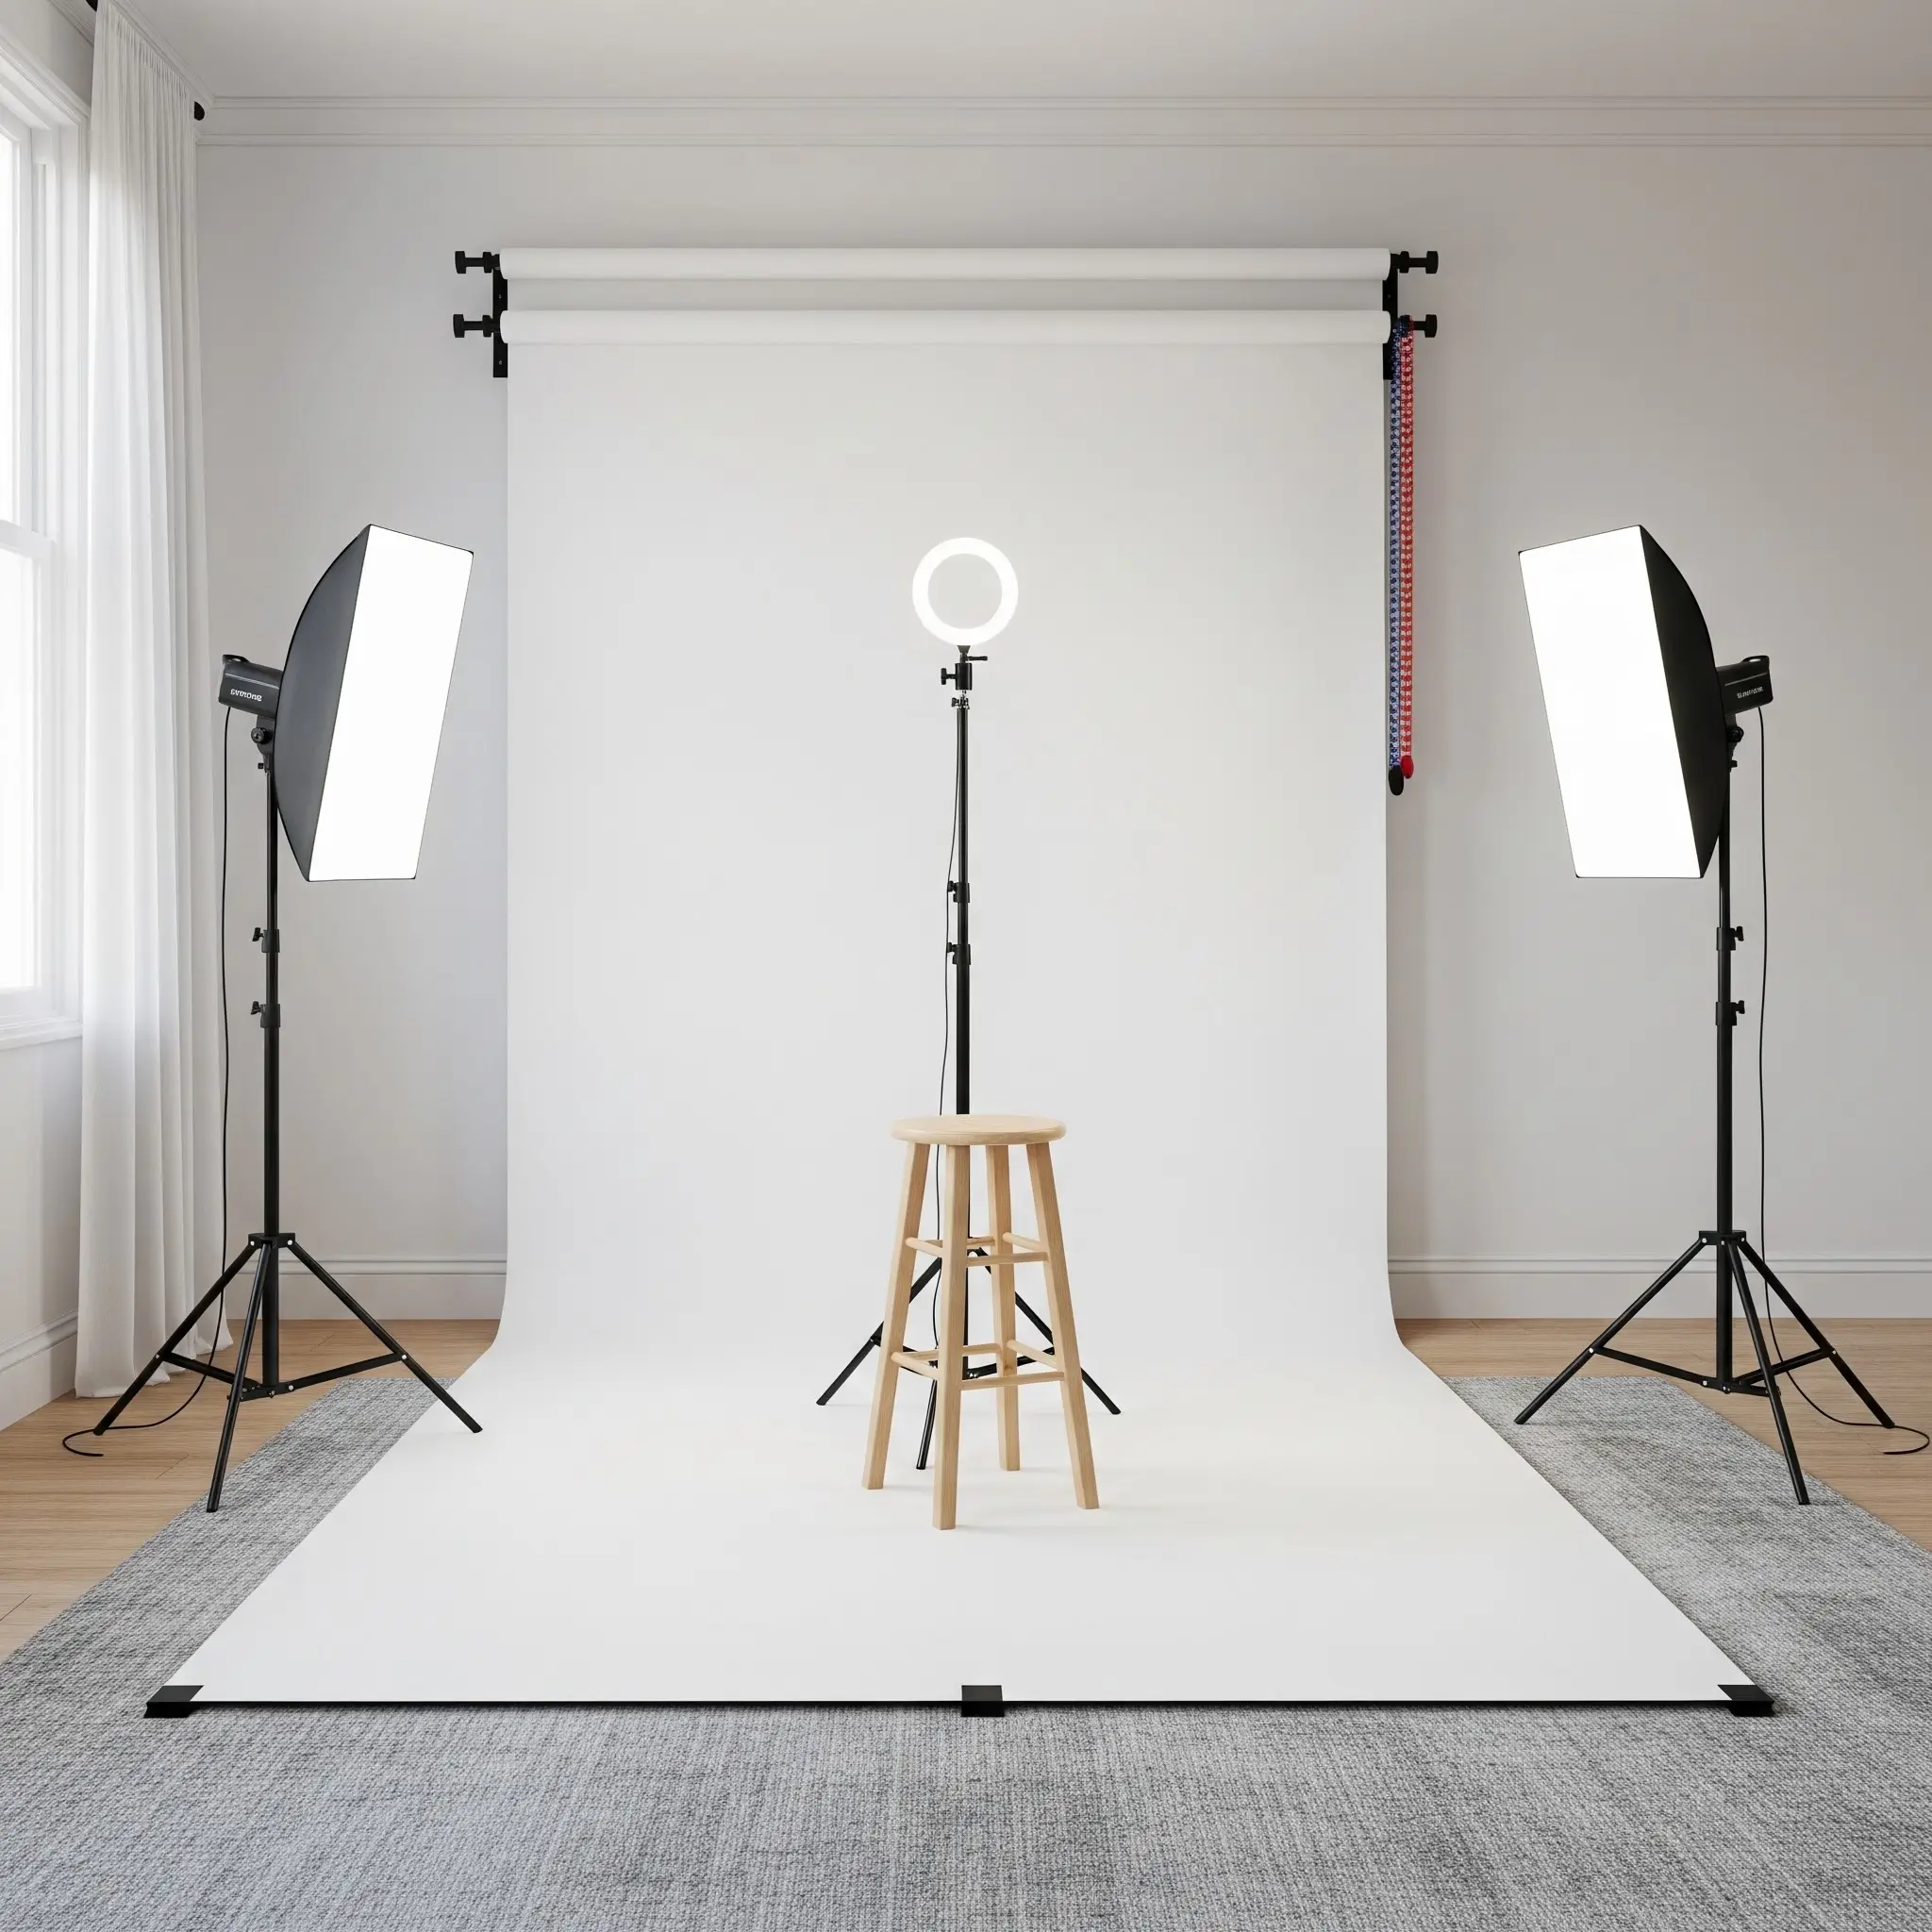
Third, you can build a basic two-light setup for under eighty dollars. Buy two inexpensive clamp lights from a hardware store and fit them with daylight-balanced LED bulbs. The secret to making these cheap lights look expensive is diffusion. Hang a plain white shower curtain or a piece of sheer fabric between the light and your subject. This softens the harsh bulb and acts exactly like a two-hundred-dollar softbox.
The Gear Checklist for Under $200
Let us summarize the complete budget breakdown. You can easily assemble a fully functional, highly professional setup for between $150 and $200.
Start with a backdrop solution. A PVC pipe frame and a clean fabric backdrop will run you around $40. For lighting, a continuous LED panel or a pair of diffused clamp lights will cost roughly $50. Next, invest in a basic, sturdy tripod for about $40. This keeps your camera perfectly still, which is crucial for sharp product photos.
Add a simple remote shutter or phone mount for $15. Spend the remaining budget on small props, some white foam board reflectors, and maybe a few painted surface boards.
Most importantly, you do not need to upgrade your camera. A modern smartphone or an entry-level DSLR is more than sufficient for stunning, portfolio-quality work once you control the environment. The light and the background matter far more than the sensor size.
Now You Have the Space. Use It
A minimal, well-lit home studio is entirely within your reach. Building this space is your first real step toward producing work you can confidently show the world.
Stop waiting for the perfect setup or a bigger budget. Gather a few affordable supplies, clear out a corner of your living room, and start shooting immediately. Experiment with your window light, move your reflectors around, and play with your color palettes.
The images you produce in this simple, clean space will form the foundation of a body of work that attracts real clients. Grab your camera, trust your eye, and put your new studio to work today.
Frequently Asked Questions
Do I Need a Dedicated Room, or Can I Use a Corner of a Living Space?
You can absolutely use a small corner of your living space. As long as you have enough room to set up a small backdrop and control the light hitting your subject, a dedicated room is unnecessary. You can easily pack up a minimal PVC backdrop or a collapsible light stand when you finish shooting.
What Is the Best Backdrop Colour for Versatile Images?
A clean, neutral white or a soft, warm grey offers the most versatility. These tones will not cast unwanted color reflections onto your subject, and they allow your subject to command the viewer’s full attention. You can easily warm them up or cool them down during the editing process.
Can I Use a Smartphone Instead of a DSLR for Professional Shots?
Yes, modern smartphones shoot incredibly high-quality images. When you control your lighting and use a clean background, a smartphone can easily capture images that look indistinguishable from a traditional camera. Just make sure to lock your focus and exposure before you take the shot.
How Do I Photograph Dark or Reflective Products in a Minimal Home Studio?
Reflective products require you to bounce light off the room around the object, rather than shining a light directly at it. Surround the product with white foam boards to create clean reflections, and use a piece of black foam board to block out any unwanted light spilling from windows.
When Should I Upgrade From a DIY Setup to a Rented Studio Space?
Consider renting a professional studio space only when your home setup physically limits your creative ideas. If you land a client that requires shooting a massive piece of furniture or managing a large group of models, a rented studio makes sense. For most solo portraits and product shots, your home studio will serve you perfectly.