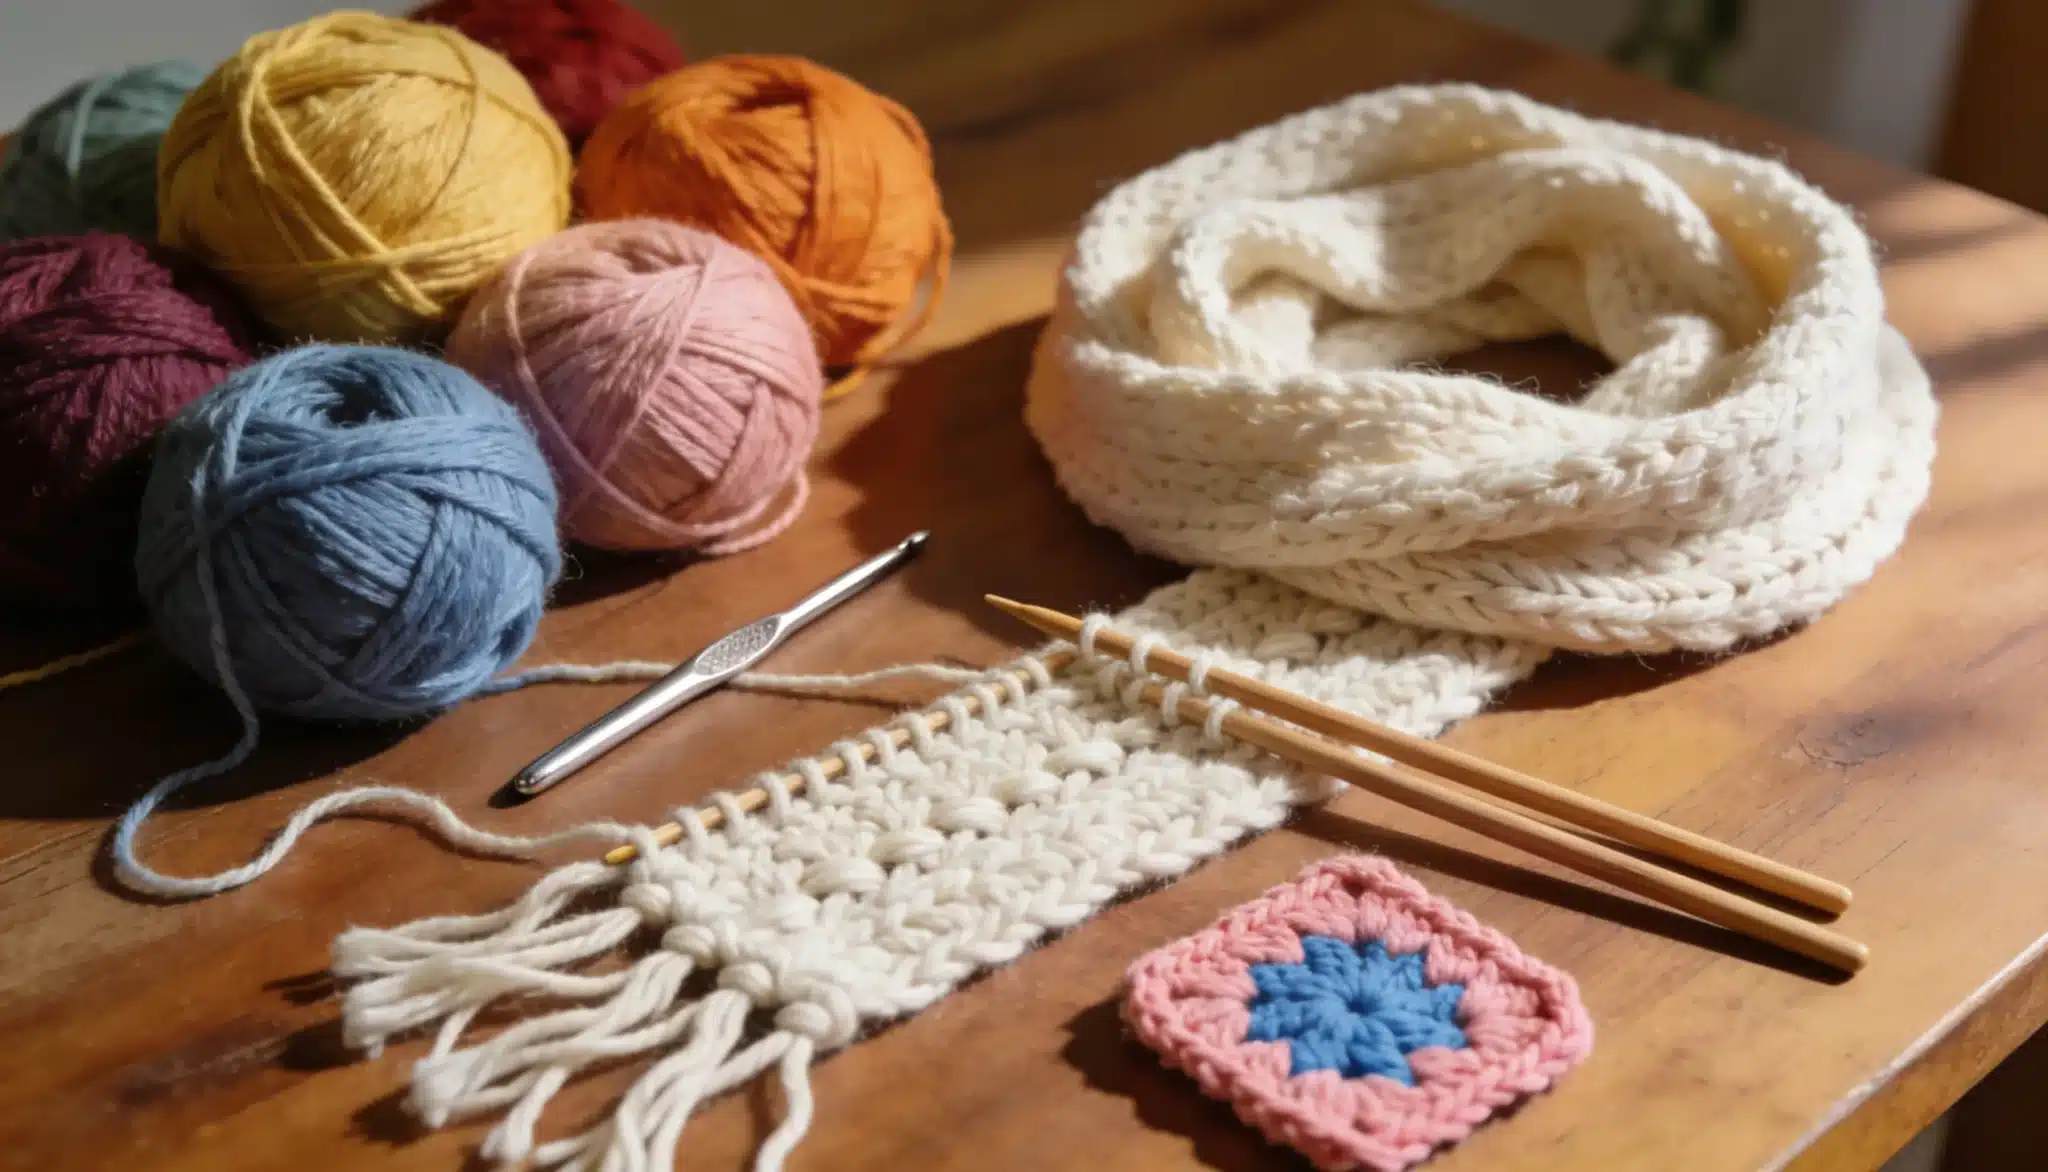
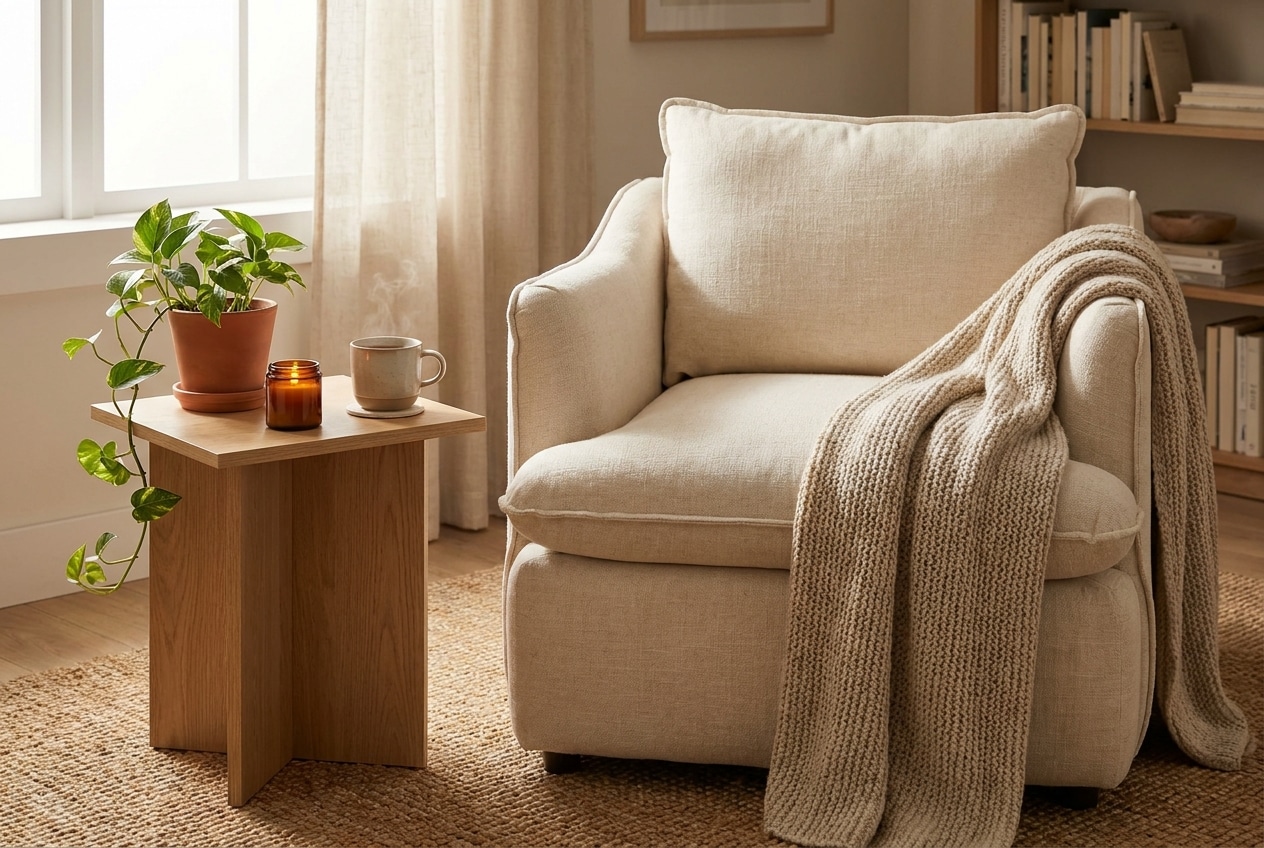
Think of a quiet afternoon, a warm drink on the table, your favorite yarn curled up in your lap, and a stitch that matches the moment perfectly. That’s the star stitch crochet pattern for you.
It’s the kind of pattern that feels like a hug in every row, soft and textured and just a little bit special. The sort of thing you make on slow weekends and give to people you actually love. It looks like it took forever. It didn’t.
It looks like only experts can do it. It’s actually one of those stitches that’s kinder to beginners than it looks. So grab your hook, get comfortable, and let’s make something really cozy together.
The Charm of the Star Stitch in Handmade Crochet
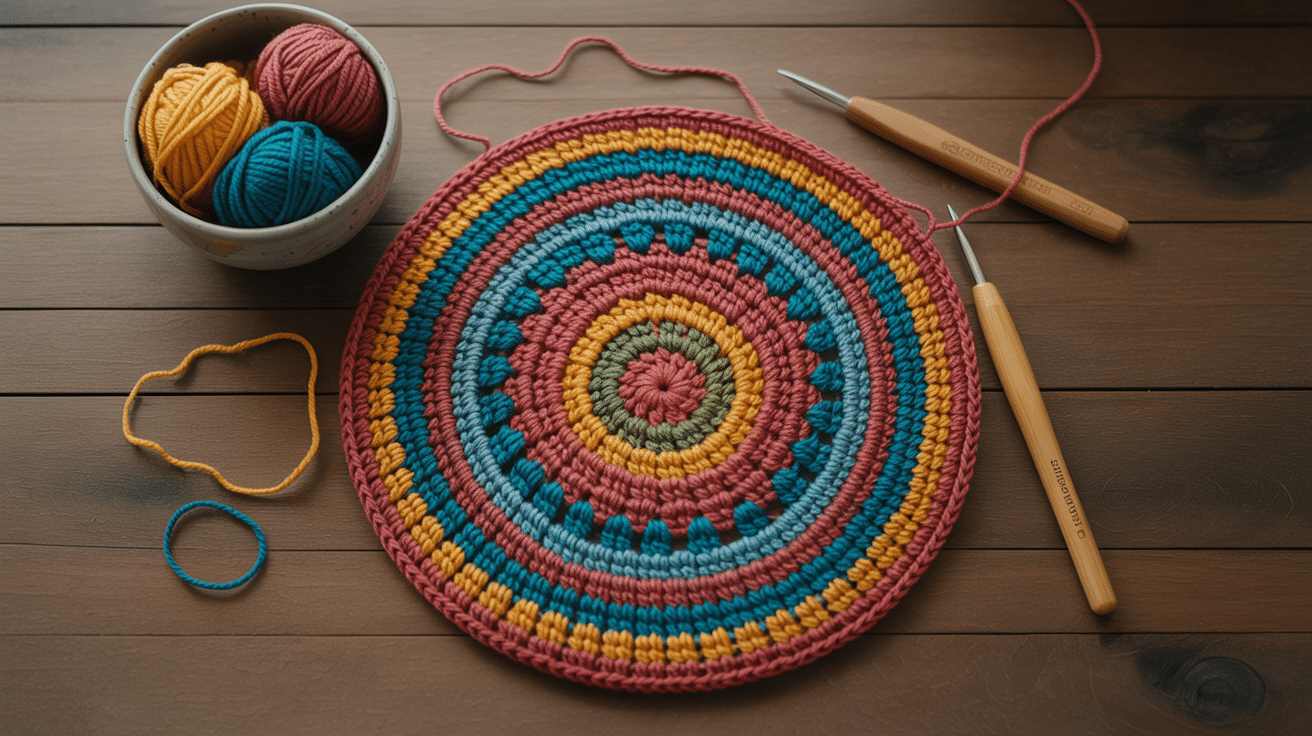
The star stitch is a crochet technique that creates small, raised clusters shaped like tiny stars across the fabric.
It is made by pulling up several loops, joining them together, and closing the stitch with a chain.
The result is a soft, textured pattern that looks decorative but is beginner-friendly with a little practice. There is something instantly inviting about a stitch that looks delicate but feels practical in your hands.
The star stitch adds that kind of charm to crochet, a handmade look without making the project feel too complicated.
It brings just enough detail to turn a simple scarf, blanket, washcloth, or headband into something that feels thoughtfully made.
If you’re still getting comfortable with your hook, starting with beginner crochet project first can help you build the rhythm before jumping into the star stitch rows.
How to Crochet the Star Stitch?
Learning how to crochet the star stitch is easier when you break it into small steps, from pulling up the first loops to building each textured star across the row.
Gather Your Materials
Before you begin the star stitch, gather a few basic crochet supplies so your project feels easier, smoother, and more organized from the start.
- Medium-weight yarn for easy stitch visibility
- Match the crochet hook size recommended on the yarn label
- Scissors
- Yarn needle
- Stitch markers, optional but helpful for beginners
Easy Step-By-Step Process
Now that you know what the stitch is and where you can use it, follow these simple steps to create the star stitch one row at a time.
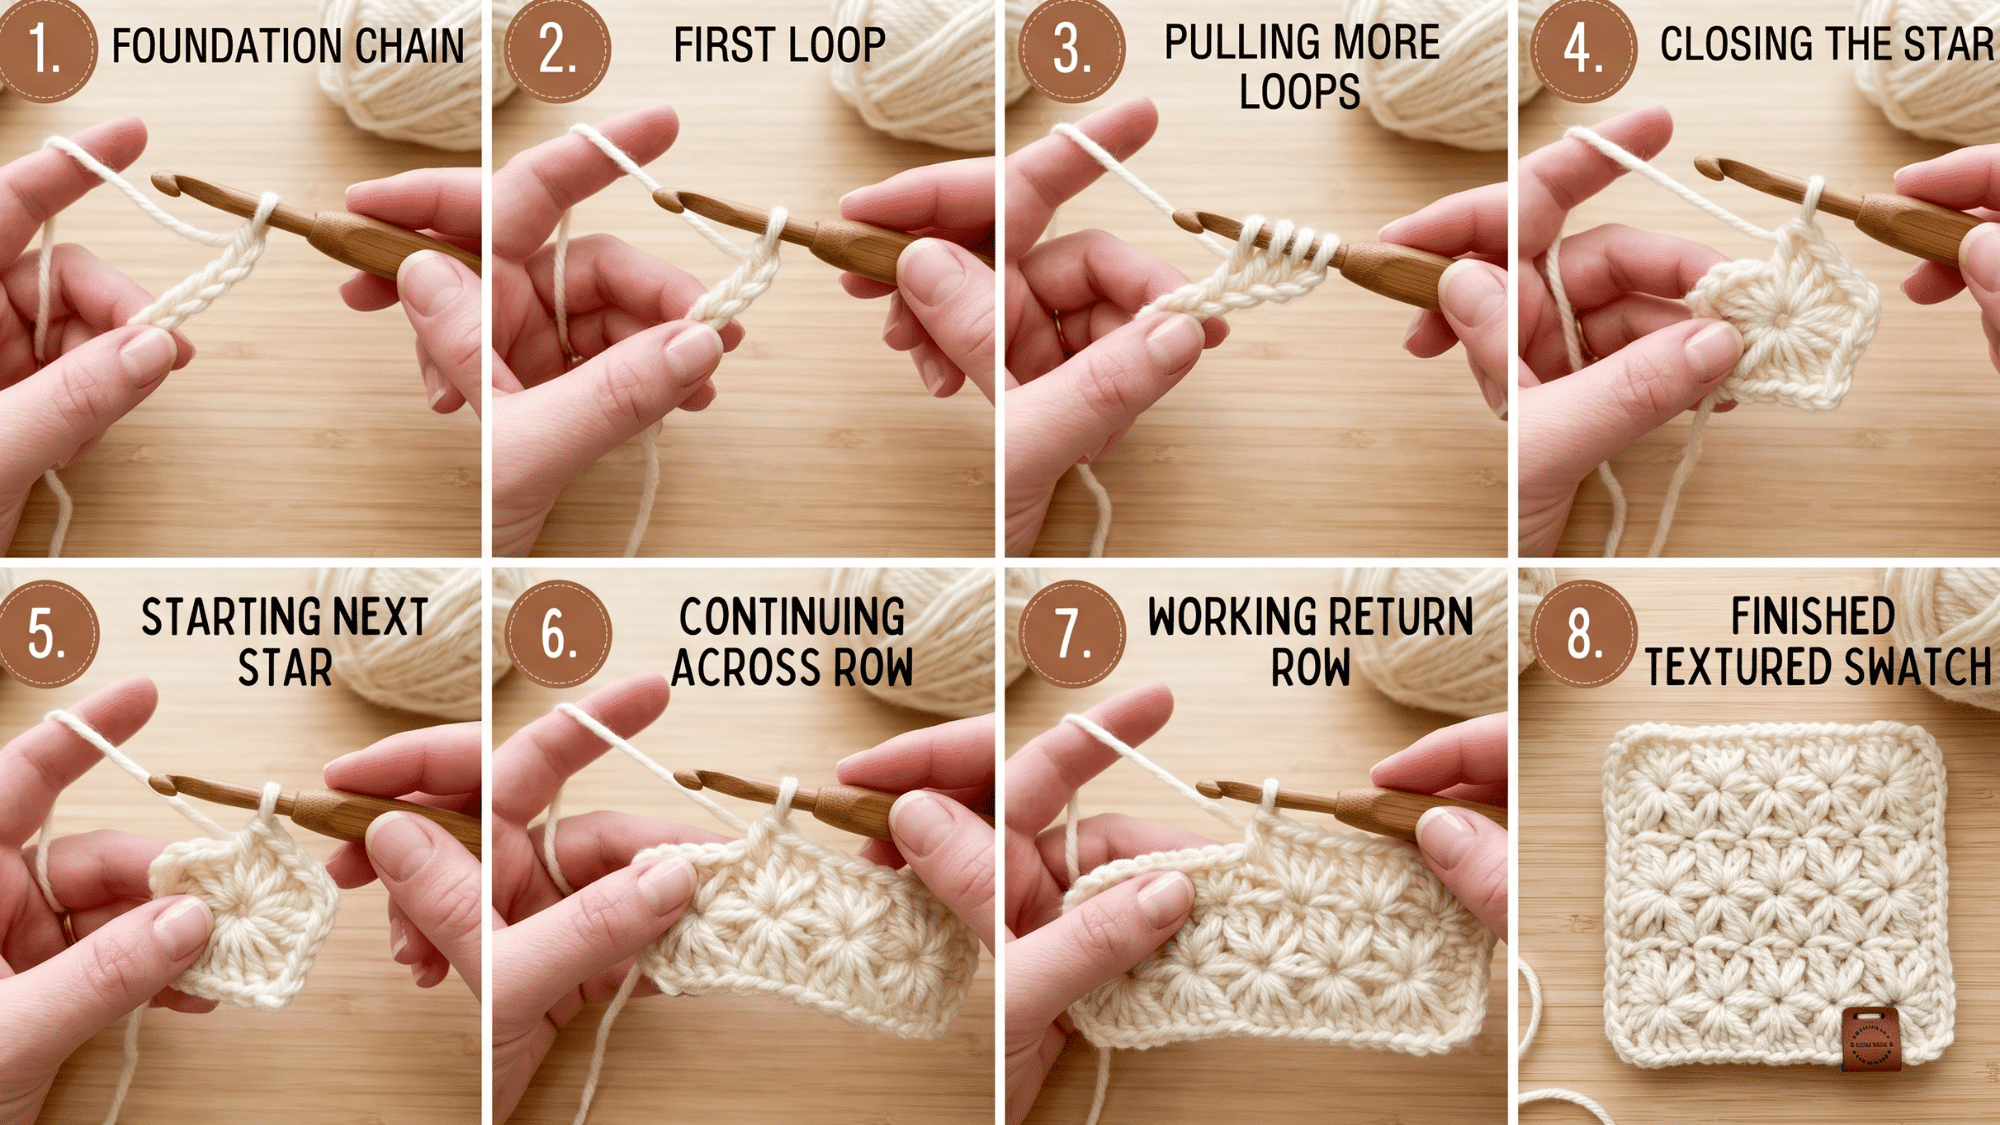
Step 1: Make a Foundation Chain
Start with an odd number of chains for the base row. A small practice swatch is best if you are learning the stitch.
Keep the chain loose, so it is easier to work into each stitch.
Step 2: Pull Up the First Loop
Insert your hook into the second chain from the hook. Yarn over and pull up one loop through the chain.
Hold the loop slightly loose to keep the stitch from tightening.
Step 3: Pull Up More Loops
Pull up loops from the next few chain spaces. You should have several loops sitting evenly on your hook.
These loops will form the first star shape in the row.
Step 4: Close the First Star
Yarn over and pull through all the loops on your hook. Chain one to close the stitch securely. This chain creates the small center “eye” of the star.
Step 5: Start the Next Star
Insert your hook into the eye of the previous star and pull up a loop. Then pull up more loops from nearby spaces and the next available chain stitches.
Step 6: Continue Across the Row
Repeat the process across the row, making each new star from the previous stitch and the next chain spaces. Keep your tension even for a neat texture.
Step 7: Work the Return Row
Turn your work and crochet across the top of the stars, often using half-double crochet stitches. This row helps secure the stars and prepares the next textured row.
Step 8: Repeat and Finish
Alternate between a star stitch row and a return row until your project reaches the desired size. Fasten off, weave in the ends, and block lightly if needed.
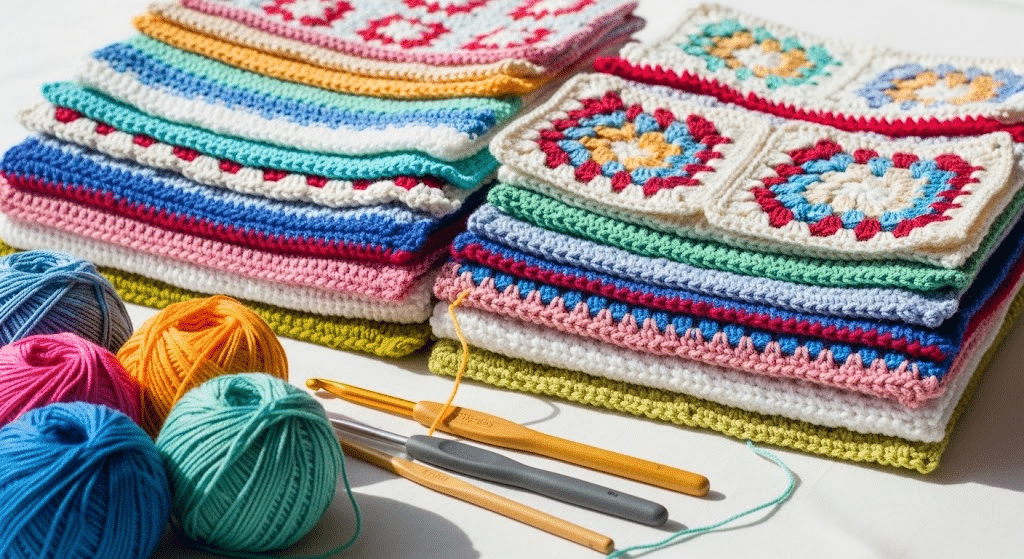
Easy Star Stitch Crochet Projects for Beginners
Once you understand the basic stitch, you can use its soft, raised texture in all kinds of cozy and decorative crochet projects.
1. Star Stitch Baby Blanket
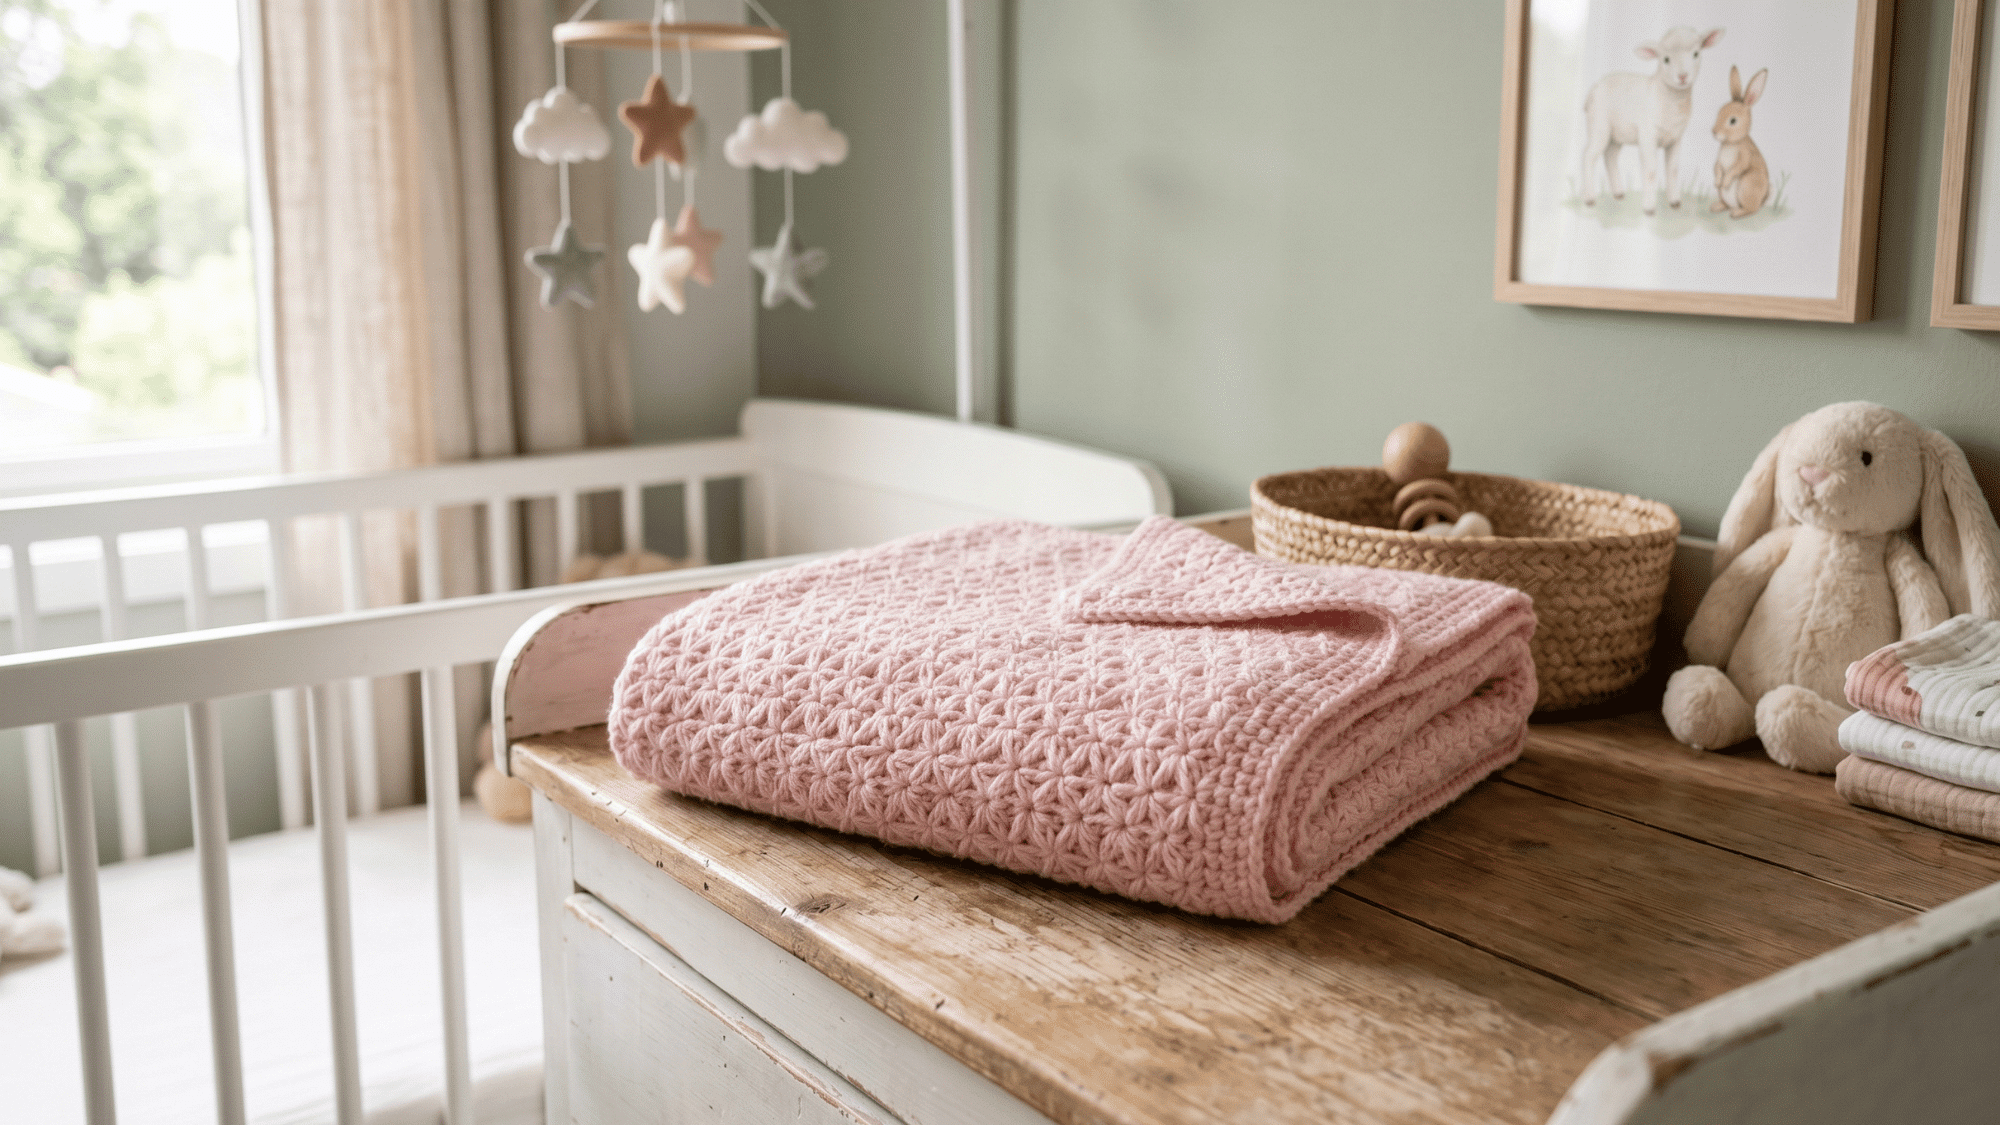
A baby blanket is a lovely project for showing off the soft texture of the star stitch.
The raised pattern adds warmth and detail without needing complex color changes. Choose gentle yarn shades to make the blanket feel cozy, sweet, and gift-worthy.
2. Textured Scarf
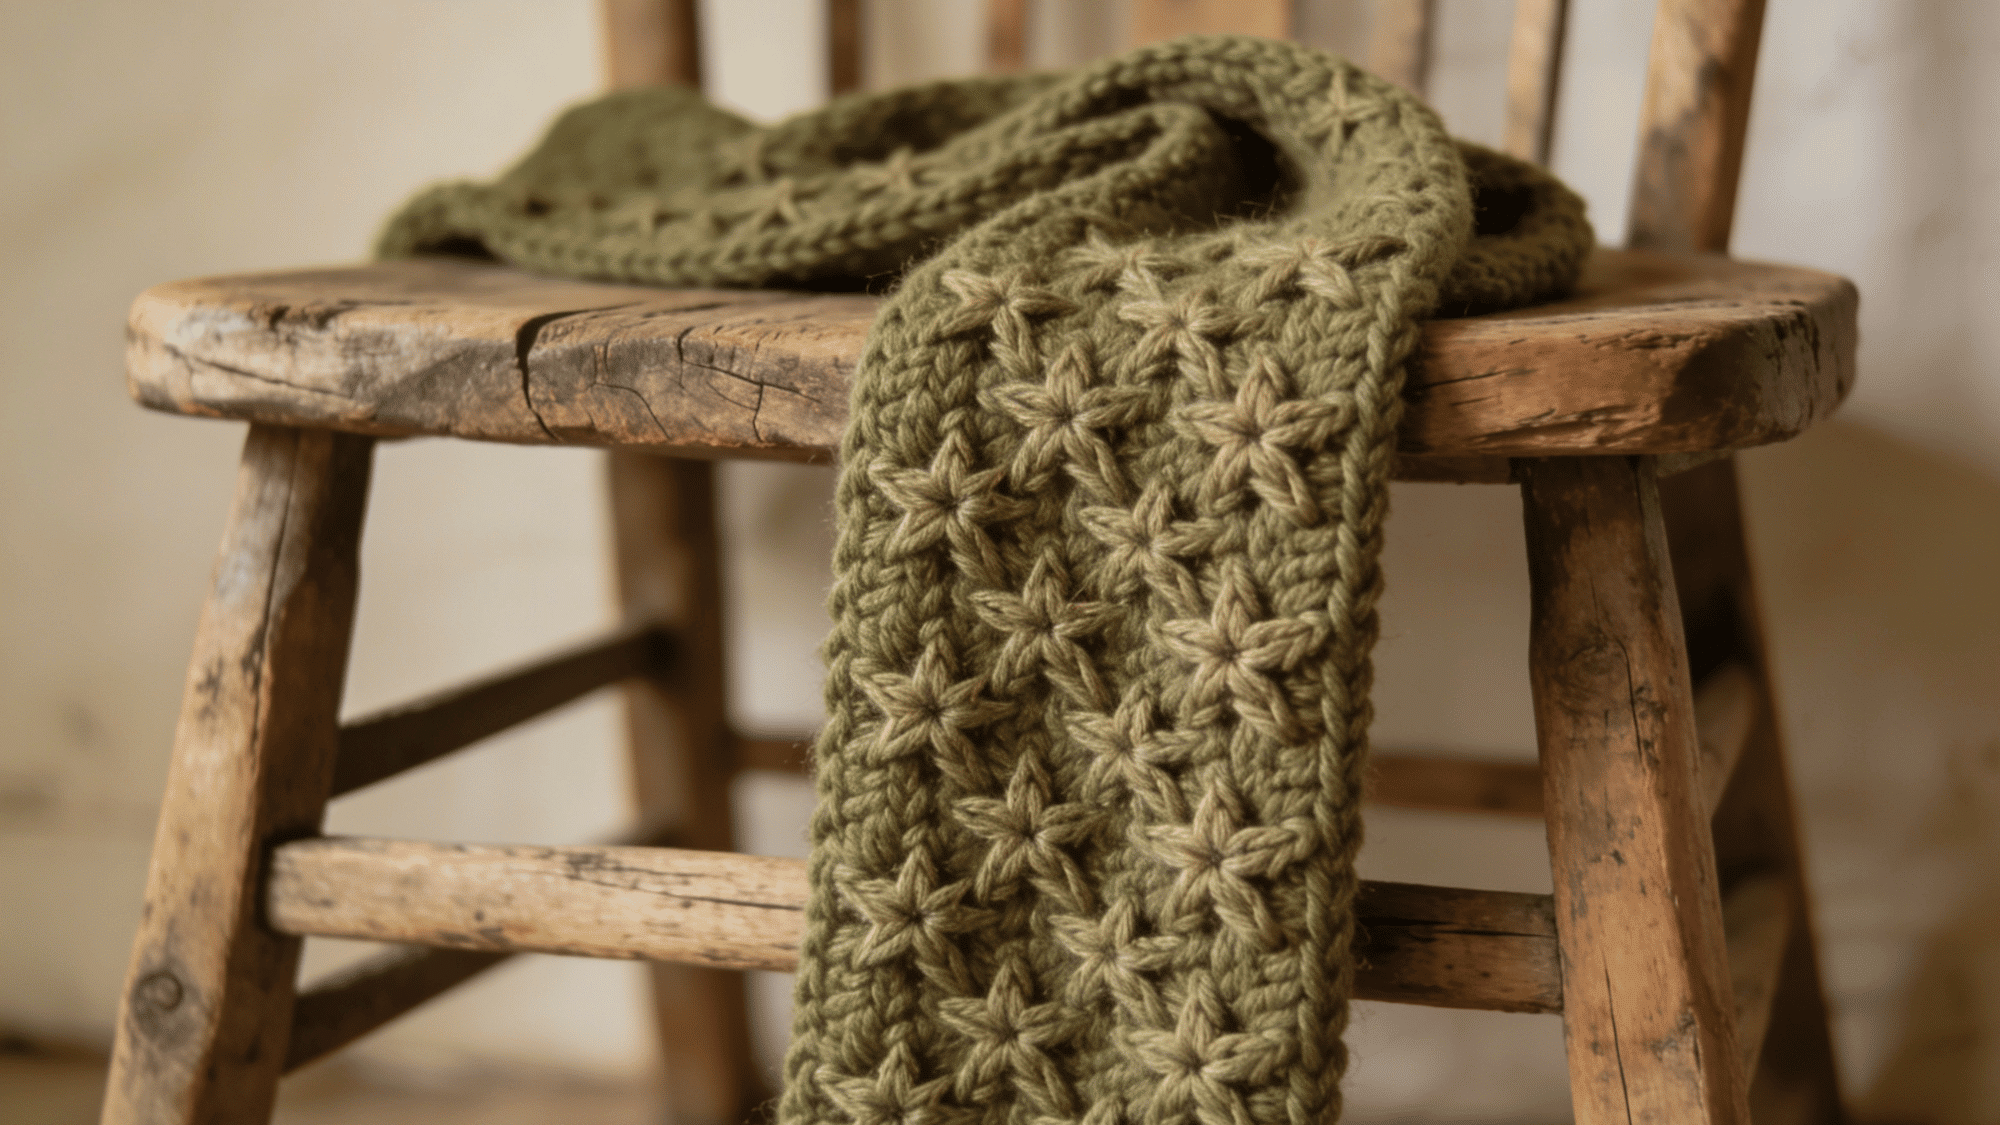
A scarf is a beginner-friendly way to practice the stitch across longer rows. The star texture gives the fabric a plush, handmade feel that looks more detailed than basic stitches.
3. Crochet Beanie
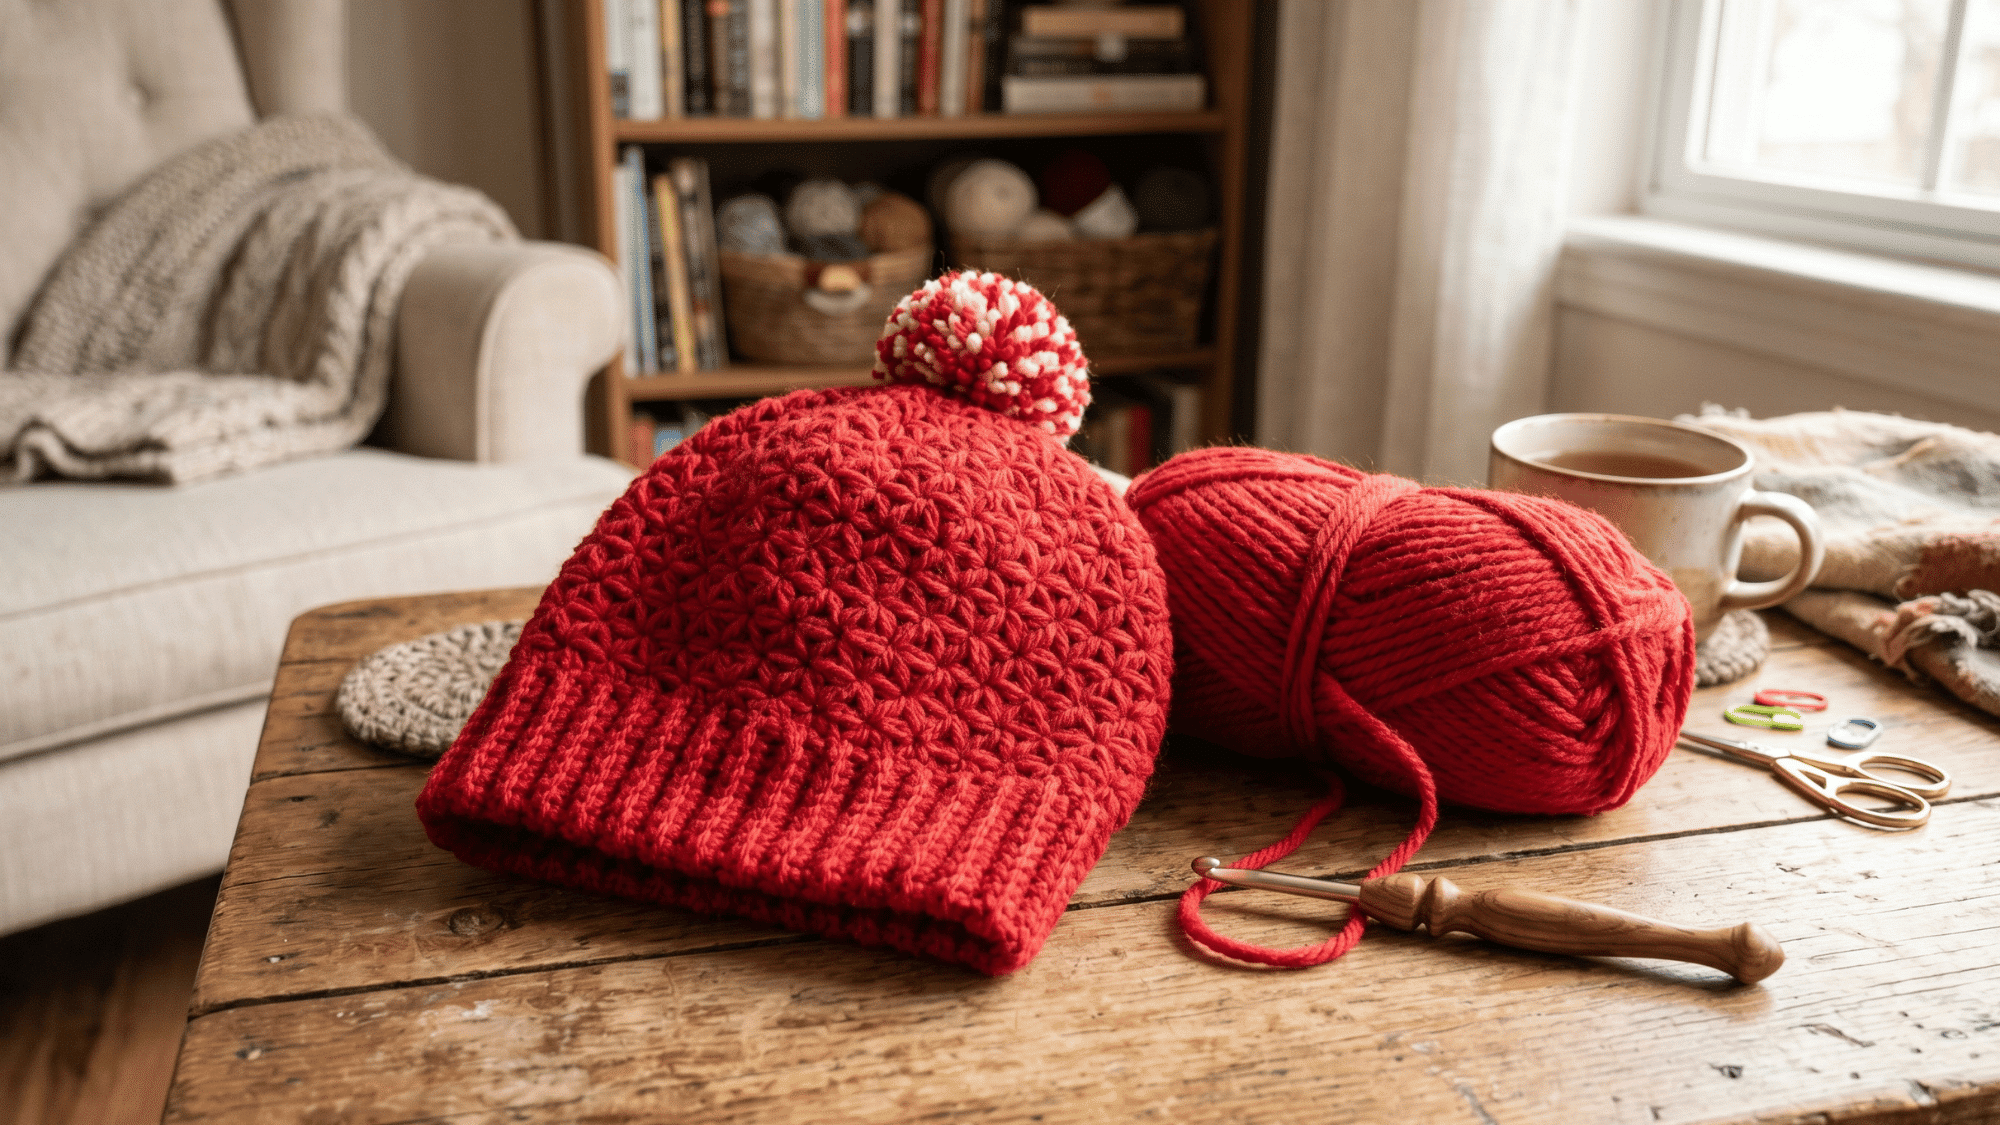
A beanie can look extra stylish when the star stitch is used around the main body. Pairing it with a simple ribbed brim keeps the hat comfortable and stretchy.
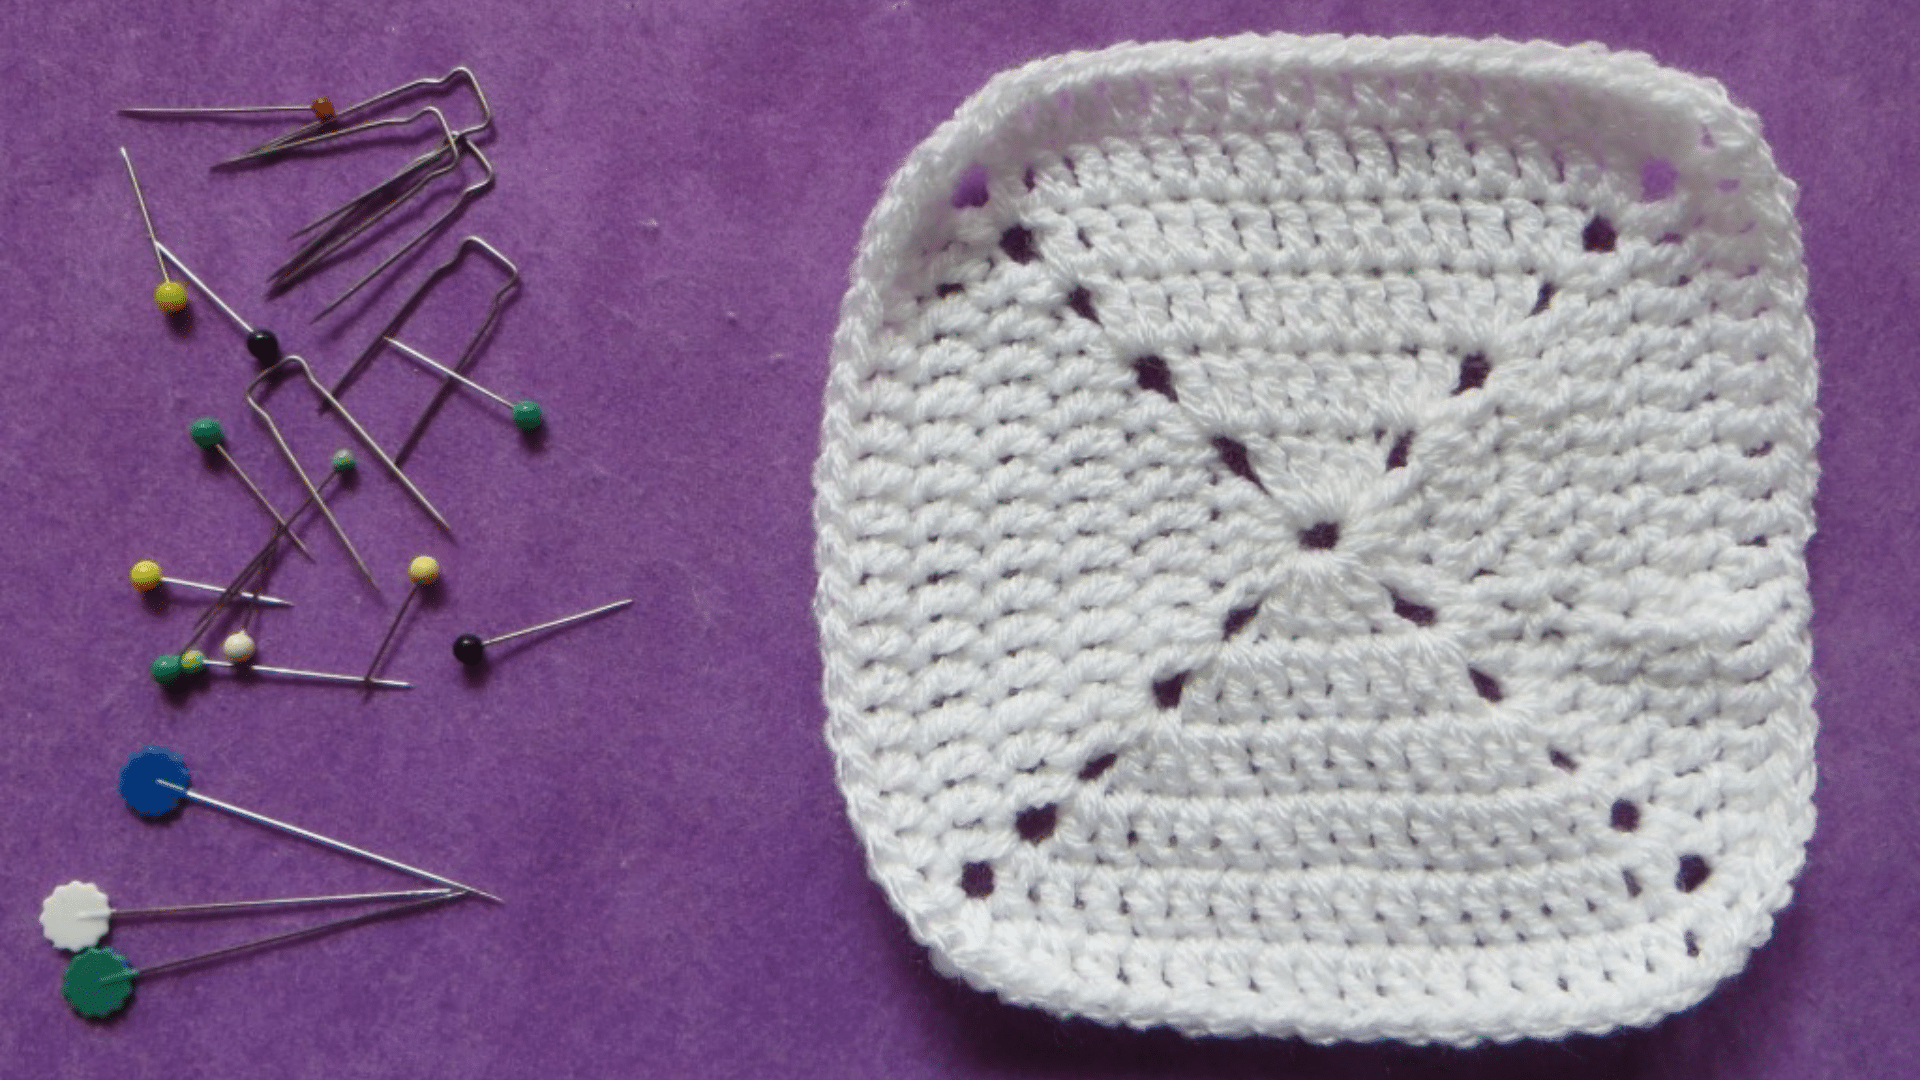
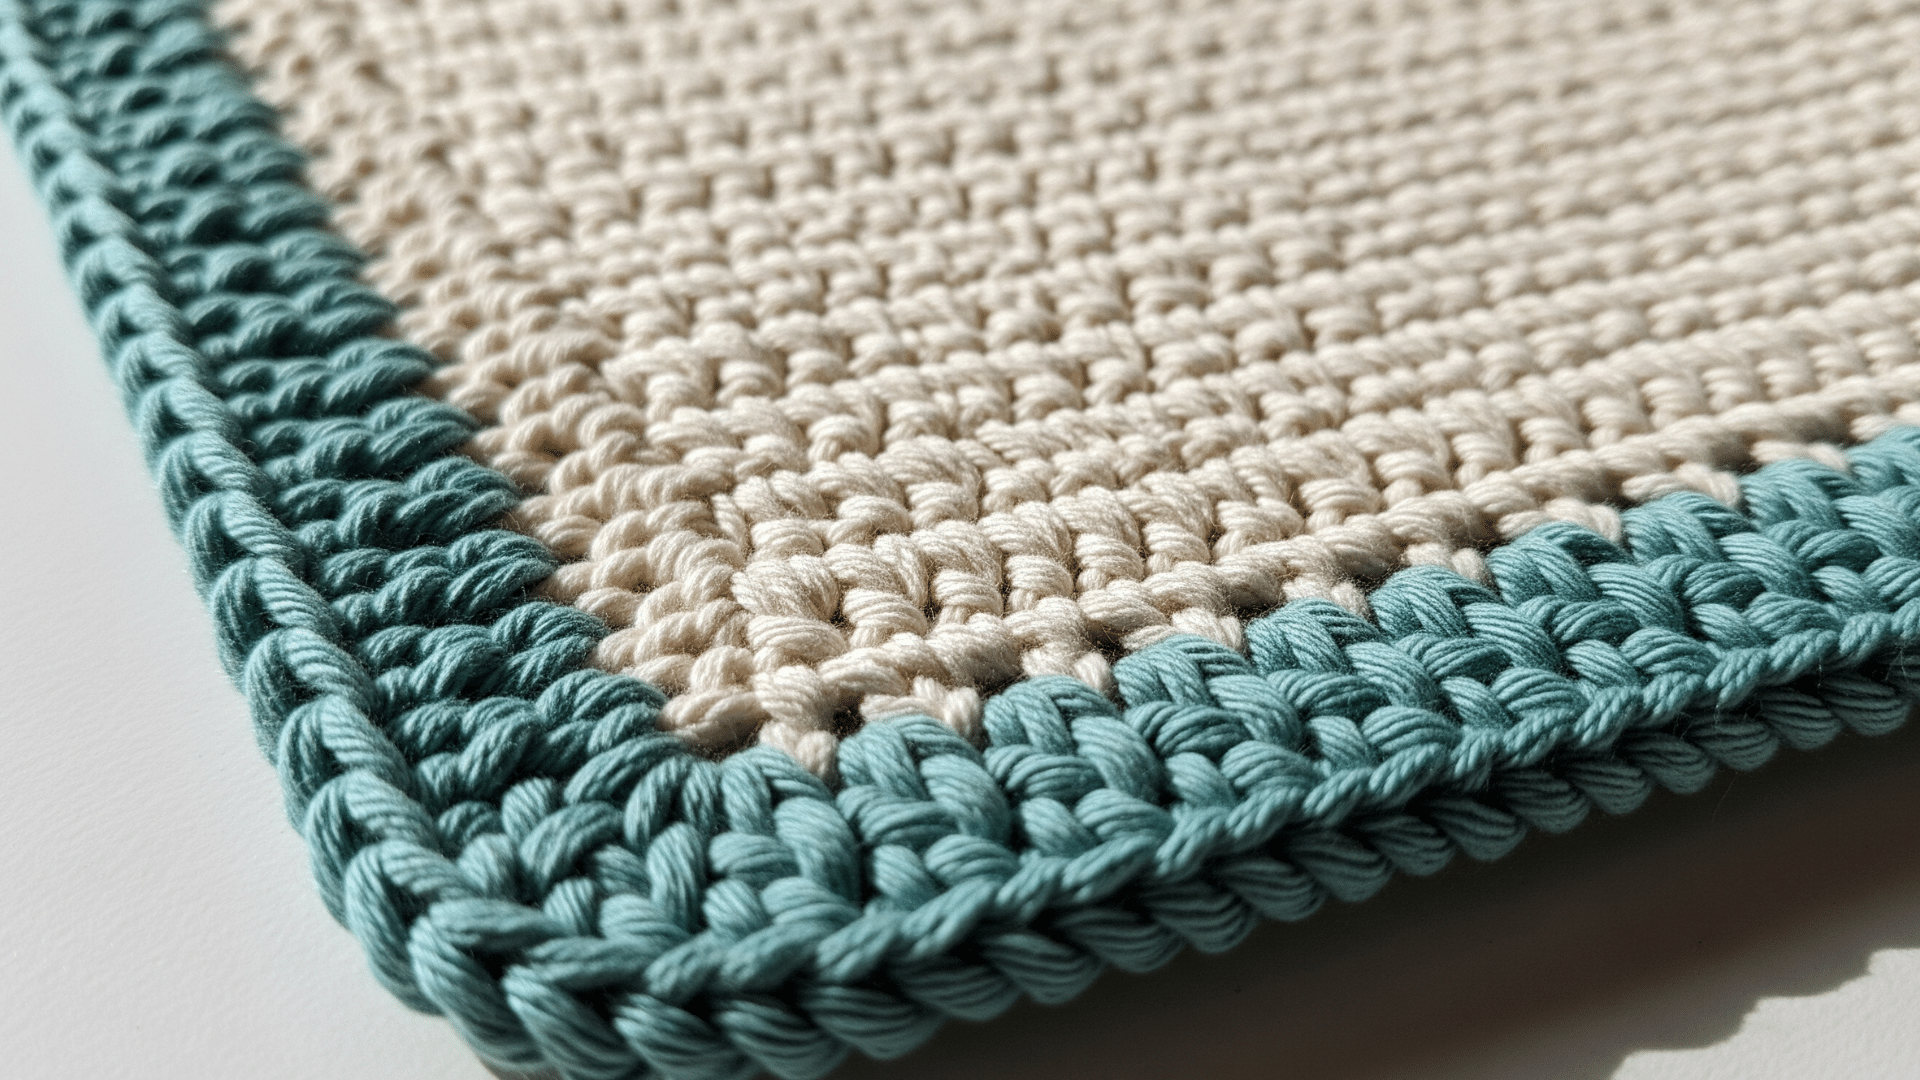
4. Washcloth or Dishcloth
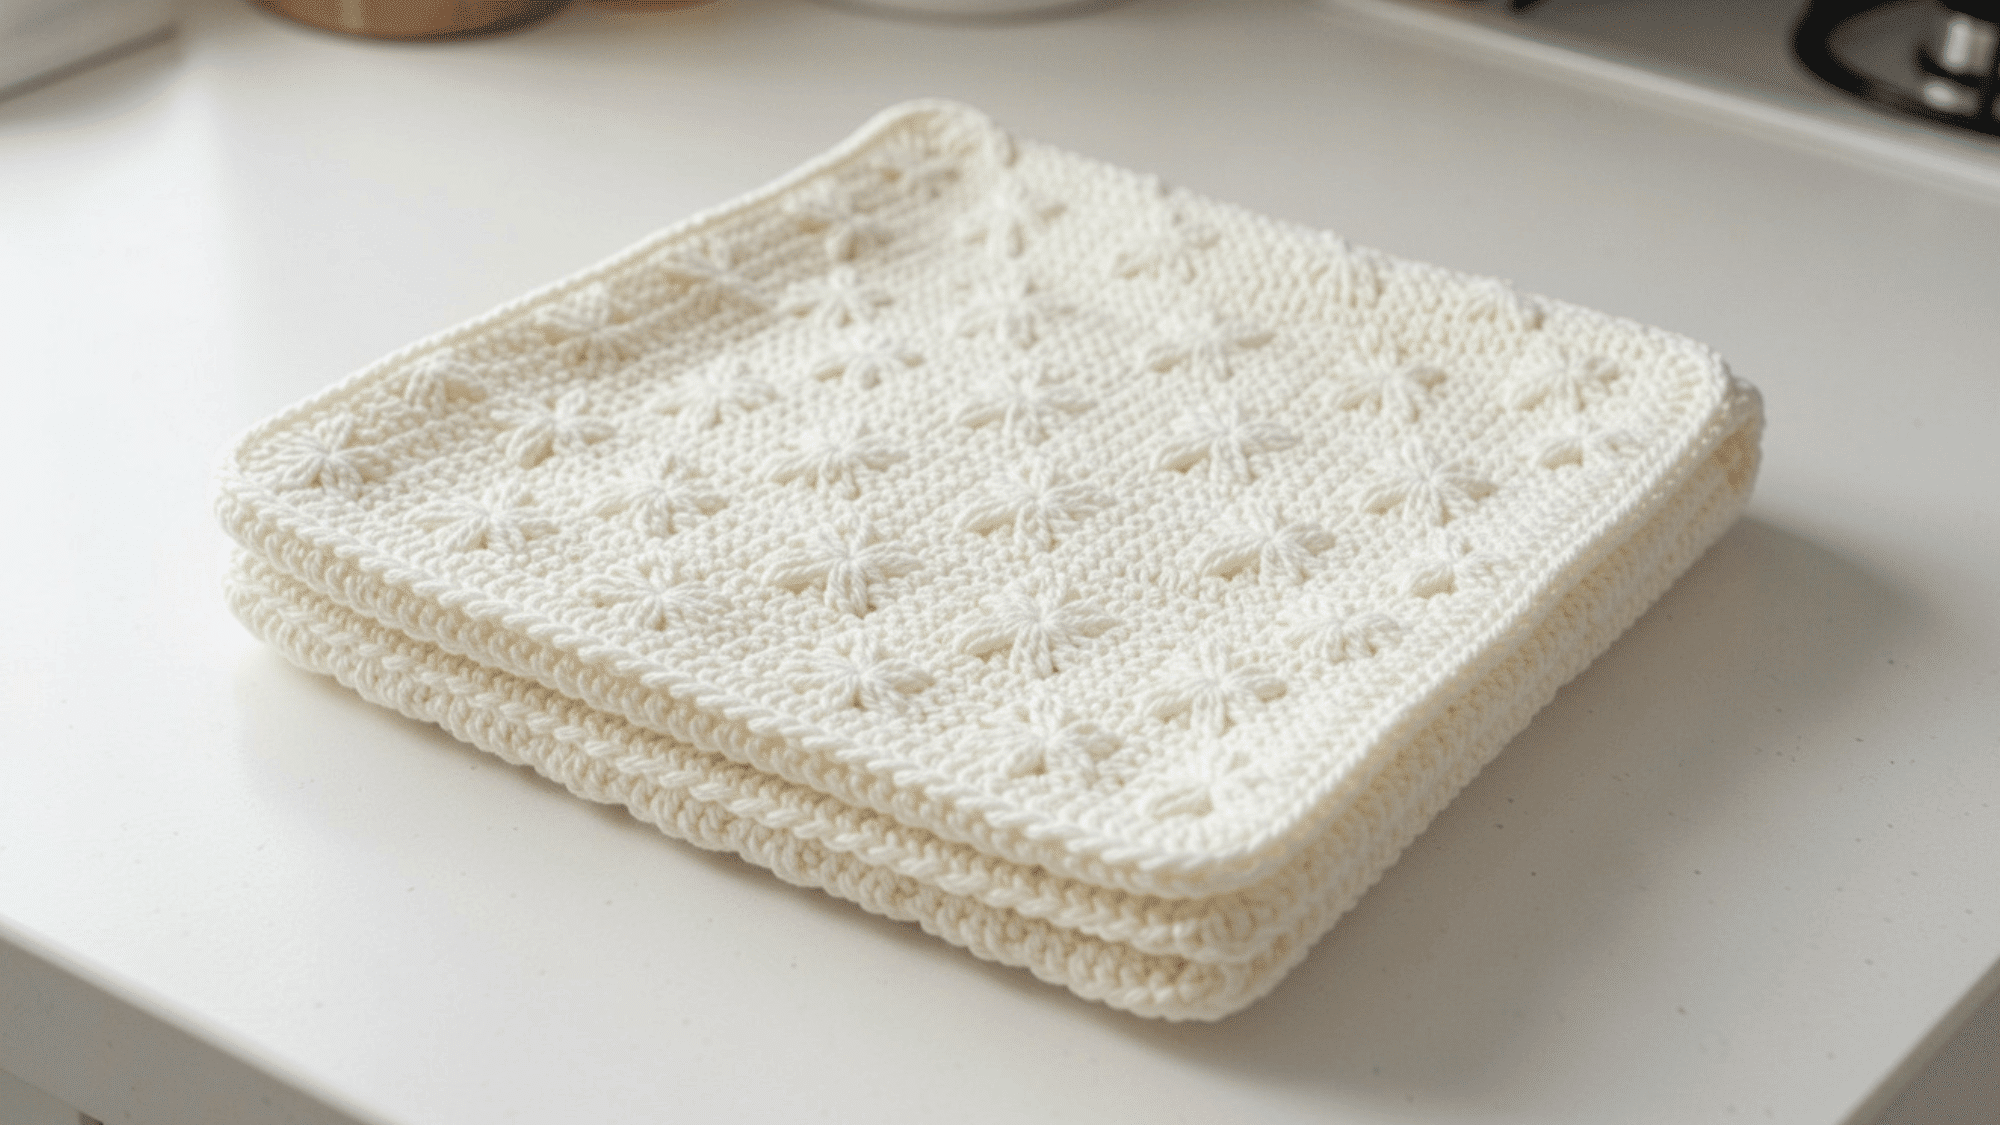
Washcloths and dishcloths are perfect small projects for learning the star stitch crochet pattern. Cotton yarn clearly shows the texture while keeping the piece practical for daily use.
5. Decorative Pillow Cover
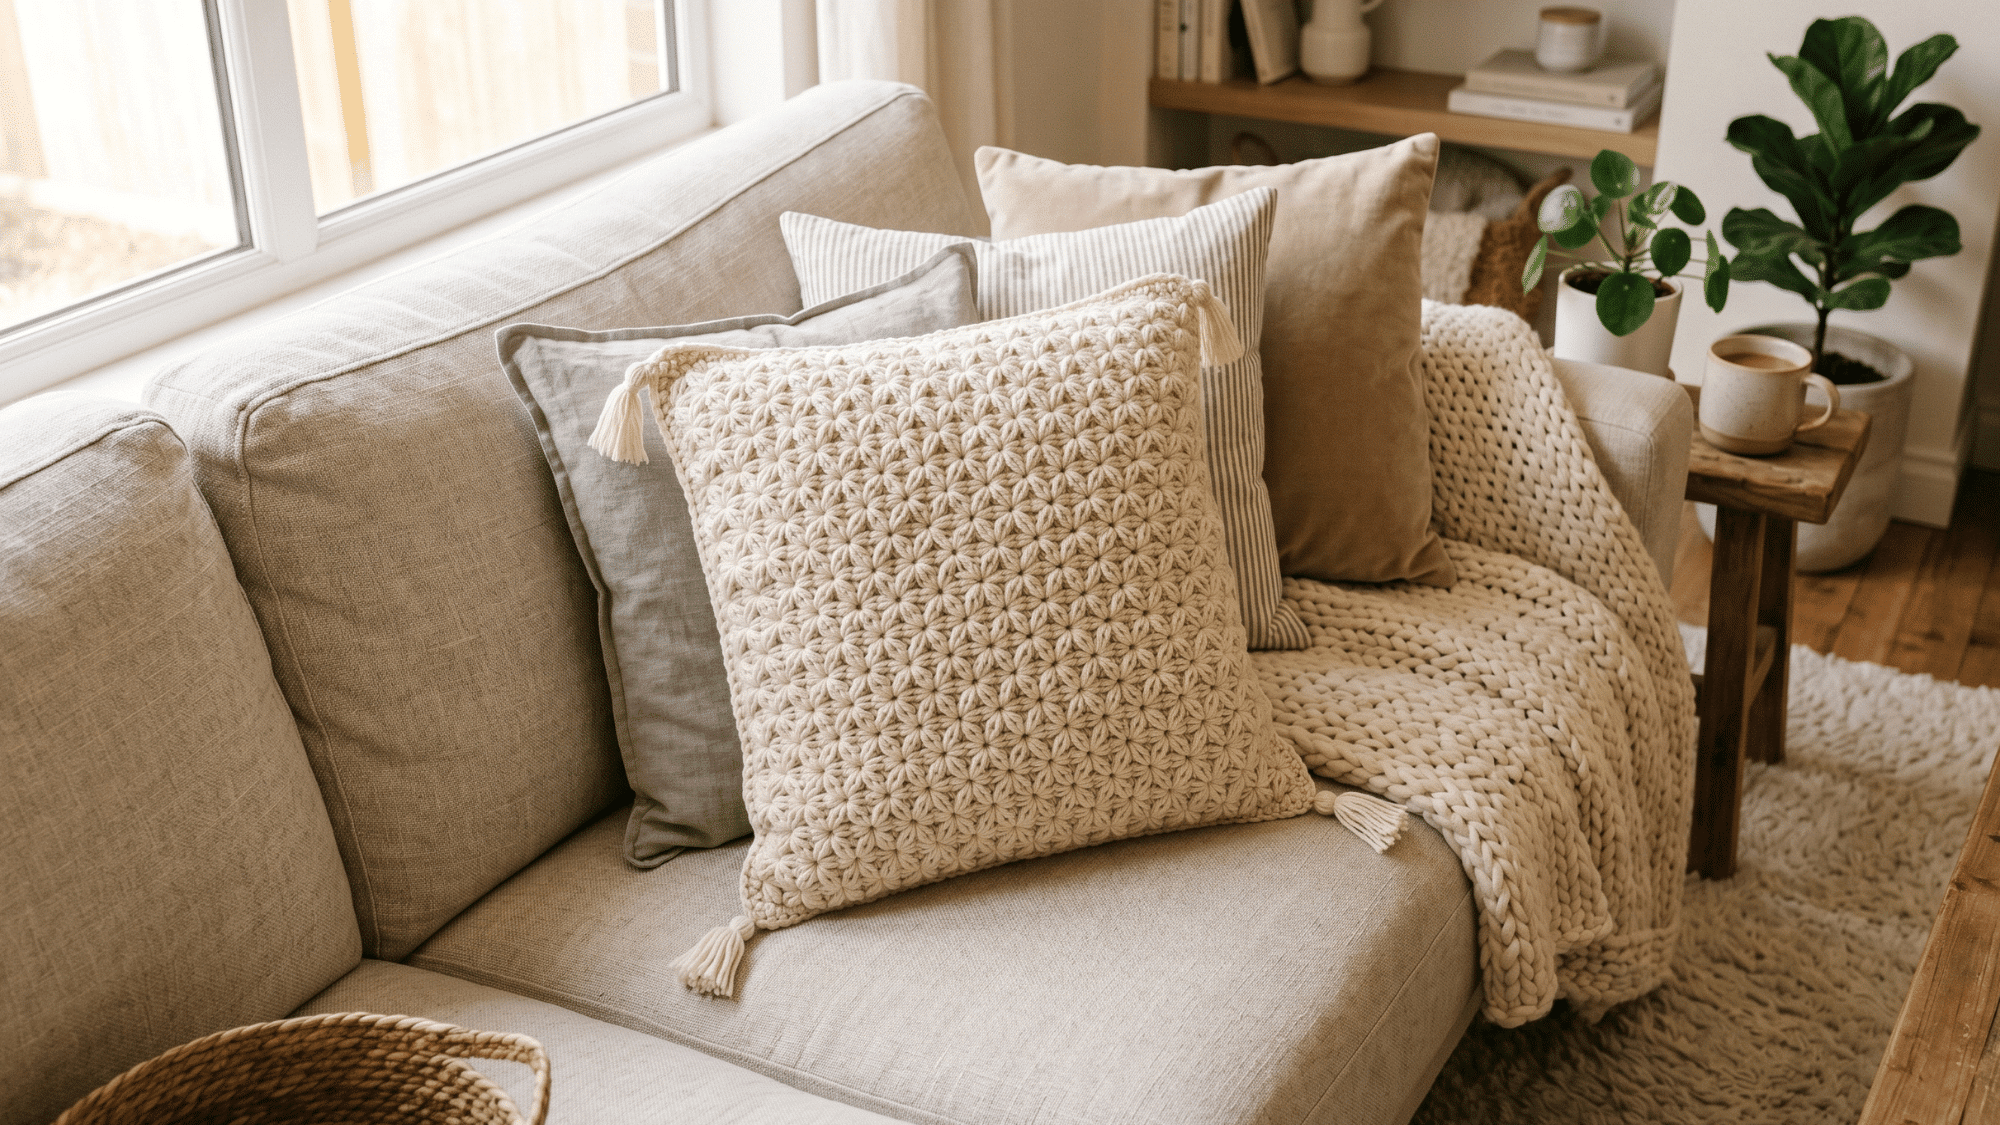
A pillow cover made with a star stitch can add a handmade charm to a sofa, chair, or bed. The texture makes even a simple square or rectangle design look more polished.
Use soft home decor colors to create a cozy accent piece for any room.
6. Fingerless Gloves
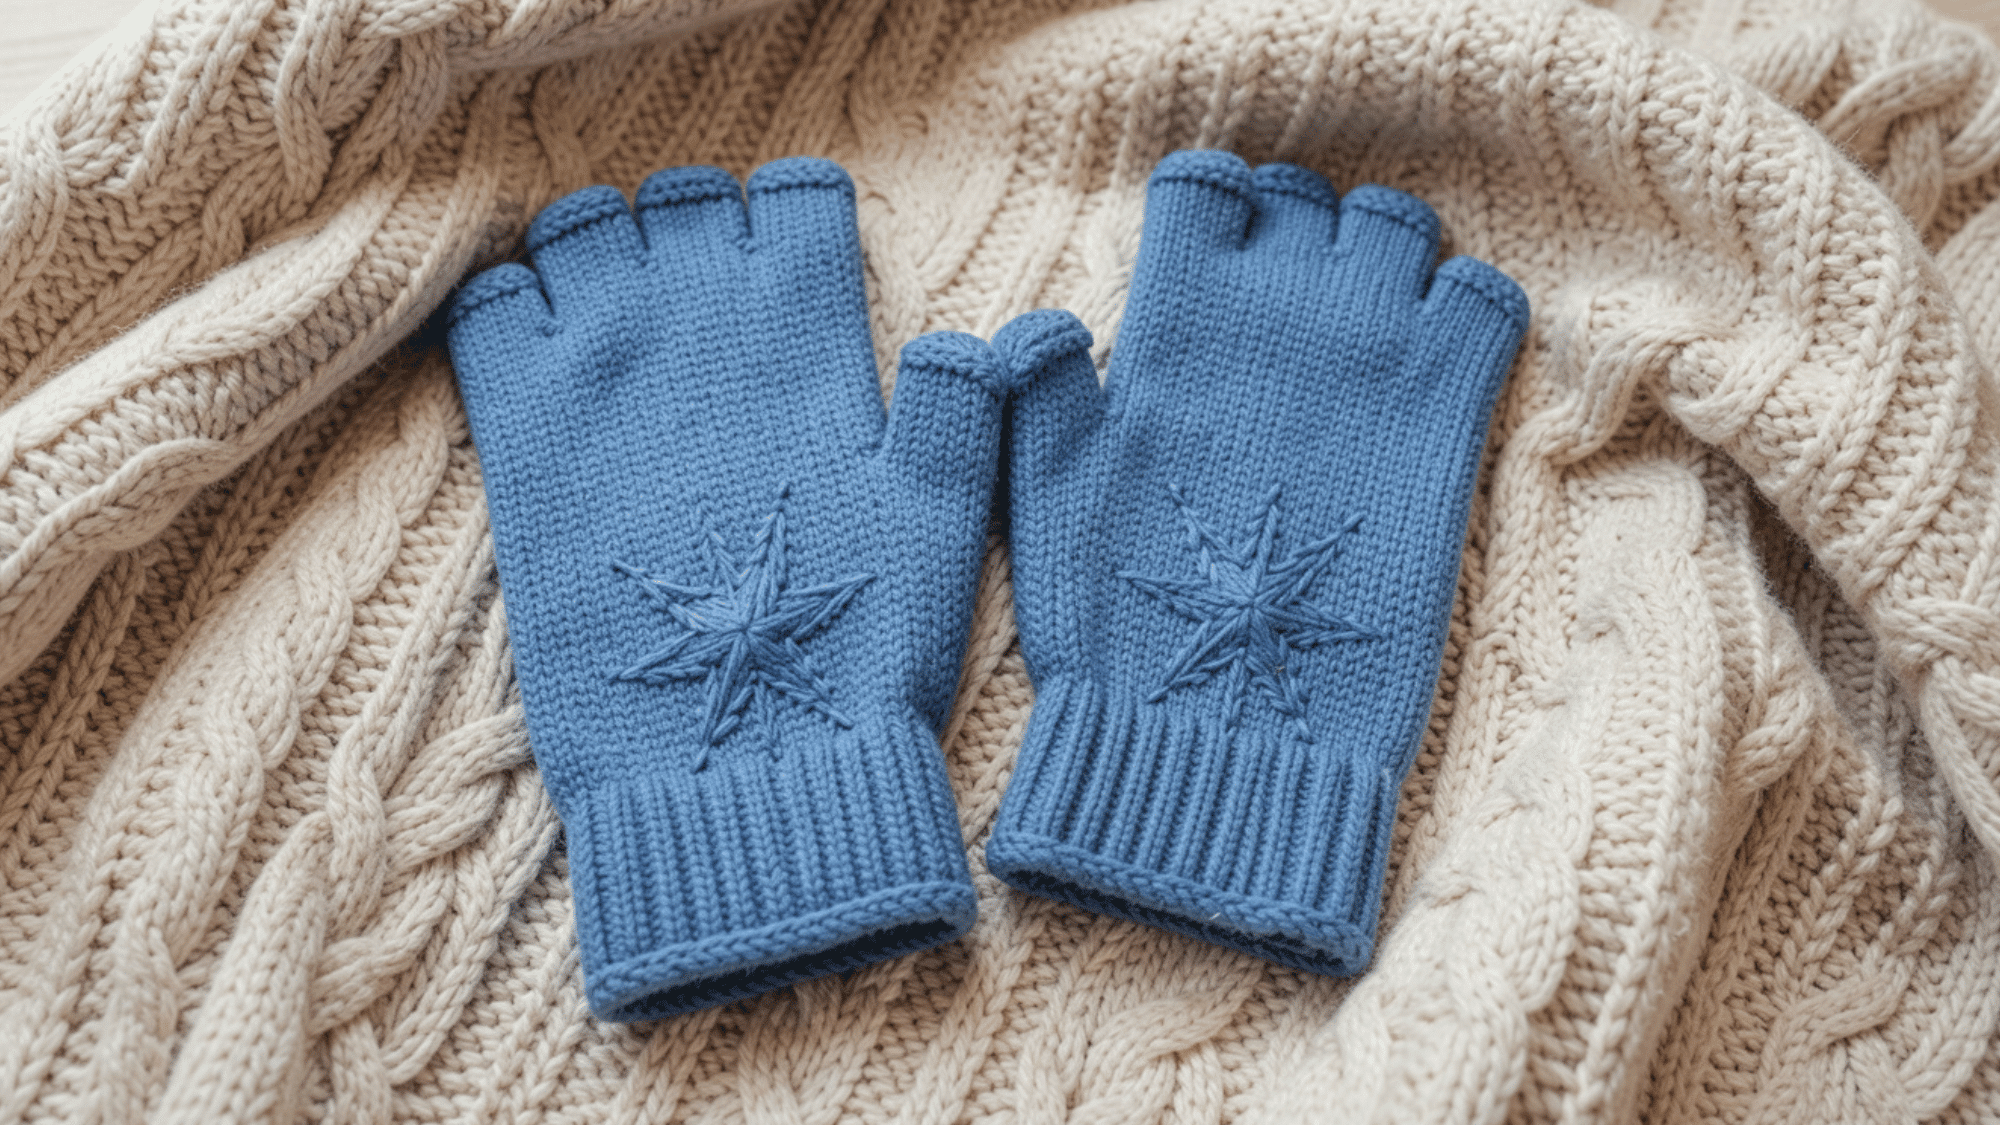
Fingerless gloves are a fun way to use the stitch in a small wearable project. The star stitch can be added to the hand section while the wrist stays simple and flexible.
7. Market Bag Panel
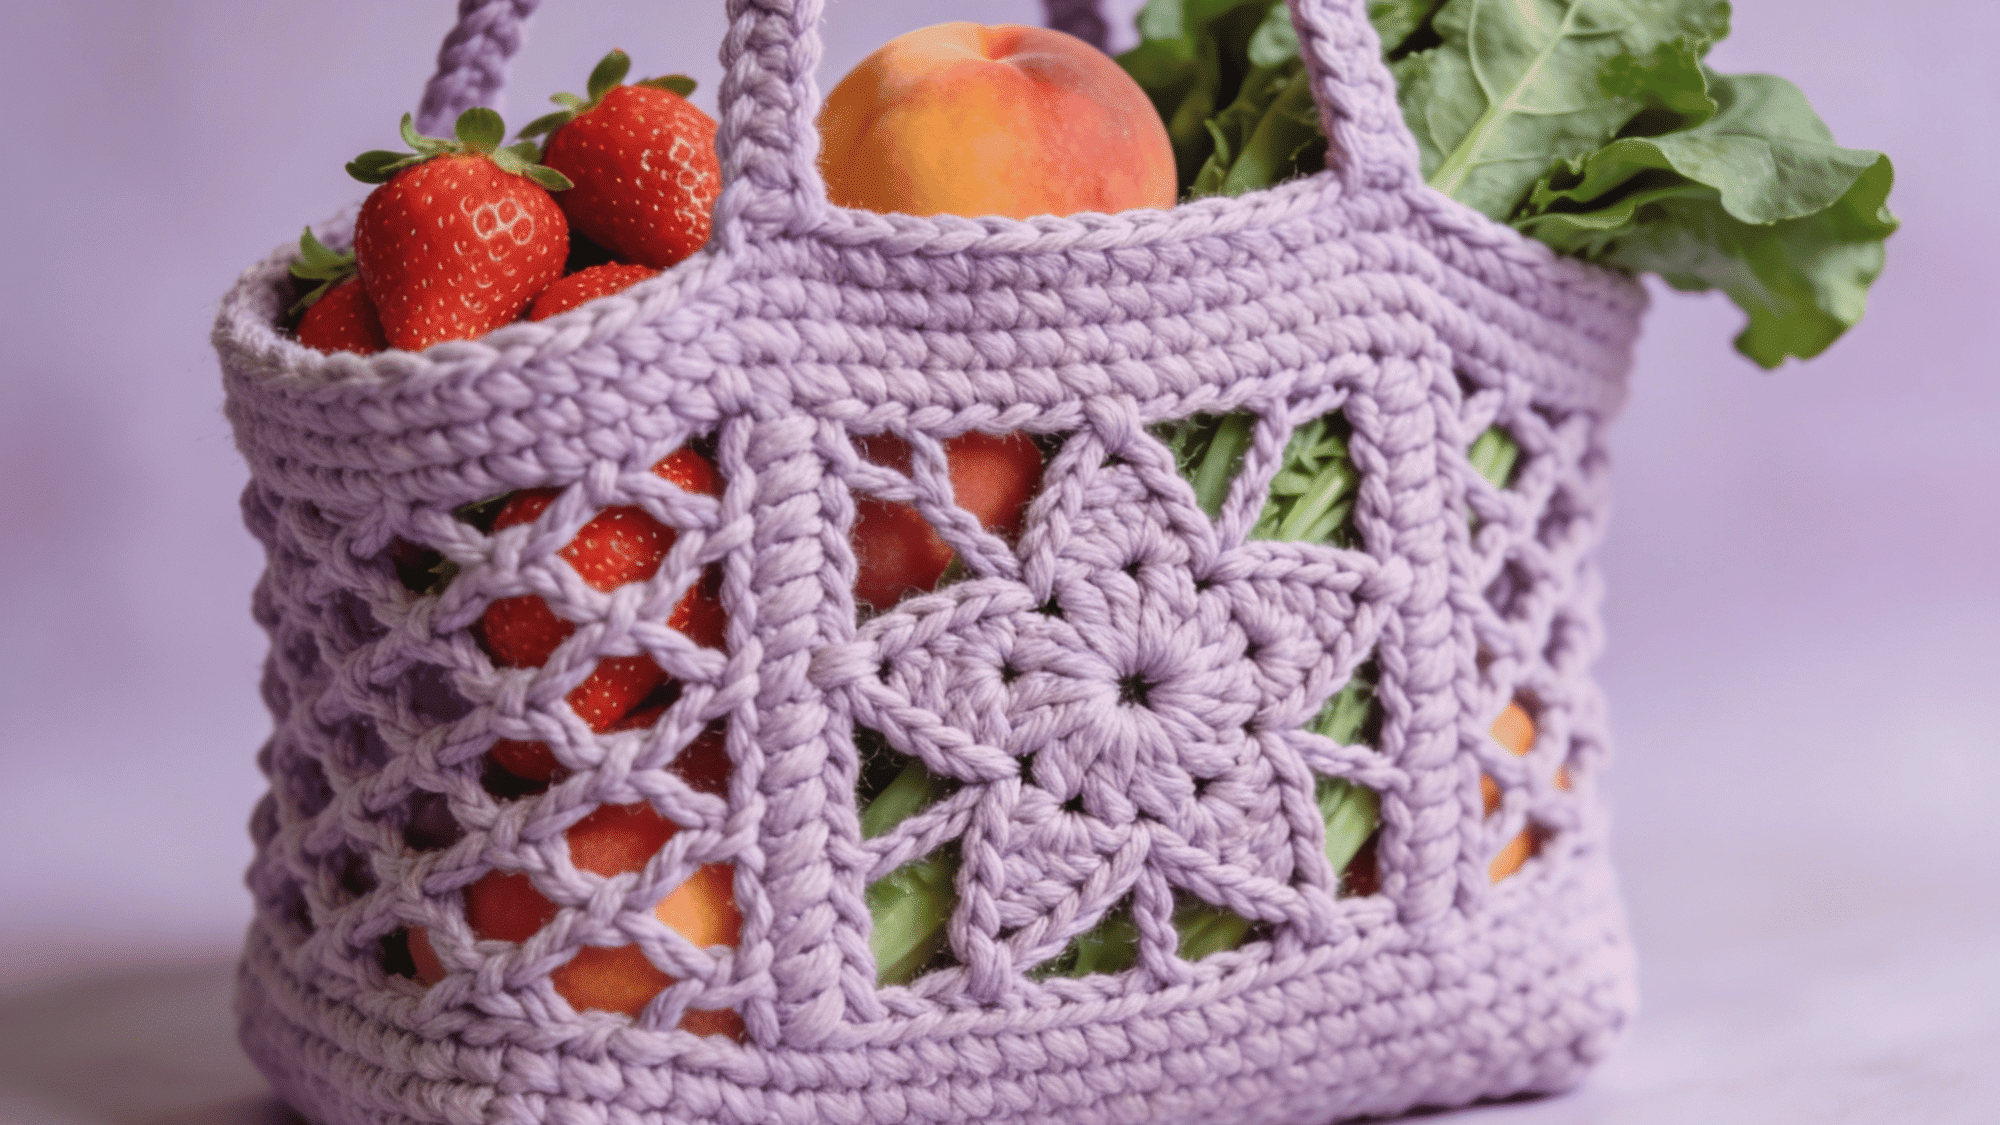
A market bag can include a star-stitch panel on the front for a decorative touch. The rest of the bag can stay simple and sturdy, so it remains useful for carrying items.
This idea is perfect if you want a practical crochet project with a little extra style.
8. Ear Warmer or Headband
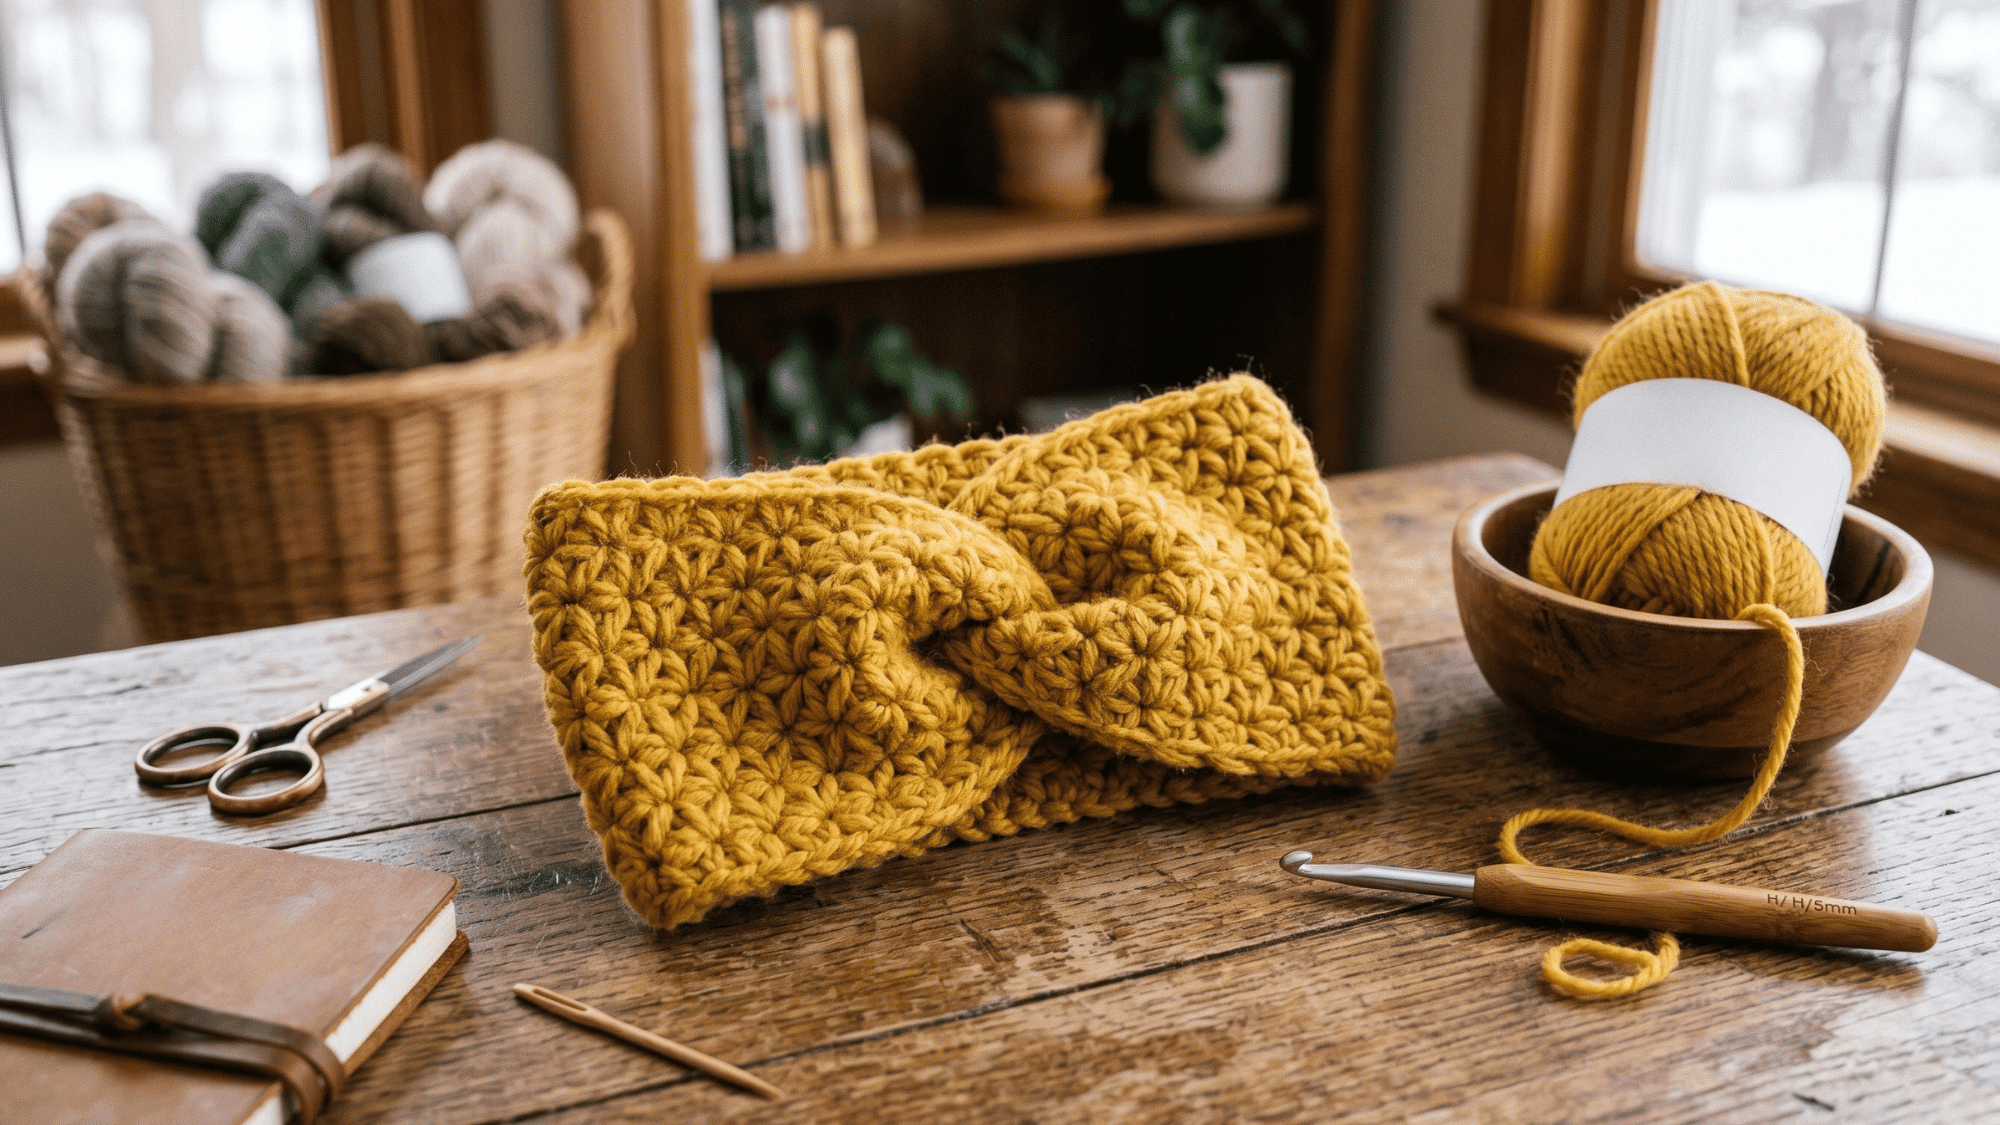
An ear warmer or headband is quick to make and ideal for practicing the stitch. The textured stars create a cozy look without requiring a large amount of yarn.
A Few Last Tips for Better Texture
Before you finish your project, a few small choices can make the star stitch look cleaner, softer, and more defined.
- Use Smooth Yarn: Smooth yarn makes the star shapes easier to see and helps the texture look cleaner.
- Keep Your Loops Even: Try to pull each loop up to the same height so every star looks balanced.
- Avoid Tight Tension: If your stitches are too tight, the stars may look cramped and hard to define.
- Practice with Light Colors: Lighter yarn shades show the stitch details better, especially when you are learning.
- Count Your Stitches Often: Checking your stitch count helps prevent uneven edges and missed spaces.
- Block Your Finished Piece: Light blocking can relax the fabric and make the raised texture look more polished.
Wrapping it Up
The star stitch crochet pattern has a way of growing on you one row in, and you’re already planning your next project. A blanket, a scarf, a little pouch for someone you love.
Whatever you make, it carries that quiet satisfaction of creating something genuinely beautiful with your own two hands.
So keep your hook close, your yarn closer, and remember that every stitch you add is a little proof that you made something worth keeping.