Making yogurt at home is simpler than most people expect, especially when you learn the right way.
With just two ingredients, a pot, and a few hours of patience, you can produce a batch that is fresher, creamier, and more cost-effective than anything off a grocery store shelf.
This recipe walks you through the entire process, from heating the milk to straining for Greek-style yogurt, with clear steps that work whether you’re using a stovetop, an oven, or an Instant Pot.
You’ll also find troubleshooting tips for common problems such as a runny texture or an overly sour flavor. Ready to get started? Read on.
Why Does Temperature Matter?
Temperature controls whether your yogurt sets or fails. The bacteria that ferment yogurt, primarily Lactobacillus bulgaricus and Streptococcus thermophilus, thrive between 100°F and 115°F (38°C to 46°C).
Too cold, and fermentation stalls. Too hot, and the cultures die off completely. Two temperature points matter most.
First, heat the milk to around 180°F (82°C) to denature proteins and create a firmer texture. Second, hold the incubation temperature between 108°F and 112°F (42°C and 44°C) for 6 to 10 hours.
Even a slight drop during incubation can produce a thin, weak batch. A kitchen thermometer removes all guesswork and gives you consistent results every time.
Ingredients for Homemade Yogurt
Making yogurt at home requires just two ingredients. First, whole milk produces the thickest, creamiest results, though 2% works well too.
Skim milk yields a thinner yogurt unless you add powdered milk to boost protein content. Use a half-gallon to start.
Second, you need a starter culture. This is either a few tablespoons of plain yogurt with live active cultures or a freeze-dried yogurt starter packet.
Check the label to confirm live cultures are present.
- Whole milk: Thick, creamy
- 2% milk: Medium texture
- Skim milk: Thin
Optional add-ins include powdered milk for extra thickness and vanilla extract or honey for flavor. Keep it simple on the first batch to understand the base before experimenting further.
Nutritional Breakdown Per Serving (1 Cup / 245g)
| Nutrient | Whole Milk Yogurt | 2% Milk Yogurt | Skim Milk Yogurt |
|---|---|---|---|
| Calories | 149 | 122 | 98 |
| Protein | 8.5g | 8.7g | 9.0g |
| Total Fat | 8g | 3.5g | 0.4g |
| Saturated Fat | 5g | 2.3g | 0.3g |
| Carbohydrates | 11g | 12g | 13g |
| Calcium | 296mg | 300mg | 310mg |
Skim milk yogurt is lowest in calories and fat but slightly higher in protein. Whole milk yogurt offers more fat-soluble nutrients and a naturally richer texture without any additives.
Stepwise Instructions on How to Make Yogurt at Home
Learn how to make creamy, probiotic-rich yogurt at home with simple ingredients and minimal hands-on time.
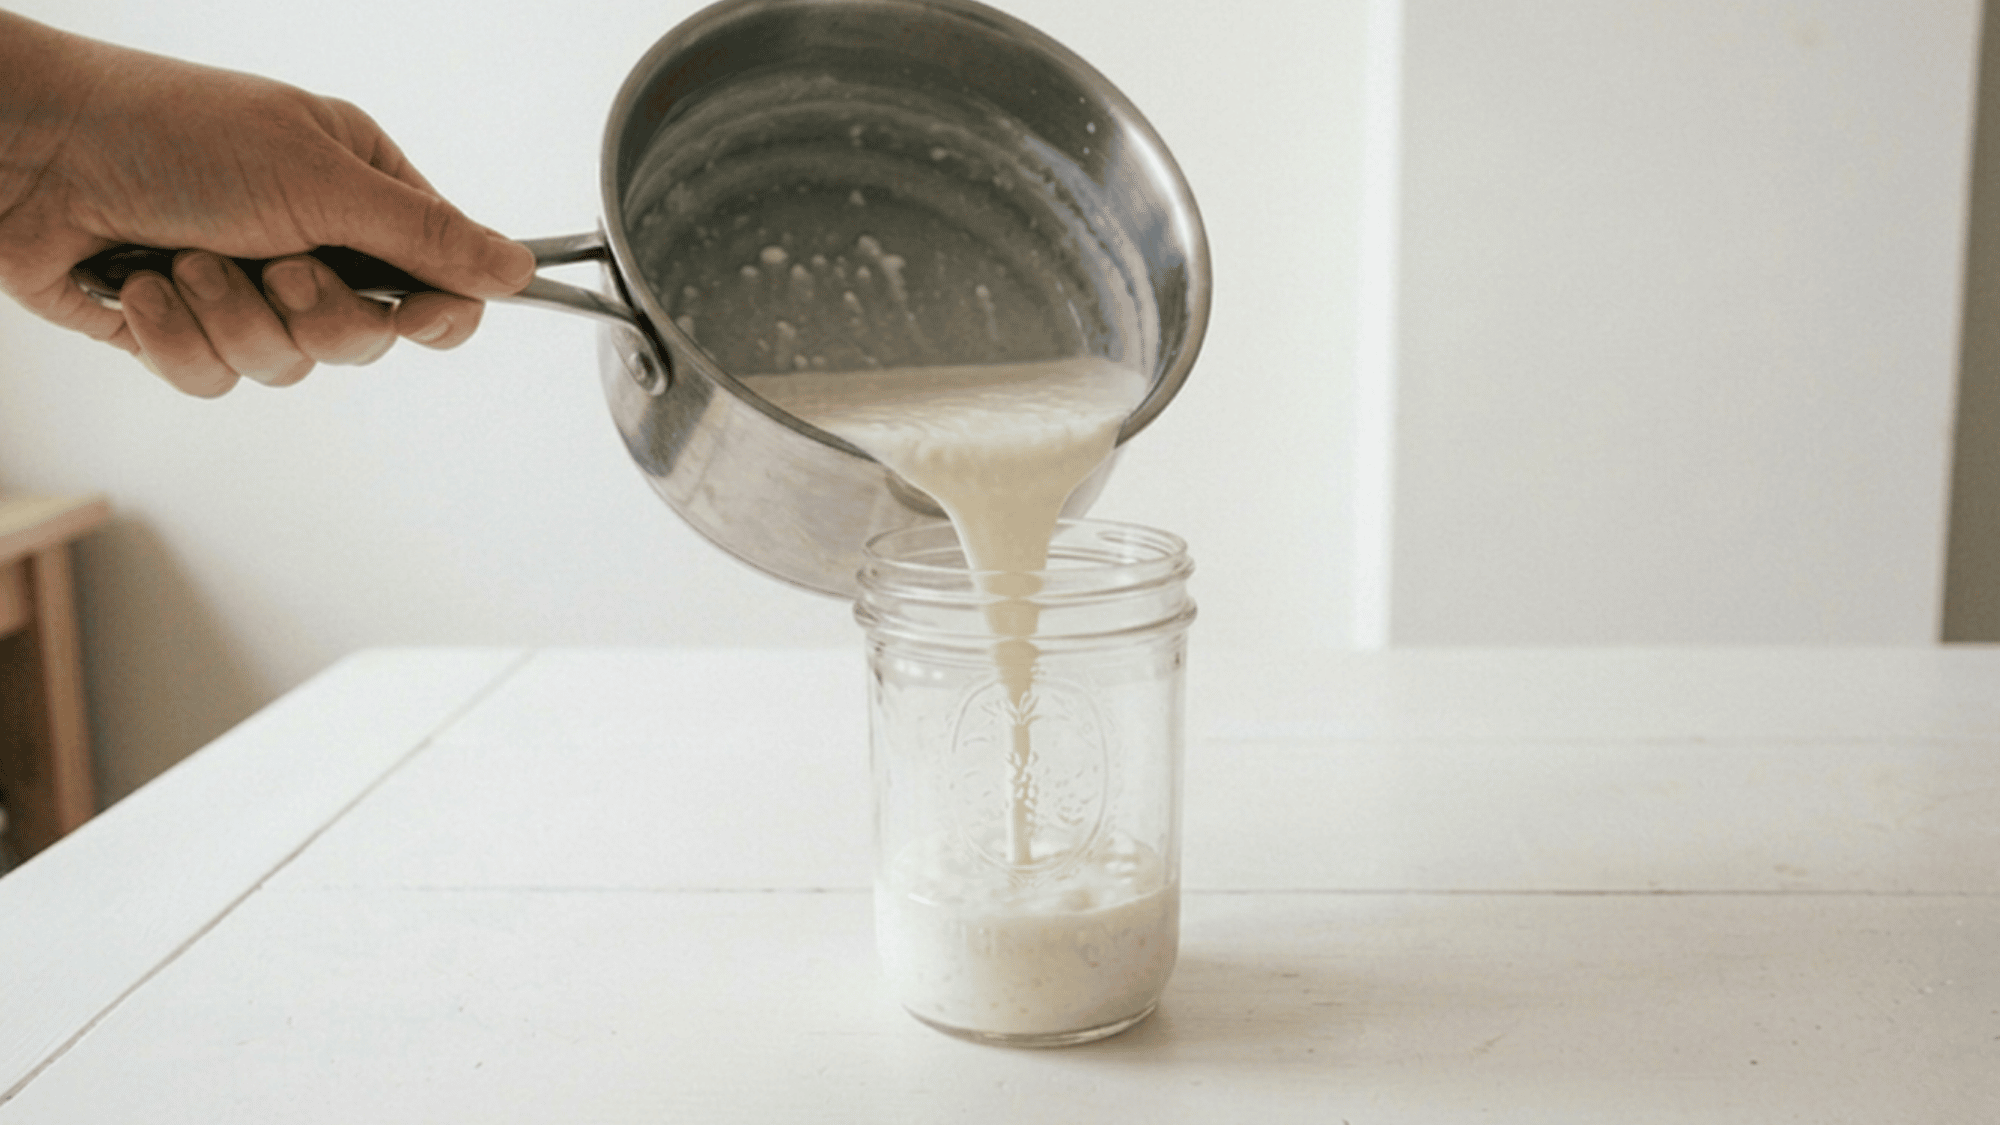
Step 1: Heat the Milk

Pour the milk into a heavy-bottomed saucepan and heat it over medium heat, stirring occasionally to prevent scorching.
Gradually raise the temperature to 180°F (82°C), which helps eliminate unwanted bacteria and improves the yogurt’s final texture by thickening the milk proteins.
Avoid letting the milk boil, as this can affect the quality of the yogurt. Once it reaches the target temperature, remove it from the heat immediately.
Use a clip-on thermometer for accurate monitoring and consistent results.
Step 2: Cool the Milk
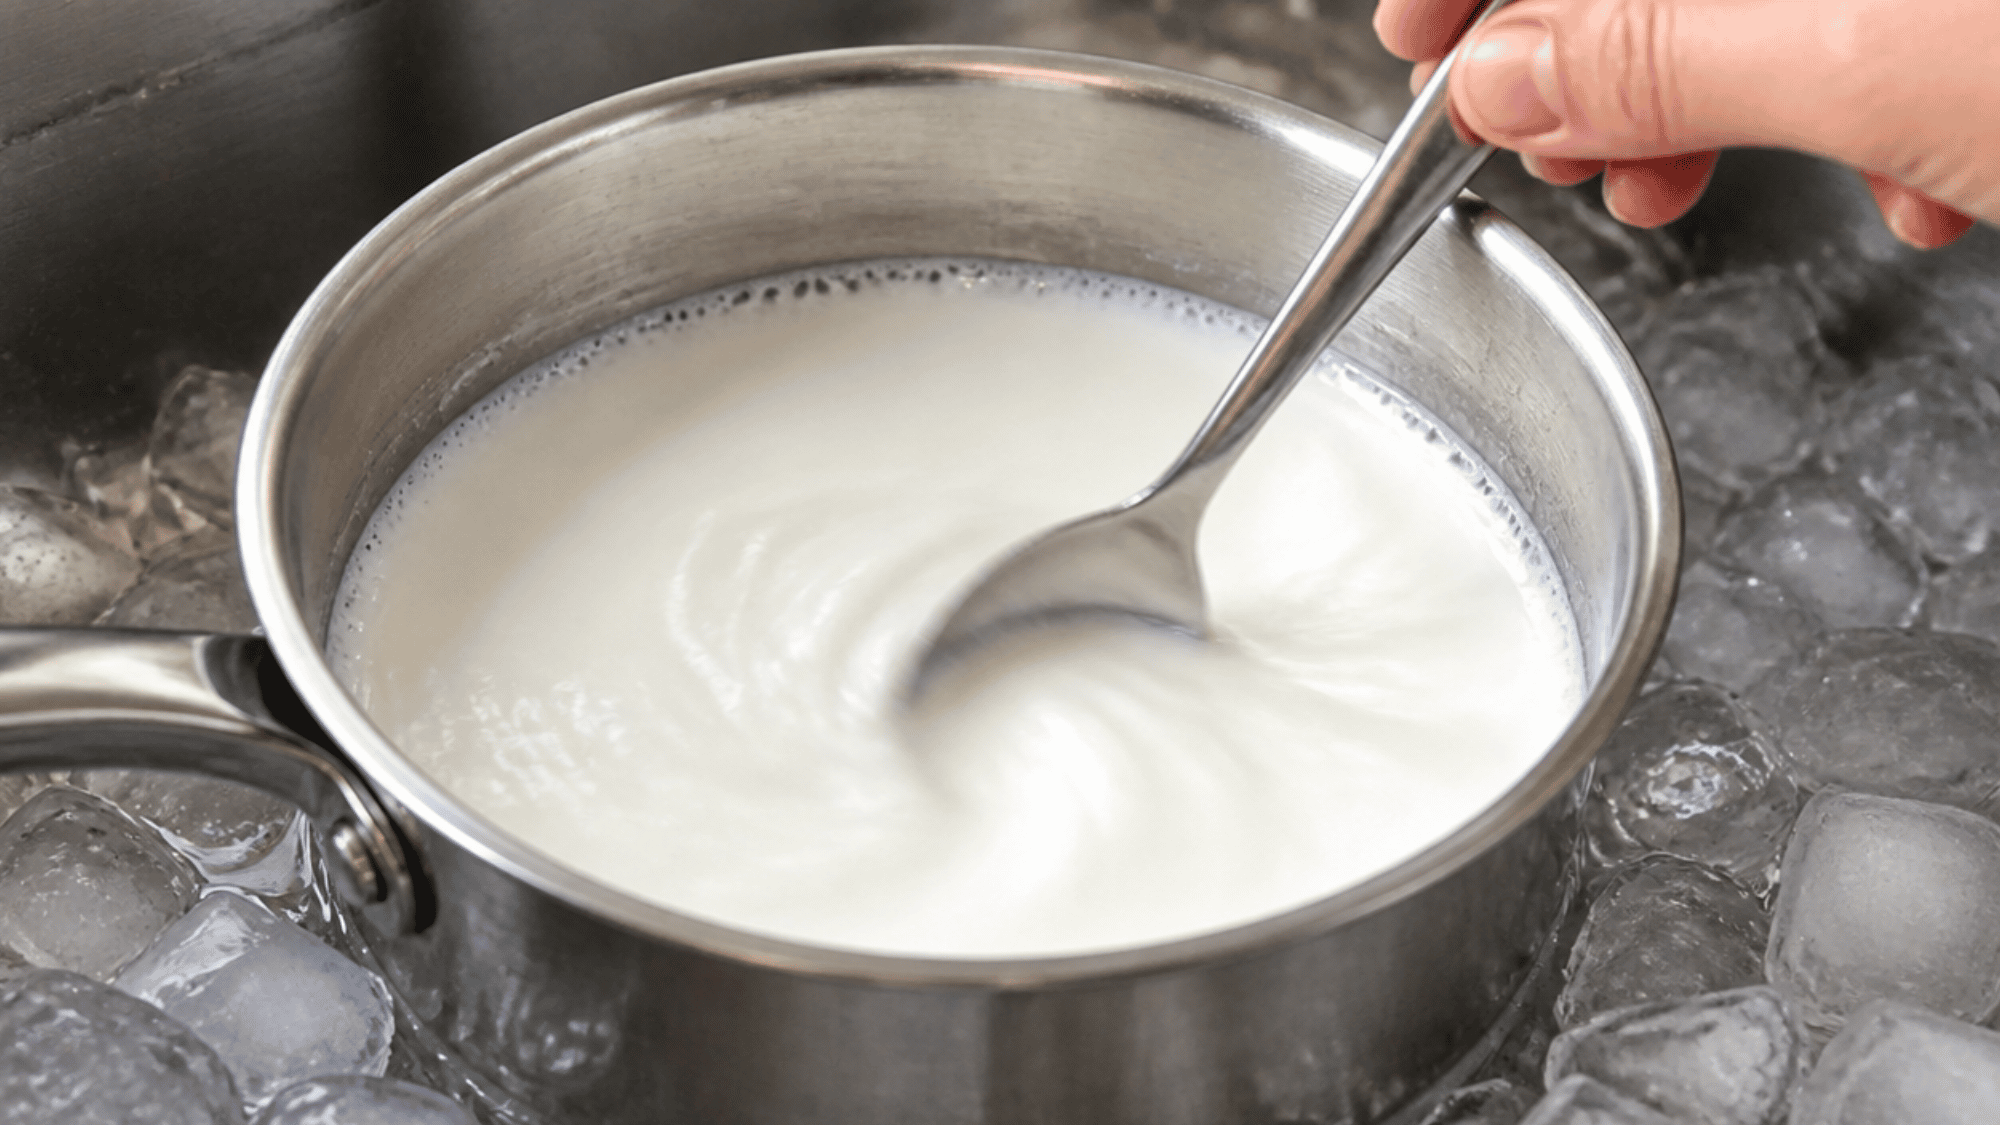
After heating, place the saucepan in a sink filled with cold water to cool the milk quickly and safely. Lower the temperature to between 100°F and 110°F (37°C to 43°C), which is the ideal range for yogurt fermentation.
If the milk remains above 115°F (46°C), it can kill the beneficial bacteria, while temperatures below 90°F (32°C) may slow the setting process.
Stir gently during cooling to ensure an even temperature throughout the milk. This step typically takes about 10 to 15 minutes.
Step 3: Add the Starter Culture
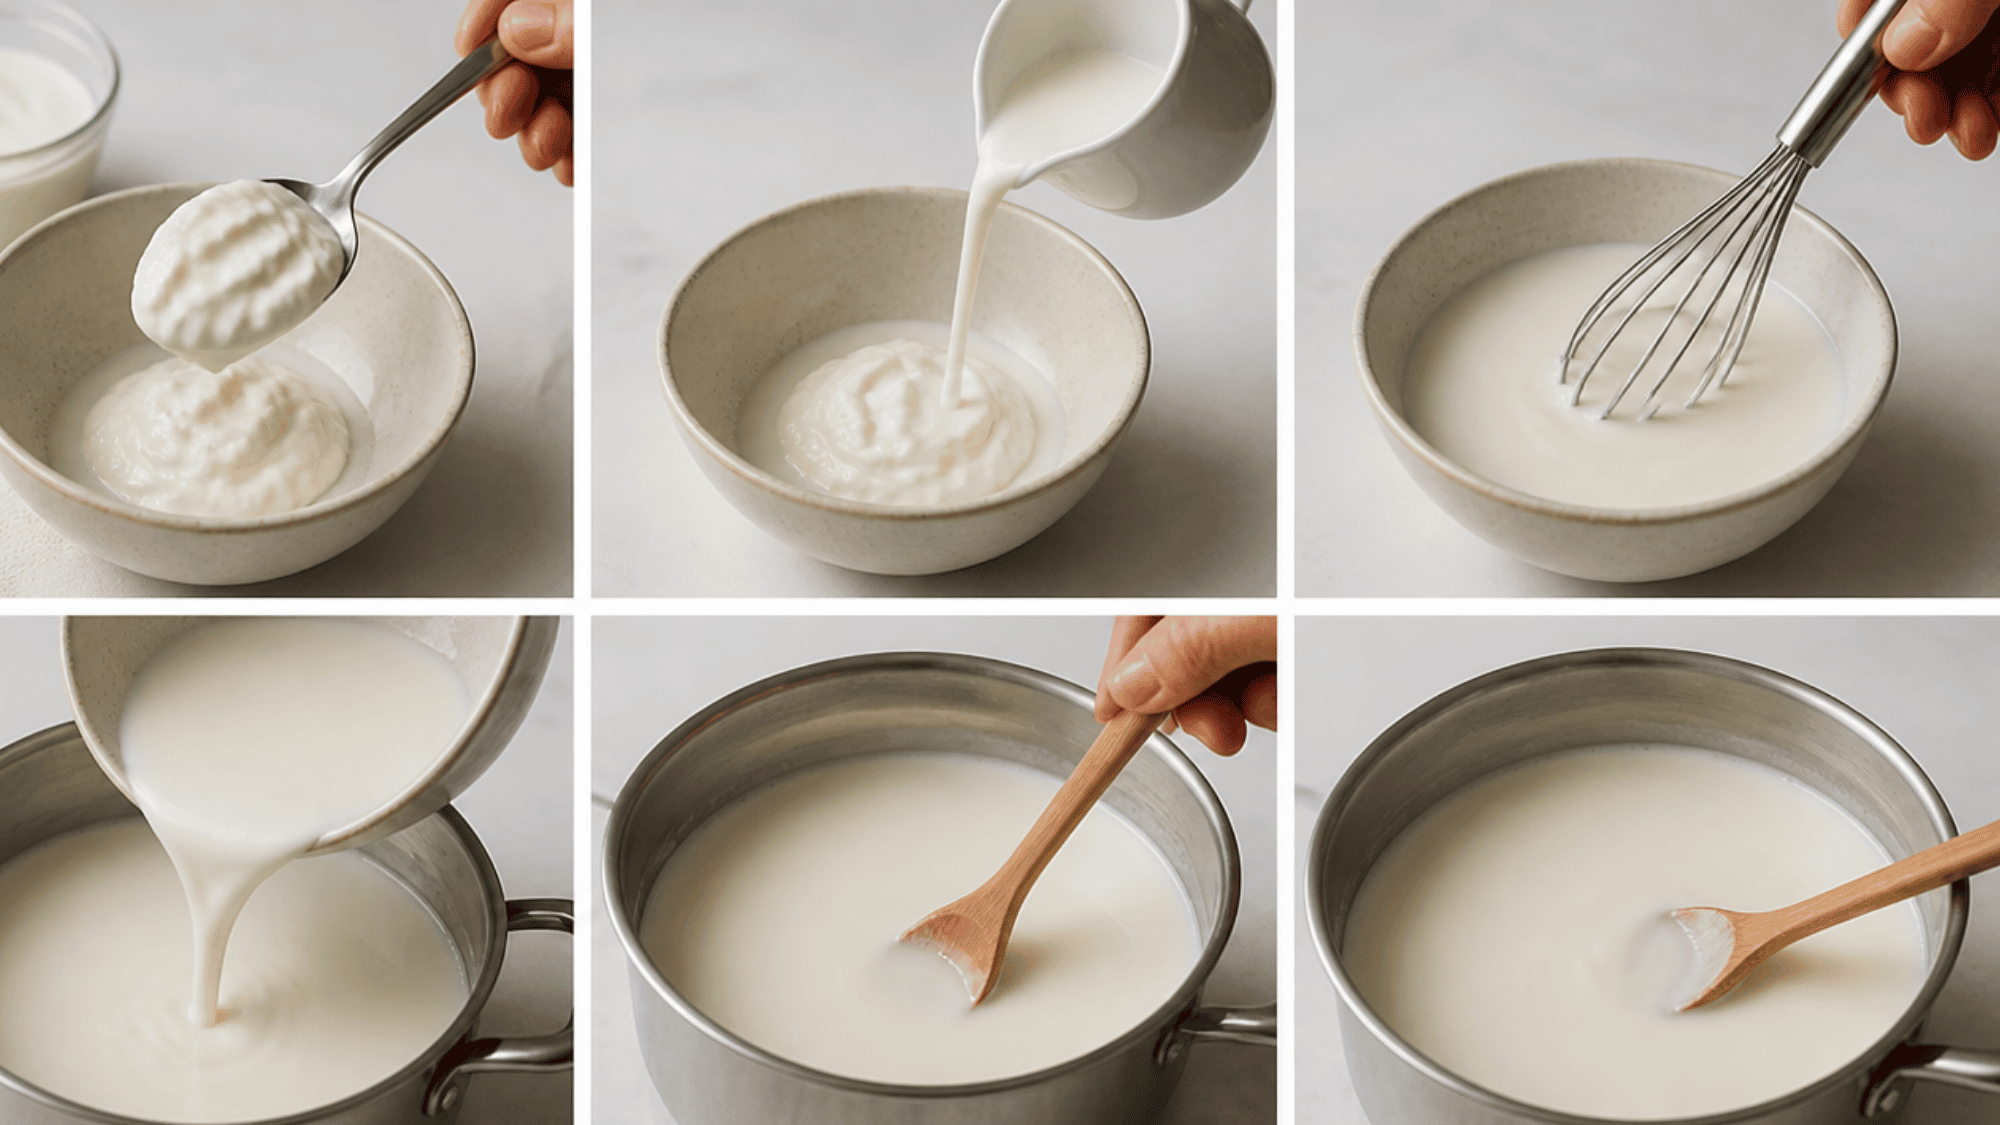
Place 2 to 3 tablespoons of plain yogurt into a small bowl and add a splash of the cooled milk. Whisk the mixture until it becomes smooth and lump-free, creating a uniform starter culture.
Pour this tempered yogurt mixture back into the saucepan of cooled milk and stir gently to combine. Avoid vigorous stirring, as it can affect the yogurt’s final texture.
Properly mixing the starter ensures the beneficial bacteria are distributed evenly throughout the milk, promoting consistent fermentation and preventing clumps from forming.
Step 4: Incubate the Yogurt
Transfer the inoculated milk into clean glass jars or a large bowl, then keep it undisturbed at a temperature between 100°F and 110°F (37°C to 43°C) for 6 to 12 hours.
The longer the incubation period, the tangier and firmer the yogurt will become. Suitable incubation methods include using an Instant Pot on the yogurt setting, an oven with the light turned on, a cooler filled with warm water, or a heating pad set to low.
Avoid moving, shaking, or stirring the yogurt during incubation, as disturbance can lead to a grainy texture and uneven setting.
Step 5: Refrigerate and Set
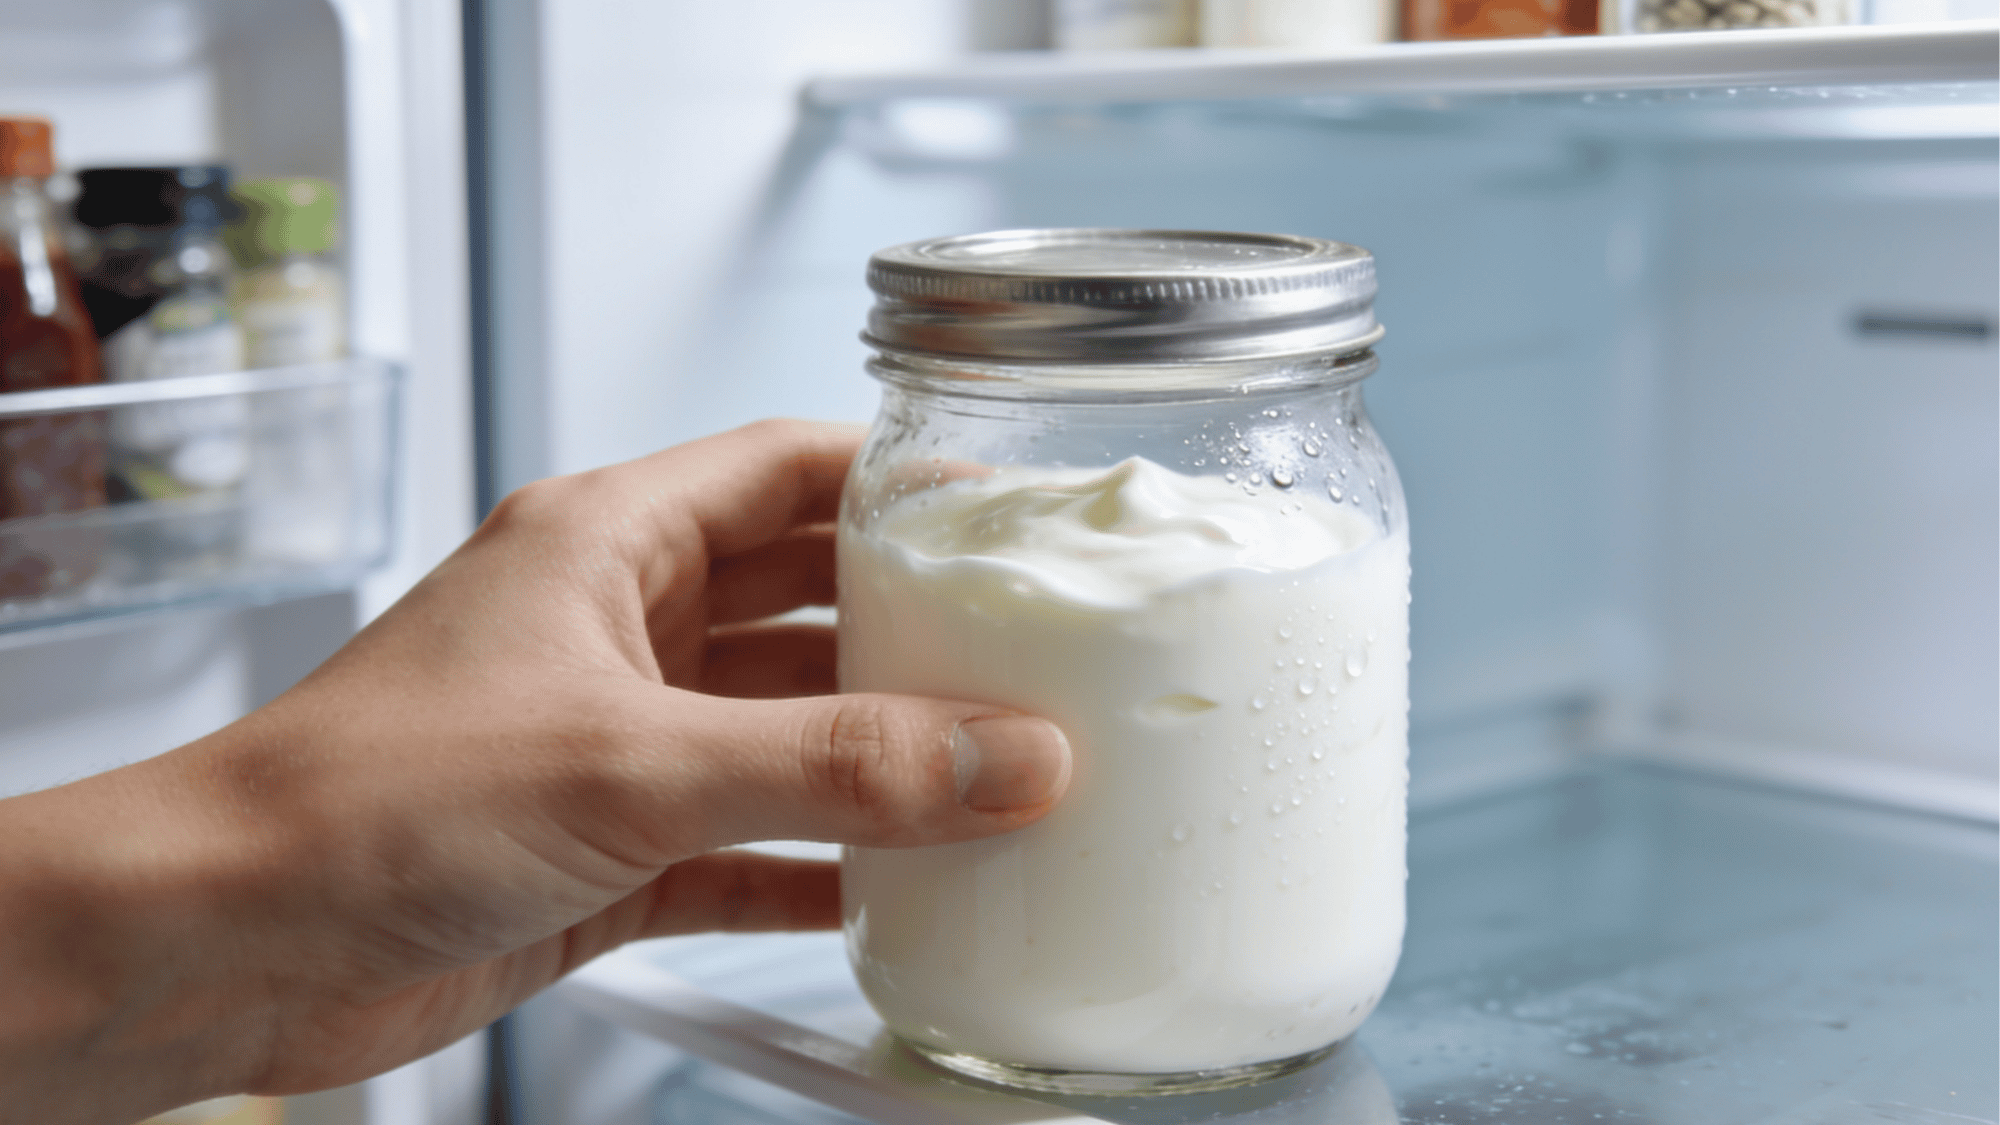
Once the yogurt has finished incubating, it should appear set with a slight jiggle when gently shaken. Transfer it to the refrigerator and chill for at least 4 hours, or ideally overnight, to allow it to firm up completely.
The cooling process improves both the flavor and texture, resulting in a thicker, creamier yogurt. Properly stored in the refrigerator, homemade yogurt will keep for up to 10 days.
Chilling also helps stabilize the fermentation process and enhances the yogurt’s overall quality.
How to Make Greek Yogurt?
Greek yogurt is simply regular yogurt with most of the liquid whey removed. Once your yogurt has set and chilled, line a colander with cheesecloth or a thin kitchen towel and set it over a large bowl.
Spoon the yogurt into the lined colander, cover it loosely, and refrigerate. Let it strain for 2 to 4 hours for a thick Greek-style texture, or overnight for an extra-thick, almost cream cheese consistency.
The liquid collected in the bowl is whey. Do not discard it. Whey is protein-rich and works well in smoothies, soups, and bread dough.
One batch of regular yogurt typically yields about half the volume once fully strained, so factor that into how much you make.
Health Benefits of Yogurt
Yogurt is one of the most nutrient-dense foods you can add to your daily diet. Whether you eat it plain, blended, or layered with fruit, the benefits go well beyond basic nutrition.
- Supports Gut Health: The live active cultures increase beneficial bacteria in the digestive tract, leading to better digestion, reduced bloating, and stronger immune function.
- Strengthens Bones: Yogurt is rich in calcium and phosphorus, both of which support bone density and help lower the risk of osteoporosis. One cup covers roughly 30% of the average daily calcium requirement.
- Keeps You Fuller for Longer: The high protein content curbs hunger more effectively than most breakfast options, making it a practical choice for weight management.
- Higher Protein with Greek Yogurt: Greek yogurt delivers nearly double the protein of regular yogurt per serving, making it especially useful for muscle recovery and satiety.
- Easier to Digest than Milk: The fermentation process breaks down a significant portion of lactose, making yogurt a more comfortable option for people who are lactose intolerant.
- Supports Immune Function: Regular consumption of probiotic-rich yogurt has been linked to reduced frequency of common infections and improved overall immune response.
Ways to Flavor and Use Homemade Yogurt
Plain homemade yogurt is a versatile base that works in both sweet and savory dishes.
- Drizzle with honey, fresh berries, or fruit compote for a simple topping
- Add granola, chopped nuts, or a pinch of cinnamon for extra flavor and texture
- Use 2 to 3 tablespoons in smoothies for creaminess and protein without added sugar
- Substitute for sour cream over baked potatoes, tacos, or roasted vegetables
- Use as a marinade for chicken or lamb; lactic acid tenderizes meat naturally
- Form the base of dips like tzatziki, raita, and other South Asian, Middle Eastern, or Mediterranean condiments
Troubleshooting Yogurt Problems
Runny yogurt is the most common issue, usually caused by a low incubation temperature, a weak starter, or a fermentation time that is too short. Try extending incubation by two hours or straining the finished yogurt.
Yogurt that is too sour has simply fermented too long. Reduce incubation time by an hour or two on the next batch.
If the yogurt did not set at all, the milk was likely too hot when the starter was added, killing the cultures. Always verify temperature with a thermometer before adding the starter.
A lumpy or grainy texture usually indicates the milk overheated during the initial heating stage. Stir consistently and keep the heat at medium-low. Minor texture issues often smooth out after refrigeration.
Wrapping Up
Making yogurt at home comes down to three things: the right milk, a reliable starter, and steady fermentation heat.
The first batch may not be perfect, and that is completely normal. Most people find their rhythm on the second or third attempt once they get a feel for their kitchen temperature and preferred level of tang.
What starts as a small experiment quickly becomes one of the cheapest, most consistent staples in the fridge, fresh, clean, and ready to use in everything from breakfast bowls to marinades.
Give it a shot this weekend and drop a comment below: which incubation method worked best, and how did the first batch turn out?
Frequently Asked Questions
Why Does Homemade Yoghurt Smell Sharper than Store-Bought?
That tangy smell is a normal sign that fermentation worked correctly. Store-bought yogurt contains stabilizers and flavoring agents that mask it; a strongly cheesy or yeasty smell points to contaminated jars or a bad starter.
Can Homemade Yogurt Be Frozen?
Freezing breaks the protein network, so thawed yogurt turns grainy and watery. It still works well in smoothies, baked goods, and cooking, just not as a spoonable yogurt straight from the freezer.
Can Yoghurt Be Made Directly in The Instant Pot without Transferring to Jars?
Heat the milk, cool it, add the starter, and run the Yoghurt function all in the same inner pot. Transfer to jars only for storage afterward.