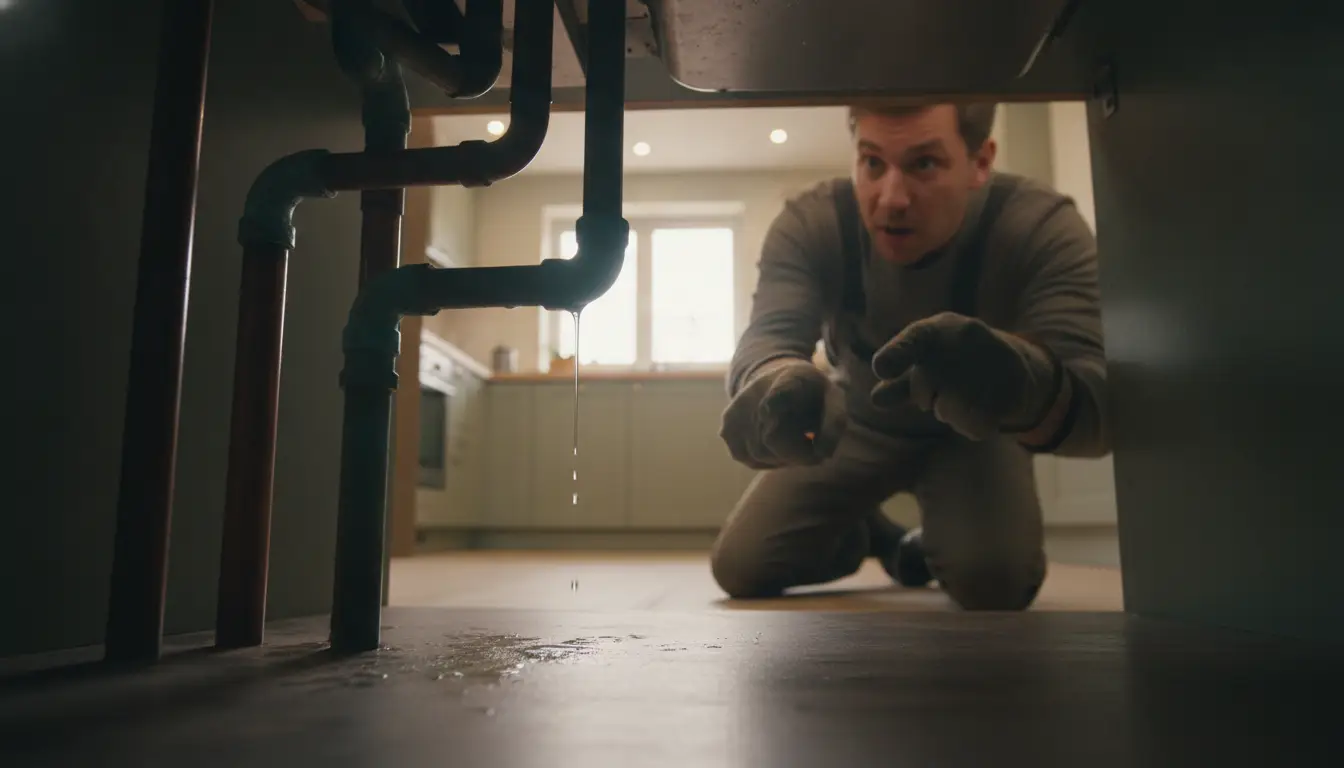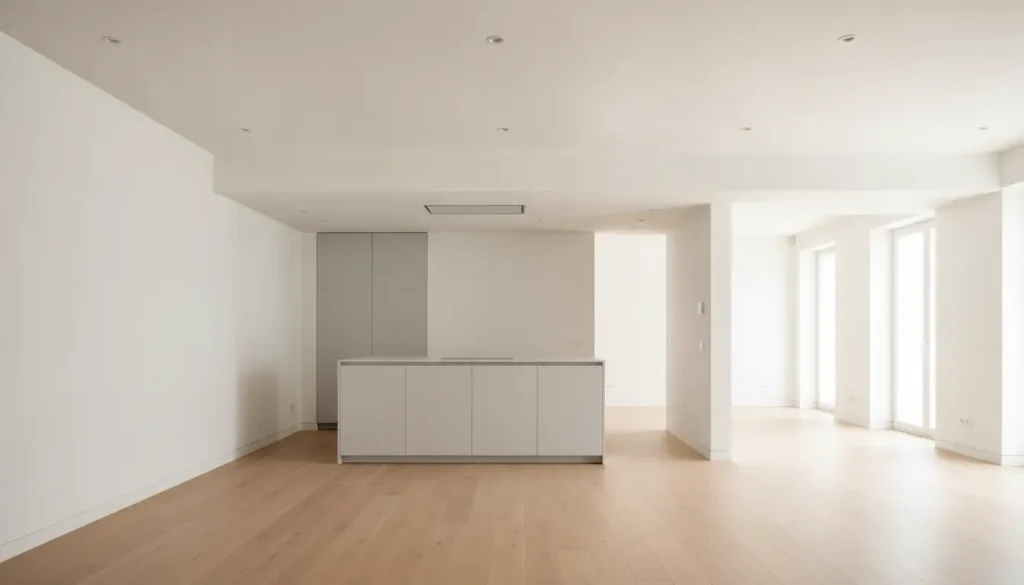
Most homeowners don’t think about where their pipes and wires will show until the drywall goes up. By then, it’s too late. The decisions that determine whether your finished interior looks deliberate and polished – or like a collection of awkward boxes, exposed valves, and misaligned grilles – are all made during the rough-in phase, before a single sheet of plasterboard gets fastened.
Rough-in stages (plumbing, electrical, and HVAC combined) typically account for 13% to 15% of total home construction budgets (National Association of Home Builders). That’s one of the largest financial phases in any build, and it’s the exact moment where a lack of design foresight turns into expensive change orders or permanent compromises. Get it right here, and the rest of the interior design work becomes straightforward. Get it wrong, and you’re either cutting back into finished walls or learning to live with the results.
What “Invisible Infrastructure” Actually Means
The term may sound fancy, but what it means in practice is that every trade and service – water, drainage, power, HVAC, low voltage – should run in routes that vanish into the fabric of the building, or else get tucked away and handled in such a way that it contributes to the architecture rather than detracting from it.
This is more than just a question of whether the result is pretty. It is a philosophy that changes what you will say to your contractor, the sequence of work, and even what each trade is expected to provide in their price for their work. If left to get on with it, a contractor will run water and pipes along the most direct route they can find. And that might be right across the middle of a ceiling, straight up the middle of a wall in your intended bathroom mirror, or directly in the line of sight as you gaze out through the window.
Mapping Your Utility Topology Before Anything Gets Nailed in Place
Before the rough-in crew arrives to do their work, somebody must have already produced a utility map: a basic overlay indicating where joists, studs, and existing elements are situated – compared with where you intend to route every pipe, duct, and cable run. This doesn’t have to be a prepared-by-a-surveyor document. A floor plan that has red lines sketched on it where things need to go is sufficient, as long as those lines indicate everything each service route will cross or intersect.
The point is to bring as many conflicts to the surface as possible before the concrete is poured. If a soil stack has to carry waste from the first-floor bathroom up to the roof and straight through the corner of a bedroom you were hoping to leave unobstructed, you must make that call now, upfront, before the plumber gets there. Would you like to wrap that stack into a slim vertical chase most folks will never notice and read as a decorative column? Fine. Or maybe you’d prefer to move the whole bathroom two feet across the room, hiding the stack inside a future wall partition. Also good. Or perhaps you’re willing to rethink the location of the bed and the dresser in the bedroom. Equally viable. What’s not an option is figuring all this out after the concrete slab has been poured and smoothed over the drain runs.
Danger zones to watch for: horizontal ducts crossing from one room to the next. Air plenums (the duct spaces in the floor or ceiling) will probably be the single largest objects you’ll be required to hide inside other building components, though they’ll also be the least maneuverable. Lock in their locations first, paying special attention to the fixed spot where they have to pass from one room through a room divider and into the adjoining space. Then feed wiring through bored holes in the plates to the hidden junction box at the base of that plenum before turning your attention to routing plumbing around it.
Code Compliance: The Access Requirement You Can’t Design Your Way Around
Building regulations in most jurisdictions have one rule that catches many homeowners off-guard: a specified list of utilities cannot, by law, be permanently sealed behind fixed drywall. Electrical junction boxes have to be accessible. Plumbing cleanouts, isolating valves, and stopcocks have to be open to the room – sometimes at a moment’s notice. Gas shut-offs have the same protection. These aren’t suggestions. They’re rules, and ignoring them can lead to legal disputes when a property changes hands.
On top of that, let’s be honest: nobody wants a utility junction box cluttering the clean lines of an interior. Nobody wants a stopcock marring the seamless elegance of a tiled wall. And nobody wants an ugly hole in an otherwise perfect ceiling, strictly because the piece of invisible machinery on the other side might one day need maintenance.
Good design shouldn’t be spoiled by a compliance issue. The answer is to install flush-mount access panel doors from https://accesspanelsdirect.com/ during rough-in. These are frameless doors that sit perfectly flush with the wall or ceiling surface, and can be plastered, painted, or tiled over. When properly fitted and finished, only you will know they’re there. Until you need them, that is. Then they open in the wall or ceiling to provide the access needed to perform essential maintenance – and all without breaking any building regulations.
Designing Bulkheads That Look Like Architecture
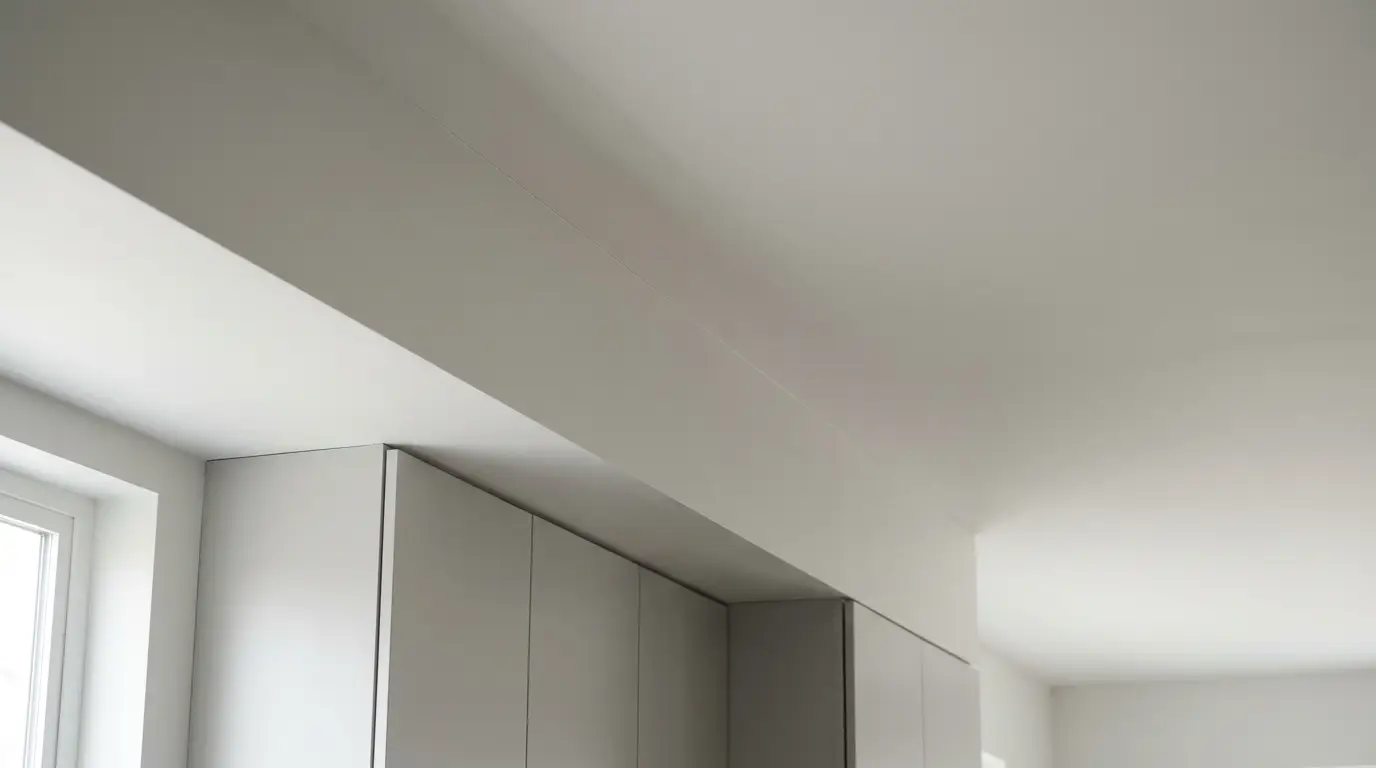
When a duct or waste stack cannot be concealed within the existing structure, the next best choice is to enclose it within a bulkhead – a framed boxing that runs the line of the service. The difference between a bulkhead that reads as deliberately part of the design and one that looks like an error in judgment hinges on how it’s treated in relation to the room.
A bulkhead that runs the full width of a kitchen ceiling at a uniform depth becomes a soffit above the cabinetry. That same-depth bulkhead stopping part of the way across a living room ceiling looks like a cover-up. If you’re building a bulkhead, take it to a natural termination point – a wall, a column, a change in ceiling height. Use it to define zones in open-plan spaces. Apply the same cornice and ceiling detail to the bulkhead face as the rest of the room. These increasingly used details cost almost nothing extra but change the look of the whole space.
Drop ceilings in basements and utility spaces play by the same rules. A dropped ceiling played out across the entire space, with integrated down-lighting, reads as a design intervention. A dropped ceiling covering up a beam, with the rest left loose, looks like an oversight. Plan the levels as consistently as you can from the get-go.
Acoustic Specification for Concealed Plumbing
One of the most common omissions on any home renovation rough-in checklist is acoustic treatment for buried waste pipes. PVC soil pipes discharging water under gravity produce noise – noise that is easily transmitted through walls and floors, especially in modern, open-plan layouts where the bathroom waste stack is recessed in the living room wall.
The solution is inexpensive and extremely effective, but has to be applied at rough-in stage: simply wrap the PVC pipes in acoustic insulation (typically mineral wool or rockwool) before the wall or ceiling is closed around them. You’re adding minimal cost and an hour or two of labour to the job while it’s still exposed. Specifying it as a retrofit means opening up finished walls, with all the attendant costs and disruption that entails.
While you’re in there, the same treatment should be specified for the hot water pipes within timber stud walls. Here, it’s thermal movement rather than draining that causes ticking and creaking: sleeve clips and a backing strip of foam insulation are virtually cost-free and will solve the problem entirely if fitted at rough-in stage.
Future-Proofing With Empty Conduit Runs
Wiring needs change. Fiber optics will be used instead of copper. Smart home sensors will be installed. AV setups will become more advanced. When all of this does come to pass, the last thing you want is to have to cut into perfectly good plasterwork in order to install new cables.
The solution? Install empty conduit during rough-in, along likely routes for future cabling. This includes any runs between floors, any run between the structured wiring hub and every room, and any run between the main electrical panel and areas likely to see upgrades. Leave draw wires in place, so that pulling new cables becomes a relatively simple task, rather than a horribly messy and destructive one.
The cost of the conduit and the extra labor at rough-in time is minimal. The value of being able to upgrade your wiring without touching a finished wall is significant over the life of the building.
Symmetry as a Specification Requirement
Contractors focus on getting installations done as quickly as possible, rather than making sure everything is visually aligned. If no specific instructions are given, a thermostat sensor will be installed at the most convenient spot to drop the cable, a return air grille will be installed where the duct naturally ends, and light switches will be installed to avoid any studs.
All of these small misalignments will lead to a space that feels “not quite right” – with nobody able to put their finger on exactly why.
To prevent this, walk the space with your contractor before the rough-in is complete and mark out where everything should be located. Check these locations against your furniture layout and sightlines. If a thermostat needs to be moved 200mm to one side for perfect symmetry and it’s caught at rough-in, it will take minutes to fix and cost next to nothing. If it requires rework after the plasterer has been through, it will also require wall surgery.
The Master Rough-In Checklist
Here is what you should check before giving a thumbs-up to your drywall installation. Go through it by trade.
Plumbing
- Checked all supply pipe routes are where they should be, and that they’re insulated from sound if they pass through habitable rooms
- Confirmed isolating valves and premarked the location for the drywaller
- Checked manifold location on open studs, specified and marked access door
Electrical
- Confirmed all junction boxes are accessible – there’s a panel within 300mm directly above or within a stud bay next to any junction buried in the wall
- Installed conduit for future cables
- Confirmed switch and outlet positions on furniture plan and sightlines
- Marked position and specified ventilation for structured wiring/smart home hub
- Marked panels and specified shadow gap or reveal bead
HVAC
- Checked duct route against ceiling heights and proportions
- Signed bulkhead dimensions before framing begins
- Checked return grille locations against sightlines
- Marked thermostat and sensors on furniture plan
- Specified insulation for ducts passing through bedrooms and living areas
If you’re not happy with something, raise it now. The final sheet for the entire rough-in can be signed off after it’s complete, so sleep on it if you need. It’s a lot easier and cheaper – a fraction of the price – to make a change now than it will be once we’ve drywalled.
The rough-in phase won’t appear in any interior design magazine spread. Nobody photographs it. But every beautiful, seamless interior you’ve ever admired was made possible by the decisions made in this exact window – before the walls closed, when everything was still movable and nothing was permanent.