Are you looking for simple ways to bring natural beauty into your home? Many of us search for home decor ideas that won’t break the bank but still look lovely.
Rosemary crafts changed everything for me. These sweet-smelling projects add a touch of nature to any room, and they’re so simple to create.
After years of trying different ways to use rosemary at home, the results speak for themselves. From wreaths that welcome guests at the front door to fragrant sachets that keep linens fresh, rosemary crafts bring both beauty and function to living spaces.
Let me walk you through my favorite rosemary craft ideas that you can easily make today.
Rosemary Crafts: Best Harvest Time and Benefits
Before starting any craft projects, knowing when to harvest rosemary and its benefits can improve your results.
The strong, woody stems and needle-like leaves make rosemary perfect for both decorative and functional items around the home. I started working with this herb years ago and have noted how harvest timing can truly make or break a project.
Let me share what I’ve learned about getting the most from this wonderful plant.
When to Harvest Rosemary for Crafts?
The timing of your harvest affects the quality of your crafts. Growing conditions also play a role in how well your rosemary will work in different projects. My most successful crafts come from carefully timed harvests.
- Morning harvest: Cut in early morning when oils are most concentrated for more fragrant wreaths and sachets.
- Pre-flowering: Harvest before flowering for best oil balance and pliable stems that bend without breaking.
- Dry weather: Choose dry days to prevent mold during drying and ensure your crafts last longer.
- Full growth: Select stems that are at least 8 inches long for most projects, as these provide better structure.
Look for stems with plump leaves that spring back when touched. The color should be a deep green, and the stem should snap cleanly when bent. These signs tell you the rosemary is at its peak for crafting use.
| Season | Quality | Best For |
|---|---|---|
| Spring | Medium, new growth | Fresh wreaths |
| Summer | High oil, flexible | Dried bundles |
| Fall | Woody, concentrated | Sturdy wreaths |
| Winter | Limited growth | Small sachets |
Benefits of Using Rosemary in Home Crafts
My home feels more welcoming with rosemary crafts, which offer several benefits:
- Long-lasting scent: Maintains fragrance for months when properly dried.
- Natural air freshener: Purifies air without chemicals.
- Pest deterrent: Keeps moths and some insects away.
Working with rosemary can be calming, and its scent has been linked to better focus. With just one plant, you can create many crafts throughout the year at minimal cost.
How to Use Rosemary in Creative Craft Projects

The smell of fresh rosemary always takes me back to my grandmother’s garden. Working with this herb brings both joy and calm to my craft table.
When I first started making rosemary crafts, I was amazed at how many ways this simple herb could be used. Now I love sharing these methods with others who want to bring natural elements into their homes.
Let me share some of my favorite ways to use rosemary in crafts.
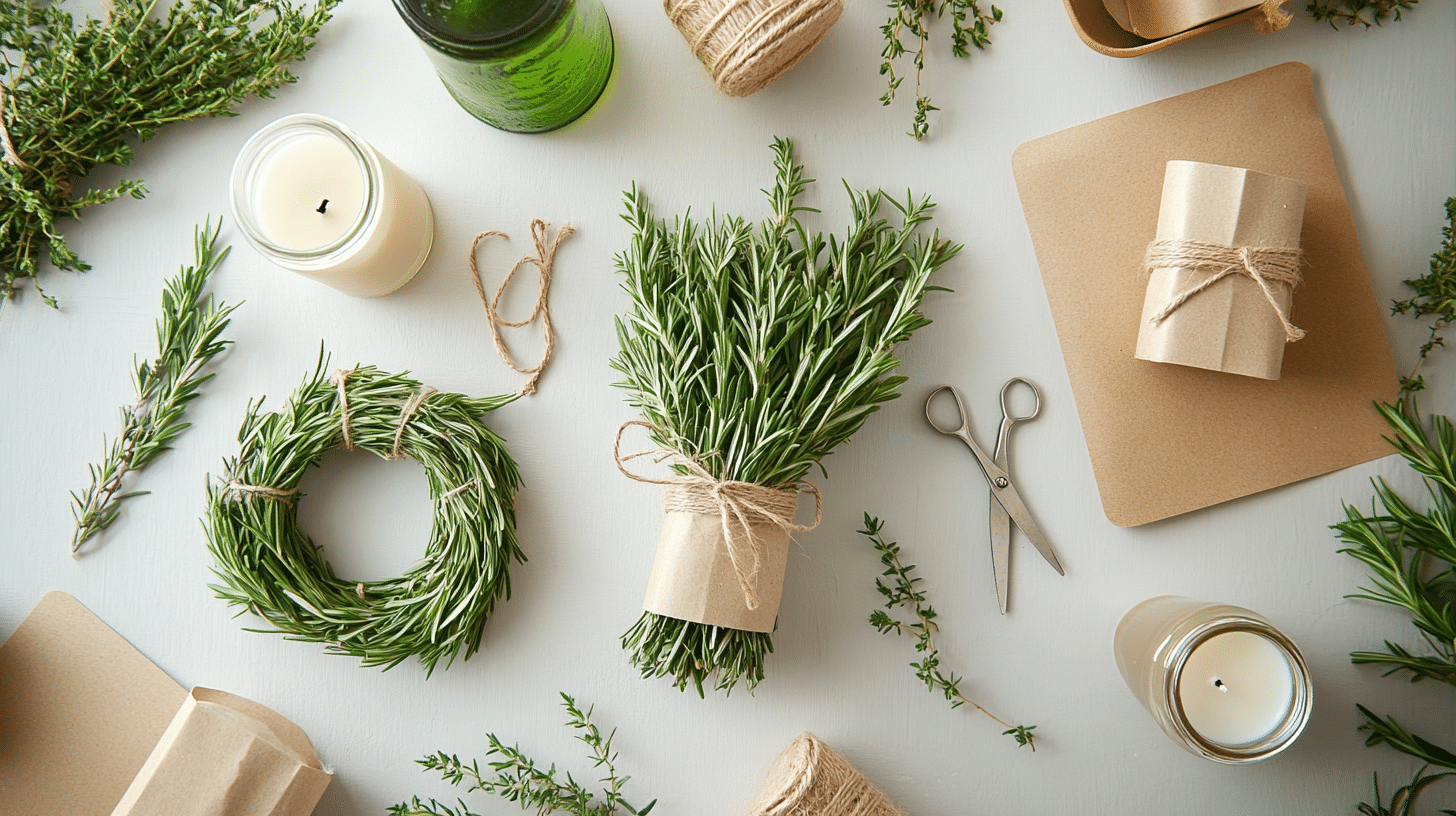
Dried bundles: Create small tied bundles of dried rosemary stems for a quick and easy craft. These can stand alone as decorative items or become building blocks for larger projects with just a bit of twine and patience.
Wreath bases: Form a circle with fresh rosemary stems while they’re still flexible and let them dry in that shape. This makes a wonderful base for seasonal wreaths that can be updated throughout the year with different additions.
Herb print art: Press rosemary sprigs between two pieces of paper and gently hammer to release the natural oils. The prints left behind make beautiful botanical art that captures the essence of the plant.
Wax sachets: Press rosemary leaves into melted beeswax to create scented wax sachets. These last much longer than fresh herbs and can be tucked among clothing or linens for a subtle, clean scent.
Rosemary candles: Add dried rosemary to melted candle wax before pouring into containers. The heat from the flame will release the herb’s scent gradually, filling your room with a warm, natural fragrance.
Clay impressions: Press rosemary stems into soft clay to create textured dishes, ornaments, or beads. The detailed impressions left behind capture the beauty of the herb in a permanent form.
Infused oils: Make rosemary oil by steeping sprigs in carrier oil for several weeks. This can be used in homemade lotions, soaps, or balms that double as beautiful gifts with natural benefits.
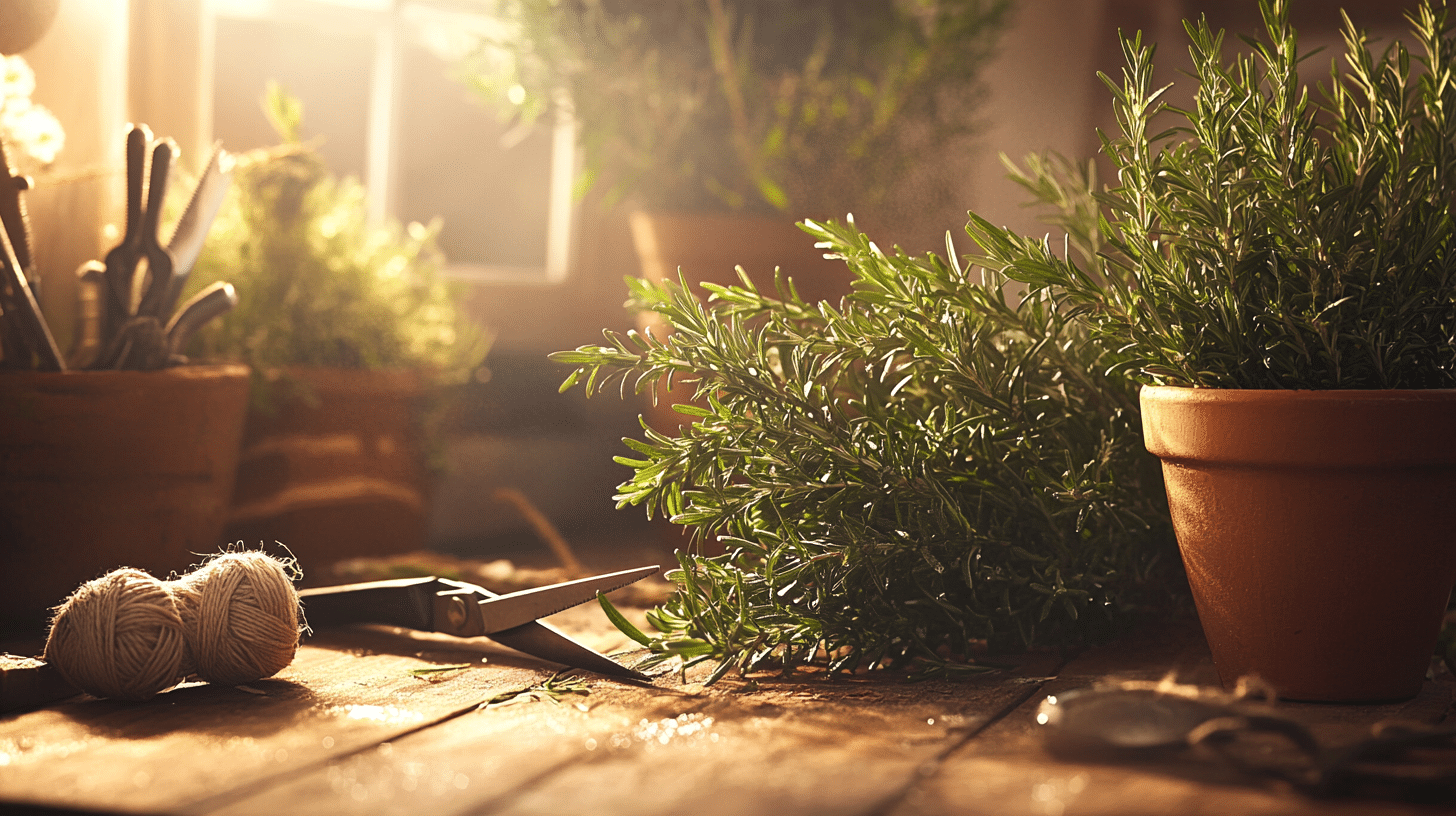
Tools and Materials Required for Rosemary Crafts
To create remarkable rosemary crafts for your home decor, having the right tools and materials is essential. This ensures your projects are both beautiful and easy to assemble.
| Item | Purpose |
|---|---|
| Fresh rosemary sprigs | Main greenery for the wreath |
| Wire wreath form (10-12 inches) | Base structure for the wreath |
| Paddle wire (green or silver) | Securing the moss and rosemary bundles |
| Spanish moss (bagged or fresh) | Covering the wreath frame |
| Ribbon | Decorative bow (optional) |
| Scissors or pruning shears | Cutting rosemary and moss |
| Bowl of water | Moistening Spanish moss if needed |
Steps for Making Beautiful Rosemary Wreaths
Crafting a rosemary wreath is one of the most rewarding ways to bring a touch of nature into a home. The fresh, woodsy scent fills the air, and the simple beauty of the greenery offers a timeless charm.
With just a few easy steps, anyone can create a wreath that feels lovingly homemade and full of life.
Today, the focus is on enjoying the process, letting creativity flow, and savoring the little moments that make a house a home.
Step 1: Gather and Prepare the Greens
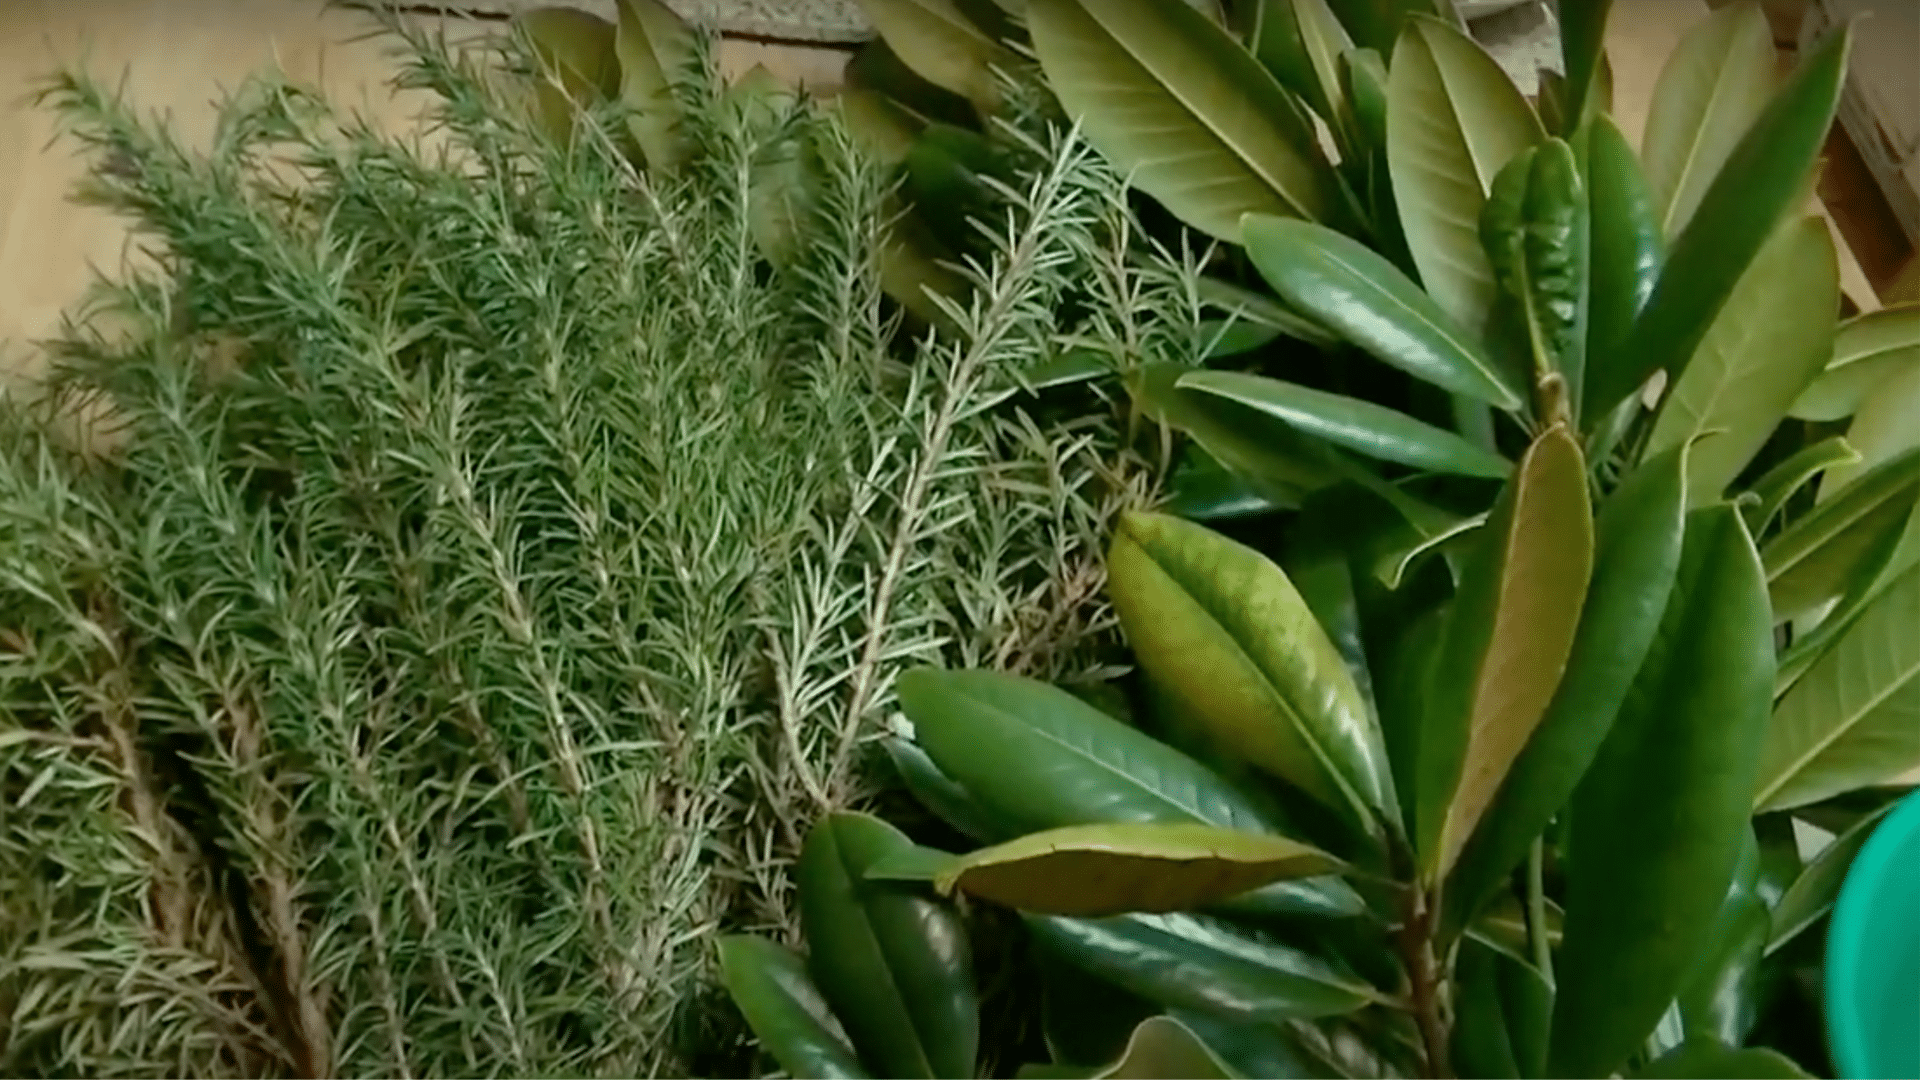
Begin by gathering fresh rosemary sprigs from a garden, local store, or nearby shrubs. Always collect more than expected to allow for flexibility in design.
If using Spanish moss, give it a rinse in a bowl of water, squeeze out any excess moisture, and set it aside to dry slightly. This keeps the moss manageable and minimizes mess.
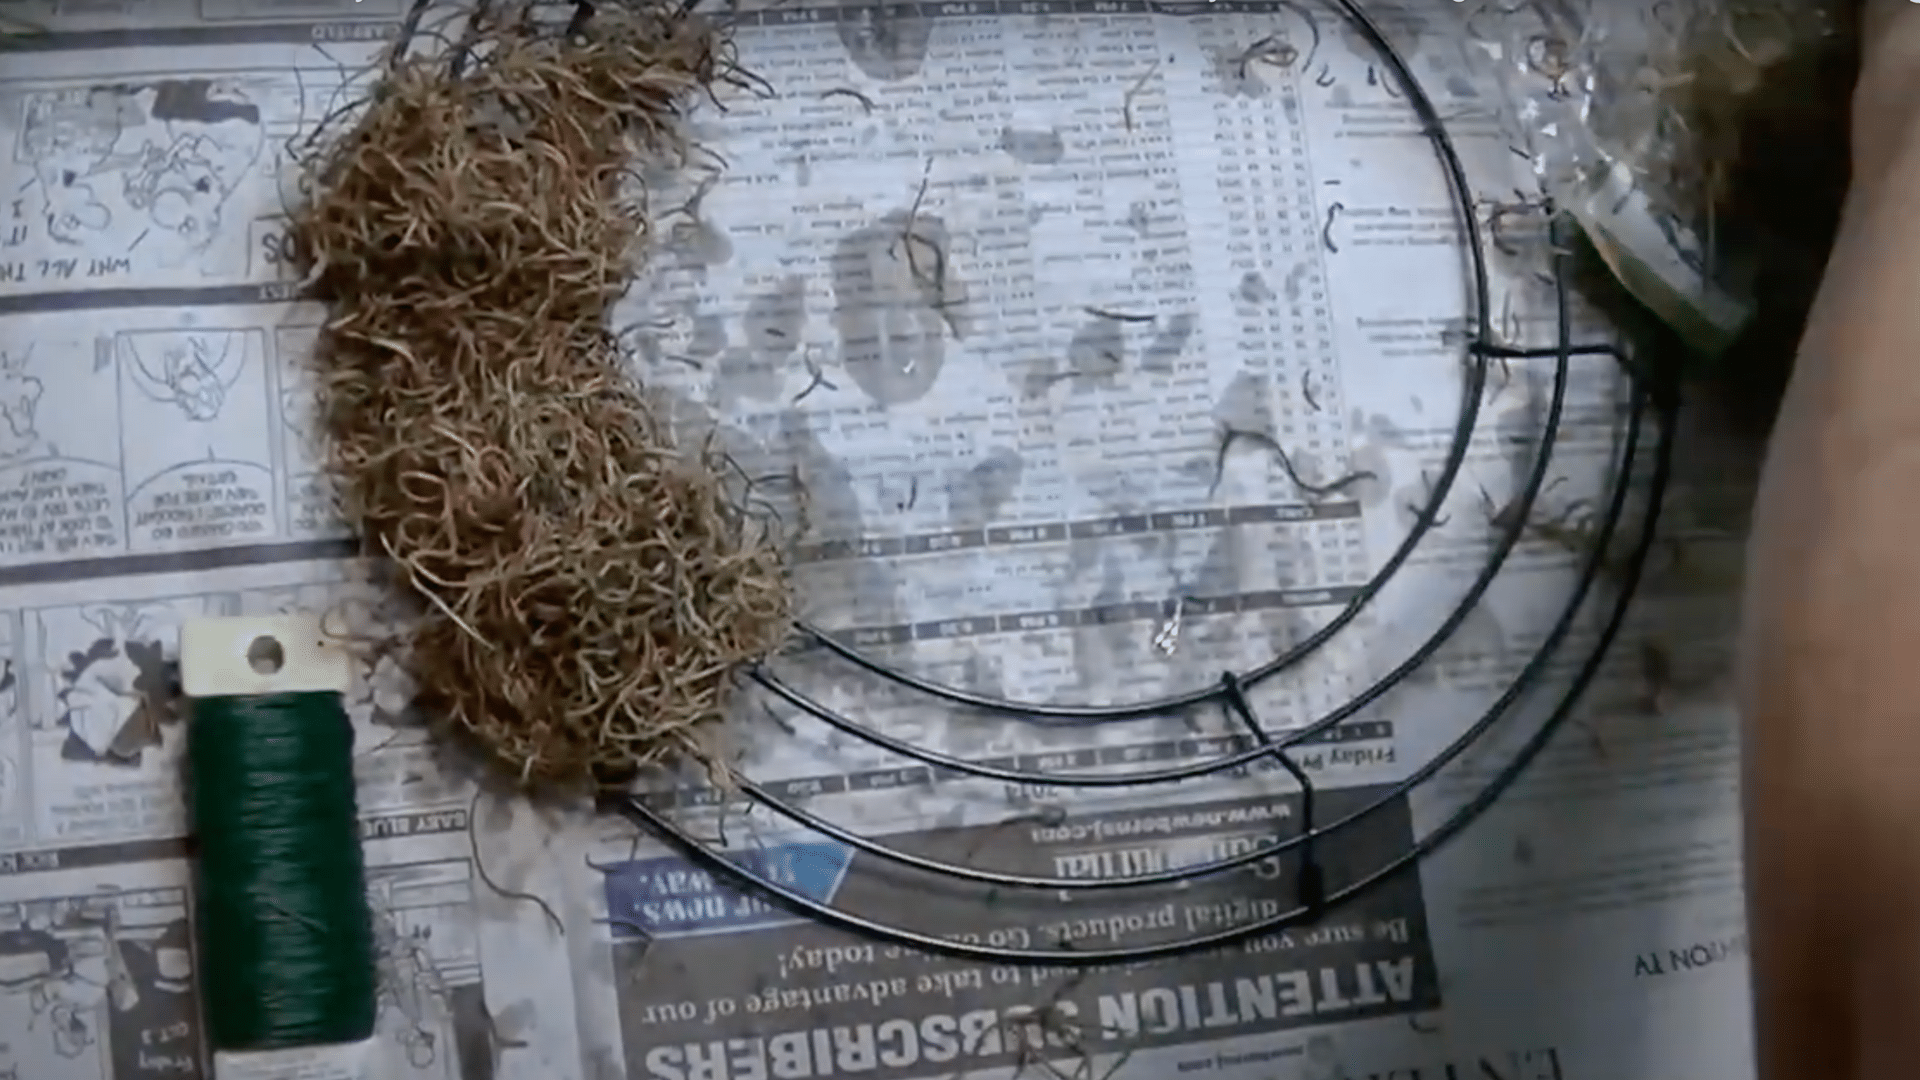
Step 2: Set Up the Wire Wreath Form

Place the wire wreath form on a flat, sturdy surface. Make sure the convex side (the slightly arched side) is facing downward so the wreath lays flat while working.
A 10 to 12 inch form is ideal for a medium-sized wreath. If a wreath form is not available, fashion one using a wire coat hanger by shaping it into a circle.
To prepare the base:
- Lightly dampen Spanish moss by rinsing it in a bowl of water and squeezing out excess moisture.
- Cover small sections of the frame with moss.
- Secure each moss section tightly using paddle wire, wrapping it several times around to hold it firmly.
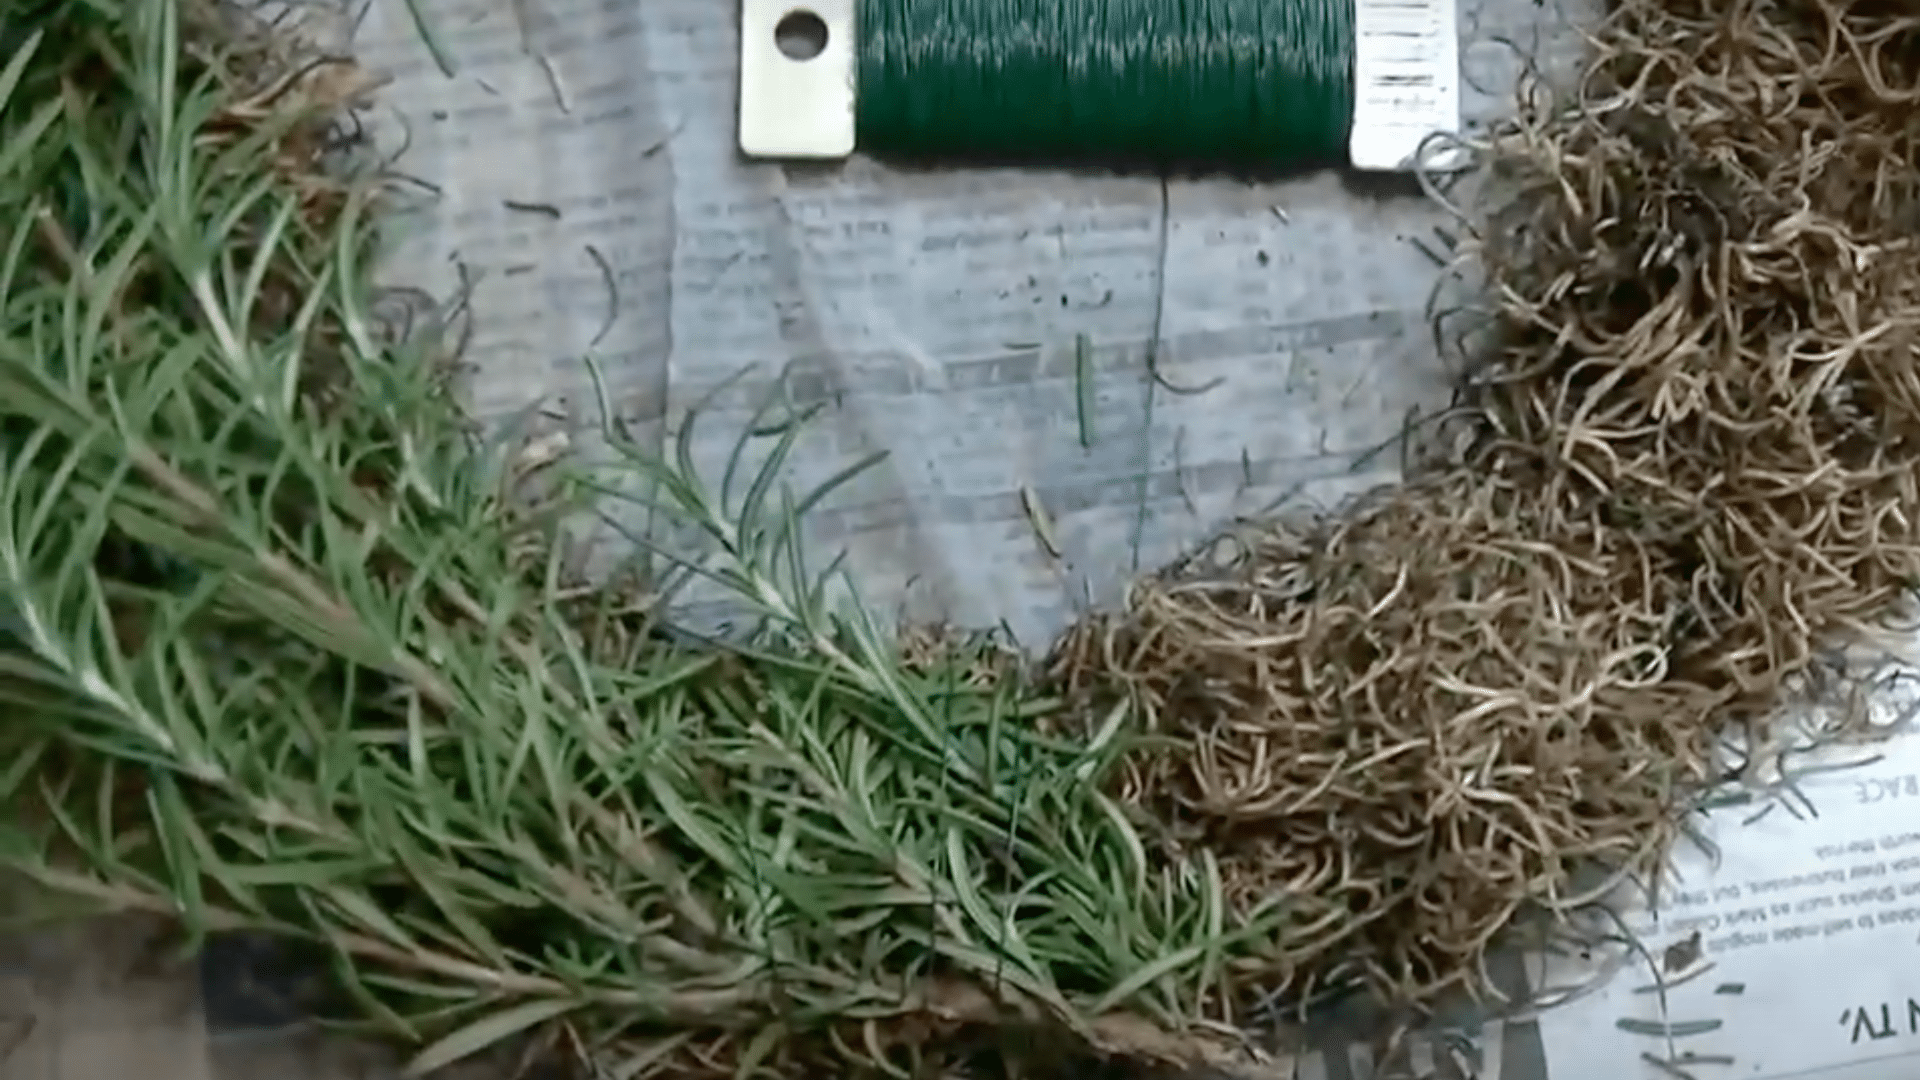
Step 3: Cover the Frame with Spanish Moss
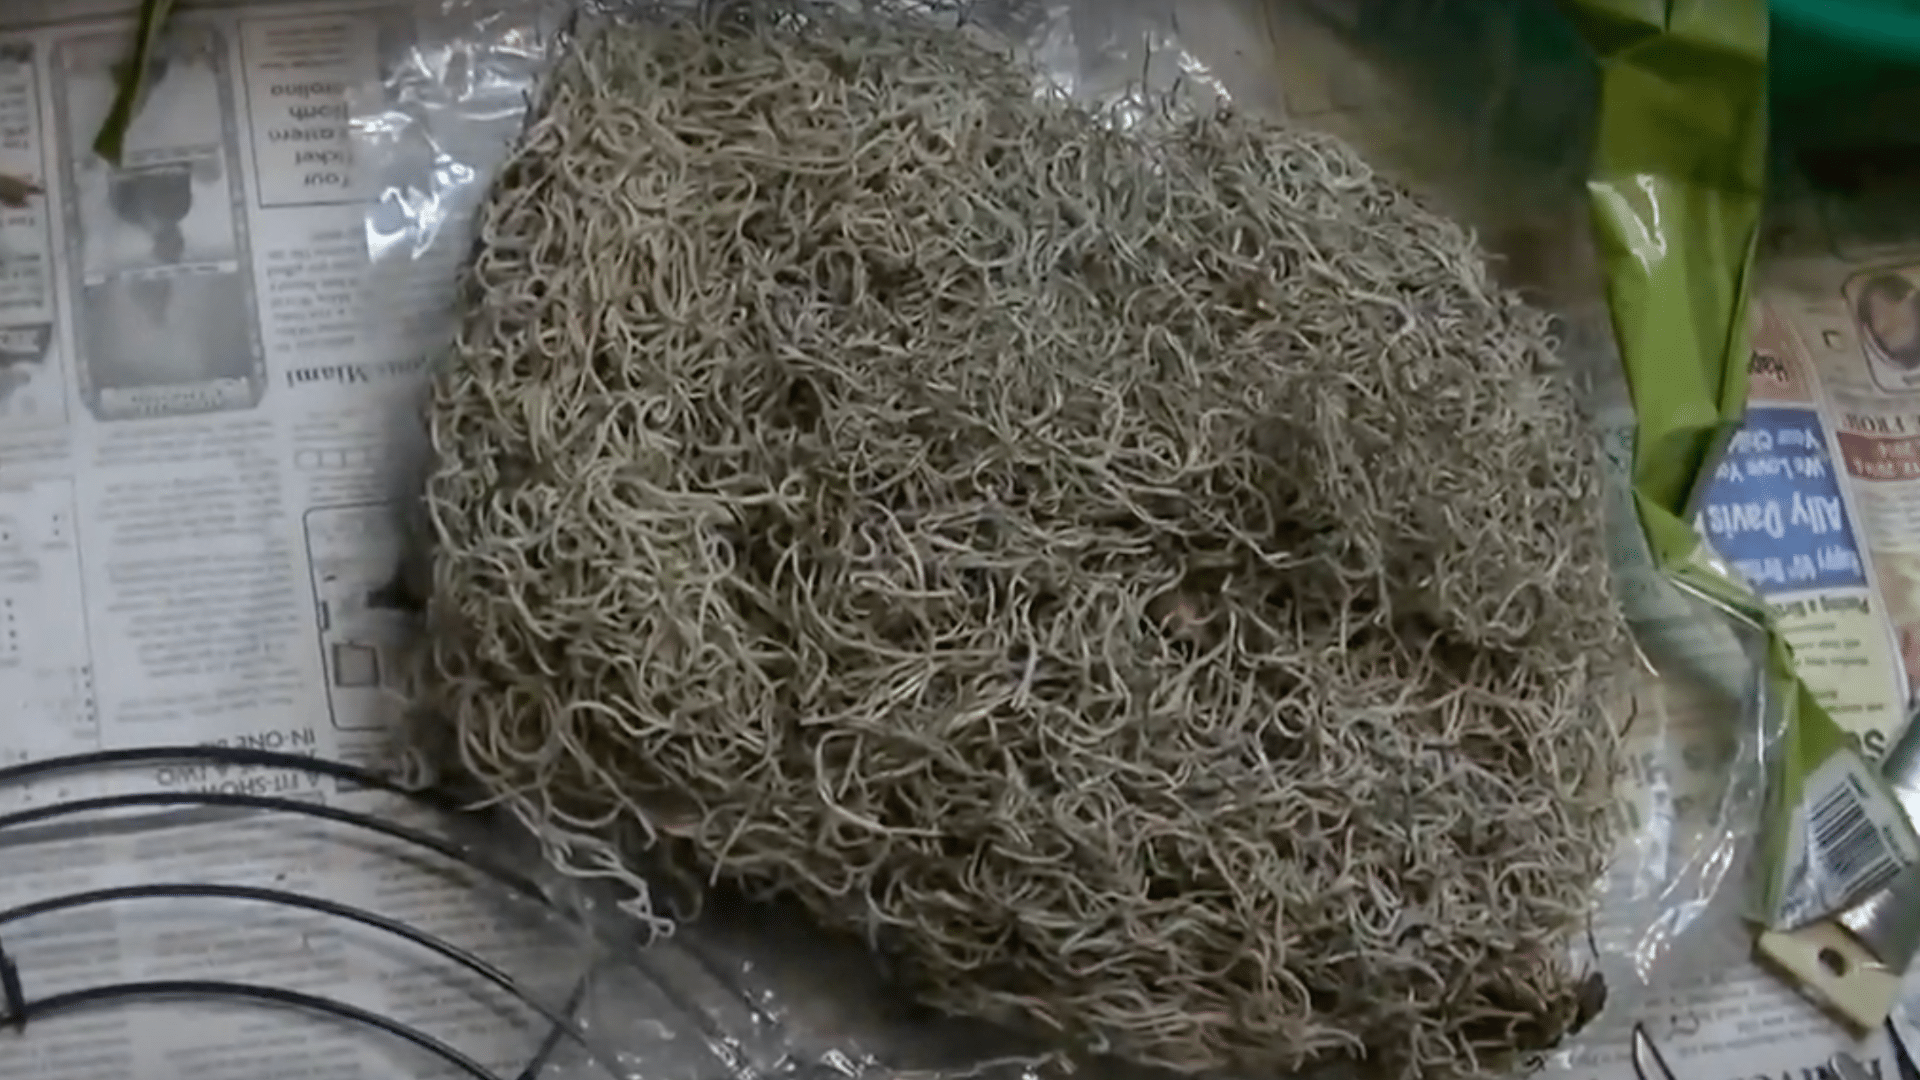
Start by preparing the Spanish moss to prevent it from shedding too much. Lightly dampen it by soaking in water, then squeeze out the excess moisture.
This makes the moss easier to handle and keeps the workspace tidier. Work methodically around the wreath form to build a soft, even foundation.
To attach the moss:
- Take small handfuls of Spanish moss and lay them onto the wire form.
- Wrap the paddle wire firmly around the moss and frame several times to secure it.
- Continue layering and wiring the moss, overlapping each section slightly to avoid gaps.
- Ensure the entire frame is fully covered before moving to the next step.
Step 4: Make Bundles of Rosemary
Create bundles by grouping several rosemary sprigs together, aligning the stems at the bottom. Wrap the base of each bundle tightly with paddle wire to keep them secure as they dry.
Prepare enough bundles to complete two full layers around the wreath for a lush appearance.
Step 5: Attach the Rosemary Bundles
Position the first rosemary bundle on the moss-covered frame and fasten it with paddle wire. Continue adding bundles in an overlapping fashion, concealing the stems beneath the greenery.
Work steadily around the frame, ensuring the wreath maintains a flowing and natural look.
Step 6: Add a Second Layer for Fullness
After completing the first layer, begin a second round of rosemary bundles. Carefully weave the wire between the layers, avoiding pressure on the bundles underneath.
This second layer enhances fullness and depth, creating a beautiful, textured finish.
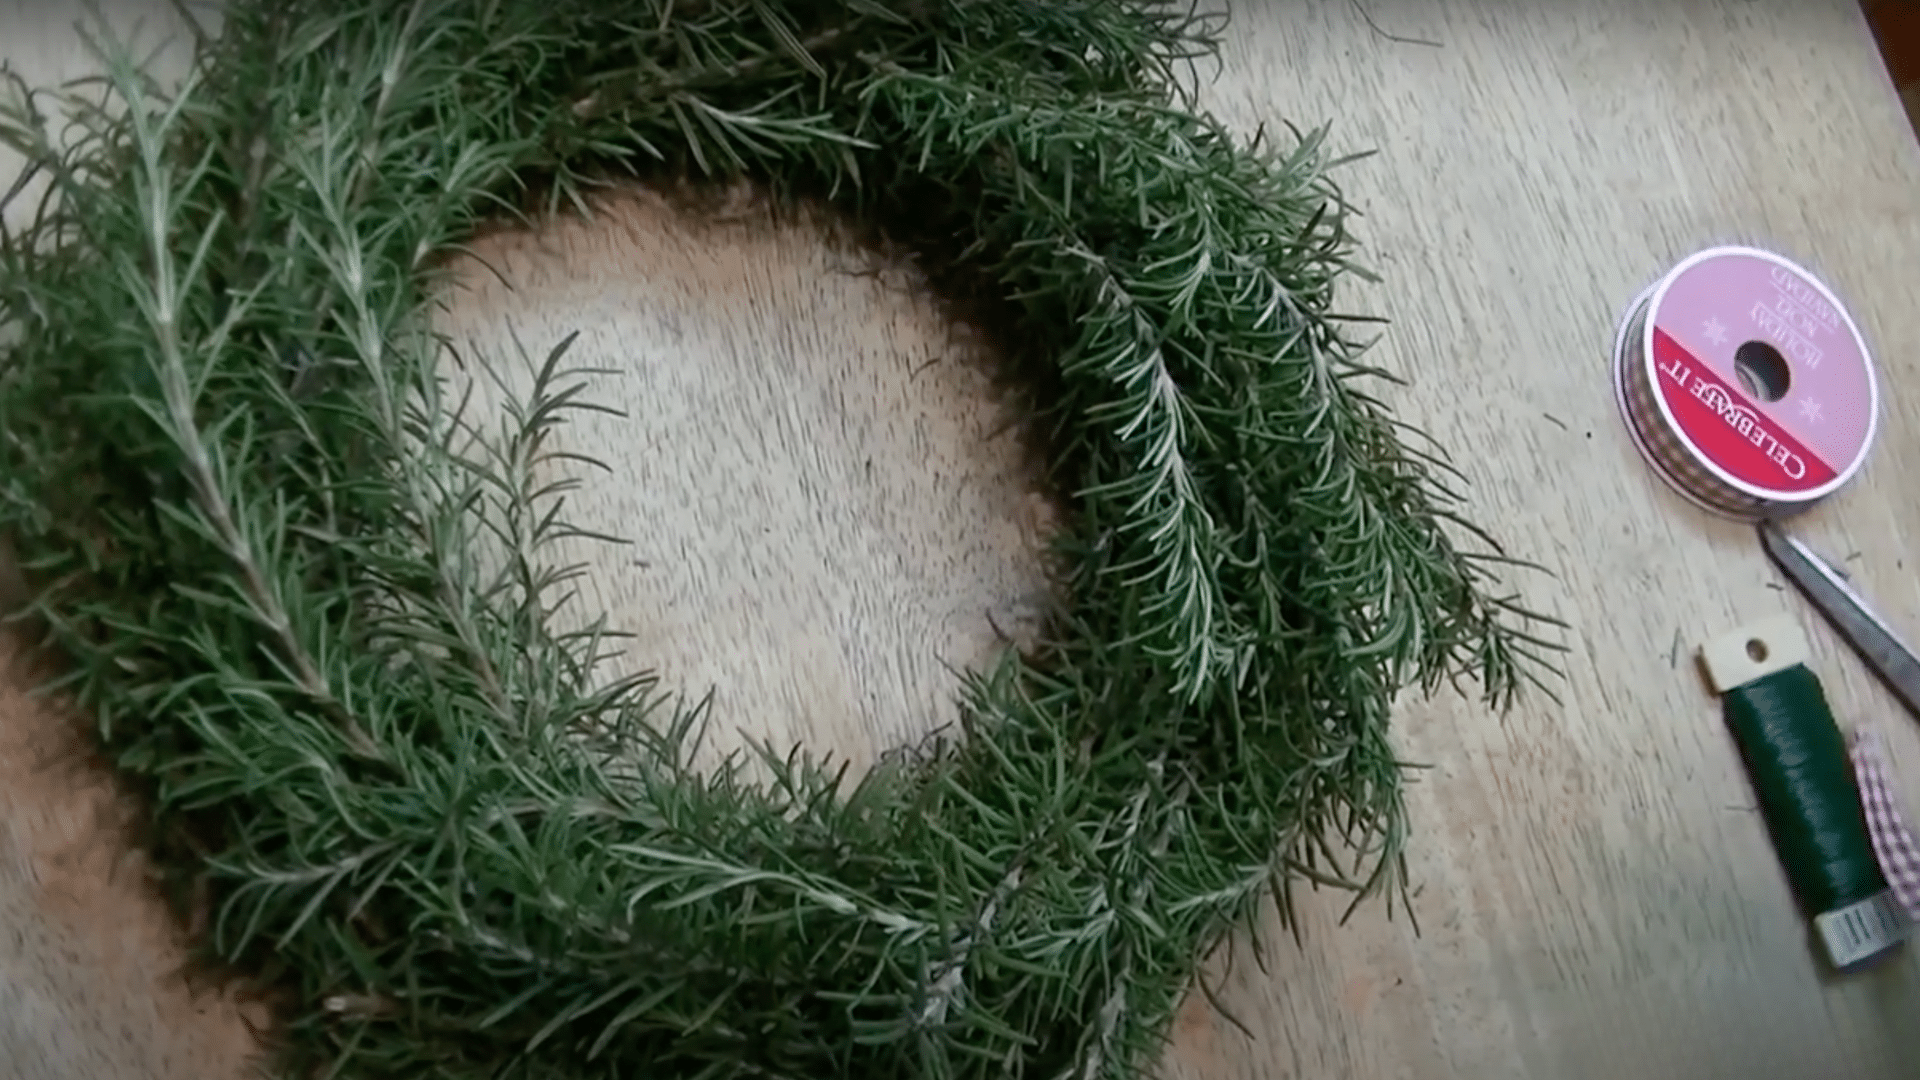
Step 7: Finish and Decorate

Once all the bundles are secured, adjust the rosemary sprigs for a balanced and lively shape. A simple ribbon tied into a bow adds a charming final touch if desired.
For longer freshness, mist the wreath lightly with water every couple of days, especially if displayed outdoors during cooler weather.
Additional Rosemary Craft Ideas
Creating with rosemary always feels like working with a little bit of magic. Its scent, its texture, and its timeless beauty inspire so many projects beyond a classic wreath.
Whenever I’m looking for new ways to bring a natural touch into my home, I turn to rosemary crafts for ideas that are simple, meaningful, and full of charm. Here’s a list of lovely inspirations to get started.
Crafts for Home Decor
1. Scented Candles with Rosemary
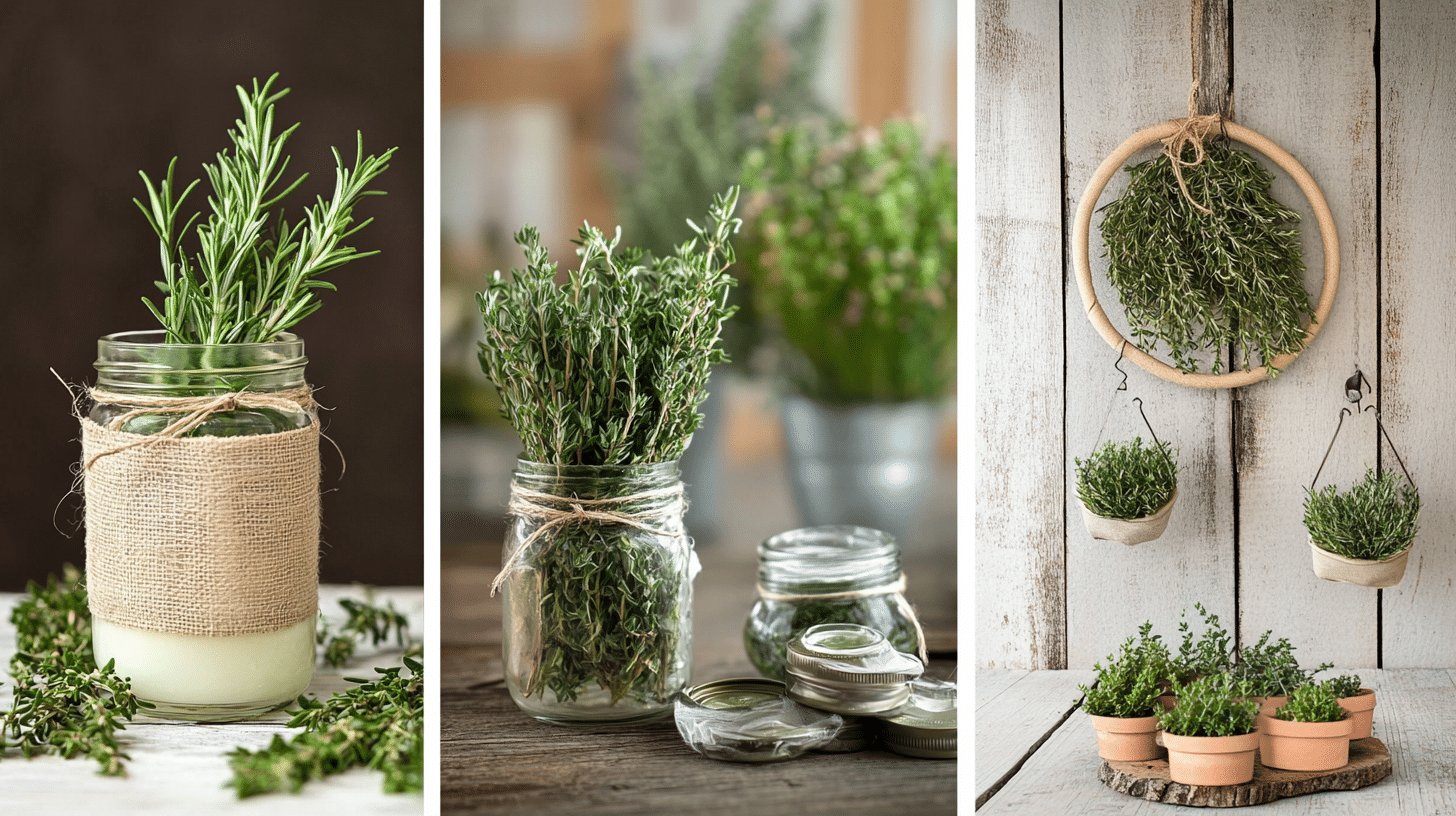
2. Mini Wall Hangings
3. Herb Sachets for Drawers
4. DIY Garland for Mantels
5. Centerpieces in Mason Jars
6. Lavender and Herb Potpourri Bowls
7. Hanging Herb Mobiles
8. Pressed Wall Art
9. Infused Table Runners
10. Tiny Potted Gifts
11. Embedded Decorative Soap Bars
12. Scented Linen Sprays
Crafts for Kitchen and Gifts

13. Infused Olive Oil Bottles
14. Homemade Vinegar Jars
15. Dried Spice Jars with Custom Labels
16. Butter Wrap Gifts
17. Hand-Tied Bouquet Gifts
18. DIY Honey Infusions
19. Fresh Bread Wrappers
20. Mini Cooking Bundles
21. Sea Salt Gift Sachets
22. Infused Sugar Jars
23. Personalized Tea Blends
24. Scented Clay Ornaments
25. Citrus Stove Simmer Packs
Celebrations and Special Touches
26. Boutonnieres for Weddings
27. Handcrafted Napkin Rings
28. Decorated Place Cards
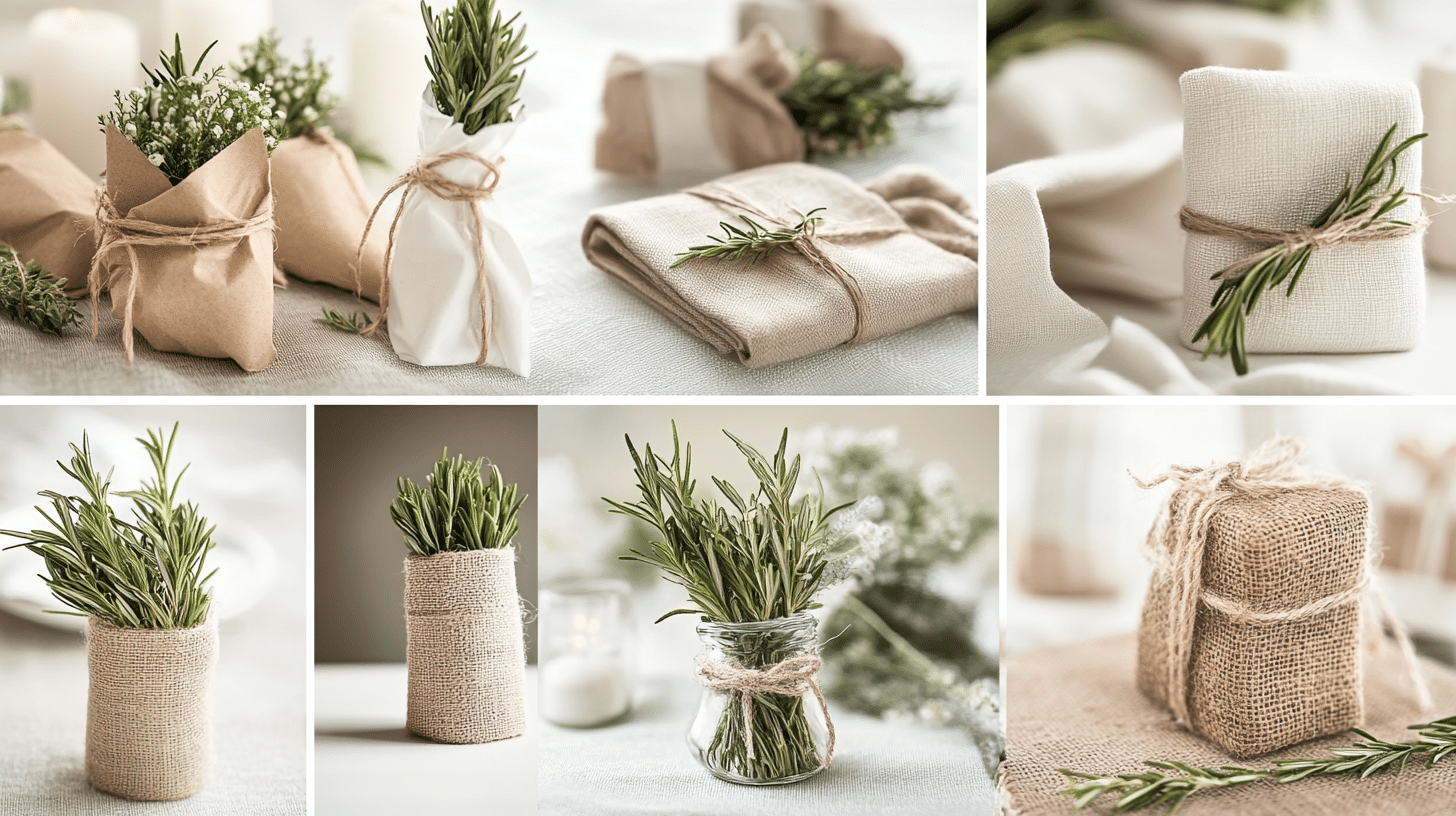
29. Party Favors Wrapped in Burlap
30. Twine Candle Holders
31. Decorated Gift Wrap Accents
Summing It Up
Making rosemary crafts has brought so much joy to my home over the years. From seasonal wreaths to scented sachets, these simple projects connect us with nature in ways few other crafts can.
The beauty of working with rosemary lies in its versatility and staying power. When harvested at the right time and properly prepared, these creations can last for months.
I hope this blog has shown you that rosemary isn’t just for cooking. Its aromatic qualities and sturdy structure make it perfect for creating beautiful items that add both visual appeal and wonderful scent to any room.
The next time you pass a rosemary bush or notice a pot of this herb on your windowsill, you might see it differently. Beyond its culinary uses, rosemary offers endless possibilities for bringing natural beauty into your living spaces.