Cleaning ovens is tough. But have you ever thought about using oven cleaner on wood?
I bet the idea has crossed your mind if you’re looking to strip old paint or varnish quickly. Most folks think they need fancy chemical strippers that cost a fortune. But what if I told you that common household items might work just as well?
This article will walk you through the facts about using oven cleaner to strip wood surfaces. You’ll learn what works, what doesn’t, and how to protect yourself if you try this method.
Take action now by reading further – your next DIY project depends on it!
Why Use Oven Cleaner to Strip Wood?
I’ve found that oven cleaner can be a handy stand-in for pricey wood strippers. Why spend extra cash when you might have a solution sitting under your kitchen sink?
It’s not only cheaper but also easy to find at any grocery store. Many DIYers say it works pretty well, too, especially on stubborn finishes that won’t budge with light sanding.
I think it’s most useful for small projects like old chairs, wooden boxes, or cabinet doors, where you don’t want to invest in gallons of commercial stripper.
Plus, you can test it on a small area first to see if you like the results. But remember, this isn’t always the right choice for every wood project.
Step-By-Step Guide on Using Oven Cleaner to Strip Wood
Using oven cleaner to strip wood isn’t complicated, but you need to be careful. I’ve tried this method several times on old furniture pieces. The results can be good if you follow each step properly.
Here’s my process broken down into simple steps anyone can follow.
Supplies You’ll Need
| Items | Purpose |
|---|---|
| Oven cleaner spray | Main stripping agent |
| Rubber gloves | Protect hands from chemicals |
| Safety goggles | Protect eyes from spray |
| Plastic drop cloth | Protect floor/surfaces |
| Plastic scraper | Remove loosened finish |
| Steel wool (0000 grade) | Final cleaning |
| Bucket of clean water | Rinse wood surface |
| Old rags or paper towels | Cleanup |
Step 1: Prepare Your Work Area
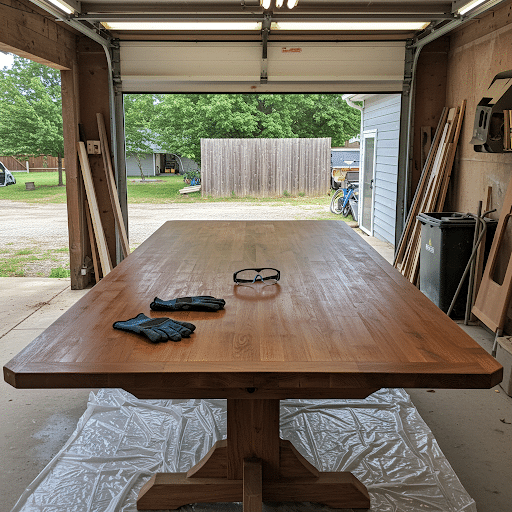
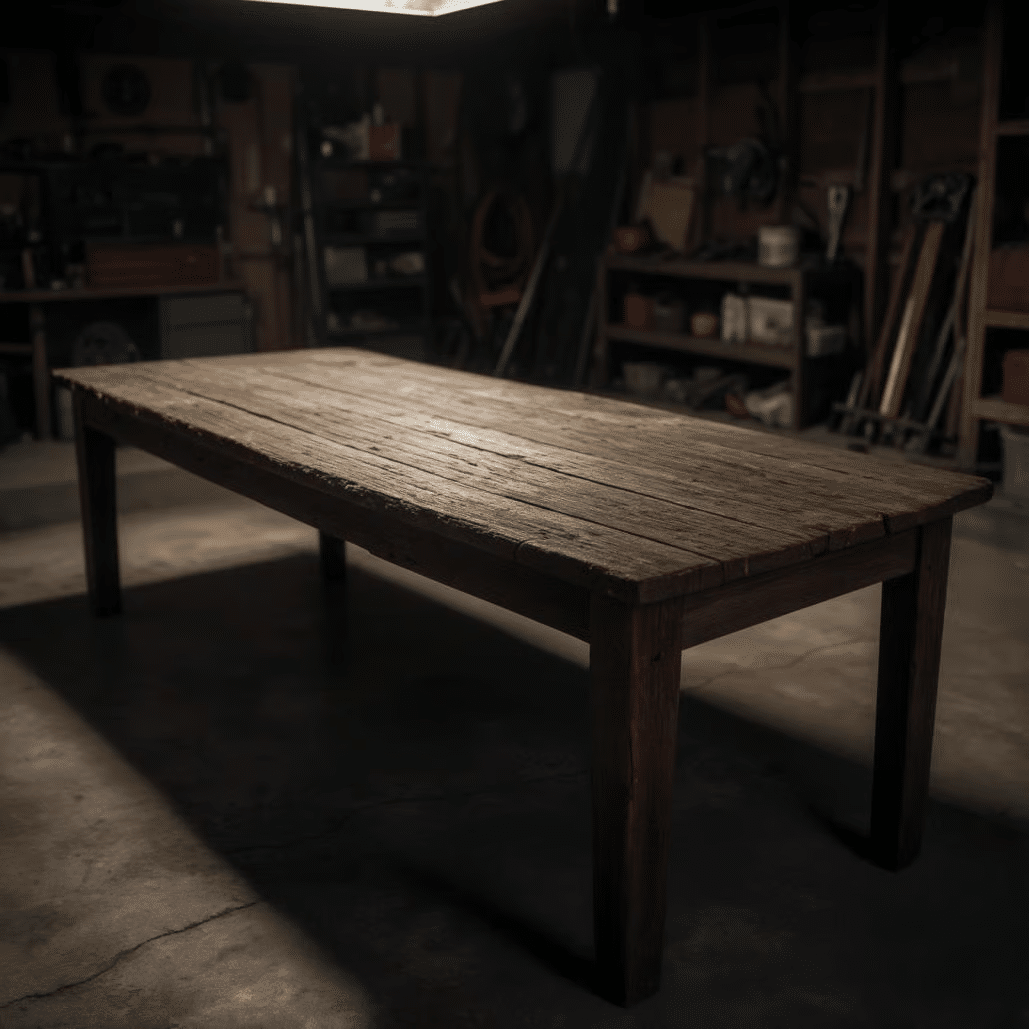
First, find a spot with good air flow – I prefer working outdoors or in a garage with open doors. Put down plastic sheeting to catch drips and spills. Put on your gloves and safety glasses – this stuff can burn skin and eyes, so don’t skip this part!
Make sure your wood is clean and free from dirt or grime before starting.
Step 2: Apply the Oven Cleaner
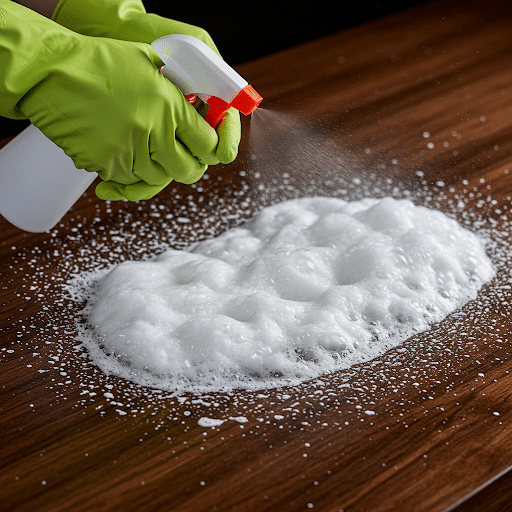
Shake the can well and spray a thick, even layer on the wood surface. Don’t be stingy – you want good coverage. I find it works best if you let it sit for 15-30 minutes.
The chemicals need time to break down the finish. You’ll start to see bubbling or wrinkling as it works. Don’t let it dry completely on the wood.
Step 3: Scrape Off the Old Finish
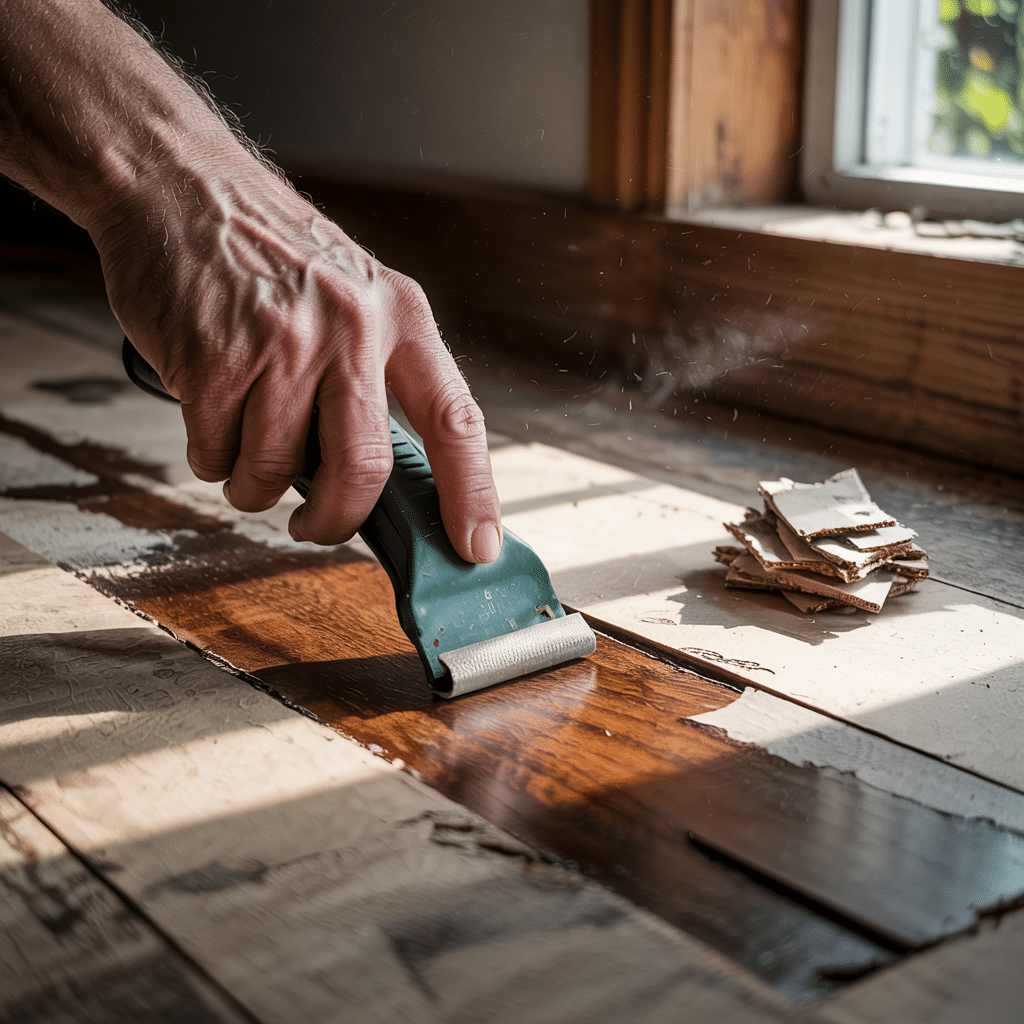
Once the finish starts lifting, gently use your plastic scraper to remove it.
Work with the grain of the wood, not against it. I’ve learned the hard way that metal scrapers can damage the wood. For tough spots, you might need to apply more cleaner and wait longer. Stubborn areas may need a second application.
Step 4: Neutralize and Clean the Wood
This step is crucial! Wipe down the wood with damp rags to remove all cleaner residue. I switched to fresh water several times during this process. Then rub with fine steel wool in the direction of the grain.
Let the wood dry completely for 24-48 hours. Any leftover chemicals could ruin your new finish or stain.
Tips for Perfecting the Use of Oven Cleaner to Strip Wood
After making plenty of mistakes when stripping wood with oven cleaner. Through trial and error, I’ve found what works and what doesn’t.
Here are my best tips to help you avoid the same problems and get better results.
Common Mistakes to Avoid:
- Letting the cleaner dry completely – This makes it harder to remove and can push chemicals deeper into the wood
- Not wearing proper protection – Your skin and eyes need to be covered when working with harsh chemicals
- Using metal scrapers – These can gouge the wood surface and leave permanent marks
- Rushing the neutralizing step – Skipping thorough rinsing leaves chemicals that can ruin your new finish
Tricks for Stubborn Finishes:
- Plastic wrap method – After applying cleaner, cover with plastic wrap to prevent drying and give chemicals more time to work
- Multiple thin applications – Sometimes several light coats work better than one heavy application
- Warm the surface first – Using a hair dryer to slightly warm the wood (not hot!) can help the cleaner work more quickly
The Ups and Downs of Using Oven Cleaner on Wood
I’ve looked at both sides of using oven cleaner to strip wood. It’s not perfect for every project, but it has its place in my DIY toolkit.
Let me break down the good and bad points so you can decide if it’s right for your next project.
| Feature | Oven Cleaner | Traditional Wood Stripper |
|---|---|---|
| Cost | Lower ($5-10 per can) | Higher ($15-30 per bottle) |
| Availability | Easy to find | May need a specialty store |
| Speed | Fast acting (15-30 minutes) | Often slower (30+ minutes) |
| Wood damage risk | Higher | Lower when using quality products |
| Fume safety | More hazardous | Still hazardous but often better |
| Cleanup | Requires thorough washing | Often easier cleanup |
When to Choose This Method
- You have a small project that doesn’t justify buying an expensive stripper.
- You need to finish quickly.
- The wood item isn’t valuable or antique.
- You’re working on basic pine or other common woods.
- You already have oven cleaner on hand.
When to Skip This Method
- The wood piece is valuable or antique.
- You’re working with veneer (thin wood layers).
- You’re concerned about wood grain damage.
- You need a more gentle approach.
- You don’t have proper safety gear.
- You can’t work in a well-ventilated area.
Final Thoughts
Using oven cleaner to strip wood can be a helpful trick in your DIY toolbox, but it’s not right for every project. I recommend testing on a hidden spot first before going all-in.
If you decide to try this approach, remember to put safety first, work in a well-ventilated area, and clean the wood thoroughly afterward. The results can be impressive when done correctly.
Maybe you’d like to try refinishing that stripped wood with a new stain or paint? Or perhaps find more gentle stripping methods?
Whatever you choose, I’d love to hear how your project turns out! Leave a comment below with your experiences or questions.