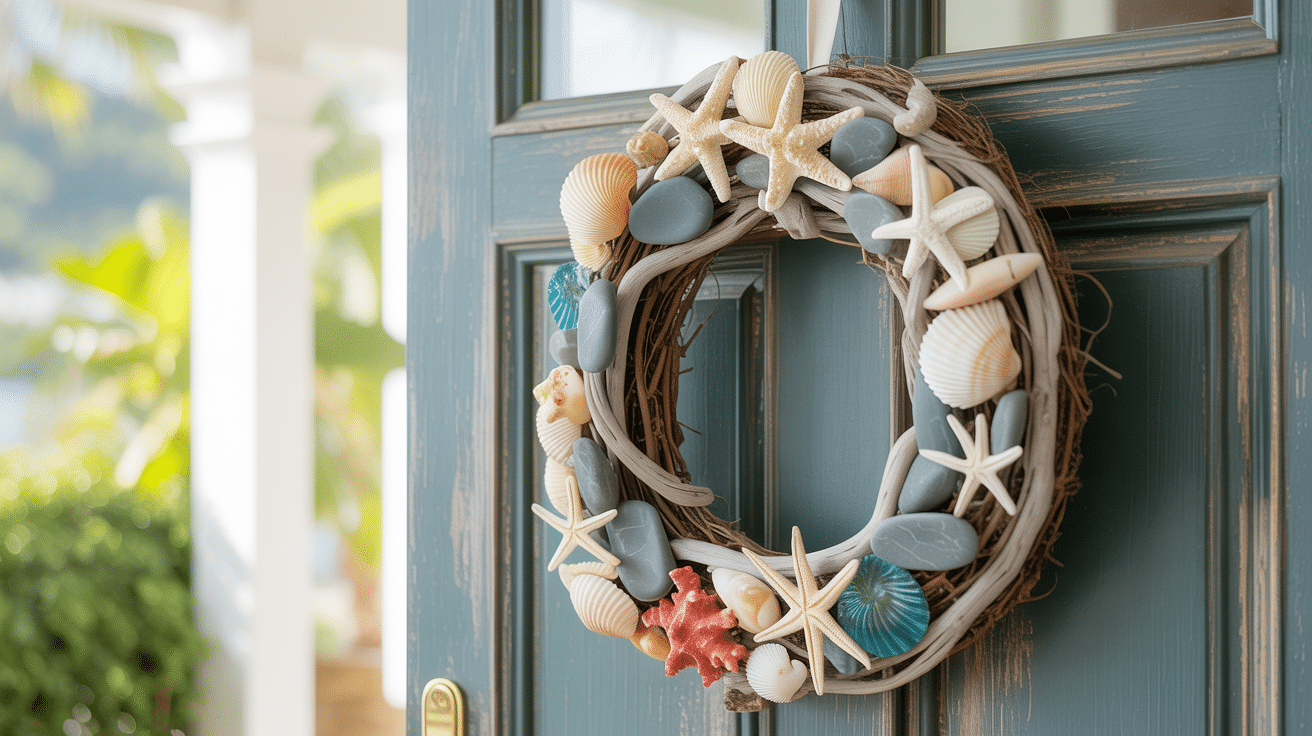
I’ve always believed that the ocean gives us the most beautiful gifts. And today, I’m going to show you how to transform those beach valuables into something magical.
Walking along the shoreline last summer, I collected shells, driftwood, and sea glass without any real plan. But then inspiration struck. Why not bring that coastal charm indoors?
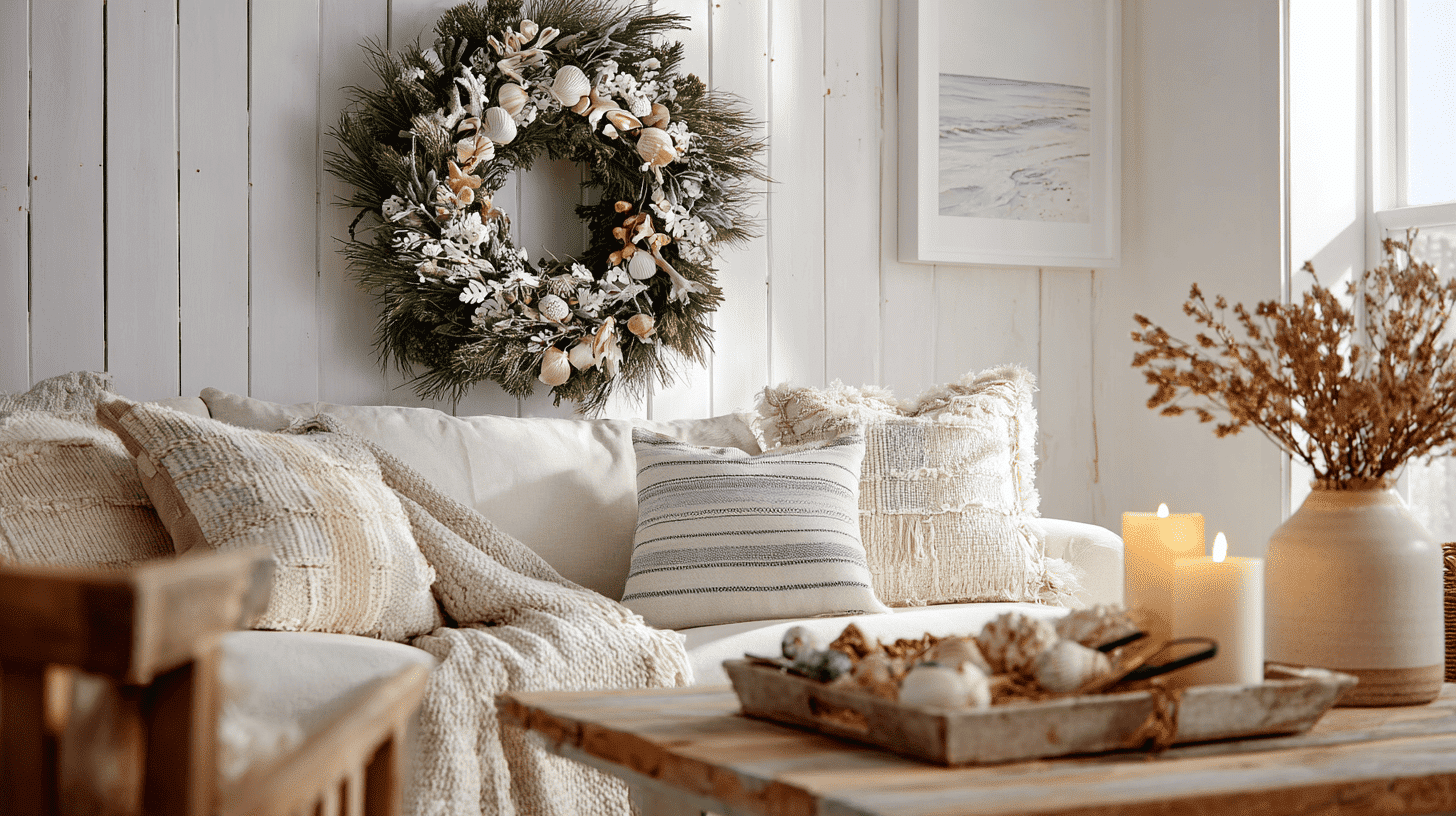
The wreath I’m about to help you create isn’t just a decoration—it’s a memory keeper. It’s the salt air, the sound of waves, and that feeling of sand between your toes, all captured in a circle of beauty. Trust me, even if you’ve never made a wreath before, you can do this.
So grab your beach findings, and let’s create something that’ll make your home feel like an endless summer.
Significance of Coastal Wreaths
Coastal wreaths aren’t just pretty decorations—they’re storytellers.
For me, they represent a connection to places that have shaped my happiest memories. Each shell, each piece of driftwood holds the energy of the shoreline where it was found.
Beyond the personal meaning, these wreaths celebrate the natural beauty of coastal environments. They remind us of the rhythm of tides, the vastness of oceans, and our tiny but meaningful place within that grand seaside story.
Must-Have Materials for Your Coastal Wreath
| Item | Description |
|---|---|
| 14-inch Wire Wreath Form | The base structure for your wreath |
| Pipe Cleaners (Cut in Half) | Used to secure mesh and decorations |
| Deco Mesh Rolls (6 rolls, 6-inch width, 5 yards each) | Adds volume and texture to the wreath |
| Floral Garden Mesh Ribbon (1 roll) | Provides additional layers and texture |
| Scissors | For cutting mesh, ribbon, and pipe cleaners |
| Hot Glue Gun & Glue Sticks | Secures embellishments in place |
| Jute Cord | Used to attach larger decorations securely |
| Decorative Sign (e.g., “Unwind,” “Relax,” “Welcome”) | Serves as a focal point for the wreath |
| Glass Ornaments (6 pieces) | Adds a coastal, nautical charm |
| Starfish & Seashells | Natural embellishments for a beachy look |
| Tacky Glue | Provides extra hold for shells and embellishments |
How to Make a Coastal Wreath
Create a beautiful, beach-inspired coastal wreath with simple materials and some easy-to-follow steps for a breezy, nautical charm.
Step 1: Preparing the Mesh Base
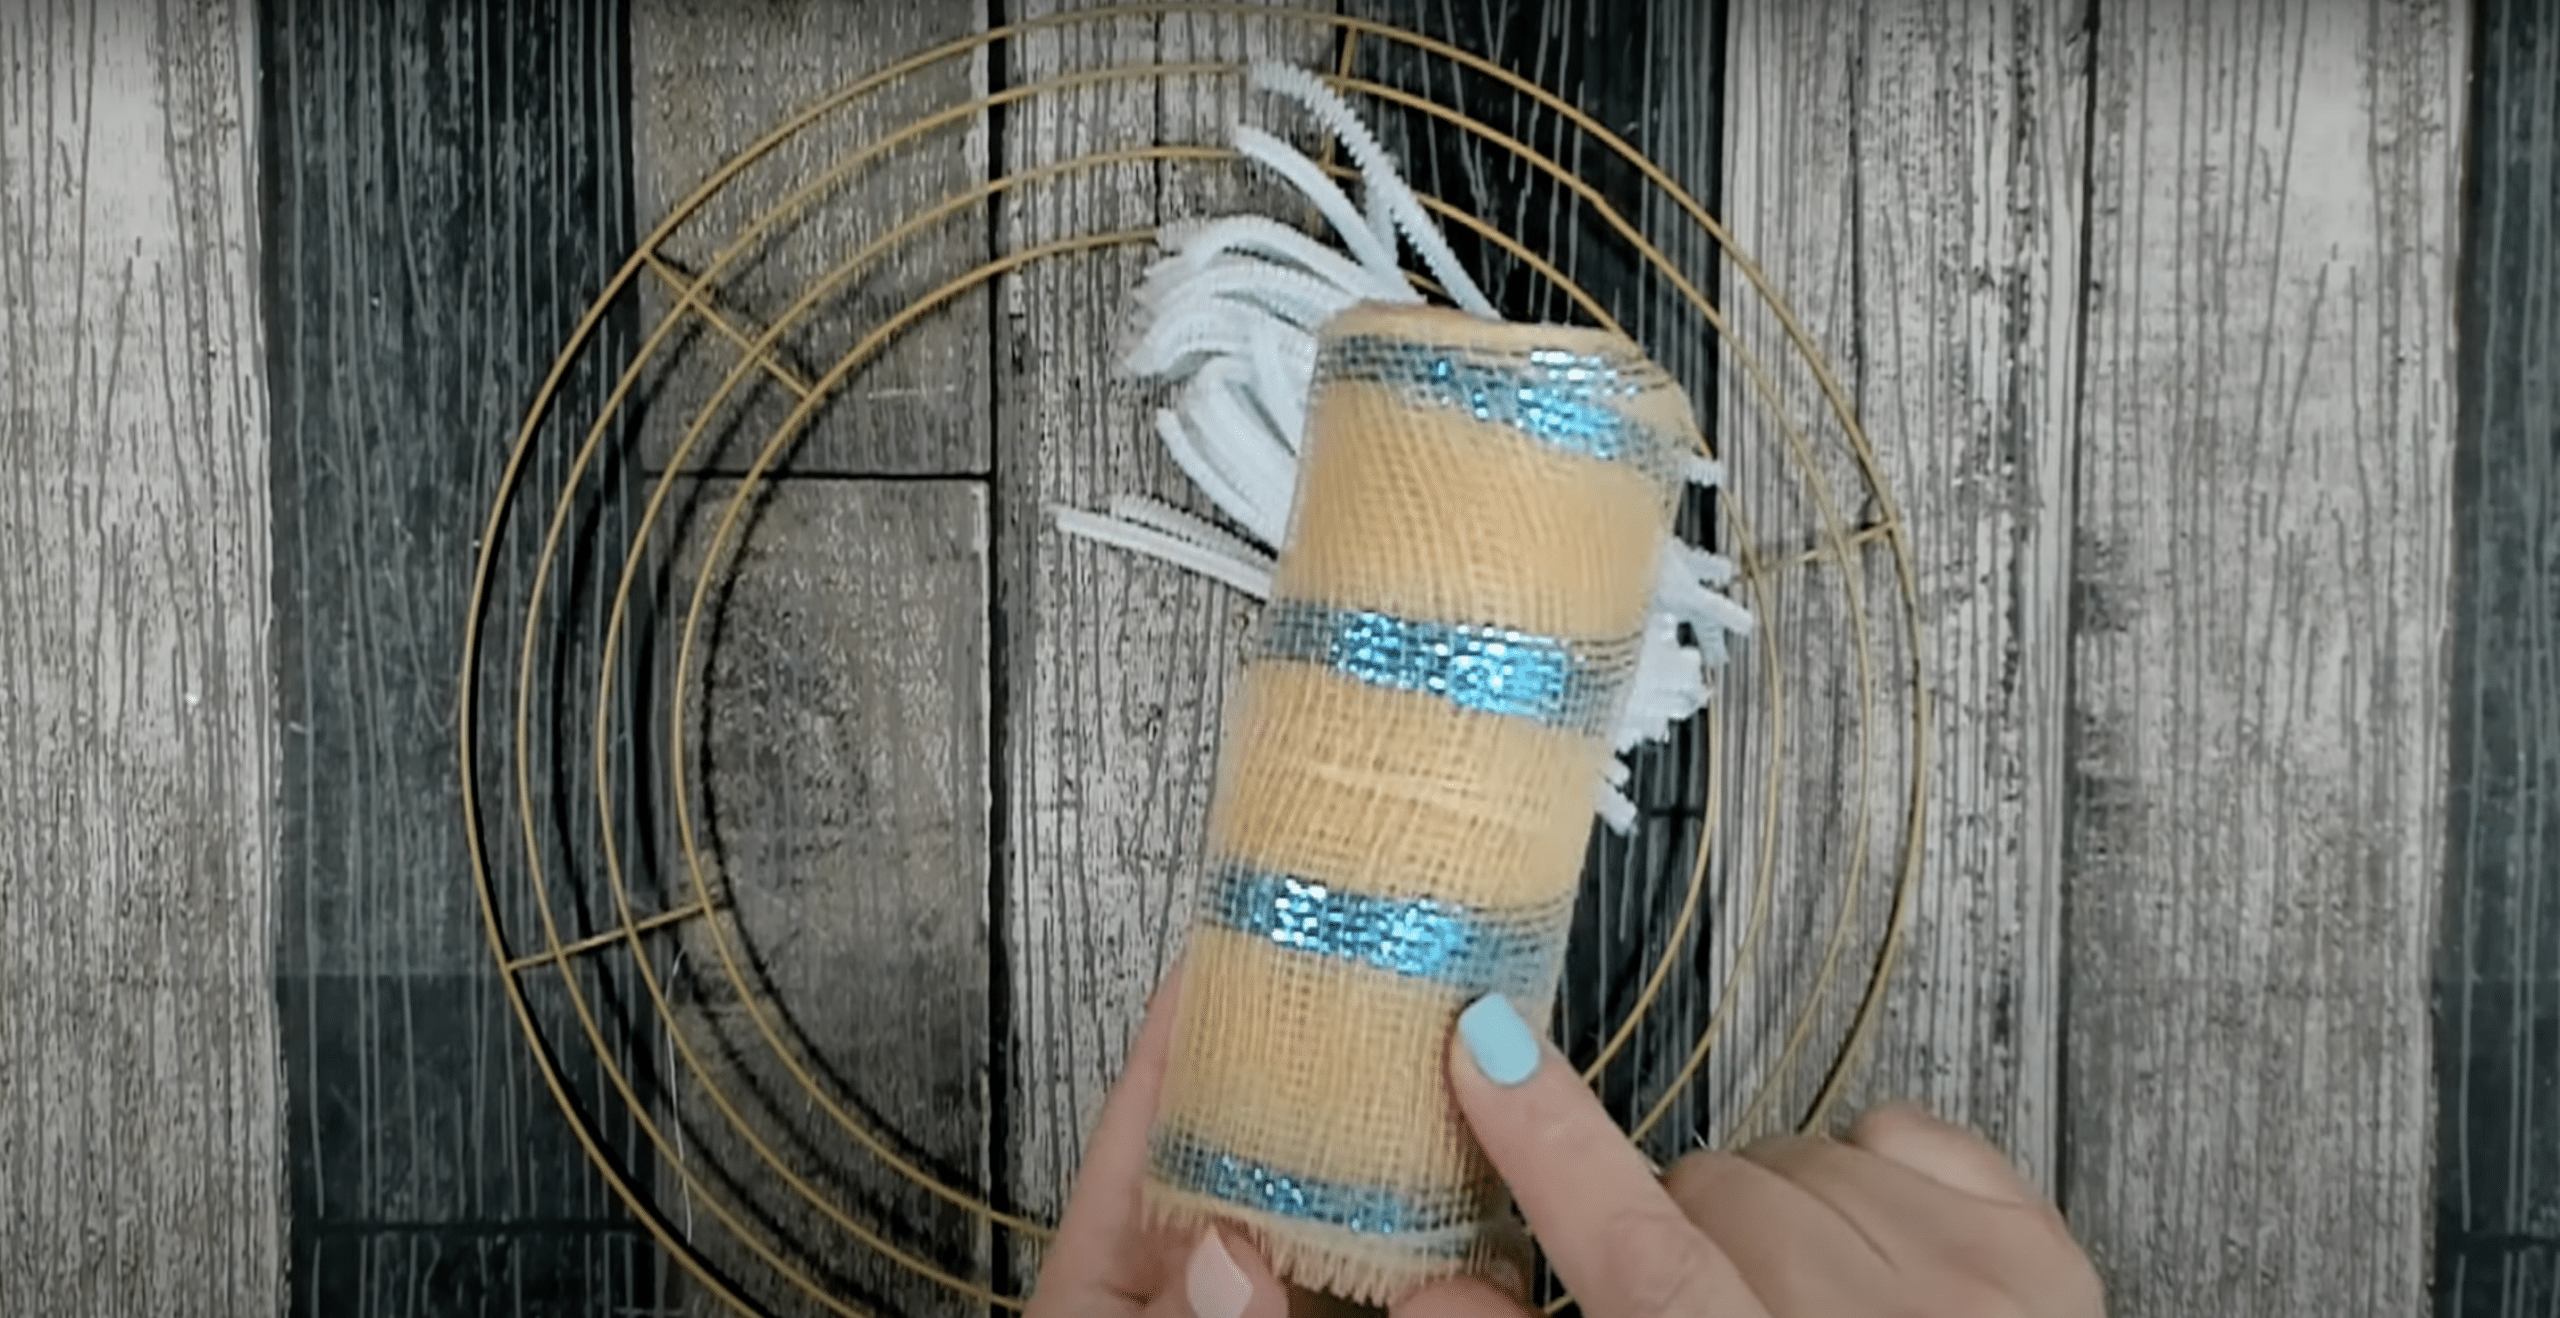
First, take two rolls of Deco Mesh and scrunch the ends together.
Next, secure the scrunched ends to the wreath form using a pipe cleaner, wrapping it tightly around one of the crossbars.
Then repeat with two more rolls as you work around the wreath.
At last, ensure the mesh remains fluffed and side by side—this will help maintain a full, voluminous wreath.
Step 2: Creating the Poof Effect
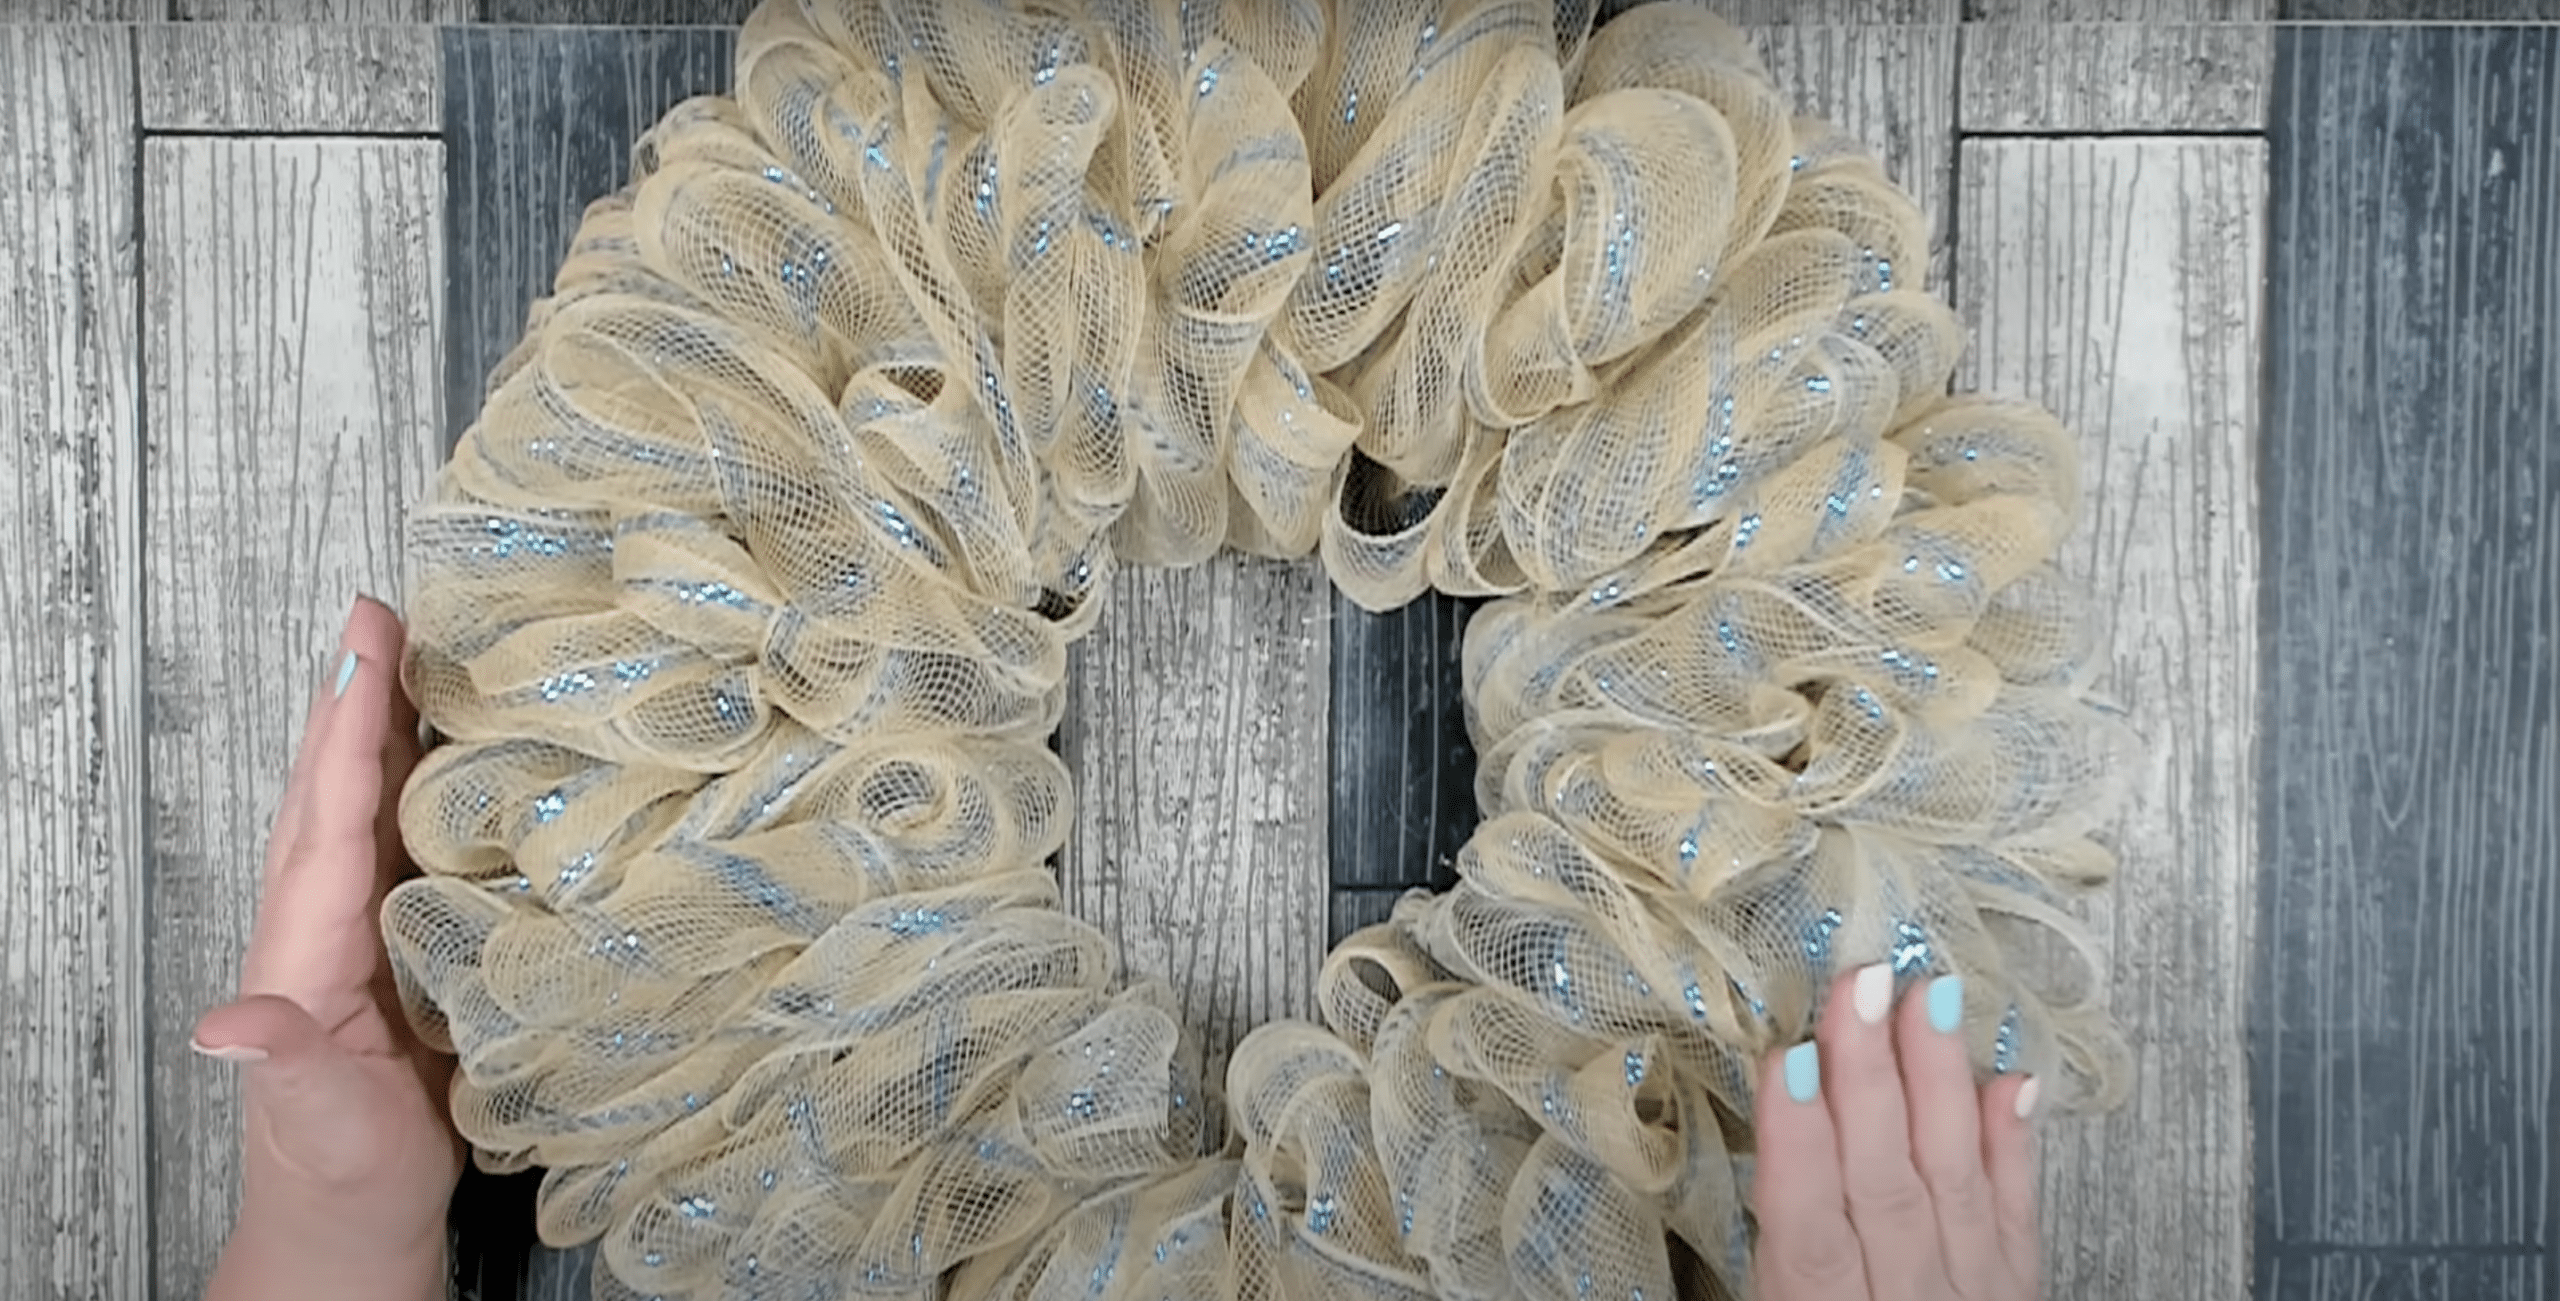
- Use the Poof or Bubble Method by pulling out a section of mesh to create an 8-inch “poof.”
- Secure each poof to the wreath using a pipe cleaner around the two middle bars.
- Continue making poofs, spacing them evenly (about 8-10 poofs per section).
- Once one set of rolls is complete, move on to the next two rolls until the wreath is fully covered.
Step 3: Adding the Mesh Ribbon Layer
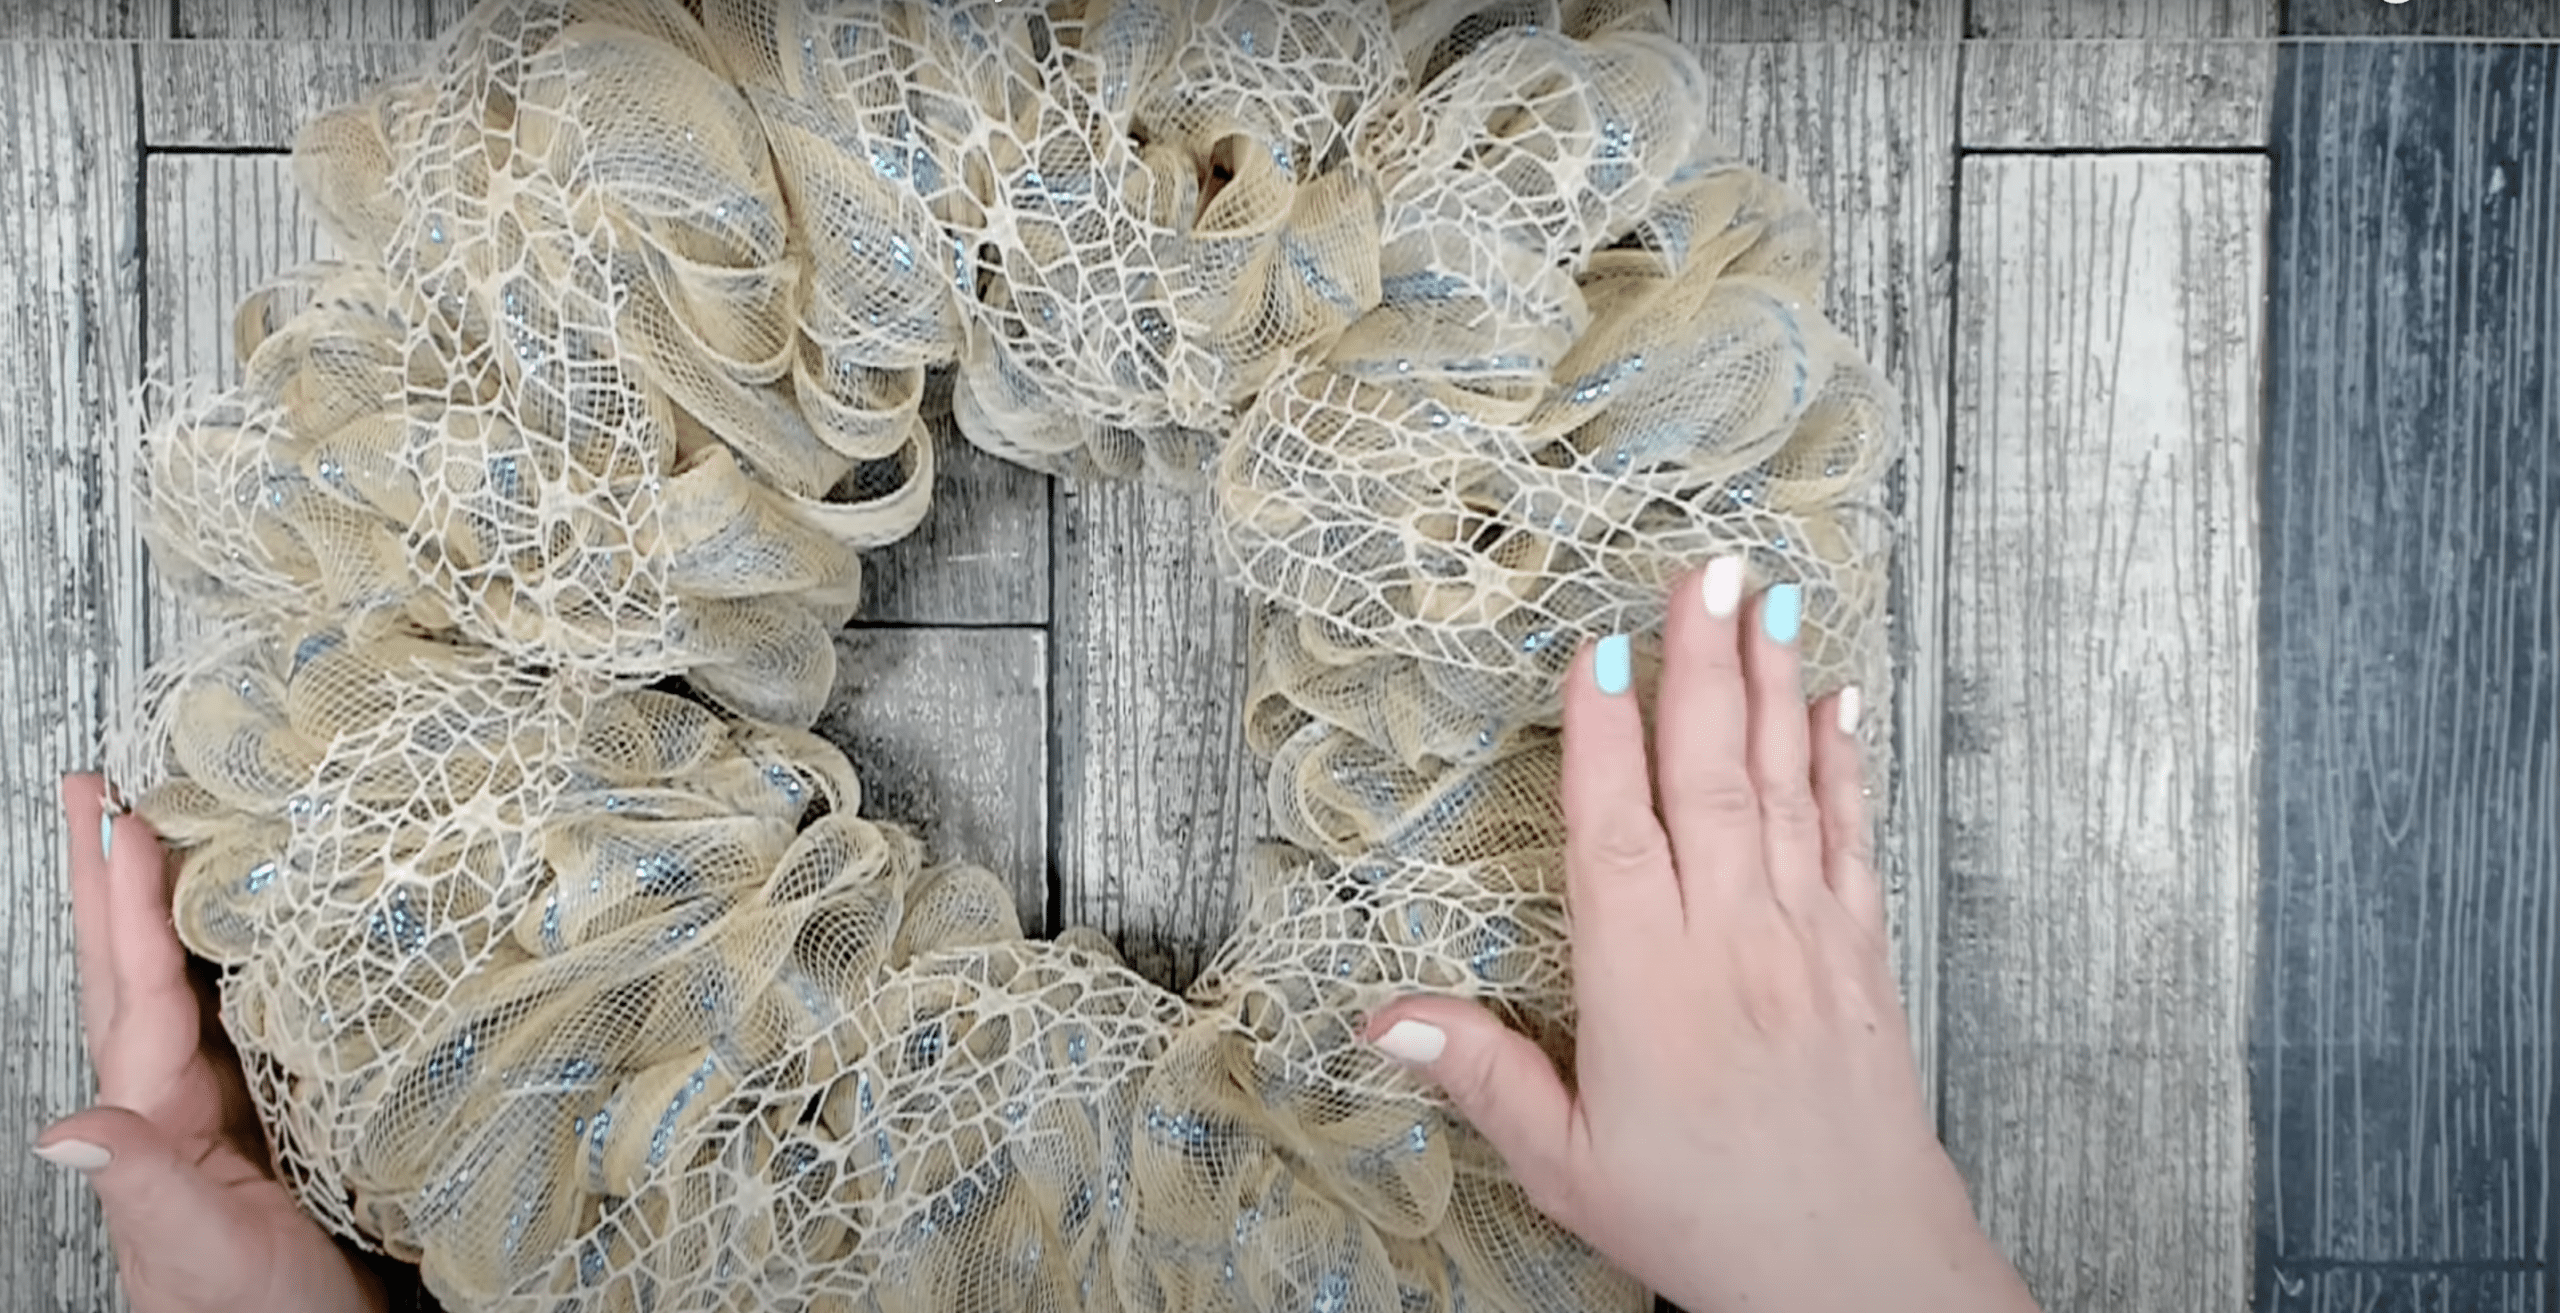
Once your base is full and fluffy, it’s time to add an extra layer of depth and texture using Floral Garden Mesh Ribbon (or any similar mesh ribbon in a neutral coastal shade). This step enhances the airy, seaside aesthetic and provides a contrast to the poofy base.
Attaching the Ribbon:
- Start by scrunching the end of the mesh ribbon and securing it with a pipe cleaner.
- Choose a starting point—this can be on the inner or outer ring of the wreath form. It doesn’t matter, as long as you alternate placements.
- Secure the scrunched end to a crossbar using the pipe cleaner, twisting it tightly for a firm hold.
Creating a Flowing Effect:
- Allow the ribbon to loosely drape over the mesh, ensuring it sits on top rather than getting buried.
- Instead of cutting, work with the entire roll, attaching it at intervals along the crossbars.
- Alternate the placements—attach the ribbon at an inner crossbar, then move to an outer crossbar to create a natural wave-like crisscross effect.
Adjusting and Filling Gaps:
- Once you’ve gone around the wreath, assess any sparse areas.
- If you have excess ribbon, cut 10-inch pieces, fold them in half, and attach them to areas that look a little bare.
- Make sure the ribbon maintains a light and airy feel, avoiding over-tightening so that it retains its volume.
This added layer helps bring out the coastal, breezy aesthetic, making the wreath feel more organic and textured!
Step 4: Attaching the Decorative Sign
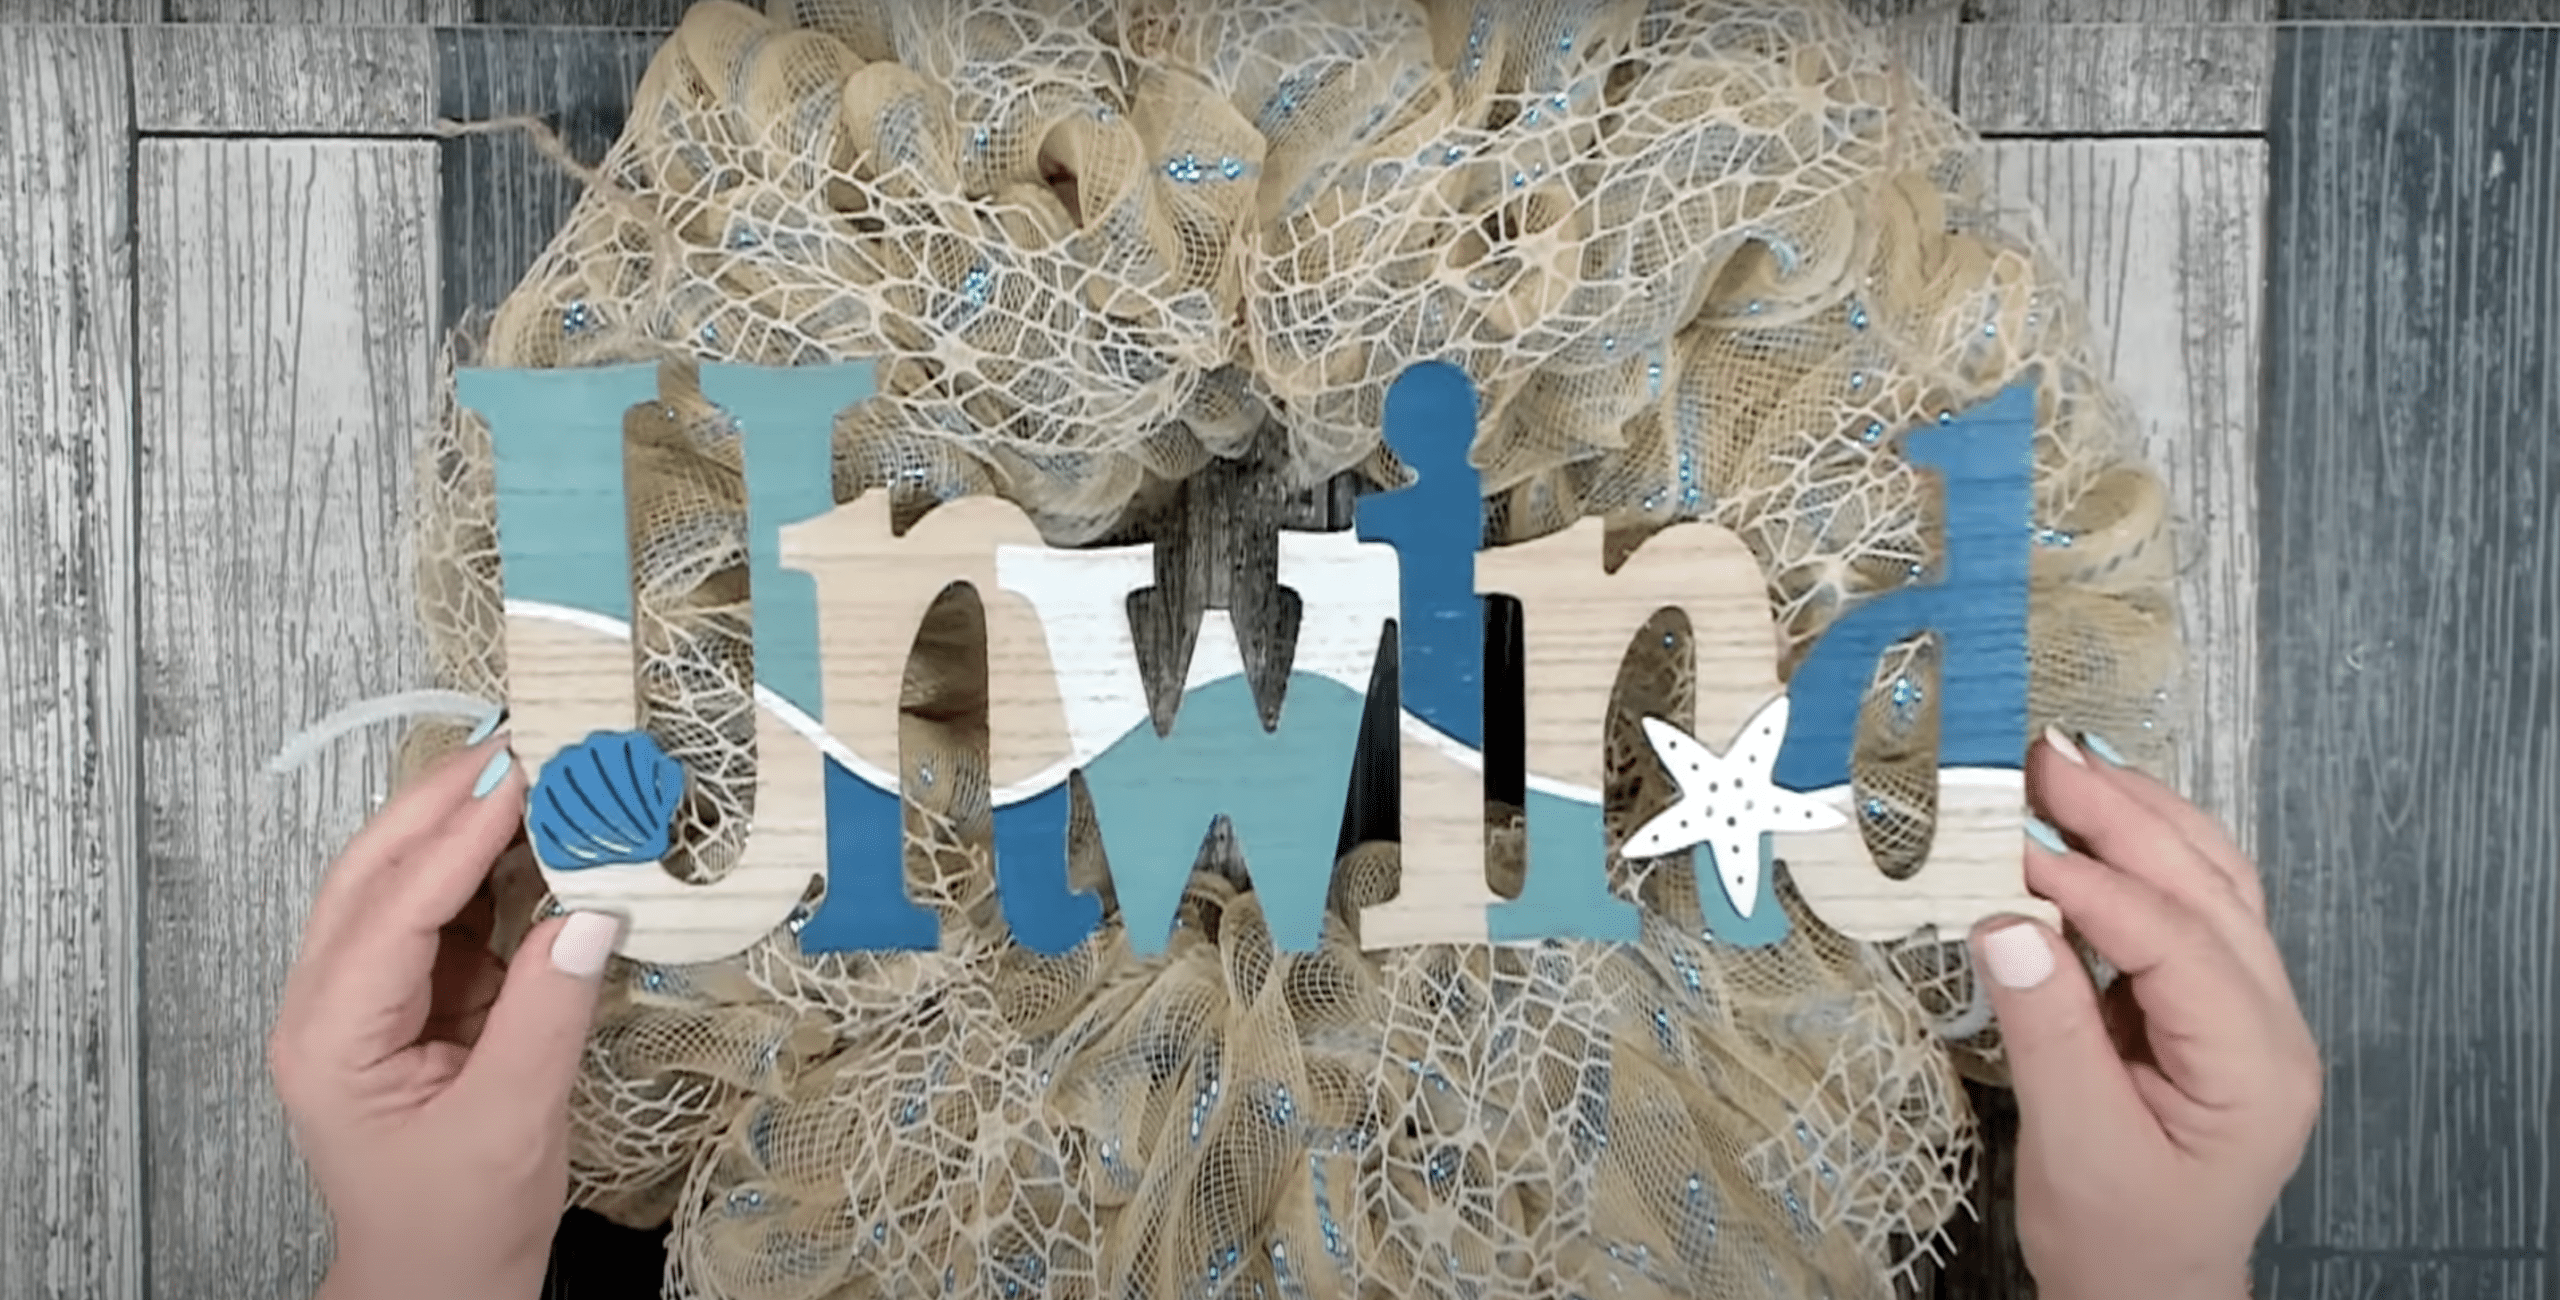
To give your wreath a focal point, position your chosen wooden sign, such as “Unwind,” “Relax,” or “Welcome,” at the center or slightly lower to create a balanced look.
Begin by securing the bottom corners of the sign to the wreath using pipe cleaners, twisting them tightly around the wire frame for a firm hold.
If the sign comes with a jute cord hanger, cut it at the center and use it to tie the top of the sign to the wreath frame, ensuring it stays in place without shifting. For added durability, place a small piece of cardboard or ribbon behind the attachment points—this helps distribute tension and prevents the pipe cleaners from cutting through or loosening.
Finally, apply a dab of hot glue to reinforce the attachment, ensuring that the sign remains secure even if the wreath is moved or displayed outdoors.
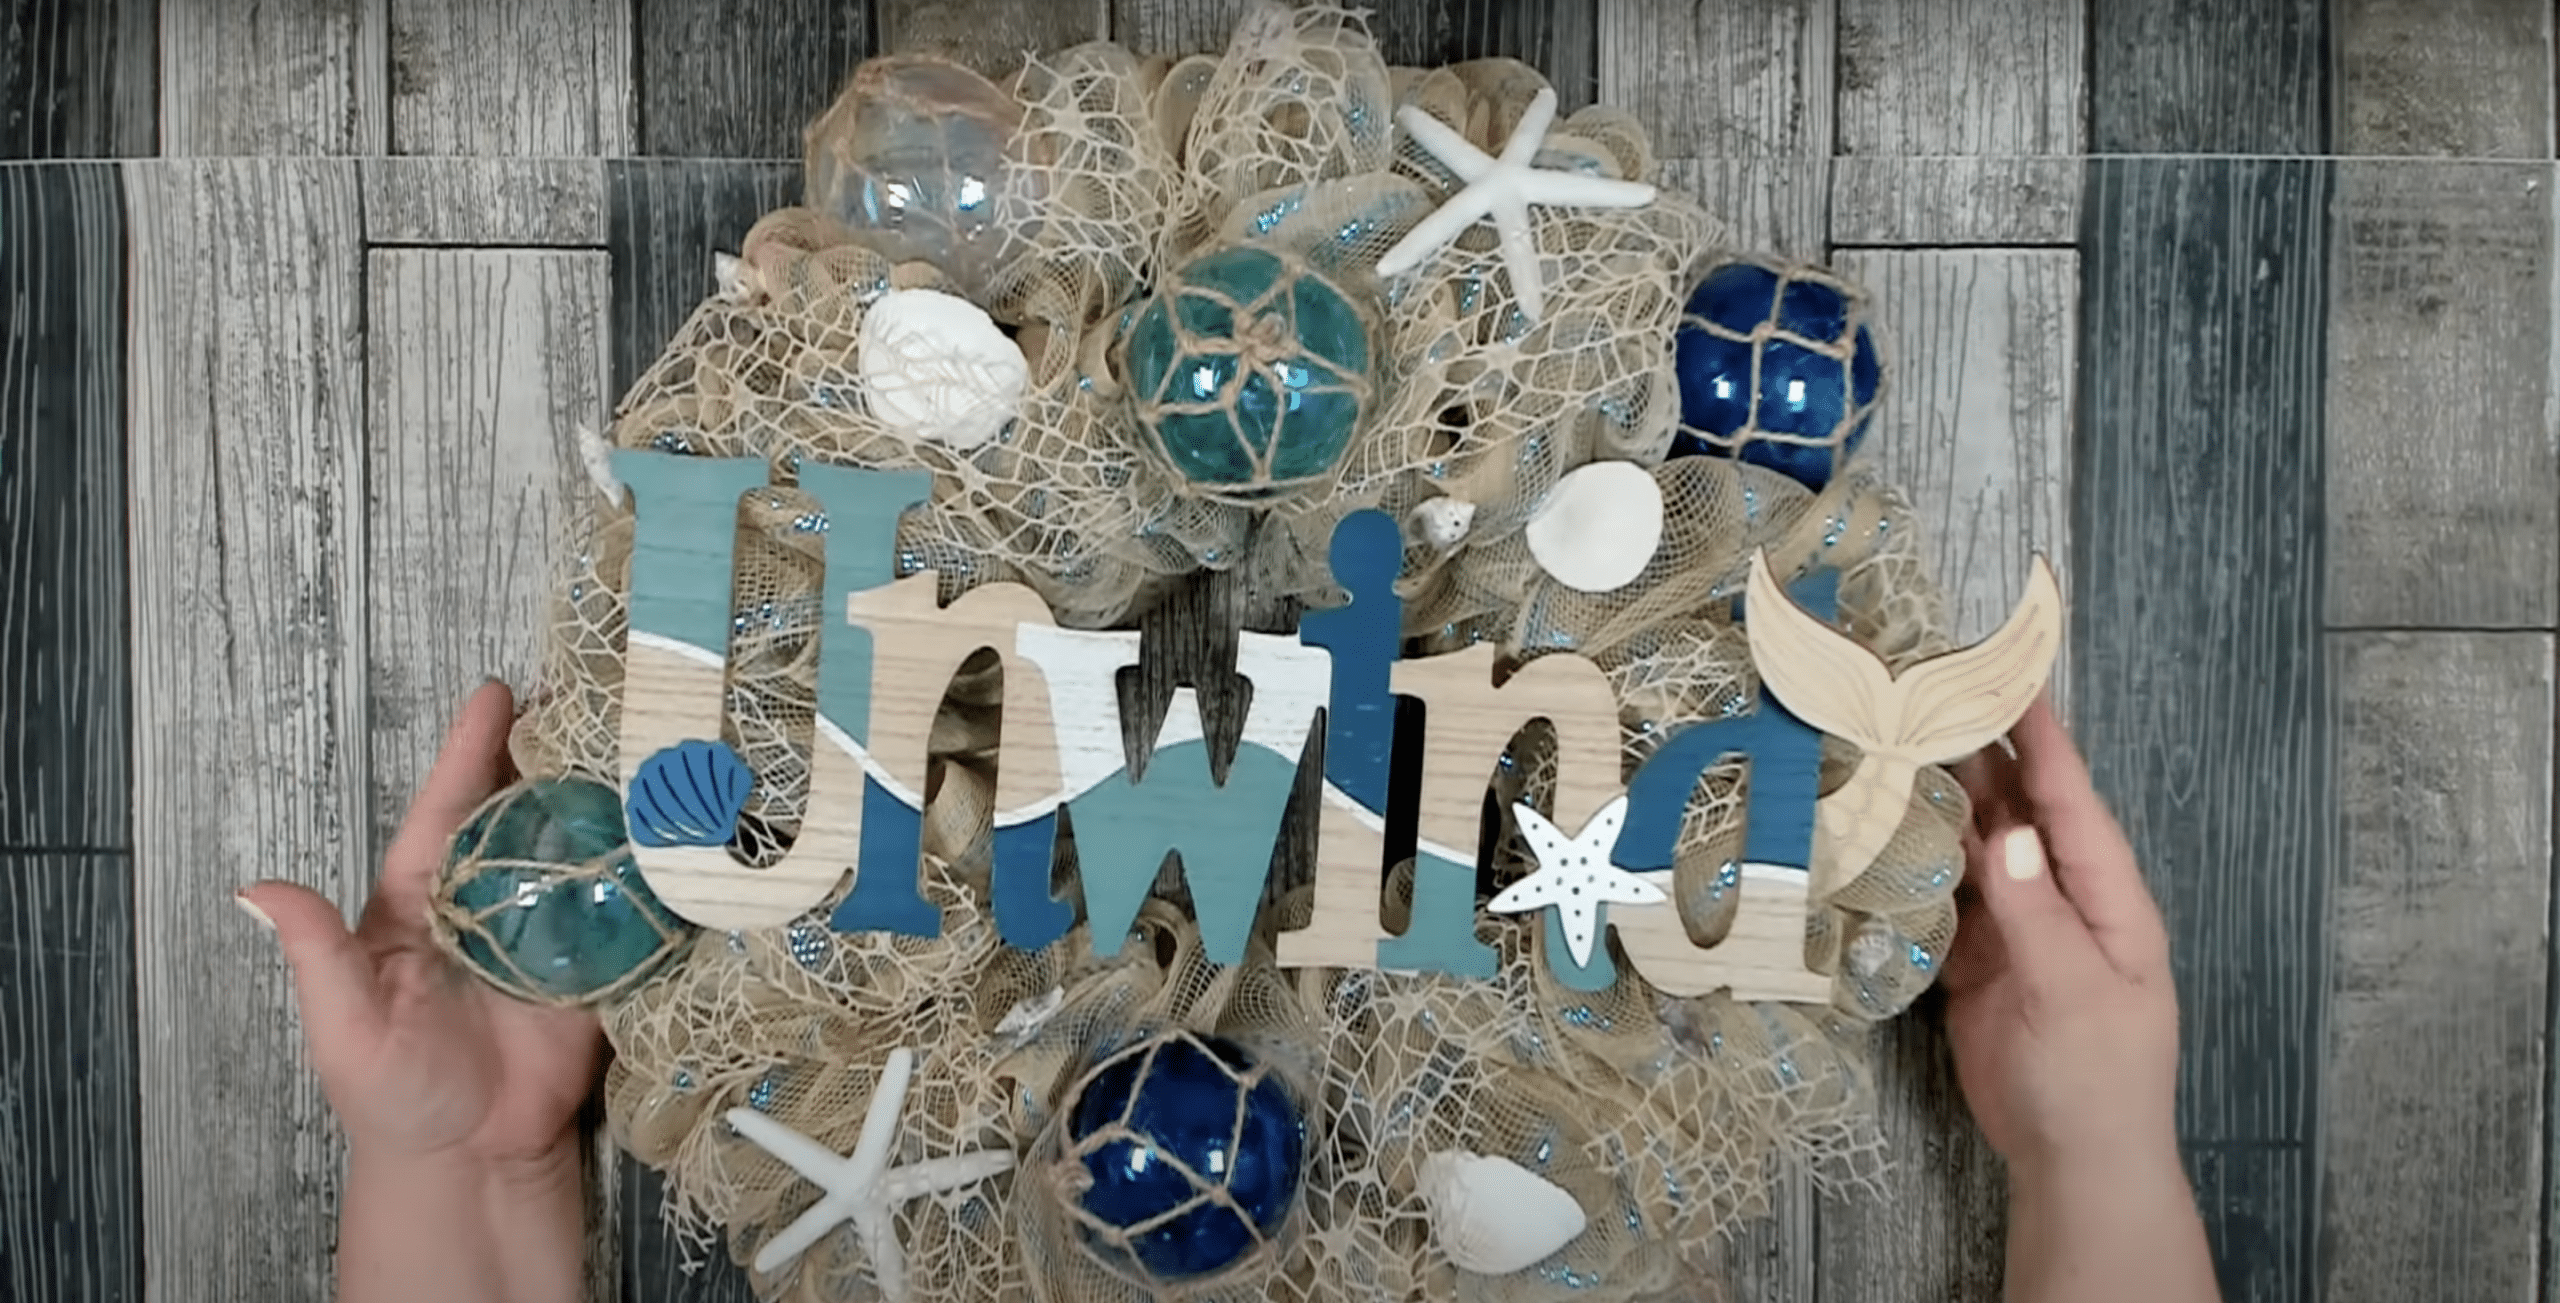
Step 5: Placing the Glass Ornaments

Adding glass ornaments is a fantastic way to give your wreath a charming, nautical touch.
The key here is balance—you want to place them evenly so that the wreath looks cohesive rather than crowded in certain spots.
Planning the Placement:
- Lay out all six glass ornaments before attaching them.
- Arrange them in a visually balanced pattern—a good approach is to place three on the top half and three on the bottom half rather than clustering them all in one area.
- Mix and match colors if you’re using multiple shades (like teal, clear, and blue) to create a harmonious blend.
Attaching the Ornaments Securely:
- Each ornament comes with a loop or hanger.
- Take half a pipe cleaner and thread it through the loop.
- Wrap the pipe cleaner around the wreath frame, making sure it’s tight and secure so the ornament won’t dangle loosely.
- Twist the pipe cleaner firmly behind the frame and tuck in any extra length to keep it hidden.
Final Adjustments:
- Once all ornaments are attached, step back and check for any gaps or awkward placements.
- If an ornament is sinking into the mesh, gently adjust it by pulling it forward or fluffing the surrounding mesh.
- For extra security, apply a small dot of hot glue at the base of each ornament to keep it in place without it shifting.
This step brings a gracious sparkle to the wreath while reinforcing the oceanic, coastal theme!
Step 6: Securing Starfish and Seashells

Start by laying out seashells and starfish in different sections of the wreath. Then apply a combination of hot glue and tacky glue for a strong, weather-resistant hold.
Press each embellishment into the mesh and frame, allowing ample drying time.
Step 7: Final Touches and Securing Everything
Before calling your wreath complete, take a moment to check the back of the wreath and tuck in any excess pipe cleaners to keep the finish neat and professional. This step ensures that no sharp edges or stray wires are visible when the wreath is hung.
If you notice any areas that feel a little sparse, consider adding small shells or a sand dollar to enhance the coastal charm and maintain a balanced look.
Lastly, gently fluff the mesh and make any necessary adjustments to the decorations, ensuring that everything appears full, even, and well-spaced.
Step back and admire your work—your beautifully crafted coastal wreath is now ready to display!
For a more detailed tutorial on how to make a coastal wreath at home, check out the video below:
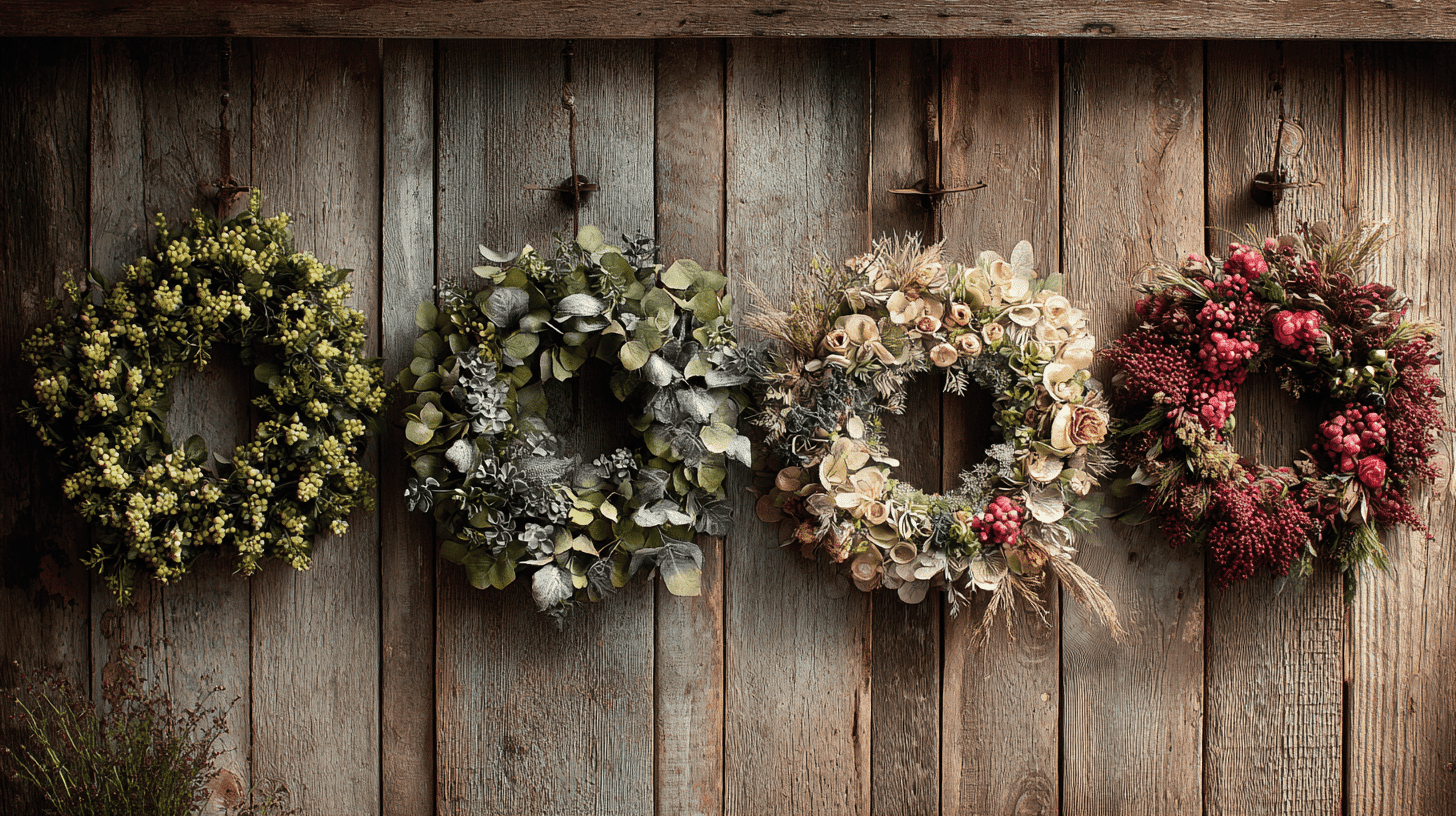
Popular Themes for DIY Coastal Wreaths
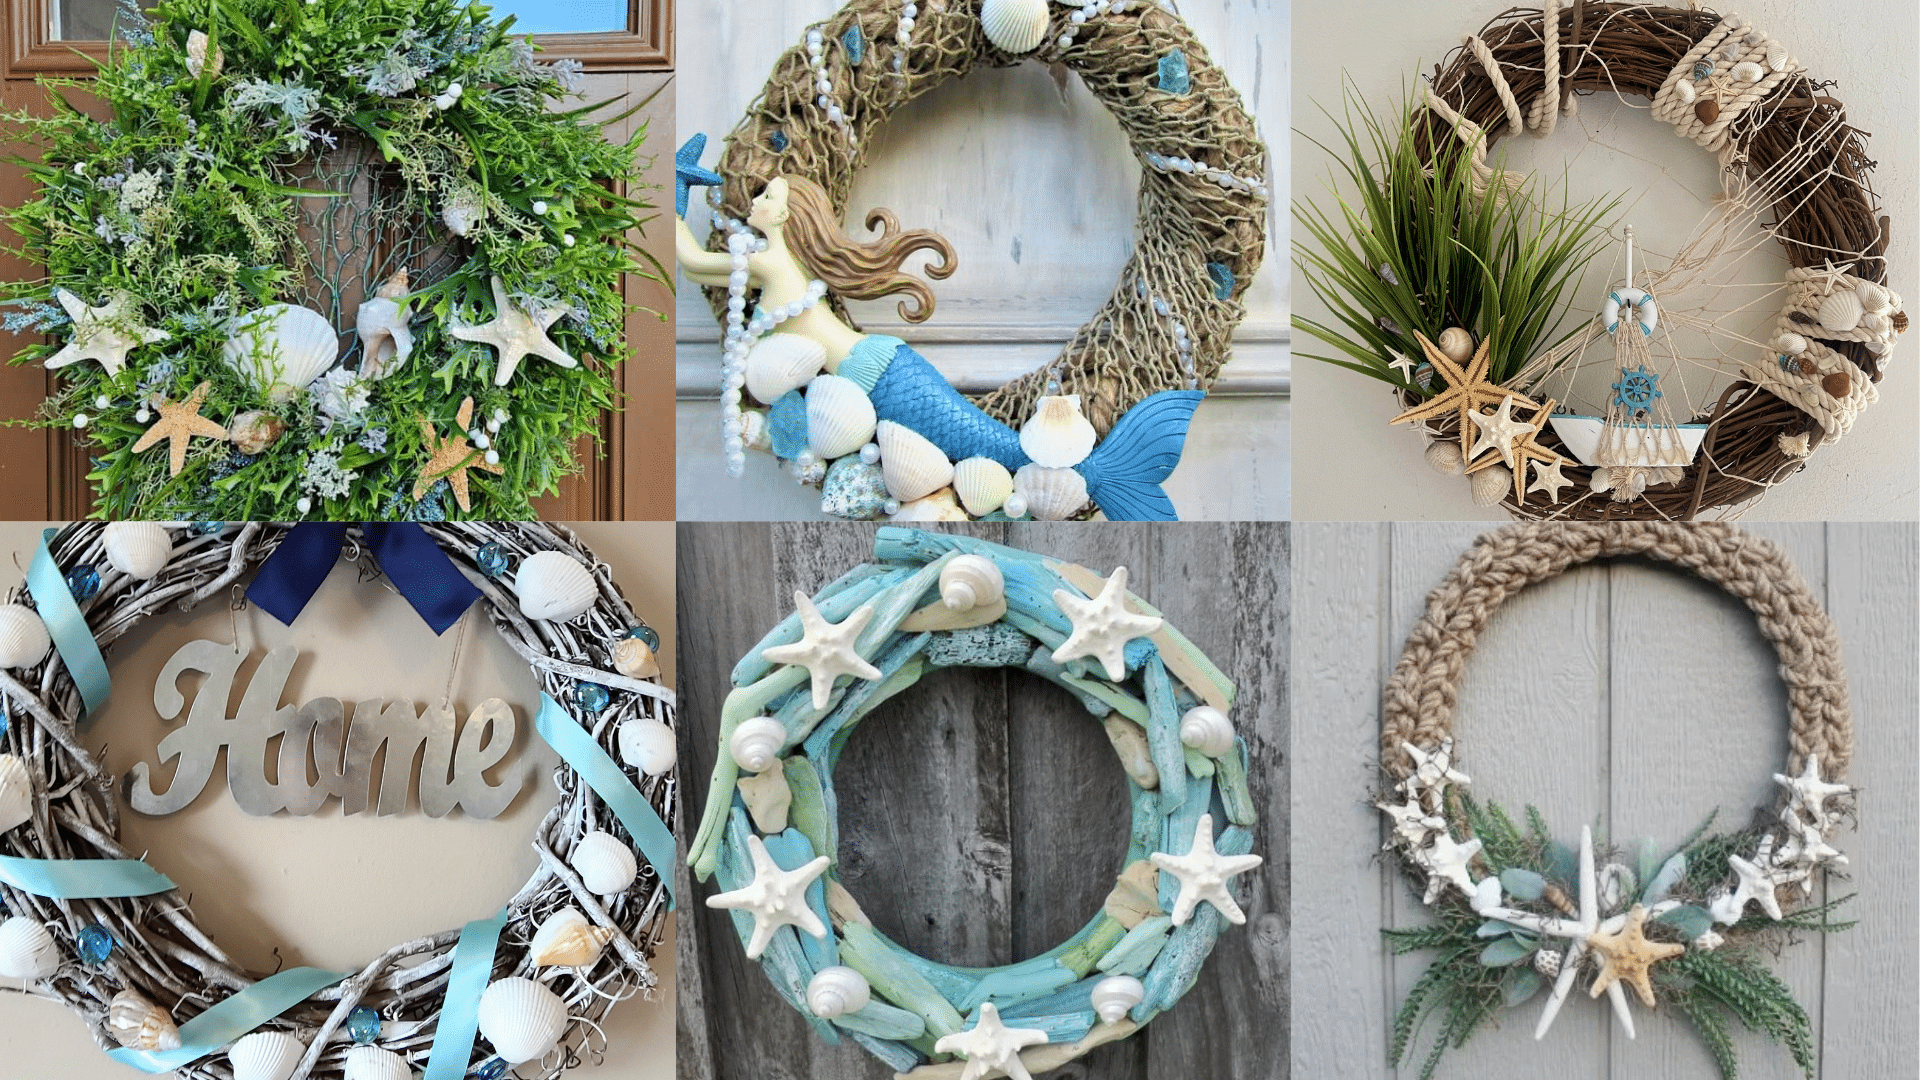
I’ve made dozens of coastal wreaths over the years, and I’ve found that centering your design around a specific theme really helps pull everything together.
Here are some of my favorite coastal wreath themes that you might want to try:
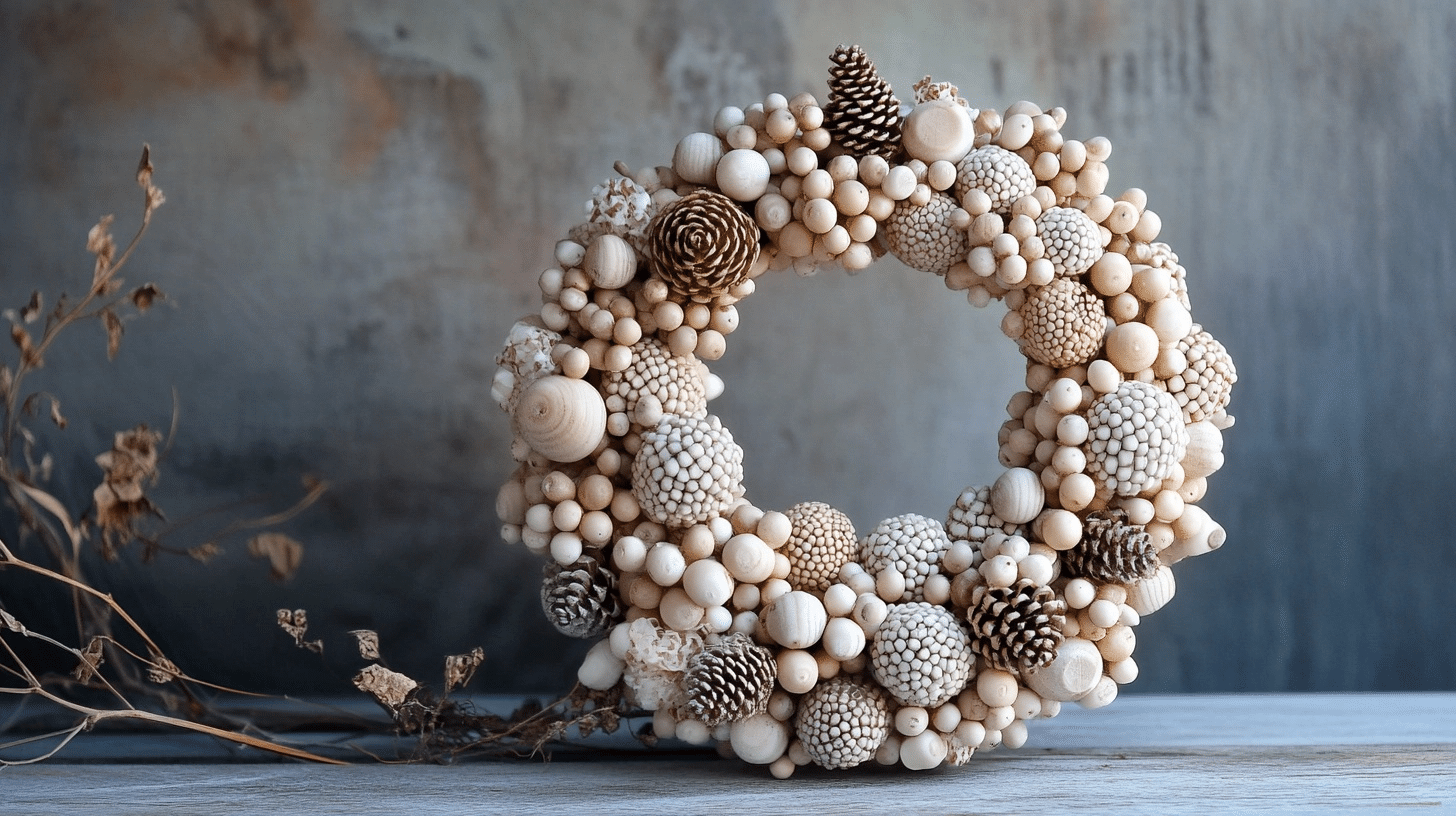
1. Beachcomber Classic
This is my go-to theme when I’ve collected a variety of beach finds.
I leave some spaces between elements and don’t overcrowd the design. The color palette stays neutral with tans, whites, and soft blues.
2. Nautical Navy
When I want something a bit more structured and bold, I go for a nautical theme.
I wrap a wire form with navy and white striped ribbon, then add white shells, miniature anchors, and bits of rope tied in sailor knots. This theme works beautifully for coastal homes with a more traditional decor style.
The contrast between the deep navy and bright white creates a crisp, clean look that stays fresh year-round.
3. Mermaid Treasure
This is the theme I create when I want something a bit more whimsical and colorful.
I start with an aqua-blue base (either painted or wrapped with colored burlap) and add iridescent shells, pieces of coral, and shells in purples and pinks.
Small accents of gold (either spray-painted shells or purchased metallic accents) add that “found treasure” feel.
This theme is especially popular for beach house bathrooms or children’s coastal-themed bedrooms.
4. Minimalist Shoreline
Sometimes less is more, and this theme proves it.
I use a thin metal hoop as my base and attach just a few statement pieces—perhaps one large starfish, a couple of perfectly formed shells, and a small bundle of dried sea grass.
The negative space becomes part of the design, creating an artistic, gallery-worthy piece!
5. Tropical Paradise
When I’m missing summer in the middle of winter, I create a tropical-themed wreath.
I combine shells with preserved greenery like palm fronds or air plants, adding pops of bright color with small silk hibiscus flowers or preserved coral pieces.
The result feels like a little slice of a Caribbean beach. This theme brings warmth and vacation vibes to any space, especially during colder months when we all need a mental getaway.
Remember: The best part is that you can always change your wreath with the seasons or as your decor preferences evolve—just carefully remove elements and reconfigure with new finds from your beach collection.
How to Preserve Coastal Wreaths
Keeping your coastal wreath looking beautiful isn’t difficult, but it does require a little TLC. I’ve had wreaths last for years with proper care, and I’m happy to share my maintenance secrets.
Indoor Care
For wreaths displayed inside, dust is the main enemy.
I gently dust mine every couple of weeks using a soft makeup brush or a hair dryer on the lowest, coolest setting. The key word here is gentle—those fragile shells and sea treasures can come loose if handled roughly.
I also keep my wreath away from direct sunlight, which can fade natural elements and cause glue to deteriorate faster.
If you notice any pieces starting to loosen, a quick touch-up with hot glue usually does the trick.
Outdoor Maintenance
For wreaths hanging on exterior doors or walls, weather protection is essential.
I apply a clear acrylic sealer spray before hanging and reapply every few months. This creates a protective barrier against moisture and prevents shells from becoming brittle in the sun.
During extreme weather, I bring my outdoor wreaths inside. Heavy rain, intense heat waves, or freezing temperatures can damage even well-sealed wreaths. Better safe than sorry!
Seasonal Refreshing
Twice a year, I give my coastal wreaths a thorough inspection and refresh. I remove any debris that might have settled between shells, tighten loose elements, and sometimes add a new valuable or two to replace anything that looks worn.
For wreaths that have dulled a bit, a light misting with a mixture of water and a few drops of glycerin (available at craft stores) can restore the shine to shells without making them look artificial.
Storage Tips
When it’s time to store your wreath, proper packing is crucial.
I wrap mine loosely in acid-free tissue paper, then place it in a box large enough that nothing gets crushed. I never stack anything on top of the wreath box and always store it in a climate-controlled area.
Before storing long-term, I take a quick photo of my wreath. This way, if anything shifts during storage, I have a reference for how to rearrange things when I bring it out again.
With these simple maintenance steps, your coastal wreath will continue to bring beachy vibes to your space for years to come.
The small effort is well worth it to preserve your handcrafted creation.
Wrapping It Up!
There you have it—your very own slice of coastal beauty to enjoy year-round!
I hope this tutorial has inspired you to transform your beach jewels into something meaningful for your home. Remember, each wreath tells a unique story because no two shells or pieces of driftwood are ever exactly alike.
Don’t worry if your first attempt isn’t perfect. My initial wreaths were far from instagram-worthy, but they still captured that seaside magic. The beauty lies in the imperfections and personal touches.
Next time you’re at the beach, I bet you’ll look at those shells and sea fortunes with new creative eyes.
Happy Crafting!