Bringing a touch of nature inside our homes can be tough. Store-bought decor often looks fake and costs too much. But I’ve found that simple items from my backyard can change into stunning home accents with minimal effort.
I promise you can create beautiful moss branch decorations without fancy tools or special skills. These natural pieces add texture and life to any room without breaking the bank.
In this blog, I’ll show you how to select the right branches, apply moss correctly, and display your creations.
You’ll also learn about proper care to keep your moss branches looking fresh. Get ready to make something truly special that friends will ask about when they visit!
Why Choose Moss Branches for Home Decor?
Mossed branches bring nature into your home in a way artificial plants simply can’t match. They add a soft, green touch to any space without asking for much attention.
Unlike many houseplants, these moss creations don’t need daily watering or specific light conditions.
I love how mossed branches fit with almost any style; they look just as good in modern homes as they do in rustic settings, and they’re budget-friendly too.
The texture of moss is what makes it truly special. It offers a visual and tactile contrast to hard surfaces in your home. Plus, working with natural materials can be so calming, a nice break from our digital world. When you make them yourself, each piece tells a story.
Step-By-Step Guide: DIY Moss Branches
Looking for a natural, rustic touch for home decor? Creating DIY moss branches is a simple, creative way to bring a fresh vibe into your space.
Follow this beautiful guide who made the process easy and rewarding. Let me walk you through all the steps to craft your mossy magic.
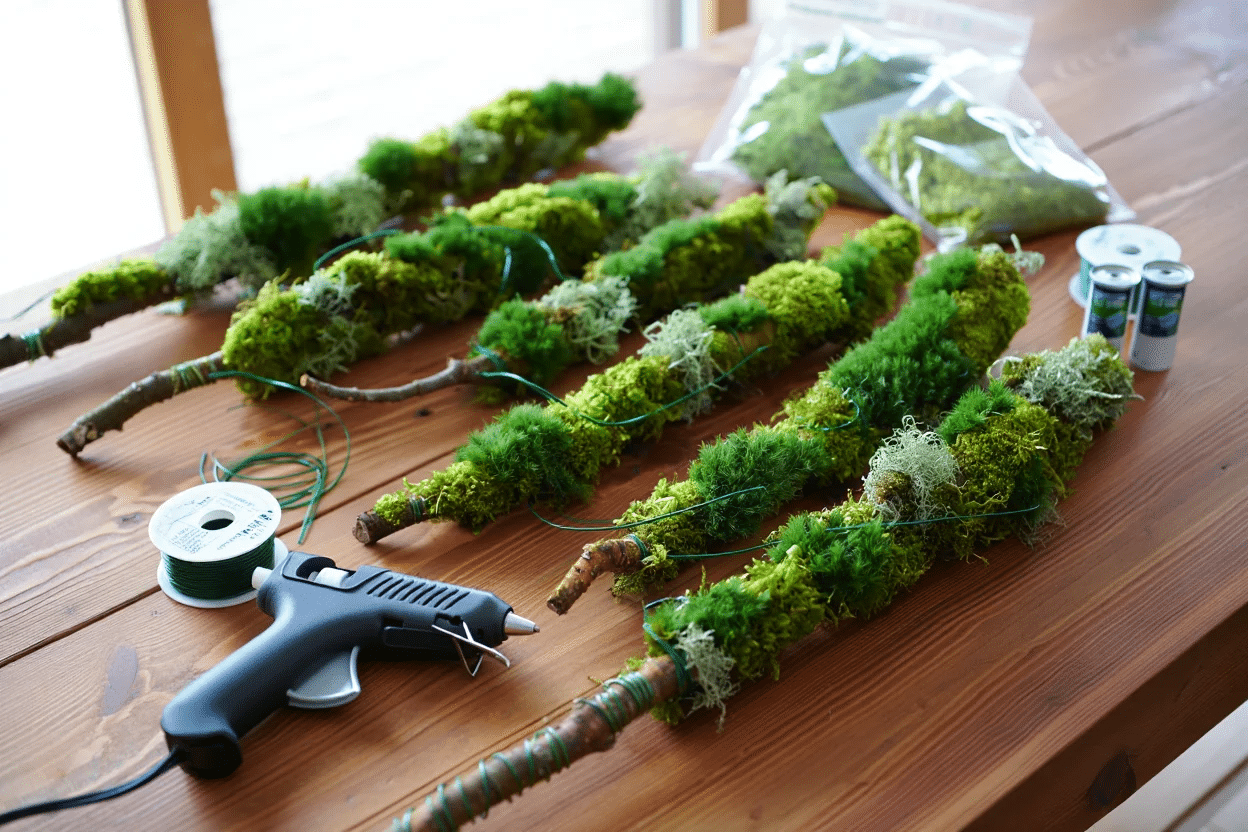
1. Gather Your Supplies
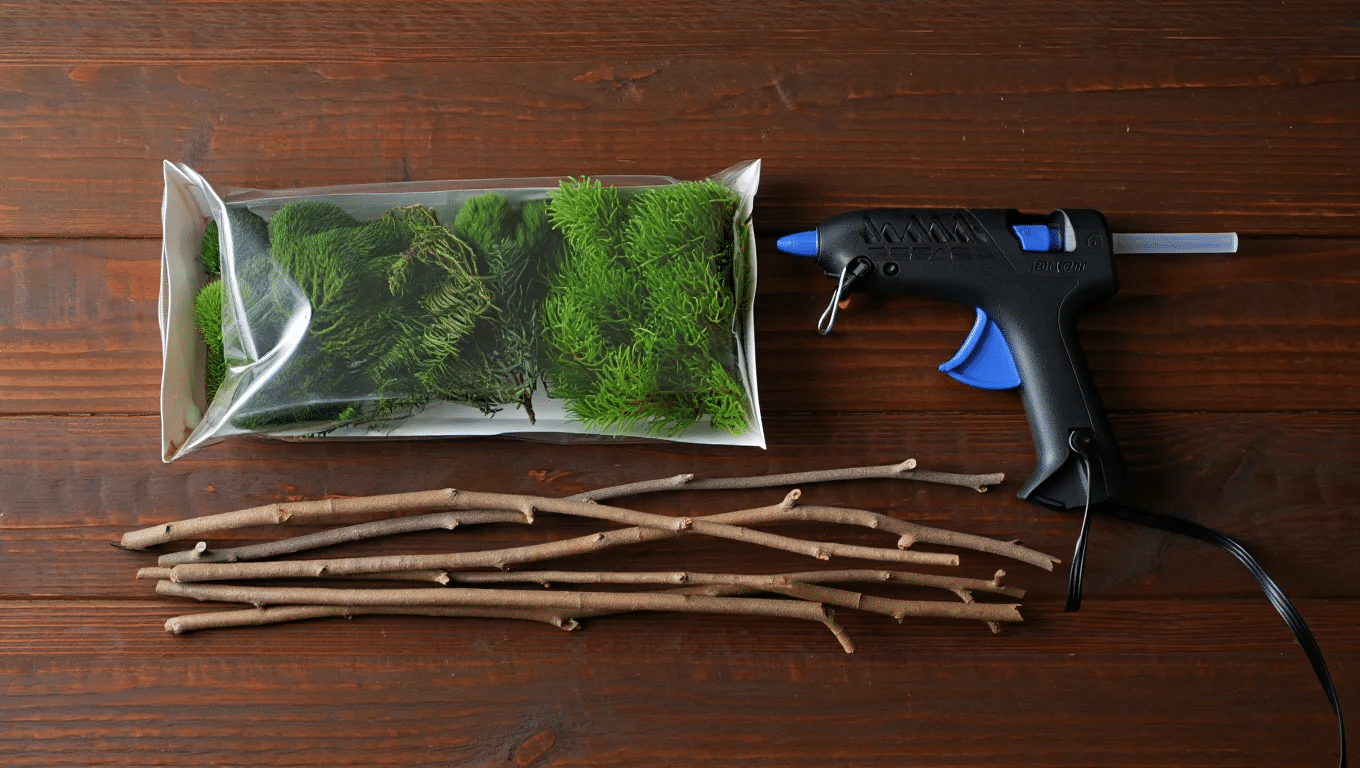
Artificial willow branches, a variety pack of moss, and a hot glue gun are the main materials needed. The branches are bendable and easy to work with, making shaping a breeze.
A single moss pack is more than enough to cover multiple branches. Having a hot glue gun ready helps attach the moss quickly without much mess or hassle.
2. Shape the Branches
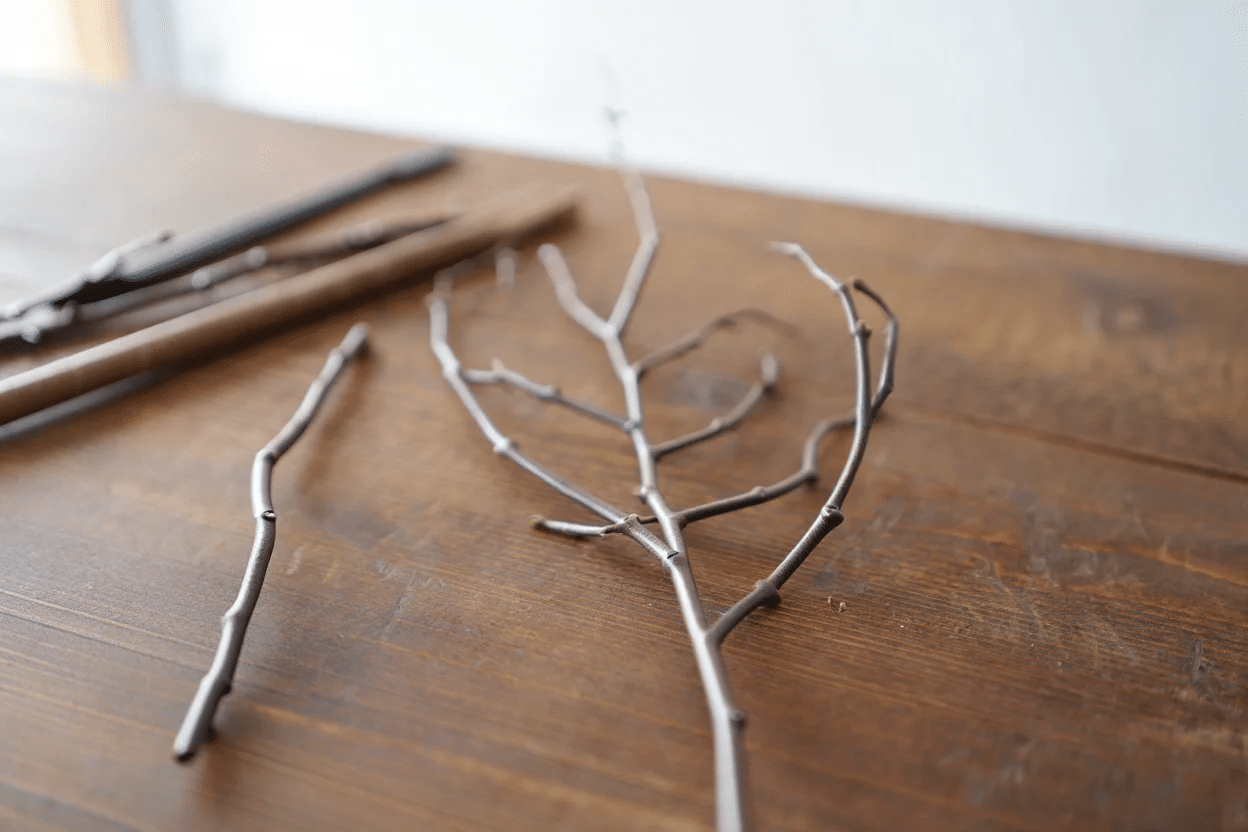
After unboxing, I gently reshaped the branches because they were folded during shipping. The artificial willow branches are extremely pliable, so bending them back into a natural, tree-like form didn’t require much effort.
Soft shaping ensures they look more realistic and lets them sit better when eventually placed into a vase.
3. Apply Hot Glue to the Branch
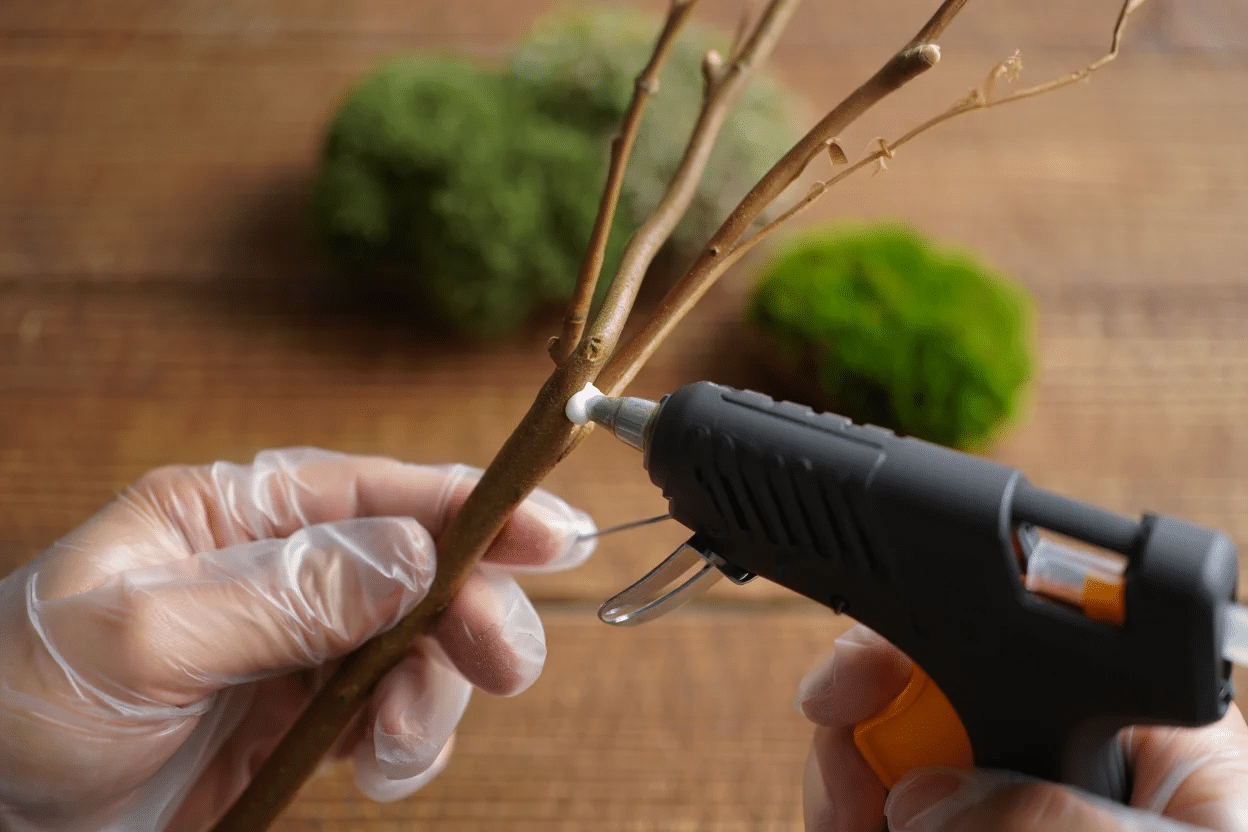
I ran the hot glue gun down sections of each branch where I planned to add the moss. Focusing mainly on the larger stems and forked areas helped create a natural effect.
Using small amounts of glue at a time gave me better control and prevented dripping. Care was necessary to avoid touching the hot glue directly.
4. Attach the Moss
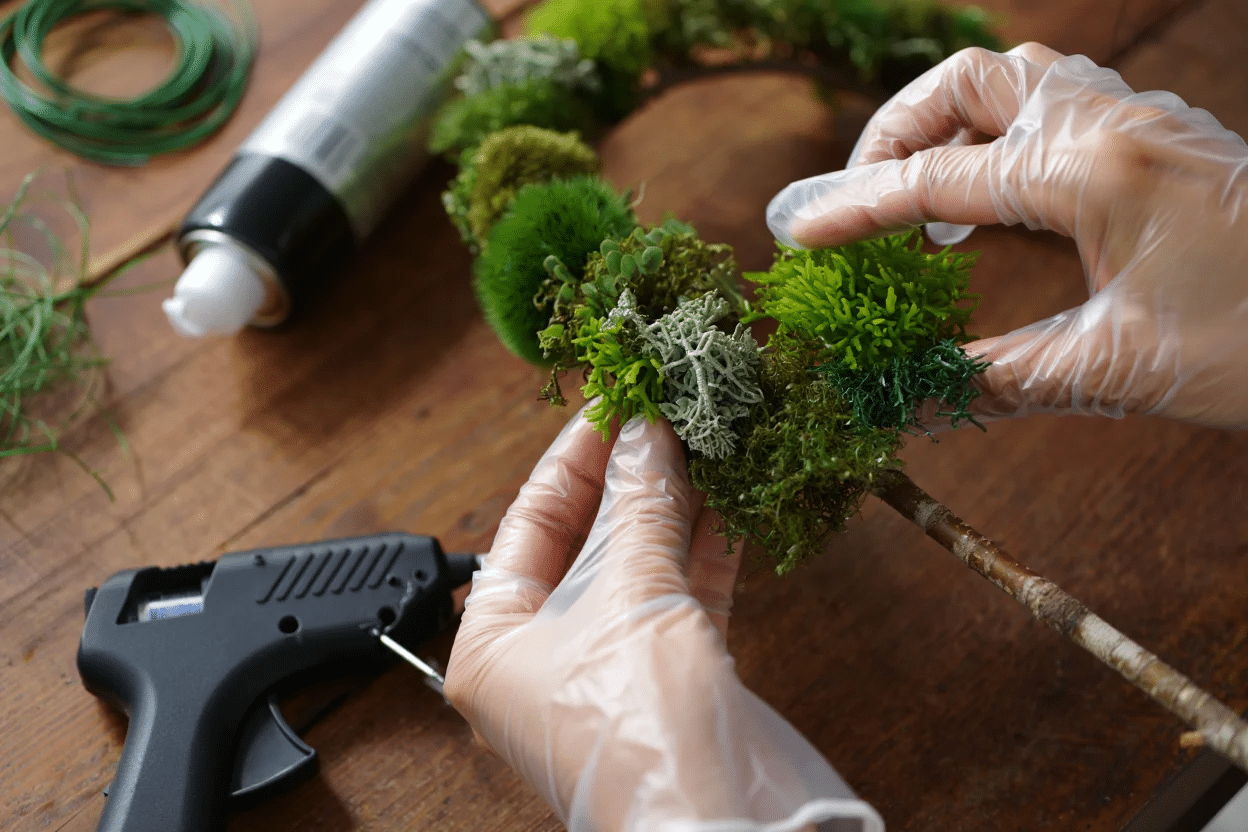
Small bits of moss were pressed carefully onto the glued sections. I used a variety of moss types for a textured, realistic appearance.
Sometimes I layered a lichen piece on top for extra depth. Pressing lightly ensured the moss stuck well without clumping or falling off once the branch was handled or arranged later.
5. Cover All Sides
Wrapping moss around each branch was key for a fully covered, professional finish. I made sure not to leave any bare spots visible from different angles.
Gently pressing the moss while rotating the branch in my hand created an even look. Careful attention to all sides helped the branches look vibrant and lush.
6. Framing the Moss and Lichen

Each branch was made unique by varying the moss coverage and adding lichen in different spots. Some branches had heavier moss, while others leaned toward lighter touches.
This variation made the final arrangement feel more natural and active. Adding slight differences prevented a repetitive or artificial look among the branches.
7. Let the Branches Dry
After finishing moss placement, I allowed each branch to dry fully. This step was important to ensure all the moss adhered firmly.
Waiting a few minutes before moving or styling prevented any fresh glue from shifting or making a mess. Once dry, the branches felt sturdy and ready to be arranged beautifully.
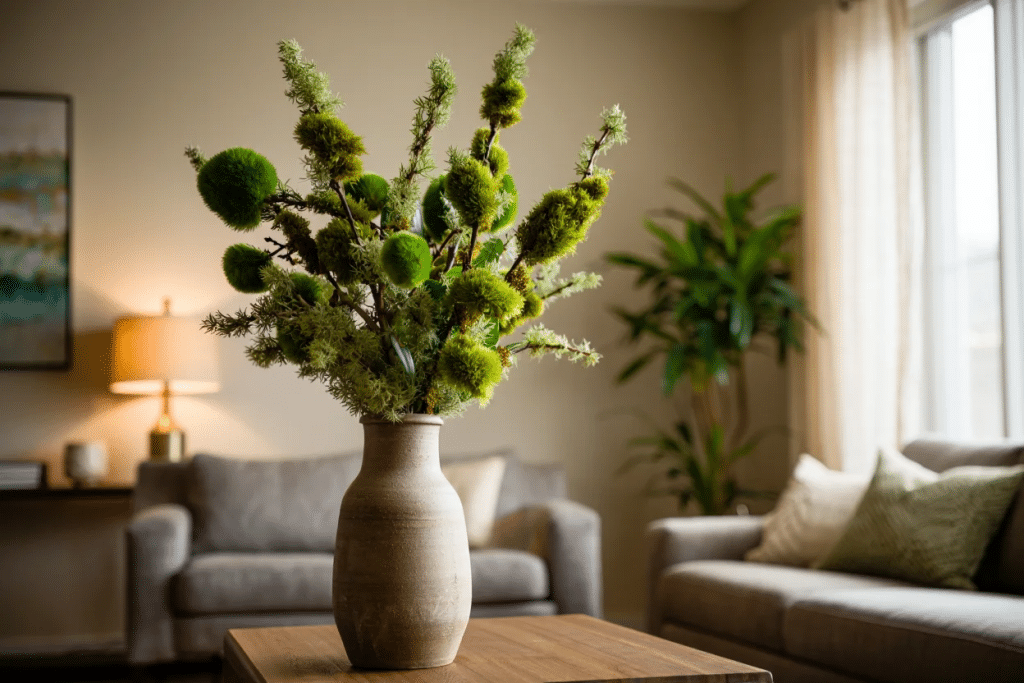
8. Style the Moss Branches

Styling was the fun final step. I chose a mid-size vase and bent the bottom of the branches into a U shape to secure them inside.
This bending method helped the branches stay upright without toppling over. I also experimented with different vases and arrangements, mixing in plain branches for extra texture and height.
Other Creative Craft Ideas with Moss
Looking to get crafty with moss? Whether it’s preserved, sheet, or Spanish moss, this versatile material adds earthy beauty to any DIY project. From rustic home decor to garden pieces, here are seven moss craft ideas you’ll love trying.
1. Moss Picture Frame
Decorate a plain wooden frame by gluing moss around its edges. It gives the frame a natural, woodland charm perfect for displaying nature photography or botanical prints. This craft adds an organic touch to any shelf or gallery wall.
My recommendation – Wood Photo Frame with Preserved Moss
2. Moss Wreath
Attach moss to a grapevine or foam wreath base and layer with florals, berries, or ribbon. It’s perfect for year-round front door decor. The lush green base works across seasons and can be easily refreshed with seasonal embellishments.
My Favourite – Northlight Reindeer Moss Heart Wreath
3. Moss Table Runner
Glue moss sheets onto burlap or fabric to create a unique table runner. It’s ideal for rustic-themed parties or seasonal decor.
This natural centerpiece base pairs beautifully with candles, wood slices, and floral arrangements for woodland-style tablescapes.
My recommendation – Moss Table Runner by Ashland
4. Moss Monogram Letter
Cut out a cardboard or wooden letter and cover it entirely in moss using hot glue. Hang it on doors or walls for a personalized statement piece. It adds rustic beauty and works well for weddings, nurseries, or home decor.
5. Moss Ball Orbs
Wrap foam or plastic spheres in moss to create decorative orbs. These can be displayed in bowls or vases for texture.
They’re perfect for coffee table accents and bring a soft, green touch to modern or farmhouse interiors alike.
My favourite – NAPA Home & Garden, Mood Moss
6. Moss-Covered Planter
Add moss around the outside of terra cotta or ceramic pots using glue. This gives the containers a soft, aged look that blends perfectly with garden-inspired interiors. Ideal for displaying indoor plants, herbs, or faux greenery arrangements.
7. Moss Terrarium
Layer moss inside a glass container along with pebbles and soil to create a low-maintenance terrarium. It adds life and greenery to indoor spaces. Great as a centerpiece, this piece thrives in indirect light with minimal upkeep.
My recommendation – Handmade Greenhouse Glass Terrarium with Preserved Moss
Maintenance Tips for Moss Branch Arrangements
Taking care of moss branch decorations isn’t difficult at all. With just a few simple steps, your natural creations can stay fresh and green for months. Here’s what I’ve learned from keeping mine looking its best.
- Mist weekly: Spray your moss lightly with water once a week to maintain moisture levels without soaking it
- Avoid direct sunlight: Place your mossed branches away from sunny windows, as direct light can dry them out and cause fading.
- Skip the fertilizer: Moss doesn’t need plant food like other houseplants do
- Dust gently: Use a soft brush to remove dust buildup every few weeks
- Maintain humidity: Moss thrives in bathrooms or kitchens where humidity is naturally higher
- Trim as needed: Snip away any browning parts with scissors to keep the arrangement looking fresh
Wrapping It Up
Moss Branch Decorations Offer a Simple Way to Add Natural Charm to Your Home. Throughout This Guide, I’ve Shared how To Create and Care for These Green Accents that Bring a Bit of Forest Magic Indoors.
What Makes Moss Branches so Special Is Their Simplicity. You Don’t Need Fancy Skills or Expensive Materials – Just a Few Items and Some Creativity.
The Next Time You Walk Outside, Look at Those Fallen Branches with New Eyes. They’re Not Just Yard Waste but Potential Art Pieces Waiting to Happen.
I Hope This Inspires You to Try Making Mossed Branches Yourself. Share Photos of Your Creations in The Comments Below! And if You Found This Helpful, Check out My Other Natural Decor Guides on The Site. Happy crafting!


2 Responses
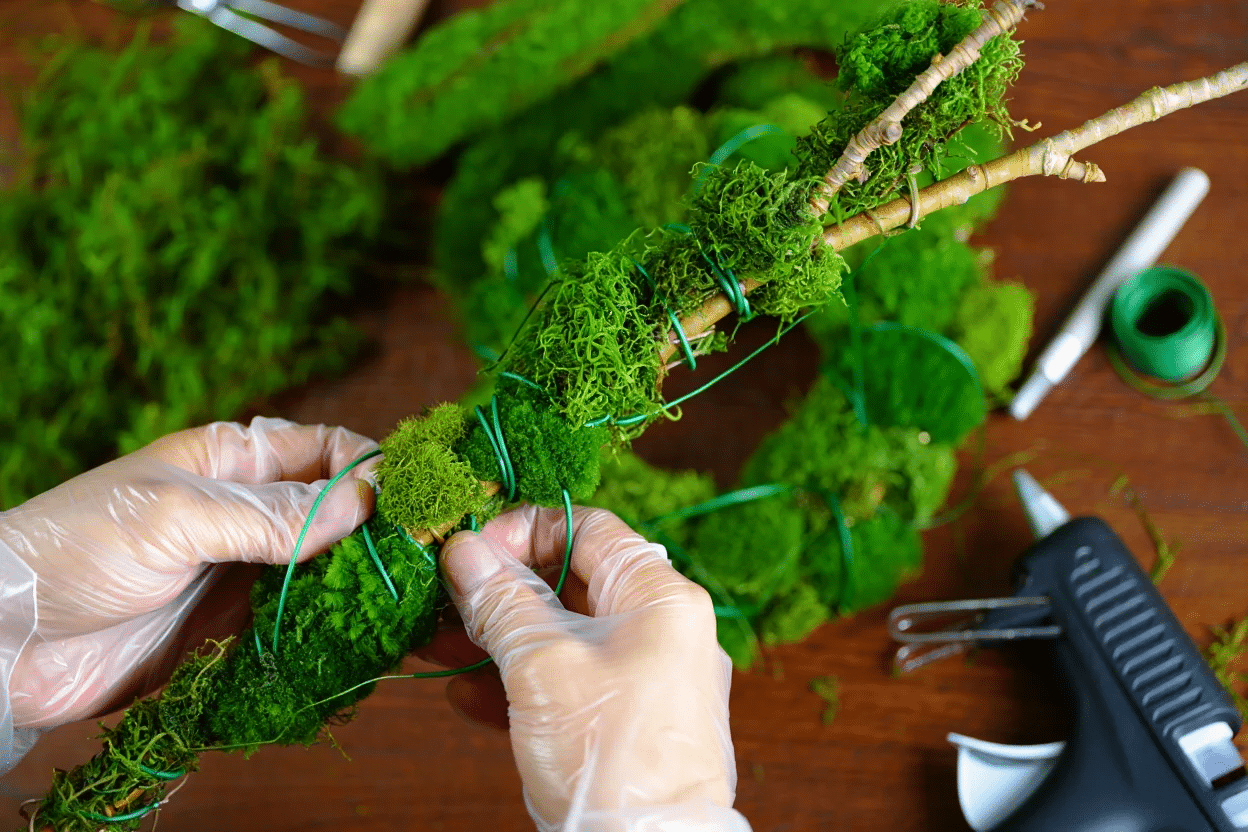
You don’t mention the wire you wrapped around the branches. Could you go over that part?
Thanks for catching that! I used thin floral wire to secure some of the heavier moss pieces. I just wrapped small sections lightly around thicker branches where the moss felt loose. You might find the hot glue holds better or worse depending on what branches and moss you’re working with.