Fall season brings the desire for cute pumpkin decorations, but store-bought ones can be pricey and lack personal touch. I often found myself wanting something unique without spending too much time or money.
With napkin decoupage, you can turn plain pumpkins into beautiful decorations that match your style perfectly. This simple technique lets you create custom pumpkins with just a few basic supplies in under an hour.
In this guide, I’ll show you how to make decoupage pumpkins with paper napkins. You’ll learn which supplies work best, the step-by-step process, and simple tips to fix common mistakes.
By the end, you’ll have the skills to make professional-looking pumpkin decor that your friends will think came from a boutique store.
Why Decoupage Pumpkins?
Pumpkins offer the perfect blank canvas for personal creativity. When I first tried decoupage on pumpkins, I was surprised by how simple yet striking the results were. These projects cost much less than store-bought decorations and allow for complete control over colors and designs.
Decoupage pumpkins can match any home style. Want a farmhouse look? Choose napkins with rustic patterns. Prefer modern decor? Pick geometric designs or solid colors. The options are truly limitless.
These decorated pumpkins last longer than carved ones. A carved pumpkin starts to rot within days, but a decoupage pumpkin can stay beautiful for weeks or even months with proper care.
Making these also offers a fun activity to share with friends or family. I’ve hosted pumpkin decorating nights where everyone brings different napkins, and we each create something unique to take home.
The best part? You don’t need artistic talent to make something beautiful. The napkins do the work for you!
Instructions for Creative Decoupage Pumpkins
Change your fall decor with creative decoupage pumpkins! This simple yet stunning craft allows you to personalize your pumpkins with beautiful napkin designs, adding a unique touch to your seasonal decorations.
Materials Required
Here are the materials that you need to decoupage pumpkins this fall.
-
Foam Pumpkin: Base for the decoupage project
-
Napkins (Cocktail or Dinner Size): Decorative layer for the pumpkin
-
Painters Tape: To easily remove the napkin backing
-
Paper Cutter: To cut napkins to the desired size
-
Mod Podge (or Varnish): Adhesive to apply the napkin and seal the pumpkin
-
Brush: To apply the adhesive and topcoat
-
Saran Wrap: To smooth the napkin without damaging it
-
Scissors: For trimming excess napkins or adjusting designs
-
Clear Sealant (Polyurethane): To protect the finished design
Step 1: Prepare Your Pumpkin
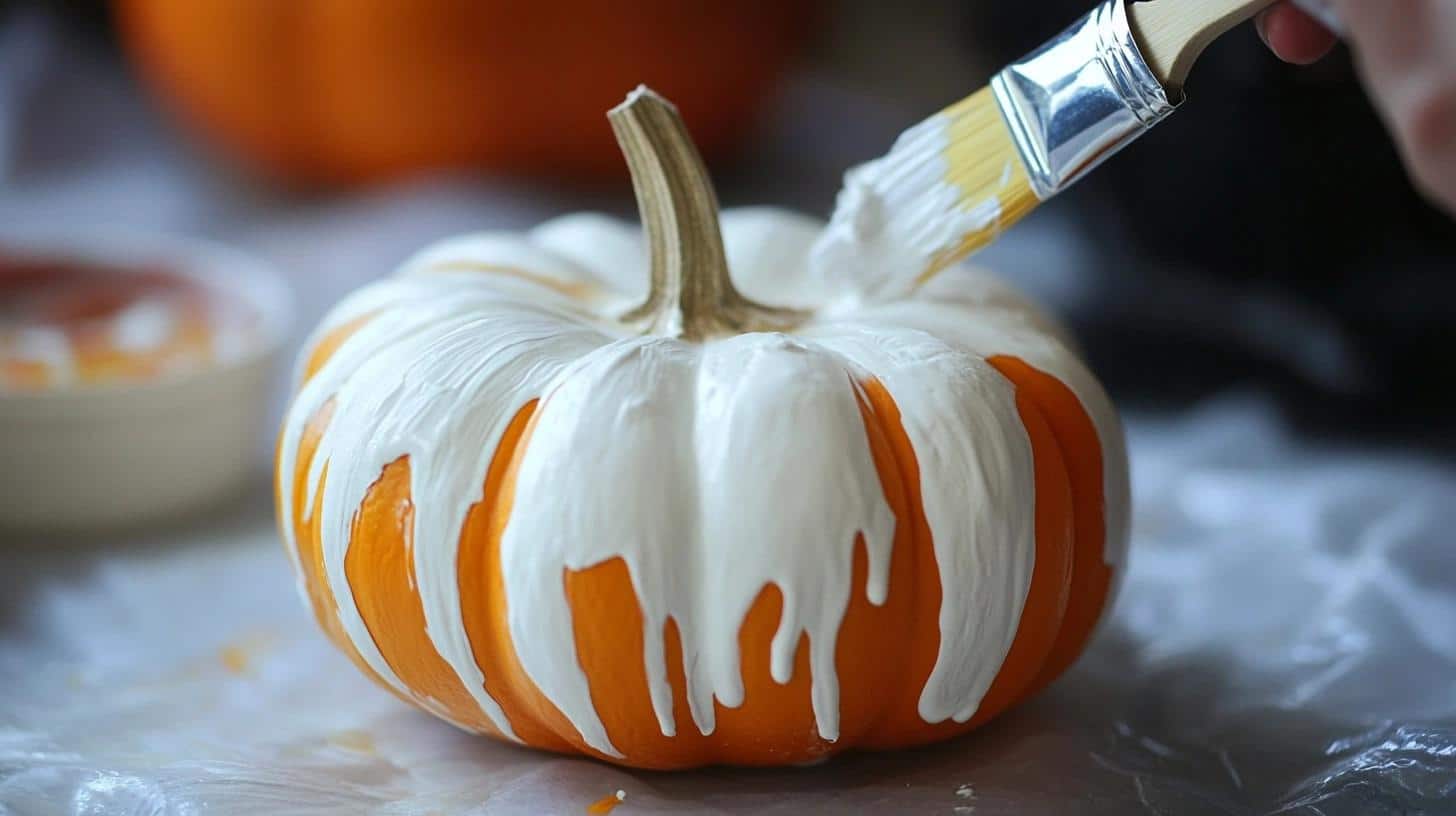
Start by selecting your pumpkin. For this tutorial, we’ll be using a standard medium foam pumpkin. Foam pumpkins are durable and lightweight, which makes them ideal for decoupaging.
If your foam pumpkin is not white, you can prime it with a coat of white chalk paint to create a uniform base for your decoupage.
Step 2: Choose Your Napkin and Remove the Backing
Pick a napkin that fits your desired pattern. In this case, we’re using a green and white napkin. Make sure to choose a pattern that is easy to work with and doesn’t have intricate scenes.
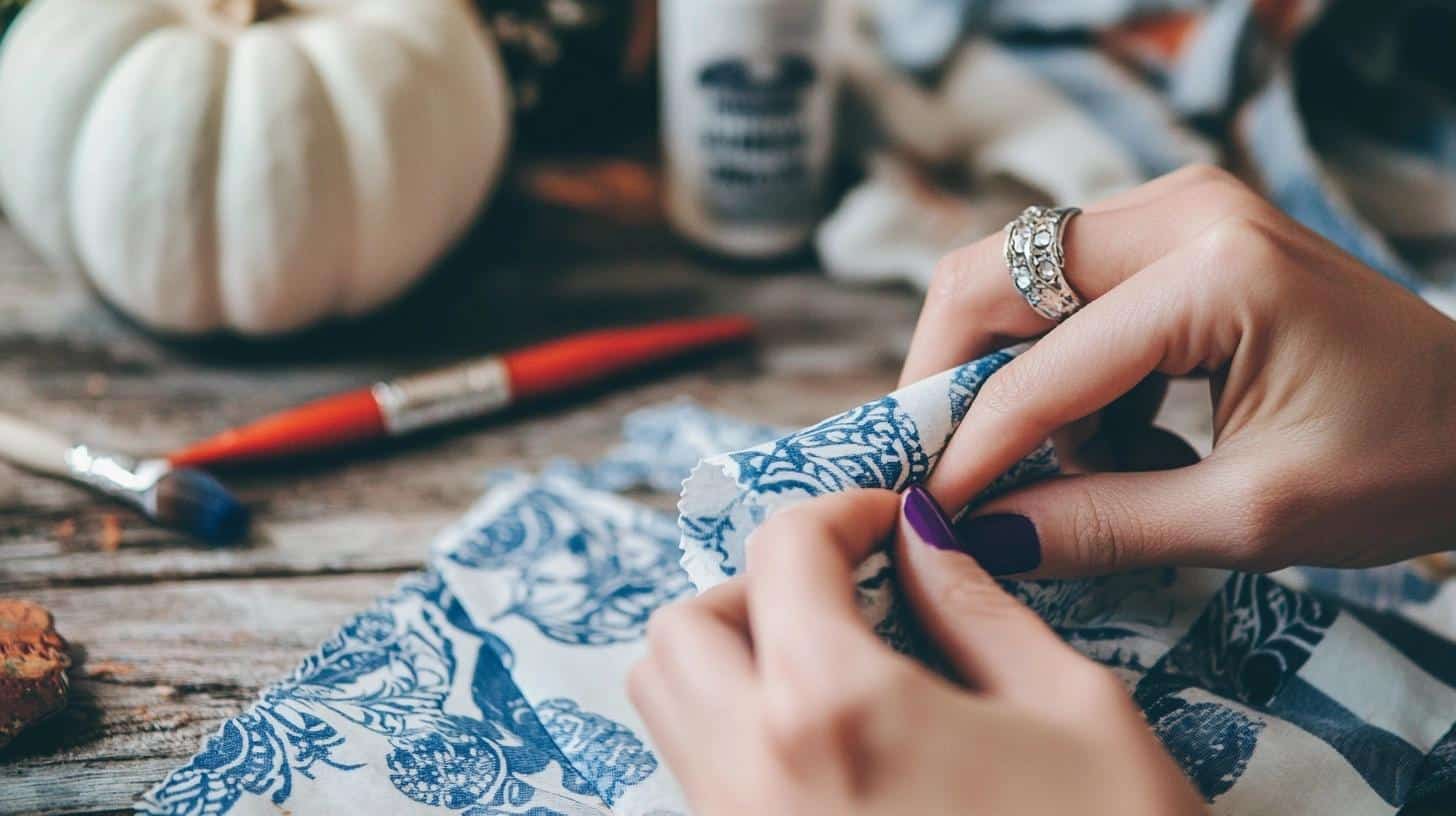
Carefully separate the layers of the napkin. Most napkins come in two or three layers, and you’ll only need the top decorative layer.
A useful tip for removing the backing is to use painters tape simply tap the tape onto the napkin and gently peel off the layers.
Step 3: Cut the Napkin to Fit Your Pumpkin
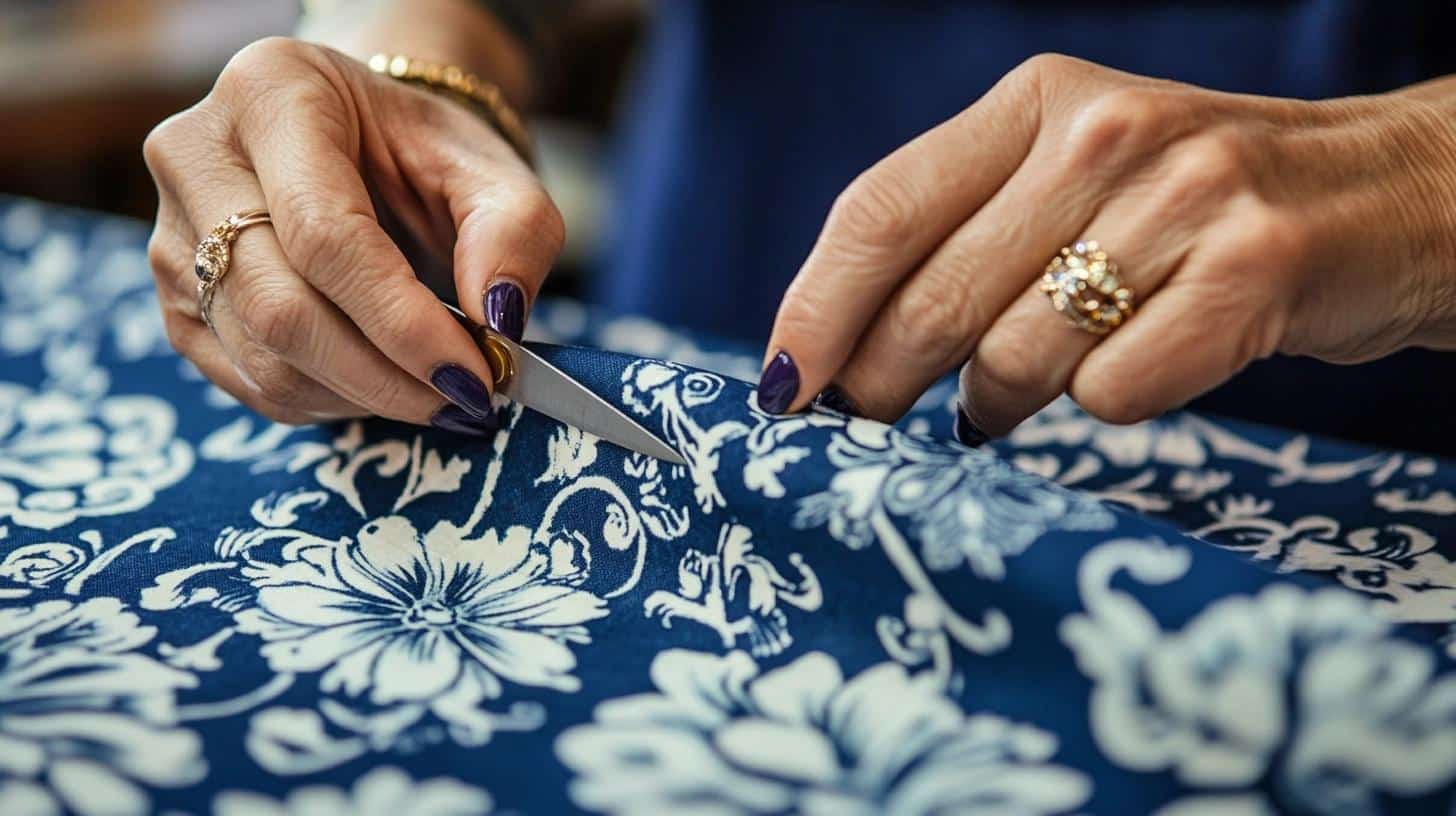
Use a paper cutter to cut the napkin into smaller pieces. For a medium-sized pumpkin, the cocktail napkin size works well.
If you prefer, you can also use larger napkins and cut them to your desired dimensions.
Be sure to trim any rough edges or extra borders that might disrupt the design. If the napkin has a specific edge that you don’t want to show, it’s best to trim it off.
Step 4: Apply Mod Podge
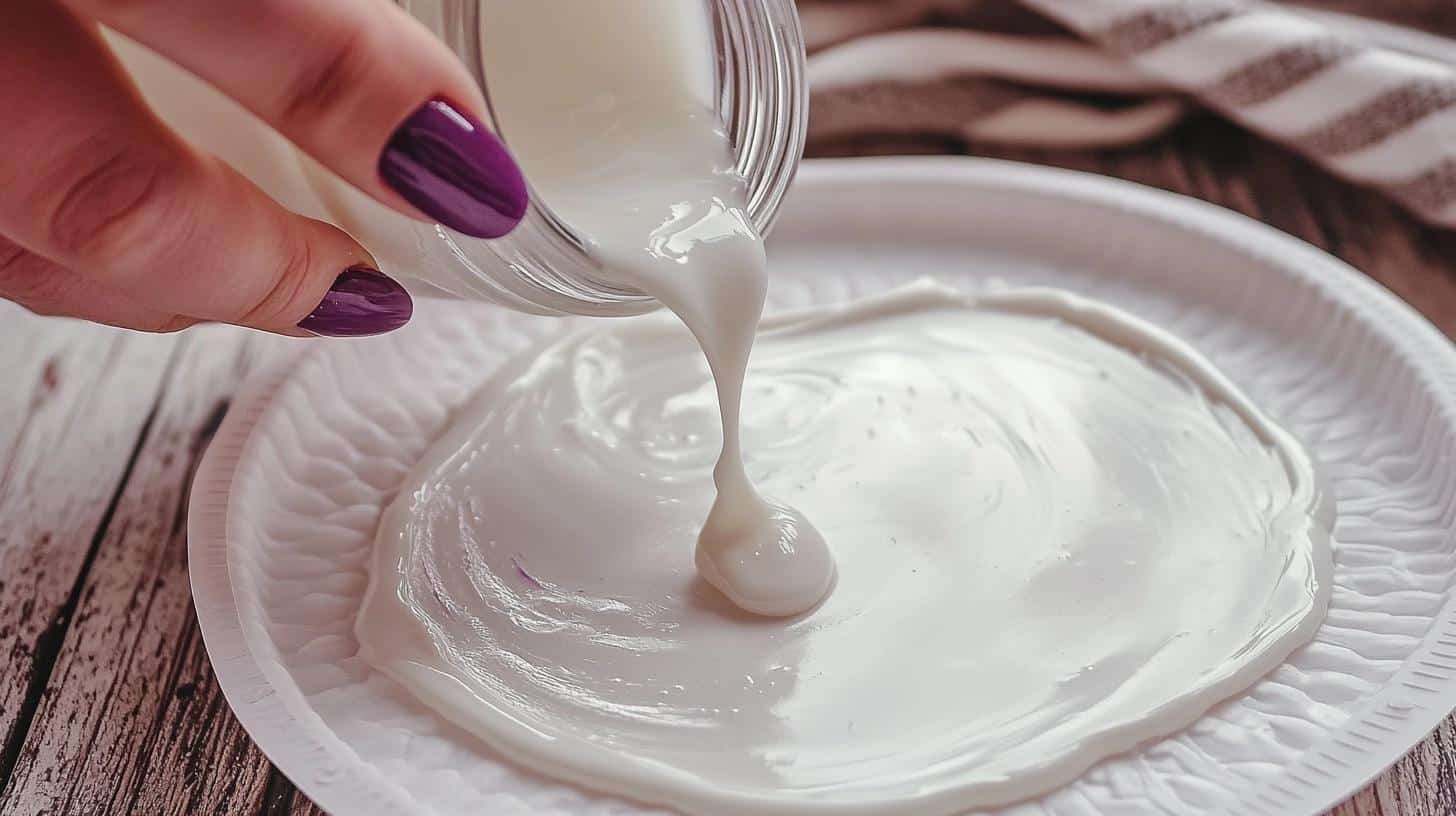
Take your brush and apply a light, even layer of Mod Podge or a similar decoupage glue onto the surface of the pumpkin.
Be sure to avoid applying too much at once to prevent the napkin from becoming oversaturated and tearing.
Work in sections, starting from the top. It’s essential to apply the glue to a small area at a time so that it remains manageable and doesn’t dry out too quickly.
Step 5: Position and Adhere the Napkin
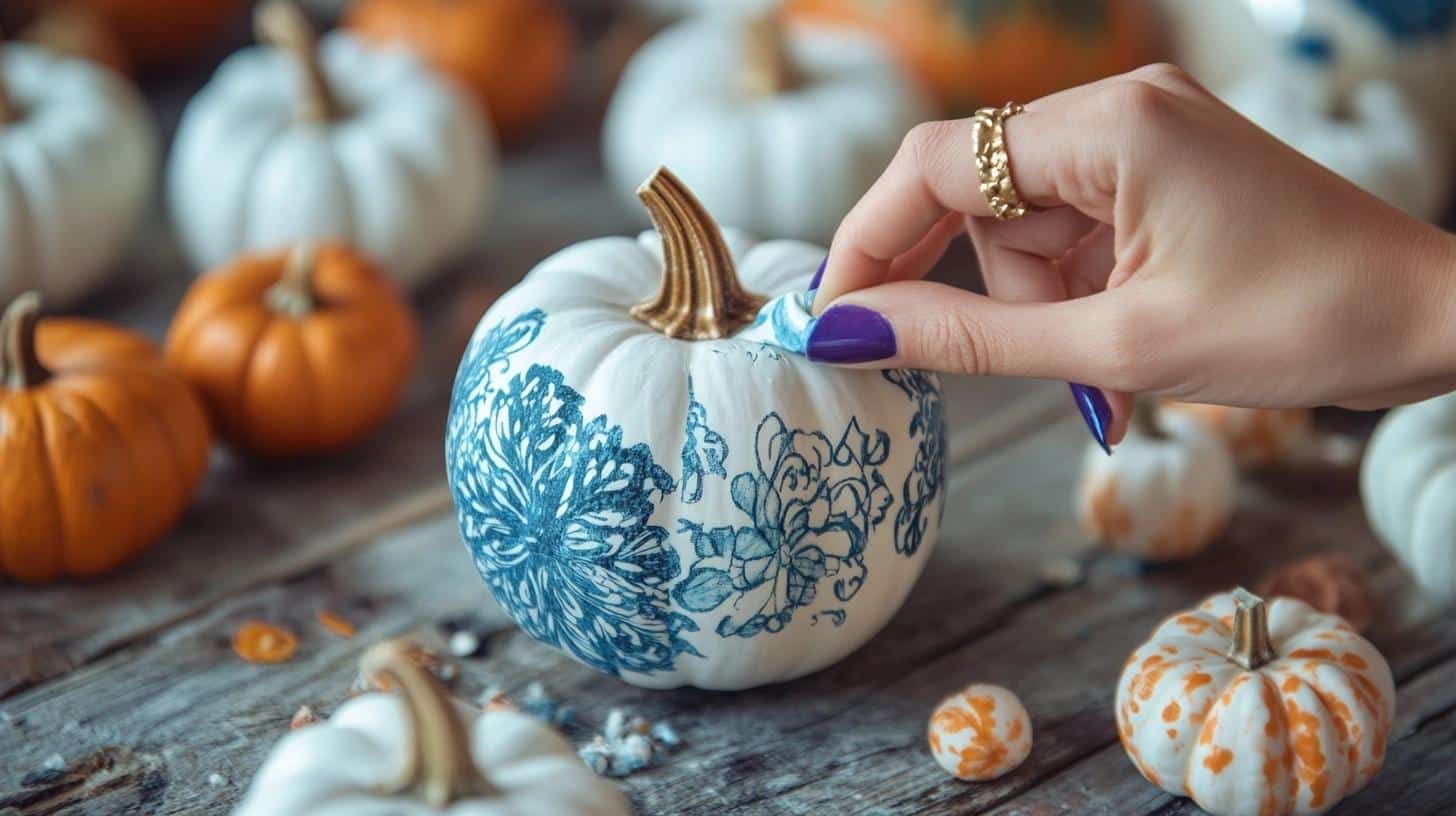
Begin by placing the napkin gently onto the glued section of the pumpkin. Smooth it down using your fingers or Saran Wrap.
The Saran Wrap method helps avoid the napkin tearing while smoothing out the wrinkles.
Be cautious around delicate areas, like designs or patterns, to ensure the napkin stays intact. If you’re working with a pattern, make sure it lines up properly, particularly with stripes or large motifs.
Continue applying the napkin piece by piece, smoothing out the wrinkles as you go. If necessary, snip the napkin to accommodate areas where the design needs to be adjusted.
Step 6: Allow Drying Time and Touch Up
After you’ve applied all the napkin pieces, let the pumpkin dry for about 30 minutes to an hour. This step helps set the design before you proceed with the next layer.
Once the initial layer is dry, you can touch up any areas that might have wrinkles or imperfections. If necessary, you can trim any overlapping napkin edges or patch up sections with leftover napkin pieces.
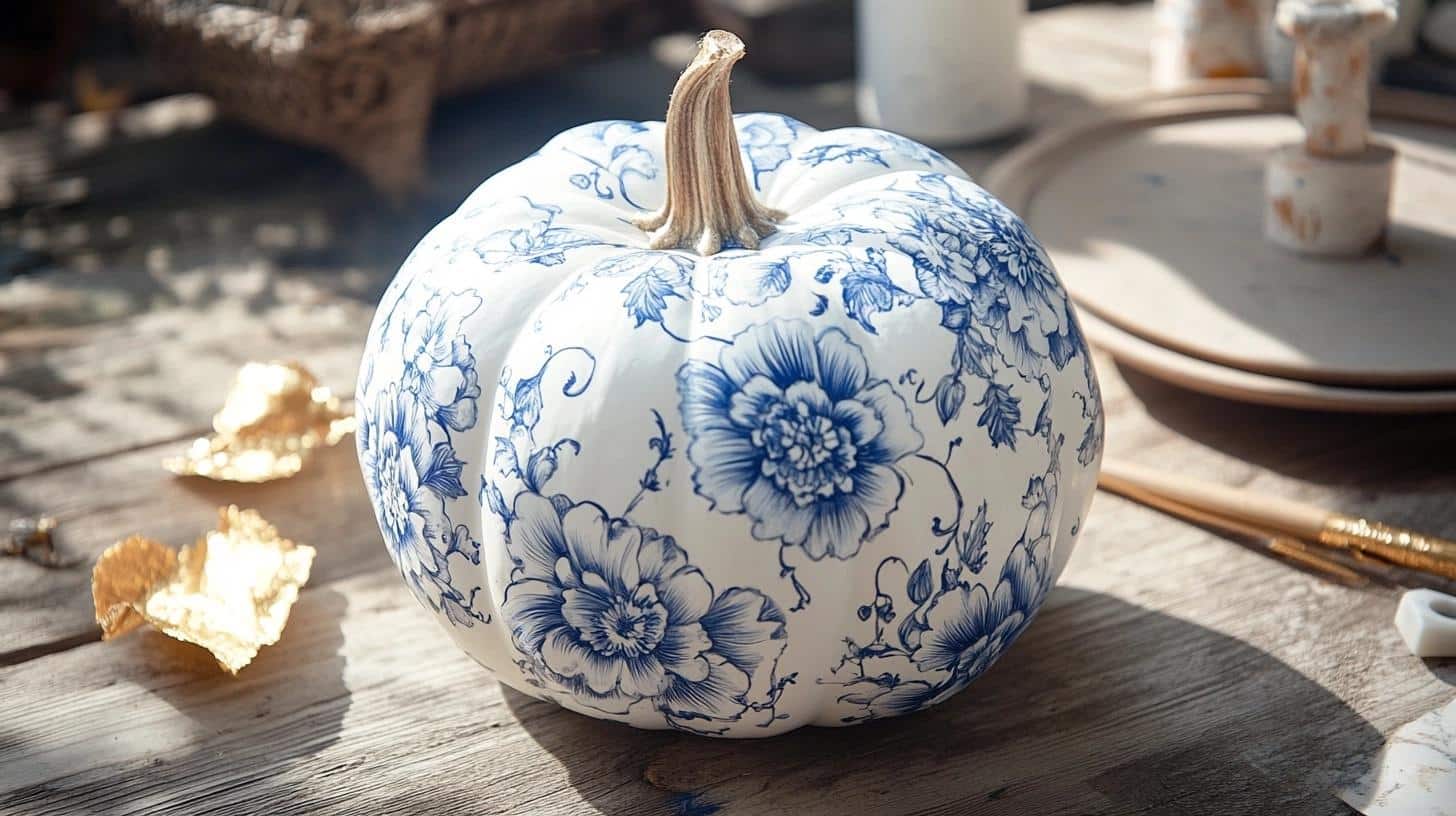
Step 7: Seal and Finish the Pumpkin
After the napkin is fully adhered and dry, apply a topcoat of your choice to seal the design.
You can use Mod Podge (gloss or matte), polyurethane, or another clear sealant to protect the napkin and give the pumpkin a beautiful finish.
To add a decorative touch, you can use a gold leafing pen or other metallic paints to amplify the pumpkin’s stem or edges. Allow the entire pumpkin to dry completely before displaying it.
The Art of Decoupage: Tips and Tricks
Decoupage changes ordinary pumpkins into stunning art pieces with just a few simple materials. I’ll show you how to turn plain gourds into eye-catching decorations that’ll make your friends wonder how you created such magical autumn crafts.
-
Choose thin napkins for easier application. The thinner they are, the better they conform to the pumpkin’s shape.
-
Separate napkin layers before starting. Most napkins have multiple layers. You’ll want only the top printed layer.
-
Apply glue to the pumpkin first, then place the napkin. This method gives better control than pre-gluing the napkin.
-
Use a soft brush to smooth out wrinkles. Work from the center outward to push air bubbles to the edges.
-
Let each section dry before starting the next. Rushing can cause tearing and frustration.
-
Overlap napkin edges slightly for a clean look. This helps avoid gaps between design sections.
-
Mix and match napkin patterns for a patchwork effect. This creates truly one-of-a-kind pumpkins.
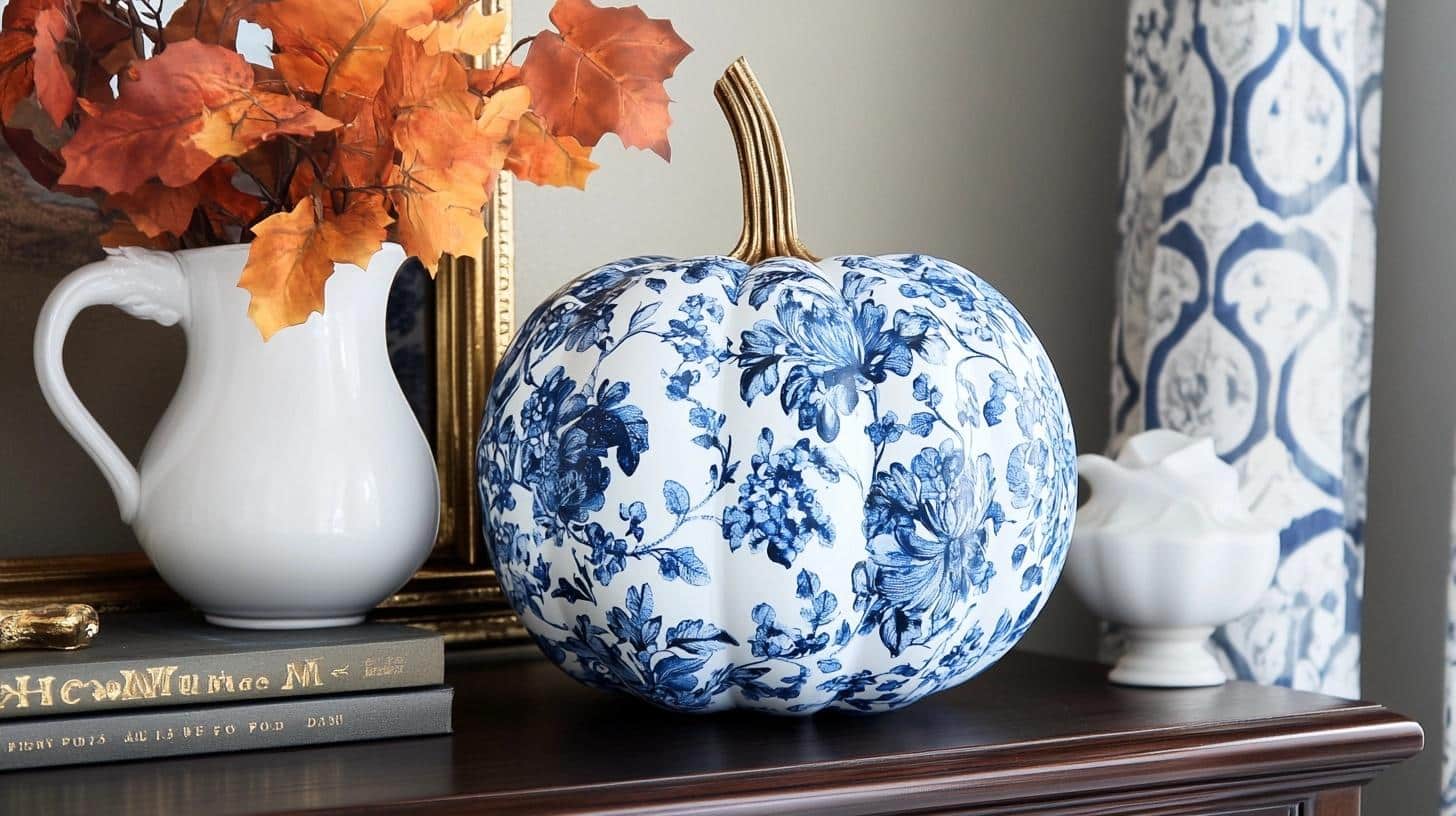
Ways to Use Your Decoupage Pumpkins in Fall Decor
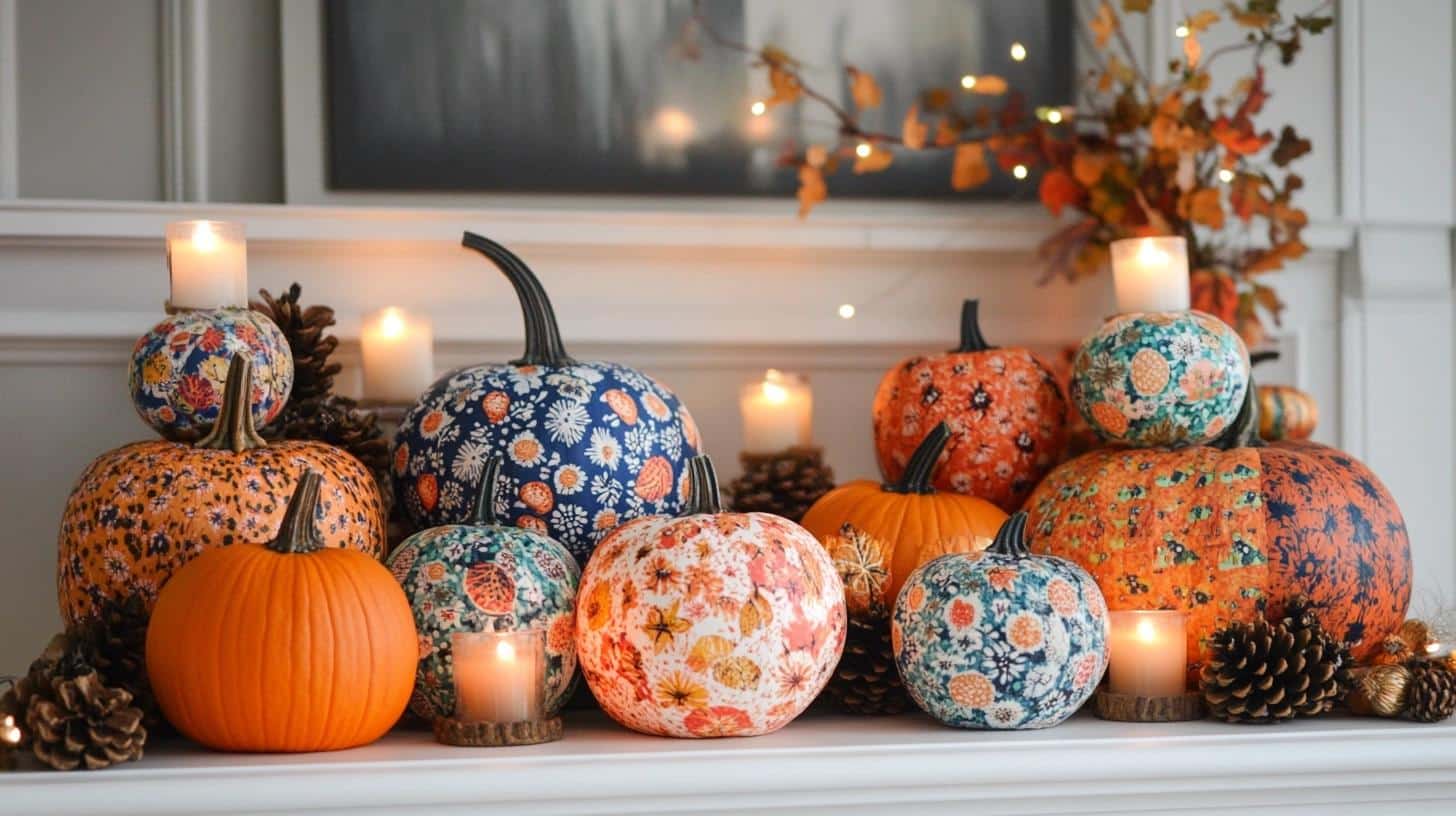
Decoupage pumpkins can serve as the highlight of many fall displays in your home. I like to group three different sized pumpkins on my mantel to create a focal point. The various heights and patterns catch the eye without taking up too much space.
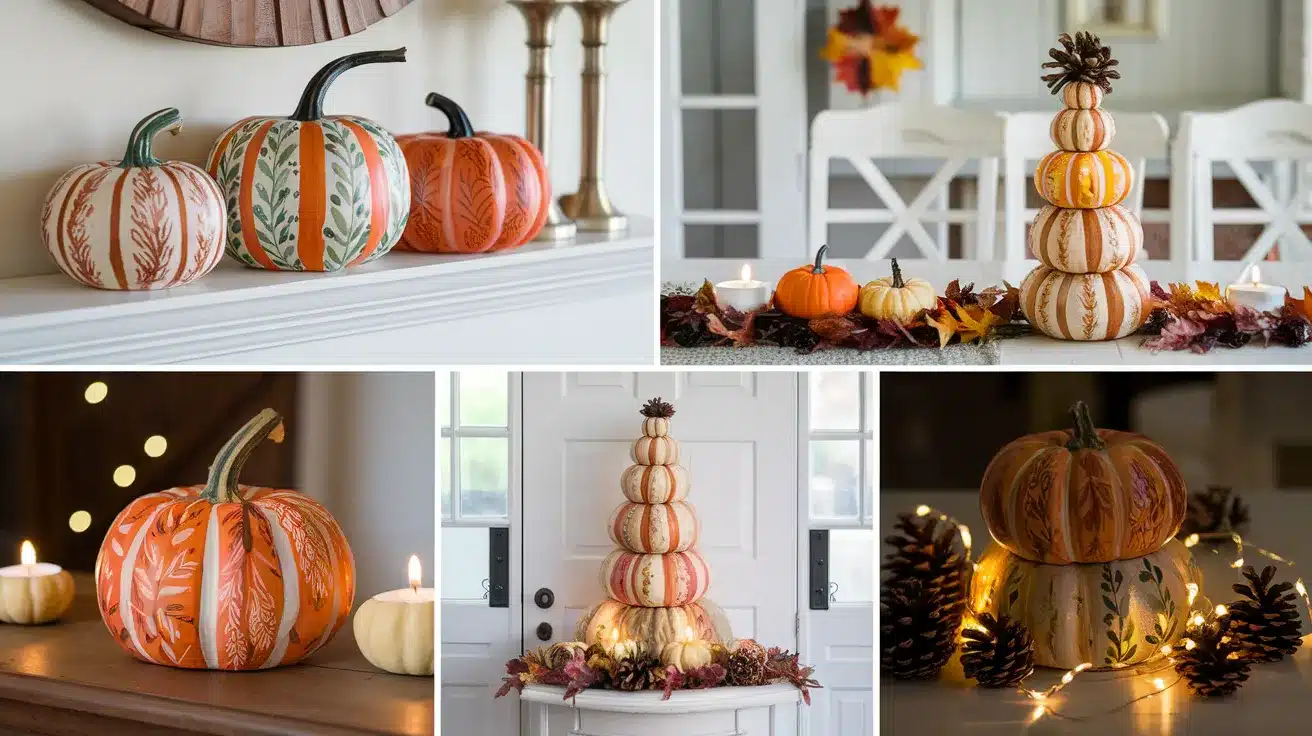
Create a Focal Point on Your Mantel
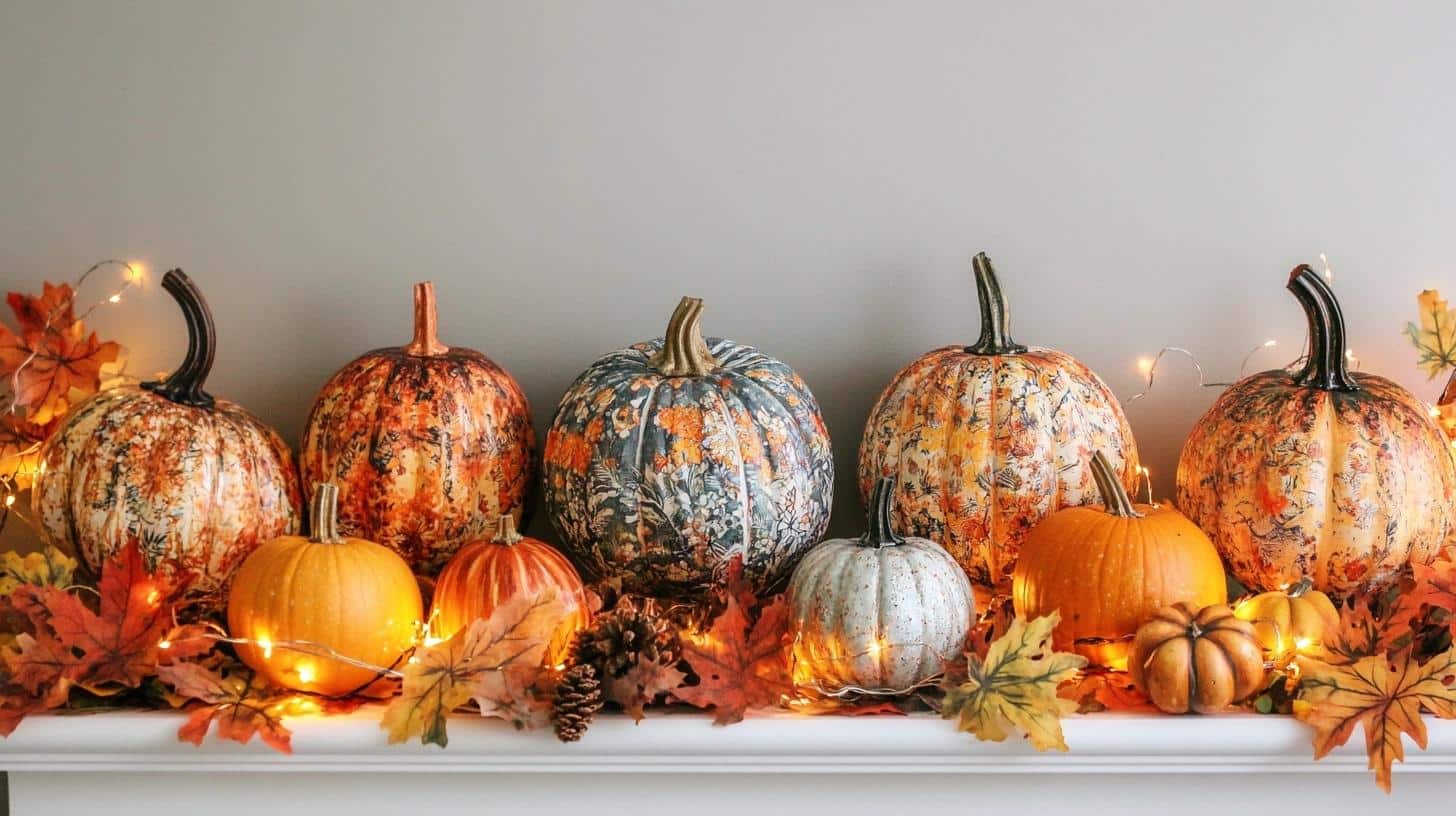
A group of decoupage pumpkins makes an eye-catching mantel display. I like to use various sizes for visual interest.
Three is the magic number. I placed a larger pumpkin in the center with smaller ones on each side. Adding some fall leaves or fairy lights between them ties the look together.
This creates a warm, inviting spot that draws attention without overwhelming the room.
Welcome Guests with a Seasonal Touch
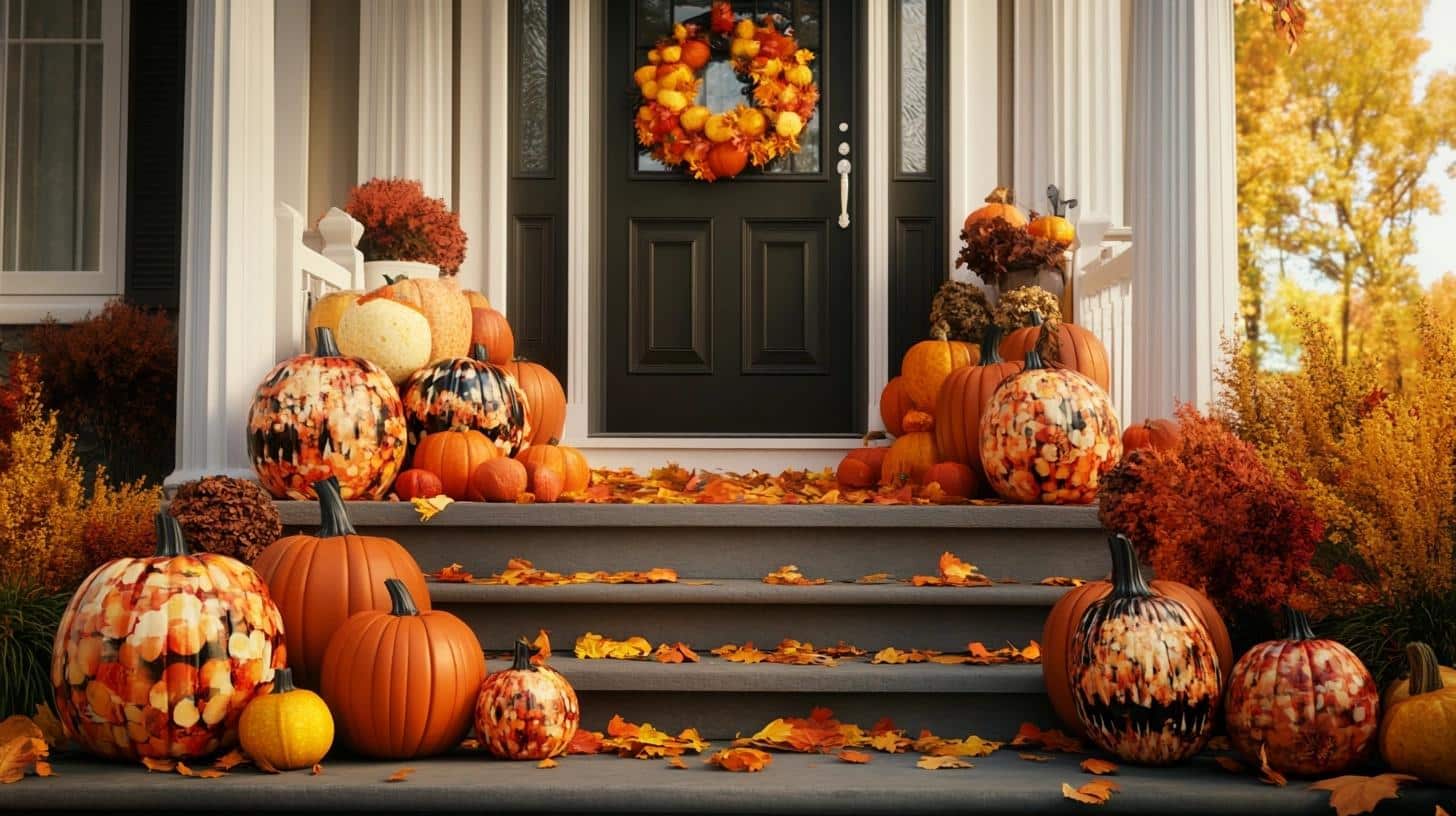
First impressions matter! I place decoupage pumpkins by my front door to greet visitors with fall cheer. A cluster of two or three on the porch steps or a single statement pumpkin on a small table by the door works wonders.
These little touches make guests feel welcome and show your attention to seasonal details before they even step inside.
Add Fall Charm to Unexpected Spots
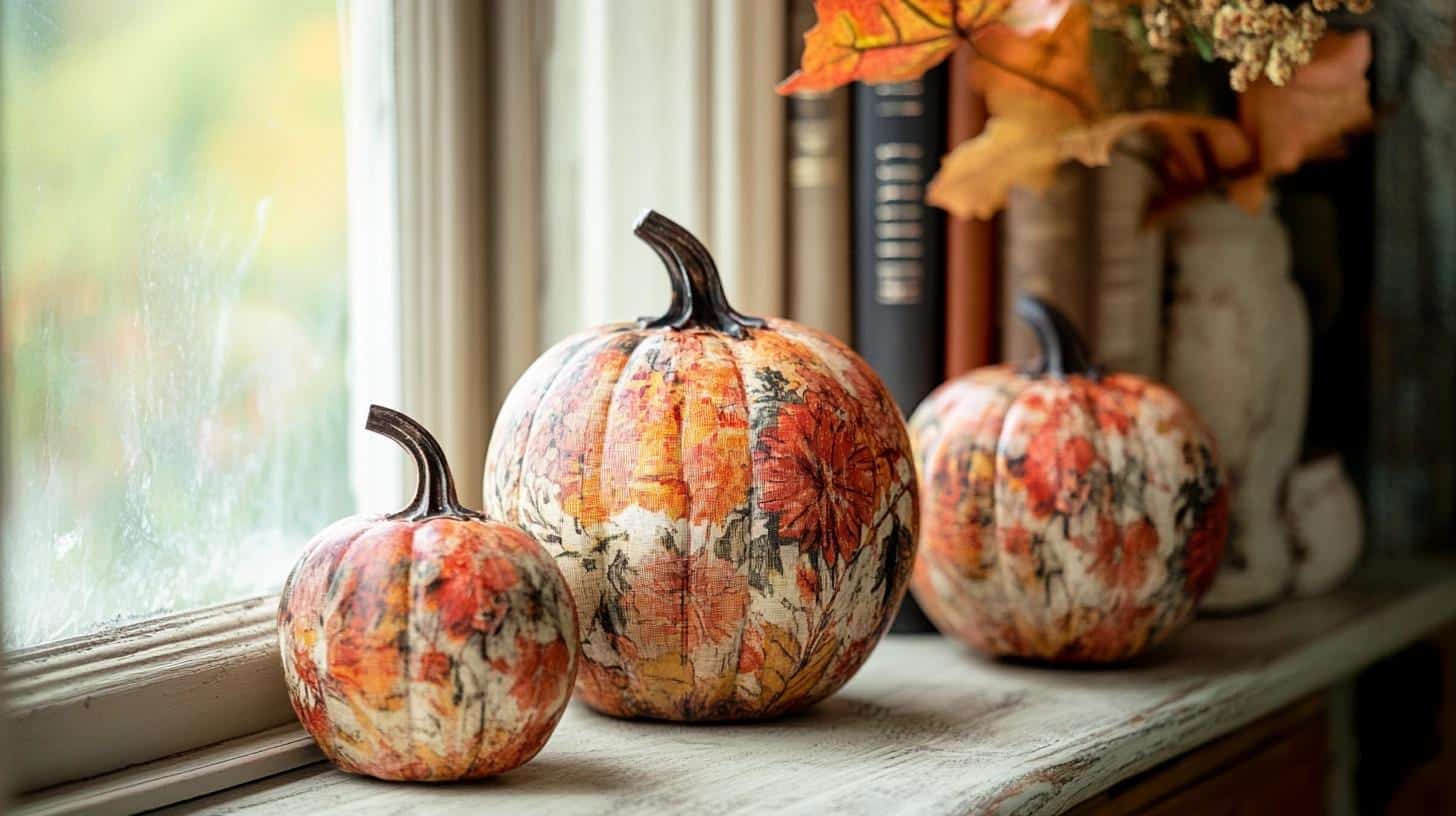
Think beyond the obvious places! I tuck small decoupage pumpkins in bookcases, on bathroom counters, and on kitchen windowsills.
These surprise touches bring a fall feeling throughout the home. My favorite spot? A tiny pumpkin on my nightstand brings seasonal joy first thing each morning and makes me smile before bed.
Craft a Charming Dining Table Centerpiece
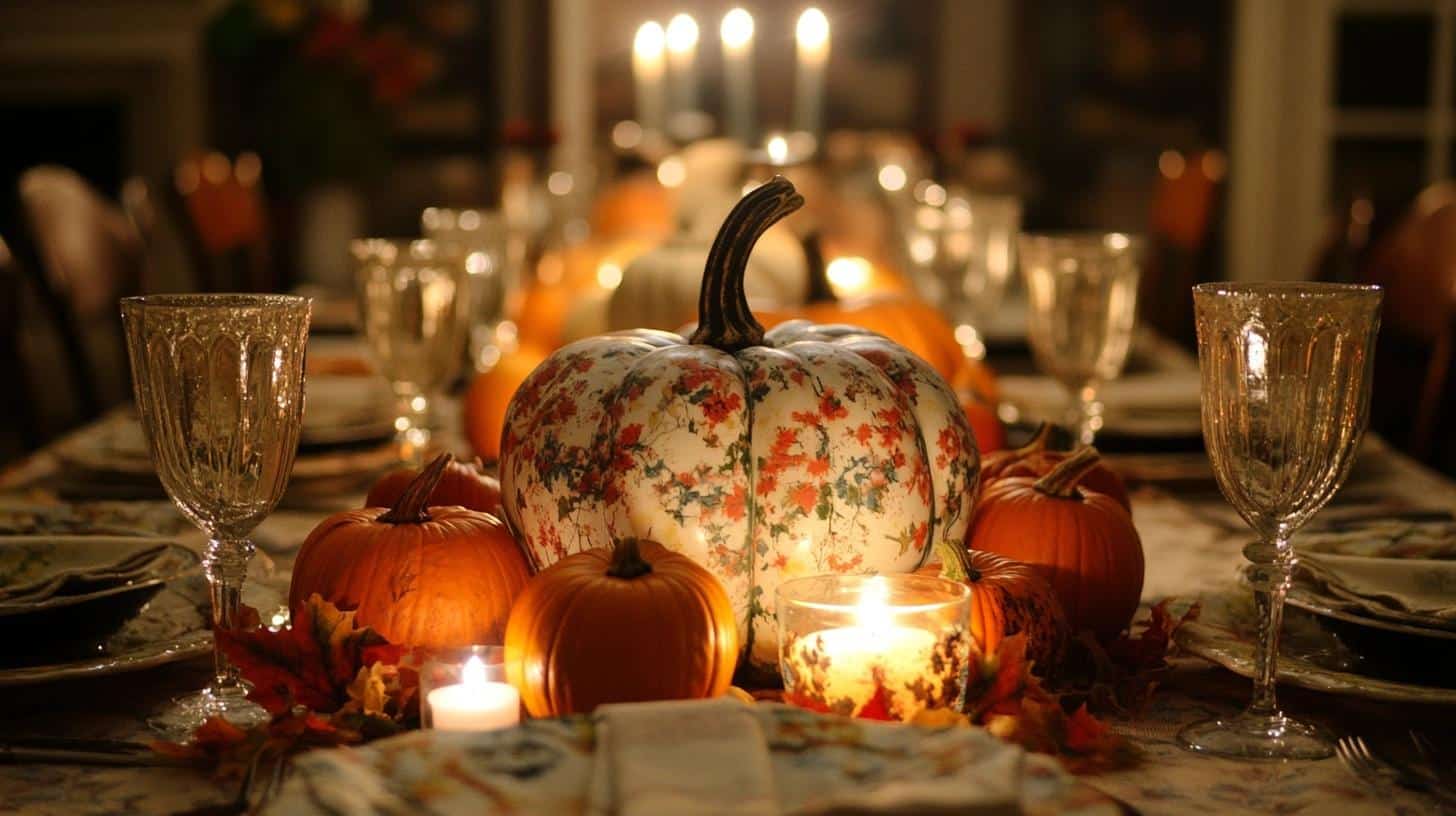
Transform your dining area with a pumpkin centerpiece. I arranged a few decoupage pumpkins of different heights down the center of my table.
For dinner parties, I keep them low enough for guests to see across. Adding tea lights between them creates a warm glow for evening meals.
This simple centerpiece works from September through Thanksgiving!
Make a Statement with a Pumpkin Topiary
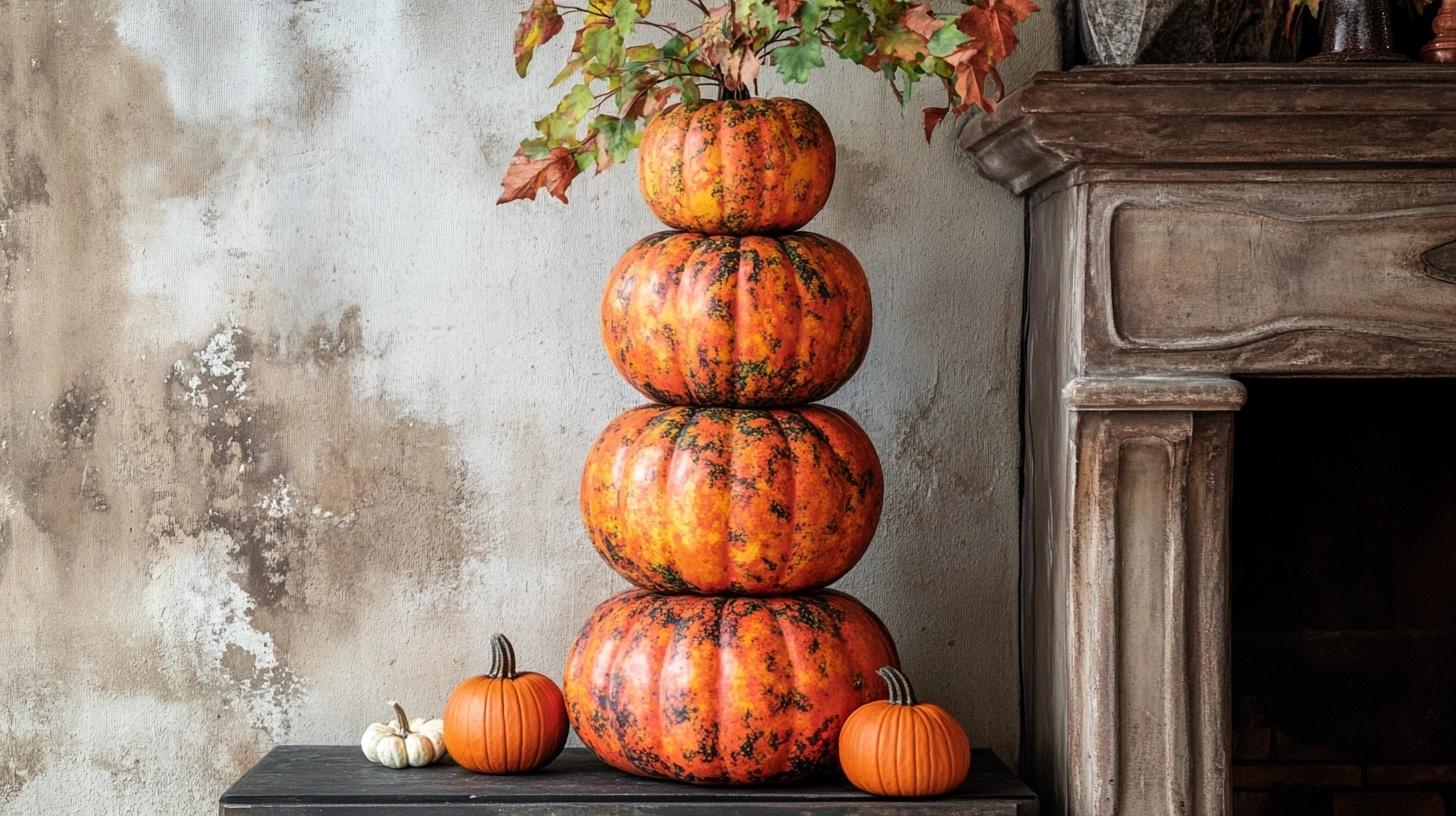
Stack three decoupage pumpkins (large, medium, small) to create a stunning topiary. I secure mine together with strong glue or hidden dowels.
This vertical arrangement saves space while making a big visual impact. I place mine by the fireplace or in a corner that needs some fall spirit. The height draws the eye up and fills empty spaces beautifully.
Complete Your Fall Look with Seasonal Accents
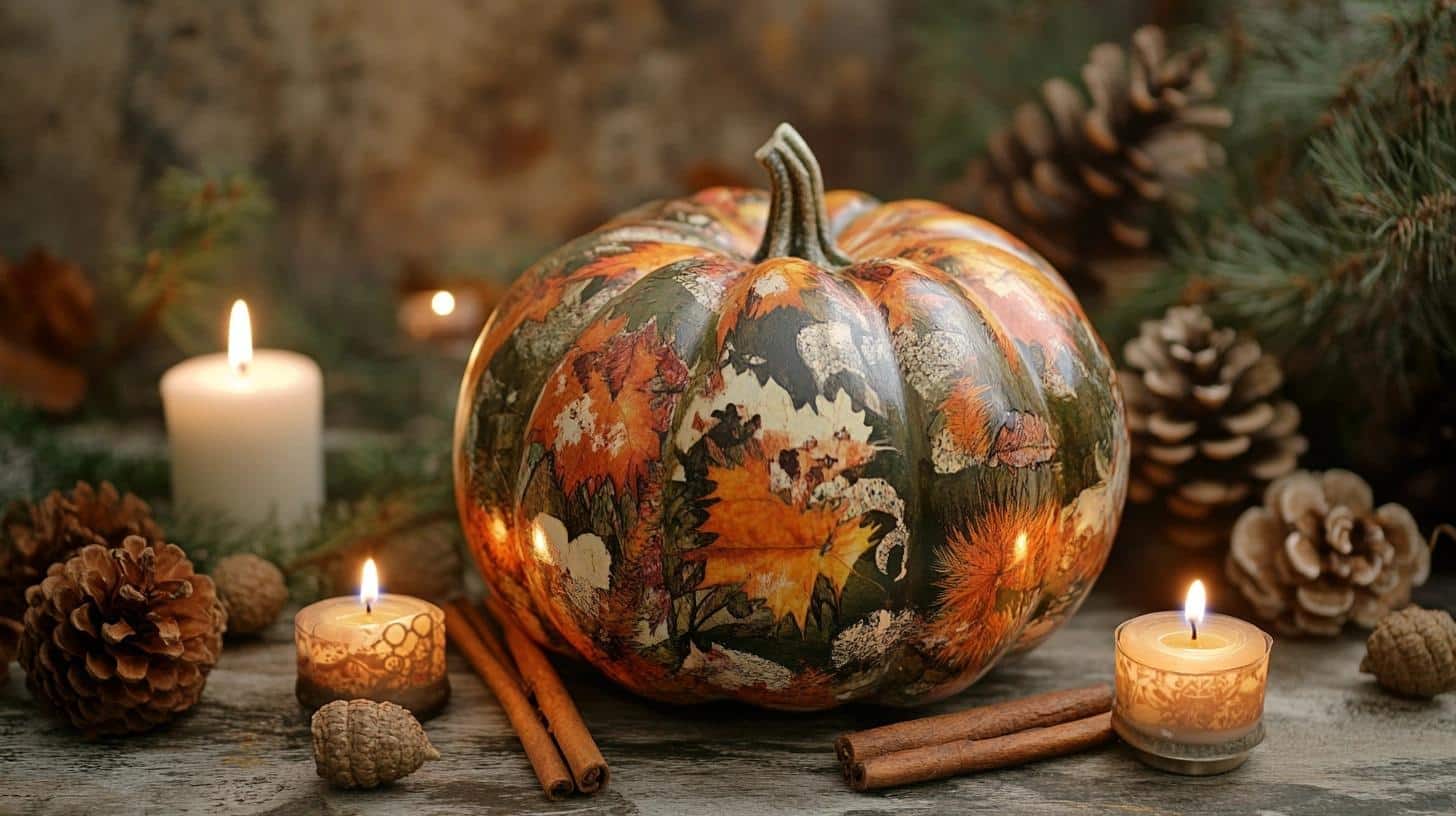
Pair your pumpkins with other fall items for a finished look. I surround mine with pine cones, acorns, or cinnamon sticks for added texture.
Small battery candles nearby create a cozy evening ambiance. These simple additions enhance your pumpkins and create a thoughtful, layered display that feels professionally designed but costs very little to create.
Craft Your Own Pumpkin Masterpieces: Wrapping Up
Creating decoupage pumpkins with napkins brings beauty to your fall decor without breaking the bank.
The simple techniques we’ve covered let you transform ordinary pumpkins into custom art pieces that reflect your personal style.
Why does this matter? Making your own decorations connects you to the season in a meaningful way. The satisfaction of creating something by hand adds joy to your home beyond what store-bought items can provide.
Gather your supplies and set aside an hour to try your first decoupage pumpkin. Start with a simple design, and you’ll quickly gain confidence in trying more complex patterns.