Learning crochet can feel tough at first. Many beginners want quick projects that show results fast, but finding truly simple patterns often leads to frustration. I struggled with this too when I first picked up a hook.
This 5-minute crochet bow pattern is perfect for anyone just starting. It needs only basic stitches and works up so quickly that you’ll have a cute finished bow in minutes, not hours.
In this blog, I’ll walk you through each step of making this simple bow. You’ll learn which materials work best, how to form the basic shape, and ways to use your finished bows.
By the end, you’ll have a skill you can use to make gifts, hair accessories, or decorations for your home.
Why Crochet Bow is the Best Hair Accessory?
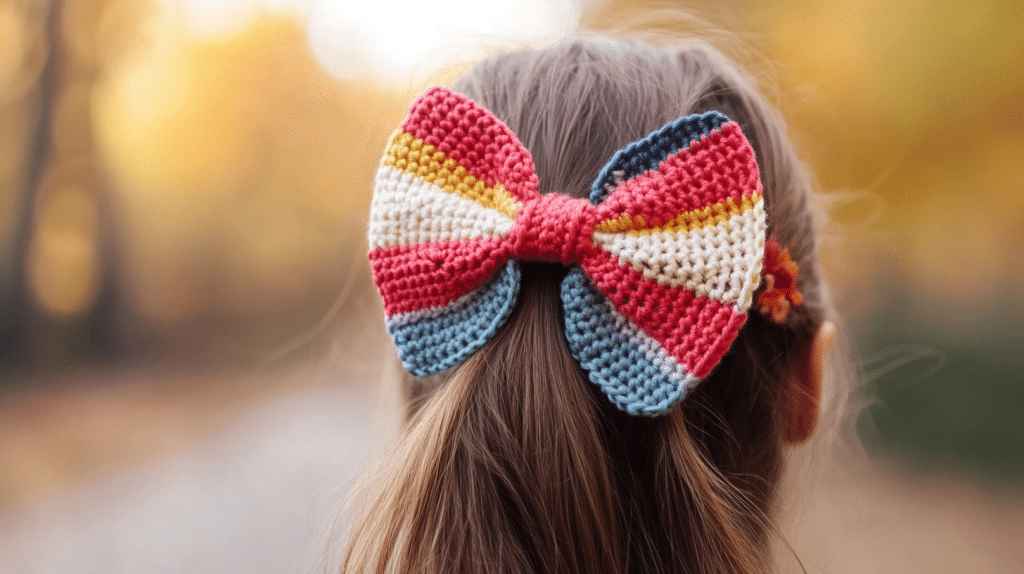
Crochet bows are amazing hair accessories for so many reasons. They’re soft against your scalp, unlike metal clips that can pull your hair. I love that they come in any color you want, just switch your yarn!
These bows are also super light, so they won’t slide out of fine hair like heavier options might. Plus, they cost pennies to make compared to store-bought accessories.
Each bow is unique. When you make it yourself, no one else will have the same accessory. They’re also washable and hold up well to daily wear.
Materials Needed for Crochet Bow Pattern
This project is perfect for beginners and only requires basic materials. The bow created is approximately 7.5 cm wide by 9 cm long, and the size can easily be adjusted by changing the number of chains and rows.
If you’re making it as a cute accessory or a keychain, this bow works up fast and uses very little yarn.
| Item | Description |
|---|---|
| Yarn | Red Heart Super Saver in color “Aran” (approx. 10g); any #4 medium yarn can be used |
| Crochet Hook | 5.5 mm (I-9) crochet hook |
| Scissors | For cutting yarn |
| Yarn Needle | For weaving in ends and assembling the bow |
| Keychain Clasp (Optional) | For turning your bow into a keychain, a type that doesn’t require pliers is preferred. |
Step-by-Step 5-Minute Crochet Bow Pattern
Crocheting a bow is a fun, quick project perfect for beginners or experienced crafters. This pattern is easily adjustable for any size and uses simple stitches and assembly.
Follow these main steps to create your beautiful crochet bow pattern, ideal for gifts, accessories, or keychains.
1. Create the Foundation Chain
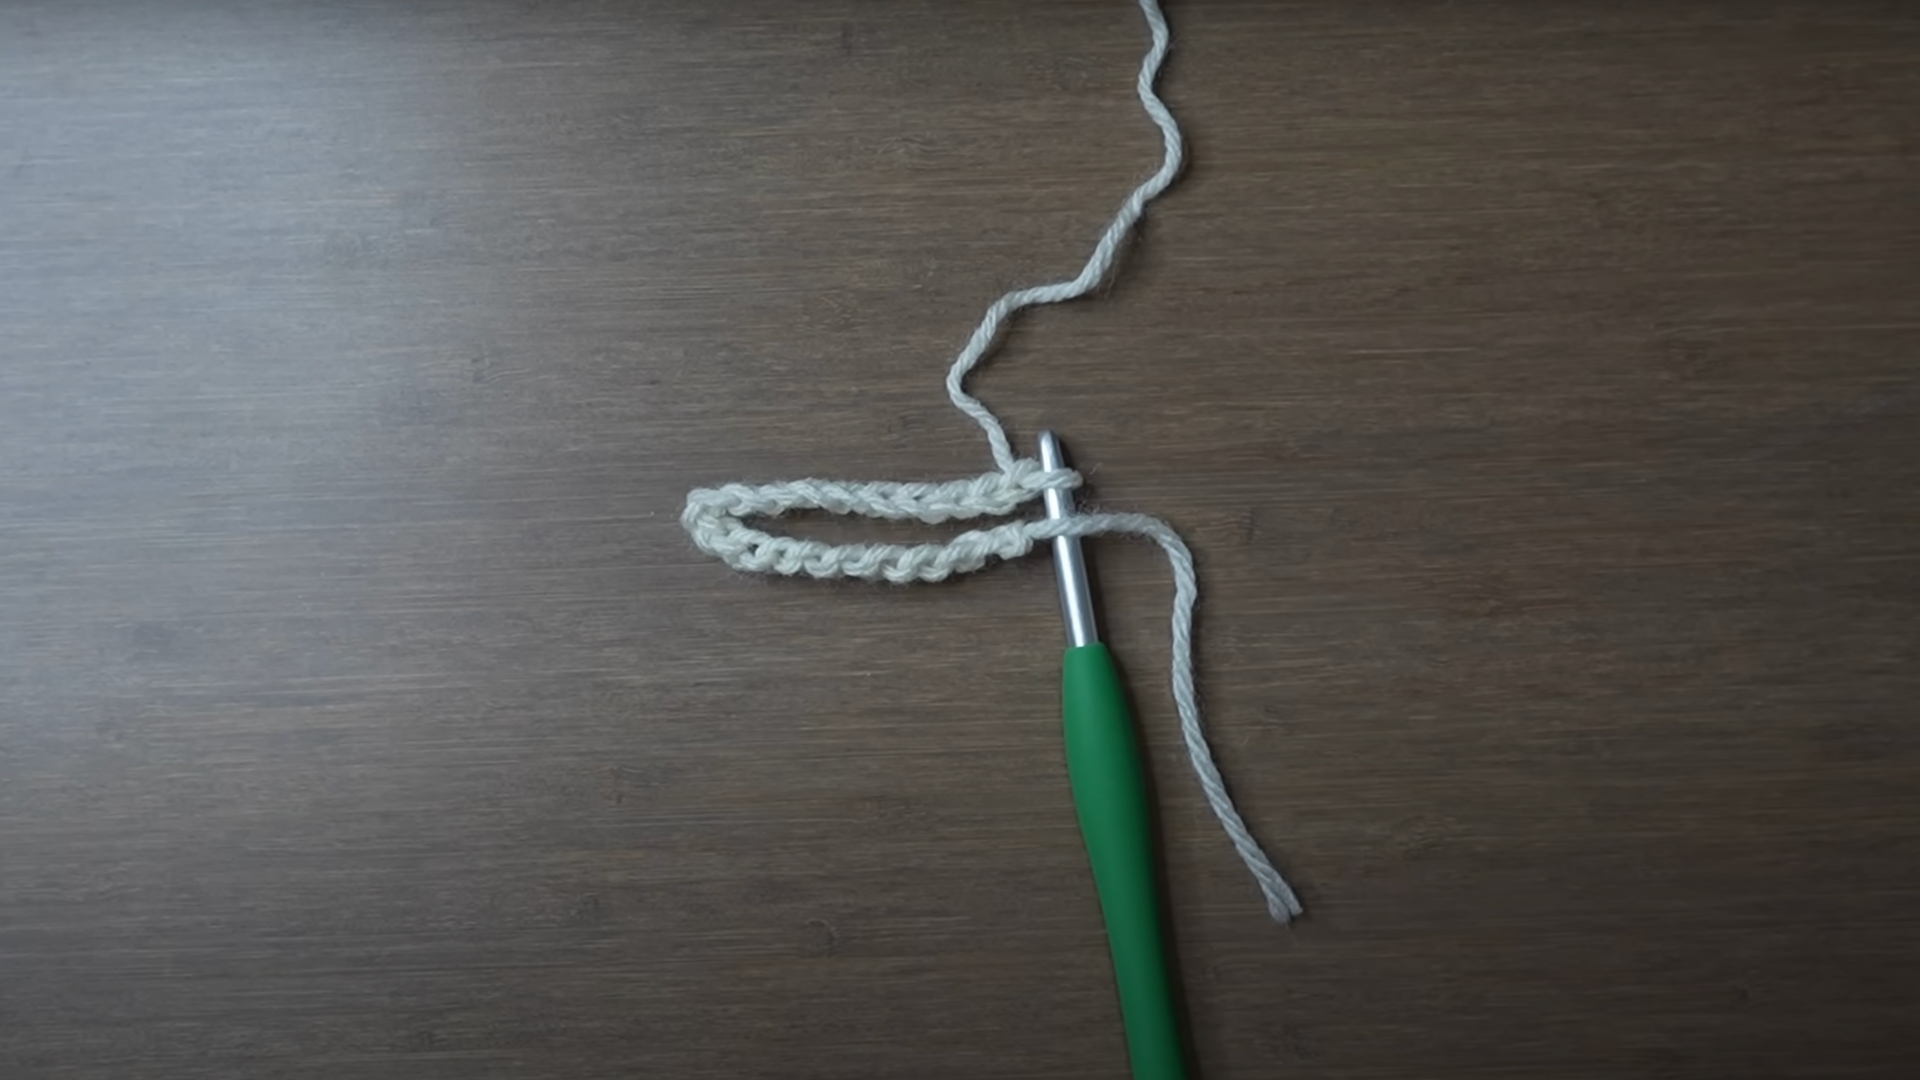
Begin by making a slip knot and chaining 21 stitches to form the base length of your bow. Adjust the number of chains for a smaller or larger bow as desired.
Steps to Follow:
- Make a slip knot by wrapping yarn around your fingers, forming an X, and pulling yarn through with your hook to tighten.
- Position the yarn so the tail end is at the bottom, ensuring you have enough length to work with.
- Yarn over and pull through the loop on your hook to make the first chain, repeating until you have 21 chains.
- Fold the chain in half to check the approximate final length of your bow and adjust if needed.
- Remember, fewer chains create a smaller bow, while more chains make a larger one; customize as you like before moving on.
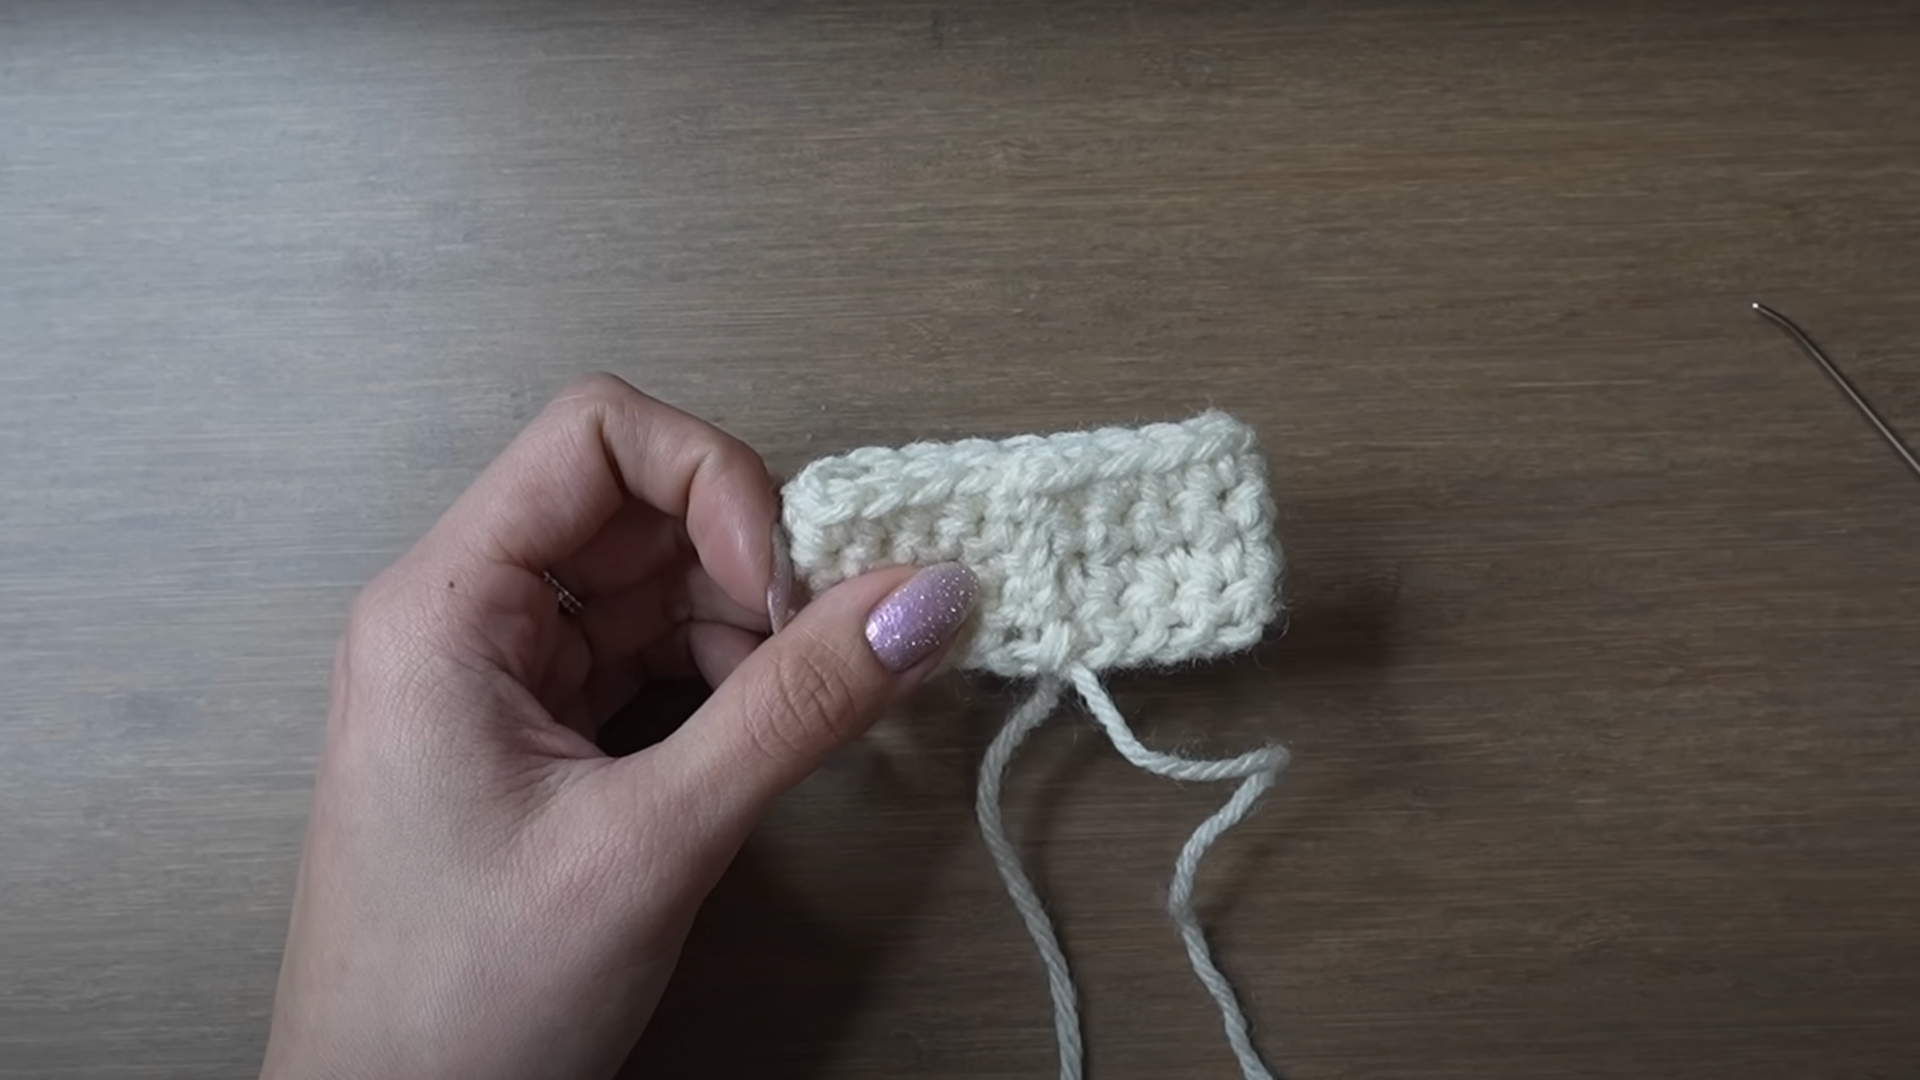
2. Work Single Crochet Rows
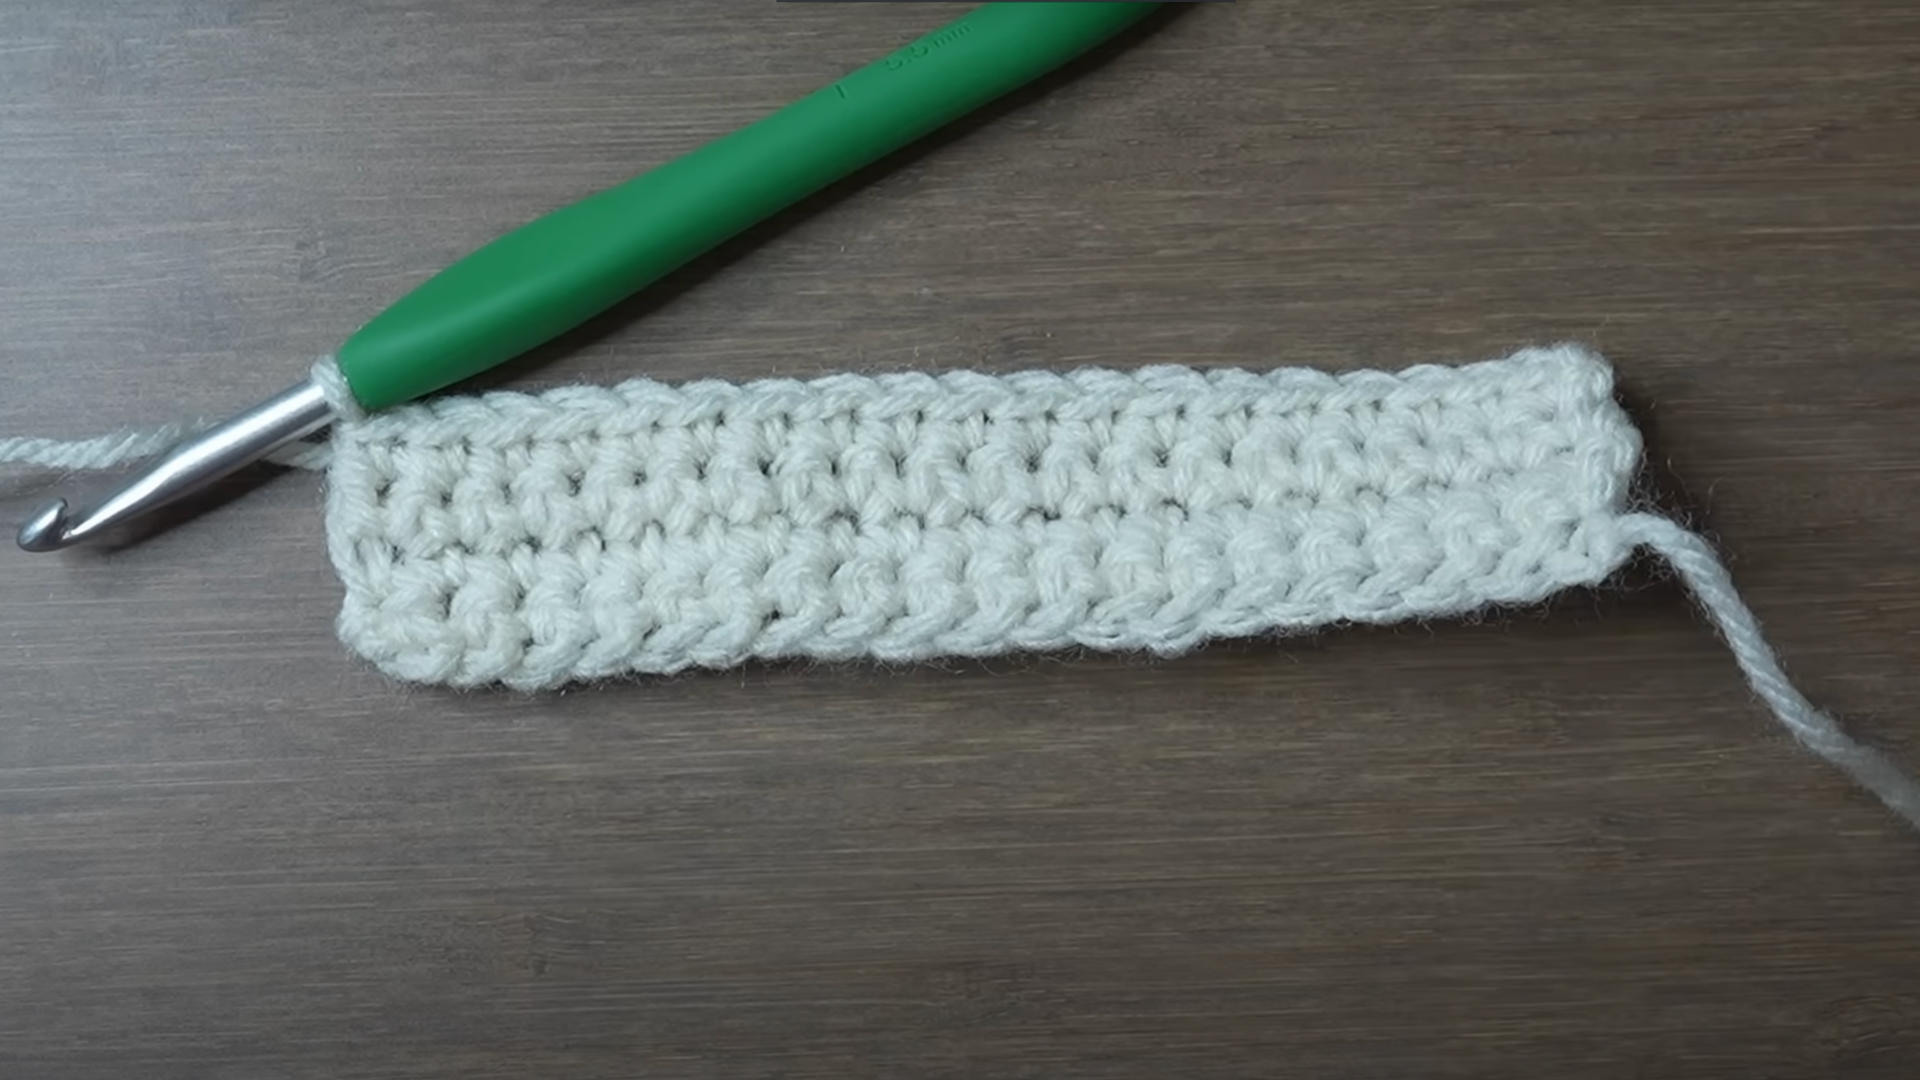
Crochet four rows of single crochet stitches into your foundation chain, creating a rectangular piece. This forms the main body of your bow and can be widened by adding more rows.
Steps to Follow:
- Insert your hook into the second chain from the hook, yarn over, and pull through, then yarn over and pull through both loops for a single crochet.
- Continue single crocheting into each chain across the row for a total of 20 stitches.
- At the end of each row, chain one and turn your work to begin the next row.
- Work under the V-shaped stitches at the top, ensuring you don’t miss the last stitch in each row.
- Complete four rows in total, or add more rows if you want a wider bow, keeping your stitch count consistent.
3. Make the Tail Piece and Weave in Loose Ends
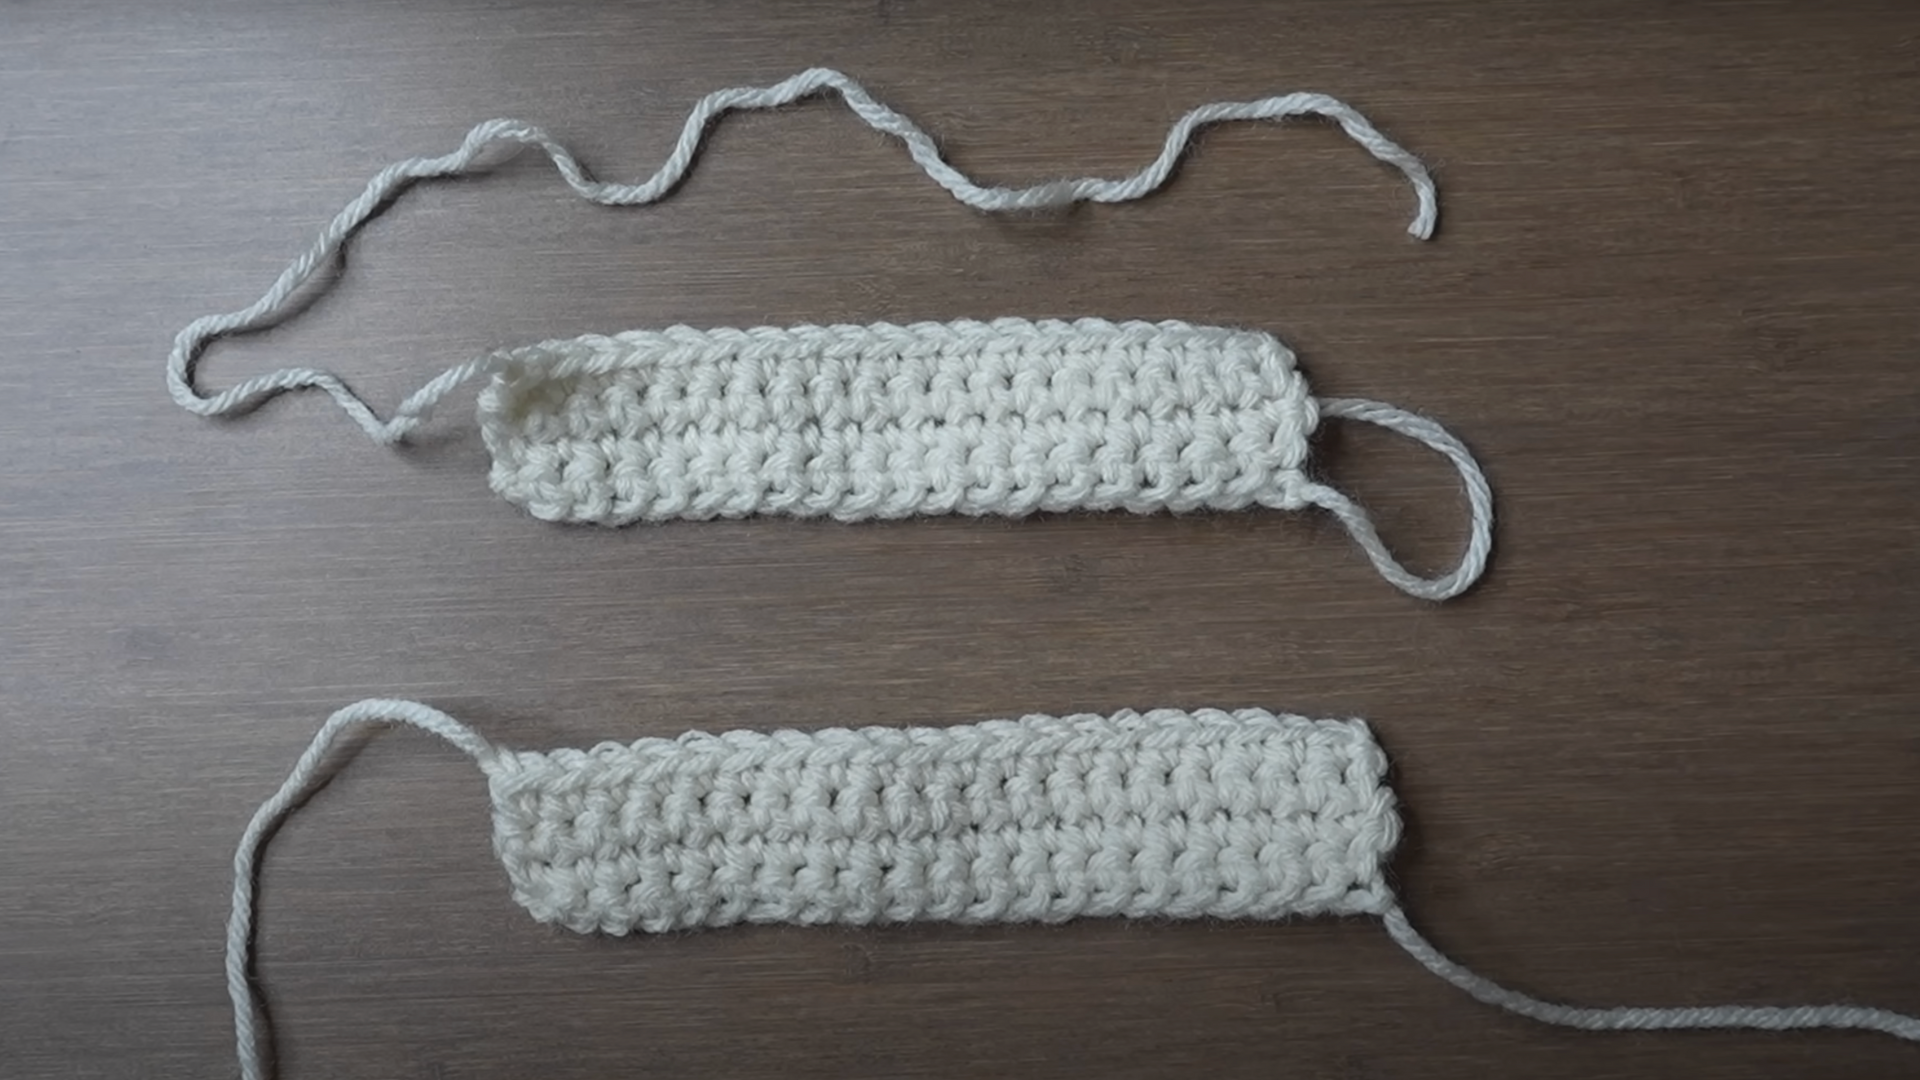
After finishing the main piece, fasten off with a long tail for sewing. Make a second, identical rectangle for the bow’s tail, but fasten off with a short end since it won’t be sewn.
Steps to Follow:
- After the last row, chain one and measure out about 45 cm (1.5 feet) of yarn before cutting, leaving a long tail for sewing.
- Pull the yarn through the last loop to secure and tighten the knot, setting this piece aside.
- Repeat the same process to create a second rectangle for the tail, but cut a shorter end when fastening off.
- Ensure both pieces are the same size by counting stitches and rows for consistency.
- Set aside the main piece with the long tail and keep the tail piece ready for assembly.
4. Sew and Shape the Bow
Fold the main piece in half and sew the short ends together using the long yarn tail. Cinch the center tightly to form the classic bow shape and secure with knots.
Steps to Follow:
- Fold the main rectangle in half, aligning the short ends evenly for a symmetrical bow.
- Thread the long yarn tail into a needle and sew the ends together using whip stitches, moving from corner to corner.
- Position the seam in the center of the piece, then wrap the yarn tightly around the middle to cinch and shape the bow.
- Tie a secure knot at the back to hold the cinched center in place, ensuring the bow maintains its shape.
- Adjust the folds and edges as needed for an even, attractive appearance before moving to the next step.
5. Attach Tail and Final Assembly
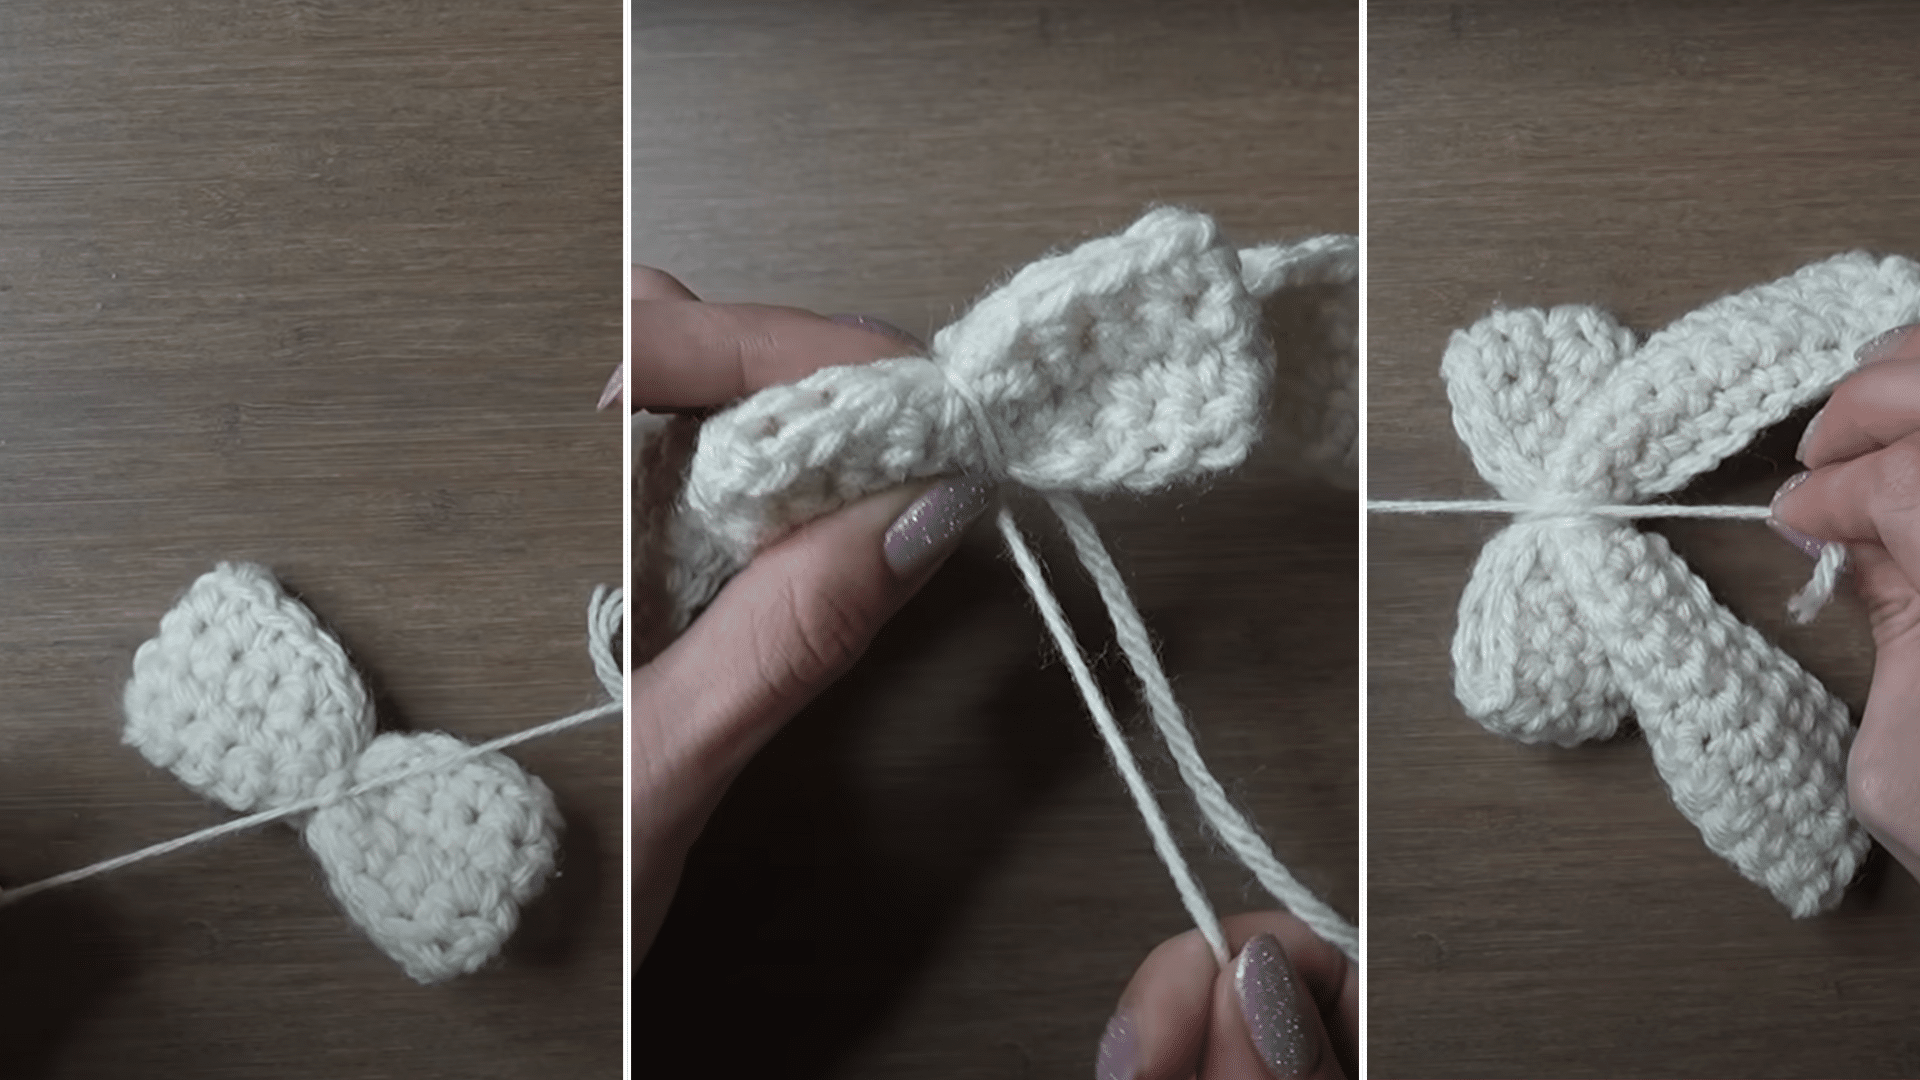
Find the center of the tail piece, place it behind the bow, and wrap the remaining yarn around both pieces to secure. Knot at the back and weave in any remaining ends for a clean finish.
Steps to Follow:
- Fold the tail piece in half to locate the center, then position the bow on top with the seam side facing down.
- Use the remaining yarn tail to wrap around the center of both pieces several times, pulling tight after each wrap to secure.
- Adjust the placement so the bow and tail are centered and aligned before final tightening.
- Pull the yarn to the back and tie a secure knot to hold everything in place, ensuring the knot is hidden.
- Weave in and trim any remaining loose ends using a yarn needle for a polished, professional look.
6. Optional: Add a Keychain
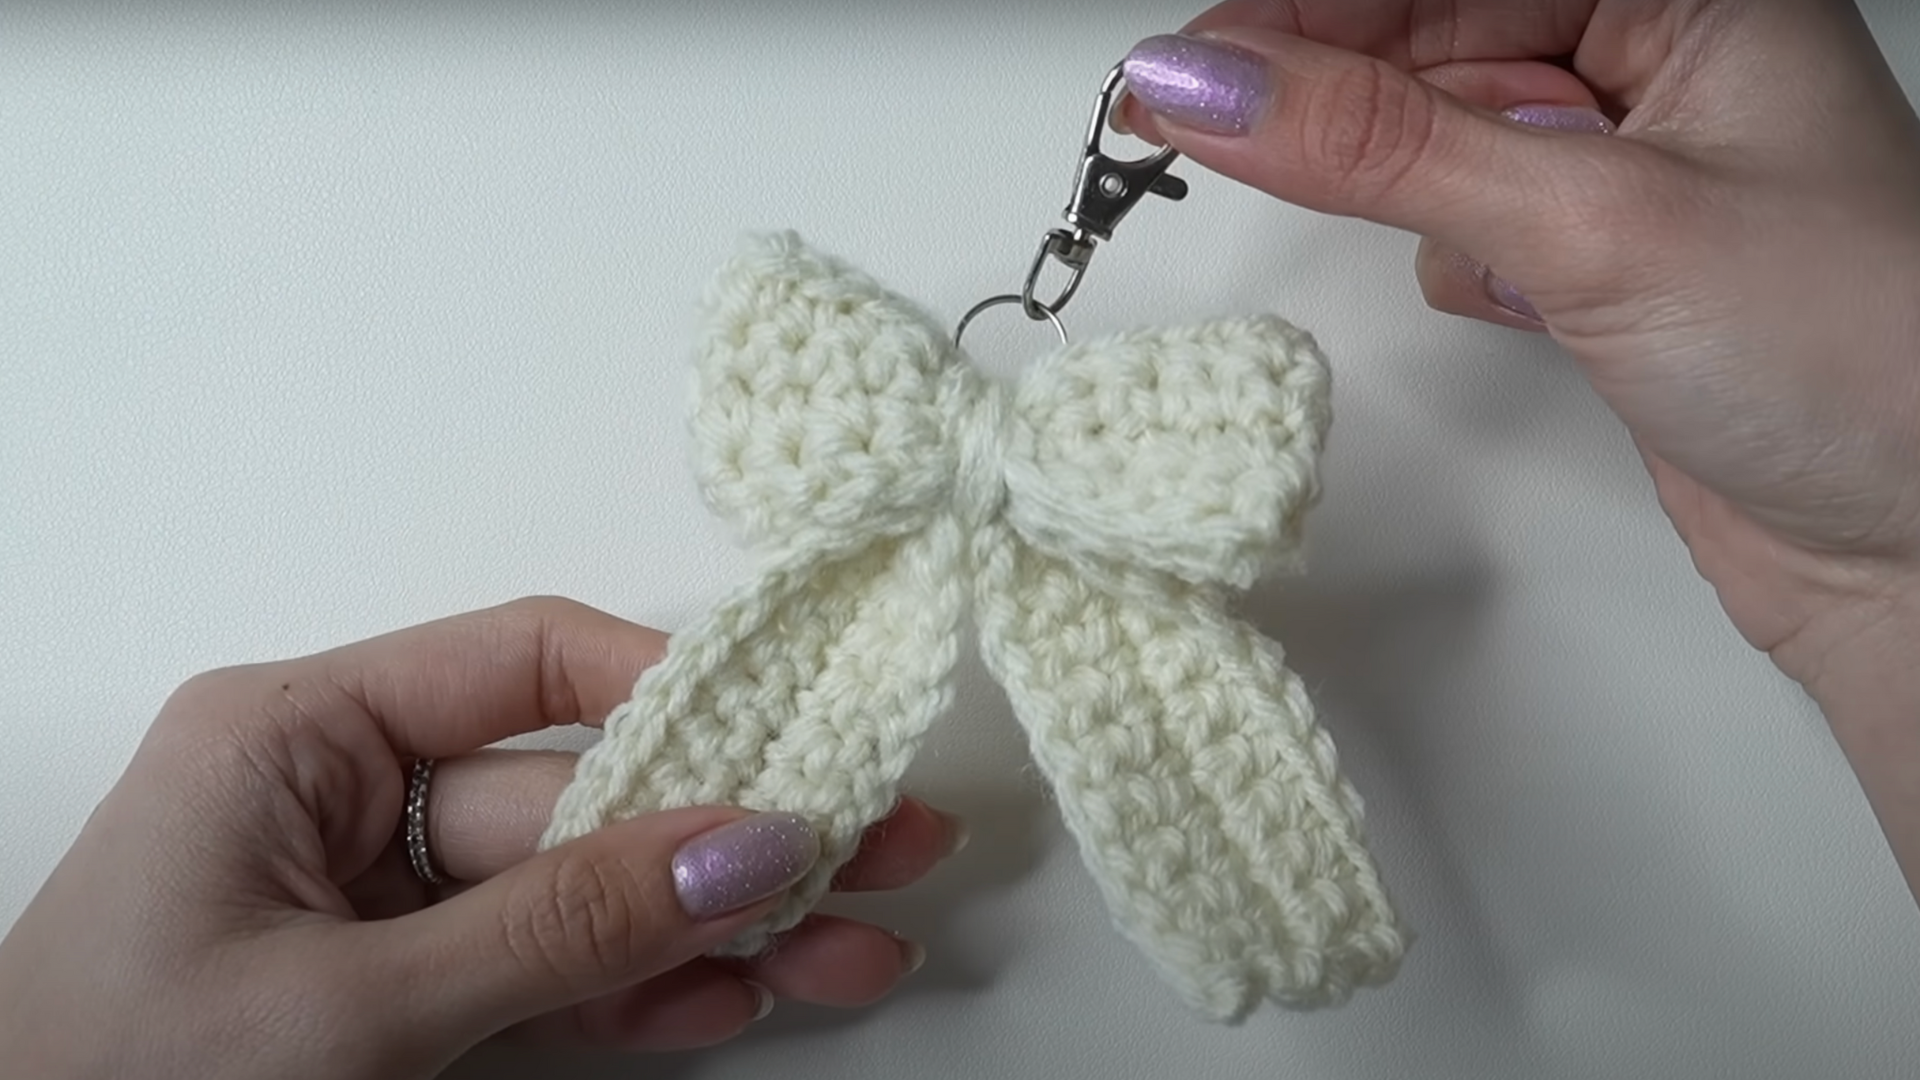
Change your bow into a keychain by attaching a key ring and clasp through the center wraps. This step is optional but adds a practical and decorative touch to your finished bow.
Steps to Follow:
- Open the key ring and slide it under the yarn wraps at the center of the bow, using a yarn needle to help guide if needed.
- Attach the keychain clasp to the ring, ensuring it is securely fastened and won’t slip off.
- Double-check that the bow is securely attached to the ring and adjust as necessary for balance.
- Make sure the keychain hardware sits at the top center of the bow for best appearance and function.
- Your bow keychain is now ready to use, gift, or display as a cute handmade accessory!
Cute Crochet Bow Pattern that You’ll Love
Crocheting cute bows is a fun, quick project for all skill levels. These patterns create adorable accessories for headbands, bags, or gifts. Use soft yarn and a small hook for the best results.
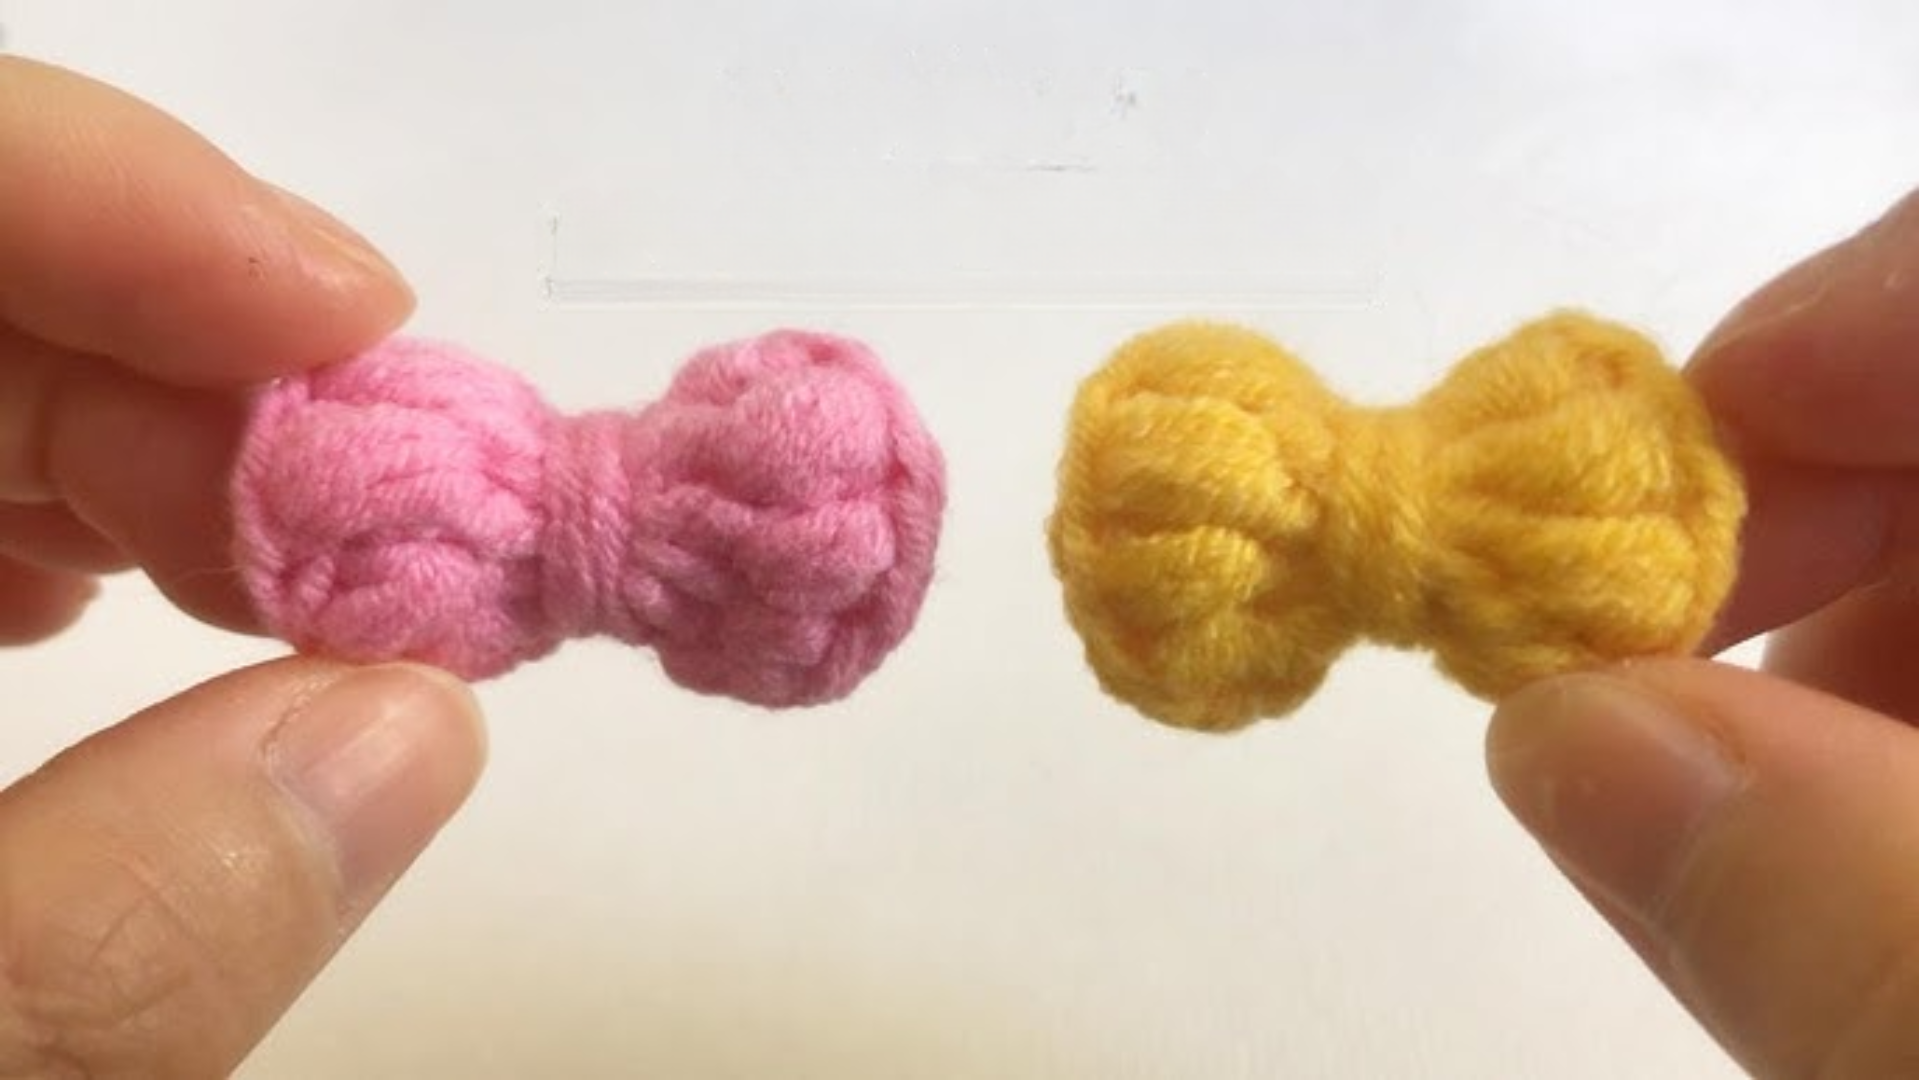
1. Classic Mini Bow

This tiny bow uses single crochet stitches for a neat, compact look. Perfect for baby headbands, it’s worked in rows with a center wrap. Use cotton yarn for structure. Customize with pastel colors or add a button for charm.
2. Puffy Cloud Bow
A fluffy bow made with double crochet for a soft, voluminous shape. Ideal for scarves or hats, it’s crocheted in two pieces and tied in the middle. Choose bulky yarn for extra puff. Add sparkly thread for flair.
3. Heart-Shaped Bow

This romantic bow is my favourite bow out of all, it is cute and compact, perfect for daily wear. It is crafted with half-double crochet, forming a heart-like silhouette. Great for Valentine’s gifts, it’s worked flat and pinched at the center. Use red or pink yarn and attach to bags or cardigans for a sweet touch.
4. Striped Sailor Bow

A nautical-inspired bow with alternating single crochet rows in two colors. Perfect for summer accessories, it’s crocheted flat and knotted in the middle. Use navy and white yarn. Add an anchor charm for a coastal vibe.
5. Ruffled Lace Bow
This delicate bow uses chain loops and treble crochet for a lacy, feminine look. Ideal for elegant hair clips, it’s worked in rounds with a tight center. Choose fine yarn for daintiness. Embellish with pearls for a vintage feel.
Wrapping It Up
Now you’ve got all the steps to create your crochet bow pattern in just 5 minutes!
This small project proves that crochet doesn’t need to be hard or take lots of time.
It’s a perfect starting point for your crochet path. Once you master this simple pattern, you can try different yarn weights, hook sizes, or add extra rounds for bigger bows.
Don’t forget to share your creations! Post photos online or gift your bows to friends. The joy on their faces will make your crafting time even more worth it.
Try different colors for each season or match them to your outfits. With this basic skill, you’ve opened up a world of creative options that start with just yarn and a hook.