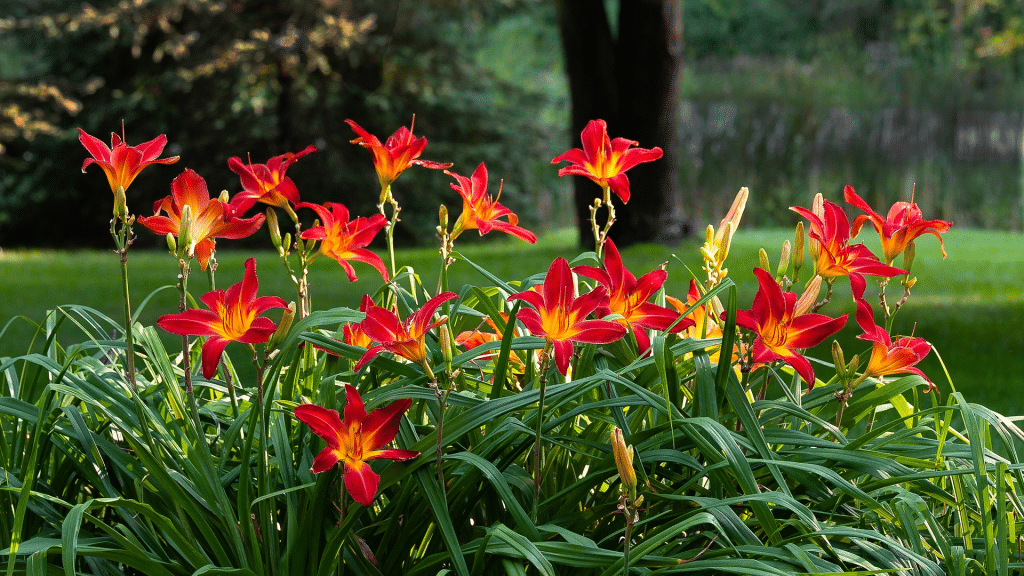
Growing beautiful daylilies can be tough when you’re not sure about the right food they need.
I’ve seen many garden fans struggle with pale blooms and weak plants because of the wrong feeding methods. I get it, the world of plant food can be complex!
I want to show you exactly how to feed your daylilies for amazing results. In this guide, I’ll walk you through the best fertilizers, when to apply them, how much to use, and simple tips that work in any garden.
Understanding the Nutritional Needs of Daylilies
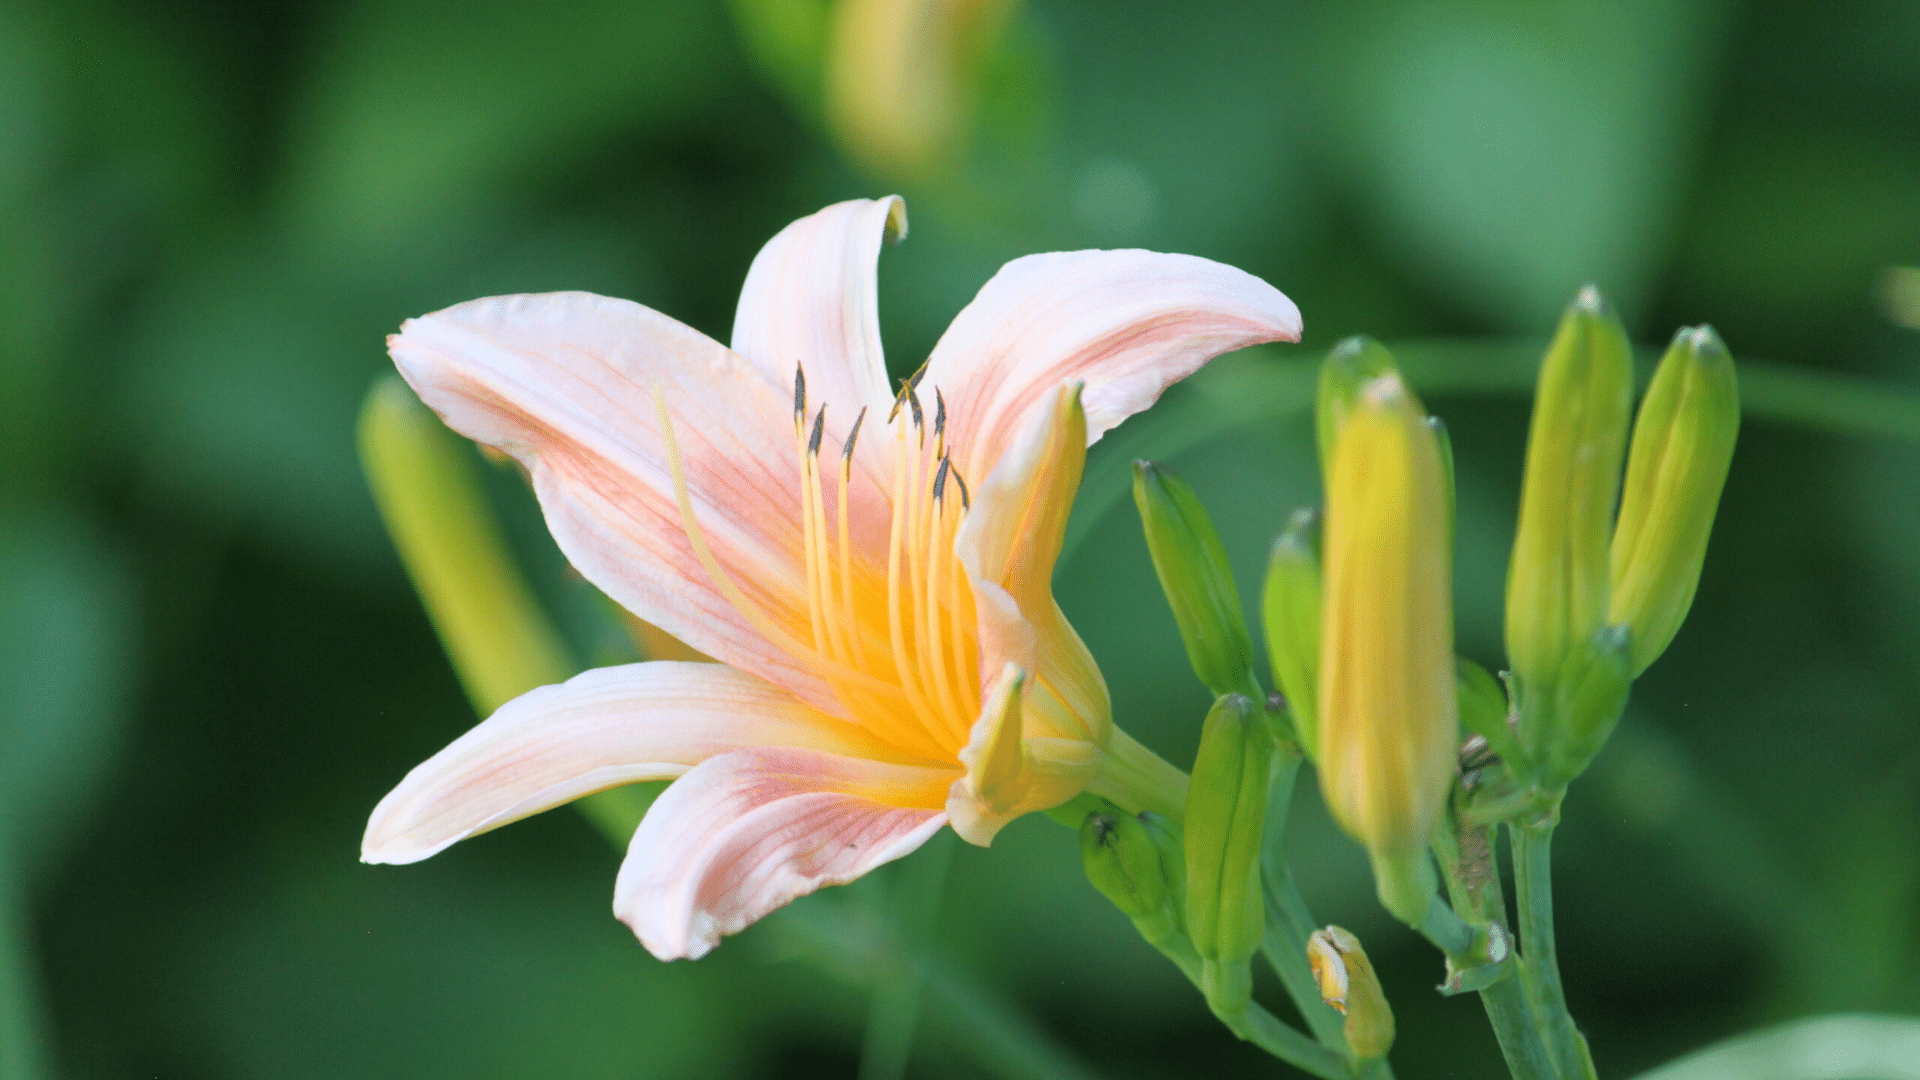
Daylilies are hardy and low-maintenance, but like any flowering plant, they thrive best when given the right nutrients.
While they can tolerate poor soil, optimal growth and vibrant blooms come with balanced feeding. Understanding their nutritional needs ensures better foliage, longer blooming seasons, and overall plant health.
Here’s a table outlining the key nutritional requirements for daylilies
| Nutrient | Purpose | Source |
|---|---|---|
| Nitrogen (N) | Leaf and stem growth | Compost, 10-10-10 fertilizer |
| Phosphorus (P) | Root and flower development | Bone meal, superphosphate |
| Potassium (K) | Overall health & resistance | Wood ash, potassium sulfate |
| Magnesium (Mg) | Chlorophyll production | Epsom salts |
| Calcium (Ca) | Strong roots and cell walls | Lime, gypsum |
| Iron (Fe) | Prevents leaf yellowing | Iron chelates, blood meal |
| pH Balance | Nutrient absorption | Lime (raise), sulfur (lower) |
After fertilization, when the daylilies bloom, dividing them in early spring is best just as new growth emerges, allowing the plants to recover quickly.
Find detailed instructions on dividing daylilies on our Dividing Daylilies in Early Spring guide.
Choosing the Best Fertilizer for Daylilies
Growing beautiful daylilies can be tough when you’re not sure about the right food they need.
I’ve seen many garden fans struggle with pale blooms and weak plants because of the wrong feeding methods. I get it – the world of plant food can be complex!
- Balanced NPK fertilizer (10-10-10): Works great for basic daylily care, giving equal parts of key nutrients
- Phosphorus-rich mix (5-10-5): Helps boost flower production when your plants need extra bloom power
- Slow-release granular options: Perfect for busy gardeners, as they feed plants bit by bit over months
- Organic compost: Adds natural food plus helps soil hold water better
- Bone meal: A Great source of phosphorus that helps root growth and flowering
- Fish emulsion: Quick-acting liquid that plants can use right away
- Aged manure: Full of good stuff that makes soil and plants happy long-term
Understanding: How to Fertilize Daylilies
The following are the steps to fertilizing the daylilies that I use.
1. Test Your Soil First
Before adding any plant food, get to know what’s already in your soil. Buy a simple test kit from a garden shop.
It will show if your soil is acidic or basic and what nutrients it has or lacks. This stops you from adding stuff your soil doesn’t need. Daylilies like soil that’s a bit acidic to neutral (pH 6.0 to 7.0). Adjust your soil if needed.
2. Pick the Right Time
Timing matters a lot with daylily feeding. Start in early spring when new green shoots pop up. This first meal helps them grow strong. Feed again after the first bloom cycle ends to help with a second round of flowers. Avoid feeding in late fall as new growth might get hurt by the cold.
Always feed on cool days, not hot ones.
3. Apply the Right Amount
Too much food can burn your plants, while too little won’t help. For granular types, use about 1/4 cup per grown plant, spread in a ring around the base.
Keep it a few inches away from stems to avoid burns. For liquid feeds, follow the bottle’s mixing rates. It’s better to give less than too much. Your daylilies don’t need huge amounts to thrive.
4. Water Before and After
Always water your daylilies the day before you plan to feed them. This helps the roots get ready to take in food.
After you apply the fertilizer, water again to help it move into the soil. This also stops the food from burning any leaves it might have fallen on.
Skip feeding on rainy days to make sure the food doesn’t wash away.
5. Spread Mulch After Feeding
Once you’ve fed and watered your daylilies, add a layer of mulch around them. Use compost, bark chips, or pine straw about 2-3 inches thick.
Keep it from touching the stems directly. Mulch helps hold water in, keeps weeds out, and slowly adds more food to the soil as it breaks down. Your daylilies will thank you for this extra care.
6. Watch and Adjust
Keep an eye on how your plants respond to their meals. Healthy daylilies have bright green leaves and lots of buds. If leaves turn yellow at the tips, you might be giving too much food. If growth seems slow with few flowers, they might need more food. Take notes each year about what works best. Every garden is different.
When is the Best Time to Fertilize Daylilies?
Early spring is my top pick for the first feeding, right when those green shoots start poking through the soil. This gives daylilies the energy they need for strong growth.
I add a second round about 6-8 weeks later, which helps fuel bloom production. After flowering ends in summer, a light feeding helps plants recover and build strength.
I always stop by in August in cold areas to avoid pushing new growth that frost might kill. Morning is best for applying fertilizer when it’s cool. The plants can take up nutrients before the hot sun hits.
The Bottom Line
Taking good care of your daylilies isn’t hard once you know the basics of feeding them right. The simple steps we covered will help your plants grow strong and bloom well.
I hope this guide helps you grow healthier, happier daylilies in your garden. Why not try these tips this growing season? Your garden will look better, and you’ll gain confidence in your plant care skills.
Don’t forget to share your results or questions in the comments section below.
Happy gardening!


