Direct-to-Film (DTF) printing is becoming one of the most popular methods for custom apparel and merchandise. This innovative printing technique allows businesses to produce high-quality designs on a variety of fabrics, such as cotton, polyester, and even blends. If you’re considering starting a DTF printing business, this guide will help you navigate the essential steps and equipment you need to get started.
Whether you’re just starting or looking to refine your process, understanding the basics of DTF printing will set you up for success. Let’s break down the steps to get you on your way.
Understanding DTF Printing Technology
DTF printing stands out from traditional methods like screen printing and Direct-to-Garment (DTG) printing due to its versatility and high-quality results. The DTF process involves printing designs onto a special transfer film and then transferring those designs onto garments using heat and pressure. Unlike other methods, DTF allows you to print on various materials, including both light and dark fabrics, which is a huge advantage for custom apparel businesses.
At its core, DTF printing uses four key steps: design creation, printing on transfer film, applying adhesive powder, and heat pressing the design onto the fabric. This process results in vibrant, long-lasting prints that can withstand regular washing, making it ideal for custom clothing and promotional items.
Essential Equipment for DTF Printing
To get started with DTF printing, you’ll need a few essential pieces of equipment. The primary tools are:
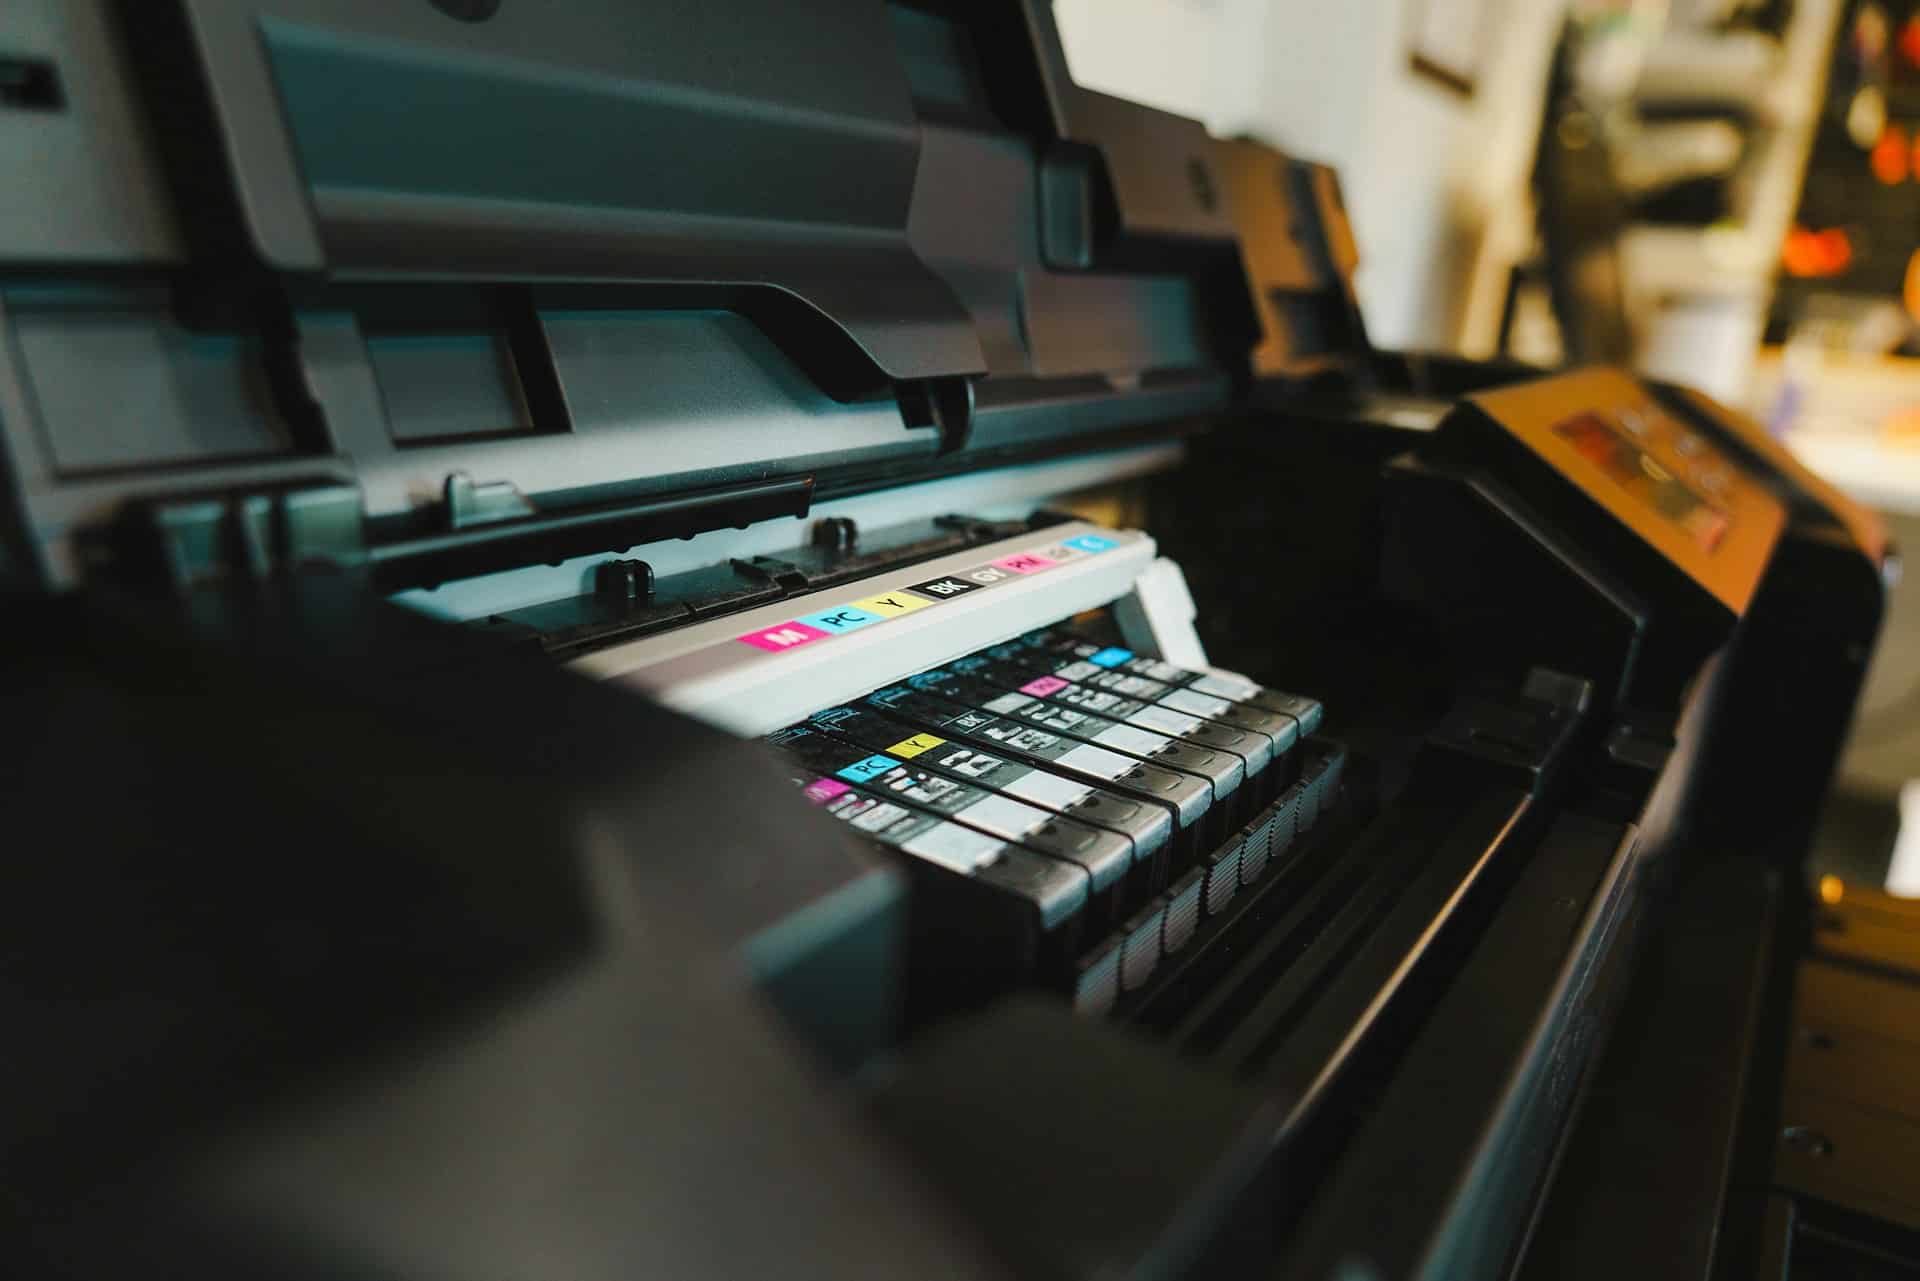
- DTF Printer – The printer is the heart of the operation. You will need a specialized printer capable of printing onto transfer film. For beginners, printers like the Prestige R2 Pro DTF printer offer a great balance of affordability, speed, and quality, providing consistent results for both small and large orders.
- Heat Press – A heat press is necessary to transfer the print from the film onto the fabric. The heat press applies heat and pressure to make the design stick to the garment.
- DTF Transfer Film – This is a special type of film that holds the printed design before it’s transferred to the garment. It’s essential for getting clear, vibrant prints.
- Adhesive Powder – After printing the design onto the film, you’ll need to apply adhesive powder to ensure that the ink sticks to the fabric during the transfer process.
- Inks – DTF printers use a combination of CMYK inks and white ink for printing. The white ink is especially important for printing on dark fabrics.
Each piece of equipment is crucial to the process, and selecting high-quality items ensures that your prints are vibrant, durable, and professionally done.
Preparing Your Workspace
Setting up an efficient workspace is key to maintaining a smooth DTF printing operation. You’ll need a dedicated space for your printer, heat press, and supplies. Here are a few tips for preparing your workspace:
- Ventilation: Ensure proper ventilation to handle the fumes from ink and powders used in the printing process. This will help maintain air quality and comfort while working.
- Temperature Control: Keep your workspace at a stable temperature. Extreme heat or cold can affect the print quality and transfer process.
- Organization: Keep your supplies organized. Having easy access to transfer films, inks, powders, and the necessary accessories will save you time and prevent unnecessary disruptions in the printing process.
Creating and Preparing Designs
Design creation is the first and most exciting step in the DTF process. High-quality, well-prepared designs ensure that your prints turn out crisp and detailed. Most DTF printers are compatible with popular design software like Adobe Illustrator or CorelDRAW.
When preparing your designs, consider the following:
- Resolution: Aim for a high resolution (at least 300 DPI) to ensure that your designs are sharp and clear.
- File Formats: The ideal file formats for DTF printing are PNG, TIFF, or vector files (like AI or SVG). These formats preserve the details and colors of your designs.
- White Ink for Dark Fabrics: If you are printing on dark garments, make sure to properly manage white ink. This step is crucial because the white ink serves as a base layer that helps the colors pop and ensures full opacity on dark fabrics.
It’s also a good idea to test a few designs before scaling up to ensure that your design is optimized for DTF printing and transfers correctly.
Printing and Transferring Designs
Once your design is ready, it’s time to print. First, the design is printed onto the transfer film using a DTF printer. The print head applies the CMYK inks and white ink (if needed) to the film. After printing, the next step is to apply the adhesive powder to the wet design. The powder is evenly distributed and then cured using heat, allowing the print to stick to the film.
The transfer process requires precision, and using the right settings on your printer is key. Ensure your printer is set up to handle the material and that you’re using the correct inks. The Prestige R2 Pro DTF printer ensures smooth and consistent results, providing high-quality prints across different materials.
Once the adhesive powder is applied and cured, it’s time to transfer the design to the fabric. This is where your heat press comes into play. Set your heat press to the appropriate temperature, pressure, and time based on the type of fabric you’re using. The transfer process typically takes 10 to 15 seconds, depending on the garment and design.
Curing and Finishing the Print
Curing is an essential part of the DTF printing process. After the transfer is complete, the print needs to be cured to ensure that the ink adheres properly and remains durable over time. Curing can be done with an oven or heat press, depending on your setup. The goal is to heat the print to a temperature that sets the ink, making it resistant to fading, cracking, and washing out.
After curing, inspect the print for any imperfections. Check for smooth edges, clear details, and vibrant colors. If the print doesn’t meet your standards, troubleshoot the issue by adjusting the printer or heat press settings.
Tips for Success and Troubleshooting Common Problems
As with any printing process, DTF printing can come with its challenges. Here are some common issues and troubleshooting tips:
- Ink Smudging: This can happen if the ink isn’t fully cured before pressing. Ensure the curing process is done properly before applying the design to the fabric.
- Uneven Transfers: This could be due to improper heat press settings or uneven application of adhesive powder. Make sure the temperature, pressure, and time are correct for the fabric you’re working with.
- Clogged Print Heads: Regular maintenance is key to keeping your printer running smoothly. Clean the print heads regularly to avoid ink blockages and maintain consistent print quality.
Conclusion
Starting a DTF printing business may seem daunting at first, but by following these steps, you can create a smooth and efficient workflow. From selecting the right equipment, like the Prestige printer, to mastering the design and transfer processes, the possibilities are vast in the custom apparel industry. By staying organized, practicing your technique, and troubleshooting common issues, you’ll be well on your way to success.
As you get started, remember that the key to mastering DTF printing is practice. The more you experiment with different designs and materials, the more you’ll refine your process and produce high-quality custom prints. Keep learning and adapting as you grow your business in the fast-evolving world of custom apparel.