The thing is, most people don’t realize how much curtain placement affects a room. Hang them too low, and the space feels cramped.
Mount them too close to the window frame, and natural light gets blocked even when the curtains are open.
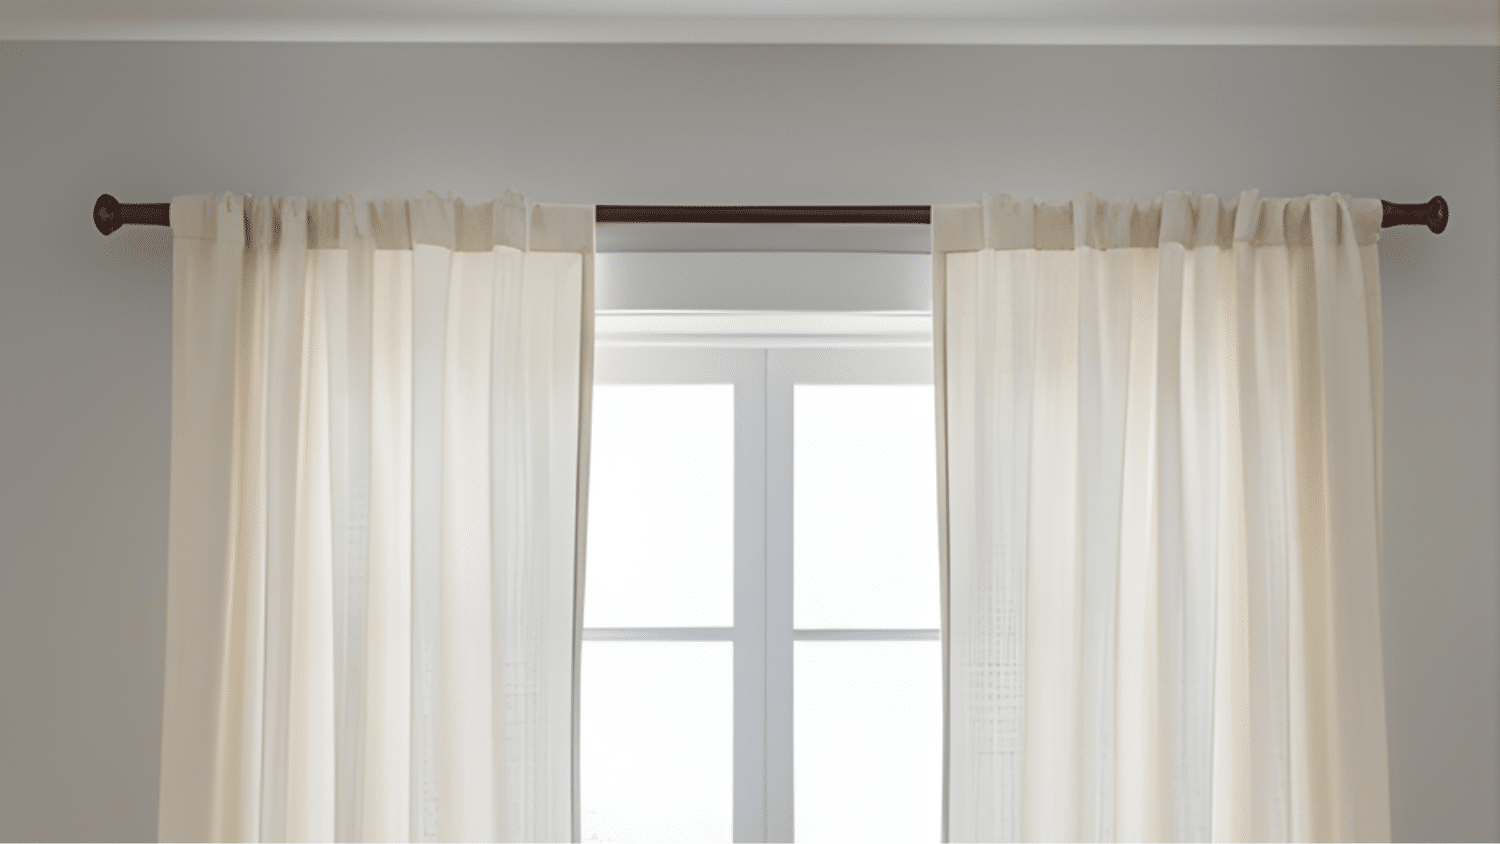
Proper hanging does more than look good. It changes how a room feels. High-mounted curtains make ceilings appear taller.
Wide-mounted rods create the illusion of bigger windows. The result is more light, better privacy control, and a cleaner look.
Correctly hung curtains also function better. They open and close smoothly. They don’t drag on the floor or leave awkward gaps. Small details matter for a finished look.
For visual inspirations, check out our blog on the Pictures of Different Ways to Hang Curtains to see how different styles change a room.
Tools and Materials You’ll Need to Hang Curtains
Getting the right tools makes hanging curtains much easier. Having everything ready before starting saves time and prevents mistakes.
| Tool/Material | Purpose |
|---|---|
| Measuring tape | Measures window dimensions and rod placement accurately |
| Pencil | Mark’s drill points and measurements on the wall |
| Level | Ensures the curtain rod stays perfectly straight |
| Drill and bits | Creates holes for mounting brackets in walls |
| Screwdriver | Tightens screws and secures brackets firmly |
| Curtain rod | Holds curtains and spans the window width |
| Brackets | Mounts the rod to the wall securely |
| Anchors | Provides extra support in drywall installations |
| Ladder or step stool | Reaches high mounting points safely |
How to Hang Curtains with Ease
Hanging curtains is simple when you break it into steps. Following this process ensures proper placement and a professional finish.
Each step builds on the last for the best results.
Step 1: Measure Your Window and Wall Space
Start by measuring the window width and height accurately. Add 4-6 inches on each side of the window frame so the rod extends beyond. Measure from the floor to determine where the rod should sit.
Most designers recommend placing the rod 4-6 inches above the window frame, or even higher for a dramatic effect that makes ceilings look taller.
Step 2: Mark Your Bracket Positions
Use a pencil to mark where the brackets will go on the wall. Check these marks with a level to ensure they’re even on both sides.
Uneven brackets will cause the entire curtain rod to slant, ruining the look. Double-check measurements before drilling to avoid drilling into the wall.
Step 3: Install the Brackets Securely
Drill pilot holes at the marked spots using the appropriate drill bit size.
Insert wall anchors if drilling into drywall rather than studs for extra support. Screw the brackets firmly into place, making sure they feel solid and stable.
Loose brackets will sag over time, especially with heavier curtain fabrics.
Step 4: Attach the Curtain Rod
Slide the curtain panels onto the rod before mounting it, unless using rings. Place the rod onto the installed brackets and secure it according to the manufacturer’s instructions.
Some rods rest in the brackets, while others require tightening screws. Make sure the rod sits evenly and doesn’t wobble when touched.
Step 5: Adjust and Style Your Curtains
Hang the rod and arrange the curtains to distribute the fabric across the window evenly.
Adjust the hem length so the curtains either kiss the floor or hover about half an inch above it. Fluff and arrange the folds for a fuller appearance.
Step back and check if everything looks balanced and the curtains open and close smoothly.
Getting the Correct Measurements on The First Try
Accurate measurements prevent costly mistakes and ensure curtains look intentional. Taking time to measure correctly saves effort and creates a polished result.
- Window width – Measure the actual window frame width, then add 8-12 inches total (4-6 inches on each side) to extend the rod beyond the frame and allow curtains to stack off the glass when open.
- Window height – Measure from the top of the window frame to the floor, then decide how high above the frame to mount the rod, typically 4-6 inches for standard ceilings or higher for dramatic effect.
- Curtain length – Determine if curtains should kiss the floor, hover slightly above, or puddle for a formal look, then calculate the total length needed from the rod to the desired endpoint.
- Rod projection – Measure how far the rod extends from the wall to ensure the curtains clear window treatments, such as blinds or deep window sills, without bunching awkwardly.
Friendly No-Drill Methods to Hang Curtains
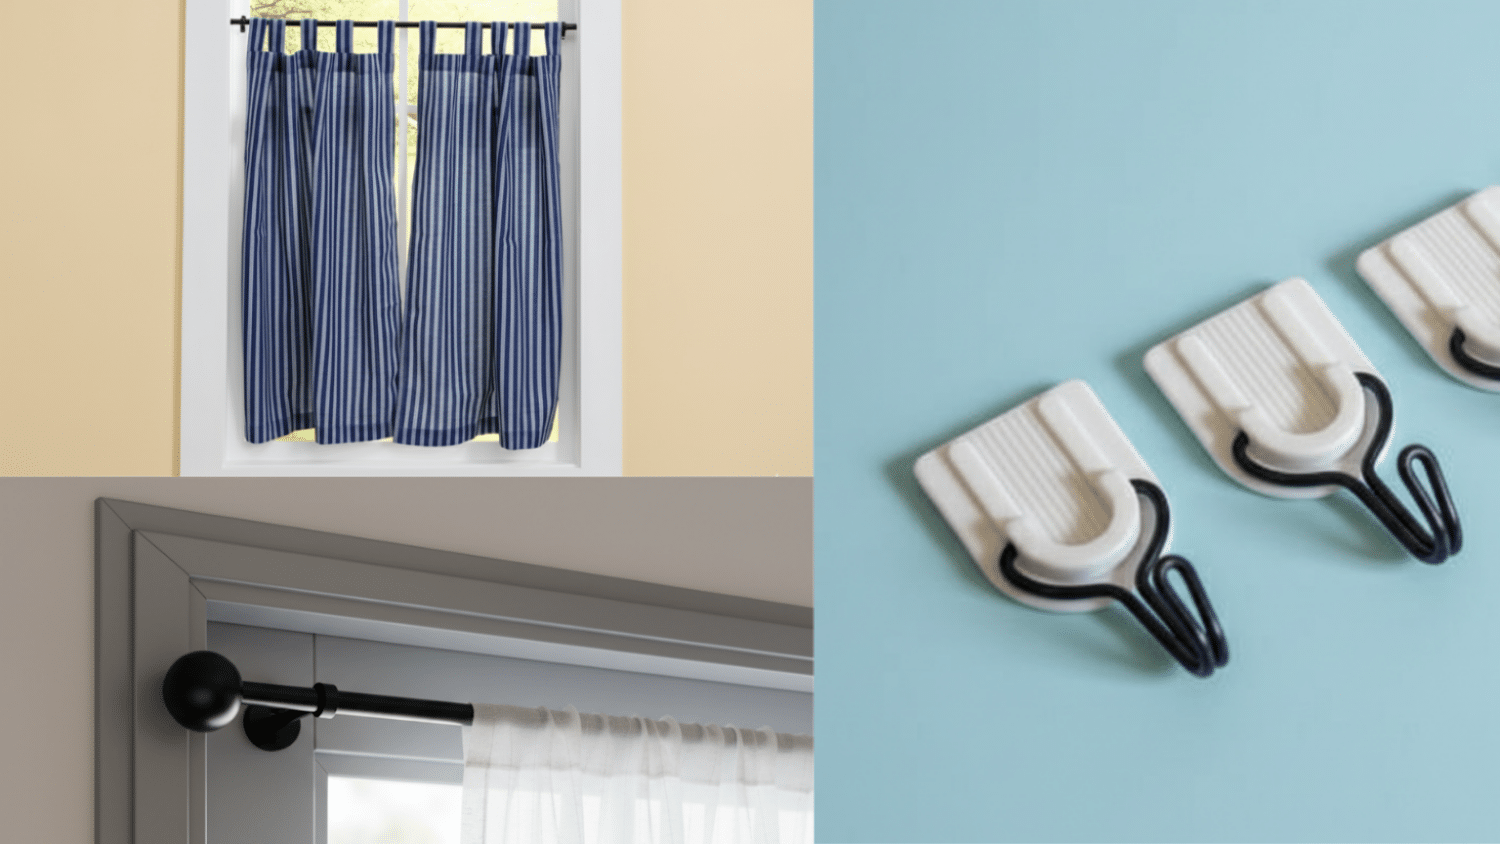
Not everyone wants to put holes in their walls. Renters and temporary spaces need solutions that work without permanent damage.
Here’s how to hang curtains without drilling.
1. Tension Rods
Tension rods fit inside the window frame using spring-loaded pressure. They work well for lightweight curtains and require no tools. Just twist to extend and wedge firmly between the frame sides.
2. Adhesive Hooks
Heavy-duty adhesive hooks stick directly to walls or window frames. They hold lightweight to medium-weight curtain rods securely. Make sure the wall surface is clean before applying for the best hold.
3. Magnetic Rods
Magnetic curtain rods attach to metal window frames or doors instantly. They’re perfect for small windows and sheer curtains. The magnets provide a secure hold without any installation required.
Tips & Finishing Touches for a Polished, Professional Look
Installation is just the beginning. Small styling choices make the difference between basic and beautiful.
These finishing touches create that designer appearance.
| Styling Element | How It Helps |
|---|---|
| Curtain tiebacks or holdbacks | Keeps curtains neatly pulled to the sides and adds decorative interest to the window |
| Steaming or ironing | Removes wrinkles and creases for a crisp, fresh appearance that looks professionally done |
| Proper stacking | Arranges fabric evenly on both sides when open, so the window looks balanced and symmetrical |
| Matching hardware | Coordinates rod finials, brackets, and rings with room decor for a cohesive, intentional design |
| Layering sheers | Adds depth and light control by combining sheer panels with heavier drapes for visual texture |
| Adjusting fullness | Fluffs and arranges pleats or folds to create volume and prevent flat, lifeless-looking panels. |
Concluding
Hanging curtains correctly changes how a room looks and feels. The correct measurements, proper tools, and attention to small details make all the difference.
Whether drilling into walls or using no-drill methods, anyone can achieve professional results.
Now it’s time to put these tips into practice. Grab your measuring tape and start planning your curtain installation.
Remember, the key to learning how to hang curtains successfully is taking it one step at a time.
Have questions or want to share your curtain hanging experience? Drop a comment below.