Key Takeaways
-
Spring gives you the best odds – While you can propagate African violets any time indoors, spring and early summer offer higher success rates due to natural light and humidity levels.
-
Leaf cuttings are your safest bet – With a 90-95% success rate, healthy leaf cuttings from the middle rows are the most reliable method for beginners and experts alike.
-
Both water and soil methods work well – Water propagation lets you see root growth happening, while soil propagation skips the transplant shock. Choose based on your comfort level.
-
Skip the rooting hormones – African violets naturally produce roots from their fleshy leaves, so save your money. Simple tools like scissors, containers, and proper soil are all you really need.
Best Time to Propagate
While African violet propagation can happen year-round in stable indoor conditions, spring and early summer offer the best chances for success.
During these seasons, increased natural light and warmer temperatures create ideal conditions for growing. The higher humidity levels typical of spring significantly accelerate root development.
Your plants also have more energy during their natural growing season, making them more responsive to propagation efforts.
Though indoor climate control allows flexibility, timing your propagation with nature’s rhythms gives you a clear advantage. The combination of longer daylight hours and optimal growing conditions significantly boosts success rates.
What Violets Can Be Used for Propagating African Violets?
When gardeners want to grow new African violets, they need to know which parts work best. Not all violet types are the same for propagation.
| Violet Type | Success Rate | Best Season | Time to Root |
|---|---|---|---|
| Healthy leaf cuttings | 90-95% | Spring/Summer | 3-4 weeks |
| Crown divisions | 85-90% | Any time | Immediate |
| Flower stalks | 40-50% | When blooming | 4-6 weeks |
| Suckers/offsets | 95-100% | When available | 2-3 weeks |
Standard African violets propagate easily. Mini and semi-mini varieties need more care but still work well.
Variegated types might lose their patterns through leaf propagation. For these, growers use crown division or suckers to keep the colors.
Chimera varieties won’t reproduce true from leaves. Gardeners must use suckers or crown division for these special types.
What to Expect: Timeline
Propagating African Violets follows a predictable schedule, although individual results may vary depending on temperature, humidity, and the quality of care.
- Root formation typically occurs within 3-4 weeks, regardless of whether the plant is rooted in water or directly in soil. Small white roots will emerge from the leaf stem.
- New plantlets emerge within 2-6 months, depending on environmental conditions and the health of the leaf. Tiny baby plants develop at the base of the original leaf.
- Blooming is expected around 6-9 months after propagation, especially when starting from leaf cuttings. Patience pays off with beautiful results.
The entire process requires consistent care and stable conditions for the best outcomes.
Tools & Materials Required
Successful African violet propagation needs basic supplies that most plant lovers already have at home.
| Tool/Material | Purpose | How to Use |
|---|---|---|
| Healthy leaf | Source material | Select from the middle rows of plants |
| Sharp scissors | Clean cutting | Sterilize before each use |
| Small containers | Rooting space | Use jars for water, pots for soil |
| Potting mix | Growing medium | African violet blend or peat/perlite mix |
| Room-temp water | Hydration | Distilled water works best |
Having quality tools makes the propagation process smoother and increases your chances of success with healthy new plants.
Steps for Propagating African Violets
Choose between water or soil propagation based on your preference and available supplies.
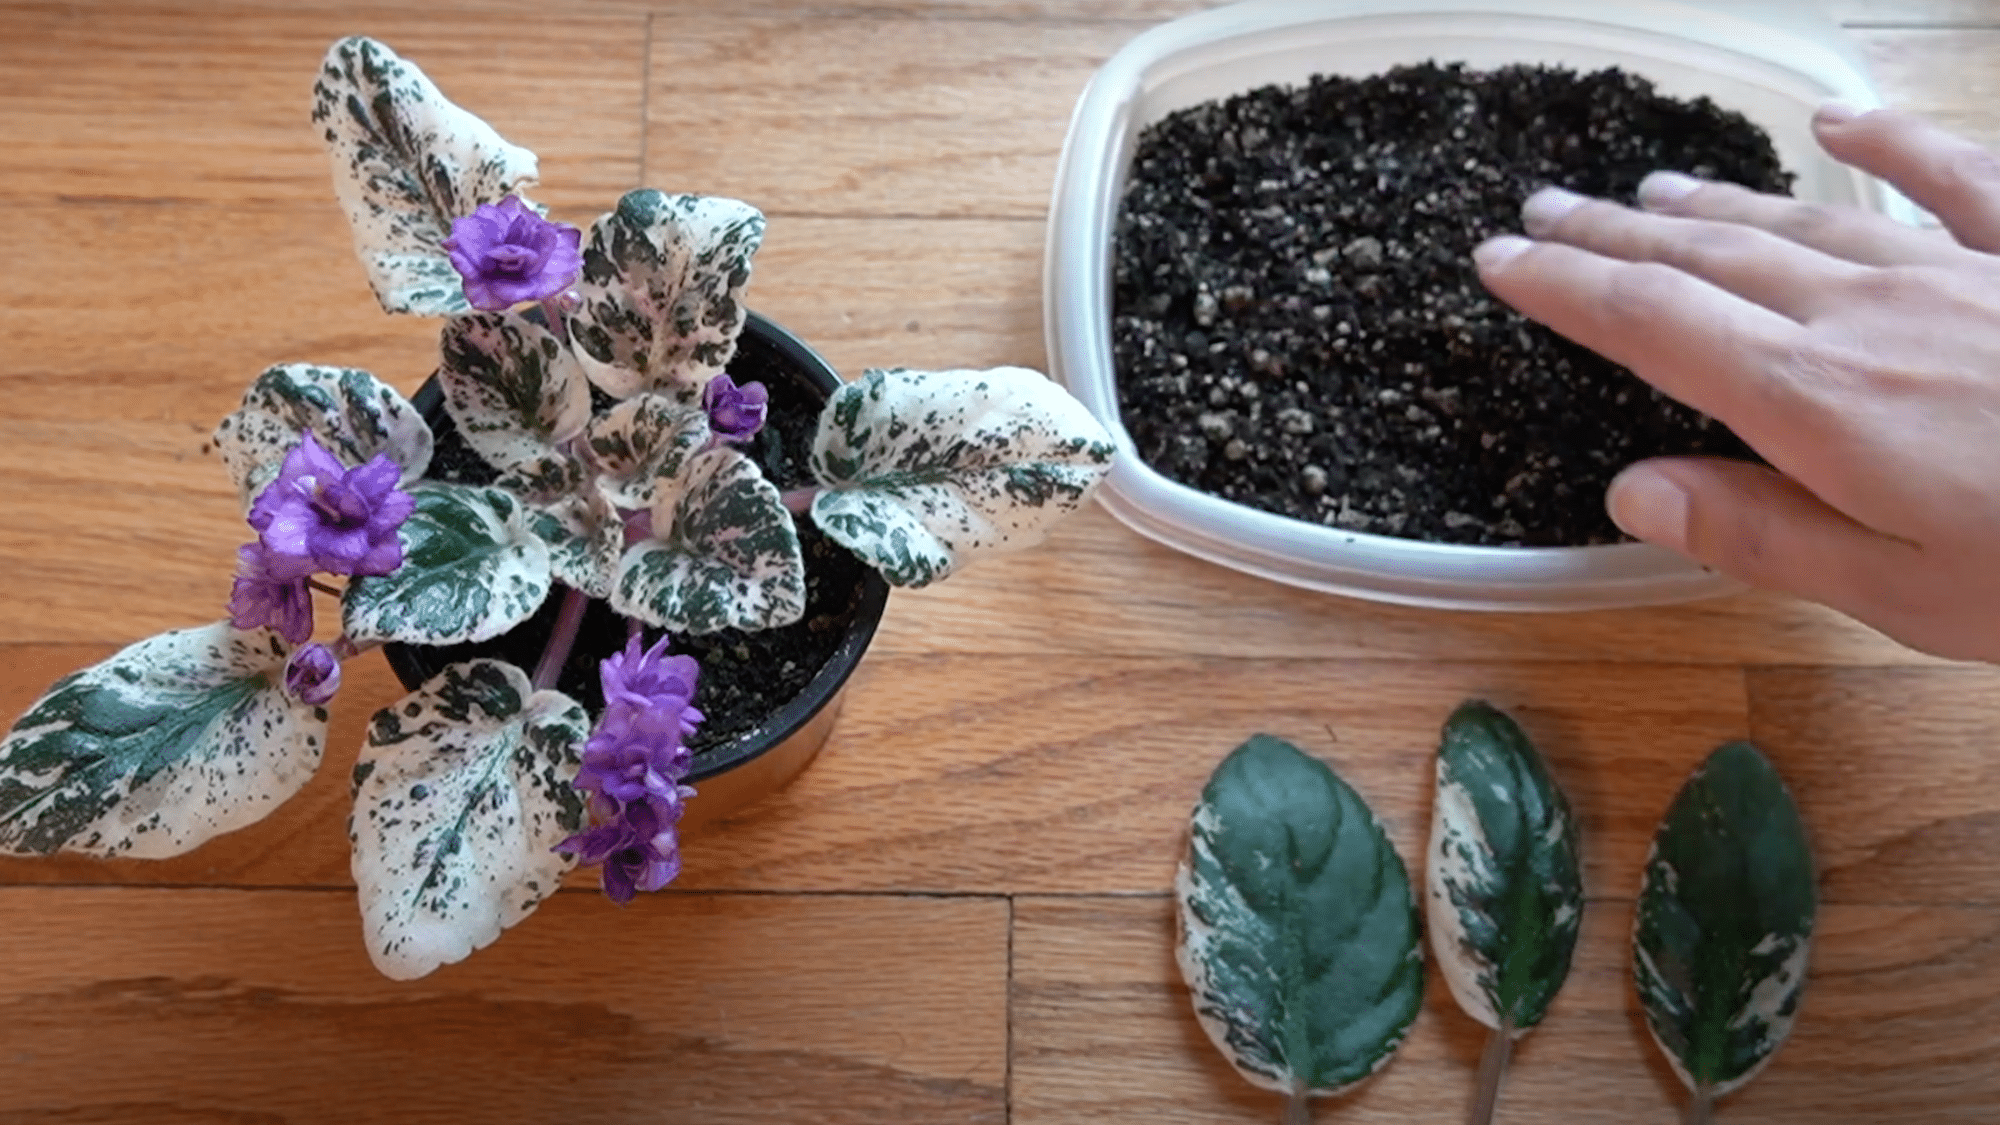
Step 1. Select the Right Leaves

Choose mature, healthy leaves from the outer edges of the mother plant.
These leaves are older, sturdy, and most likely to root successfully. Damaged or misshapen leaves can also be removed, which helps improve the plant’s overall appearance while providing material for propagation.
Step 2. Make a Clean Cut
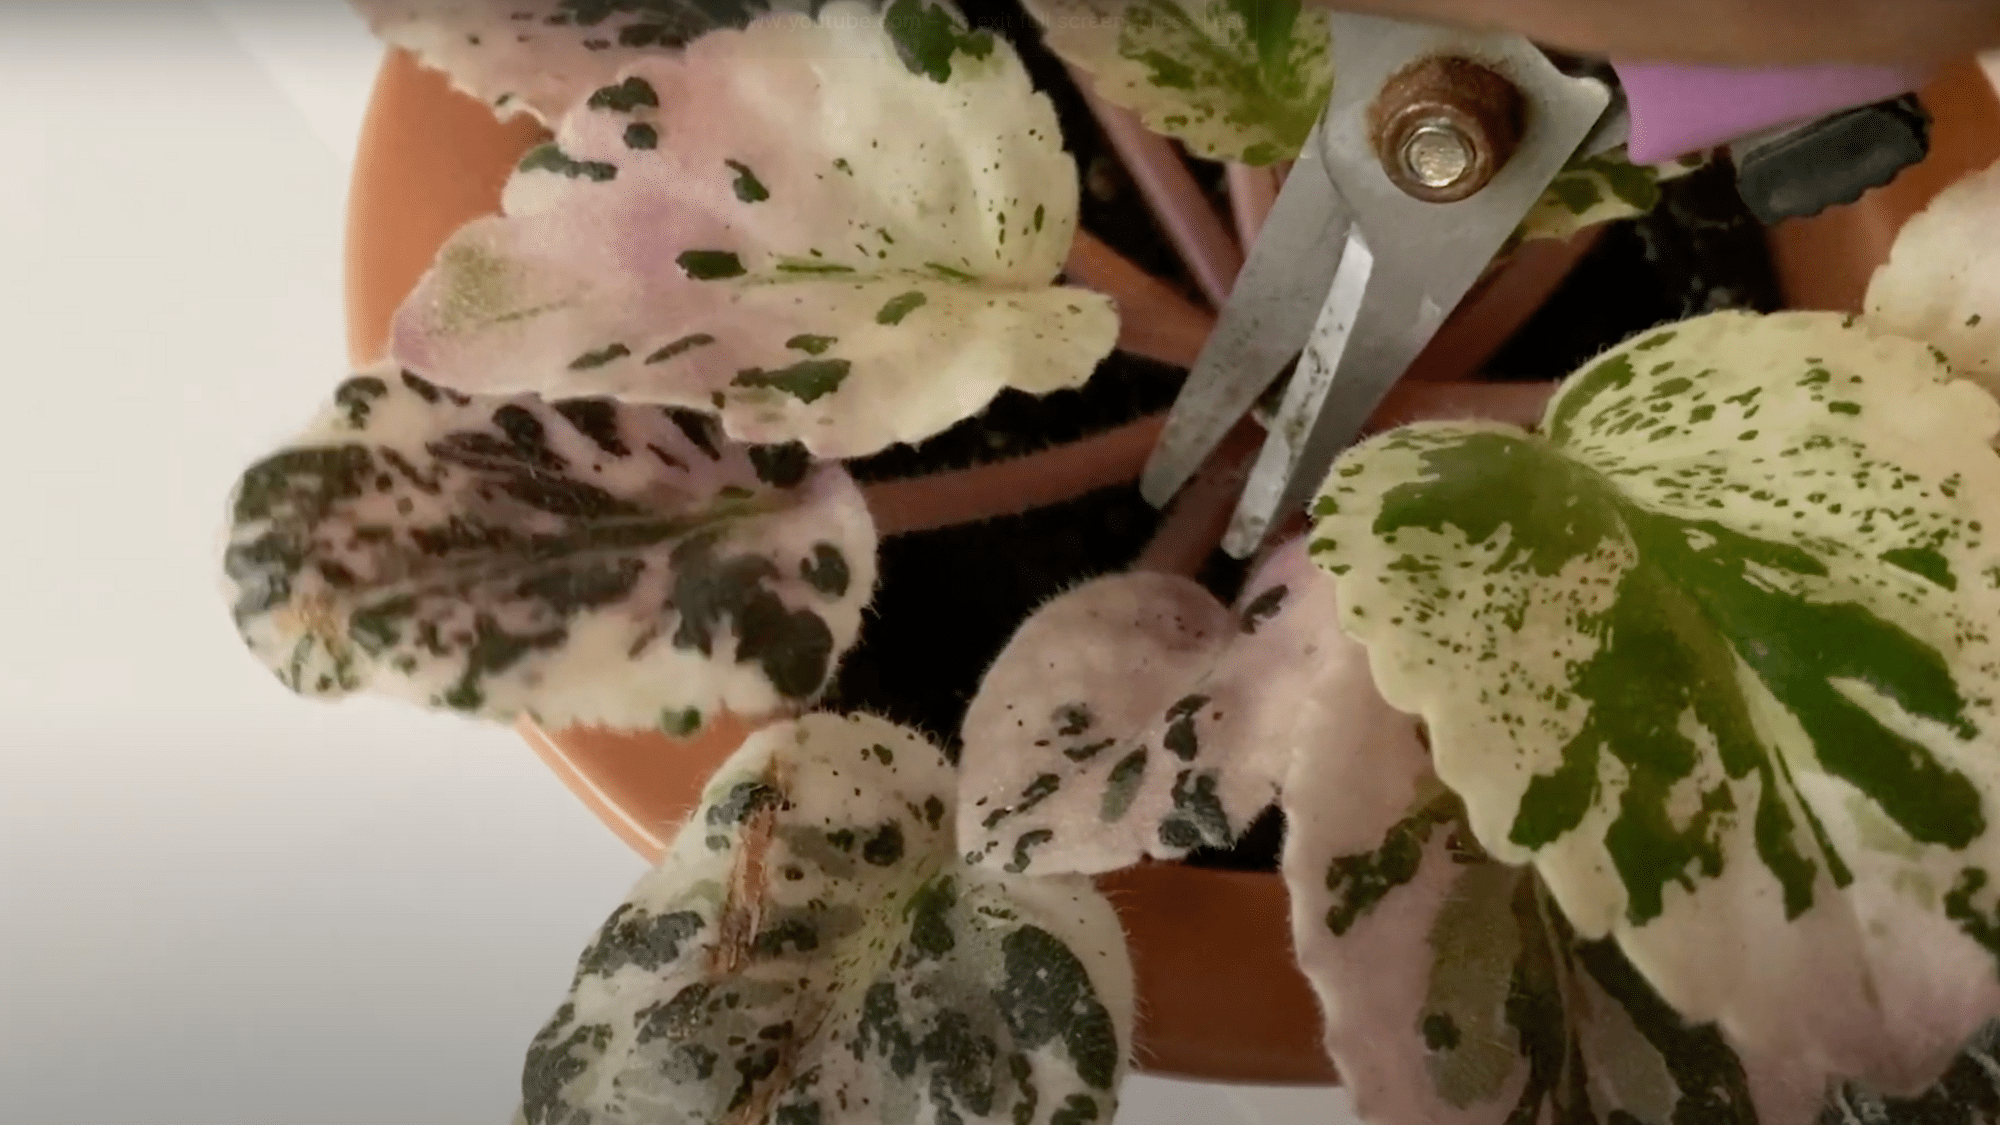
Using sterilized scissors or gently pinching by hand, cut each chosen leaf as close to the base of the plant as possible. This prevents unsightly stumps and keeps the mother plant neat.
Long petioles (leaf stems) may be trimmed to a shorter length for easier planting, but this is optional.
Step 3. Prepare the Propagation Container
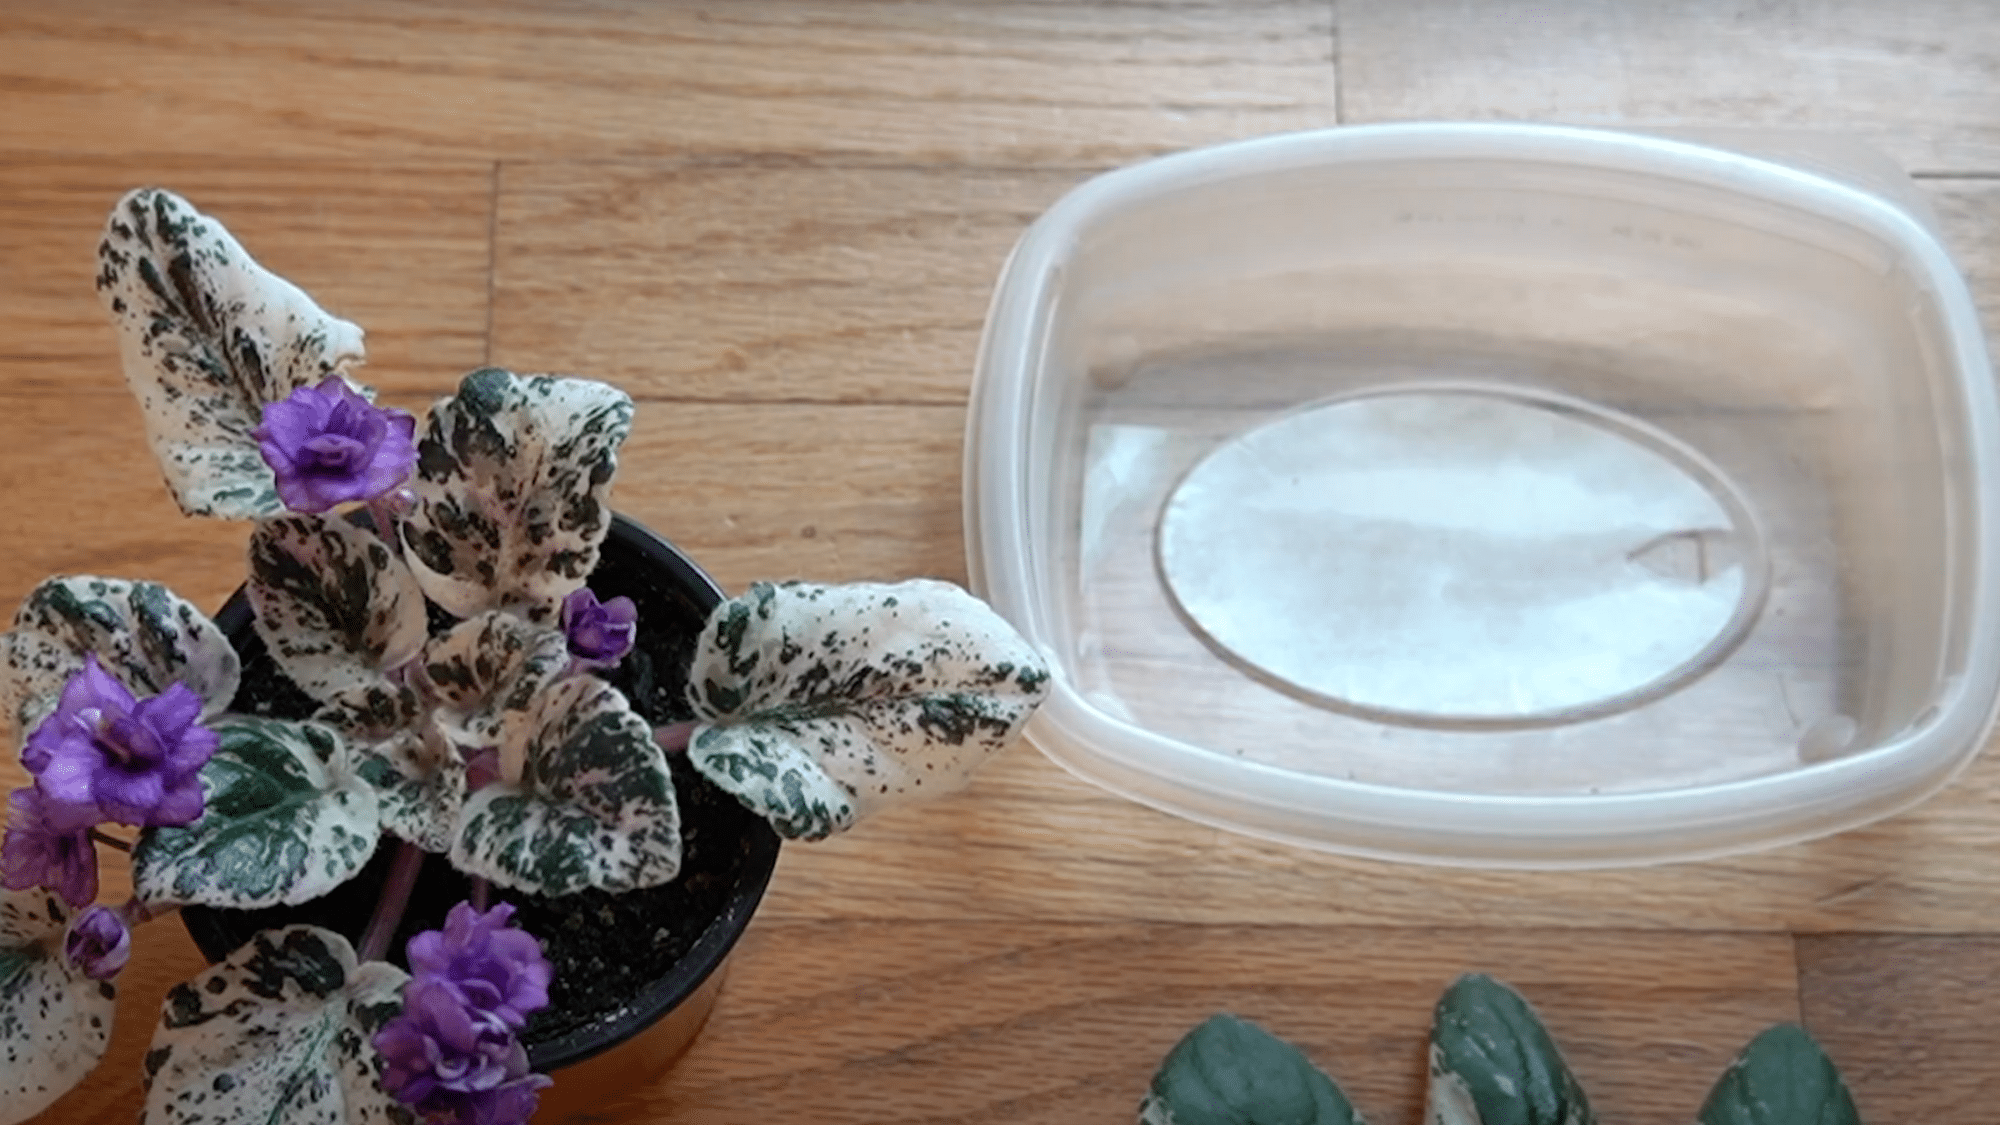
Select a small container with a lid, such as a food storage box or a takeout container. The lid is essential, as it helps retain humidity, mimicking a mini greenhouse. Unlike traditional pots, drainage holes aren’t required at this stage.
Step 4. Add the Soil
Spread a thin, even layer of light potting soil into the container. While African Violet–specific soil is ideal, any well-aerated mix works for this early stage.
Avoid compact, heavy soils, as they hinder root development.
Step 5. Position the Leaves
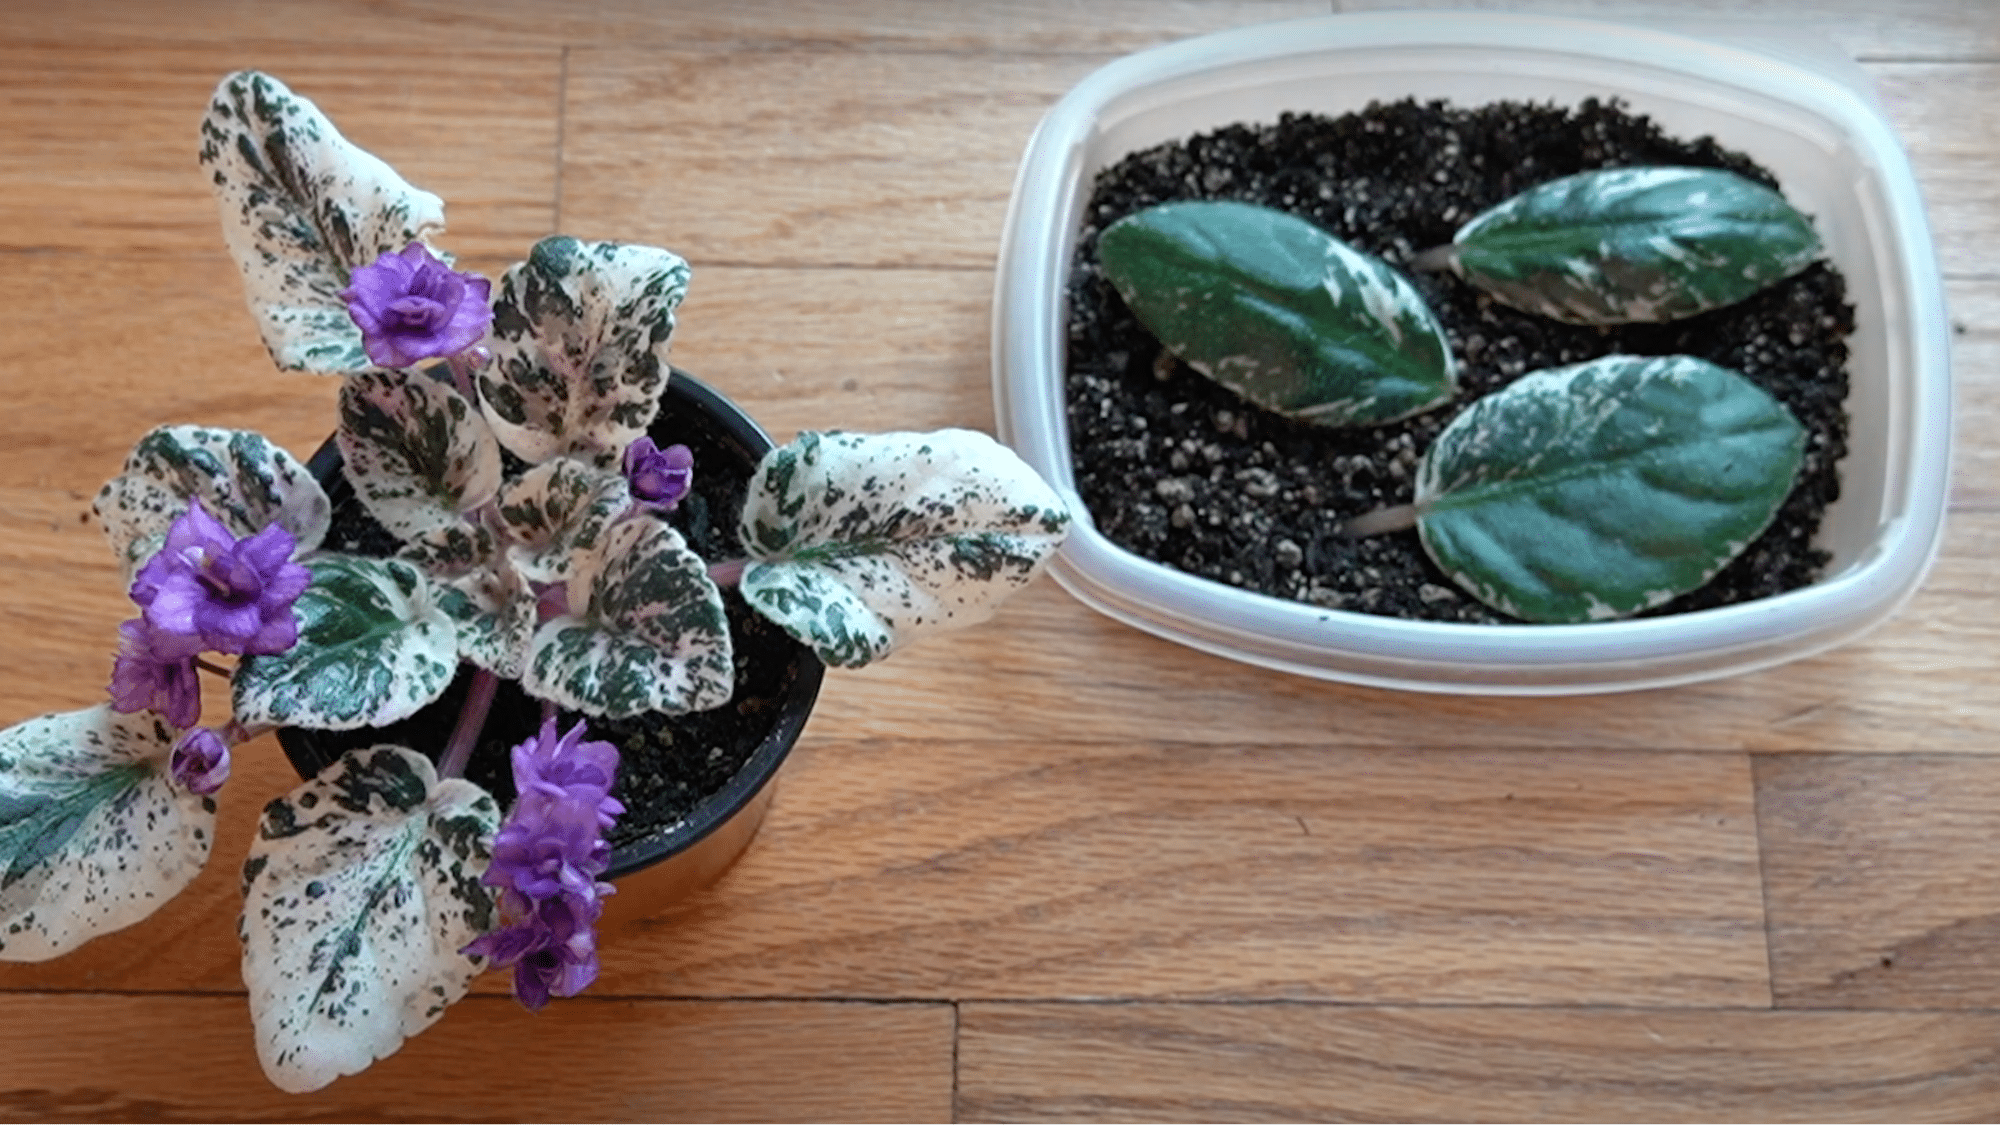
Insert each leaf into the soil so the stem is buried while the leaf blade remains above ground. The new plantlets will sprout from the base of the stem.
Place multiple leaves close together to save space, but ensure they aren’t overlapping too much.
Step 6. Water Gently and Evenly
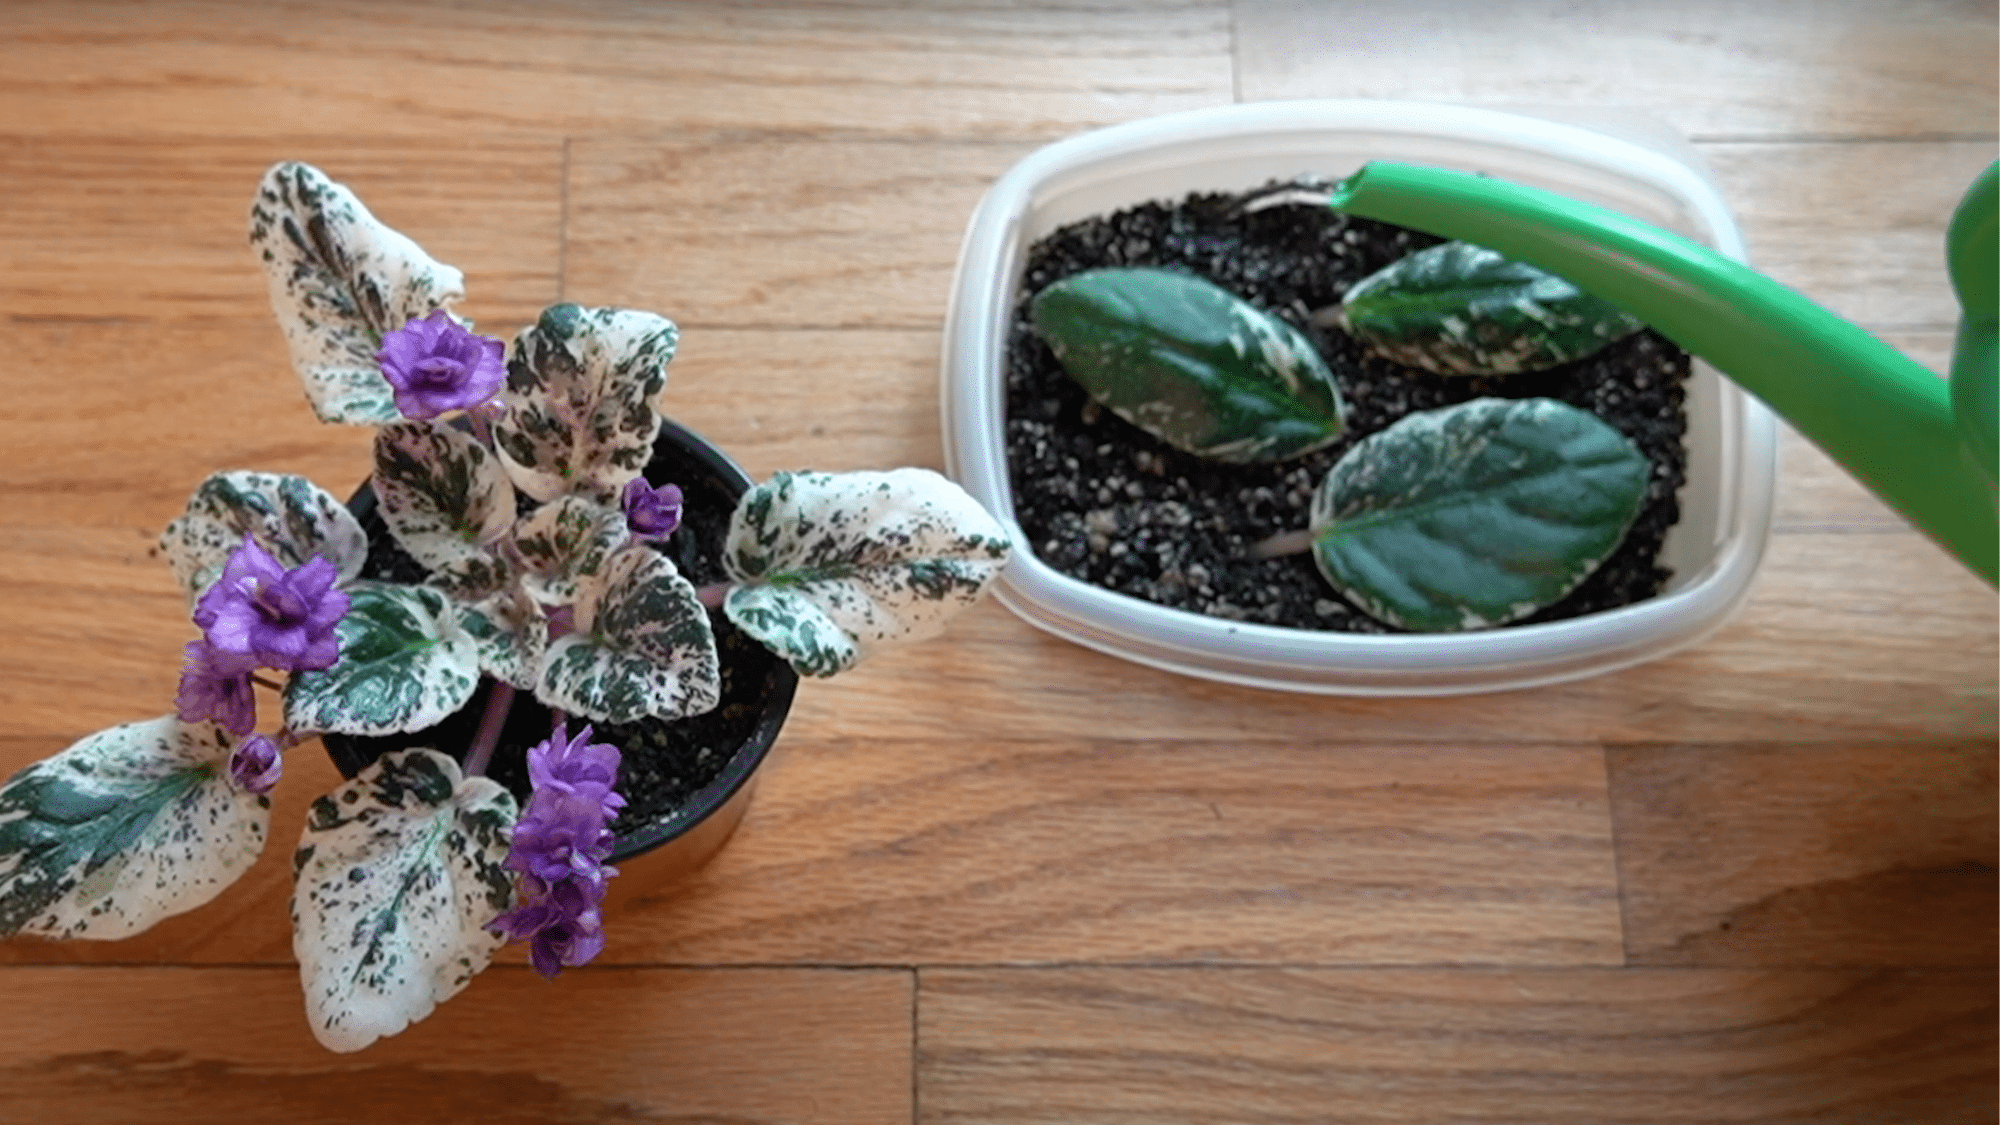
Add water carefully at the base, allowing moisture to spread through the soil without soaking the leaves. Wet foliage can lead to rot, so keep the leaves dry. The soil should be evenly moist, not overly wet.
Step 7. Seal and Provide Light
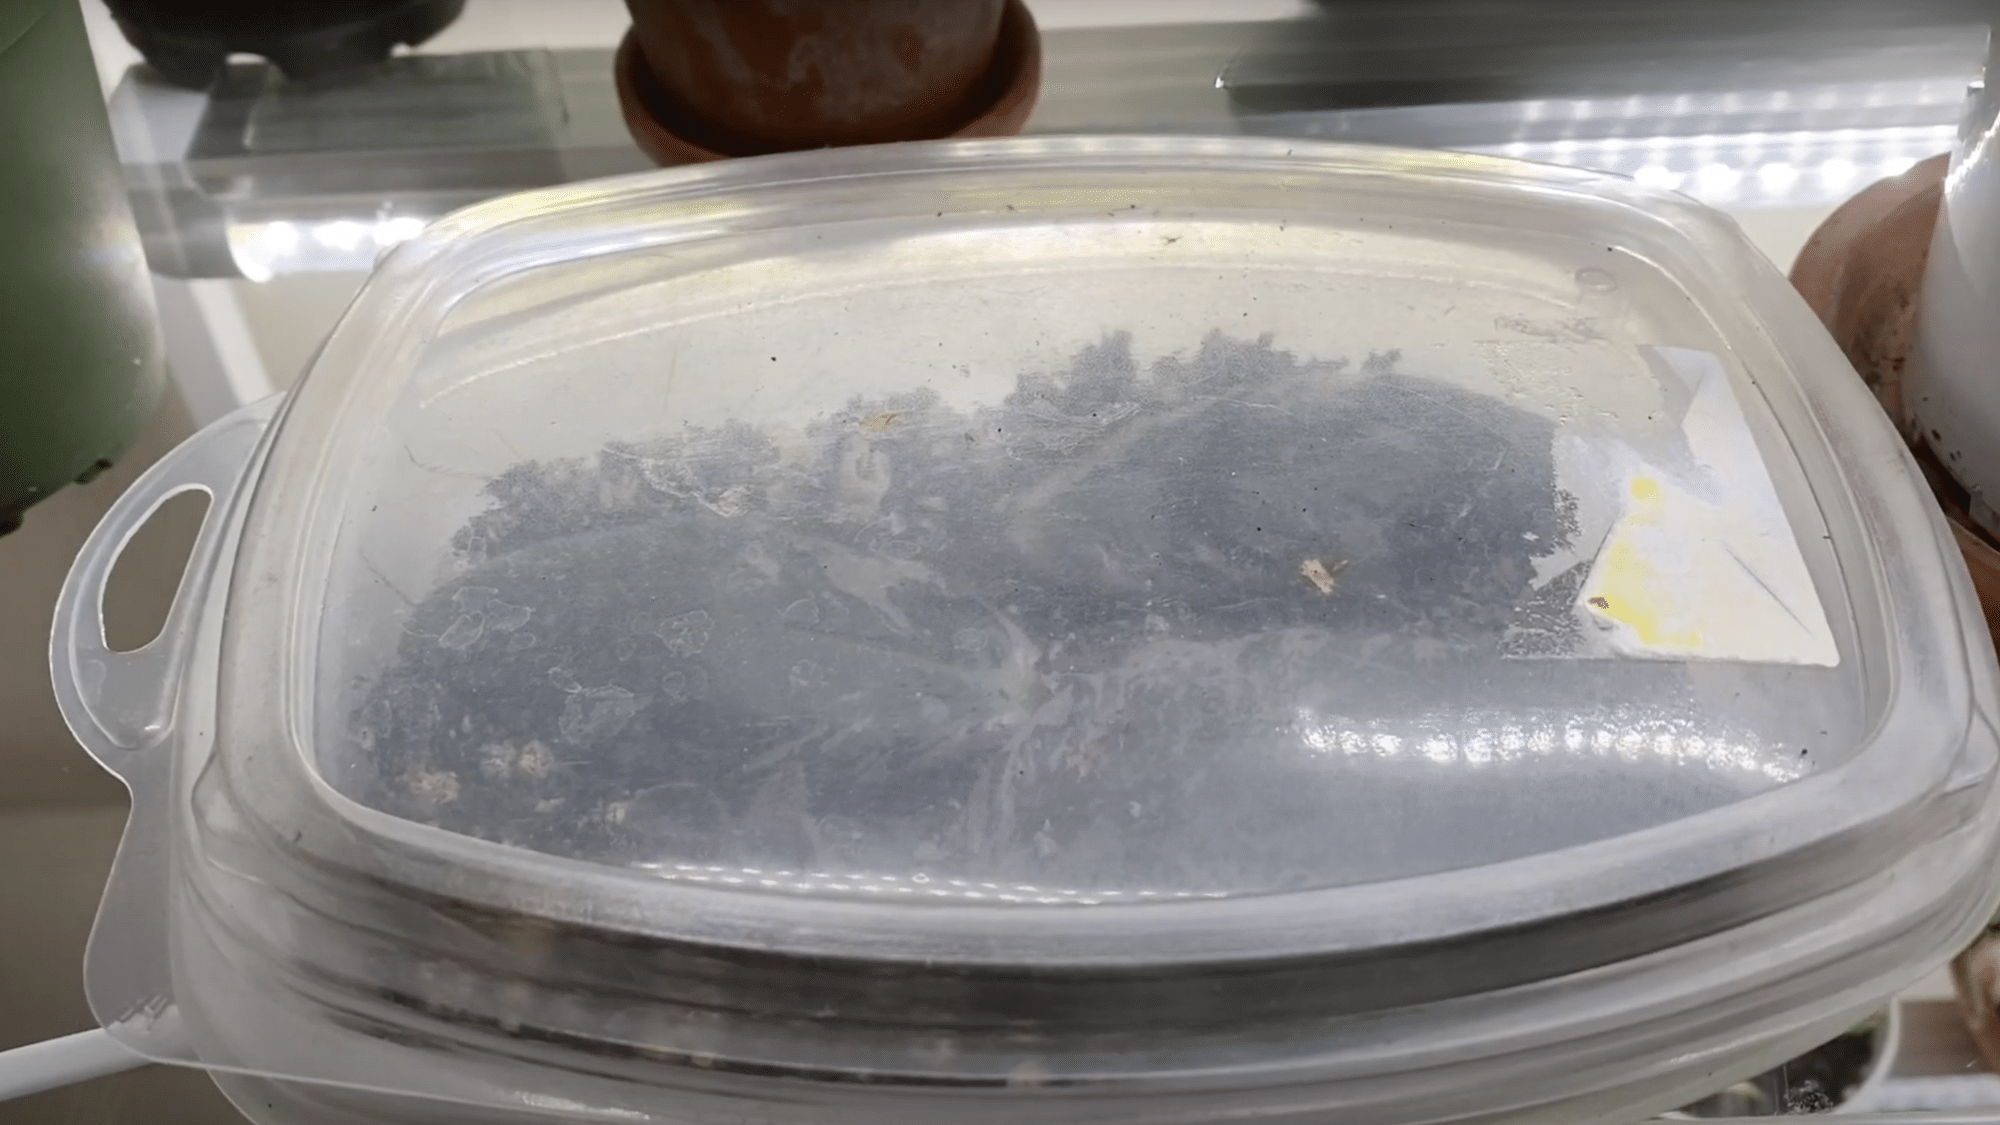
Close the container lid to lock in humidity. Place the setup under grow lights or near a bright window.
Natural sunlight will encourage white variegation in the leaves, while grow lights often bring out pink tones, a fun detail for those who enjoy experimenting with plant aesthetics.
Step 8. Wait and Watch Patiently

Over the course of 2–3 months, new plantlets will slowly form at the leaf bases.
Minimal intervention is needed; just check occasionally to ensure the soil remains moist. Extra watering may be required every couple of months, but the sealed container reduces evaporation.
Step 9. Transplant the New Plants
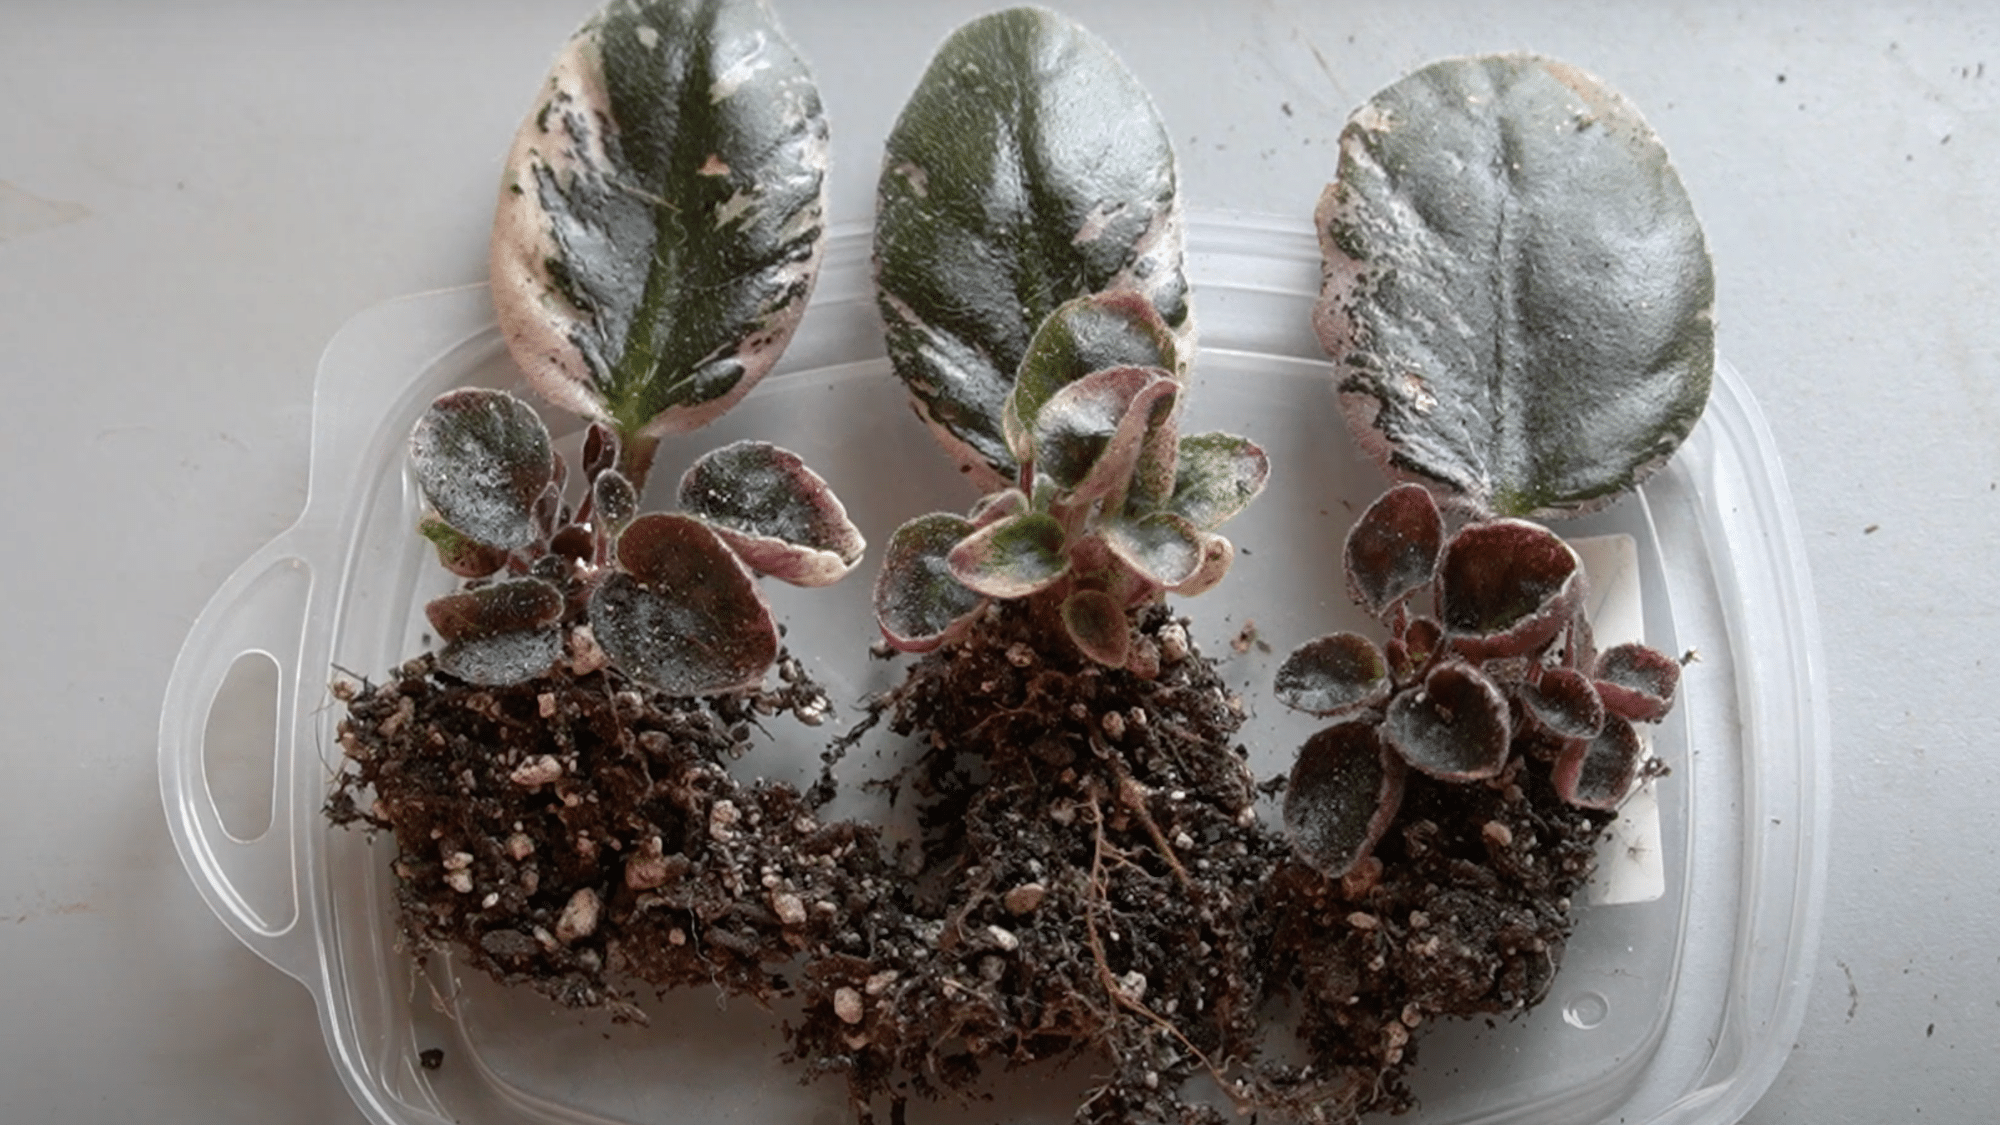
Once the plantlets have developed strong roots and several leaves, gently remove them from the container. Shake off excess soil and carefully separate clusters if multiple babies have grown together.
Plant each one into its own small pot filled with fresh African Violet mix or any light, amended potting soil.
Step 10. Care for the Young Violets
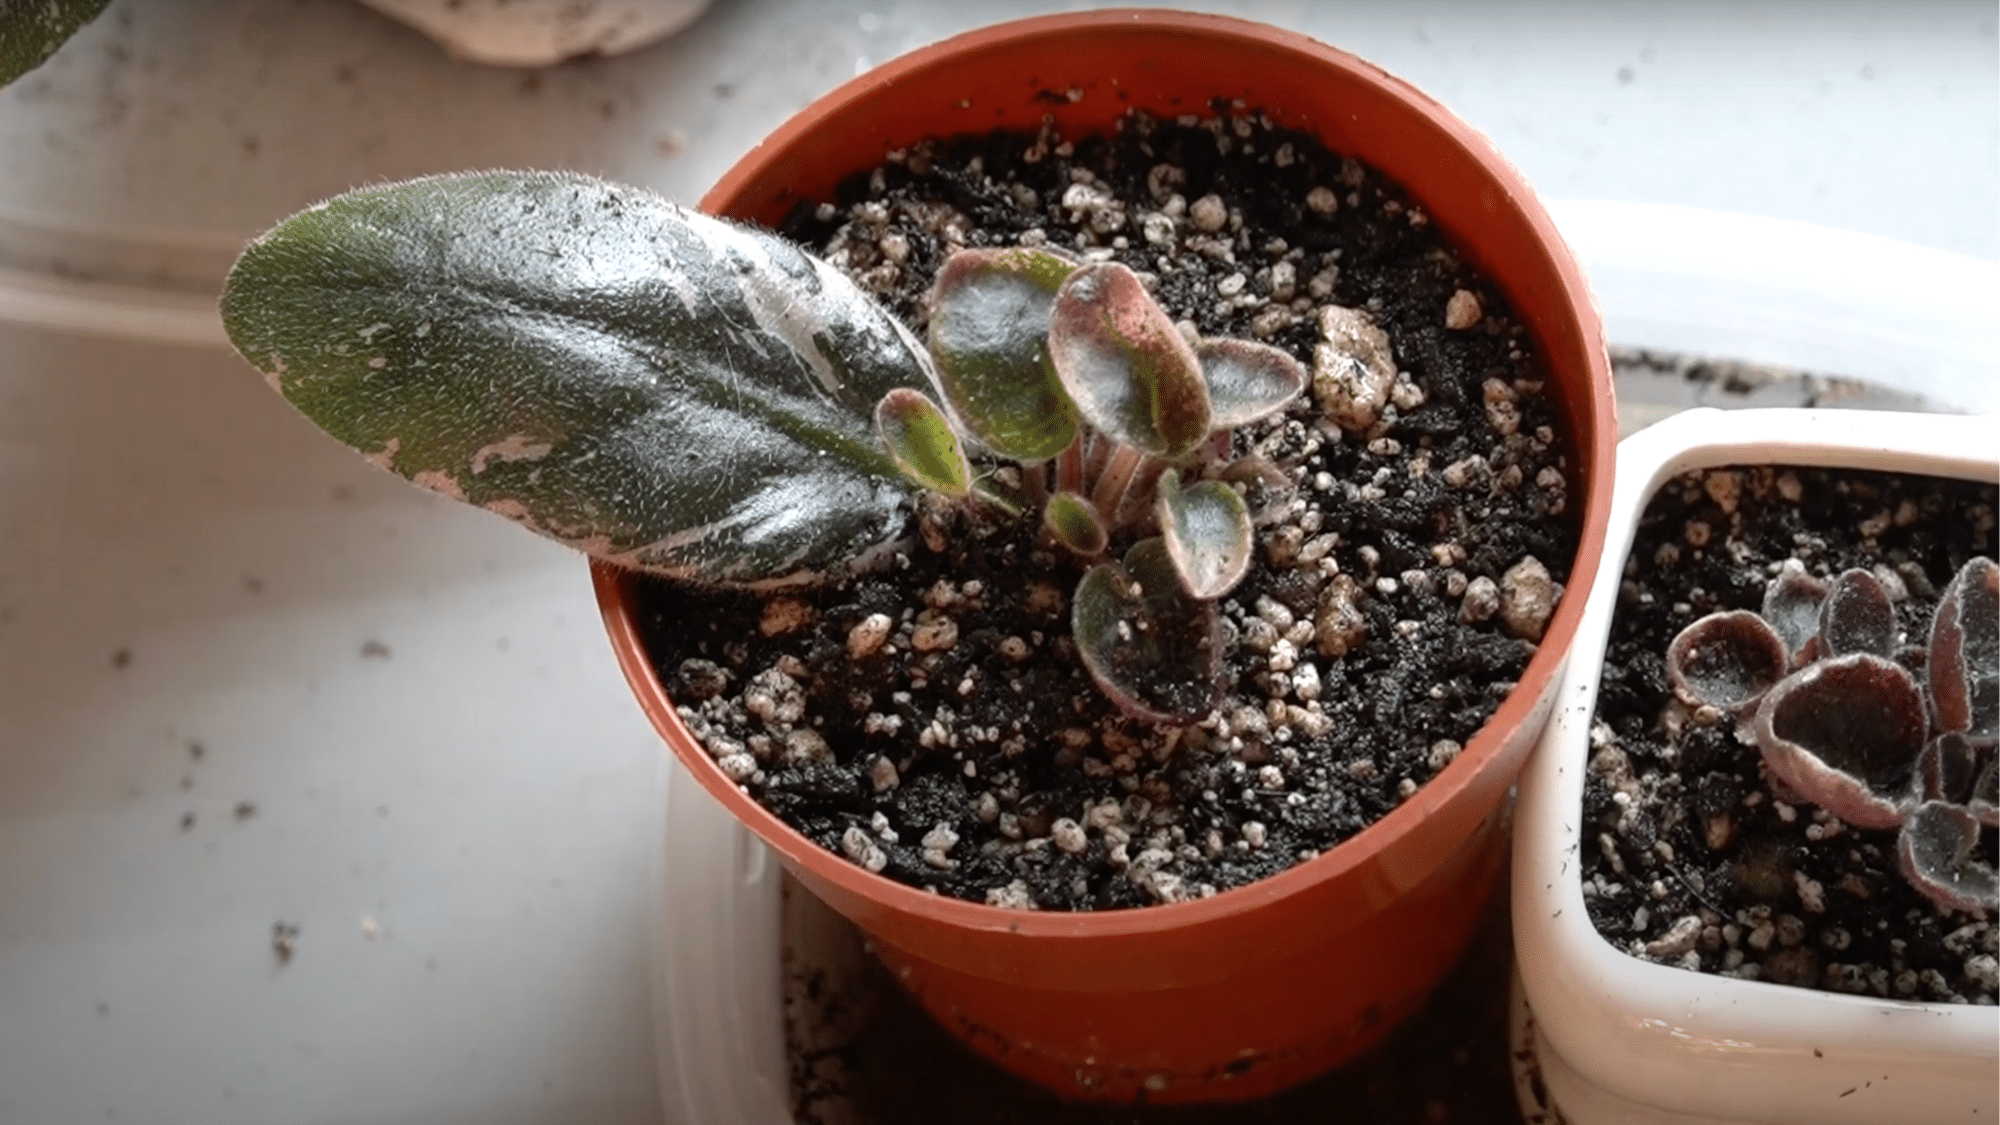
Water the newly potted plants thoroughly to settle the soil. Keep them in bright, indirect light and adjust watering frequency now that humidity is lower outside the container.
As they grow, brush off soil from their fuzzy leaves with a soft makeup brush or paintbrush to keep them clean and healthy.
Over time, they will flourish into charming new African Violet plants.
Detailed tutorial:
Water Propagation vs Soil Propagation for African Violets
Gardeners have two main choices when propagating African violets. Each method has its own benefits and drawbacks.
Water Propagation
Pros:
- Roots are visible as they grow
- Clean and mess-free process
- Easy to monitor water levels
- No soil-borne diseases
- Faster initial root development
- Simple to check for rot
- Requires minimal supplies
Cons:
- Roots are fragile when transplanting
- Risk of shock when moving to soil
- Water needs to be changed weekly
- Leaves might rot if submerged
- Requires a careful transition period
- Glass containers can grow algae
- Extra step before potting
Soil Propagation
Pros:
- No transplant shock
- A stronger root system
- One-step process
- Roots adapt to soil immediately
- Less maintenance once planted
- Natural growth environment
- No transition period needed
Cons:
- Can’t see root progress
- Risk of overwatering
- Soil might carry pests
- Takes longer to see results
- Harder to spot problems
- Requires a proper soil mix
- More chance of leaf rot
Which Method Should Growers Choose?
Beginners often prefer water propagation. They can watch roots grow and learn the process. Experienced growers usually choose soil. They know how much water to use.
Both methods work well with proper care. Success depends on temperature, humidity, and patience. Most growers try both and pick their favorite.
What are Rooting Hormones?
Rooting hormones are substances available as powder, liquid, or gel that mimic auxin, the plant’s natural root-stimulating hormone. They accelerate and strengthen root formation, particularly helpful for challenging plants.
However, when propagating African violets, rooting hormones aren’t actually required, since their fleshy leaves naturally produce adventitious roots.
If you choose to use the hormone anyway, apply it sparingly with a dry paintbrush to avoid burning soft tissue or blocking emerging roots. Never use rooting hormone for water propagation methods, as it dissolves quickly and loses effectiveness.
Most successful African violet propagators skip hormones entirely with excellent results.
Tips to Keep African Violets Healthy at Home
Creating the right environment helps your African violets thrive and stay ready for propagation. These simple care tips ensure healthy plants throughout the year.
- Consistent watering: Water from the bottom using room-temperature water to avoid leaf spots and root rot issues.
- Bright indirect light: Place near east or north windows, avoiding direct sun that burns silky leaves.
- Proper humidity: Maintain 40-60% humidity using pebble trays or grouping plants together for moisture.
- Well-draining soil: Use African violet potting mix or create a blend with peat and perlite materials.
- Regular feeding: Apply diluted liquid fertilizer monthly during the growing season for healthy leaf development.
- Temperature control: Keep between 65-75°F consistently, avoiding cold drafts and heat sources nearby.
- Gentle cleaning: Dust leaves monthly with a soft brush to maintain photosynthesis and plant health.