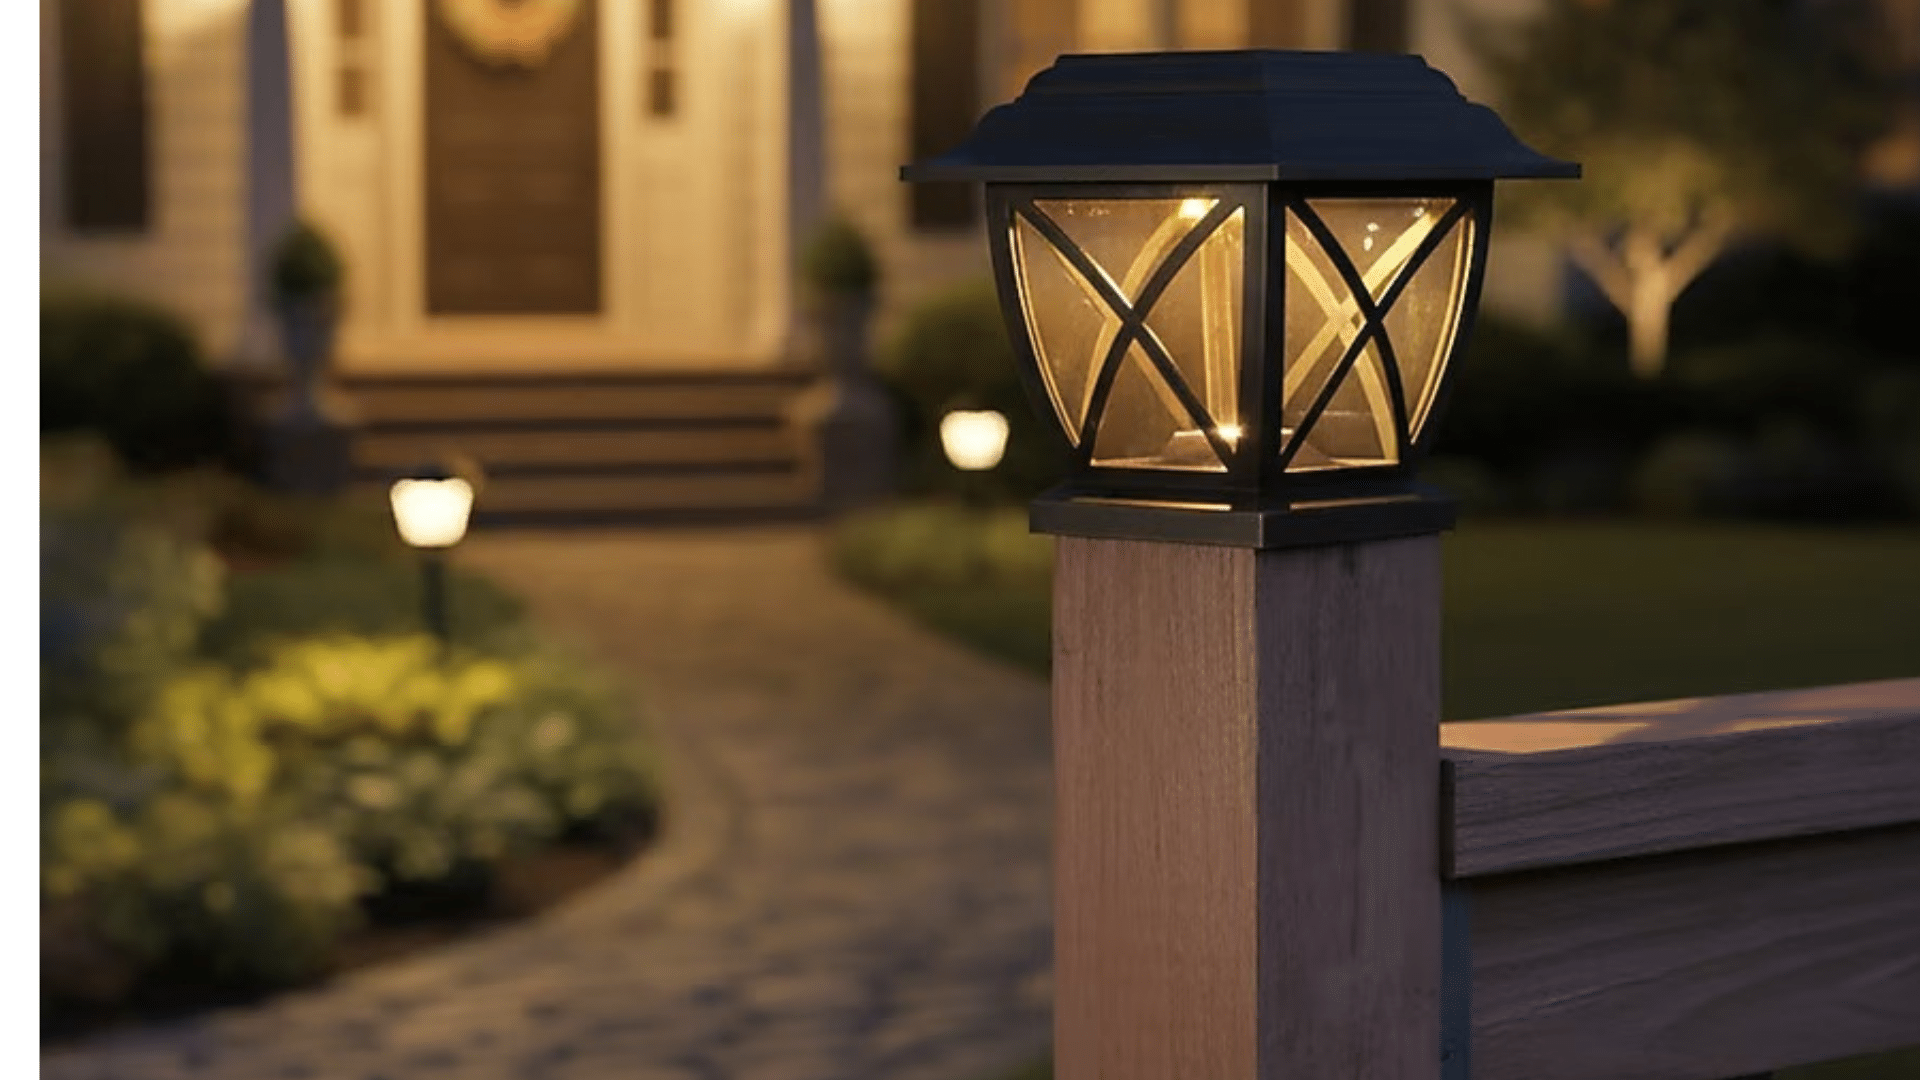
Your deck looks tired and weathered, but replacing it costs thousands of dollars.
What if I told you that refinishing your deck yourself can restore its beauty for a fraction of that cost?
I’ll show you exactly how to refinish a deck step-by-step, and you’ll save money while creating an outdoor space your family will love for years.
Let me walk you through this weekend project that’ll make your neighbors ask for your secret.
Why Refinish a Deck?
I refinish my deck because it’s the smartest way to protect my investment. Weather beats up wood constantly, sun fades it, rain soaks in, and freeze-thaw cycles cause splitting.
Without proper care, I’d be looking at replacement costs that run into thousands.
Refinishing saves me serious money. A $500 refinishing job every few years beats a $10,000 deck replacement any day.
Plus, I get to keep the outdoor space my family loves while maintaining our home’s value.
There’s something satisfying about seeing weathered boards transform back to their original beauty. My neighbors always comment when I finish a refinishing project. It’s like giving my outdoor space a fresh start.
Signs Your Deck Needs Refinishing
I watch for these telltale signs that tell me it’s time to refinish:
- Water soaks in instead of beading up.
- Color has faded to gray.
- Stain is peeling or flaking off.
- Wood feels rough or splintery
- Dark spots or mildew appear.
- Boards look weathered and worn
When I see two or more of these signs, I know it’s time to act. Waiting longer just means more prep work and higher costs down the road.
Refinish Your Deck With Stain
I’m about to walk you through the exact process I use to refinish decks, broken down into seven manageable steps. This method has worked for me countless times, and it’ll work for you too.
Stain Options For Deck Refinishing
- BEHR Premium Semi-Transparent Waterproofing Wood Stain
- Benjamin Moore Arborcoat Semi-Transparent and Solid Stain
- Benjamin Moore Woodluxe Series
- Valspar Exterior Wood Stain
Materials Needed for Deck Refinishing
| Material/Tool | Purpose |
|---|---|
| Pressure Washer | Gas or electric model for cleaning the deck. |
| Deck Cleaner (Degreaser) | To remove grime and stains before refinishing. |
| Oxalic Acid Deck Cleaner | Used to brighten the wood and remove mildew. |
| Orbital Sander | Tool to remove stains and smooth rough areas. |
| Nail Set/Punch | To set nails below the deck surface. |
| Tape & Plastic Sheeting | For protecting surrounding areas from overspray. |
| Semi-Transparent Deck Stain | Used to color and protect the wood surface. |
| HVLP Sprayer | High Velocity Low Pressure sprayer for efficient staining. |
| Lamb’s Wool Applicator Pad | For applying stain on the deck floor efficiently. |
| Paint Tray | For holding the stain when applying with the lamb’s wool pad. |
| Safety Gear (Glasses, Gloves, Boots) | Protection from debris, splashes, and loud noise. |
Step 1: Clear and Prepare the Deck
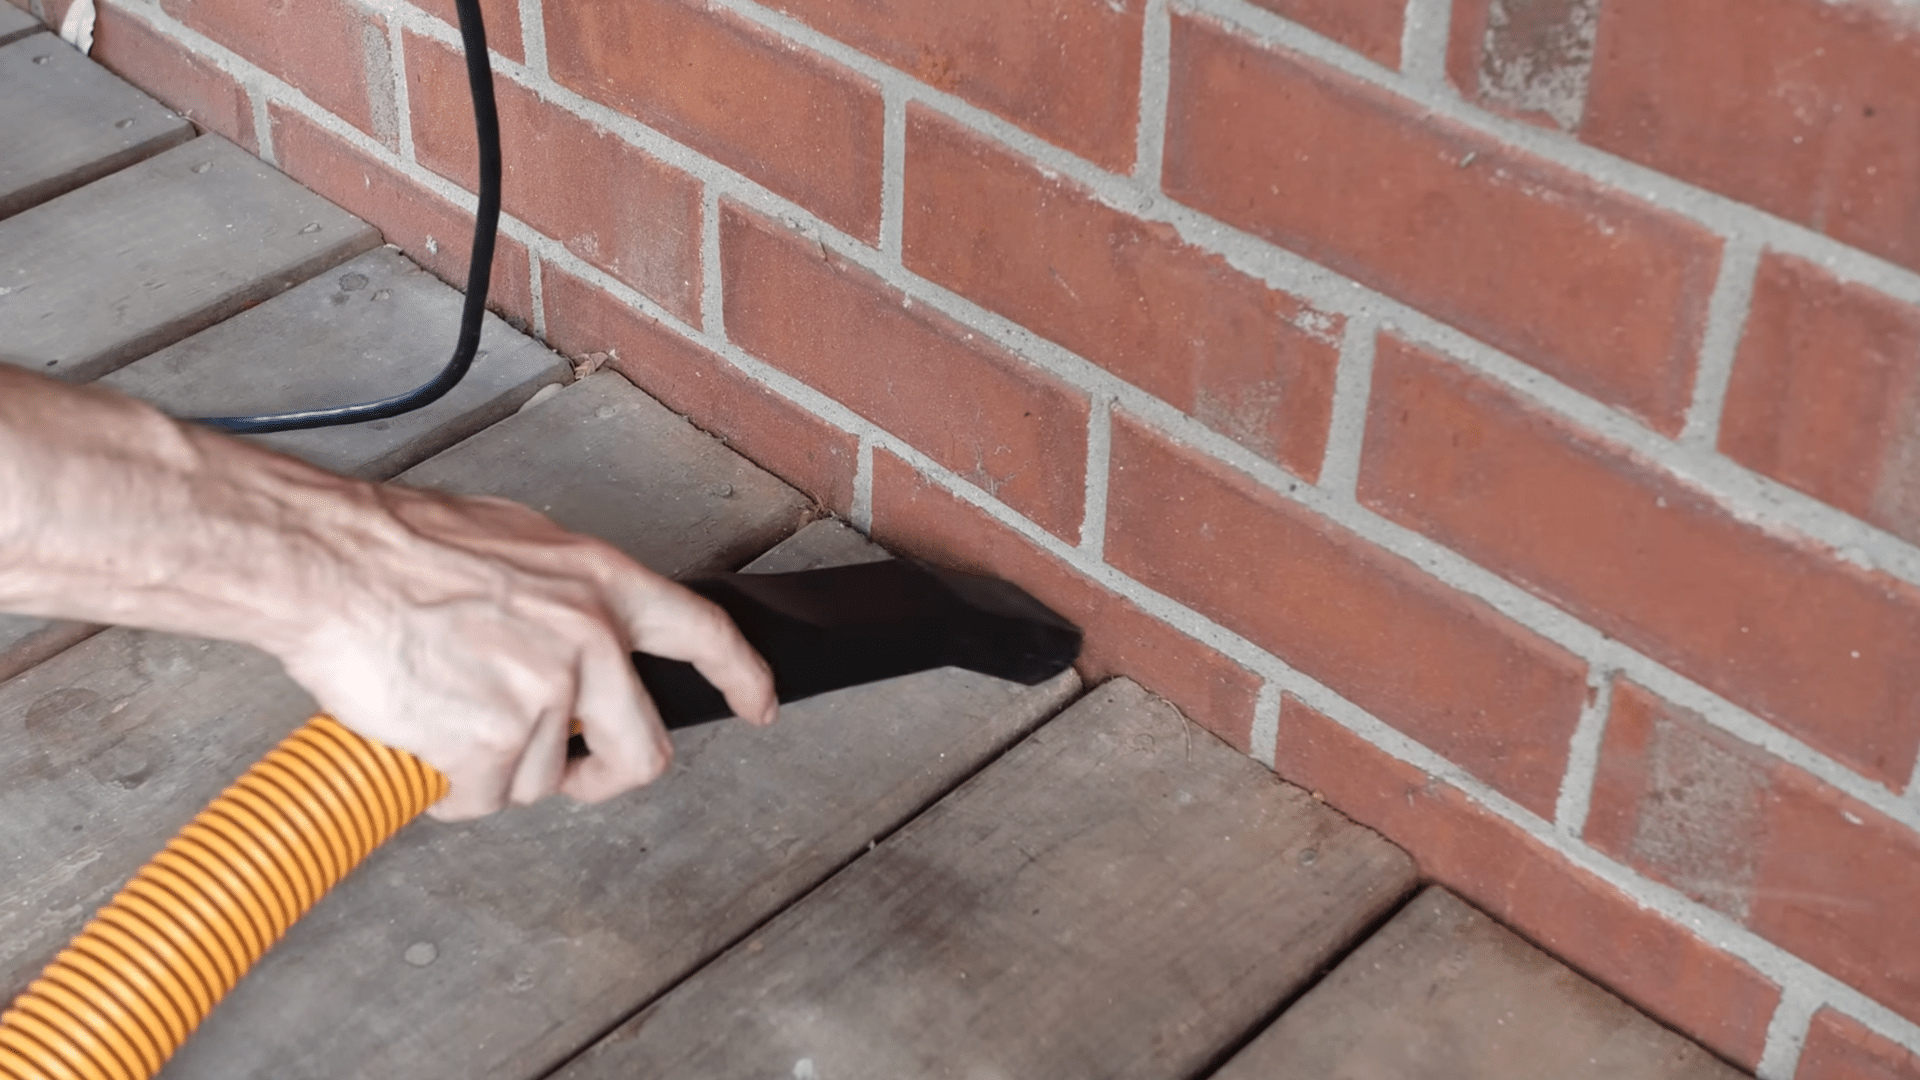
Before starting, remove all furniture, plants, and objects from the deck to expose the surface completely.
I prefer to sweep off loose debris, and use a vacuum to remove dirt between the boards. If applicable, detach any downspouts or hanging decorations to avoid staining them.
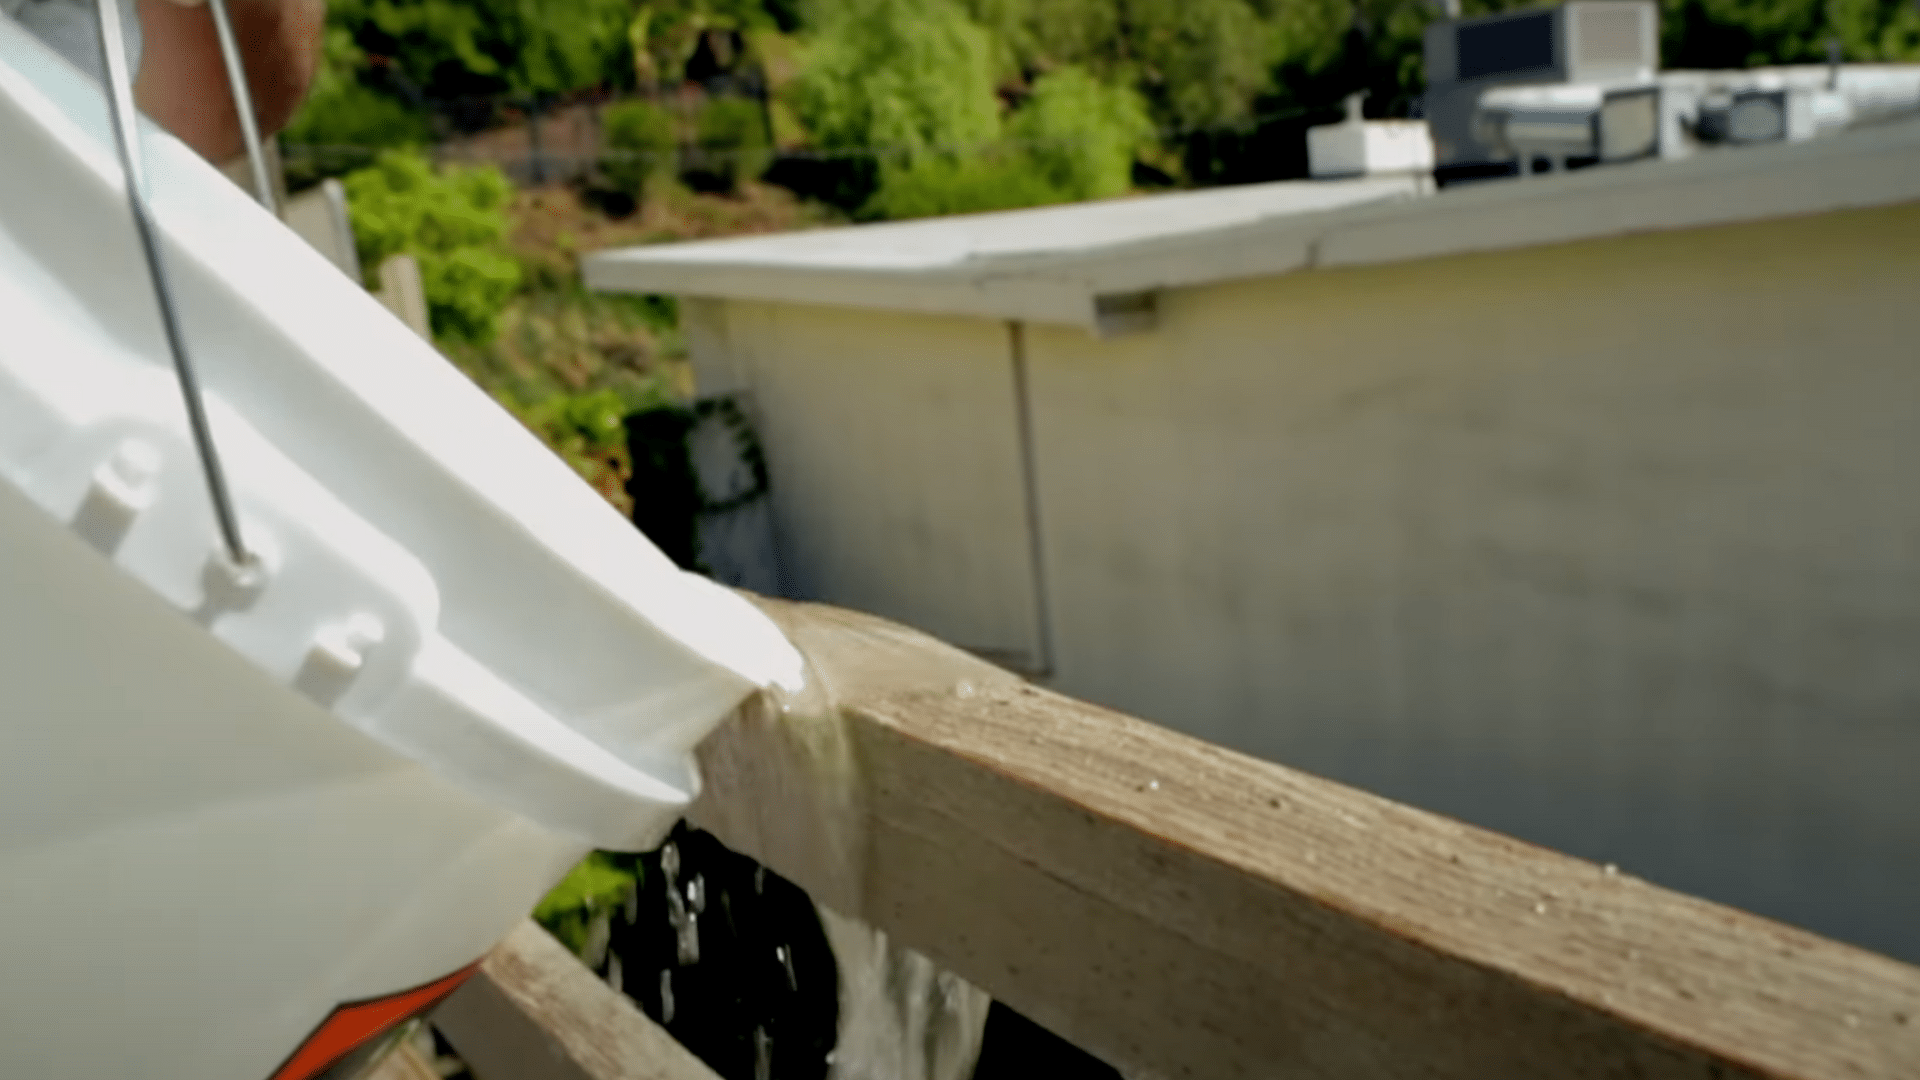
2. Clean the Deck with a Pressure Washer
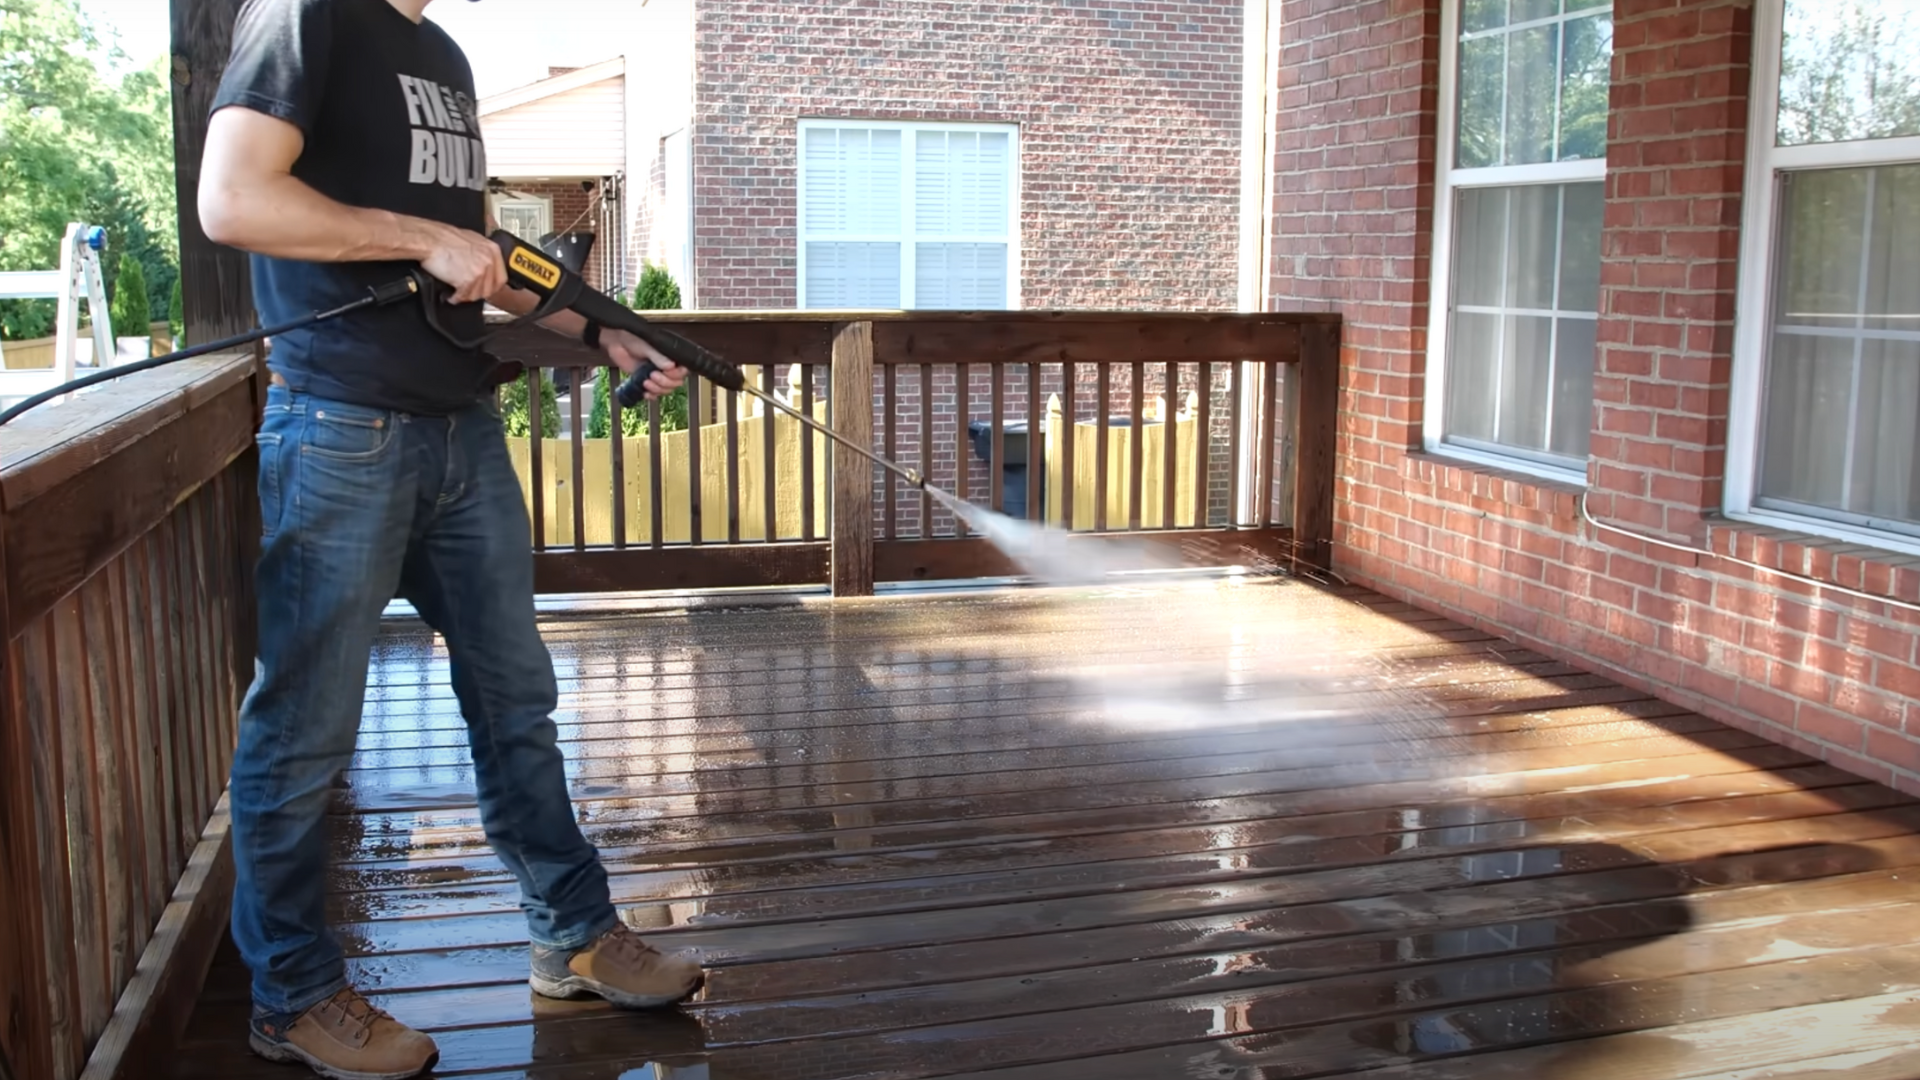
Using a pressure washer with a degreaser solution, clean the deck thoroughly. Start by rinsing the surface, then apply the cleaner.
I use a soft-bristled brush to scrub tough stains, especially in the areas that don’t receive much sun. Wash off the grime with a low-pressure spray to avoid damaging the wood.f
3. Apply Oxalic Acid Cleaner
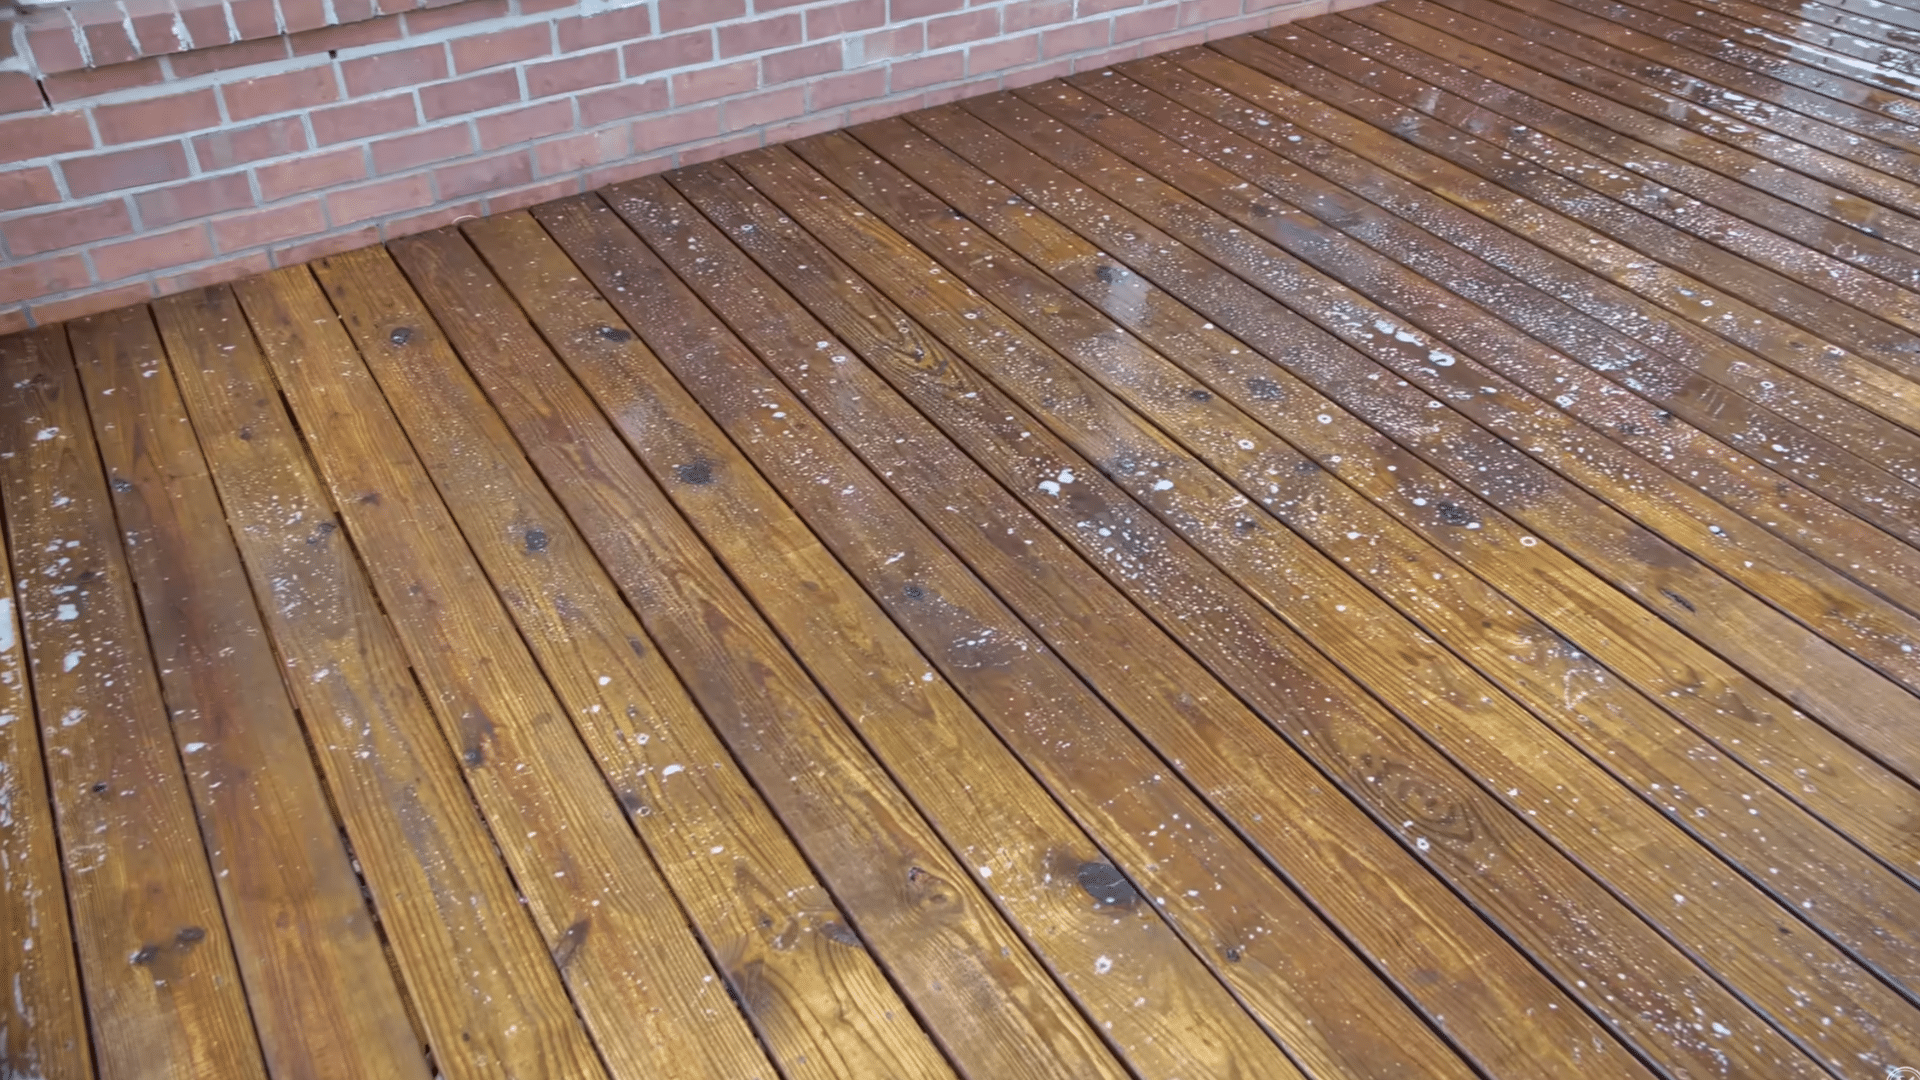
After cleaning, I apply an oxalic acid-based wood brightener to further cleanse and lighten the wood.
Let it sit for 5-10 minutes, then wash it off using the pressure washer. This step will remove any remaining stains and prepare the surface for staining.
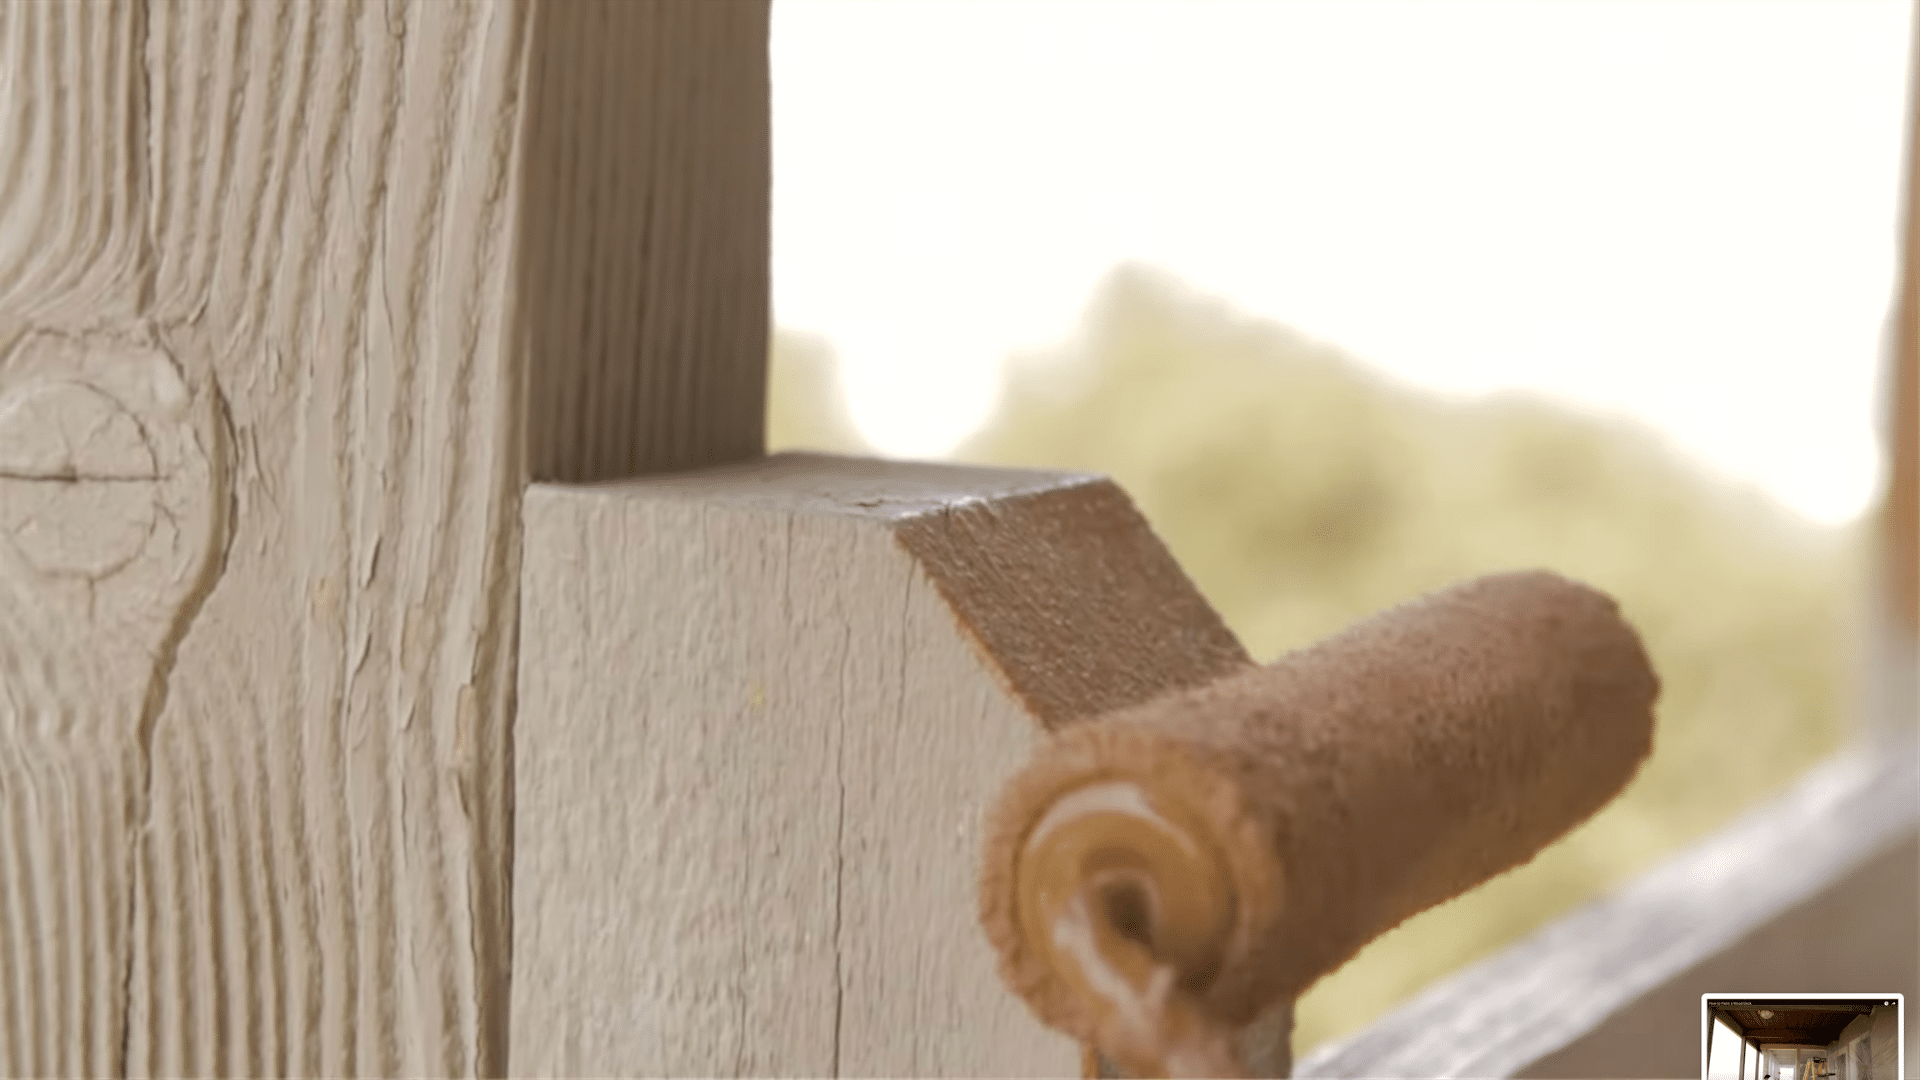
4. Sand the Deck to Smoothen the Surface
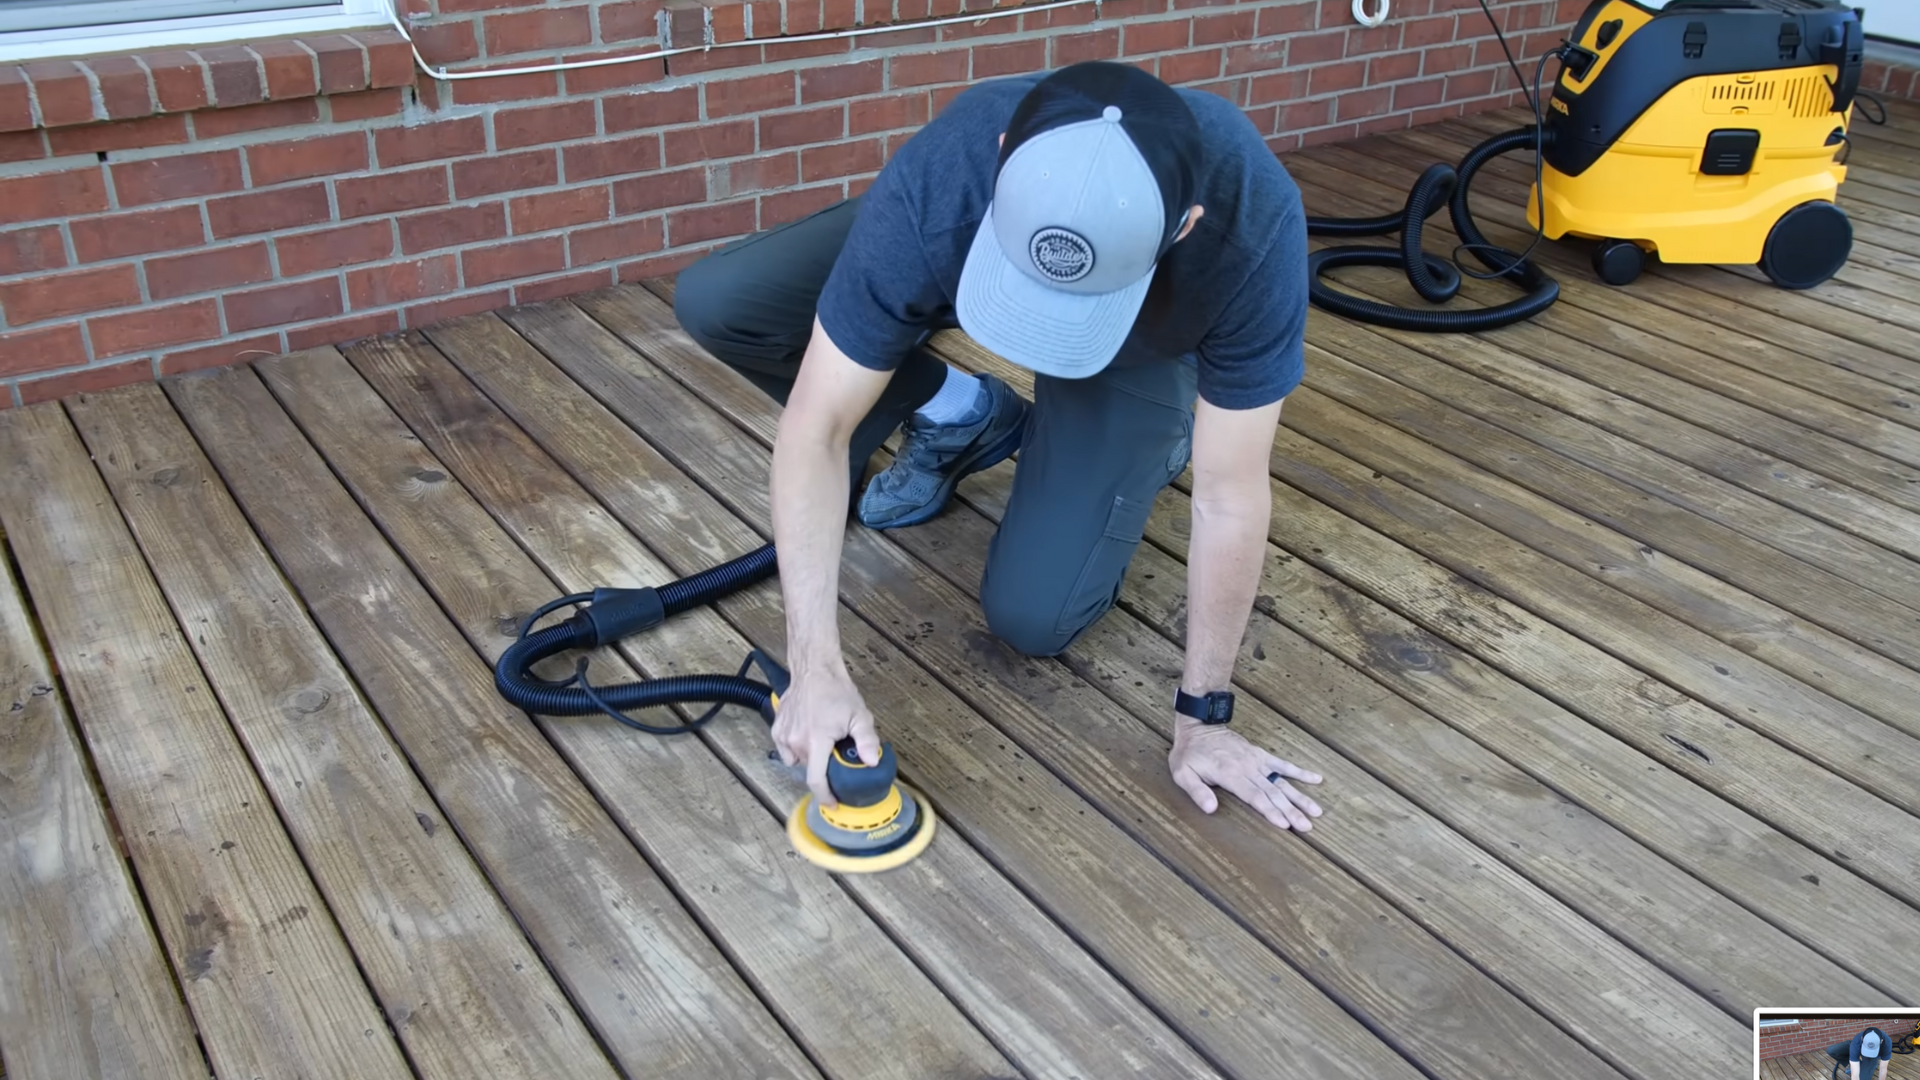
I use an orbital sander to remove any stubborn stains and smooth the wood surface.
Be sure to sand down any raised nails by setting them below the surface with a nail set to avoid interference during the staining process. Feather the edges for a natural finish.
5. Mask Off Surrounding Areas
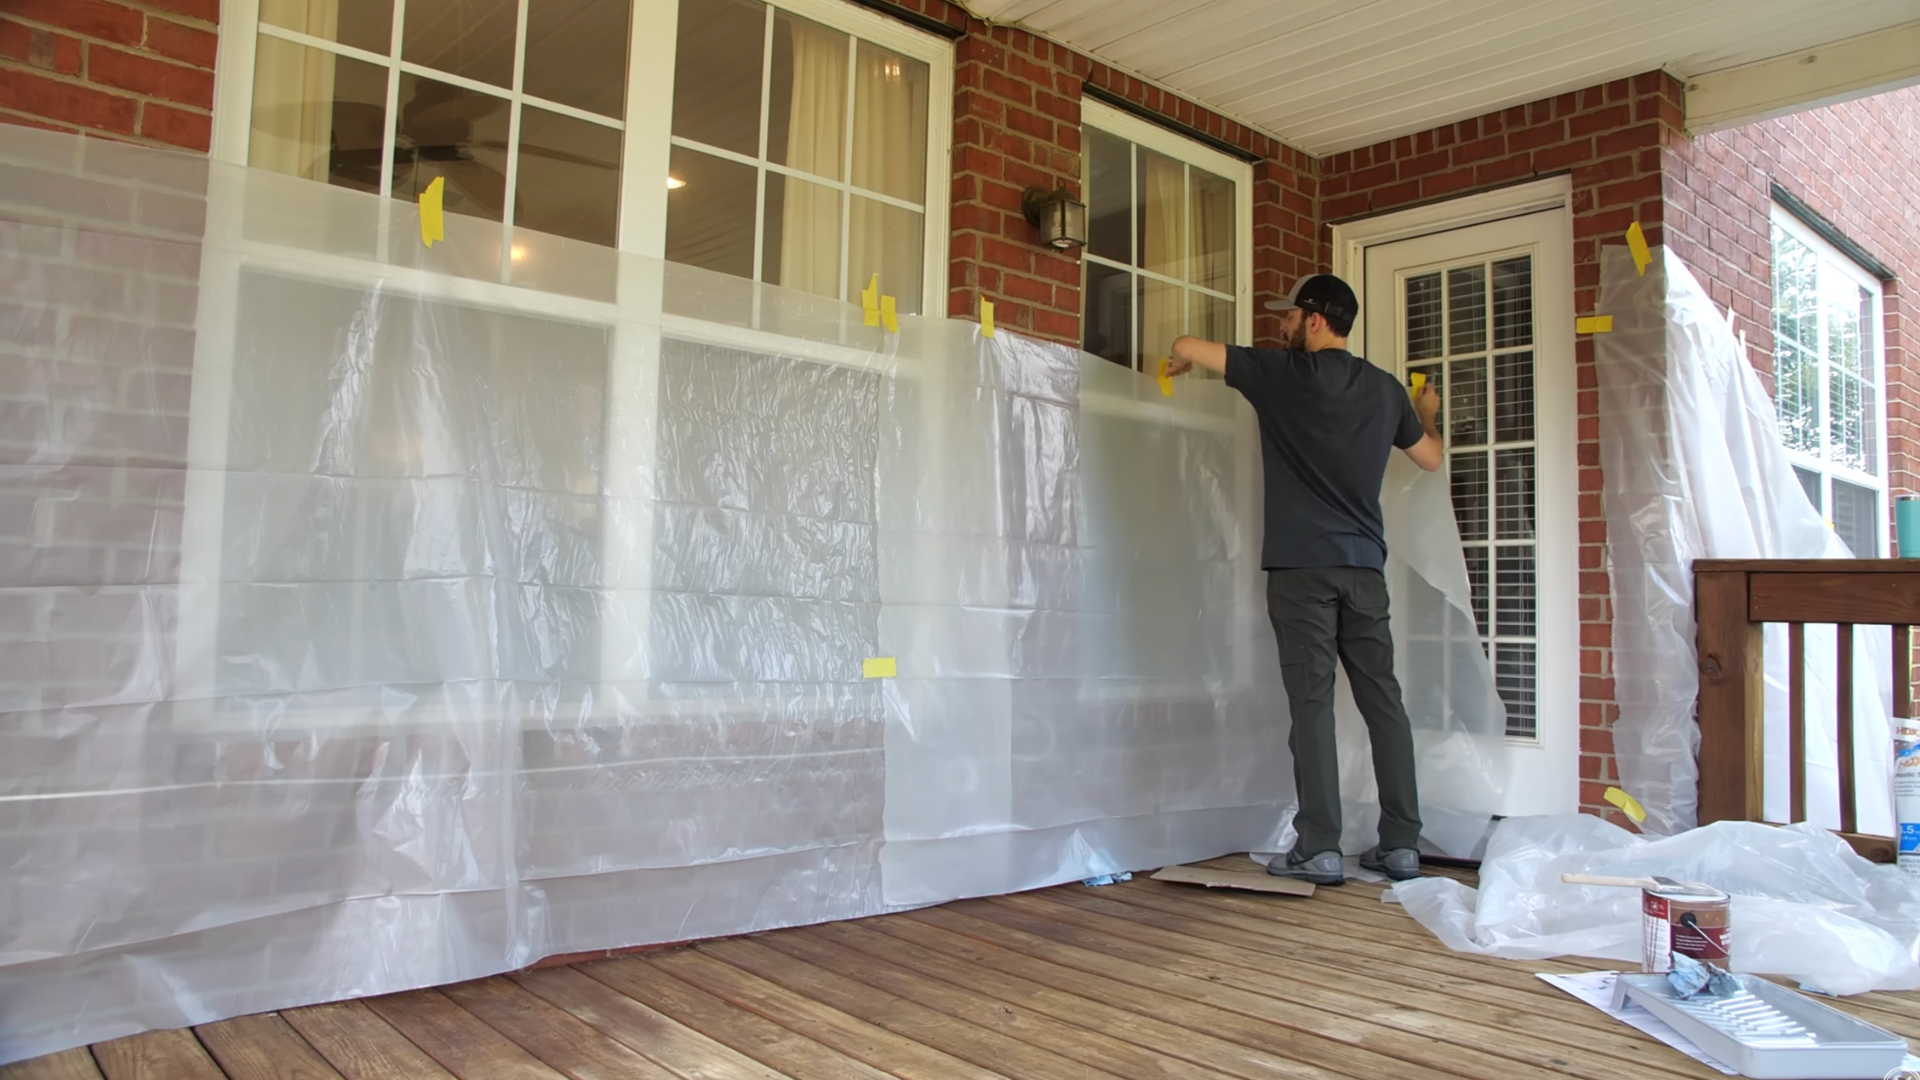
I like to avoid overspray on the house or other surfaces, cover surrounding areas with plastic sheeting and tape.
This step will ensure that your refinishing efforts don’t cause additional cleanup. It also helps protect the areas that you don’t want stained.
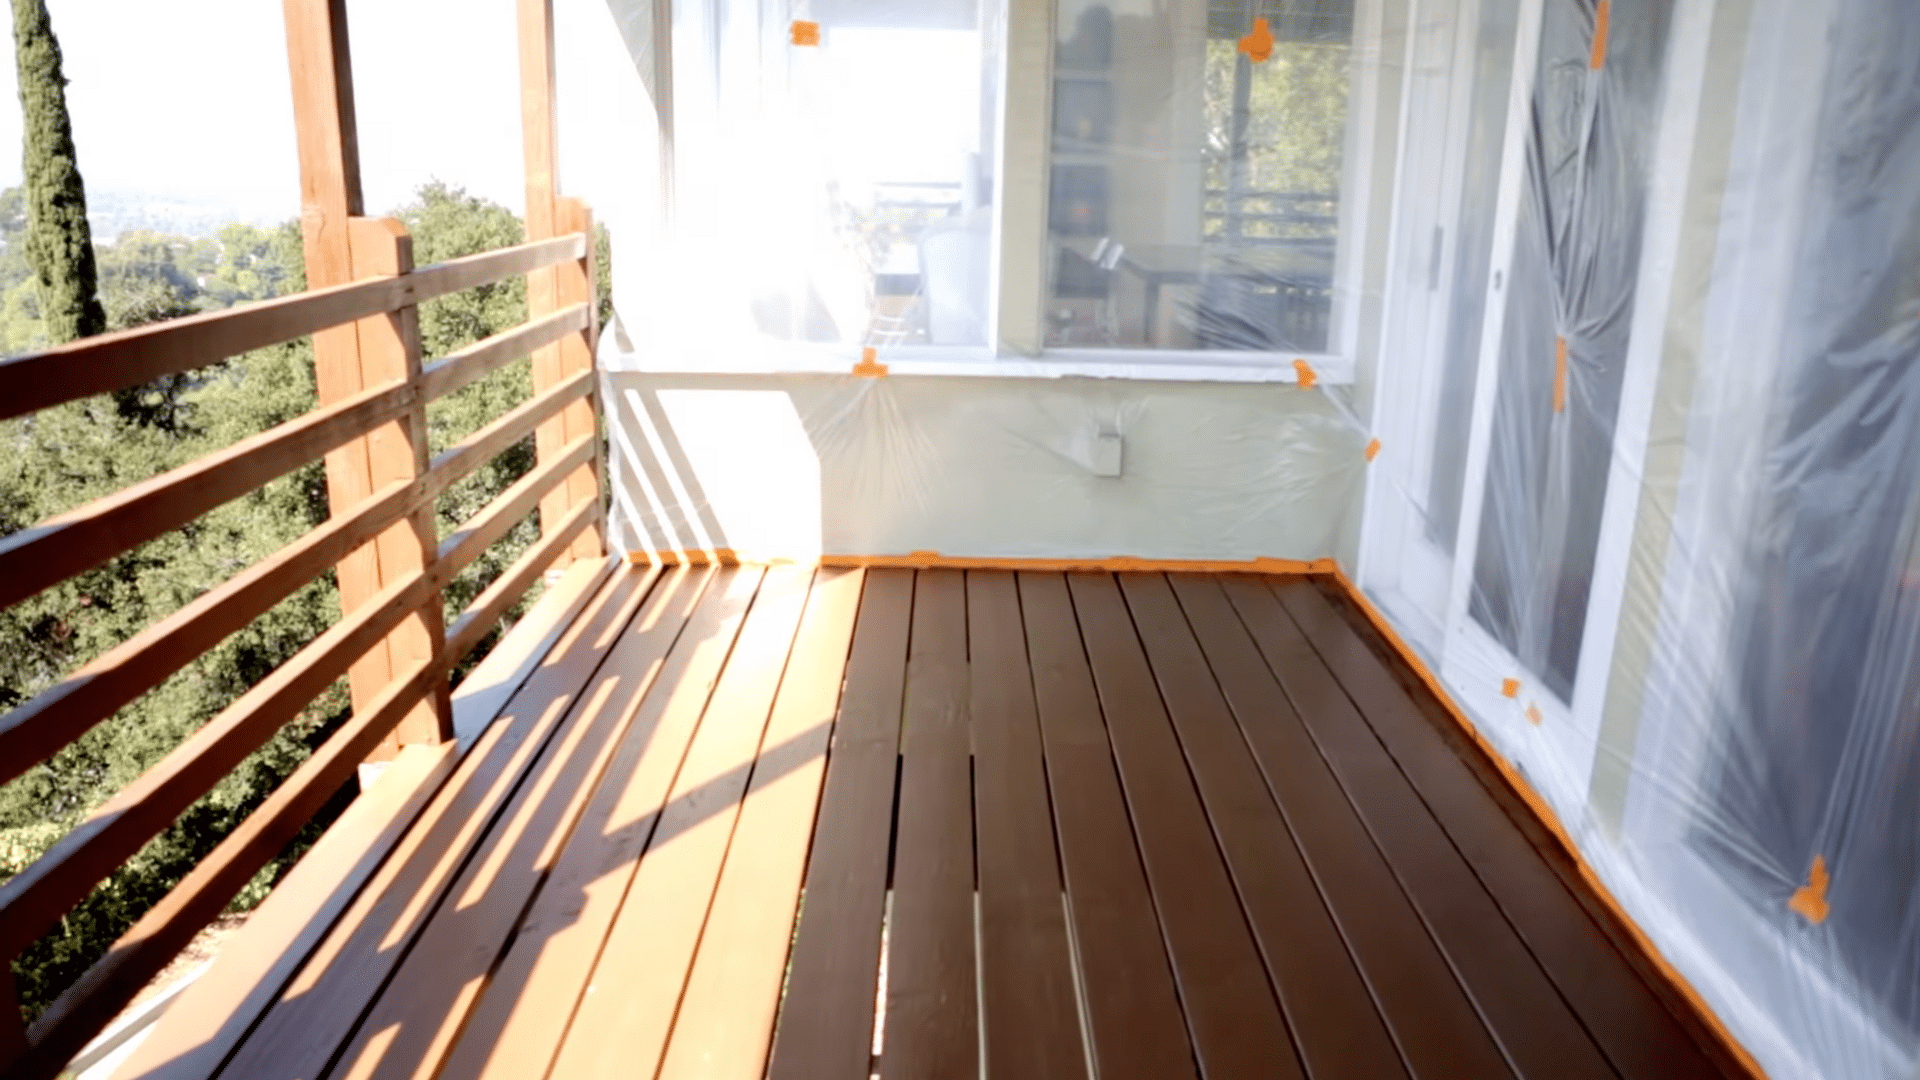
6. Stain the Deck
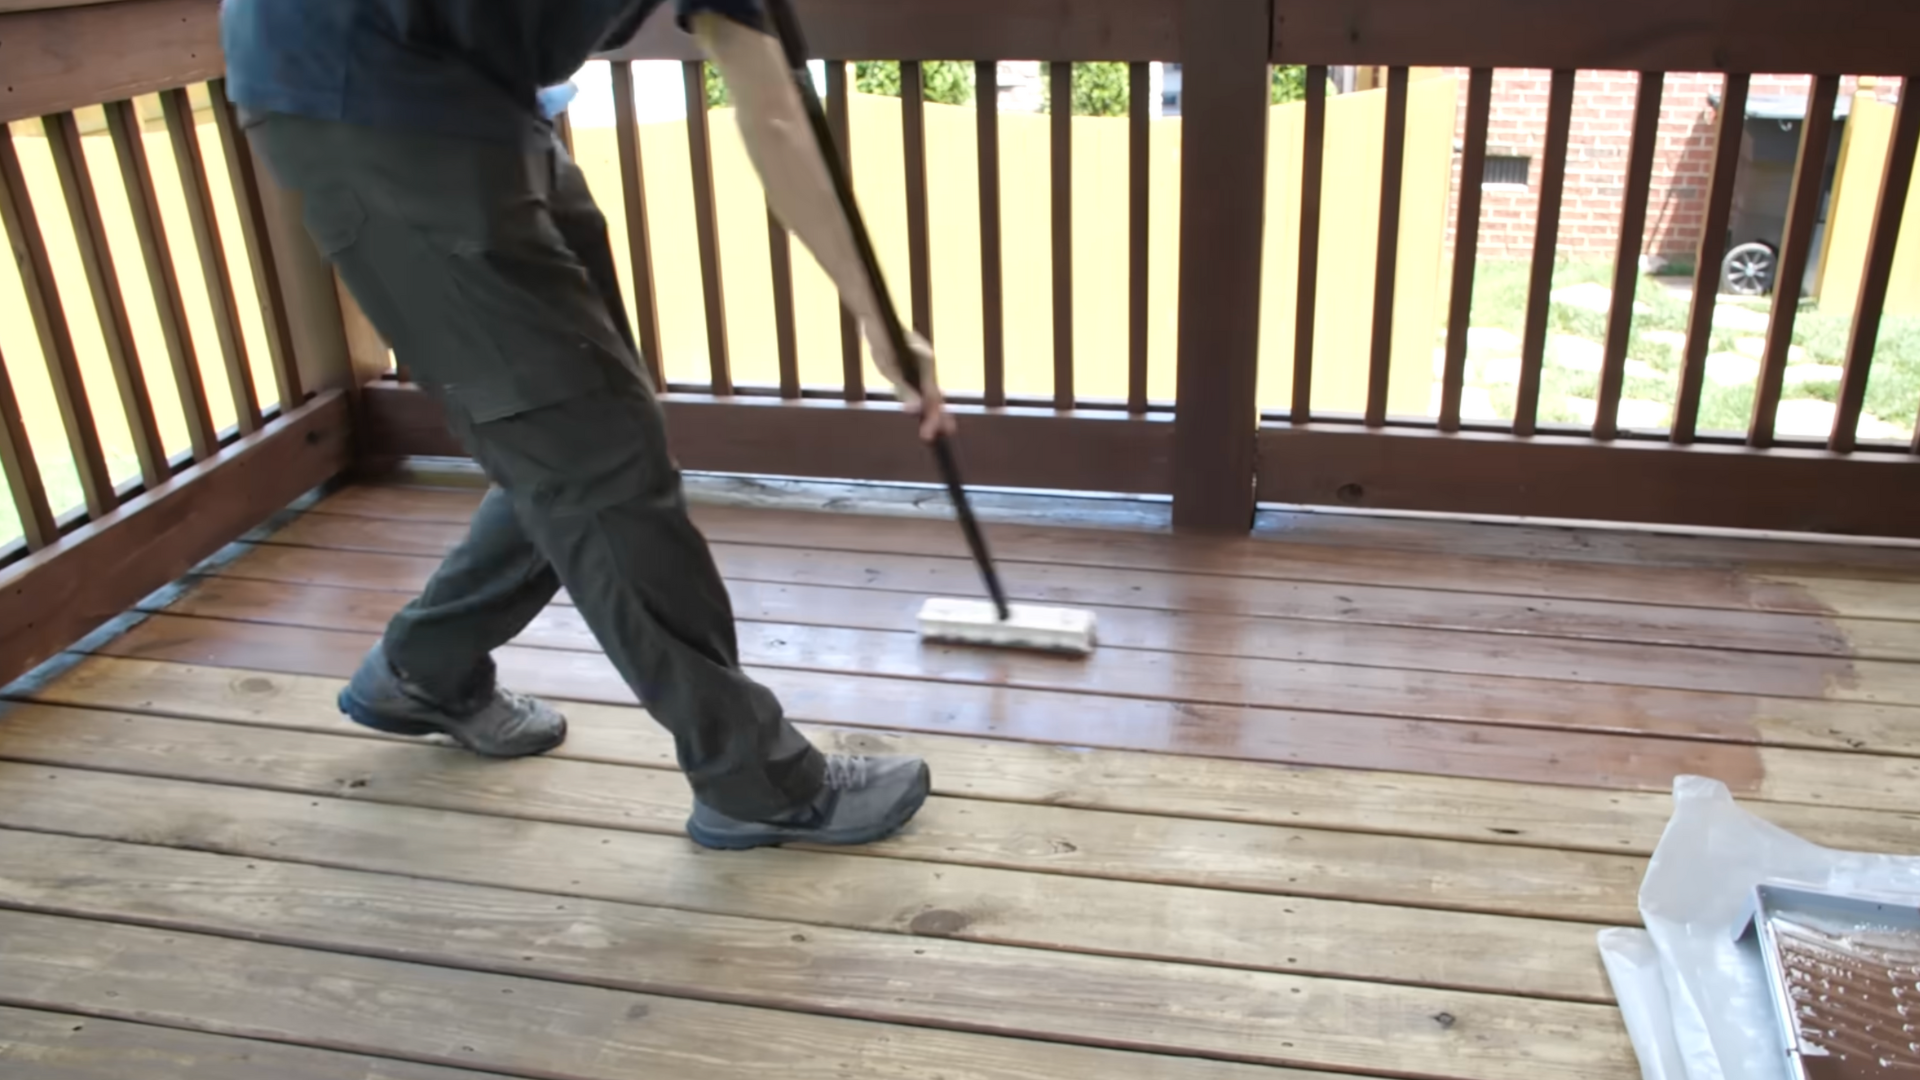
I apply a semi-transparent deck stain using a high-velocity sprayer or a lamb’s wool applicator.
Start by applying stain to the railings and spindles with the sprayer, followed by the deck floor using the lamb’s wool pad.
Backbrush areas where needed to smooth out drips and create an even finish.
7. Apply a Second Coat and Let it Dry
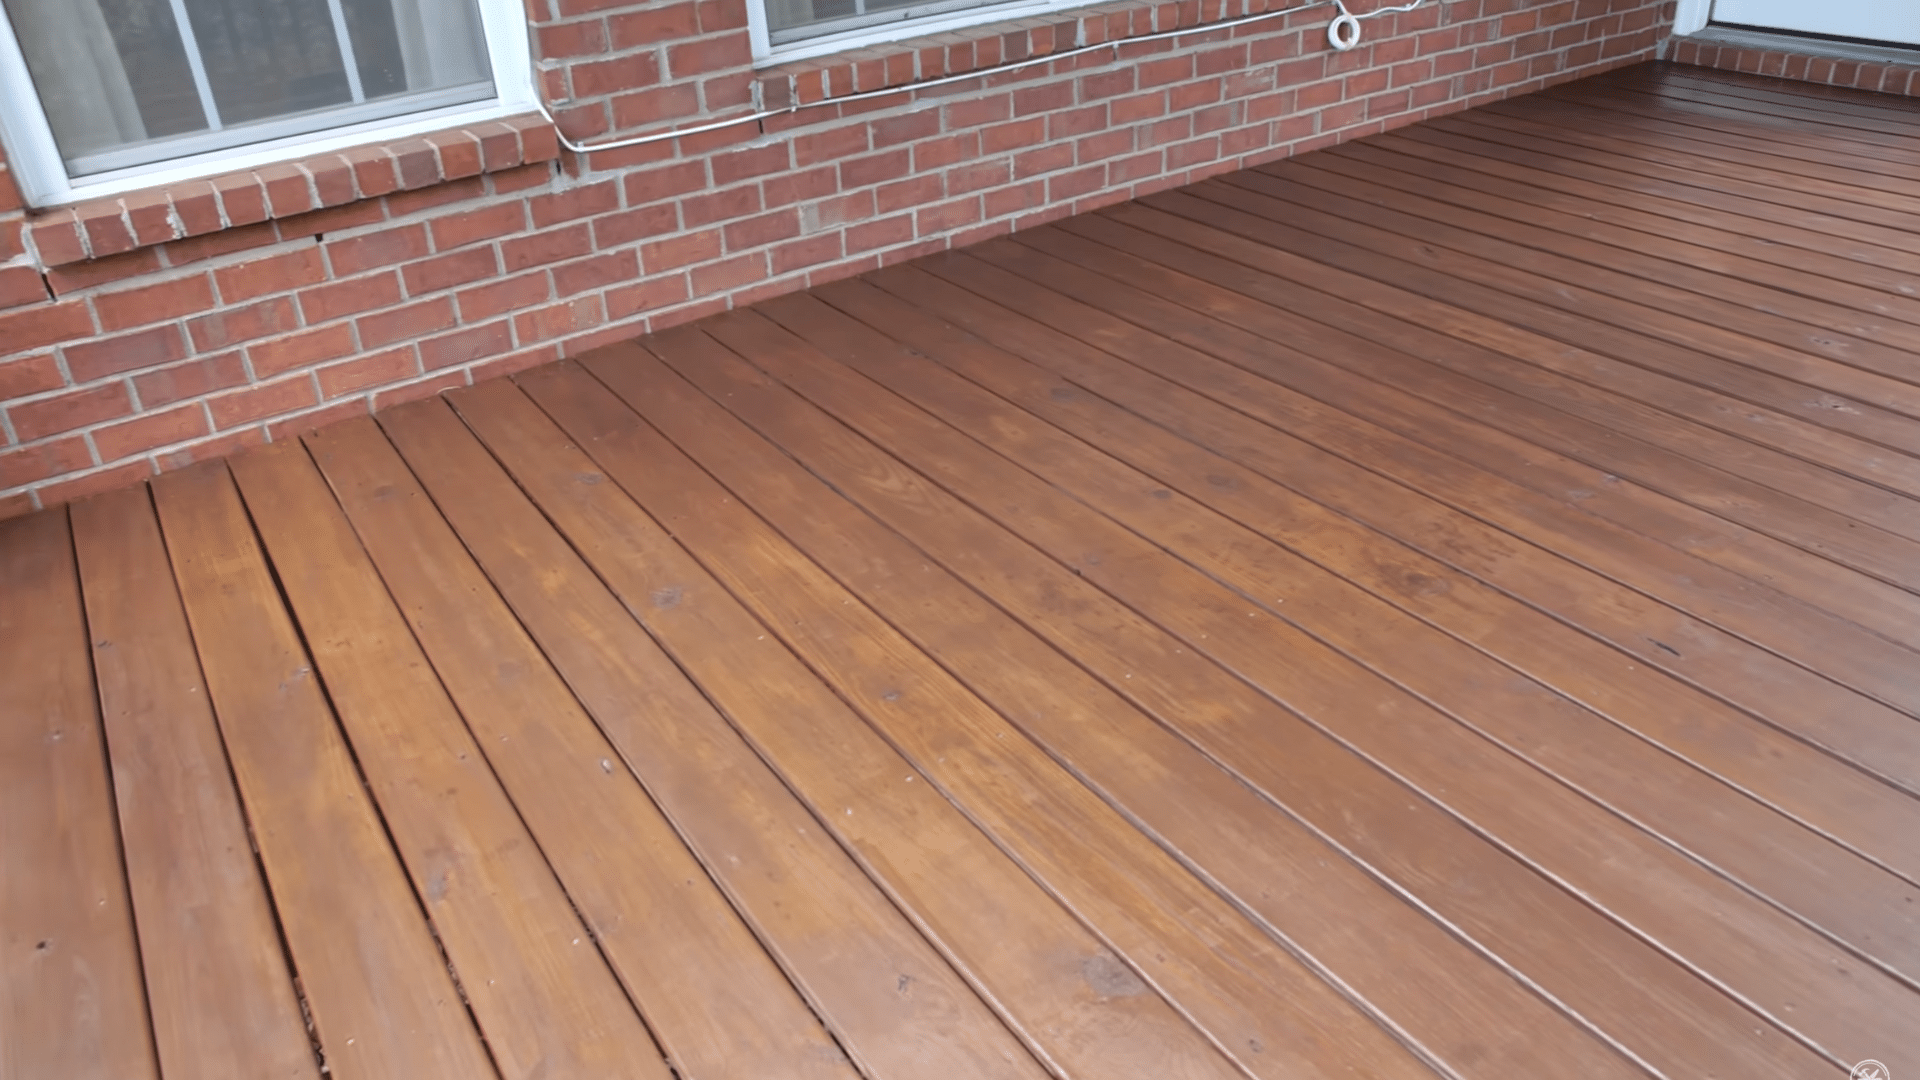
Once the first coat of stain is applied, let it dry for a few hours. After drying, apply a second coat for enhanced coverage and depth.
I allow the stain to fully dry and cure before replacing furniture, ensuring a beautiful, lasting finish.
Check out the r/Decks community thread to learn more about How to Refinish a Deck
Check out the video on “How to Refinish a Deck with stain ” below:
Refinish Your Deck With Paint
Sometimes stain isn’t enough to cover serious damage or outdated colors on your deck. I’ve found that paint offers better coverage for weathered boards and gives you more color options to match your home’s style.
Paint Options For Deck Refinishing
- Benjamin Moore Aura Exterior Paint
- Sherwin Williams SuperPaint Exterior Acrylic
- BEHR ADVANCED DeckOver Waterproofing Coating
- Valspar Porch, Floor & Patio Latex Paint
Table of Materials
| Material/Tool | Purpose |
|---|---|
| Broom | To sweep dirt and debris from the deck surface |
| Plastic Sheeting & Painter’s Tape | Protects nearby plants, walls, and areas not being painted |
| Bucket, Wire Brush, Cleaner | For hand-washing and surface preparation |
| Power Washer (optional) | For faster, deeper deck cleaning |
| Paint Scraper | Removes flaking or peeling paint |
| Sandpaper (80-150 grit) | Smooths rough areas and feather edges |
| Leaf Blower | Clears away sanding dust and debris |
| Nail Fastener & Rust-Inhibitor Primer | Secures loose boards and treats rust-prone nails |
| Paint Roller and Brushes | For efficient application and detailing edges or corners |
| Premium Exterior Deck Paint/Stain | Durable finish suited for high-traffic and mildew resistance |
1. Clean and Clear the Deck
Start by removing all furniture and objects. Sweep the surface, then either hand-wash using a cleaner and wire brush or power wash with care. Allow the deck to dry thoroughly before moving to the next stage.
2. Scrape, Sand, and Repair
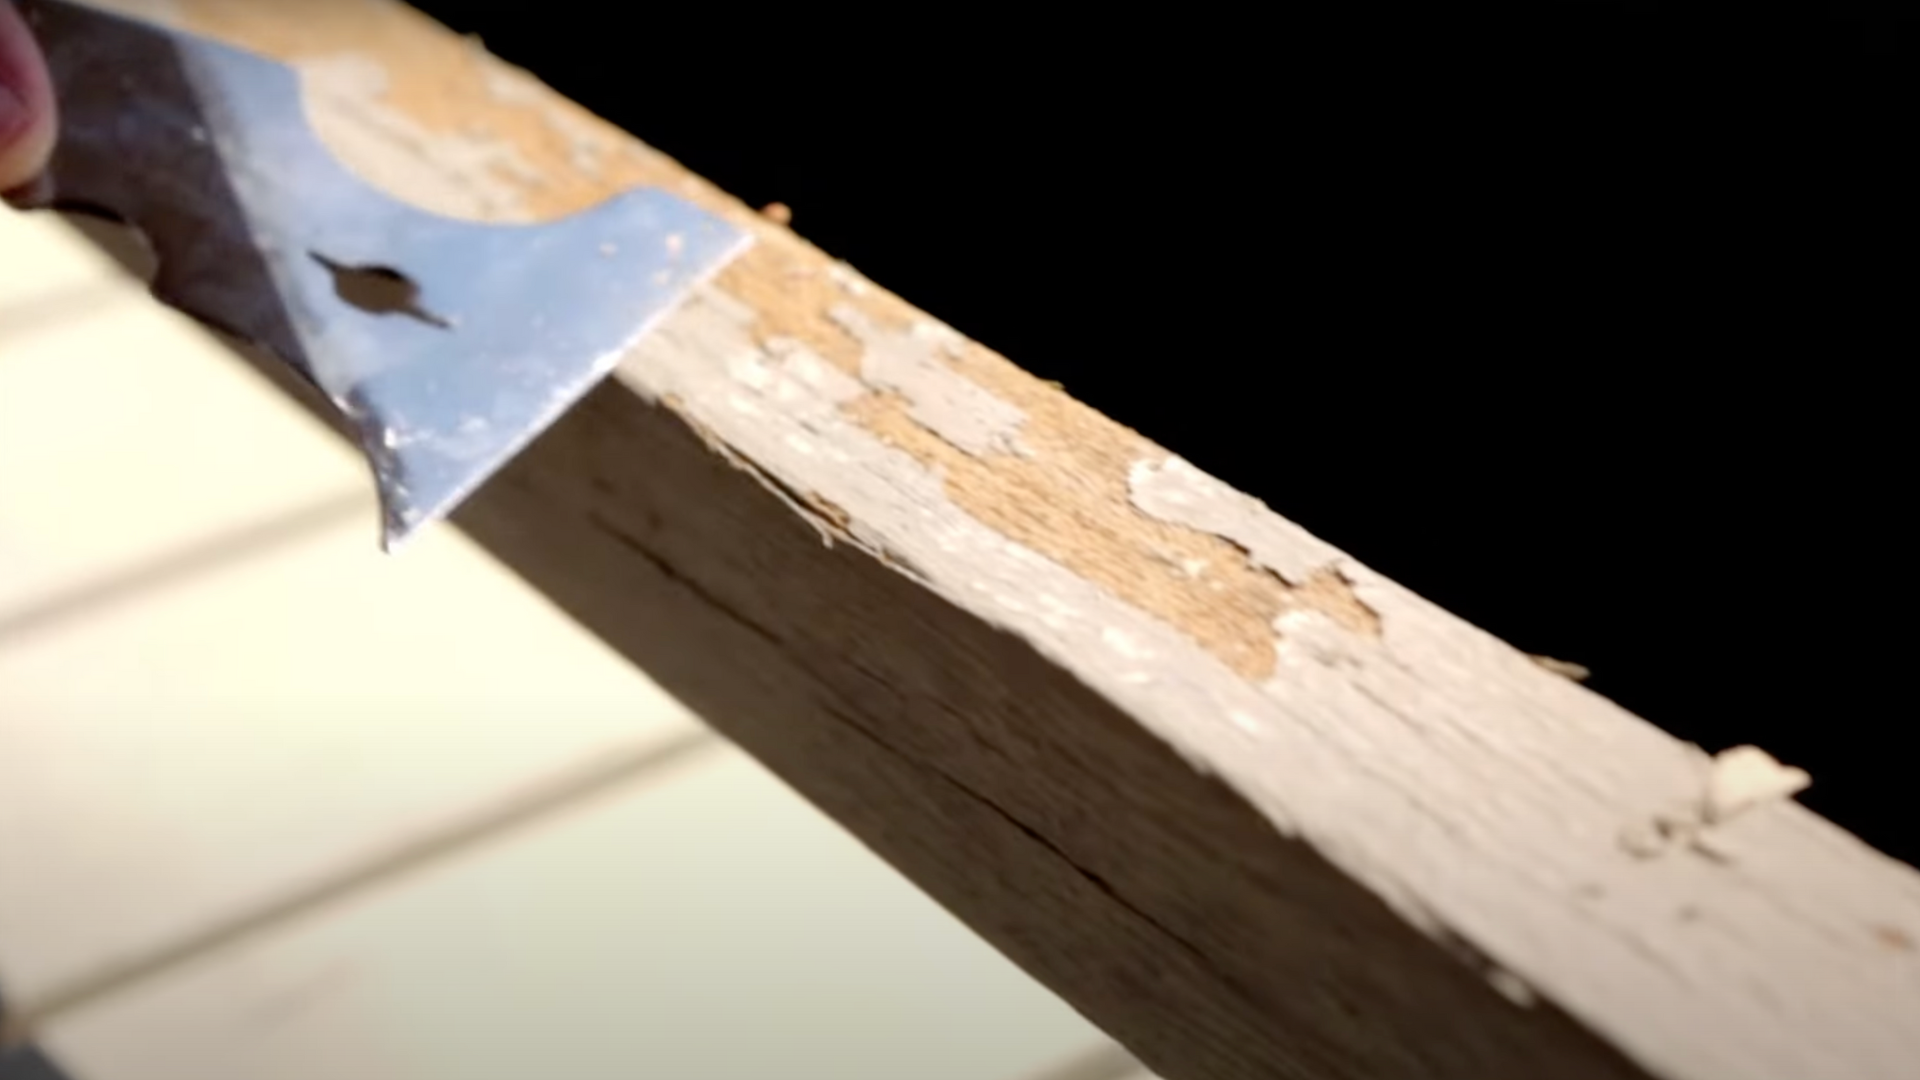
Scrape off any peeling or flaking paint, then use 80–150 grit sandpaper to smooth rough patches and feather edges. Blow off dust with a leaf blower.
Check for loose boards and rusted nails—tighten or prime as needed for a safe, clean base.
3. Mask Off and Protect Surroundings
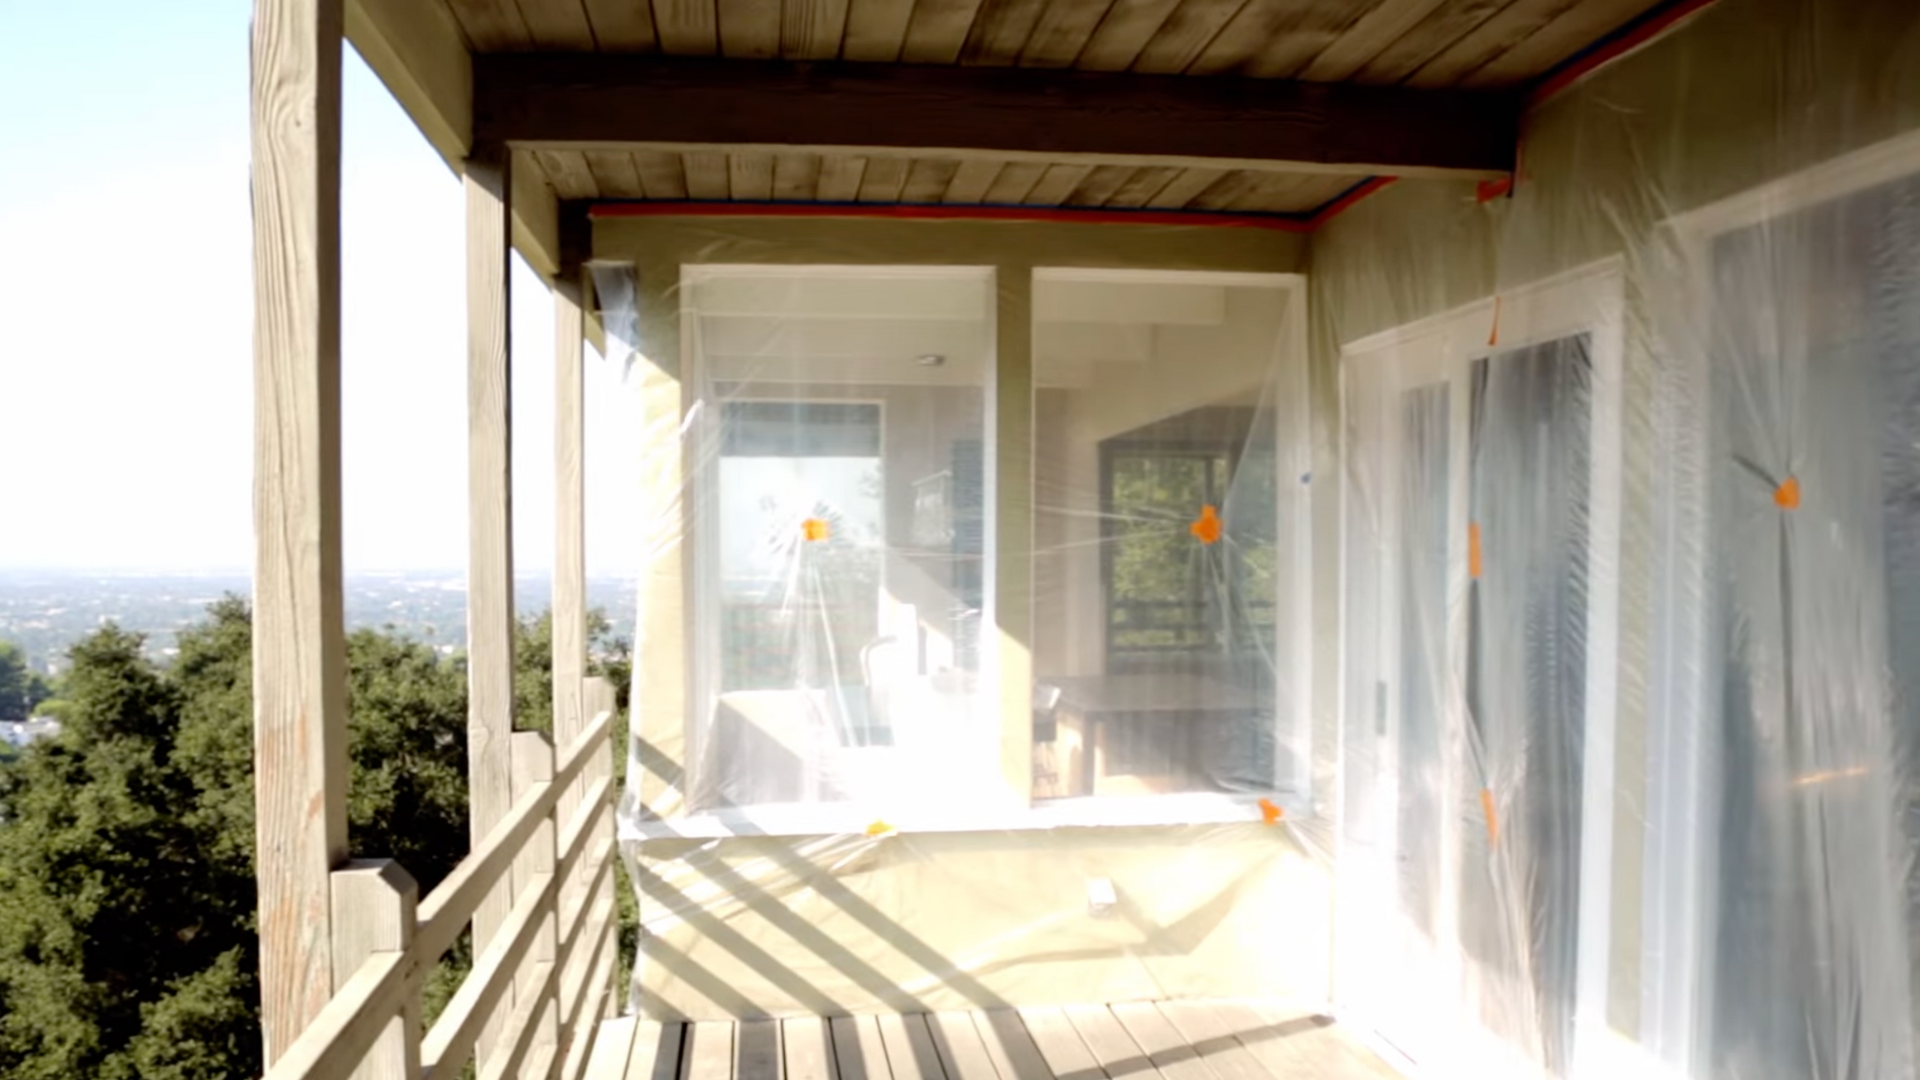
Apply plastic sheeting and painter’s tape to nearby surfaces, such as walls and plants. This prevents accidental splatter and keeps the focus on your deck. Don’t skip this step—it saves time on cleanup and gives a professional finish.
4. Apply Paint: Posts, Rails, Then Floor
Paint from top to bottom: ceiling (if applicable), posts, rails, and finally the floor. Use rollers for broad areas and brushes for corners and edges. Avoid direct sunlight to prevent premature drying and maintain a wet edge for smooth blending.
5. Apply Second Coat and Let It Cure
Once the first coat is dry, apply a second coat for durability. Focus on even, smooth application, particularly on smooth-milled wood which shows brush marks easily. Allow full drying before walking or placing furniture on the deck.
Check out the video on “How to Refinish a Deck with Paint ” below:
Maintenance Cost and Considerations for Deck Refinishing
I’ve found that refinishing costs vary widely based on your approach.
Deck Refinishing Cost Breakdown
| Cost Category | Price Range | What’s Included |
|---|---|---|
| Low-End DIY | $200 – $400 | Basic supplies (sandpaper, stain, brushes) |
| Average DIY | $500 – $800 | Better tools + premium stain |
| Professional | $1,200 – $2,500 | Complete professional service |
| Annual Maintenance | $300 – $500 | Touch-ups and cleaning supplies |
| Full Replacement | $8,000 – $15,000 | Complete deck replacement |
Disclaimer: These estimates are averages as of 2025; actual costs vary by deck size, condition, region, materials, labor, and repairs. For an accurate quote, consult local professionals.
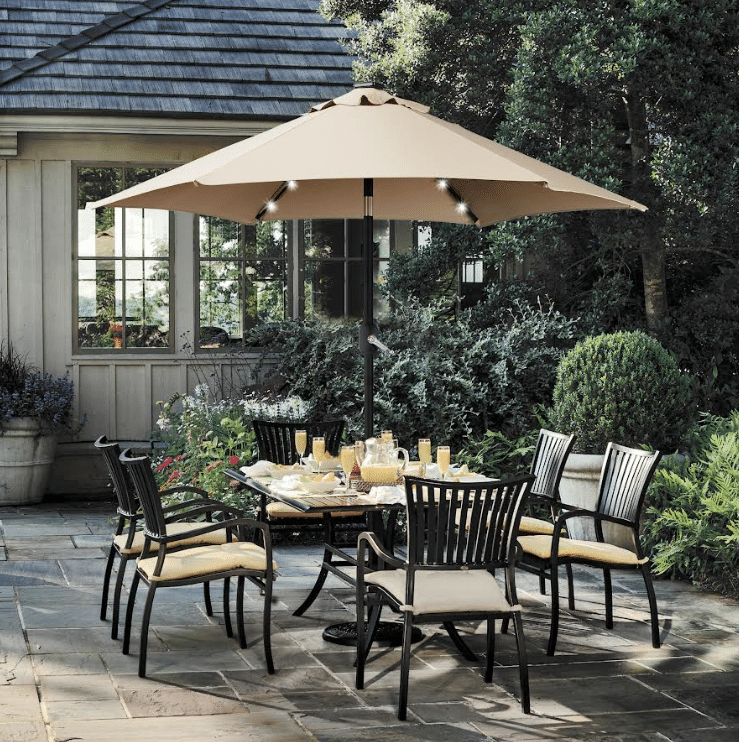
Ideas for Furnishing and Accessorising Your New Deck Space
Now that you’ve got a beautifully refinished deck, it’s time to make it a space you’ll actually want to use.
I’ve tried different furniture arrangements over the years, and these seven ideas will help you create the perfect outdoor living area for your family’s needs.
1. Modern Minimalist Lounge
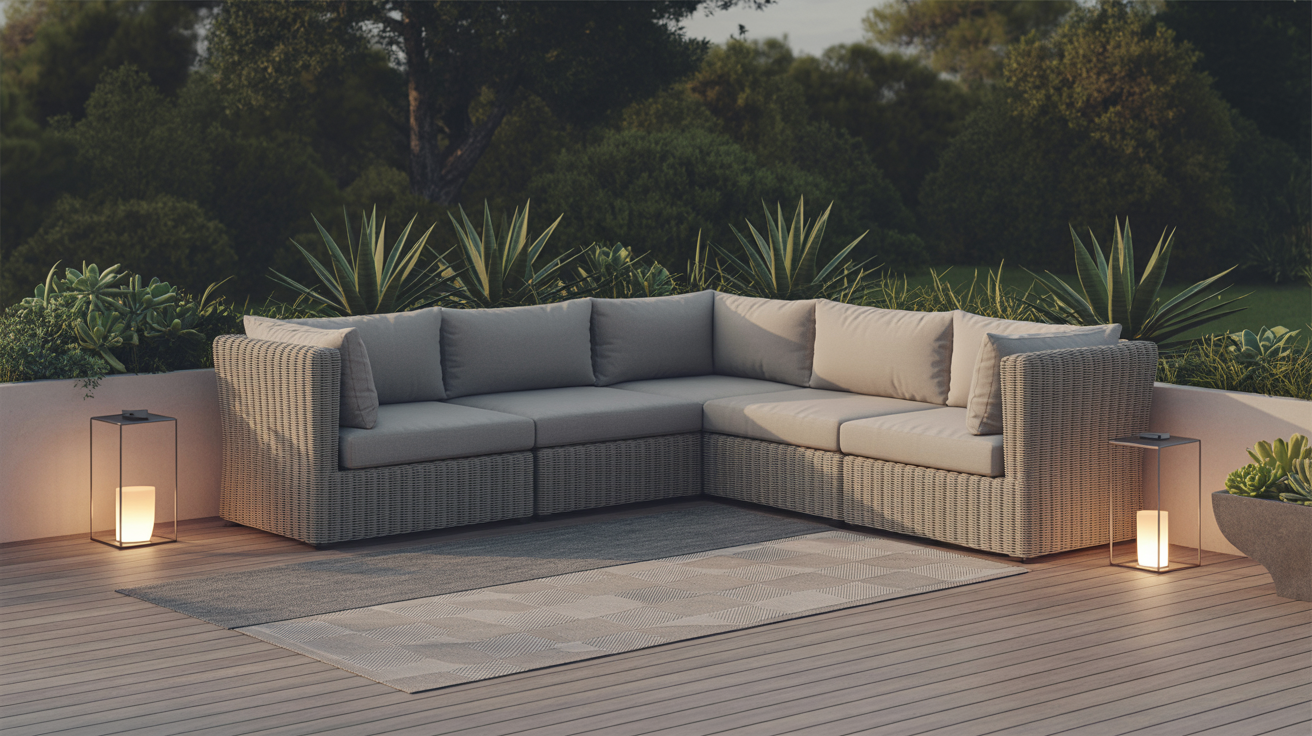
I love this look because it keeps things simple and clean. A sleek outdoor sectional sofa with straight lines in neutral colors works perfectly. Choose weather-resistant materials like metal or synthetic rattan that’ll last through seasons.
- Vibe: Contemporary, calming
- Decor accents: Geometric outdoor rugs, metal lanterns, simple planters with succulents
2. Cozy Wicker Couch Set

This setup feels like home to me. Natural wicker furniture with thick, plush cushions creates the perfect spot for long conversations with friends. It’s eco-friendly and gives off that welcoming feeling I want when guests visit.
- Vibe: Warm, inviting, natural
- Decor accents: Earth-toned cushions, hanging string lights, wooden side tables
3. Bistro Dining Corner
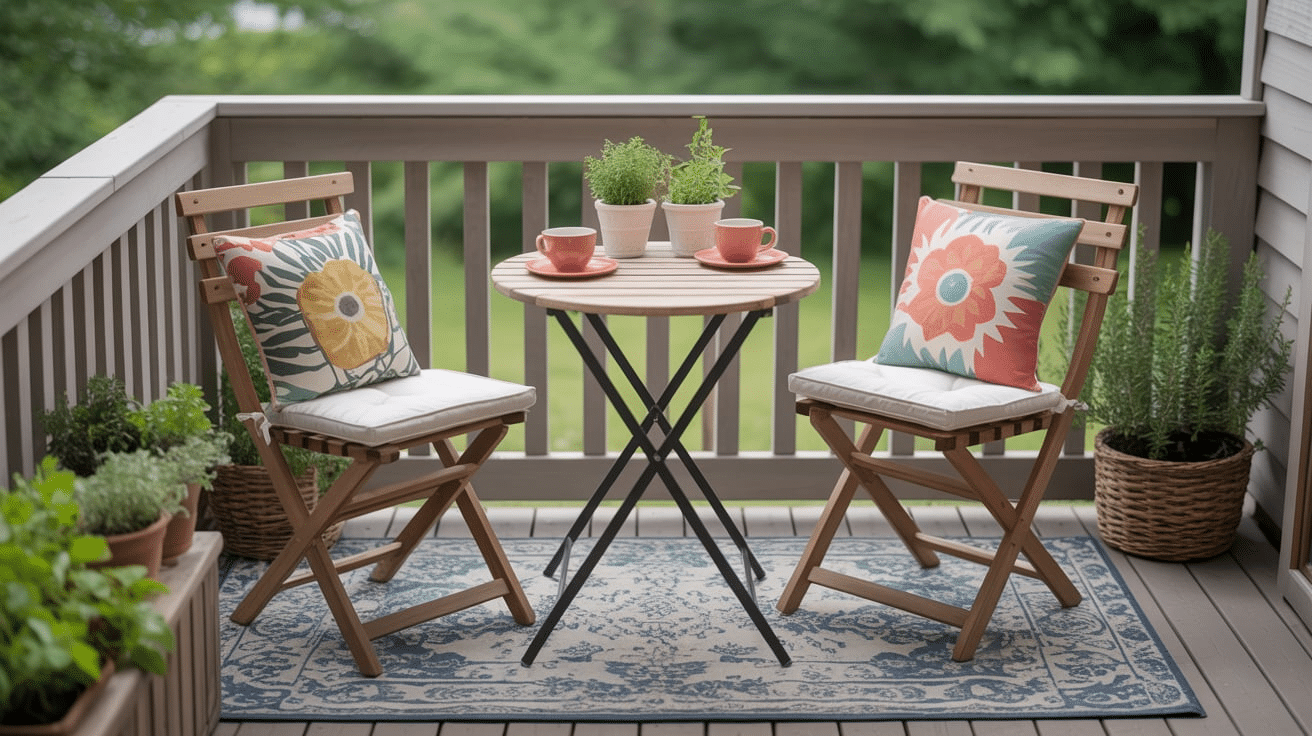
I set up a small bistro table with two to four chairs in my corner, and it’s become my favorite morning coffee spot. It’s compact but perfect for intimate meals or catching up with a neighbor over tea.
- Vibe: Casual, chic
- Decor accents: Patterned outdoor rug, small potted herbs, colorful cushions
4. Hanging Egg Chair Retreat

This is my personal escape spot! A hanging egg chair with a metal stand and soft throws makes me feel like I’m floating. My kids love it too, and it adds a playful touch to the deck.
- Vibe: Relaxed, whimsical
- Decor accents: Cozy blankets, wind chimes, small side table with lantern
5. Daybed Sunbathing Spot
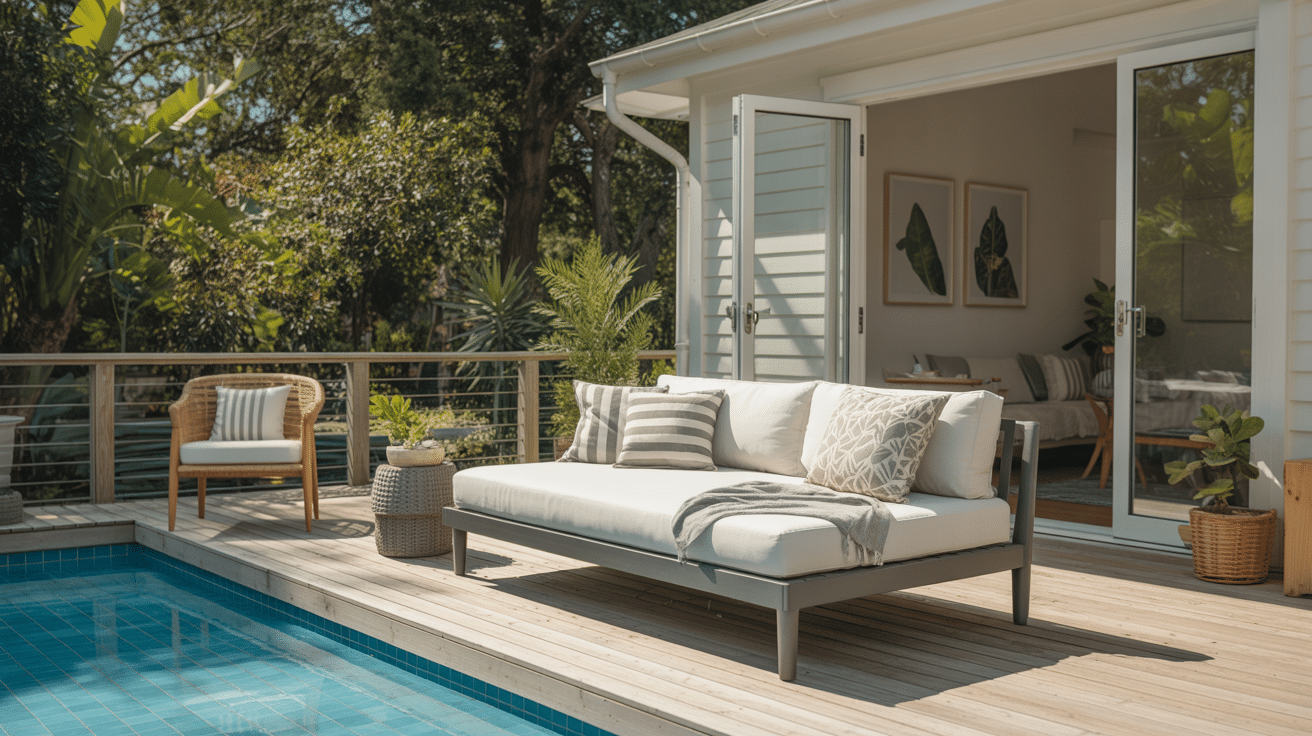
I added an outdoor daybed with an adjustable back, and now I can sunbathe or take afternoon naps outside. It’s like having a mini resort in my backyard, and guests always comment on how comfortable it looks.
- Vibe: Leisurely, resort-style
- Decor accents: Lightweight curtains or retractable shade, tropical plants, large floor pillows
6. Outdoor Firepit Lounge
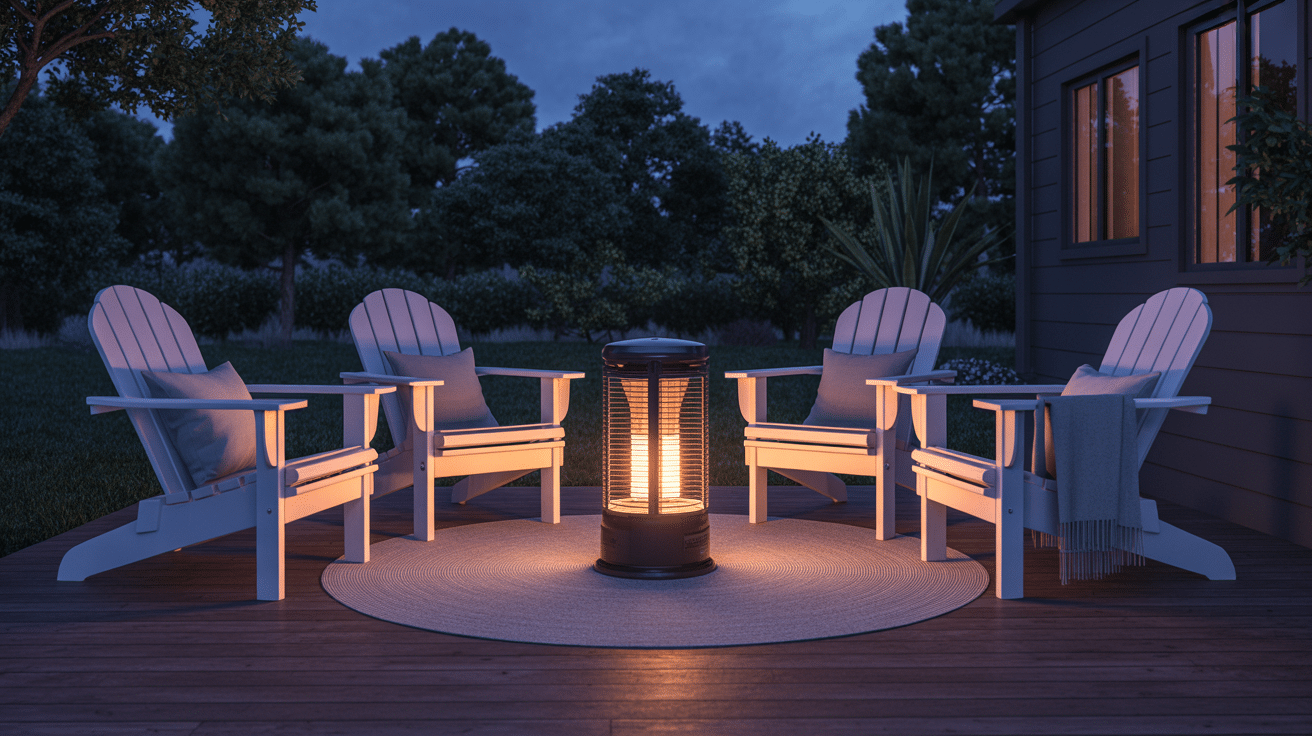
Nothing beats gathering around a heater or firepit table with Adirondack chairs or cushioned armchairs. I use this setup year-round, and it’s where my family creates the best memories together.
- Vibe: Rustic warmth, social
- Decor accents: Fire-safe lanterns, soft outdoor throws, durable wood or stone accents
7. Multi-functional Storage Bench
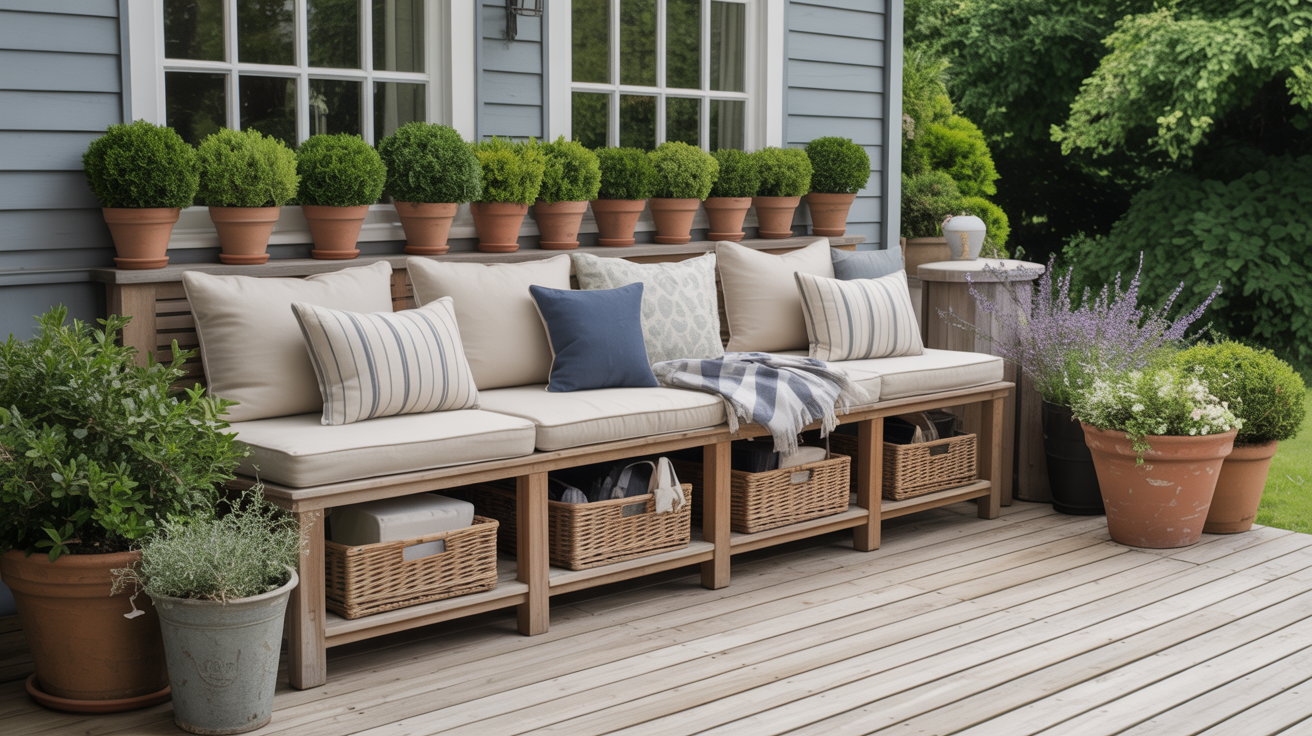
This bench is a lifesaver! It stores all my cushions, blankets, and deck supplies while providing extra seating when friends drop by. I wish I’d thought of this storage solution sooner.
- Vibe: Practical, tidy
- Decor accents: Decorative trays, potted greenery, weatherproof seat cushions
Common Mistakes to Avoid When Refinishing a Deck
I’ve made my share of deck refinishing mistakes, and I’ve watched neighbors make the same ones too. Let me save you time, money, and frustration by sharing what to watch out for.
Applying Stain Too Early or Too Late
I’ve made this mistake before, and it’s frustrating. Staining freshly cleaned wood before it dries completely causes poor absorption and blotchy results. On the flip side, waiting too long after sanding lets dirt settle back on the surface.
How to fix it: If you stained too early, let it dry and lightly sand problem areas before restaining. For late staining, simply clean the surface again with a deck cleaner.
Skipping Cleaning and Sanding Steps
Trust me, shortcuts here will show. I once tried to stain over old, peeling finish—what a disaster! Dirt, mildew, and loose material prevent proper stain adhesion.
How to fix it: Strip the bad stain with a chemical stripper, then clean and sand properly before starting over.
Choosing the Wrong Stain Type
I learned this lesson with my cedar deck when I used an oil-based stain on pressure-treated lumber. Different woods need different products for optimal results.
How to fix it: Remove the incompatible stain with stripper, then research the right product for your specific wood type before reapplying.
Conclusion
Refinishing your deck isn’t just about looks, it’s about protecting your investment and creating a space where memories happen.
I’ve shown you how to refinish a deck affordably, and now you have the knowledge to tackle this rewarding project yourself.
Your outdoor space deserves attention, and the time you invest today will pay off for years to come. Every weekend barbecue and family gathering will remind you why this project mattered.
Ready to get started? I’d love to hear about your refinishing experience! Share your before-and-after photos in the comments below, or ask me any questions about your specific deck situation.