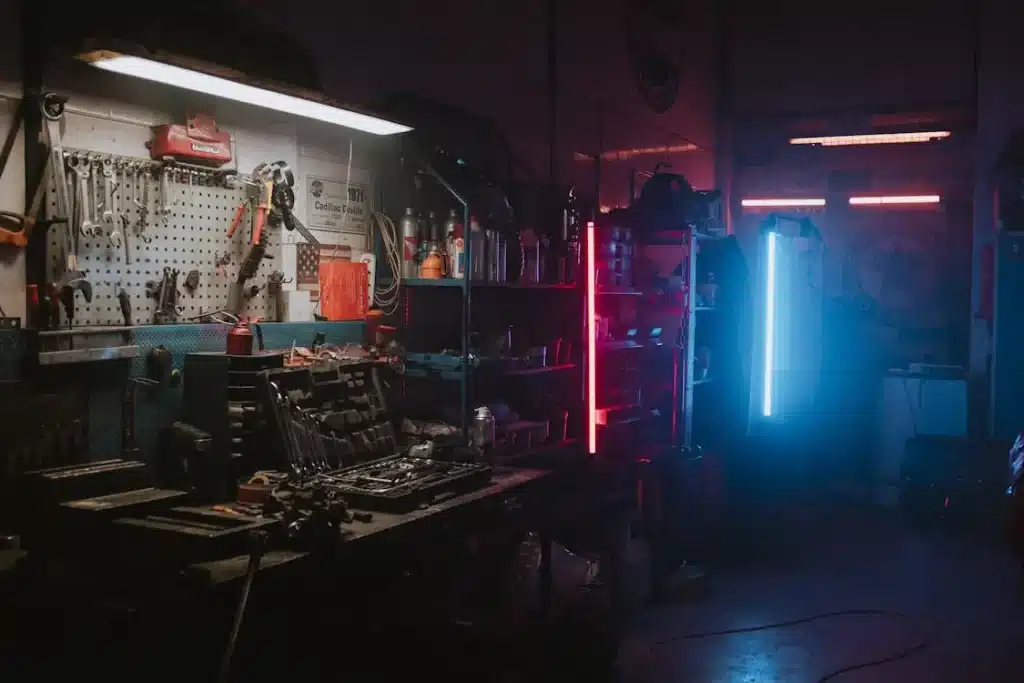
Trying to squeeze a DIY workshop into a small garage can feel impossible at first. Between storage boxes, tools, and maybe even a vehicle, space disappears fast.
However, with a clear plan and a few smart decisions, you can turn that tight area into a practical, organized workspace.
Measure Your Garage Space
First, measure the width, depth, and ceiling height carefully. Factor in garage-door clearance and any built-in features like water heaters or support beams.
Precise measurements help you to plan your layout and choose things like space-saving benches and shelving that will actually fit.
Reclaim Space by Removing What You Do Not Need
Empty the garage as much as possible. Seeing the space completely open makes it easier to plan. And it prevents you from building around clutter.
A small garage workshop requires hard choices about space. Old shelving, unused exercise equipment, and broken appliances often take up more room than expected.
And an unused car parked in the garage can completely block your plans. Selling or relocating a vehicle you no longer drive can instantly free up enough space for a full workbench and tool storage.
For homeowners in Texas, where garages often store vehicles year-round due to intense summer heat and hail risks, clearing out an unused car can make a major difference.
Also, if you have other vehicles sitting on your Texas property, like an old truck, you can easily get fast cash for old trucks by using a reputable service.
Plan Your Layout Before Bringing Tools Back In
A layout built around workflow makes even a small garage feel intentional. Planning your setup carefully helps you avoid wasted motion and frustration.
Divide the garage into simple zones for cutting, assembly, and storage. Keep your main bench close to outlets and allow safe clearance around power tools. Sketching your layout first can save you from moving heavy equipment multiple times.
Maximize Vertical and Overhead Storage
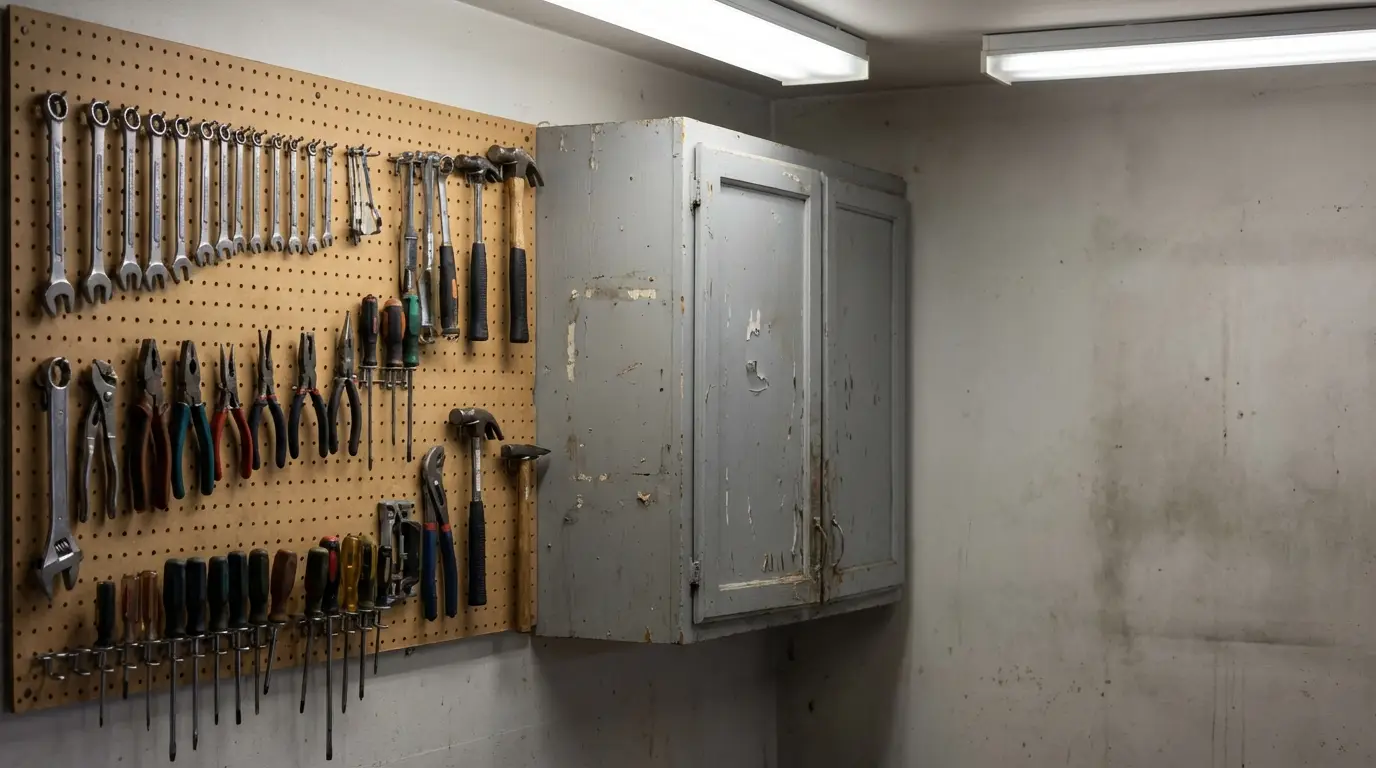
When floor space is limited, walls and ceilings become your best assets. Install pegboards, wall-mounted cabinets, or track systems to lift tools off the ground. Vertical storage keeps gear from overwhelming a small garage.
Before installing storage, focus on a simple strategy:
- Keep daily-use tools within arm’s reach
- Store bulky or seasonal items overhead
- Use clear, labeled bins for hardware
Upgrade Lighting and Electrics
Most garages were not designed for detailed craftsmanship. So, add bright LED lights above your primary workbench and task lighting for precision work.
Install additional outlets along your work wall if needed. Avoid running extension cords across the floor, though, since they create tripping hazards. Better lighting and proper electrical access make your DIY workshop safer and more productive.
Ventilation matters too, especially during sanding or painting. Fans and open doors can improve airflow and reduce dust buildup.
Building a Small Garage DIY Workshop That Works Long-Term
Creating a DIY workshop in a small garage is about using space with purpose. Measure carefully, design around workflow, and keep storage vertical and organized.
Removing clutter and unused vehicles gives you the foundation you need to build something functional. Start small, improve step by step, and shape your garage around how you actually work.
With thoughtful planning, your DIY workshop can become one of the most productive areas of your home!
Was this post helpful? If so, take a look at our other insightful articles.