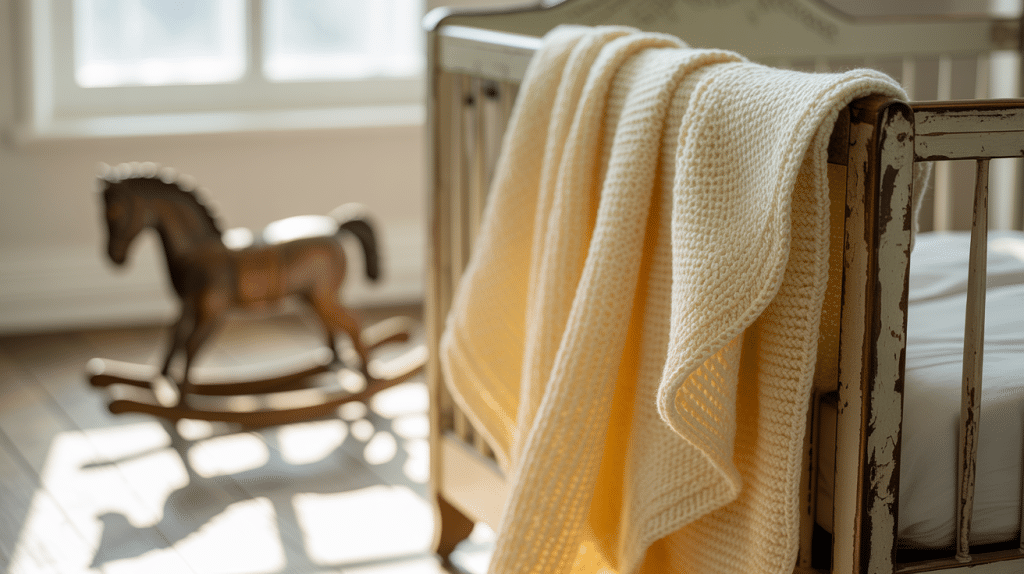
Have you seen the sweet texture of a lemon peel stitch in a baby blanket? Many parents stop in their tracks when they spot this lovely pattern.
It’s not just another baby blanket; it has a special look that sets it apart from basic options.
The raised bumps create a cozy feel while adding visual appeal that parents love. You’ll want one of these blankets for your little one because they’re warm, long-lasting, and add a touch of handmade love to any nursery.
Ready to learn more about why the lemon peel stitch baby blanket might be your next project? Let’s look at what makes them so special.
What is the Lemon Peel Stitch?
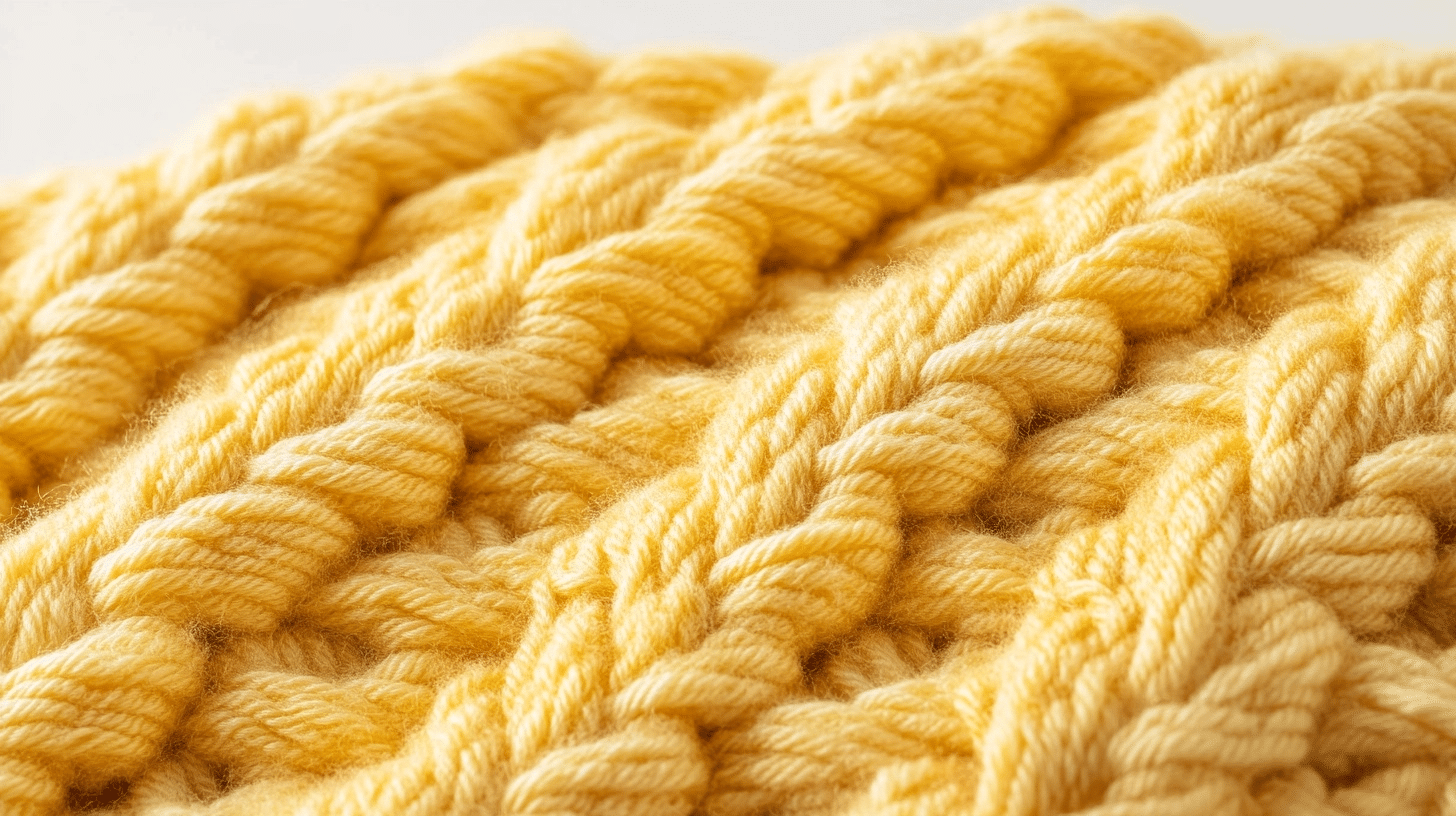
The lemon peel stitch is a simple yet eye-catching crochet pattern that creates a textured surface with small bumps. It gets its name from the way the finished fabric looks like the bumpy outside of a lemon.
The pattern uses a mix of knit and purl stitches when done in knitting, or single and double crochet stitches in crochet work.
I love how this stitch creates a thick, cozy fabric perfect for baby blankets. The thickness comes from the way the stitches stack and change from row to row, keeping the blanket warm and snug for little ones.
What’s nice about the lemon peel stitch is that it’s not hard to learn. Even if you’re new to making blankets, you can pick it up quickly. The pattern is a two-row repeat that becomes almost automatic once you get the hang of it.
Tools and Materials Required for Stitching
| Item | Details |
|---|---|
| Yarn | Mandala Ombre by Lion Brand (Color: Mantra) – 3 skeins recommended |
| Crochet Hook | K/10.5 (6.5 mm) – Use a size that matches your tension preference |
| Scissors | For trimming yarn |
| Yarn Needle | For weaving in ends |
| Stitch Markers (opt) | Helpful for keeping track of your rows or stitch changes |
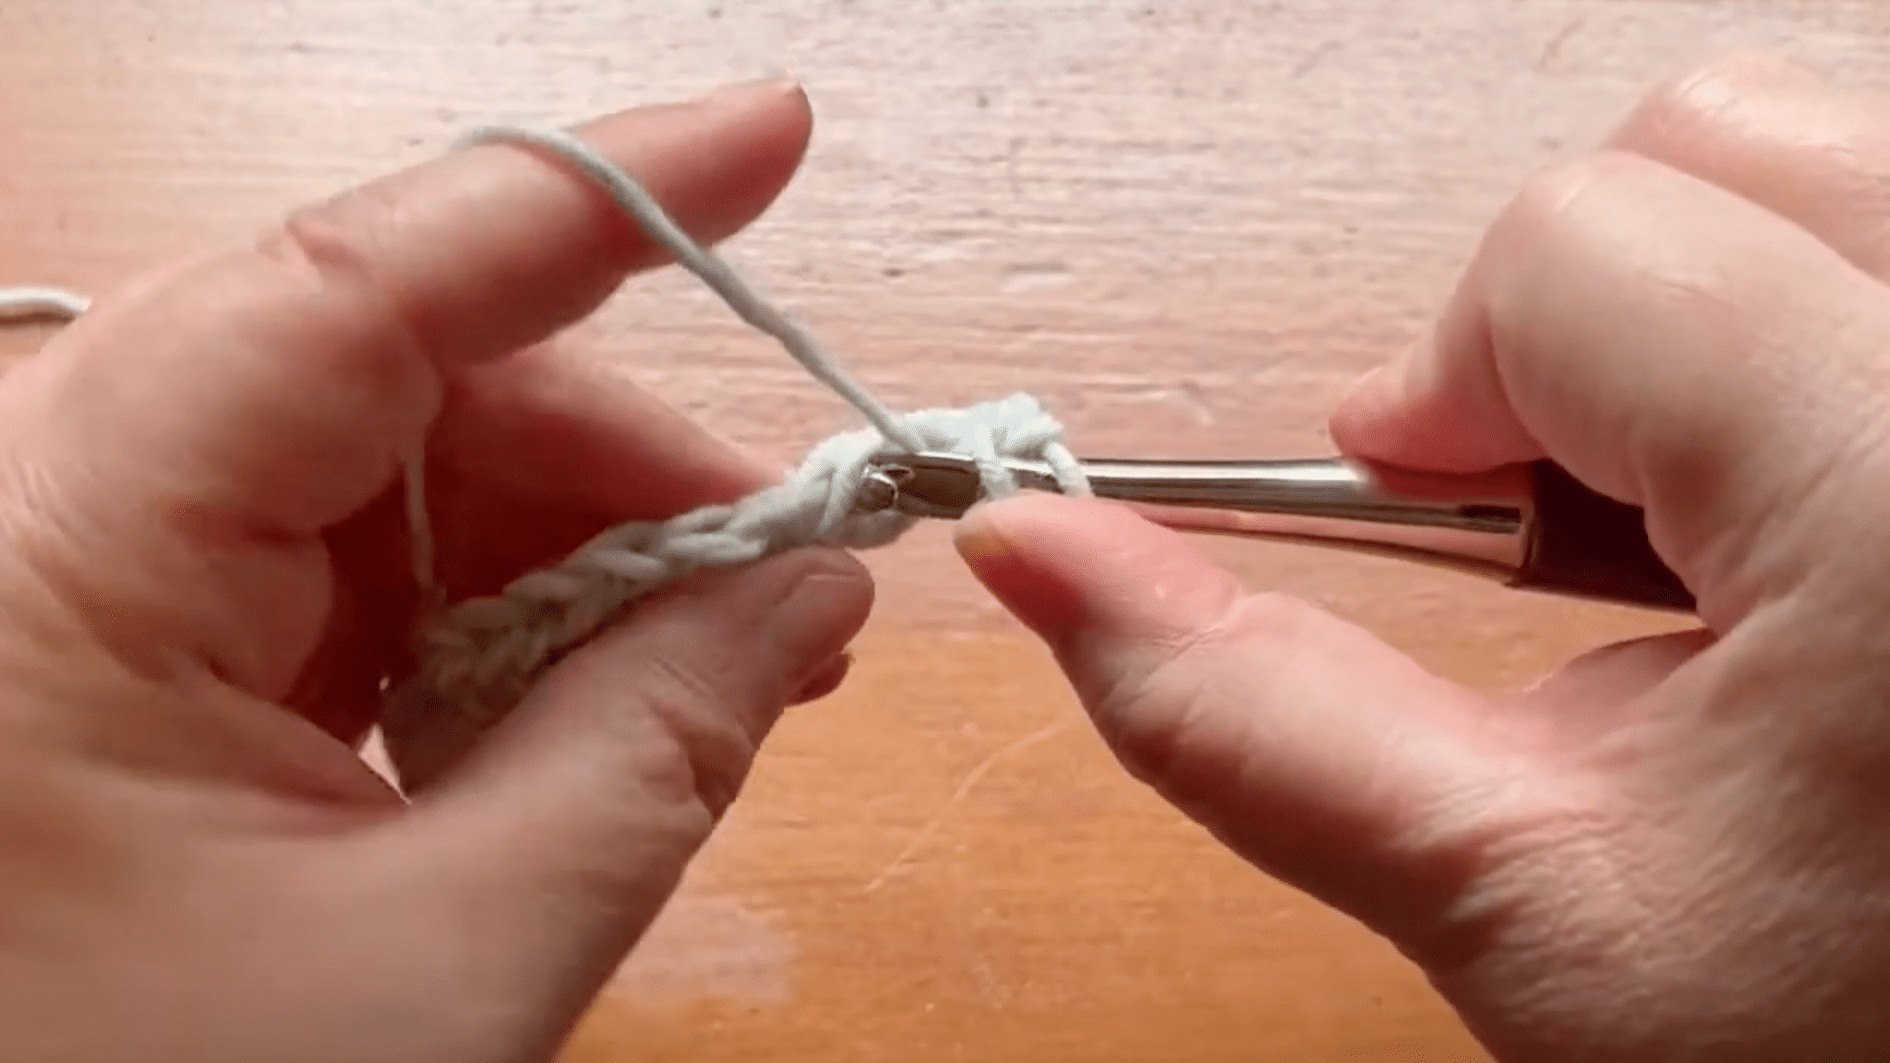
Crocheting the Lemon Peel Stitch
Making a lemon peel stitch is easier than you might think. It’s just right for those nights when I want to watch TV and work on something without counting too much.
The pattern flows from your hook with a soothing rhythm once you learn the basic steps.
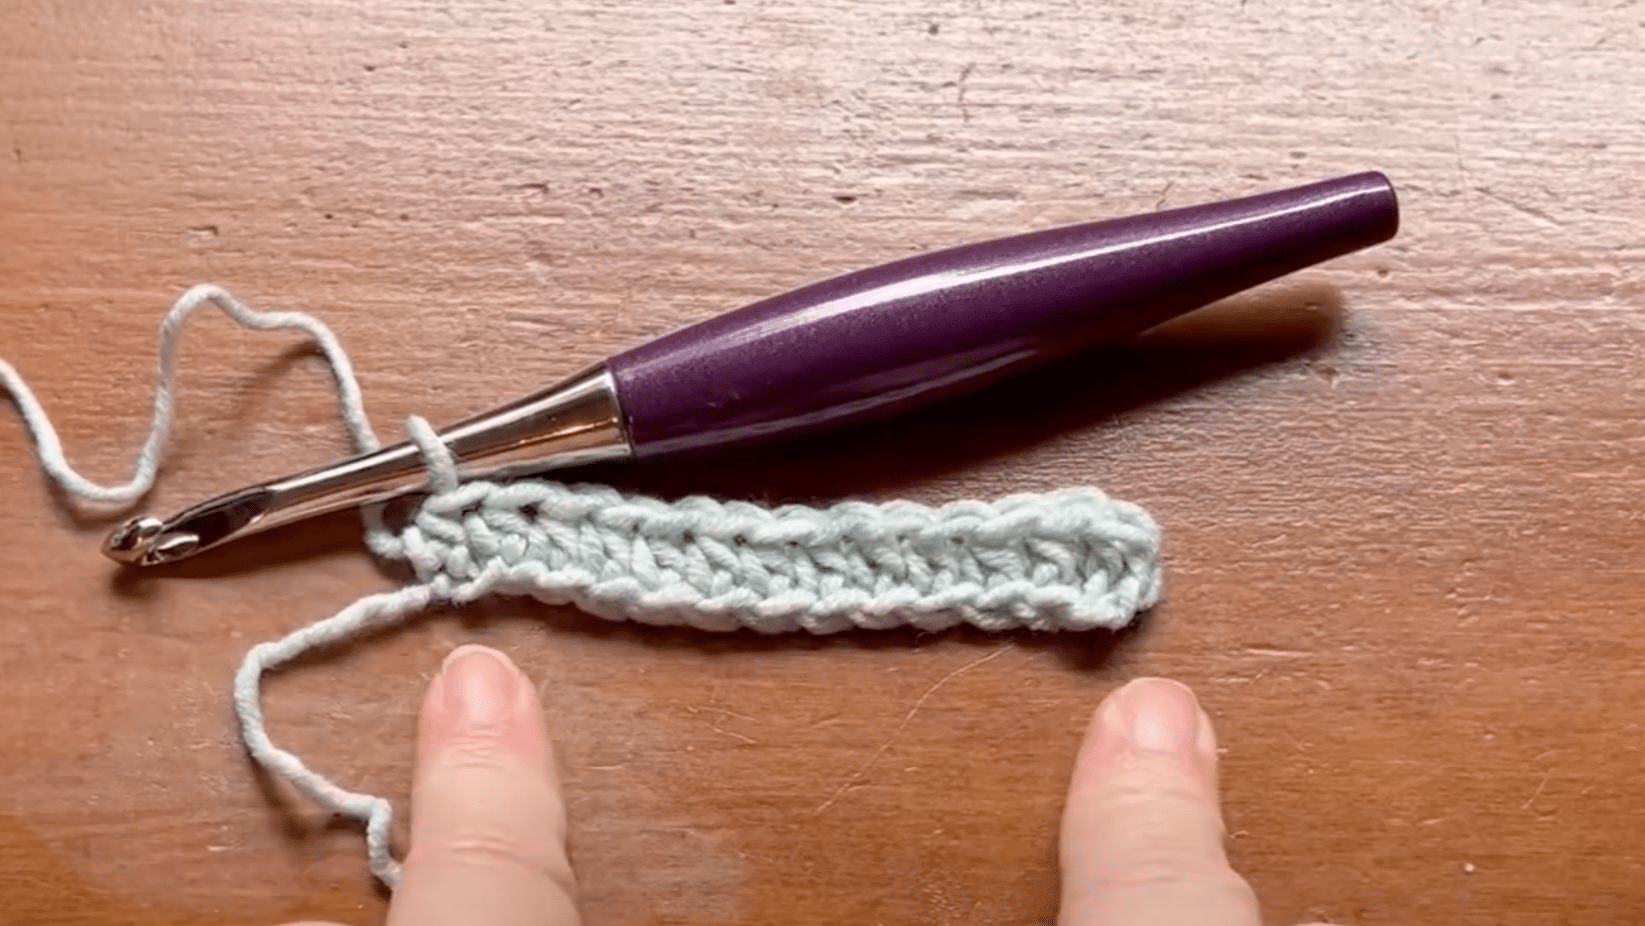
1. Foundation Rows: Set the Stage with Half Double Crochet
Start by chaining an odd number (e.g., 85 for a stroller or car seat size). Turn your chain and work three full rows of half double crochet (HDC). Make sure each row begins and ends with two HDC stitches; this gently shapes the blanket’s sides and gives a built-in border feel.
Helpful Tip: Crochet into the back bump of your chain to give your foundation a cleaner edge.
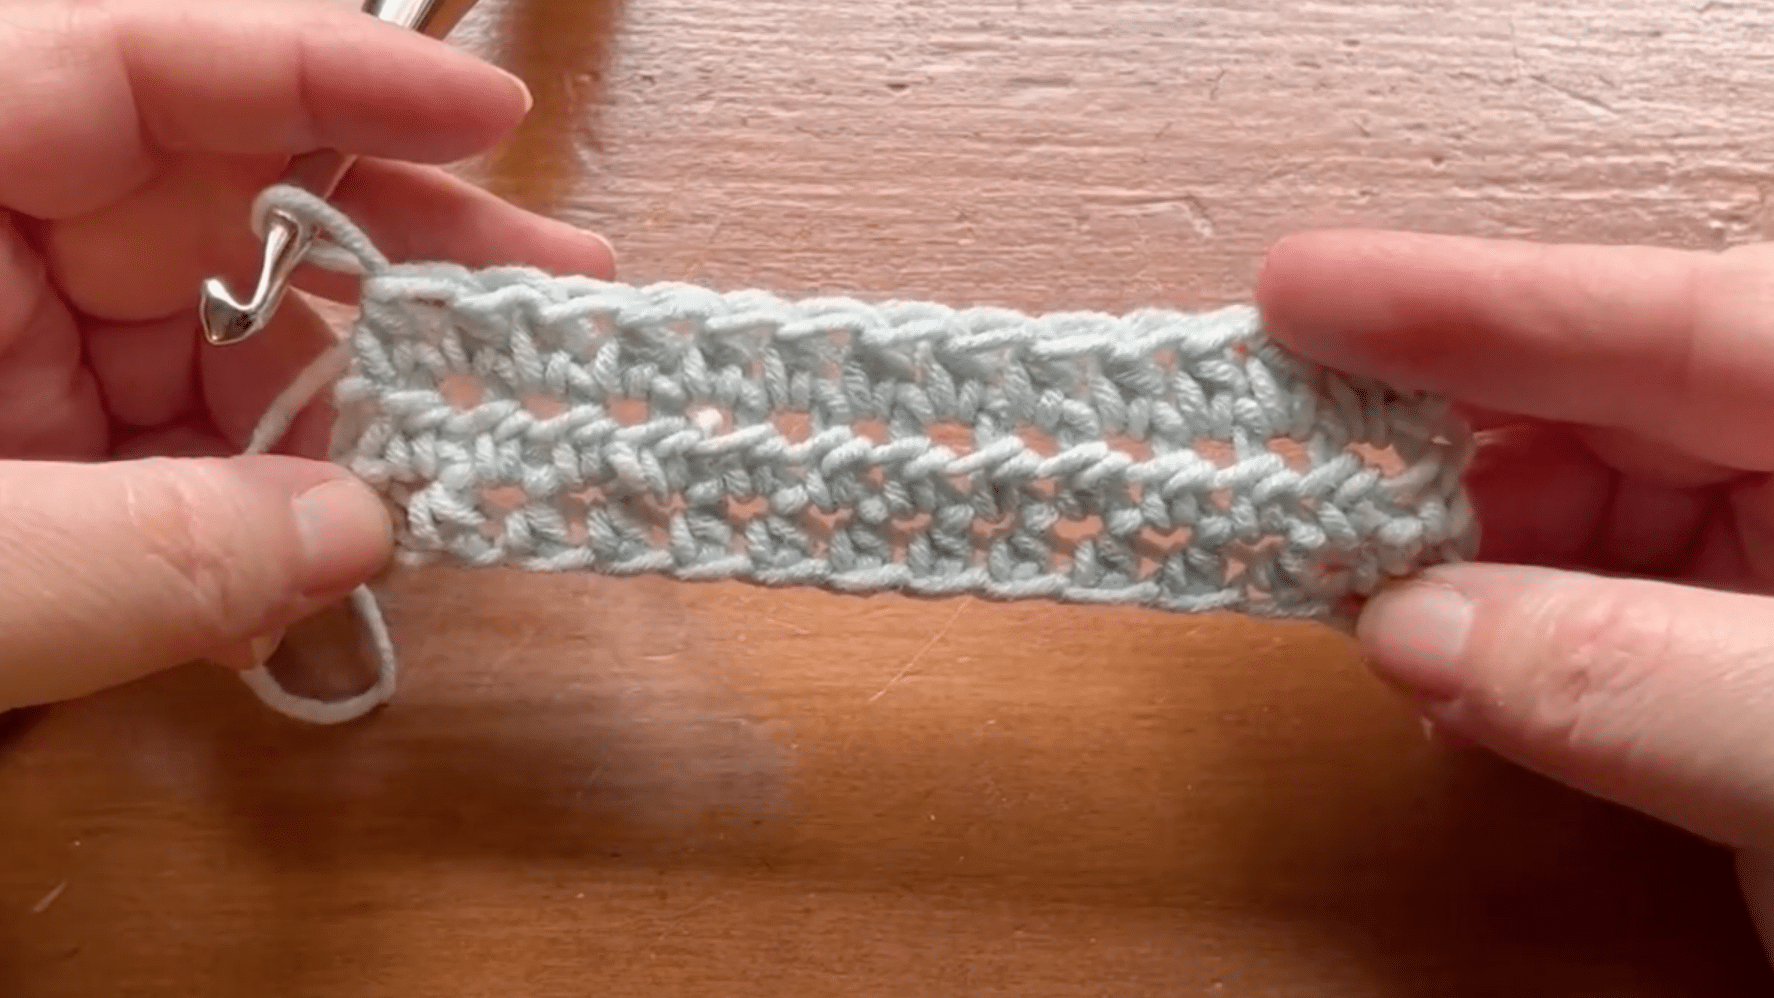
2. Building the Lemon Peel Texture
Begin your first textured row:
- Work 2 HDCs at the start.
- Then alternate: 1 single crochet (SC), 1 double crochet (DC) across the row.
- Stop when you have three stitches left.
- End the row with: 1 SC, then 2 HDCs.
This alternating pattern creates the charming “lemon peel” effect, also known by some as the griddle stitch.
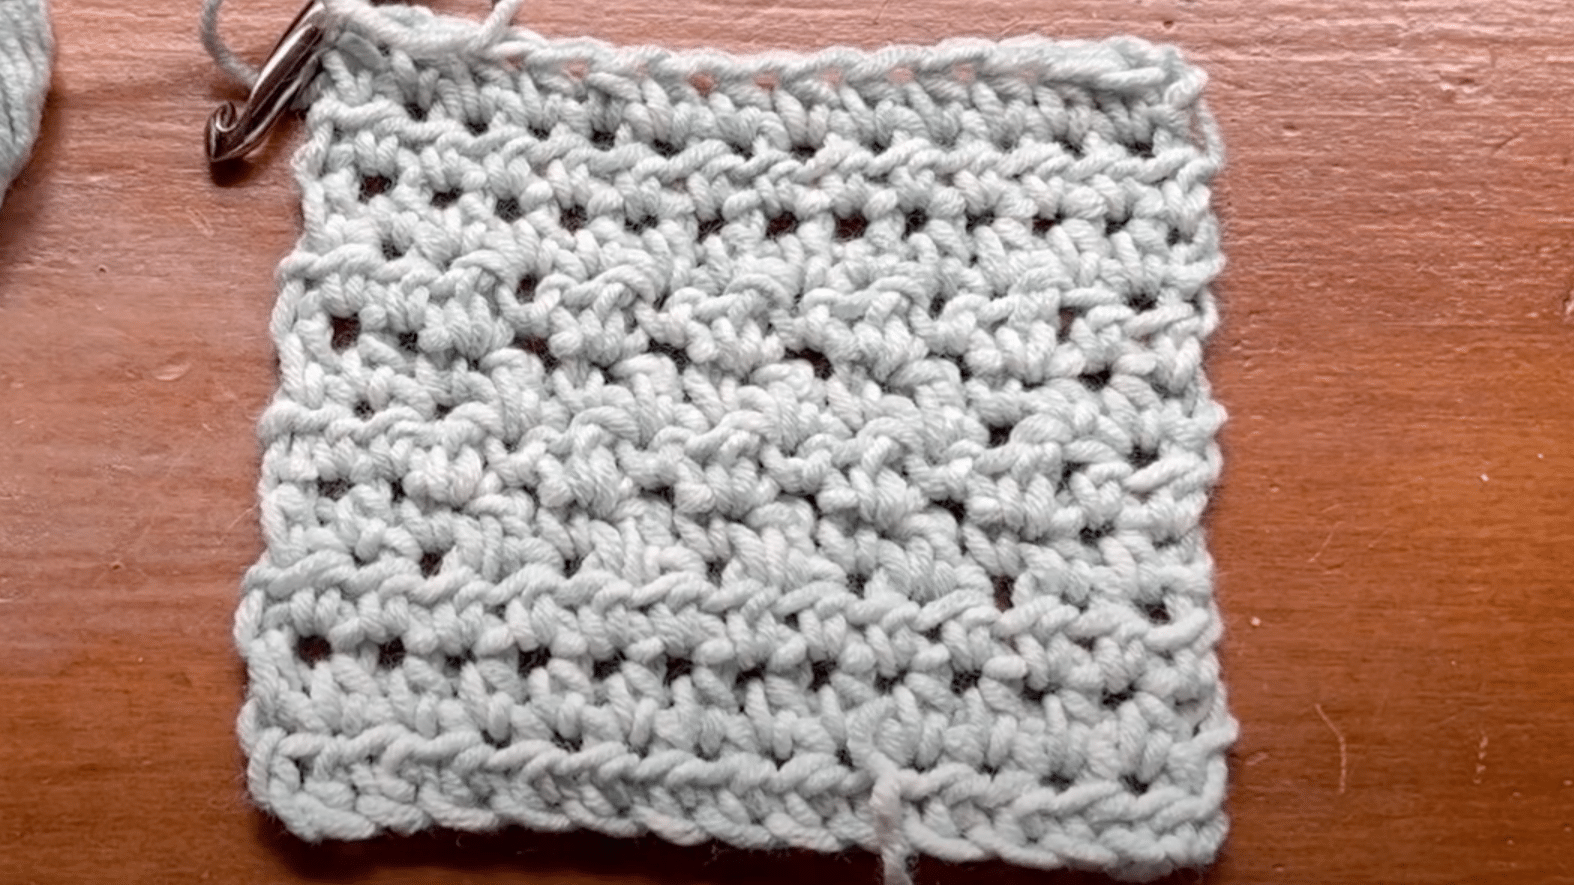
3. Repeat to Build the Blanket
After your first textured row, turn your work:
- Start each row with 2 HDCs.
- Continue alternating SC and DC, placing each stitch type into its opposite from the previous row (SC into DC, DC into SC).
- Finish with 1 SC and 2 HDCs.
- Repeat this row until the blanket reaches your desired length.
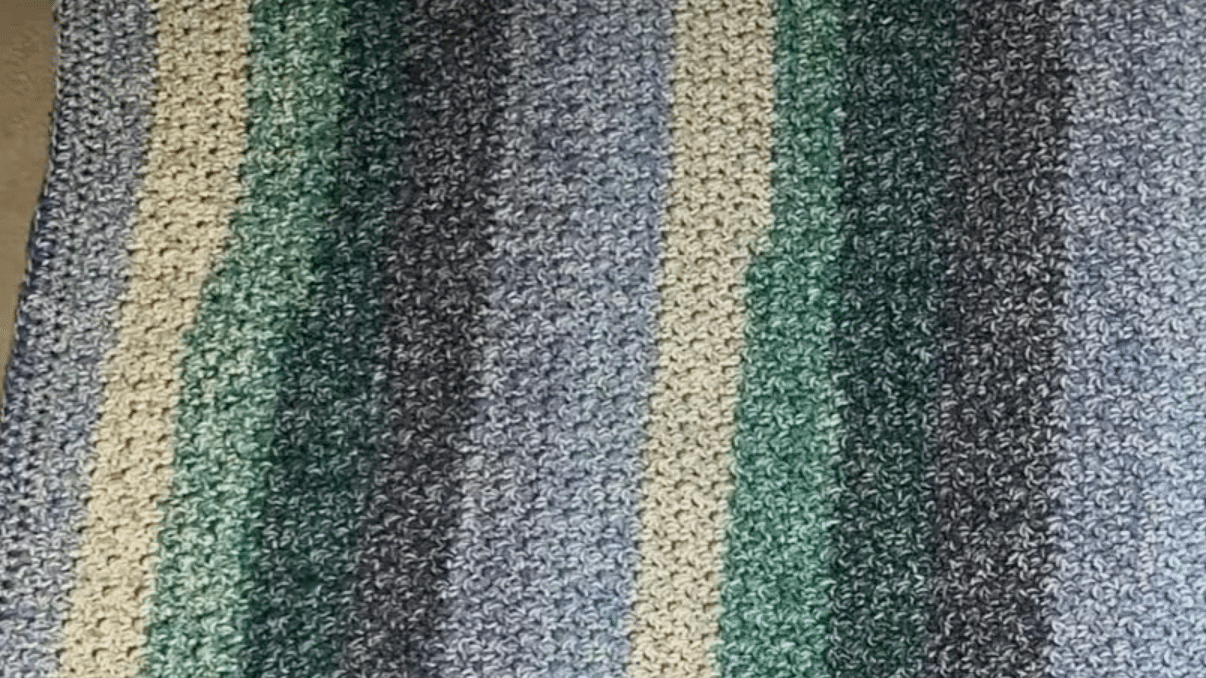
Color Note: If your yarn changes color mid-row, let it happen naturally; it’ll blend smoothly without interrupting the pattern.
4. Finishing Rows to Match the Beginning
Once you’ve reached your preferred length, wrap up your project with three more rows of HDC, just like the start. This will give your blanket a balanced, tidy look from top to bottom.
Edge Control Tip: To keep your corners sharp and less rounded, try doing a chain-2 at the beginning of the first and last row only. Use chain-1 for the others to prevent curling.
5. Final Touches & Optional Color Matching
If you run out of yarn mid-row, you can line up the new skein’s color to the existing one for a smoother transition. Use the magic knot method to join the new yarn, snip the tails close to the knot, and continue crocheting.
Weave in any leftover ends with a yarn needle to tidy up your blanket.
If you’re feeling creative, you can use your remaining yarn pieces for another matching accessory or add a basic border in the same stitch.
For more detailed steps, check out the YouTube link below:
Why Lemon Peel Stitch Works for Baby Blankets?
The lemon peel stitch makes a wonderful choice for baby blankets for several reasons. I’ve made many baby gifts over the years, and this stitch has become one of my go-to patterns because it checks all the boxes parents want.
The texture of this stitch creates a soft, bumpy surface that babies love to touch. It’s like built-in sensory play!
The raised pattern helps little fingers grab and hold onto the blanket, which supports their growing motor skills.
What makes this stitch truly ideal for baby items is its practical nature:
- It creates a thick fabric that keeps babies warm without being too heavy.
- The pattern doesn’t have holes that tiny fingers could get caught in.
- Both sides look the same, so there’s no “wrong side” to worry about.
- It lies flat and doesn’t curl at the edges like some other stitches.
Tips for Caring for Your Blanket
When you spend hours making a lemon peel stitch baby blanket, you want it to last for years.
I learned this the hard way after my first handmade blanket lost its shape. The right care makes all the difference in keeping your blanket looking fresh.
Baby items need frequent washing, but that doesn’t mean your beautiful handiwork has to suffer. With some simple care steps, your lemon peel stitch blanket can remain soft and pretty through countless baby messes and washing cycles.
- Check the yarn label for specific washing instructions before the first clean.
- Use a mild detergent made for babies or sensitive skin.
- Wash in cold water to prevent shrinking and color fading.
- Put the blanket in a mesh laundry bag to reduce wear from the washing machine.
- Air dry the blanket flat on a clean towel when possible.
- Never use bleach as it can damage the yarn fibers.
- Store the blanket folded in a cool, dry place when not in use to prevent color fading.
Stitching It Up
The lemon peel stitch baby blanket offers both beauty and purpose for your little one. These special blankets bring comfort while adding a handmade touch to any nursery.
Choose your favorite baby-friendly yarn, grab the right size hook, and start your first row today. Your hands will quickly learn the rhythm of this friendly pattern.
I’d love to hear about your experience making a lemon peel stitch baby blanket!
Share a photo in the comments section below, or tell us who you plan to make one for. Happy crocheting!