Have you seen those pretty fabric pieces with plant prints that look like watercolors? That’s flower pounding art, and it catches many eyes with its simple beauty.
You might think you need special skills to create such lovely items. But you don’t! Flower pounding is actually one of the easiest crafts to learn.
When you pound flowers onto fabric, you get to see nature’s colors transfer right before your eyes. Each piece turns out unique, and you can make gifts everyone will love. Ready to try this fun craft technique that uses items you probably already have at home?
Let’s learn how to pound flowers onto fabric and create beautiful, one-of-a-kind art.
What is Flower Pounding?
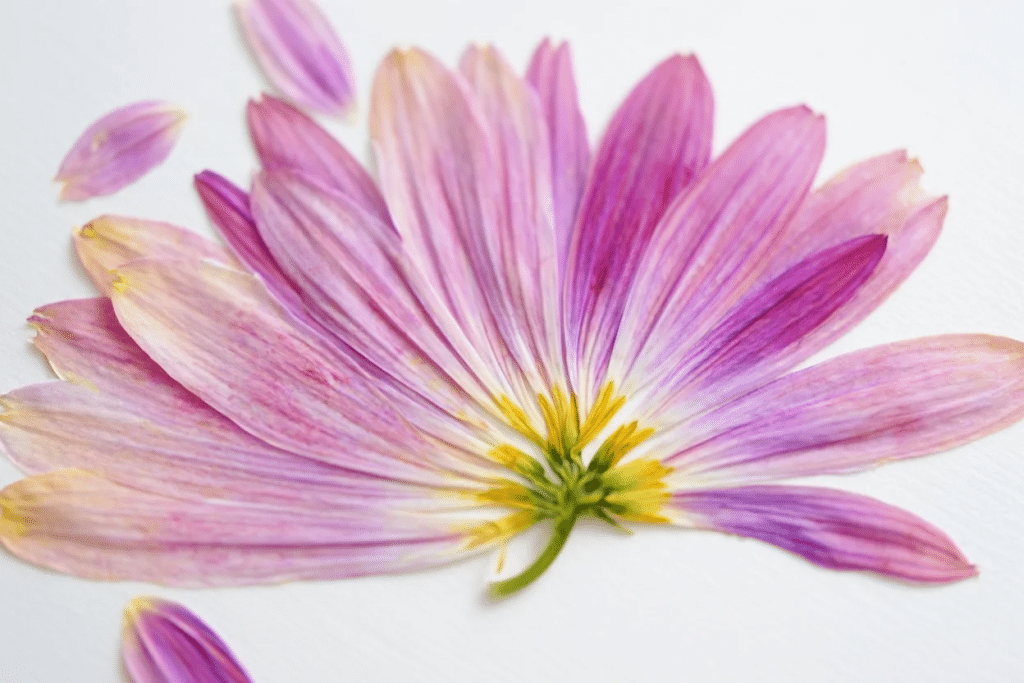
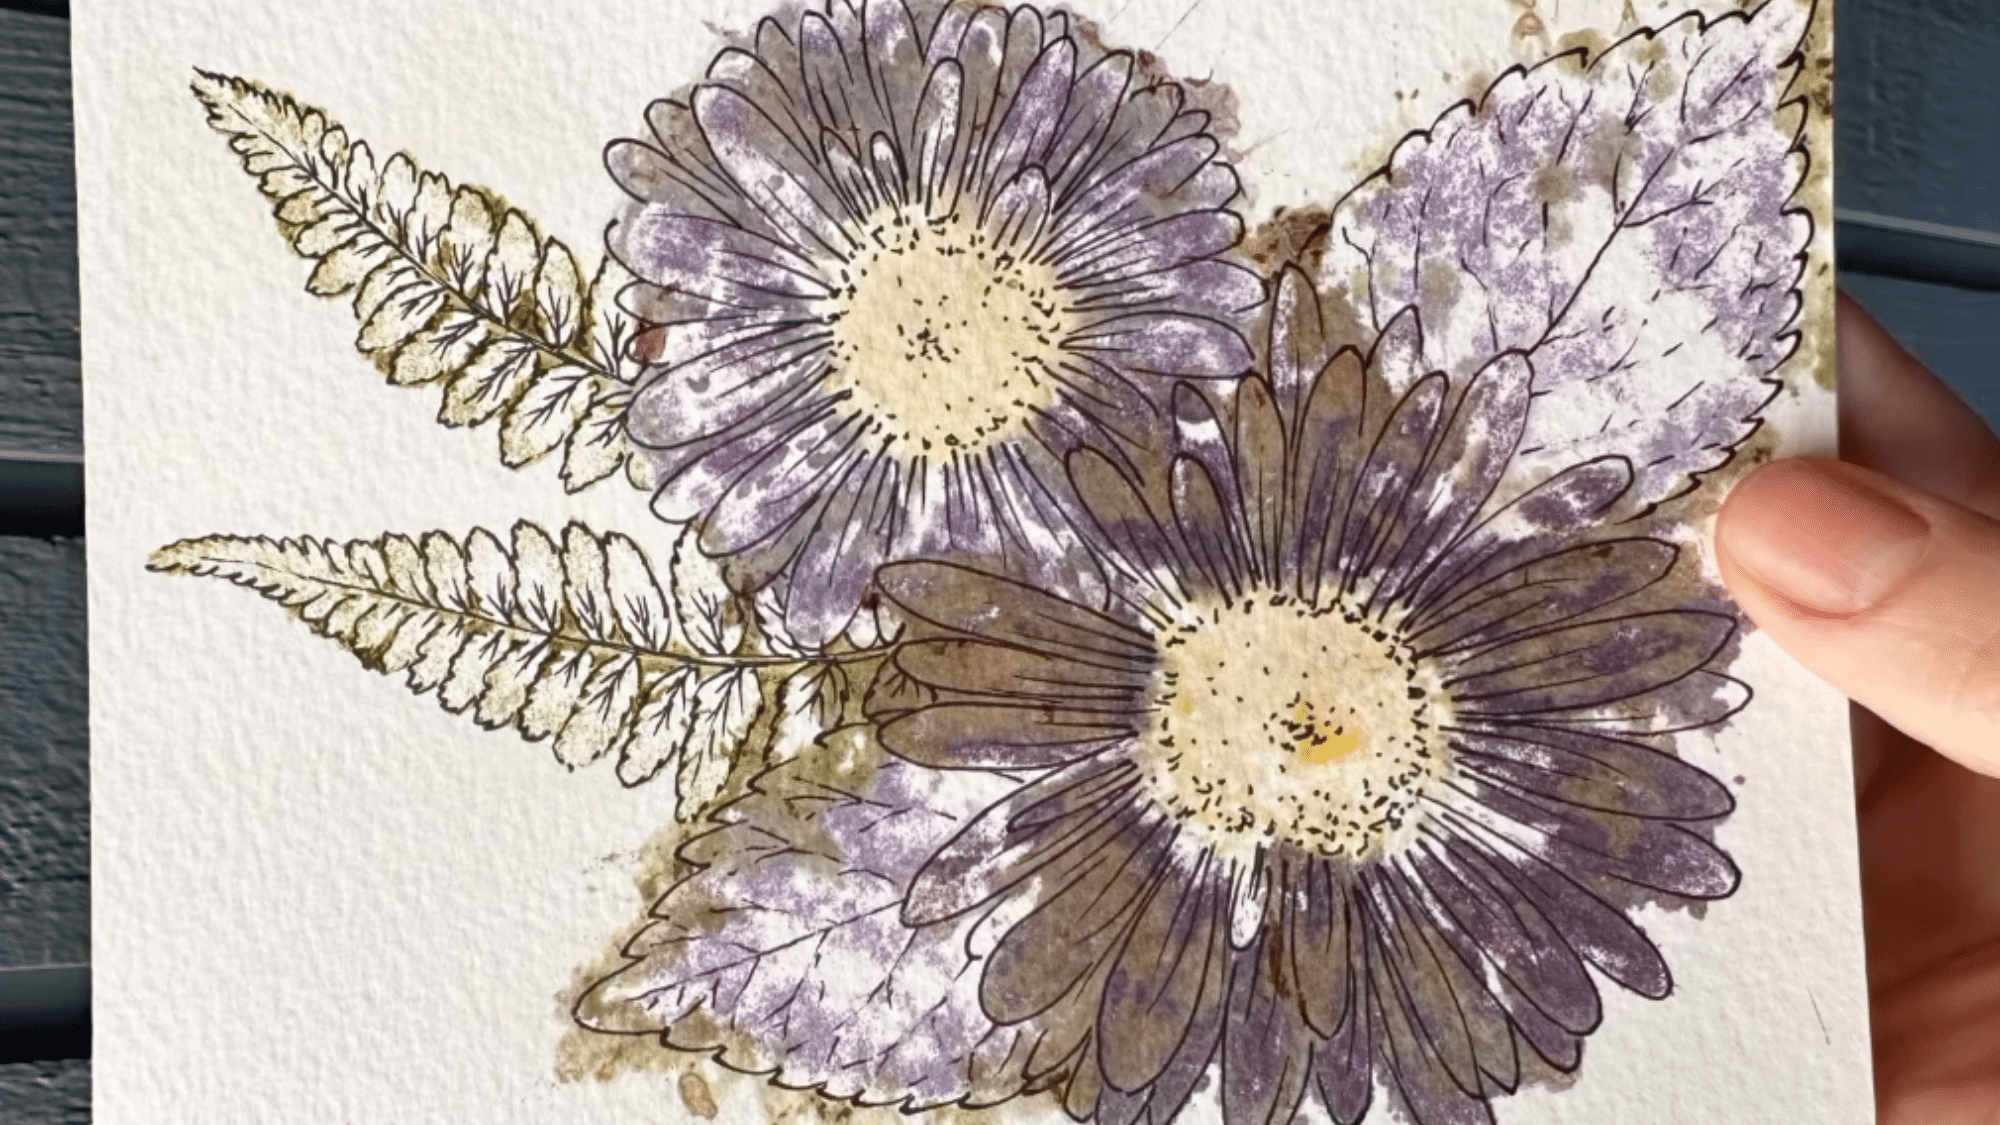
Flower pounding is a craft technique where fresh flowers and leaves are placed between fabric or paper and hammered to release their natural pigments. The plant material transfers its colors and shapes onto the surface, creating natural prints.
This craft dates back many years as a way to capture plant images without cameras or paints. The best part about this craft? It’s not hard at all! With just a hammer, some flowers, and fabric, you can start making prints in minutes.
You don’t need art skills or fancy tools. Simply arrange flowers on fabric, cover with paper, and tap with a hammer. The colors show up right away, and each print carries its own charm.
For beginners and crafty folks alike, flower pounding offers a quick way to make nature-inspired art.
How to Achieve Flower Pounding Art in 5 Simple Steps
Getting started with flower pounding is quick and fun. The pounding process turns garden blooms into lasting art with just a few hits of a hammer. I’ve found this method works well even for those who think they lack artistic talent.
Let me walk you through my tried-and-tested steps for making beautiful flower prints on fabric.
1. Gather Tools and Materials
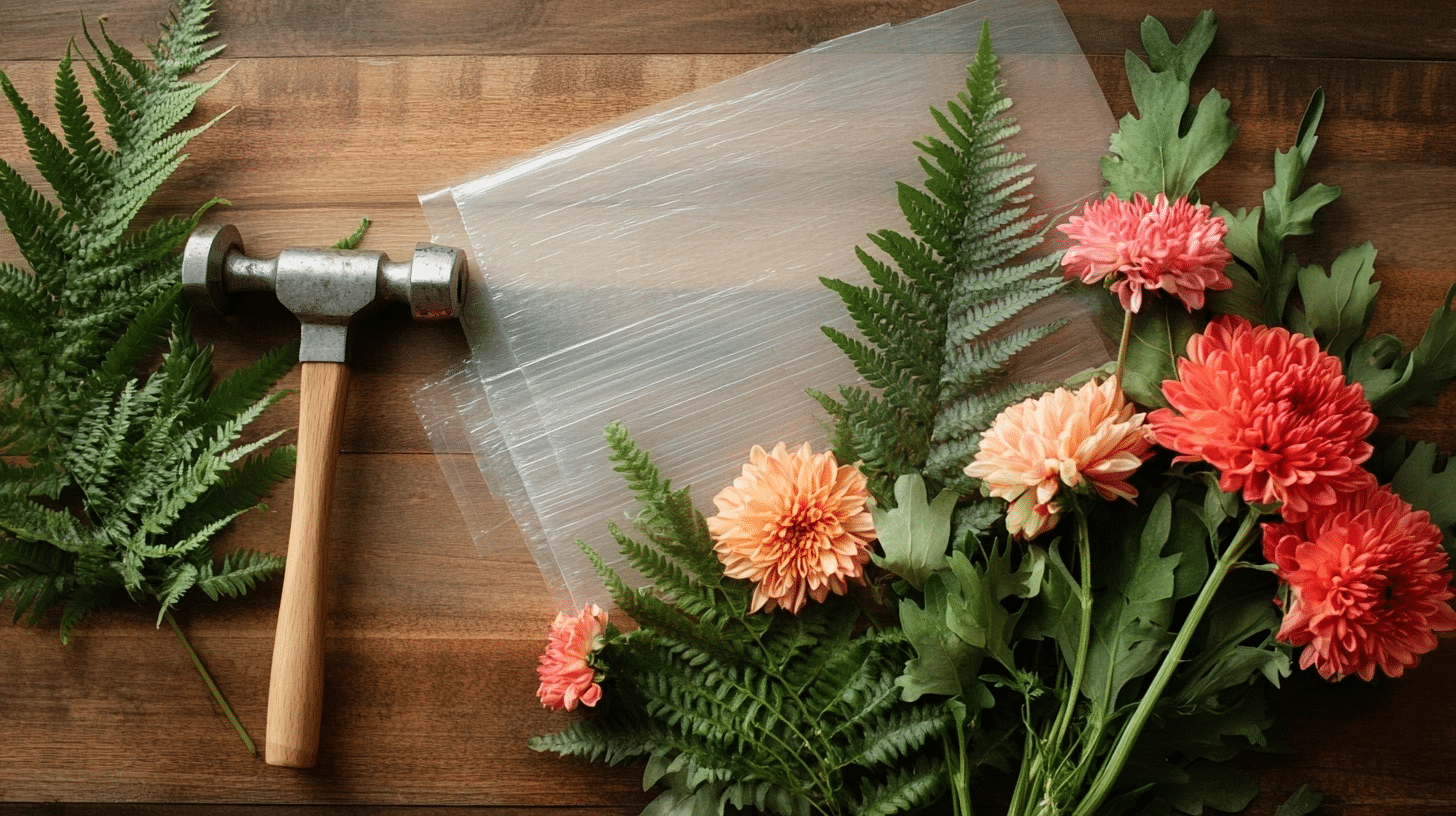
Before getting started, it’s helpful to have everything within easy reach. The materials needed are:
- A lightweight hammer (around 8 oz is perfect)
- Watercolor paper, at least 140 lb weight
- A thin piece of plastic cut from a food container
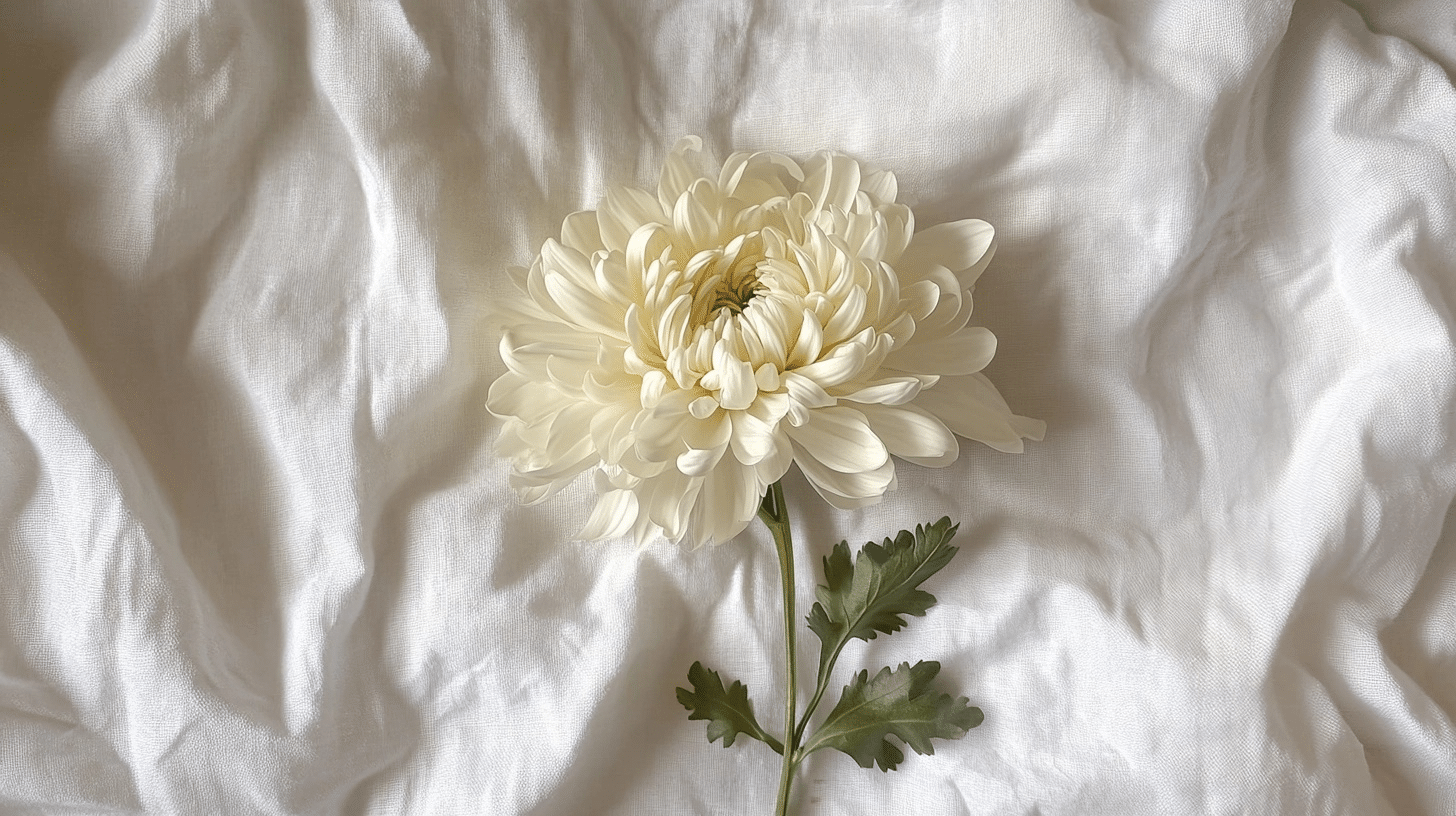
- Fresh flowers or greenery like chrysanthemums or ferns
Having these essentials ready makes the whole process smooth and enjoyable
2. Position and Secure the Flower
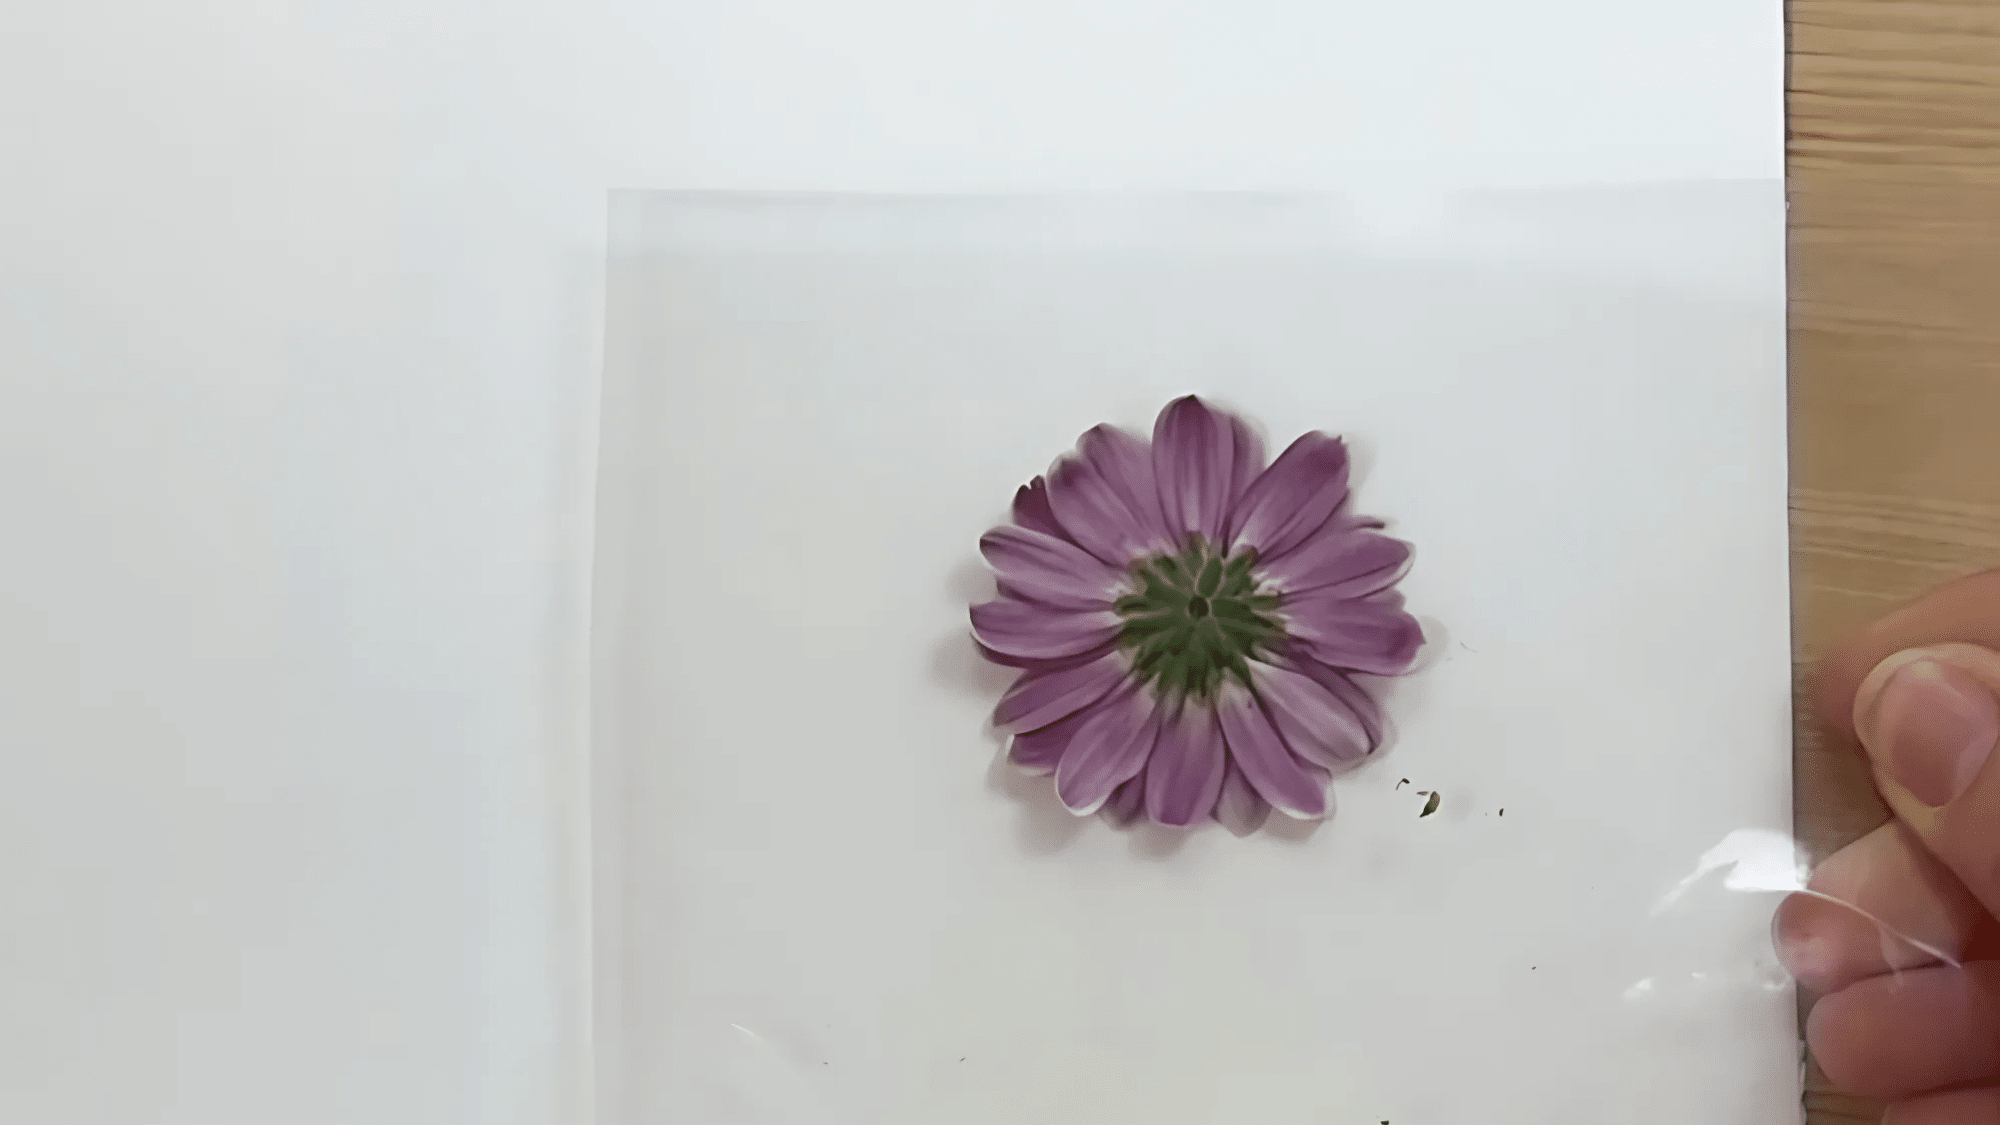
Lay the watercolor paper flat on a hard surface. Place the flower face down exactly where the print is desired. Cover it carefully with the piece of plastic.
Using one hand to gently hold the plastic and flower in place helps prevent shifting while hammering.
3. Hammer the Flower Carefully
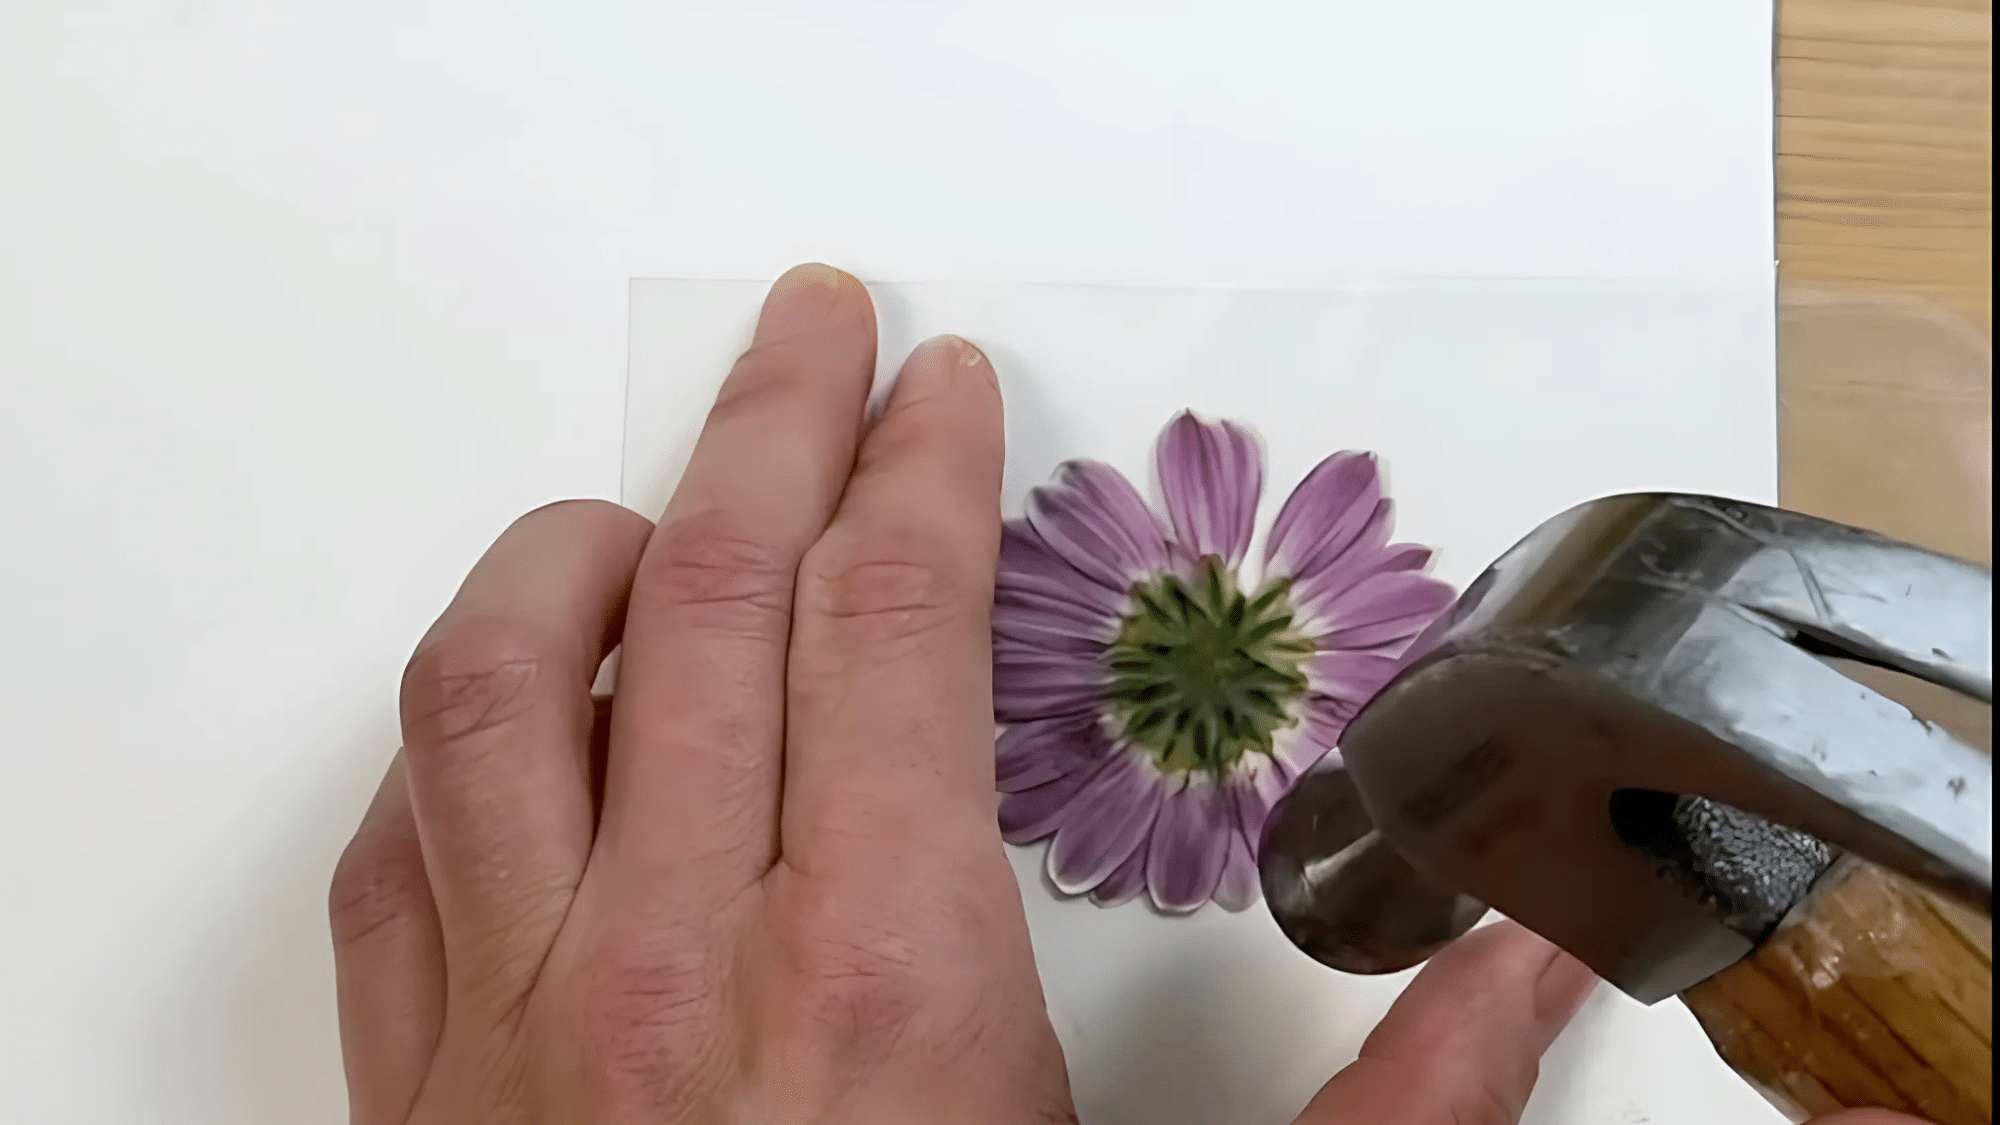
Start hammering softly in the center of the flower, gradually working outward toward the edges. Focus on flattening the flower evenly without smudging the colors. The goal is a clean and defined print.
Moving steadily from the edges to the middle allows better pigment transfer while keeping the shape intact.
4. Remove and Clean the Flower Remnants
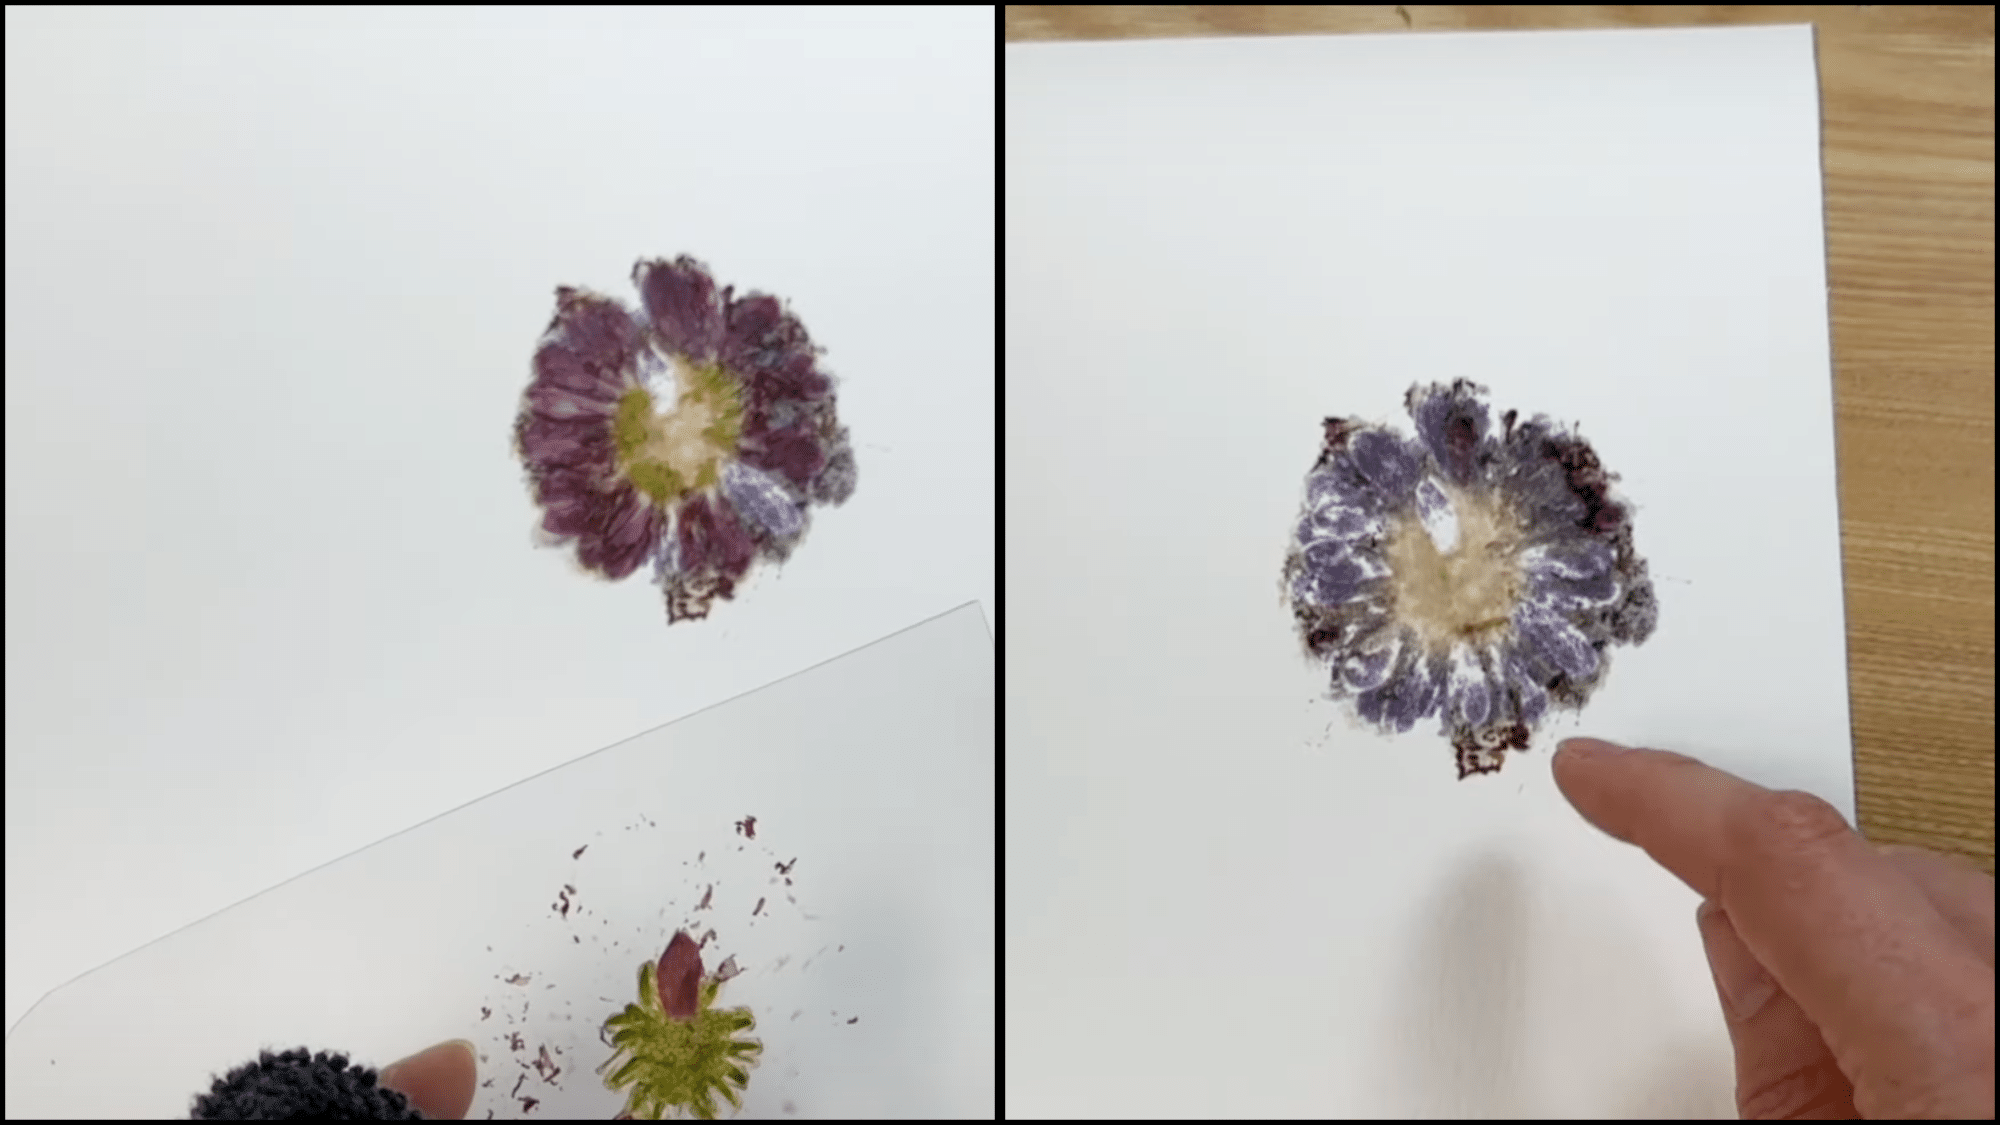
Once the flower appears well pressed, lift the plastic sheet gently. Peel away the flower bits carefully, trying not to smear the still-wet pigments. It’s easier to clean up any small leftover pieces while the surface remains damp, so taking a little time here truly helps.
5. Dry and Preserve the Artwork
After completing the flower pounding, place the watercolor paper between the pages of a heavy book to dry flat overnight.
If there’s a wish to add more pressed flowers later, simply repeat the same hammering process and allow additional drying time. Once fully dry, the artwork can be left as is or amplified with delicate touches using a fine black pen.
Kinds of Flowers Used for Pounding Flowers
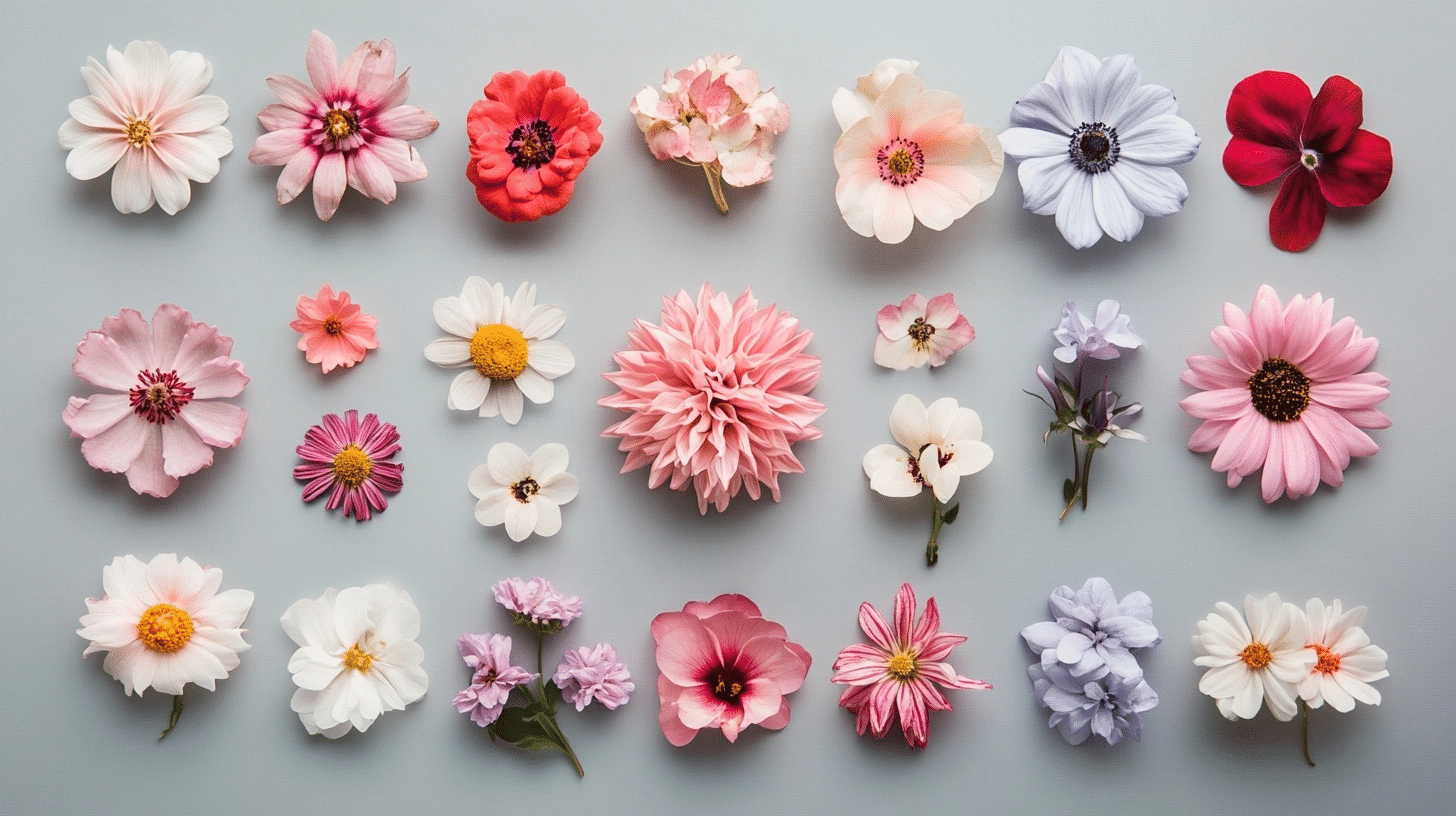
When choosing flowers for pounding, not all blooms are created equal. Some transfer colors better than others. I’ve tested many flowers throughout the year and found certain ones work better in each season.
Here’s a helpful guide to the best flowers for pounding projects:
| Season | Flowers | Pounding Tips |
|---|---|---|
| Spring | Violets | Pound gently to avoid bruising the petals |
| Pansies | The face pattern transfers well with light taps | |
| Tulips | Remove stamens first to avoid brown stains | |
| Summer | Roses | Use only the petals, pound from the center outward |
| Black-eyed Susans | The yellow transfers vividly with firm taps | |
| Cosmos | Thin petals need gentle pounding | |
| Fall | Mums | Flatten petals first before pounding |
| Asters | Work quickly as colors fade fast | |
| Marigolds | Heavy pounding works best for bright transfer | |
| Winter | Poinsettias | Toxic sap – wear gloves when handling |
| Holly leaves | Need extra firm pounding for good prints | |
| Evergreen sprigs | Use firm, even pressure across the surface |
Creative Ways of Using Flower Pounding Craft
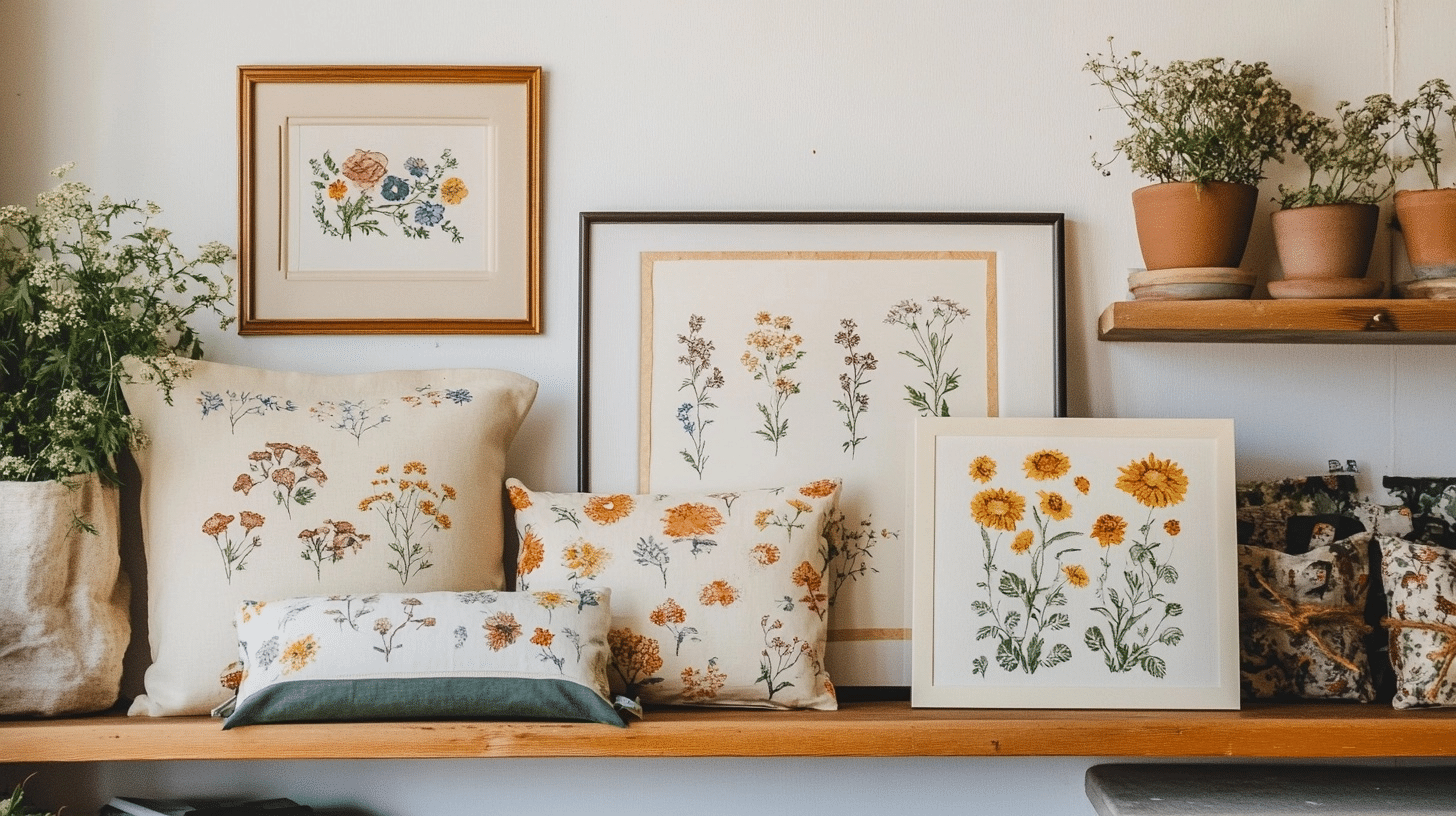
Flower pounding creates such pretty prints that it’s a shame to stop at just one project. After making your first pieces, you’ll want to try this technique on various items.
I’ve found that once you learn the basic method, you can apply it to many different projects around your home.
- Personalized Greeting Cards: Pound flowers onto cardstock to create handmade cards for birthdays, thank-you notes, or any special occasion. The natural prints add a touching personal element that store-bought cards lack.
- Custom Throw Pillows: Transfer flower prints onto plain pillow covers to match your home decor. You can create seasonal designs or stick with your favorite flowers year-round.
- Table Linens: Make napkins, placemats, or table runners with flower prints for your next dinner party. Guests will be impressed with your handmade table setting.
- Framed Wall Art: Pound flowers onto high-quality paper or fabric, then frame and hang your creations as wall art. Group several pieces together for a nature-inspired gallery wall.
- Wearable Art: Create scarves, t-shirts, or tote bags with flower pound designs. These make great gifts and allow you to wear your garden creations.
Choosing the Right Watercolor Paper and Surface
When pounding flowers, the surface you choose affects your final results. While fabric works well, watercolor paper offers unique benefits for certain projects.
Use thick watercolor paper (140 lb or heavier) for prints you plan to frame. For fabric projects, pre-washed cotton or canvas holds colors best. Some crafters also try parchment paper for temporary designs or practice runs. Each surface gives different effects, so experiment to find your favorite.
Tips for Perfecting Flower Pounding Art
After trying flower pounding many times, I’ve learned a few tricks that make a big difference in the final results. These small changes to your technique can help you get clearer prints and better color transfer.
Here are some tested tips that will help you avoid common mistakes and make your DIY flower pounding projects turn out beautifully every time.
- Use flowers at their peak freshness for the most vivid color transfer.
- Pre-wash fabric without fabric softener to help colors stick better.
- Place a piece of blotting paper under your fabric to absorb excess moisture.
- Hammer with straight up-and-down motion rather than at angles.
- Start pounding from the center of the flower and work outward.
- Allow prints to dry completely before heat-setting with an iron.
- Use a pressing cloth over dried prints when ironing to protect colors.
- Try pounding a single leaf first to test your technique before moving to full flowers.
- Kids can join in too – just supervise their hammering for safety.
To Conclude
Now you know the basics of flower pounding art. It’s a simple craft that turns garden blooms into lasting prints on fabric and paper.
Why try this technique? It lets you save the beauty of flowers in a way photos can’t capture. Plus, you’ll create items that show off your personal style and connection to nature.
Pick some fresh flowers, grab a hammer, and see what happens. Each print will be unique; that’s part of the fun! I’d love to see what you create. Try using different flowers each season for new colors and patterns. Consider making a small test piece first to build your confidence.
What flower will you pound first? Share your creations in the comments below!