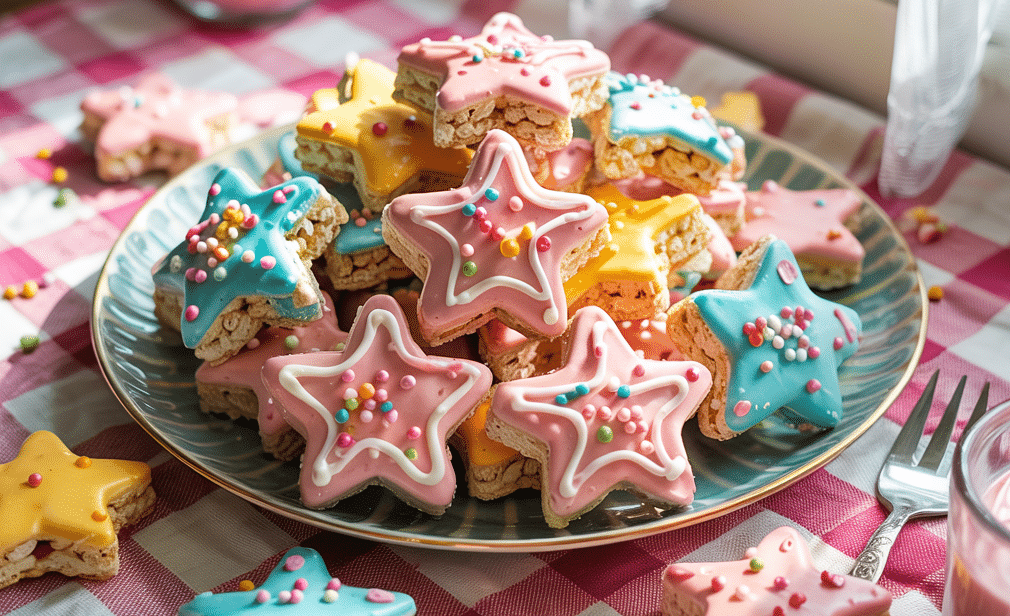
Do you want to make snacks that both kids and grown-ups love? I’ve found that star rice krispie treats might be just what you need. These sweet, crunchy goodies take me minutes to make but bring smiles that last much longer.
What makes these treats special? I love how their star shape gives them extra appeal that regular squares just can’t match. Plus, with a few simple twists, one can turn basic rice krispie treats into themed snacks for any party or holiday.
These treats have made me the hero at my get-togethers. My guests grab seconds (and thirds) while asking for my recipe. Even better, you don’t need fancy skills or tools to make them perfect.
Ready to learn how to make these yummy treats, fun ways to change them up, and tips to keep them fresh? Let’s get started with this simple, no-fuss treat that everyone will love!
Why Are Star Rice Krispie Treats Perfect for Celebrations?

Star rice krispie treats add a special touch to any celebration with their fun shape and simple charm. Here’s why I admire these crispy delicacies:
- Versatile for all parties: These treats work for birthdays, holidays, and school events because they fit any theme with simple color changes.
- Quick to prepare: You can make them in under 30 minutes, perfect when you need last-minute party snacks without stress.
- Budget-friendly option: They use few ingredients that don’t cost much, helping you stretch your party budget while still serving something everyone likes.
- Crowd-pleasing taste: The mix of sweet marshmallow and crispy cereal appeals to both kids and adults, ensuring no leftovers at your party.
- Easy to serve: Their hand-held size means no plates or forks needed, making them ideal for gatherings where people are moving around.
These delicious treats turn ordinary moments into special ones without adding extra work or worry to your celebration plans.
Ingredients Needed to Make Star Rice Krispie Treats
Making star rice krispies requires just a few simple items you might already have in your pantry. The basic recipe calls for the following ingredients:
| Ingredient | Amount |
|---|---|
| Kellogg’s Rice Krispies Cereal | 6 cups |
| Butter | 3 tablespoons |
| Mini Marshmallows | 1 bag (10 ounces) |
| Yellow Candy Melts | As needed |
| Lollipop Sticks | As needed |
| Frosting (White & Black) | As needed |
| Star Cookie Cutter | 1 |
| Baking Spray | As needed |
| Foam Block | 1 |
| 13×9 Baking Pan | 1 |
Once you gather these ingredients, you’ll be ready to make your yummy treats that will wow your family and friends with minimal effort and maximum impact.
How to Make Delicious Star Rice Krispie Treats for Any Occasion
Creating star rice krispie treats is a simple process that takes less than 30 minutes from start to finish. I follow some simple steps that are easy enough for kids to help – making this a fun family activity!
Step 1: Prepare Your Pan
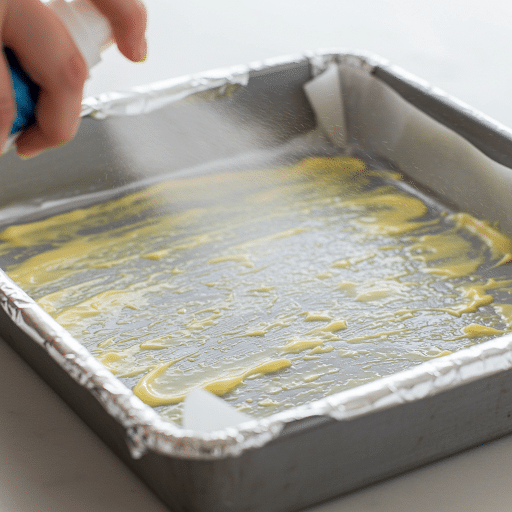
Before starting to make the Rice Krispies, it’s important to prepare your pan.
Begin by grabbing a 13×9-inch baking pan. Spray a generous amount of baking spray onto the pan’s surface to ensure that the mixture doesn’t stick. This is especially crucial because the Rice Krispies can become quite sticky as they cool.
Once sprayed, make sure the entire surface of the pan is lightly coated. This will make it easier to remove the finished treats later.
Step 2: Melt the Butter and Marshmallows
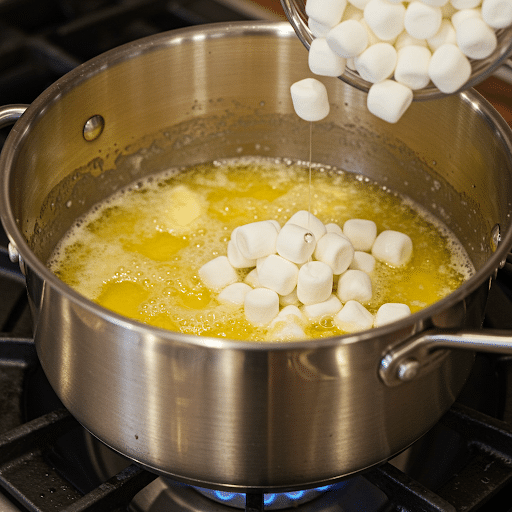
Start by melting the butter on low heat. Use a medium-sized pan and place it on a stovetop set to about number 2.
- Add 3 tablespoons of butter to the pan.
- Stir the butter occasionally to prevent it from burning.
- Once the butter is fully melted, add the entire bag of mini marshmallows.
Keep stirring until the marshmallows are completely melted into a smooth, liquid mixture. This should take just a couple of minutes.
Step 3: Mix in the Rice Krispies
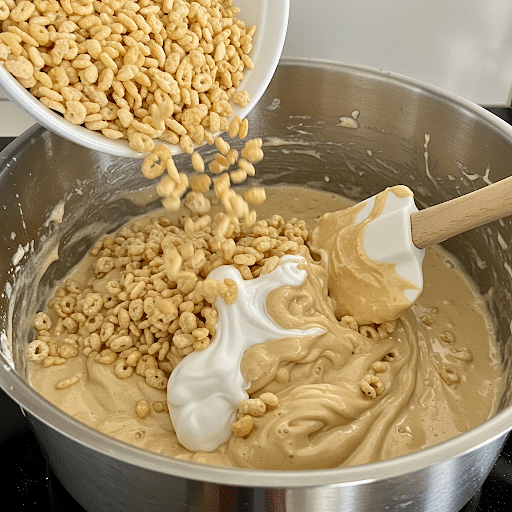
Now that your marshmallow mixture is ready, it’s time to add the Rice Krispies cereal. Pour the 6 cups of Rice Krispies into the pan, stirring gently to ensure each piece is coated.
- Stir the cereal into the marshmallow mixture until evenly coated.
- Once thoroughly mixed, pour the entire Rice Krispie mixture into the prepared 13×9-inch baking pan.
- Press the mixture down firmly, making sure it fills the corners and is spread evenly.
Afterward, allow it to cool in the fridge for about 30 minutes to set.
Step 4: Cut Out the Star Shapes
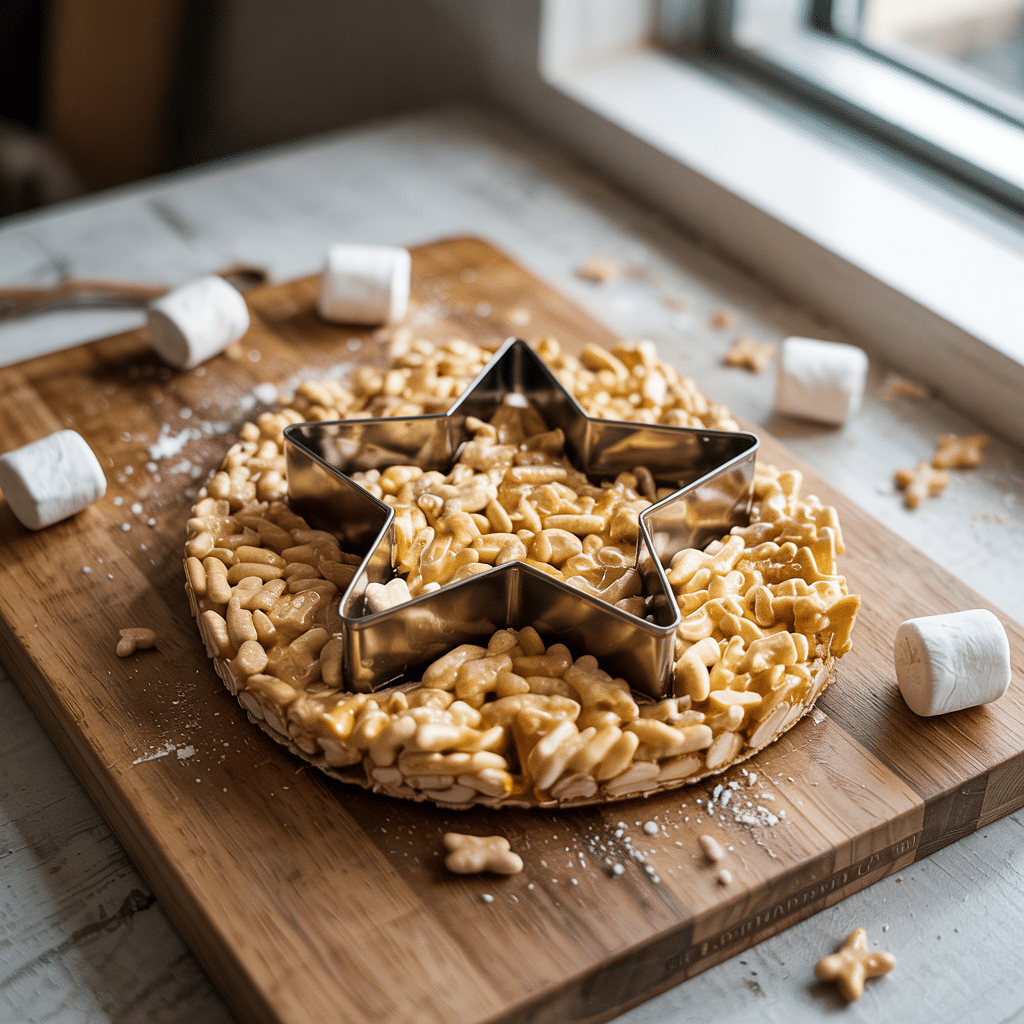
Once your Rice Krispies mixture has cooled and set, it’s time to cut the stars (my favourite part!).
Carefully lift the entire set of treats from the pan and place it on a flat surface, like a cutting board. Using a star-shaped cookie cutter, press down into the Rice Krispie mixture to create star shapes.
Take your time to carefully pop each star out, ensuring the edges stay intact. You can make as many stars as the mixture allows, depending on the size of your cookie cutter.
Step 5: Assemble and Decorate
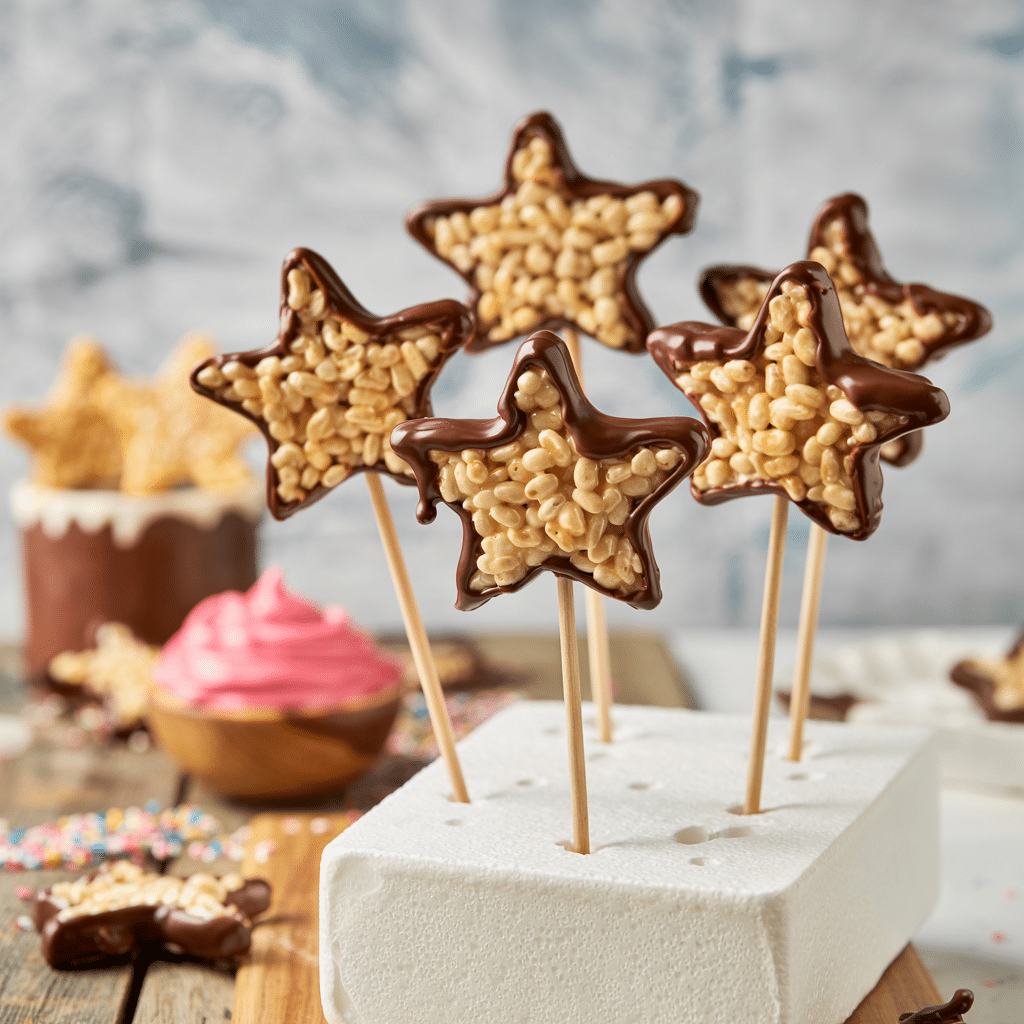
After cutting the stars, it’s time to turn them into pops. Insert a lollipop stick into the bottom of each Rice Krispie star. To ensure the stick stays in place, dip the end of the lollipop stick into some melted chocolate before inserting it into the star. This helps the stick stay secure.
Once the sticks are in place, freeze the star pops for about 10 minutes. This will firm them up, making them easier to handle.
Afterward, you can dip the stars into yellow candy melts for a delicious, colorful coating. Let them set and cool before decorating with frosting.
With these simple steps, your treats will come out perfect every time. Remember, the key is working quickly while the mixture is warm and sticky!
Fun Variations of Star Rice Krispie Treats You Must Try
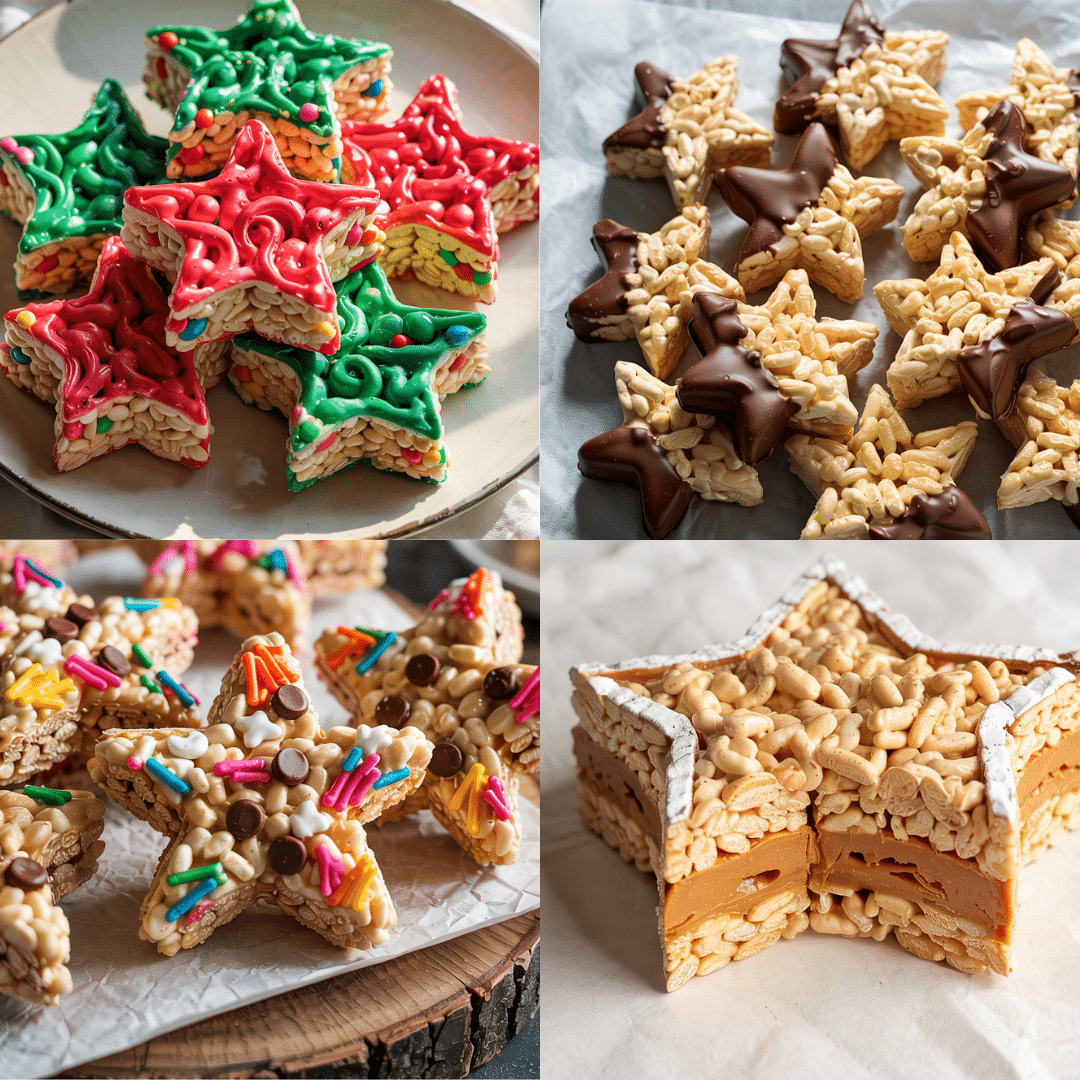
Star rice krispie treats can be changed in many ways to fit different events, seasons, or just to try something new. Here are some variations I’ve tried and loved over the years:
Color-changing fun: Adding a few drops of food coloring to your marshmallow mix creates these treats in any shade you want – red for Christmas, green for St. Patrick’s Day, or blue for baby showers.
Chocolate dipped edges: Once your crispy treats have set, melt some chocolate chips in the microwave and dip half of each star into the chocolate, then place on wax paper to harden for a fancy touch that takes seconds.
Mix-in magic: Stir in mini chocolate chips, sprinkles, or crushed candy while the mixture is still warm but not hot to add extra flavor and texture to your treats without changing the basic recipe.
Layered looks: Press half your mixture into the pan, add a thin layer of chocolate or peanut butter, then top with the rest of the rice krispie mix for star rice krispie treats with a hidden middle layer that surprises everyone when they take a bite.
These simple changes to delicious treats keep the basic goodness everyone loves while making them feel new and special each time you make them.
Tips for Storing Star Rice Krispie Treats for a Lasting Taste
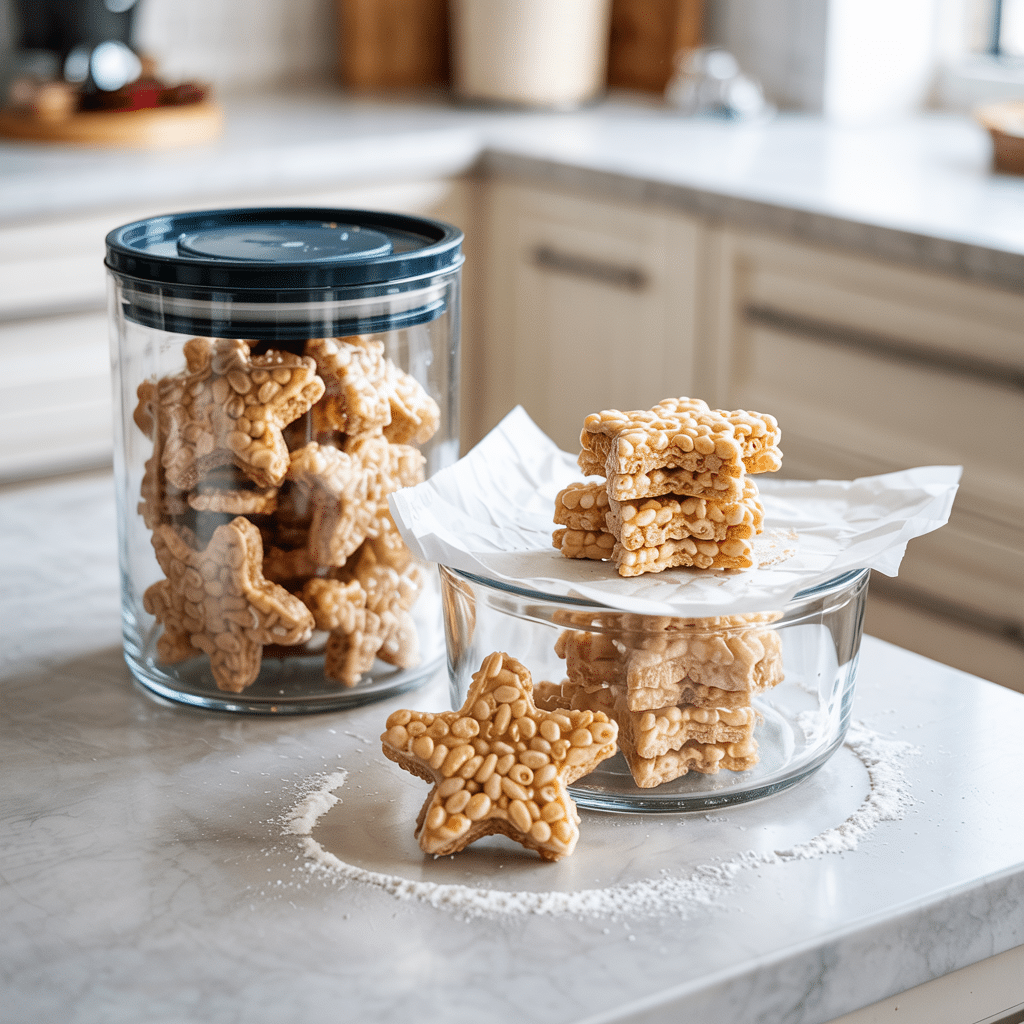
Fresh star rice krispie treats taste the best, but proper storage helps keep them yummy for longer. I use these simple tips to maintain their taste and texture:
- Store at room temperature in an airtight container to keep the treats fresh for 2-3 days.
- Place wax paper between layers to prevent sticking when storing multiple treats.
- Add a slice of bread to the container to help the treats stay soft longer.
- Avoid refrigerating, as cold temperatures can make the treats hard and lose their chew.
- Freeze in a freezer-safe bag for up to 6 weeks if you need to store them longer.
- Let frozen treats thaw at room temperature for about 30 minutes before eating.
- Keep away from direct sunlight or heat sources that might melt the marshmallow binding.
With these storage methods, you can make your crispy treats ahead of time for parties or keep leftovers fresh.
Wrapping It Up
Star rice krispie treats offer the perfect blend of simple preparation and crowd-pleasing results. I’ve covered everything from basic ingredients to creative variations that fit any occasion.
These treats prove that you don’t need fancy equipment or professional skills to make something special. The star shape adds that extra touch that turns an everyday snack into something worth talking about.
Remember that proper storage is key if you want to make them ahead of time. With just a few basic ingredients and about 30 minutes, you can create treats that bring smiles to the faces of young and old.
Have you tried making these delicious treats before? What’s your favorite variation? Share your experiences in the comments below – I’d love to hear how your treats turned out and any creative ideas you’ve added to make them your own!