Do you want bigger, healthier zucchini plants this season?
Many gardeners lose their plants when they move from pots to garden beds. I know the feeling; it’s frustrating to watch seedlings wilt after all your hard work.
Transplanting zucchini correctly means more vegetables for your kitchen table. This guide shows you exactly how to handle zucchini roots, when to move your plants, and what to do if leaves start drooping.
The truth is, most failures happen because of timing and soil issues. Plants need the right care before, during, and after the move.
Let’s get your zucchini thriving in their new home! You’ll soon enjoy the rewards of your garden work.
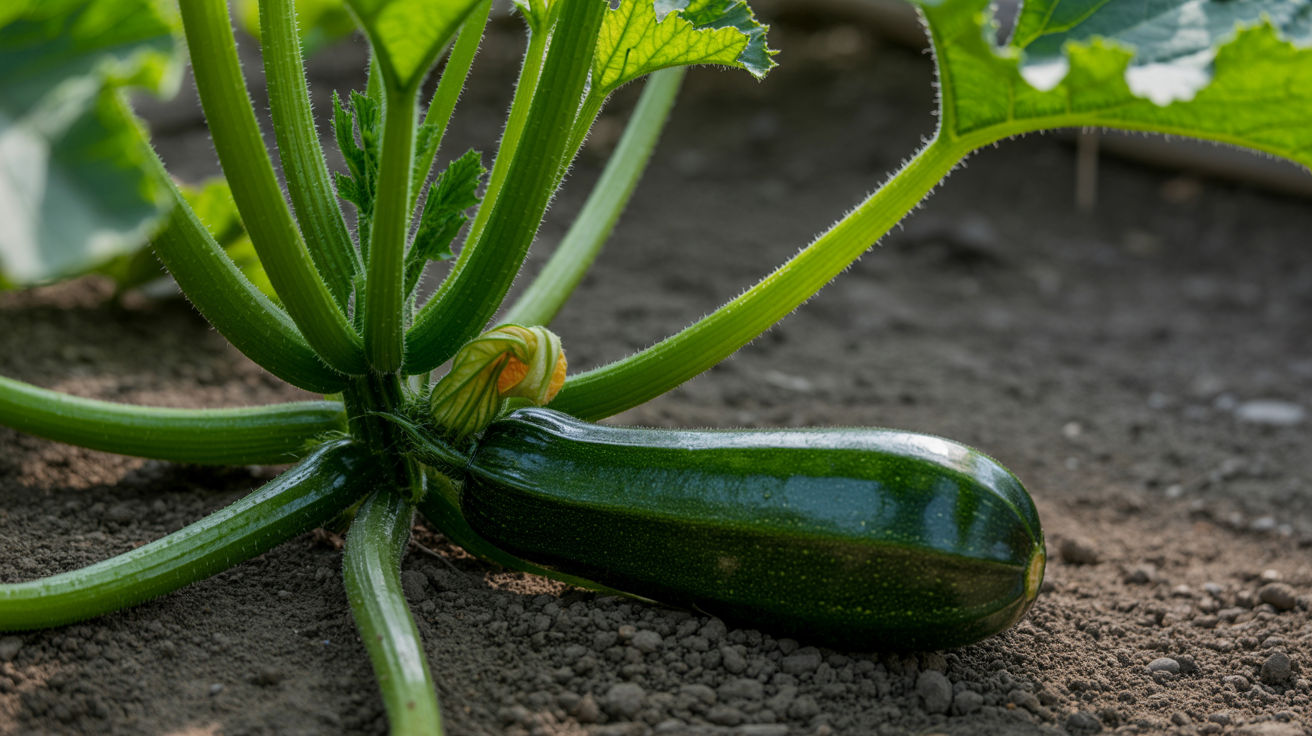
Understanding the Basics of Planting Zucchini
Zucchini plants are fast-growing summer squash from the same family as cucumbers and melons. They’re great for beginners because they’re low-maintenance once established.
Key growing facts:
- Need warm soil and full sun
- Come in vine or bush varieties (bush types save space)
- Grow 2-3 feet wide and 3 feet tall
- Have large, prickly leaves that block weeds
Root system: Shallow but wide-spreading roots stay in the top 2 feet of soil. This makes them sensitive to transplanting since they hate root disturbance.
Flowers and harvest: Each plant produces both male and female flowers. Most varieties are ready to pick in 50-60 days. Harvest when zucchini reach 6-8 inches long – smaller ones taste sweeter than oversized ones.
When is the Right Time to Transplant?
Timing is everything when transplanting zucchini. Get it wrong and you’ll stress your plants badly, causing slow growth or even plant death.
Wait until they have 2-3 true leaves and stand about 4-6 inches tall. This usually happens 3-4 weeks after planting seeds. The plants should have small but healthy root systems by then.
Your soil needs to be at least 60°F, and nighttime temperatures should stay above 50°F. Make sure all frost danger has passed. Mild, cloudy days work better than hot, sunny ones for transplanting.
I prefer transplanting in late afternoon. This gives plants the cool evening and night to settle in before facing morning sun stress.
Check your area’s last frost date, then wait another 1-2 weeks. This extra time ensures your zucchini won’t face any surprise cold snaps that could damage or kill them.
Tools and Materials Required
Before starting the transplanting process, gather everything you’ll need. Having your supplies ready makes the job smoother and gives your zucchini plants the best chance at thriving in their new spots.
| Category | Items |
|---|---|
| Digging Tools | Garden trowel, Small shovel, Garden fork |
| Protection | Garden gloves, Knee pad or kneeling mat and Sun hat |
| Watering | Watering can, Hose with gentle spray nozzle and Moisture meter |
| Soil Amendments | Compost/Aged manure and Worm castings |
| Support Items | Plant markers/labels, Mulch (straw or wood chips) and Plant supports/stakes |
| Cutting Tools | Scissors, Pruners and Sharp knife |
| Containers | Small buckets, Trays for moving seedlings and Seed starting pots |
| Extras | Organic fertilizer, Plant covers/cloches and Soil thermometer |
Transplanting Zucchini Seedlings in 5 Easy Steps
Successful transplanting happens when you follow the right steps.
I’ve broken down the process into five key parts that will help your zucchini plants thrive after moving them to their new home.
Step 1: Prepare the Garden Bed
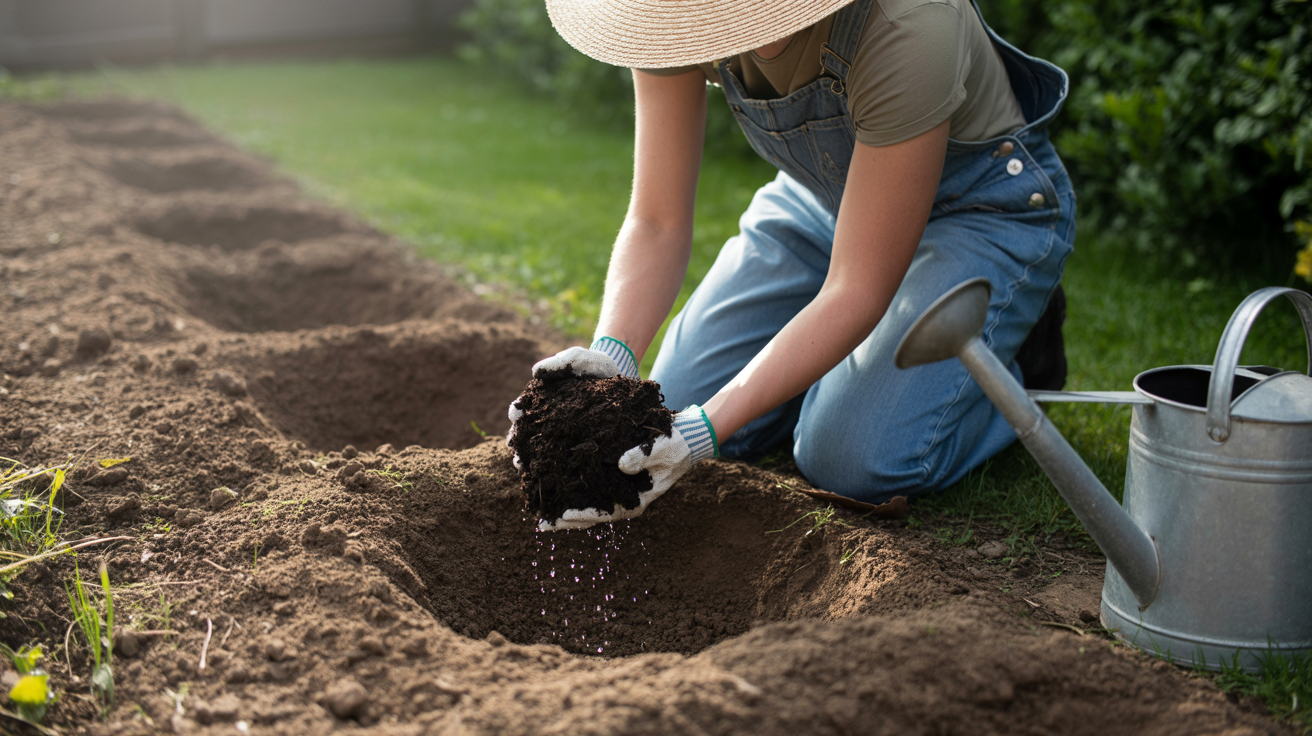
Start by getting the planting area ready at least a day before transplanting zucchini seedlings.
Mix in some compost or aged manure into the soil. I dig holes about 12 inches wide and 12 inches deep, spaced at least 3 feet apart.
Then I fill them with a mix of garden soil and compost. Water these spots well and let them settle overnight. This gives your zucchini a rich, moist home to grow into and helps prevent transplant shock.
Step 2: Harden Off Your Seedlings
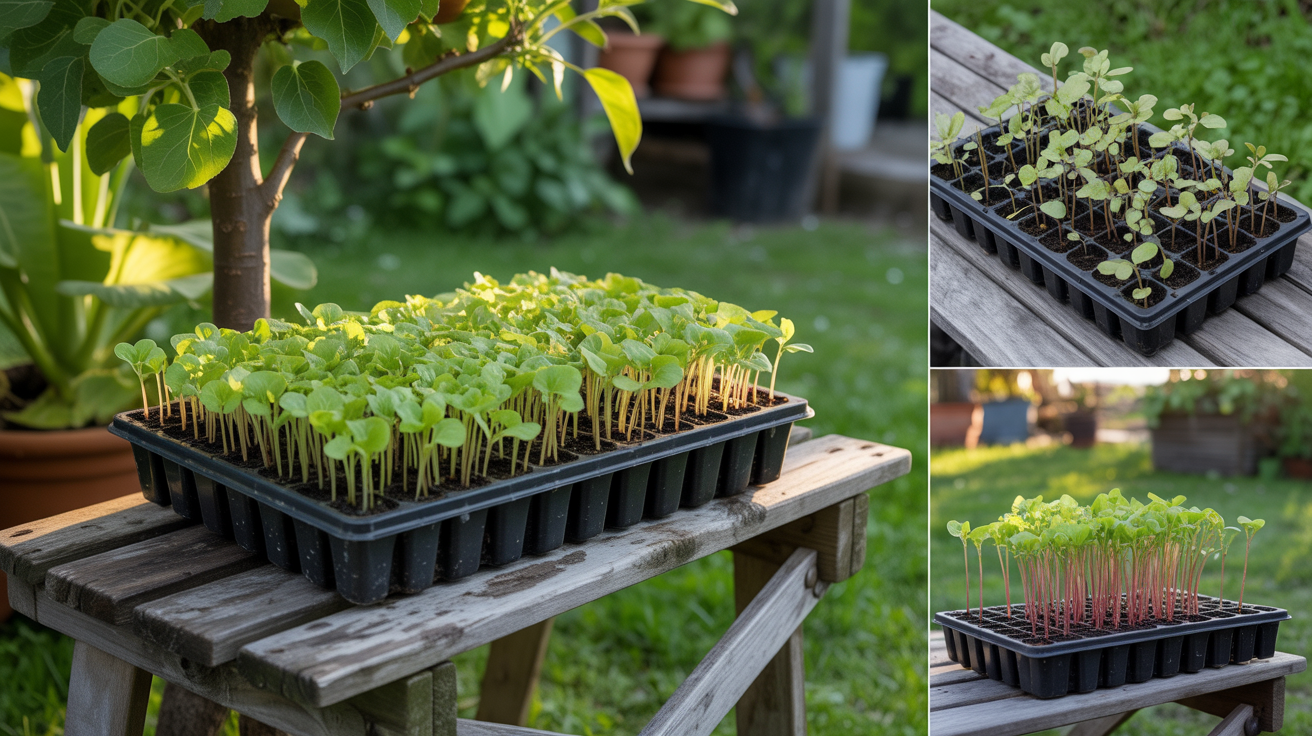
Seedlings grown indoors need time to adjust to outdoor conditions. About a week before transplanting zucchinis, start the hardening process.
On the first day, put your seedlings outside in a partly shaded spot for a few hours. Each day, increase the time and sun exposure. This helps the plants build up their strength and toughness.
On the last two days, leave them out overnight if temperatures stay above 50°F.
Step 3: Remove Plants From Containers

On transplant day, water your seedlings well one hour before moving them. This helps the soil stick better to the roots. When removing plants, don’t pull from the stem.
Instead, squeeze the sides of the pot to loosen the soil, then tip it over and let the plant slide out into your hand. Try to keep the root ball intact. If roots are circling the bottom, gently tease them apart with your fingers.
Step 4: Plant in the Garden

Make a hole in your prepared spot that’s slightly larger than the root ball.
Place the seedling so the top of the root ball sits level with the soil surface. Don’t plant too deep or too shallow. Fill in around the roots with soil, pressing gently but firmly.
Create a small basin around each plant to hold water. Then water each seedling well, using about 2 cups of water per plant, poured slowly at the base.
Step 5: Care After Transplanting
The first week after transplanting the zucchini is critical. If needed, protect seedlings from strong sun, wind, and cold with plant covers.
Water every morning, keeping the soil moist but not soggy. After a week, you can cut back to deeper, less frequent watering. Watch for signs of stress like wilting or yellowing leaves. Some wilting during the day is normal, but plants should perk up in the evening.
Apply a thin layer of mulch around plants to keep moisture in and weeds out.
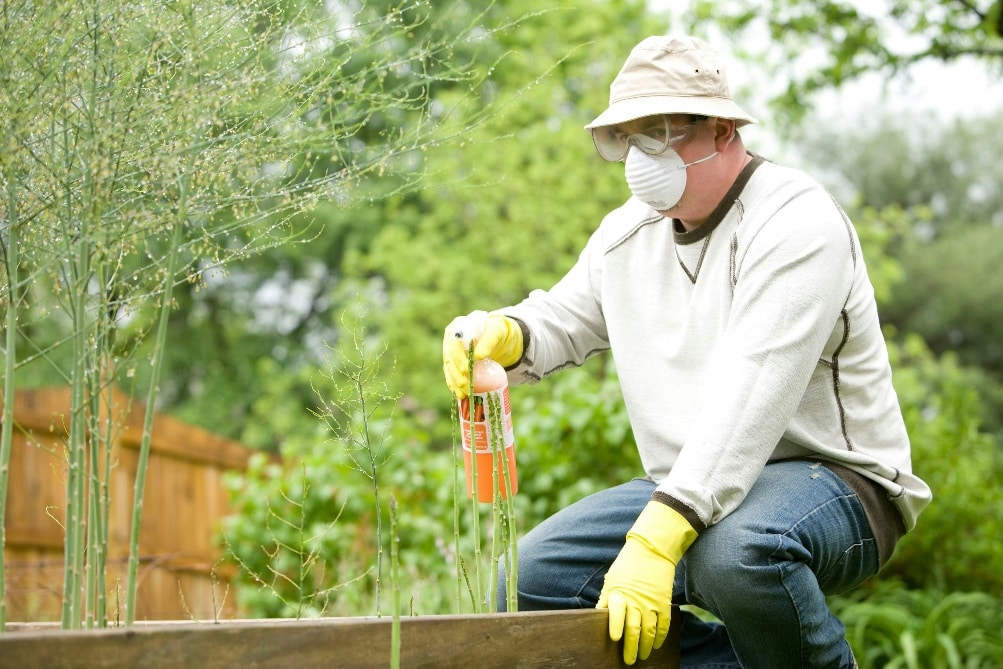
Common Mistakes and How to Avoid Them
Several common errors can harm your plants when transplanting zucchini. These simple fixes will boost your success rate significantly.
1. Too early transplanting: Many gardeners move seedlings before they’re ready. Wait for at least two true leaves and warm weather.
2. Rough root handling: Always lift plants by their leaves or root ball, never by the stem. Stems break easily and roots need gentle treatment.
3. Wrong planting depth: Keep stems at the same level they were in their pots. Too deep or too shallow both cause problems.
4. Skipping hardening-off: Plants need time to adjust to outdoor conditions slowly. Don’t skip this step.
5. Poor watering after transplanting: The first week needs daily moisture checks. Plants can’t establish themselves without consistent water.
Harvesting and Beyond
After all your careful work and tending to your plants, the reward comes at harvest time. Those small flowers turn into tasty veggies ready for your kitchen table. Now let’s talk about when to pick them and what to do with your bounty.
- Pick zucchini when they reach 6-8 inches long for the best flavor and texture.
- Harvest early in the morning when the plants are full of moisture.
- Use a sharp knife or pruners to cut the fruit from the plant rather than twisting or pulling.
- Check your plants every 1-2 days as zucchini grows very quickly in warm weather.
- Smaller zucchini taste sweeter and have softer seeds than larger ones.
- Regular harvesting encourages the plant to produce more fruits.
Wrapping It Up
Now you have all the steps for transplanting zucchini properly. Timing, gentle handling, and proper care after planting make the biggest difference in your results.
Use these tips in your garden this season. Start with good seedlings, prepare your soil well, and follow the five-step process we covered. If you run into trouble, check back on the common mistakes section. Most issues come from rushing the process or skipping key steps like hardening off.
Ready to share your zucchini success? Leave a comment below with your results or questions. I’m here to help your garden thrive!
For more gardening guides, check out my articles on companion planting or pest control for squash plants.