When I first picked up a hook, I had no idea about the variety of stitches and patterns waiting to be learned.
Here, I will show you what’s possible with yarn and a simple hook. Basic stitches like single, double, and treble crochet form the backbone of this craft.
I’ll also walk through pattern types, from simple scarves to complex blankets.
My goal is to set clear hopes for what you’ll get from reading further. By the end, you’ll know which techniques might catch your interest and where to start your crochet path.
Stitches vs. Patterns: What’s the Difference?
I used to mix up these two terms all the time when I started crocheting. Stitches are the individual movements I make with my hook, like single crochet or double crochet.
Patterns are the written instructions that tell me how to combine those stitches to create something specific, like a scarf or blanket. Think of stitches as your vocabulary and patterns as the sentences that use those words to tell a complete story.
| Feature | Stitches | Patterns |
|---|---|---|
| What it is | A single loop or knot made with yarn and a crochet hook | A set of instructions showing how to make a crochet project |
| Size | Small and basic, like a building block | Bigger and more complex, like the whole building |
| Example | Chain stitch, single crochet | Mosaic Crochet Pattern, Amigurumi Pattern |
| Use | Used to create fabric by repeating them | Tells you which stitches to use and when |
| Skill Level | Beginner: easy to learn one at a time | Mixed: some are easy, some are for advanced crocheters |
| Looks Like | One shape or movement | A full design made from many stitches |
| Analogy | Like letters in the alphabet | Like a story made from those letters |
To get the best tips before starting your crocheting era, check out our blog on: 23 Best Crochet Tips and Common Mistakes Made.
What are Some Frequently Used Types of Crocheting Stitches?
I remember feeling overwhelmed by all the different crochet stitches when I started. Learning the basic ones first made everything much easier.
These common stitches form the foundation for most of the pieces I’ve made.
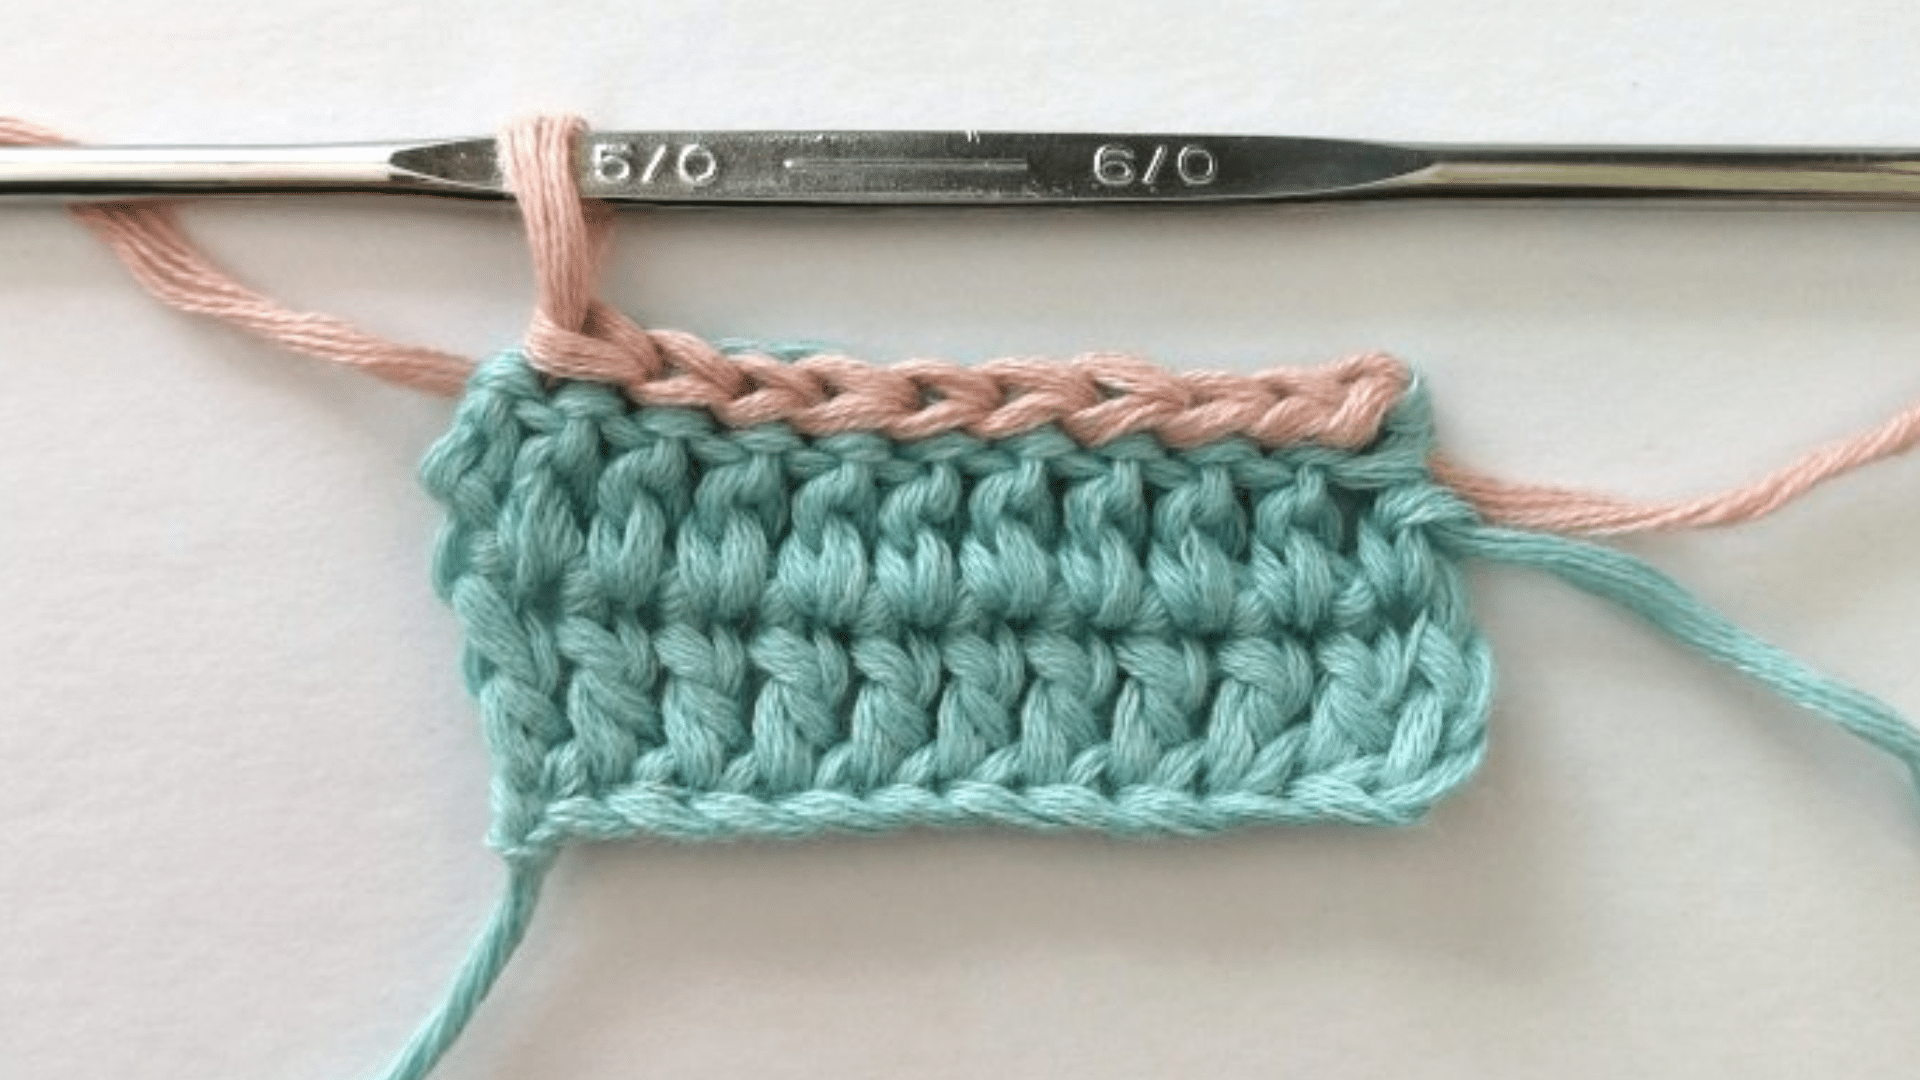
1. Single Crochet Stitch
The single crochet is your first friend in the crochet world. It’s a small, tight stitch that makes a solid fabric. This stitch ranks as easy compared to other types of crochet stitches and is perfect for total beginners.
I use single crochet for items that need structure, like bags, stuffed toys, and pot holders. The tight weave keeps stuff in and heat out.
Steps to make a single crochet:
- Insert the hook into the stitch
- Yarn over (wrap yarn around hook)
- Pull yarn through stitch (2 loops on hook)
- Yarn over again
- Pull through both loops
This stitch works well for borders and items that need to hold their shape. Try it on dishcloths as your first project – they don’t need to be perfect!
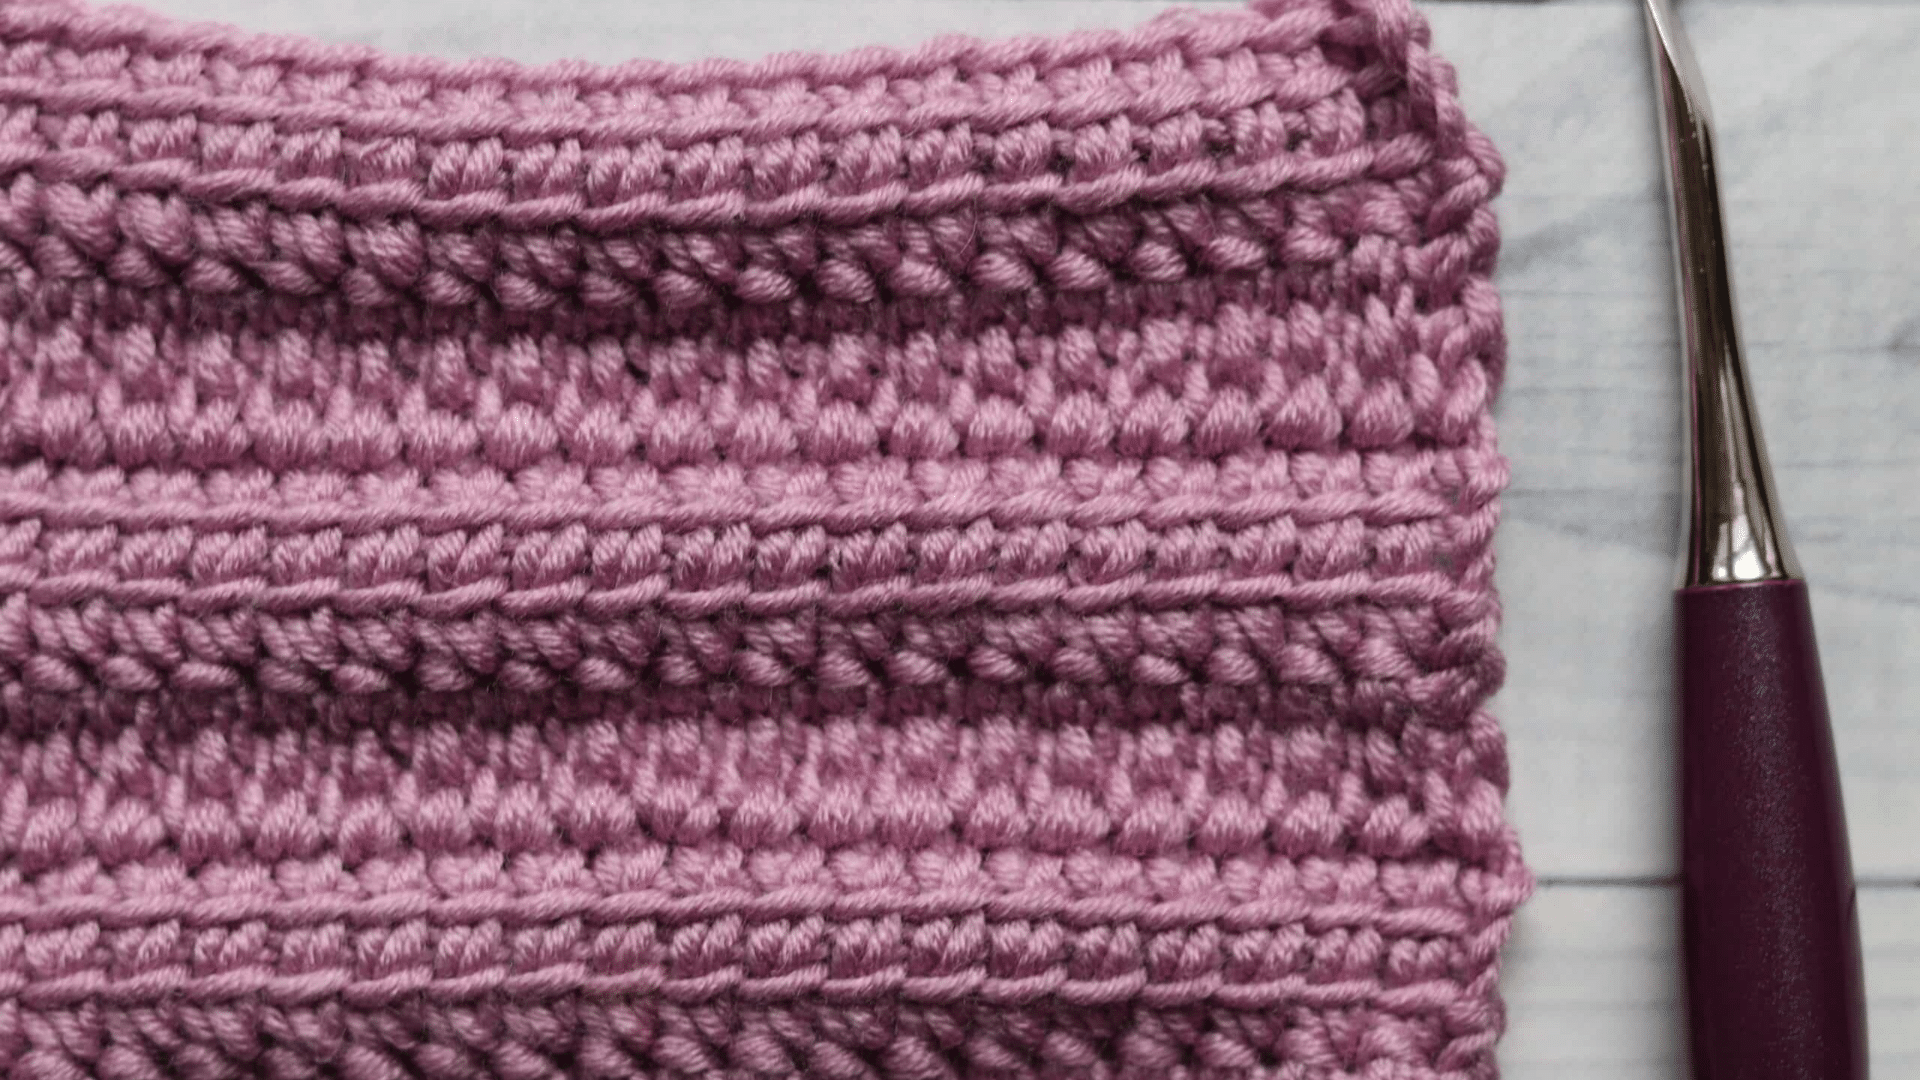
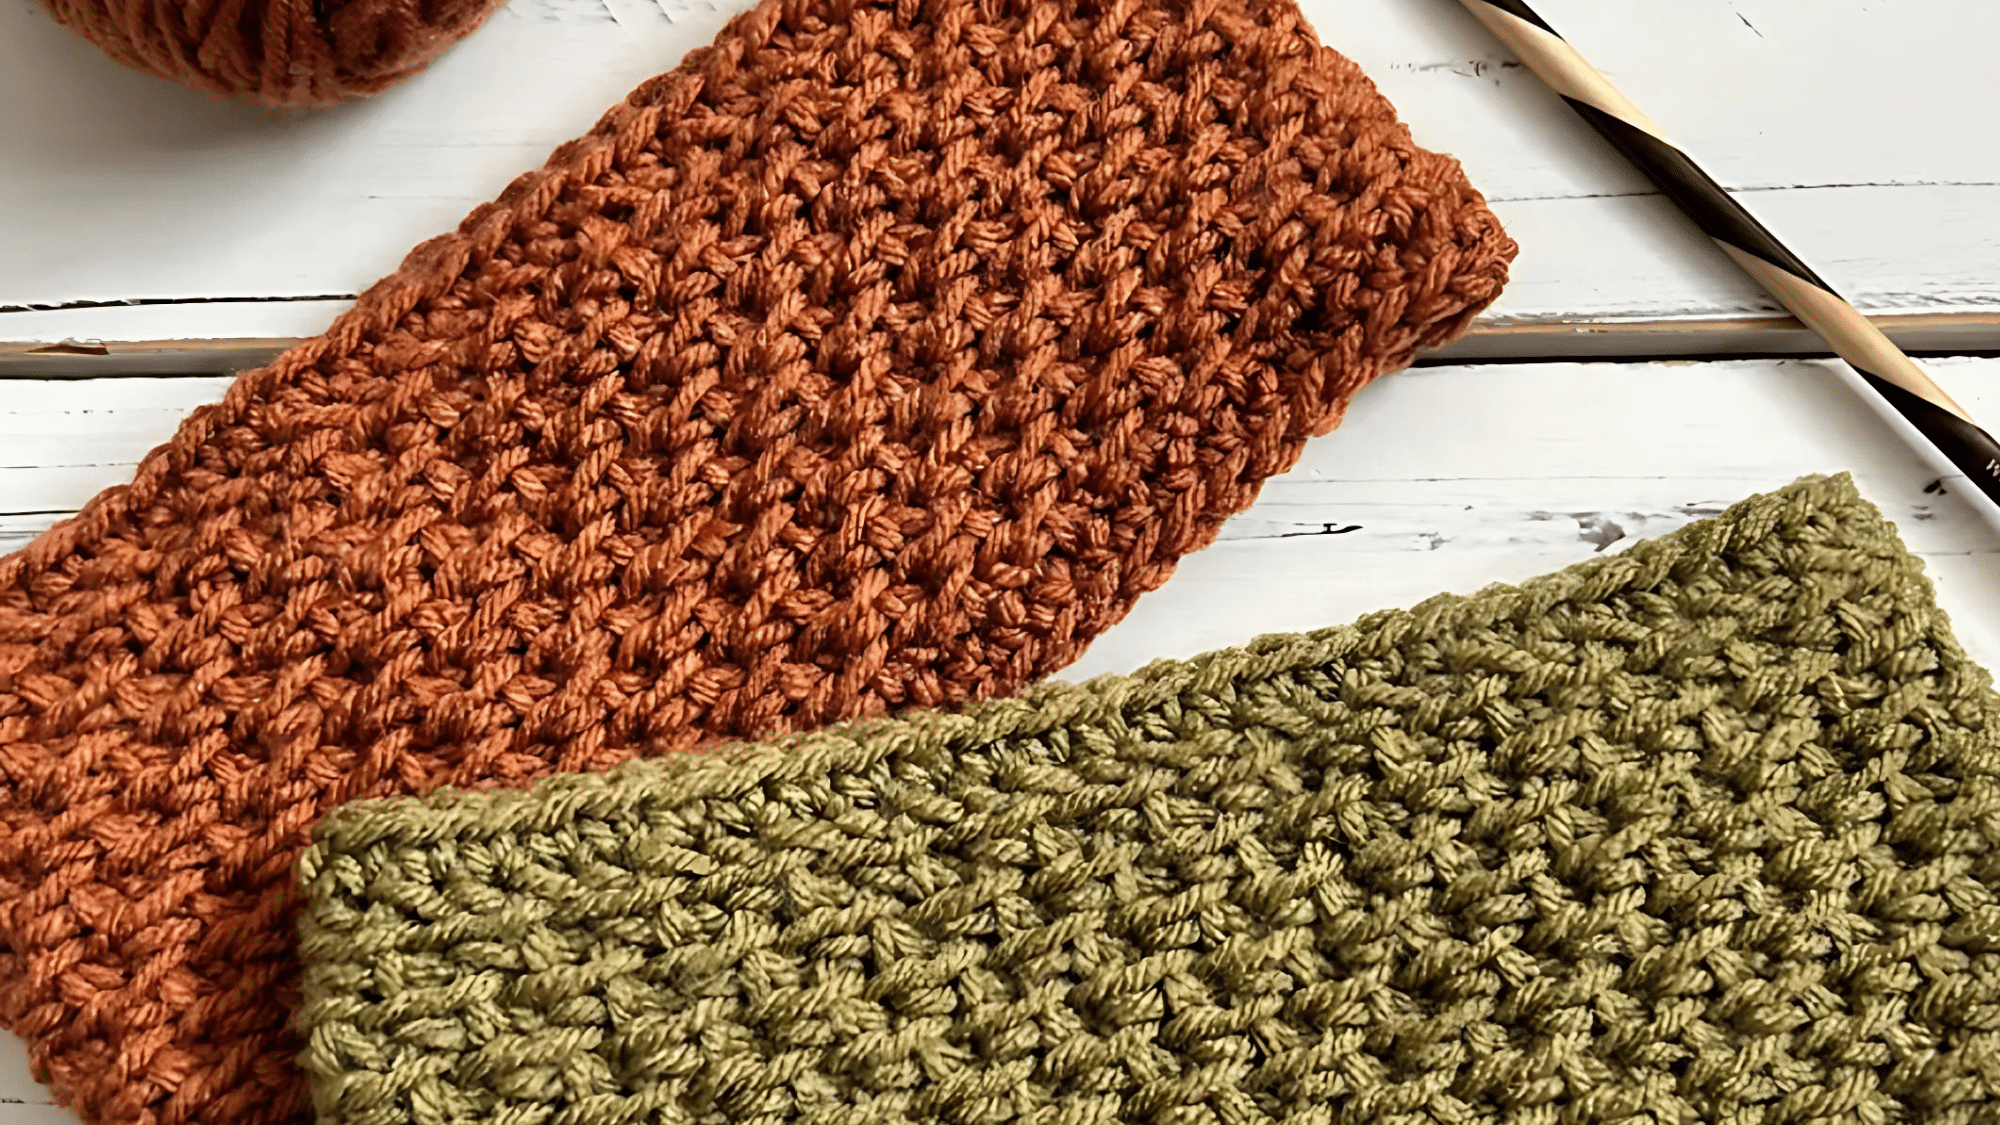
2. Half Double Crochet Stitch
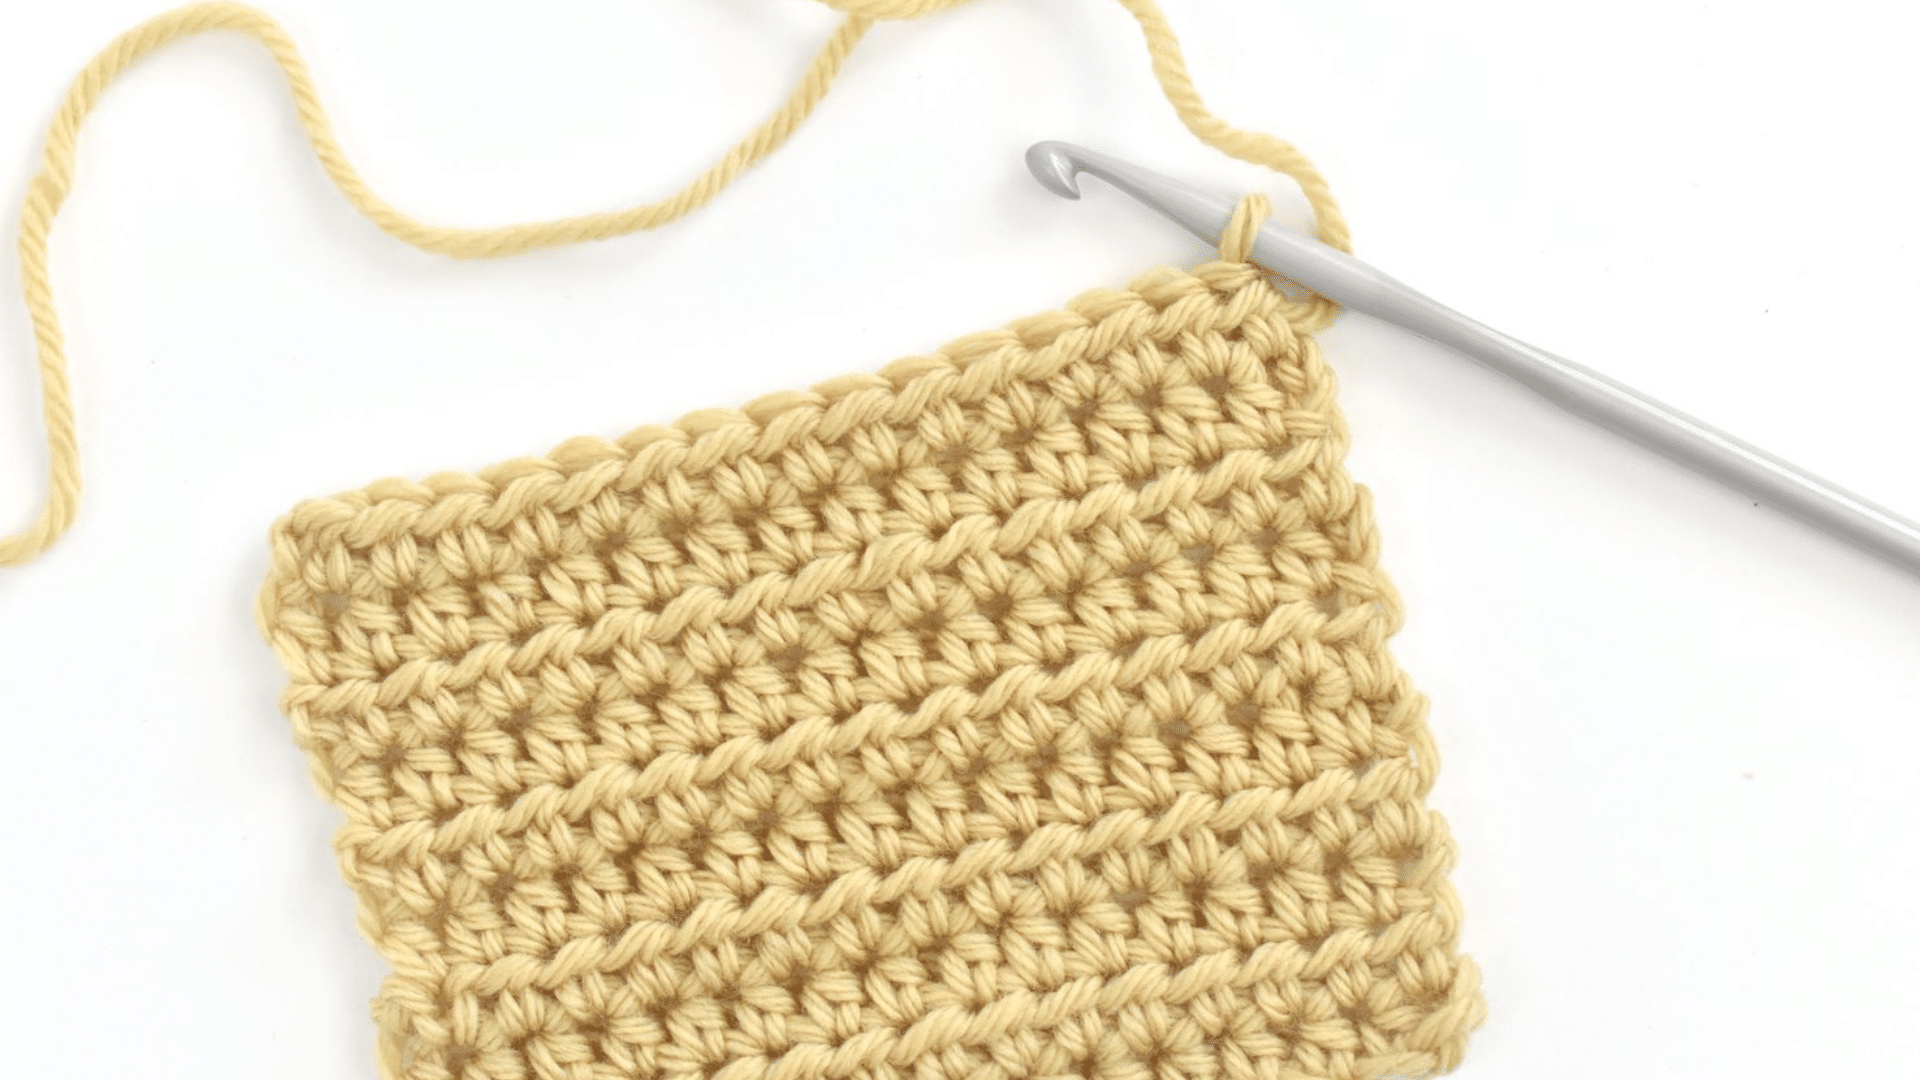
Half-double crochet is between single and double in height. It works up faster than single crochet but still gives good coverage. Compared to other types of crocheting techniques, it is easier to make; you’ll get it after a few rows.
I reach for half double when making hats, cowls, and quick blankets. It gives a nice, medium-weight fabric with some stretch.
Steps for half double crochet:
- Yarn over
- Insert the hook into the stitch
- Yarn over
- Pull through stitch (3 loops on hook)
- Yarn over
- Pull through all three loops
This stitch looks great in baby items and scarves. The texture it creates catches the eye, but isn’t too fancy.
3. Double Crochet Stitch
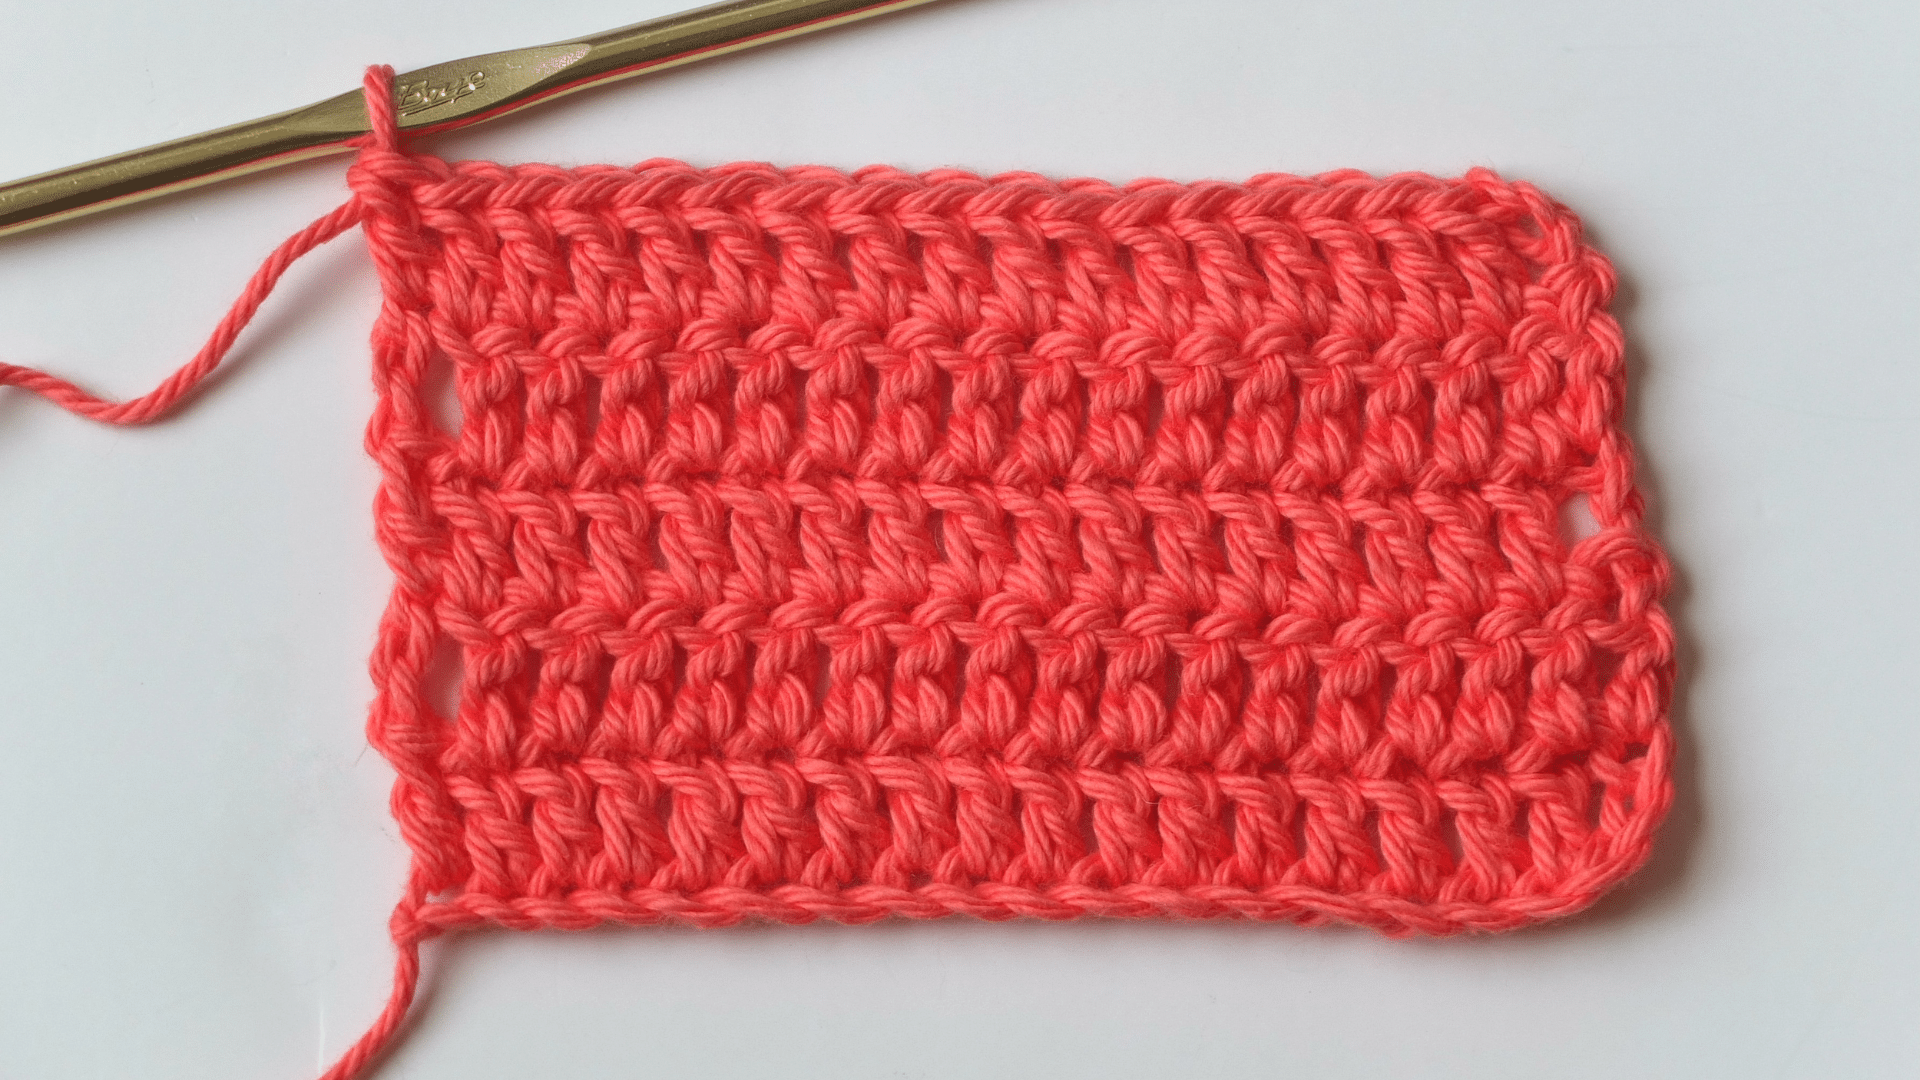
Double crochet grows your project twice as fast as single crochet. It creates an open, soft fabric with good drape. I’d call it medium for difficulty level, as after some practice, it is doable for most beginners.
I love double crochet for blankets, shawls, and sweaters. The extra height makes projects move along quickly.
Steps for double crochet:
- Yarn over
- Insert the hook into the stitch
- Yarn over
- Pull through stitch (3 loops on hook)
- Yarn over
- Pull through 2 loops (2 loops on hook)
- Yarn over
- Pull through the last 2 loops
This stitch pairs well with other stitches in patterns and forms the base of many fancy crochet stitches.
4. Treble Crochet Stitch
Treble crochet gives you height and speed. It’s taller than double crochet and creates an even more open fabric. The difficulty level of this technique is medium, as you need some hook control.
I pull out treble crochet for lacy shawls, light summer tops, and when I’m in a hurry to finish a blanket.
Steps for treble crochet:
- Yarn over twice
- Insert the hook into the stitch
- Yarn over
- Pull through stitch (4 loops on hook)
- Yarn over
- Pull through 2 loops (3 loops on hook)
- Yarn over
- Pull through 2 loops (2 loops on hook)
- Yarn over
- Pull through the last 2 loops
This stitch makes lovely, airy projects. It’s great for warm-weather wear and items that need to flow.
5. Slip Stitch
Slip stitch is the shortest of all crochet stitches. It’s flat and tight, often used to join work or move across a row without adding height. The difficulty level is very easy, as it is one of the most basic types of crocheting stitches.
I use slip stitch to join rounds, finish edges, or add subtle texture to a piece.
Steps for slip stitch:
- Insert the hook into the stitch
- Yarn over
- Pull through both the stitch and the loop on your hook
This stitch goes well in seams or when you want to move your yarn without notice. It makes nice edges on scarves and blankets.
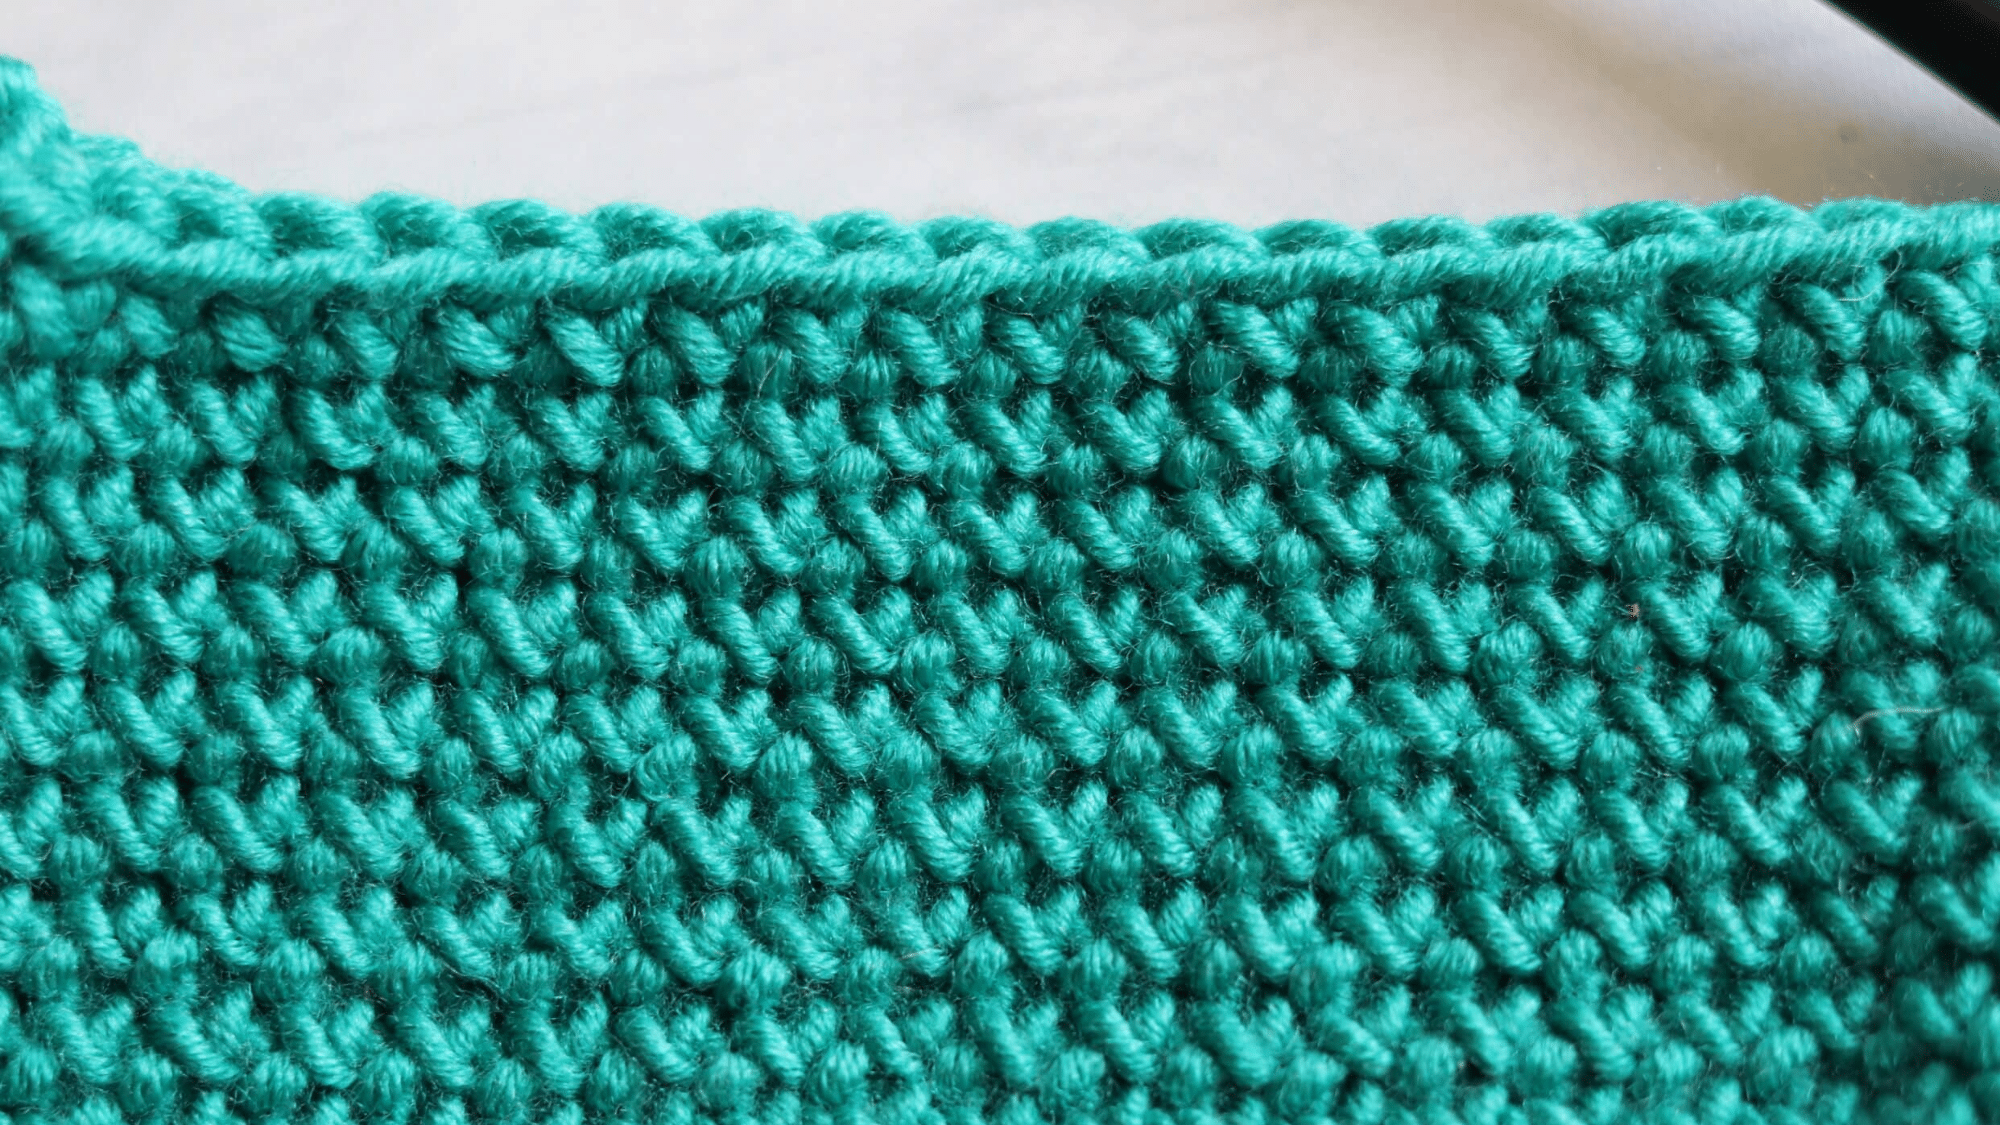
6. Bobble Stitch
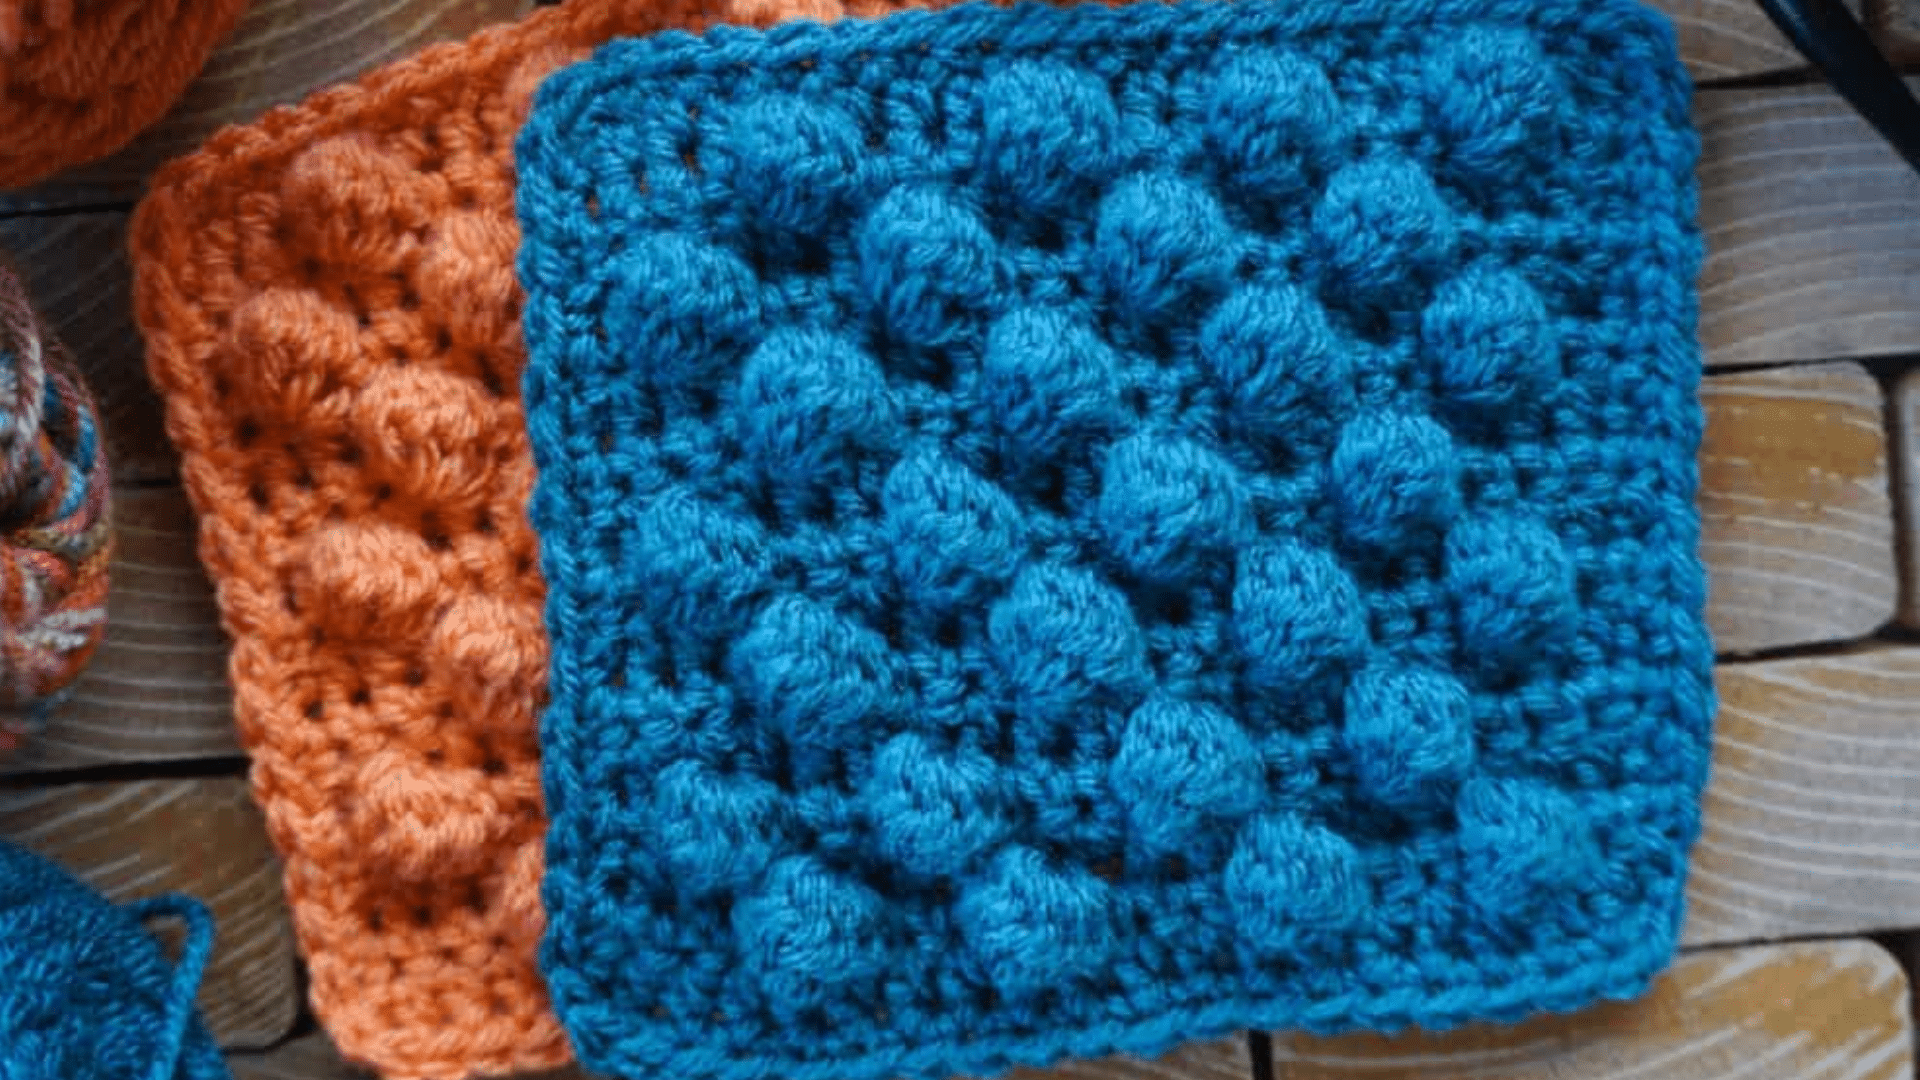
Bobble stitch creates raised bumps on your work. It stands out from the fabric and adds fun texture. Compared to other types of crochet techniques, it is medium to hard, and it takes some practice.
I add bobble stitch to blankets, hats, and bags for a 3D effect. Kids love to feel these bumps!
Steps for bobble stitch:
- Yarn over
- Insert the hook into the stitch
- Yarn over, pull through (3 loops on hook)
- Yarn over, pull through 2 loops (2 loops on hook)
- Repeat steps 1-4 four more times in the same stitch
- Yarn over, pull through all 6 loops on the hook
This stitch looks fancy on hats and the edges of blankets. It uses more yarn, but the effect is worth it.
7. Shell Stitch

Shell stitch forms fan shapes that look like seashells. It’s made of multiple stitches worked into one stitch below. The difficulty level is medium for this one, as you need to count well.
I choose shell stitch for pretty edgings, baby blankets, and tops that need a touch of fancy.
Steps for shell stitch:
- Work 5 double crochets into the same stitch
- Skip 2 stitches
- Slip stitch into the next stitch
- Skip 2 stitches
- 5 double crochets in the next stitch
- Continue the same pattern
This stitch creates a wavy, feminine look. It works well for items that need a special touch, such as gift items or home decor.
Different Types of Crocheting Patterns
When I began crocheting, I didn’t realize how many pattern types existed. Each style serves different purposes and skill levels.
Understanding these categories helped me choose projects that matched my abilities perfectly.
1. Granny Square Pattern

Granny squares are small, often colorful blocks worked in rounds. Compared to other types of crochet patterns, they rank low on difficulty, making them great for beginners.
I make granny squares for blankets, bags, and even wall hangings. They let me use up yarn scraps in fun ways.
Steps to make a basic granny square:
- Chain 4 and join to form a ring
- Chain 3 (counts as first double crochet)
- Work 2 double crochets into the ring
- Chain 2
- Work 3 double crochets into the ring
- Repeat chains and clusters three more times
- Join with slip stitch to the top of the first chain 3
These squares work well for gifts since you can make one at a time. Join them later for bigger items.
2. Ripple Pattern
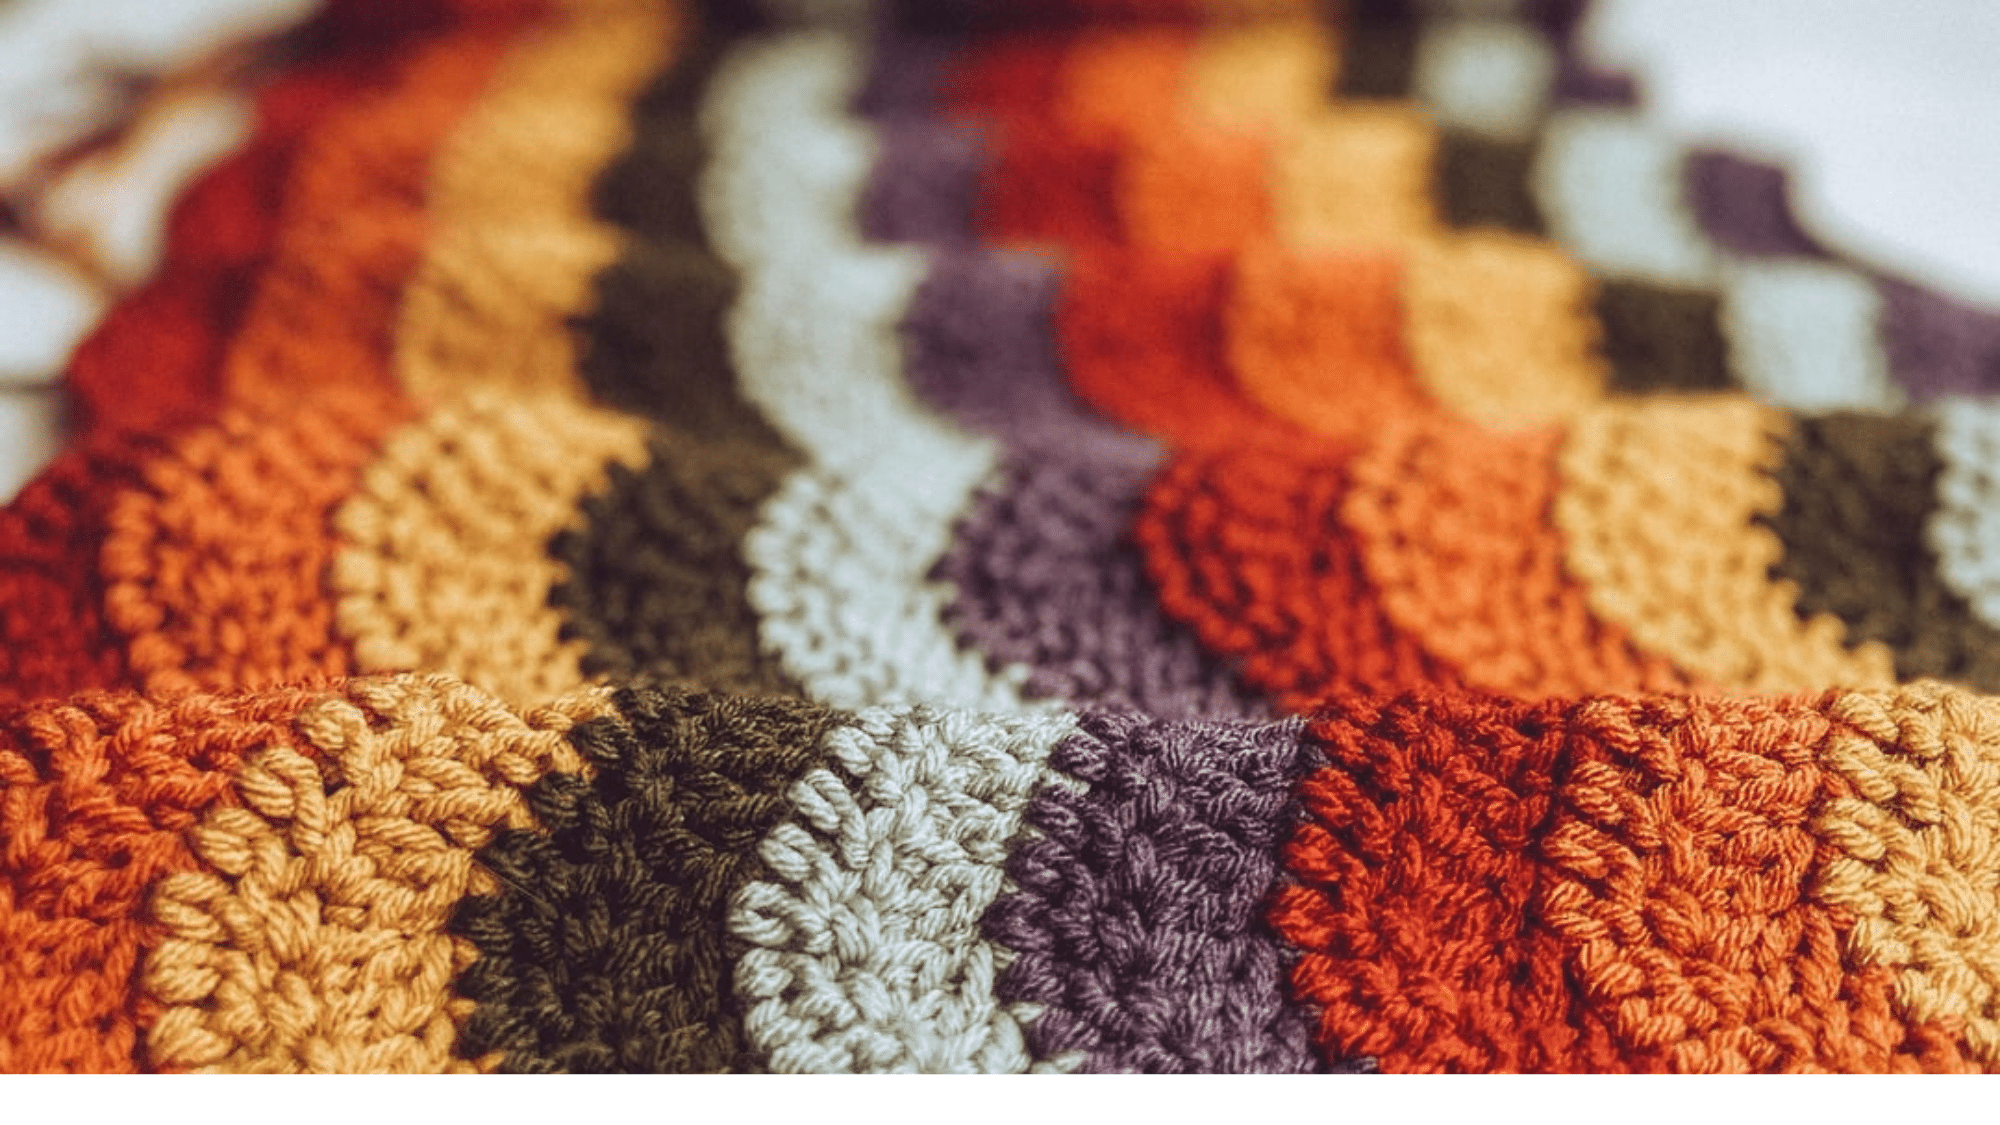
Ripple patterns create waves through planned increases and decreases. They fall in the easy to medium range for difficulty, as you need to count along.
I use ripple patterns for blankets, scarves, and even cushion covers. They look fancy but aren’t hard to make.
Steps for a basic ripple:
- Chain a multiple of 12 plus 3
- Skip 3 chains, work 2 double crochets in the next chain
- Work 1 double crochet in each of the next 4 chains
- Skip 2 chains, work 1 double crochet in each of the next 4 chains
- Work 3 double crochets in the next chain
- Repeat pattern across row
This pattern looks great in items with some width. Baby blankets in ripples are always a hit.
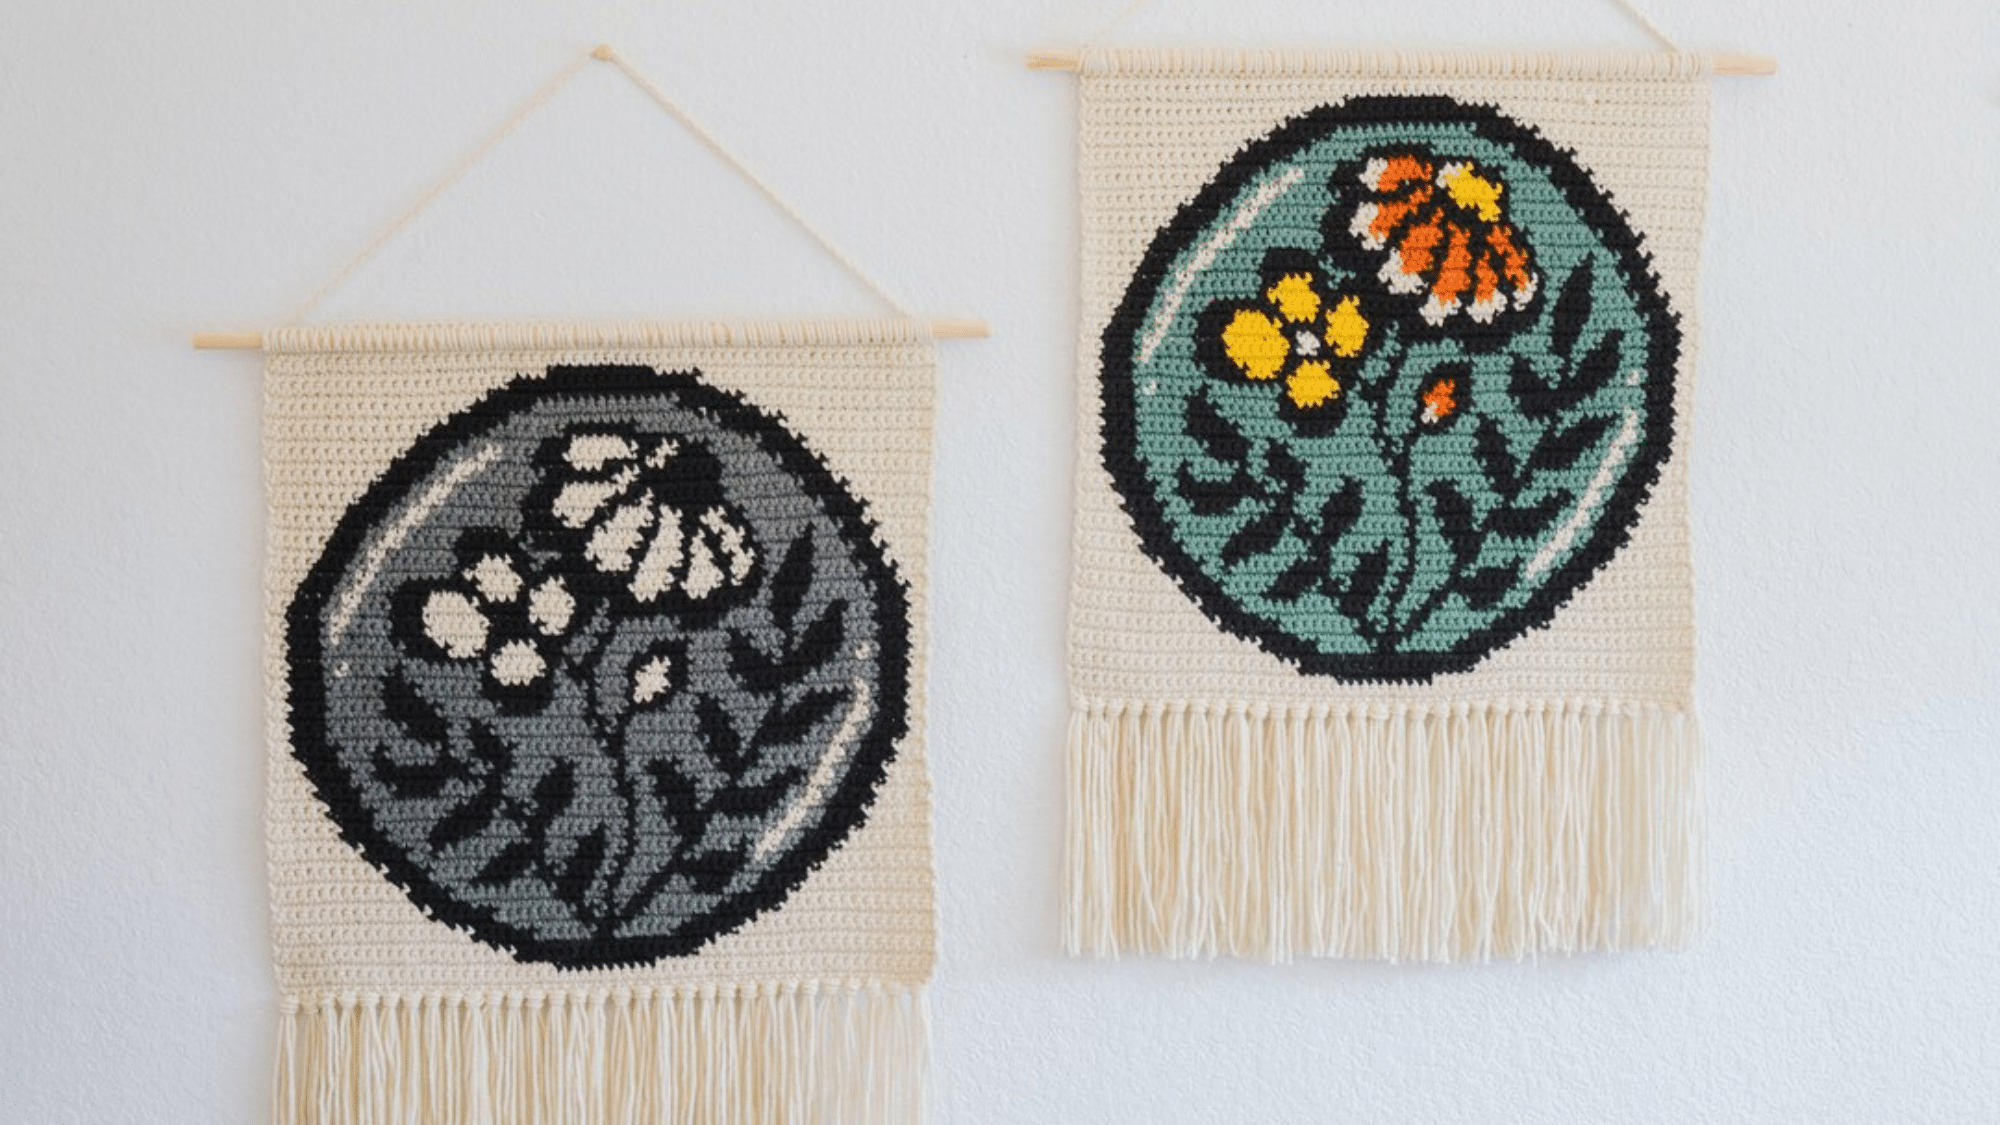
3. Filet Crochet Pattern
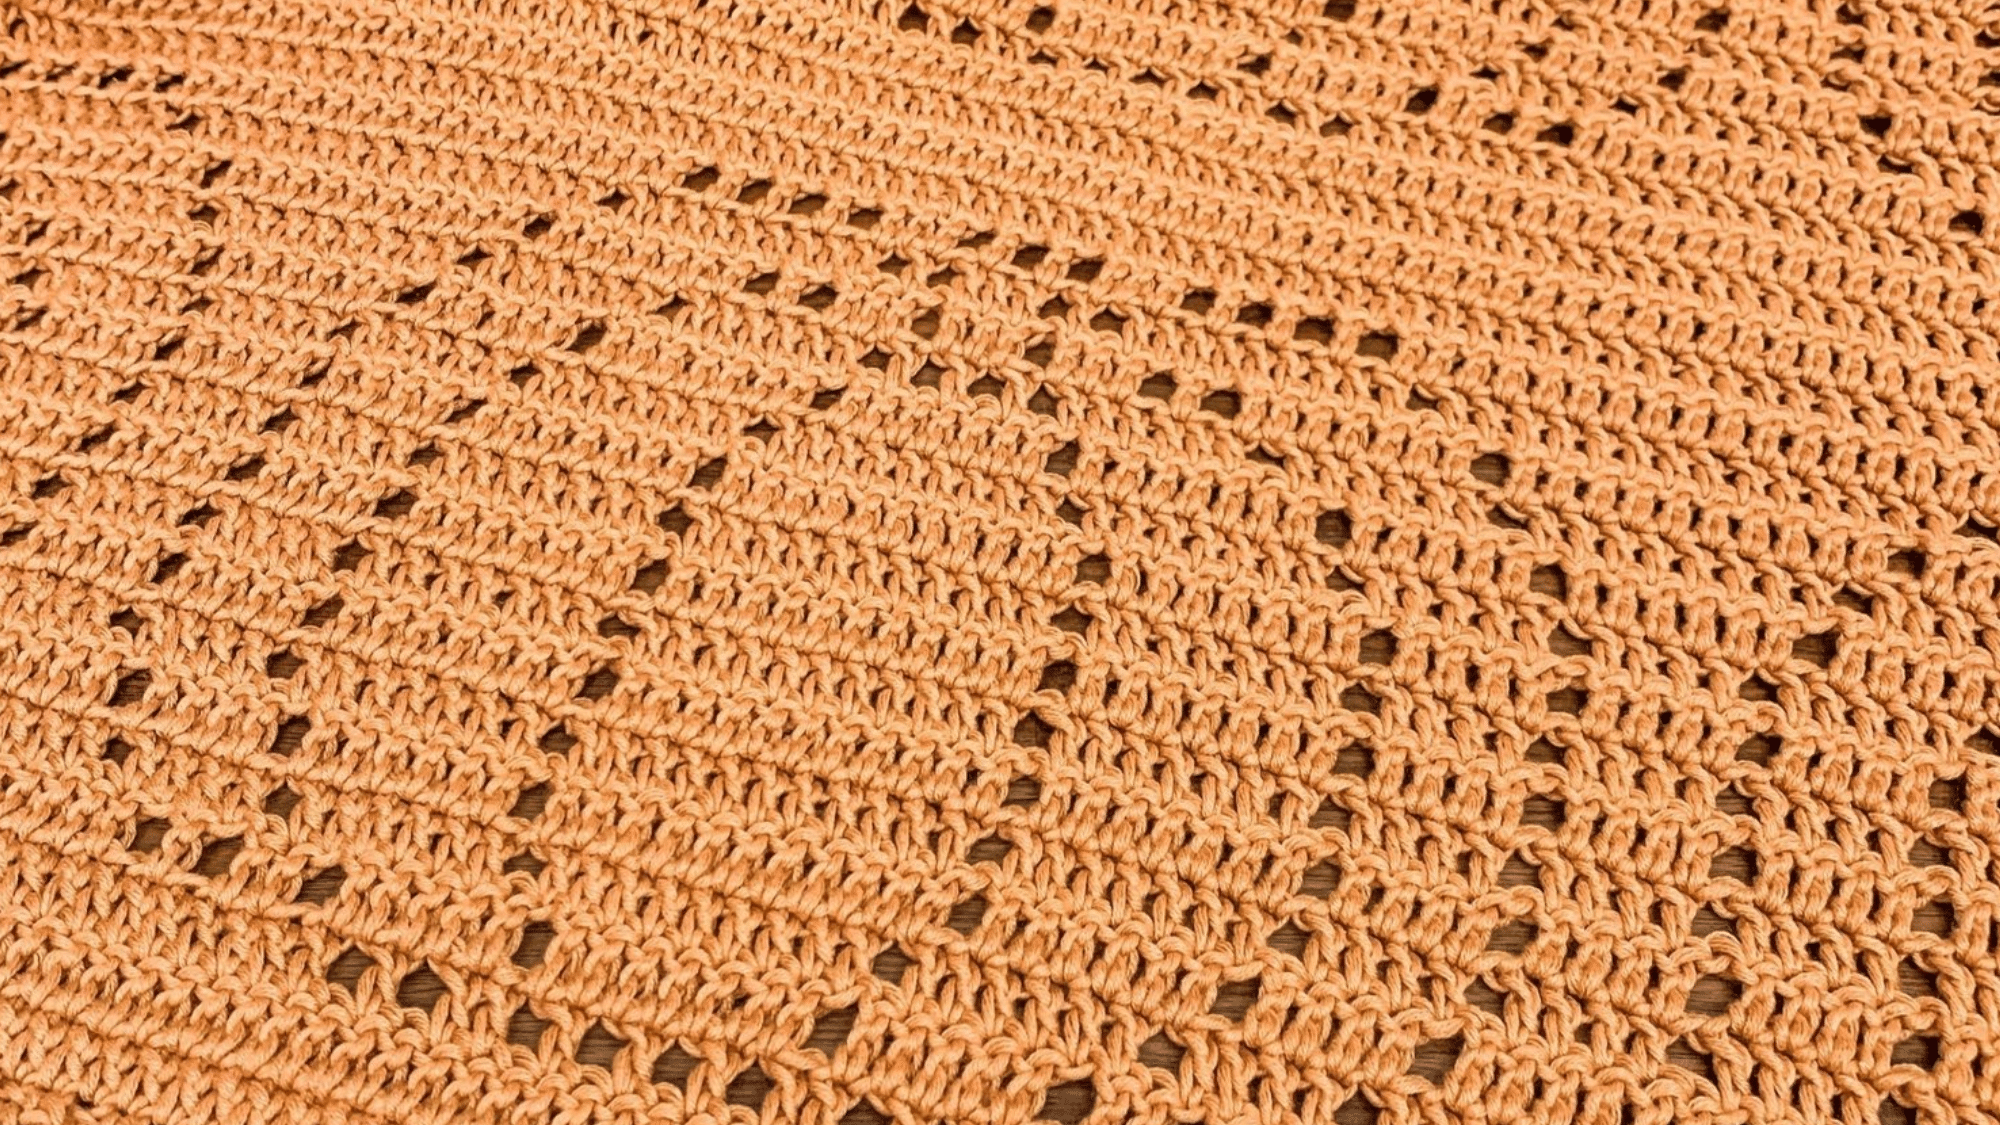
Filet crochet uses filled and empty spaces to create pictures or designs. Compared to other types of crocheting patterns, it’s medium to hard – you must follow charts closely.
I use filet crochet to make wall hangings, table runners, and special gifts. When done, it looks like fine lace.
Steps for basic filet crochet:
- Chain multiples of 3 plus 3
- Work double crochets with chain spaces for empty blocks
- Work double crochets with no spaces for filled blocks
- Follow the chart pattern row by row
This pattern fits well in home items that show off the design. Name signs for new babies are popular.
4. Corner-to-Corner Pattern
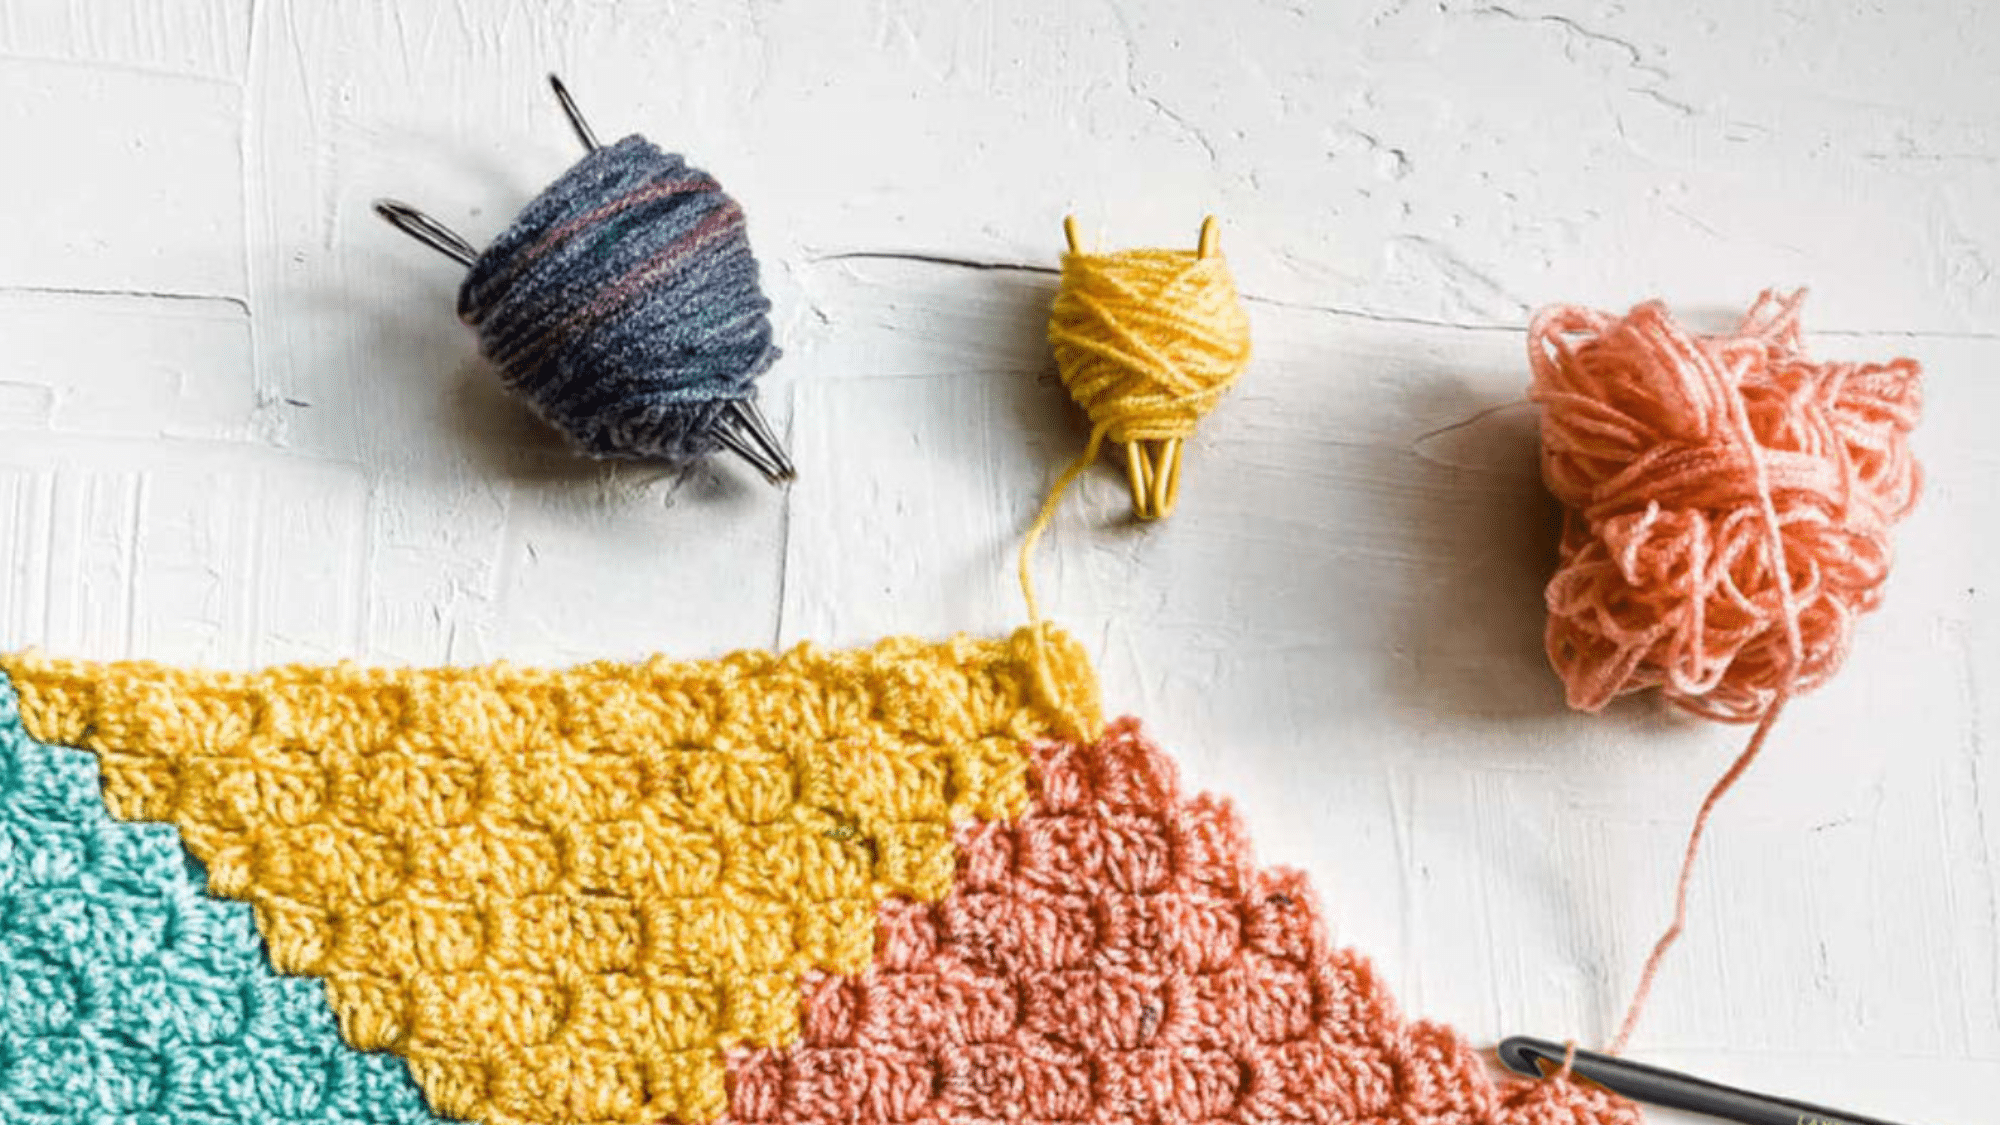
Corner-to-corner (C2C) grows from one corner to the opposite one. Compared to other types of crocheting patterns, it’s medium difficulty – the turns can be tricky at first.
I choose C2C for blankets, scarves, and picture throws. It works up fast and handles color changes well.
Steps for C2C:
- Chain 6
- Double crochet in the 4th chain from the hook and in the next 2 chains
- For the next block, chain 6, turn, dc in the 4th chain and the next 2
- Slip stitch to previous block, chain 3, 3 dc in chain-3 space
This pattern makes good use of yarn cakes and gradient yarns. Try it for baby gifts.
5. Mosaic Crochet Pattern
Mosaic crochet uses basic stitches and dropped loops to make colorwork easy. Compared to other types of crocheting patterns, it’s medium difficulty – you need to read diagrams.
I use mosaic for stunning blankets, bags, and even clothing items. It looks complex, but it isn’t.
Steps for mosaic crochet:
- Work 2 rows in the first color
- Switch to the second color
- Work single crochets in some stitches
- Work double crochets around posts from 2 rows below for color effect
This pattern suits items where both sides will show. Scarves and throws work well.
6. Tunisian Crochet Pattern
Tunisian crochet uses a long hook to keep many loops open at once. It’s medium to hard compared to other types of crocheting patterns, and it combines crochet and knitting skills.
I use Tunisian crochet to make dense, warm scarves, blankets, and even garments. The fabric is thick and cozy.
Steps for basic Tunisian simple stitch:
- Use a Tunisian hook (long with a stopper)
- Work a foundation row, keeping loops on the hook
- Work return pass, removing loops one by one
- Repeat forward and return passes for each row
This pattern works well for items that need stability and warmth. Try it for winter wear.
7. Amigurumi Pattern
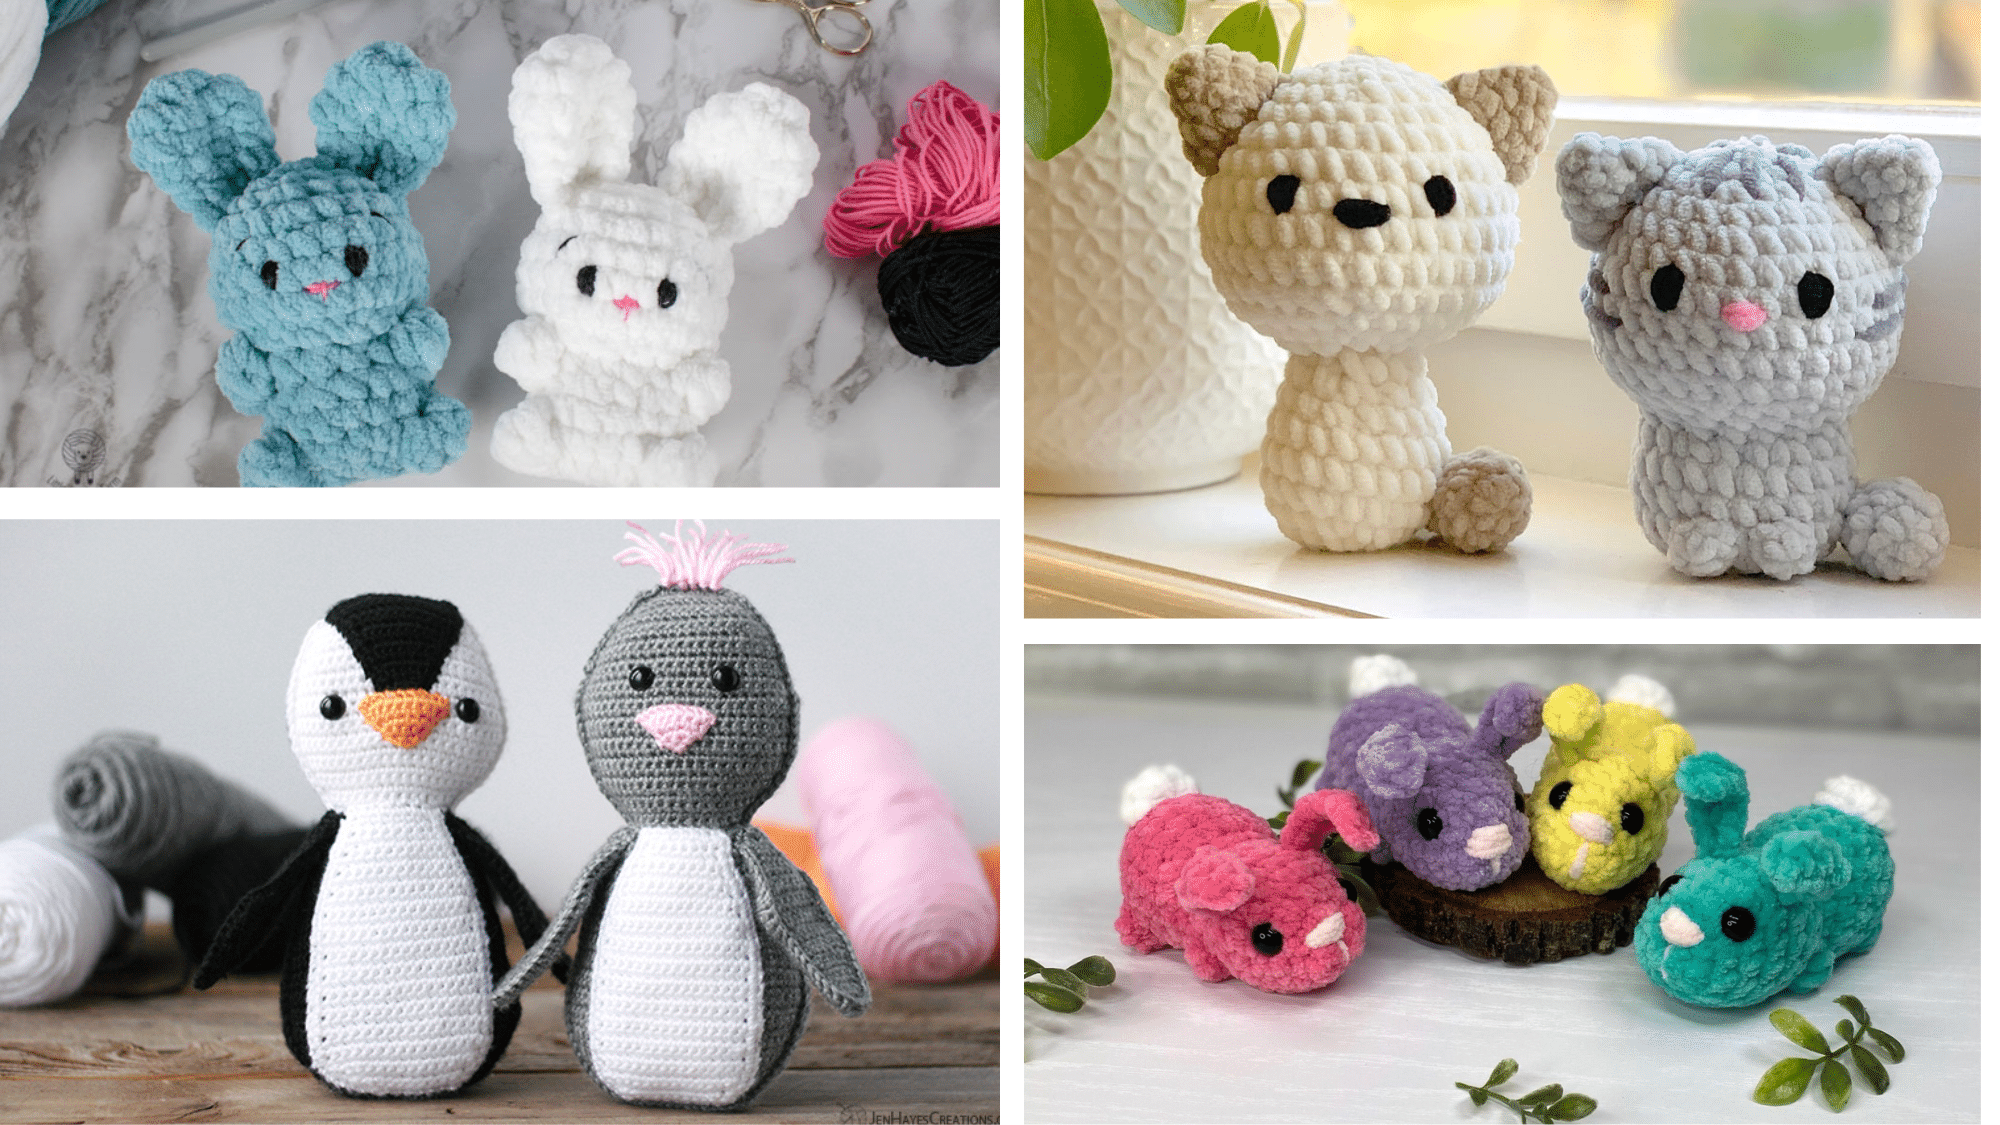
Amigurumi makes small stuffed toys worked in rounds. Compared to other types of crocheting patterns, it’s medium difficulty – shaping takes practice.
I create cute animals, dolls, and food toys with amigurumi. Kids and adults both love them. This pattern makes perfect gifts for children or desk buddies for adults.
Steps for basic amigurumi sphere:
- Start with a magic ring
- Work single crochets in rounds
- Increase evenly in early rounds
- Work even middle rounds
- A decrease in the final rounds
- Stuff before closing completely
8. Broomstick Lace Pattern
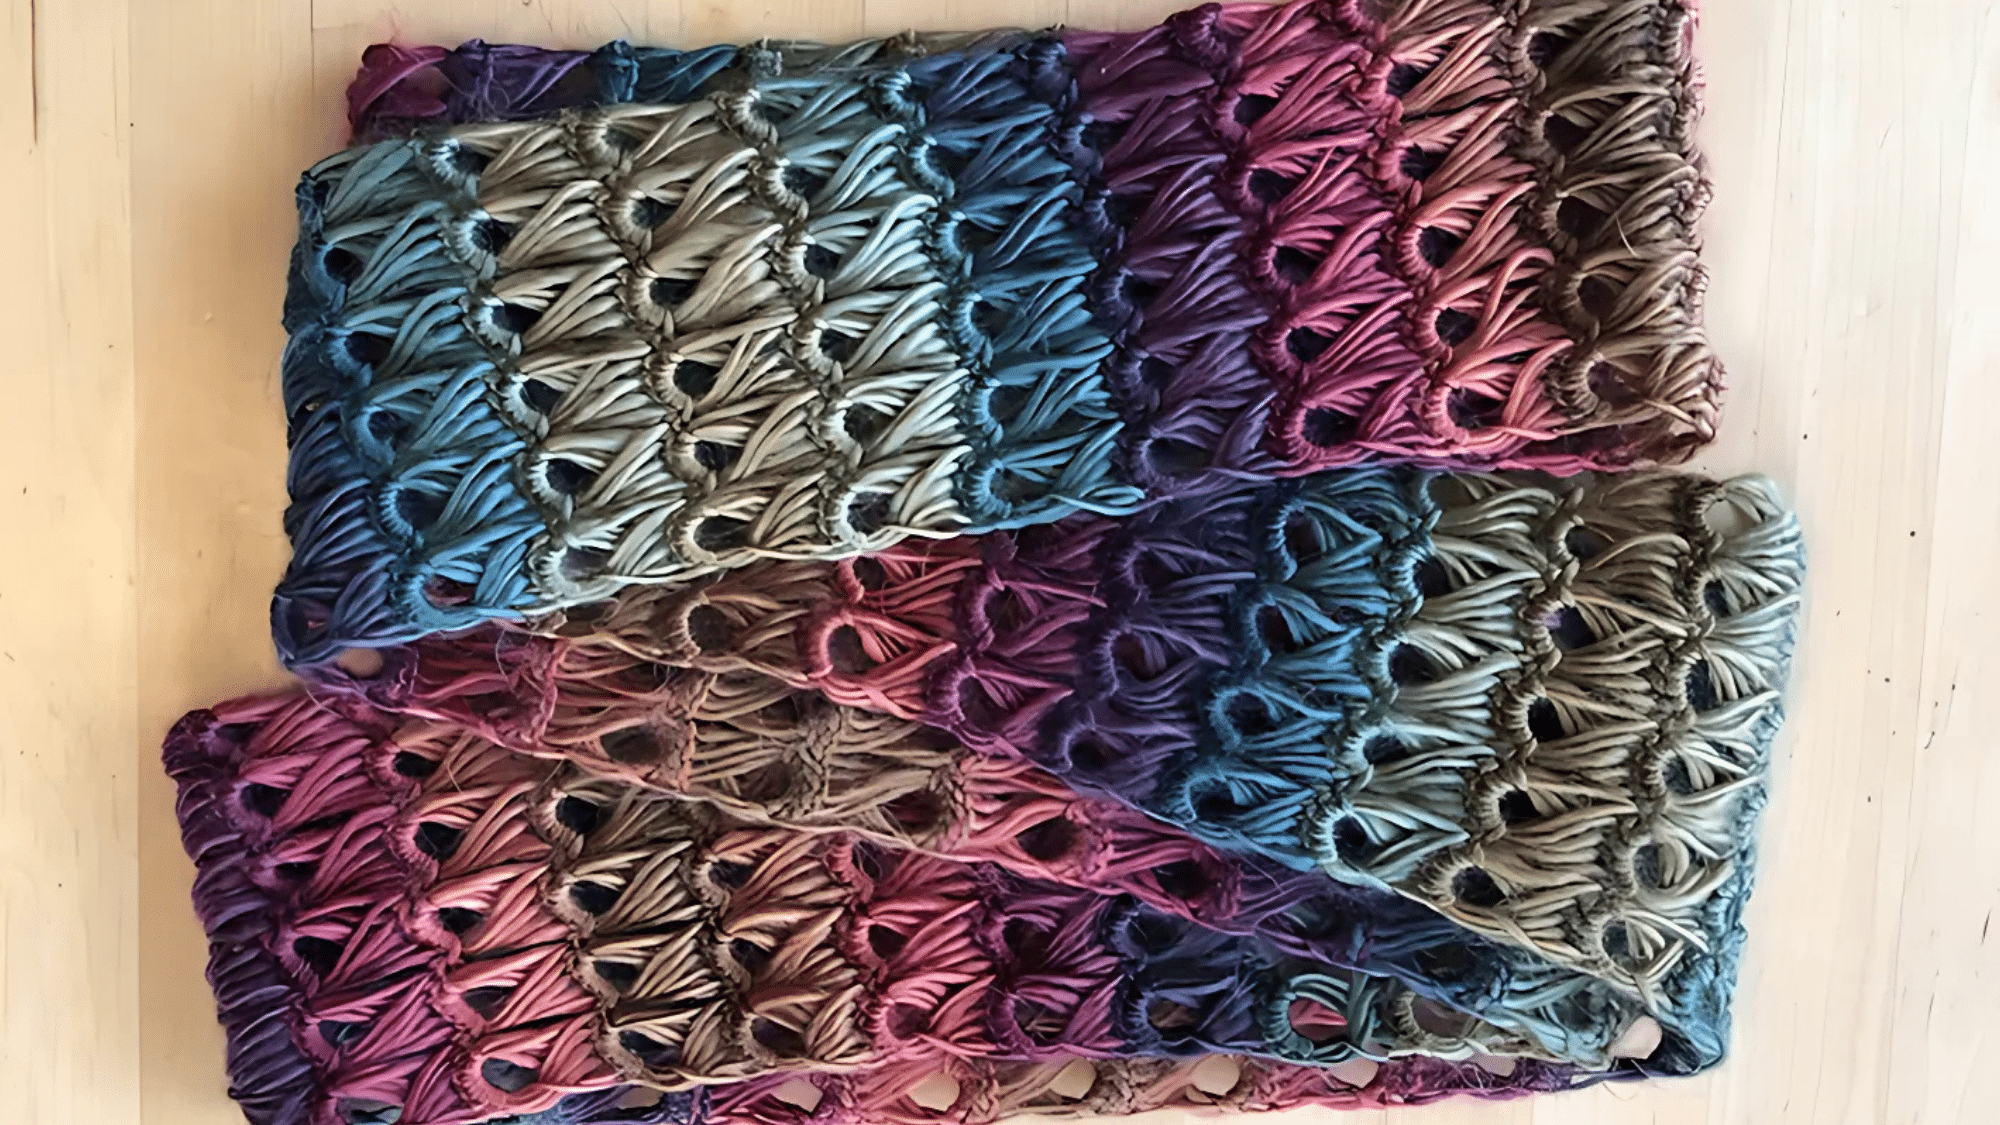
Broomstick lace uses a large knitting needle or dowel with a crochet hook. Compared to other types of crochet patterns, it’s medium to hard as it needs two tools and good tension.
I choose broomstick lace for shawls, tops, and fancy edges. It creates large, airy loops. This pattern suits items that need an open, lacy look. Spring and summer wear work well.
Steps for broomstick lace:
- Pull up loops and place them on a large needle
- Remove groups of 5 loops at a time
- Work 5 single crochets through these loops
- Repeat for the next set of loops
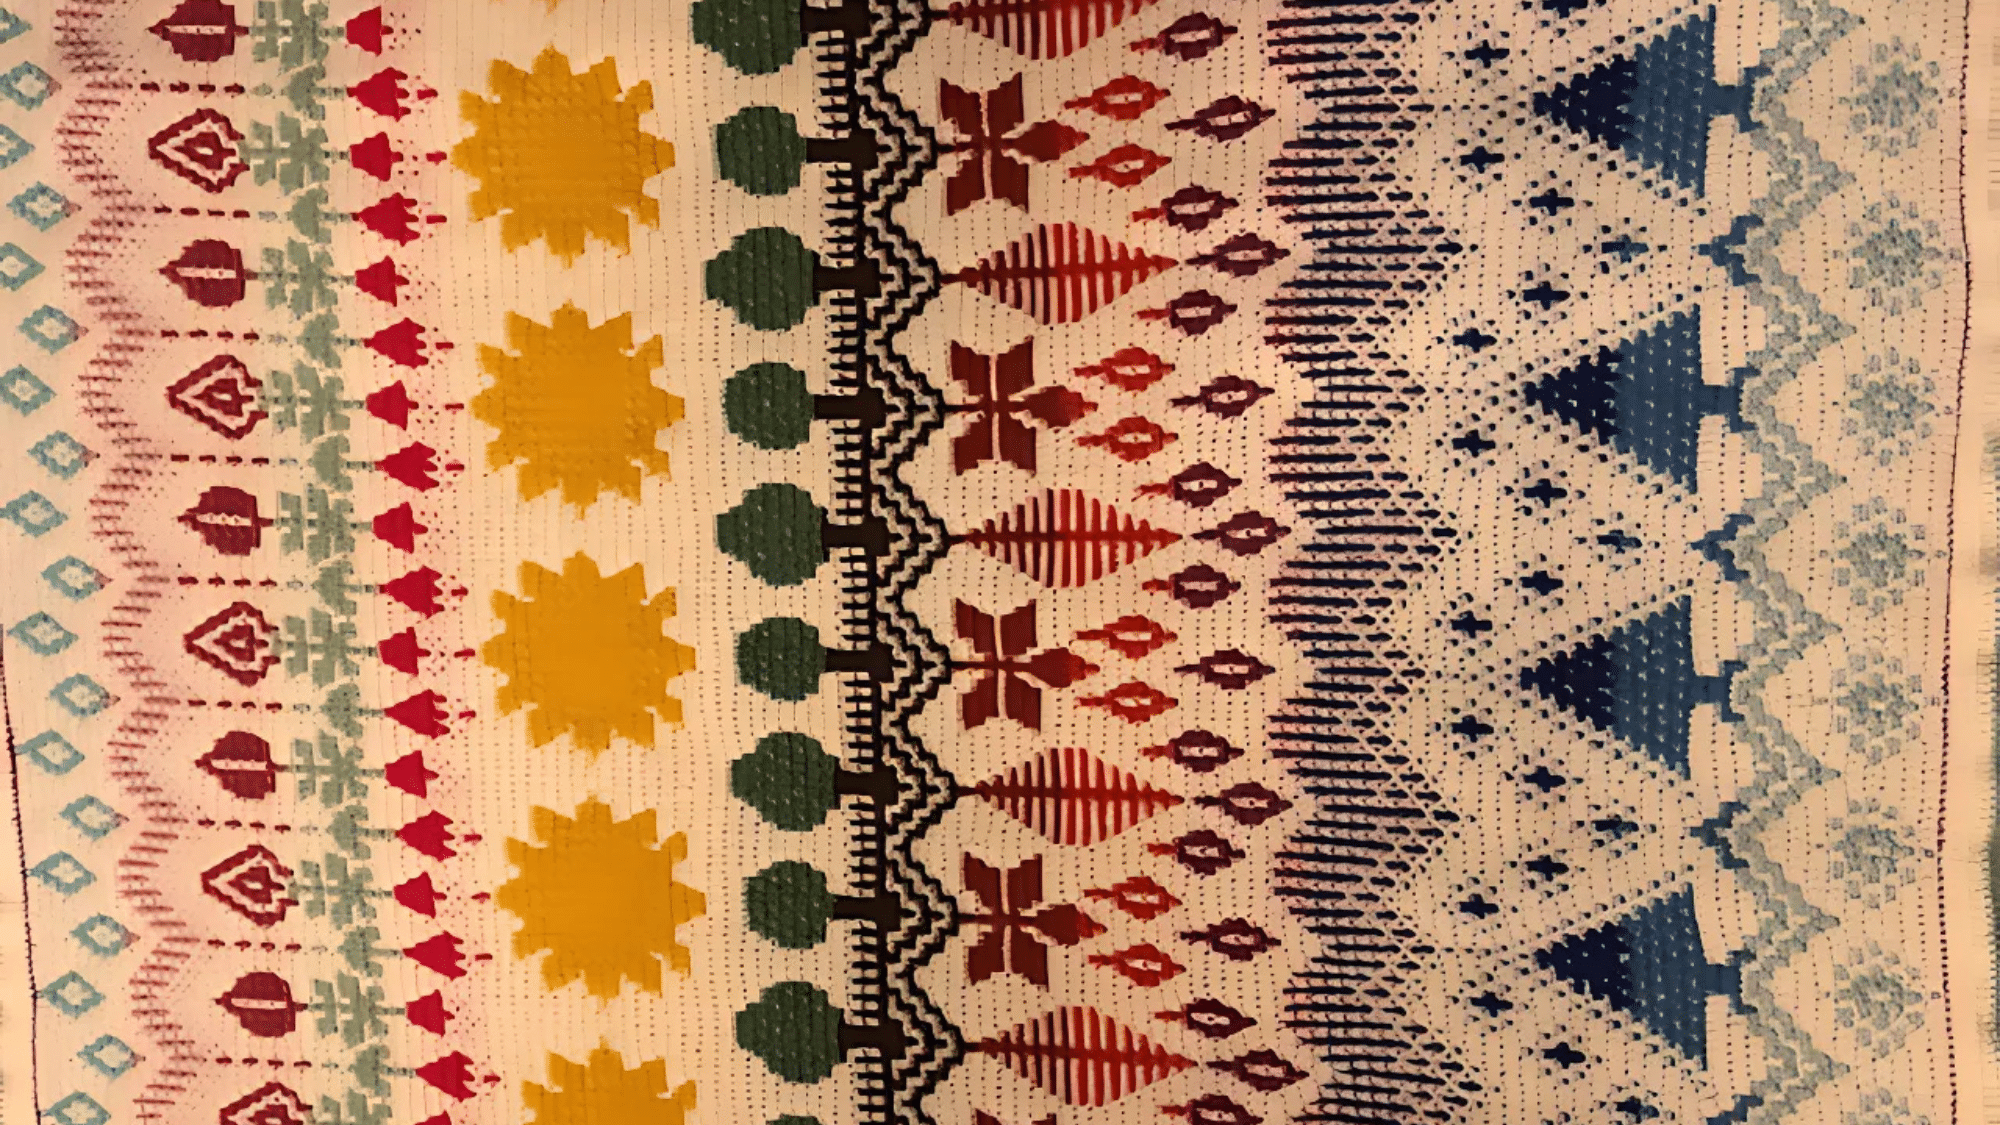
9. Tapestry Crochet Pattern
Tapestry crochet carries colors across rows to create pictures. Compared to other types of crocheting patterns, it’s hard – tension must stay even with multiple yarns.
I make bags, wall hangings, and coasters with tapestry crochet. The results look woven. This pattern excels in items that need to be sturdy and colorful.
Steps for tapestry crochet:
- Work in single crochet for most designs
- Carry unused yarn inside stitches
- Change colors according to the chart
- Keep tension even for flat fabric
Quick Tips to Improve Your Crochet Skills
- Count your stitches at the end of each row to keep edges straight and prevent mistakes.
- Use stitch markers in the first and last stitches to easily find row ends.
- Choose the right hook size for your yarn – check the label for recommendations.
- Keep your tension consistent by how you hold the yarn, not how you pull it.
- Work in good lighting to see your stitches clearly and prevent eye strain.
- Block your finished items with water to help stitches settle into place and look neater.
Final Thoughts
Now you’ve seen the wide world of crochet stitches and patterns at your fingertips. From simple single crochet to fancy broomstick lace, each method helps you create something unique.
What’s next for you? Start with a basic stitch and a small project. Maybe a washcloth with single crochet or a hat with half double crochet.
I’d love to hear which technique caught your eye. Will you try granny squares? Or maybe C2C for a colorful blanket? Comment below to share your plans or questions.