Have you noticed those plain, forgotten vases sitting on your shelf collecting dust?
They’re just waiting for a chance to shine again! I was in the same spot last month with five basic glass vases that bored me to tears.
Want to know what changed? I learned upcycle vase designs with simple materials I already had at home. The results were so much better than I expected.
In this post, I’ll show you my favorite method to refresh your old vases, along with quick ideas that take less than an hour to complete.
Let’s get those creative juices flowing!
Why Should You Upcycle Your Vase?
Here are the top reasons to give your old vases a fresh look and purpose:
- Save money: By reusing what you already own, you won’t need to buy new decorative pieces for your home.
- Reduce waste: Giving new life to old items keeps them out of landfills and helps cut down on trash.
- Express creativity: Each project allows you to make something unique that reflects your personal style and taste.
- Quick results: Most vase makeovers take under an hour yet create dramatic changes anyone can notice.
- Flexible options: These projects work with any type of vase – glass, ceramic, plastic – and can match any home style.
Items Needed for Upcycling Vases
Let me share what supplies you’ll need to upcycle vase projects without spending a fortune on materials:
| Item | Purpose |
|---|---|
| Tan craft paint | Base coat color for a ceramic look |
| Melted chocolate paint | Main aging shade |
| Black craft paint | To darken warm tones and add depth |
| Linen white paint | For lighter vases or creamy undertones |
| Baking soda | Adds a matte, textured finish |
| Garden lime (from Lowe’s) | Creates a natural, aged, clay-like finish |
| Soft paintbrushes | For even base coating and detailing |
| Paper towels (wet & dry) | For blending and dabbing paint textures |
| Small containers | For mixing paint and lime solutions |
| Water | To dilute paints and create a distressed wash |
Upcycle Your Old Vase: A Tutorial
Follow these simple steps to upcycle vase pieces that have been sitting unused in your storage for too long.
Step 1: Create the Perfect Base Layer
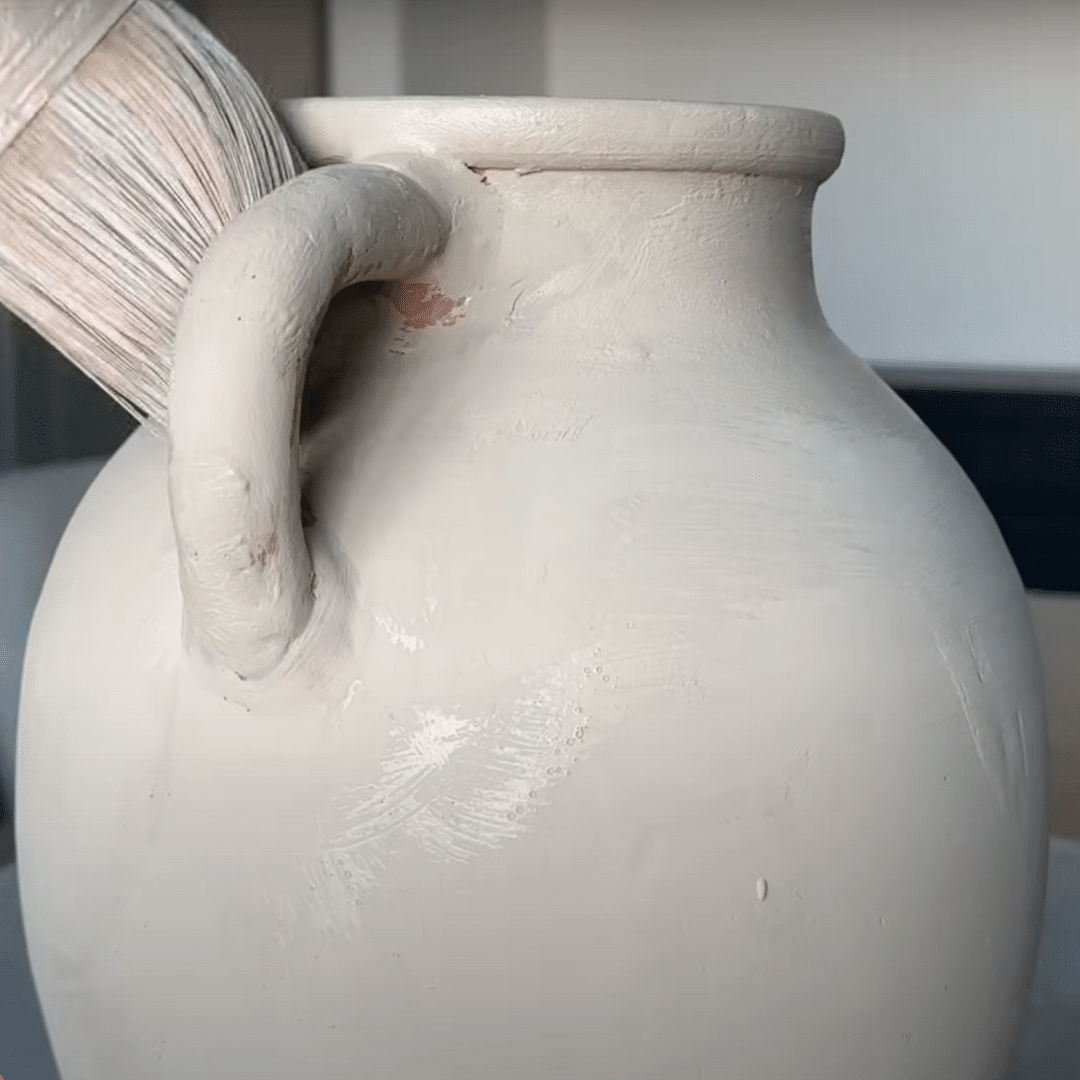
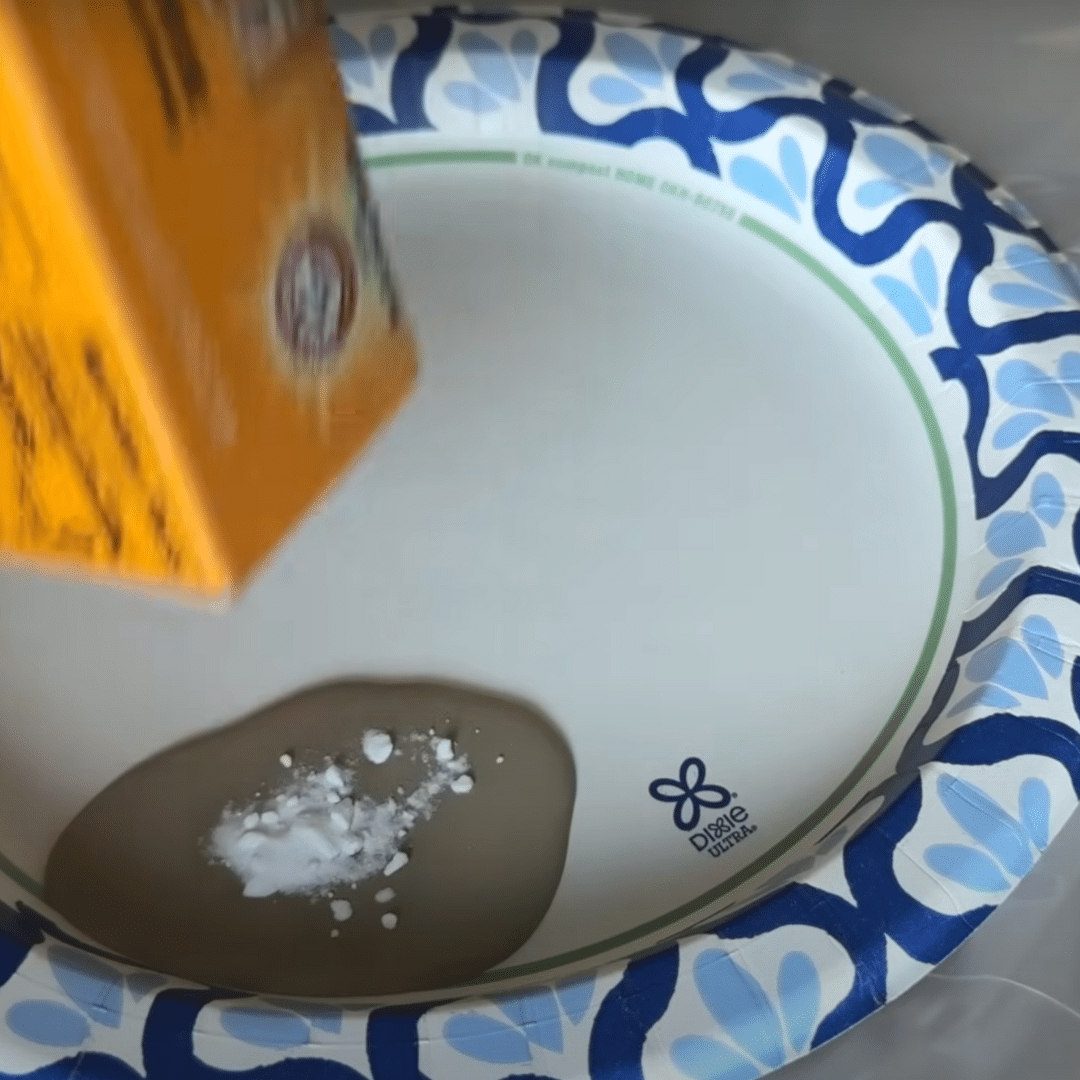
Start by choosing a neutral tan craft paint – this sets the tone for the warm, earthy vibe of your vase.
Mix the paint with baking soda in a small bowl. The ratio should be about 2 parts paint to 1 part baking soda, enough to create a thick but spreadable consistency.
This mixture gives your vase a beautiful matte, ceramic-like texture. Use a brush to apply the mix evenly, covering all sides. Let it dry fully before moving on.
Step 2: Mix & Prepare the Aging Colors
Before you begin blending, get your materials ready. This ensures a smooth, uninterrupted process.
- Combine equal parts of “melted chocolate” and black craft paint in a small dish.
- Stir until the color appears as a rich, cool-toned brown – ideal for an antique look.
- Wet a paper towel slightly so it’s pliable but not soaking. This prevents the paint from lifting the base coat.
- Keep an extra clean towel nearby for soft blending or cleanup.
Once you’re prepped, you’re ready to add authentic depth and dimension.
Step 3: Blend for a Vintage Effect

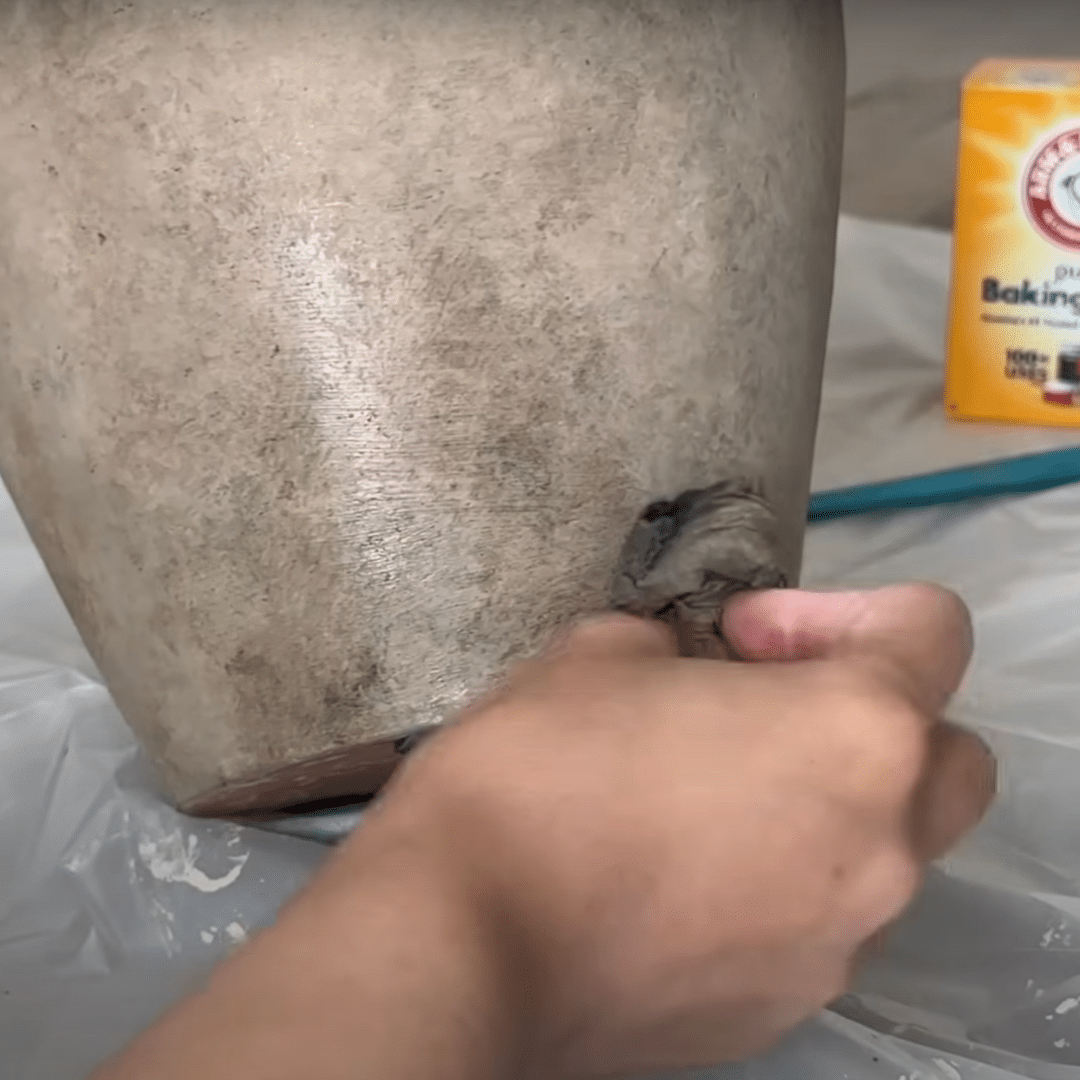
Take your damp paper towel and dab it into the dark brown mixture. Gently press it onto your vase in areas where natural aging would occur – edges, bottoms, handles, and textured ridges. Start small; you can always build up the color gradually.
Once the dark paint is placed, blend it gently using circular strokes. If it feels patchy, dip into your tan base again to soften transitions.
Step 4: Add Depth with Distressing
To enhance realism, this step mimics the buildup of grime and dust over time. Begin by diluting the dark brown mix with water – it should have an ink-like consistency.
- Soak a paper towel in this watery solution.
- Dab it onto natural “dirt-prone” areas: rims, grooves, ridges, and base.
- If too much pigment settles, use a clean, damp towel to gently lift the excess.
- Don’t overdo it – less is more for that authentic aged patina.
Let the surface air dry. This technique gives your vase a layered, story-rich finish.
Step 5: Highlight Texture with Contrast

It’s the perfect opportunity to create realism for your vase’s rim, ridges, carvings, or raised patterns.
Focus on the dark, diluted paint around the rim or into those crevices. This draws attention to the vase’s details and simulates years of weathering.
Next, blend outward using a wet towel so the transitions aren’t harsh. Leave some darker accents untouched, as it creates contrast.
Step 6: Final Touches & Styling
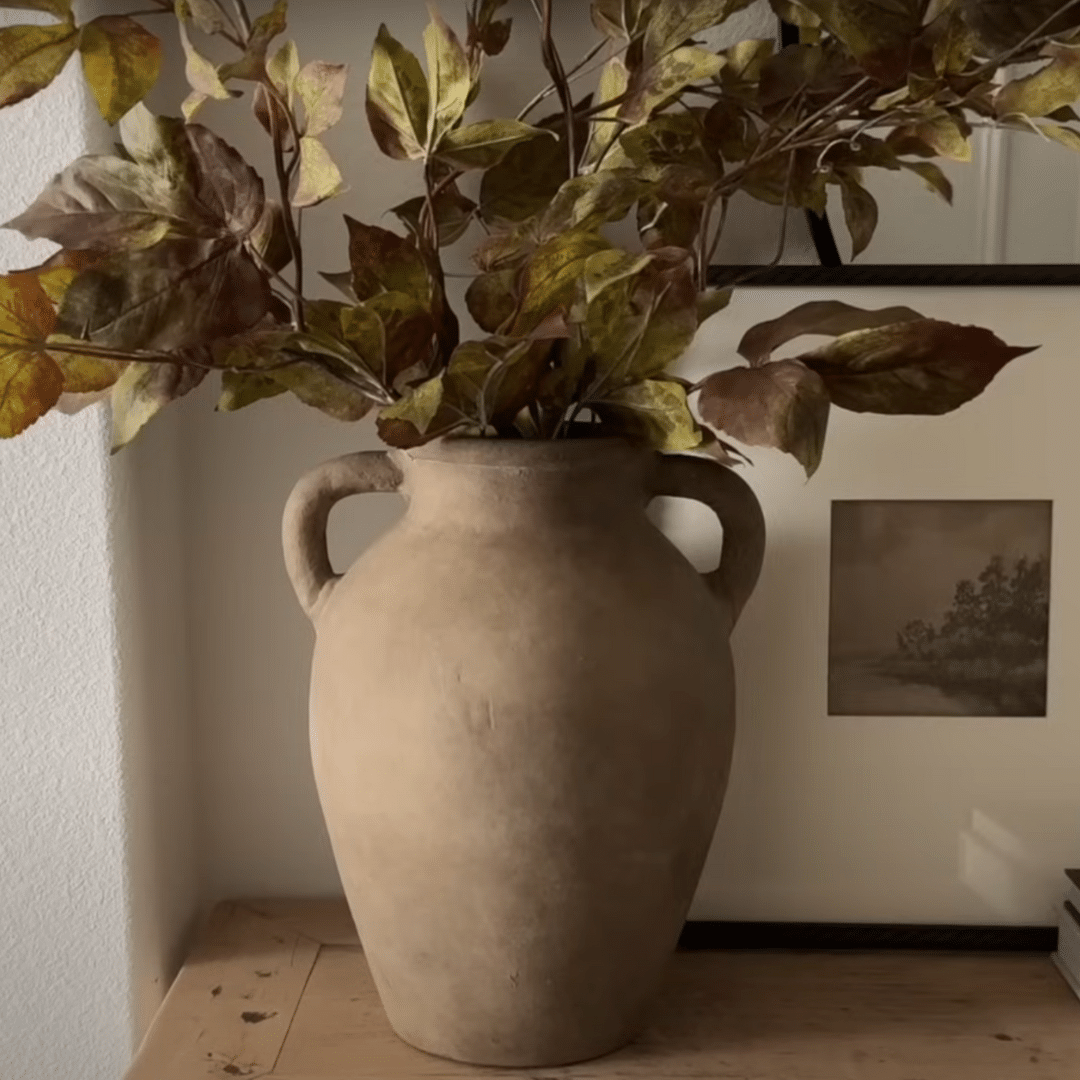
Now that your vase is dry and full of character, give it one last inspection. If areas feel too harsh or blotchy, gently blend them with a clean, damp towel. Avoid touching the surface too much if you’ve used garden lime – it may smudge.
Style your upcycled vase with natural stems, dried florals, or seasonal greens. Place it on a shelf or console where it can be admired.
For a more detailed tutorial on how to upcycle a vase at home, check out the video below:
Unique Ideas to Upcycle Your Old Vases
If you’re wondering how to breathe new life into those dusty vessels tucked away on your shelves, you’re in the right place.
These creative ideas will help you upcycle vase styles from drab to fabulous using materials you likely already have at home.
1. Rustic Rope Vase
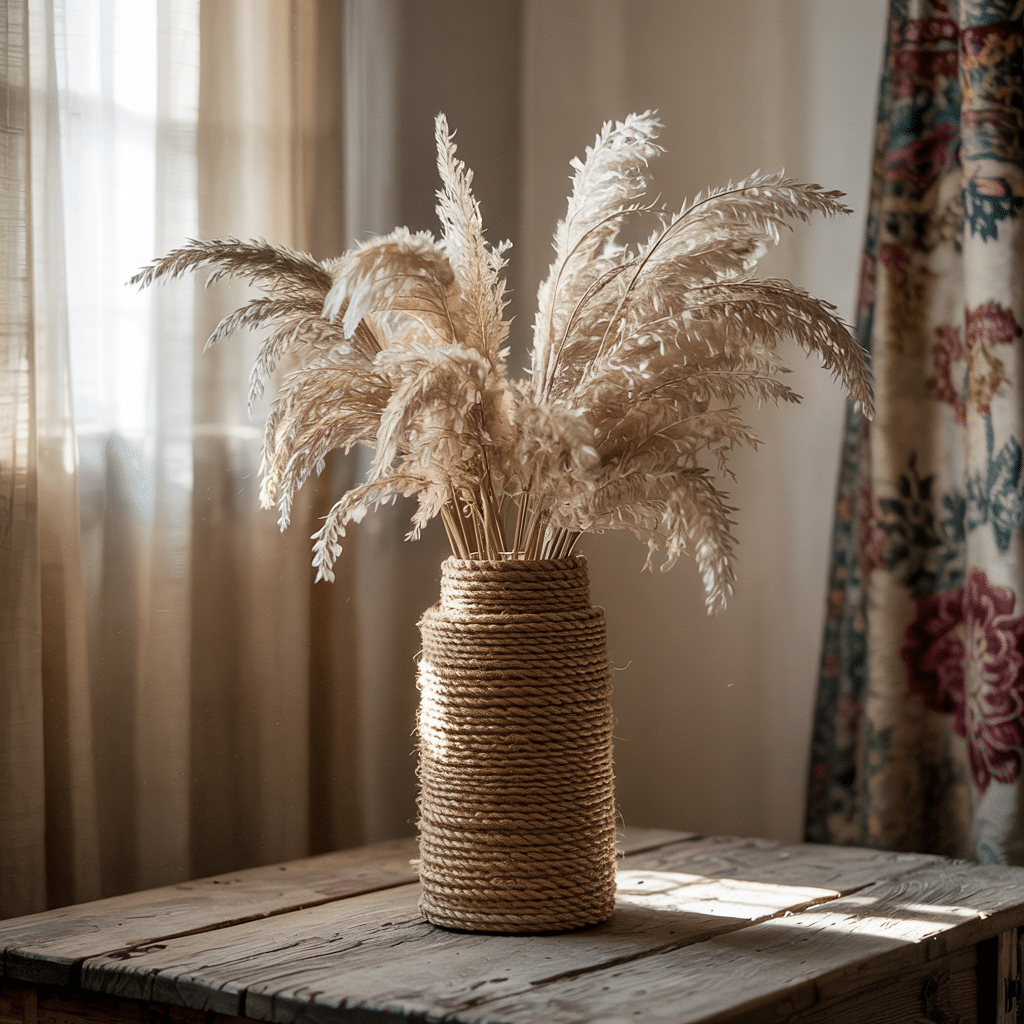
Wrap your vase in jute or thick twine for a rustic, farmhouse-style finish. This gives texture and warmth, perfect for neutral or boho-themed spaces. Add a few dried pampas stems to complete the earthy vibe.
- Where to Use This Idea: Kitchen counter or window ledge
- DIY difficulty level: Easy
- How to Achieve This Look: Secure the rope with hot glue, starting from the base and working upward.
2. Create a Marble Effect with Nail Polish
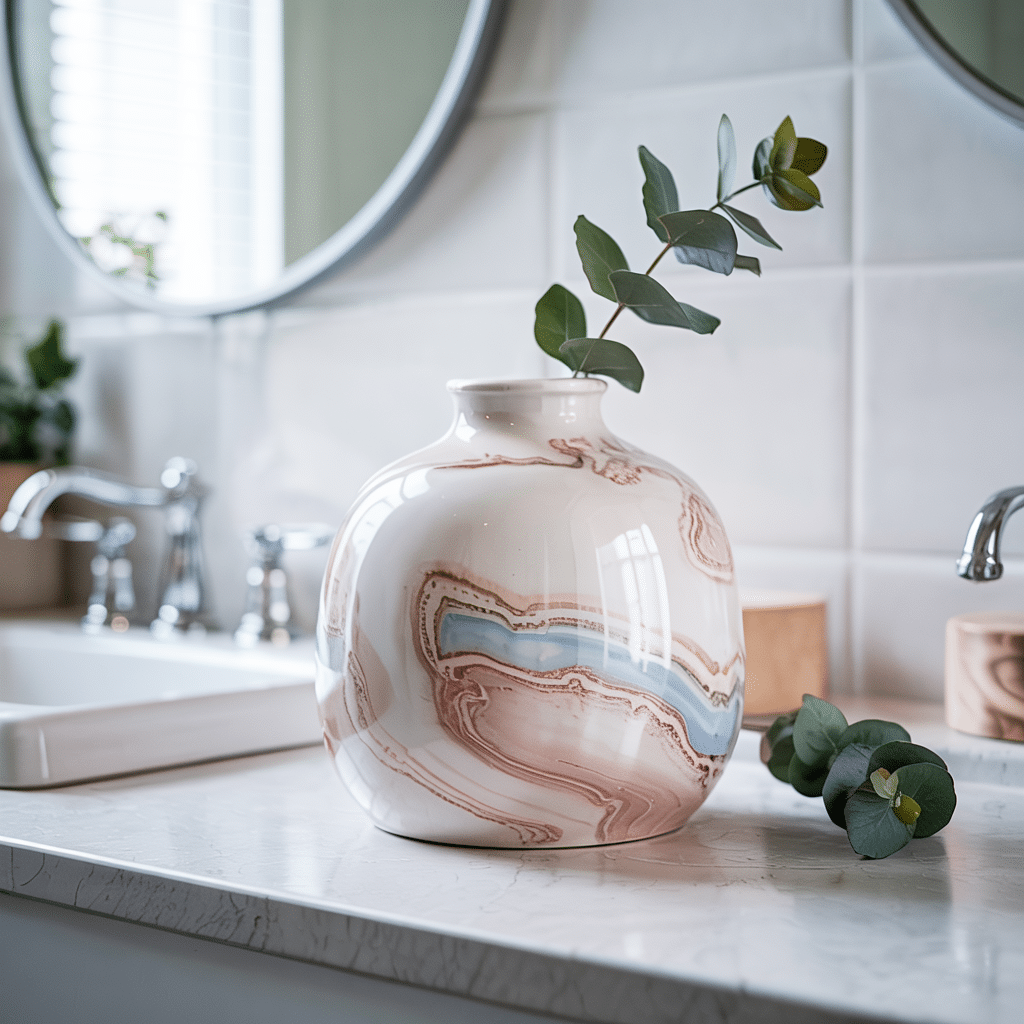
Nail polish and water can work magic, marbling your vase into a one-of-a-kind art piece. This method brings color and movement in a few easy steps. The result feels luxe without the price tag.
- Where to Use This Idea: Bathroom vanity or bookshelf
- DIY difficulty level: Medium
- How to Achieve This Look: Dip a white vase into a bowl of water swirled with nail polish.
3. Wrap it in Fabric or Burlap
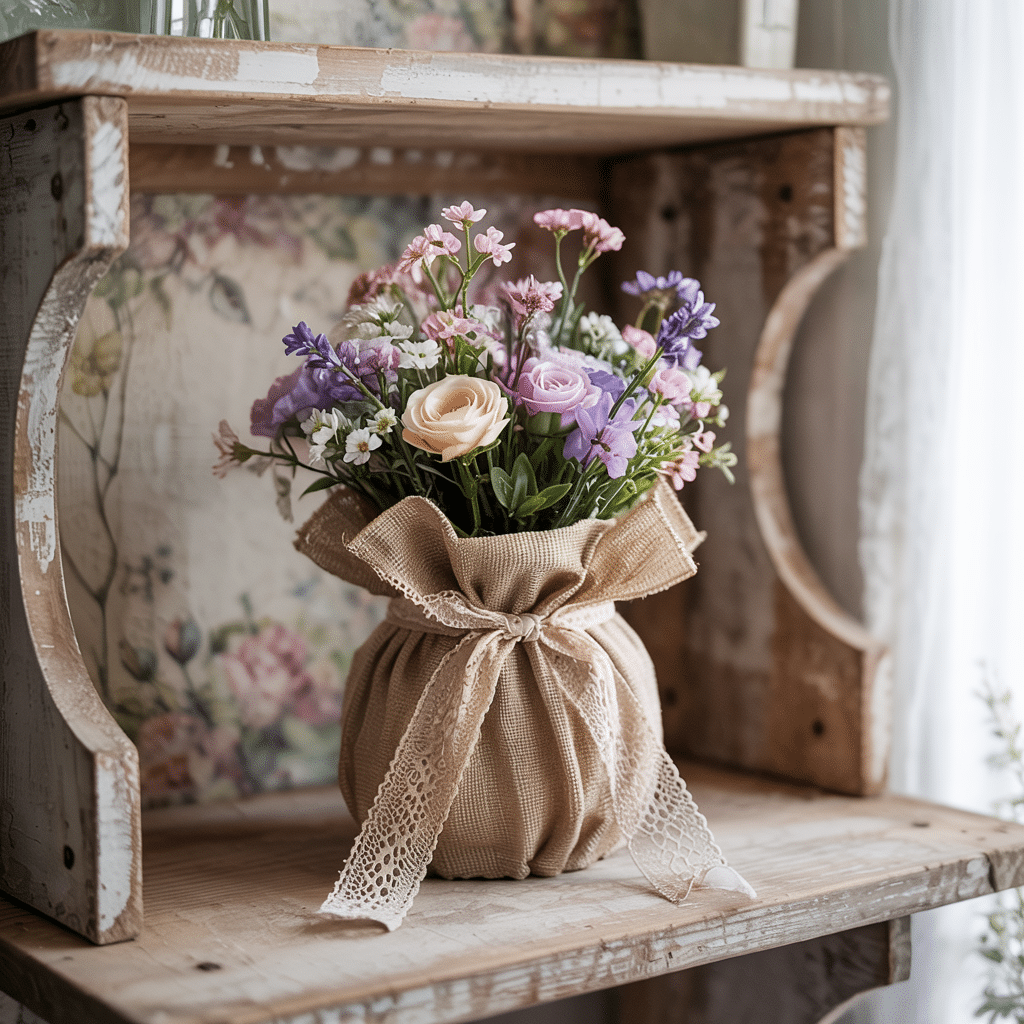
Wrapping your vase in scrap fabric or burlap gives it soft texture and color. It’s cozy, beautiful, and can be styled seasonally, perfect for repurposing leftover textiles.
- Where to Use This Idea: Entryway table or dining centerpiece
- DIY difficulty level: Easy
- How to Achieve This Look: Use fabric glue or double-sided tape to attach the cloth tightly around the vase.
4. Paint it Matte Black
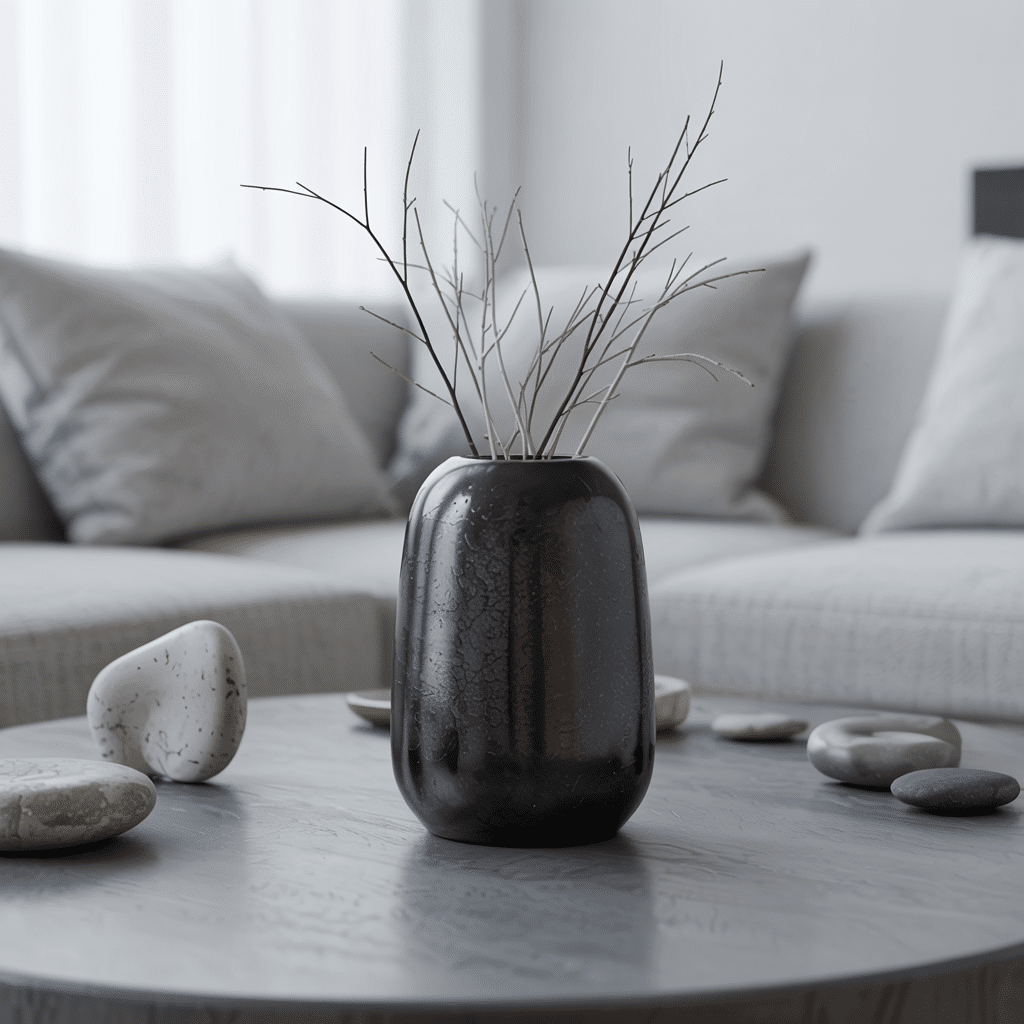
A coat of matte black paint instantly modifies an outdated vase into a modern decor gem. It adds refinement and works with almost every palette. Minimal but striking.
- Where to Use This Idea: Coffee table or modern shelf decor
- DIY difficulty level: Easy
- How to Achieve This Look: Spray with matte black paint and let it dry in a ventilated area.
Like the idea? Buy it here: Sullivans Modern Matte Black Vase
5. Use Chalk Paint for a Clay-Like Finish
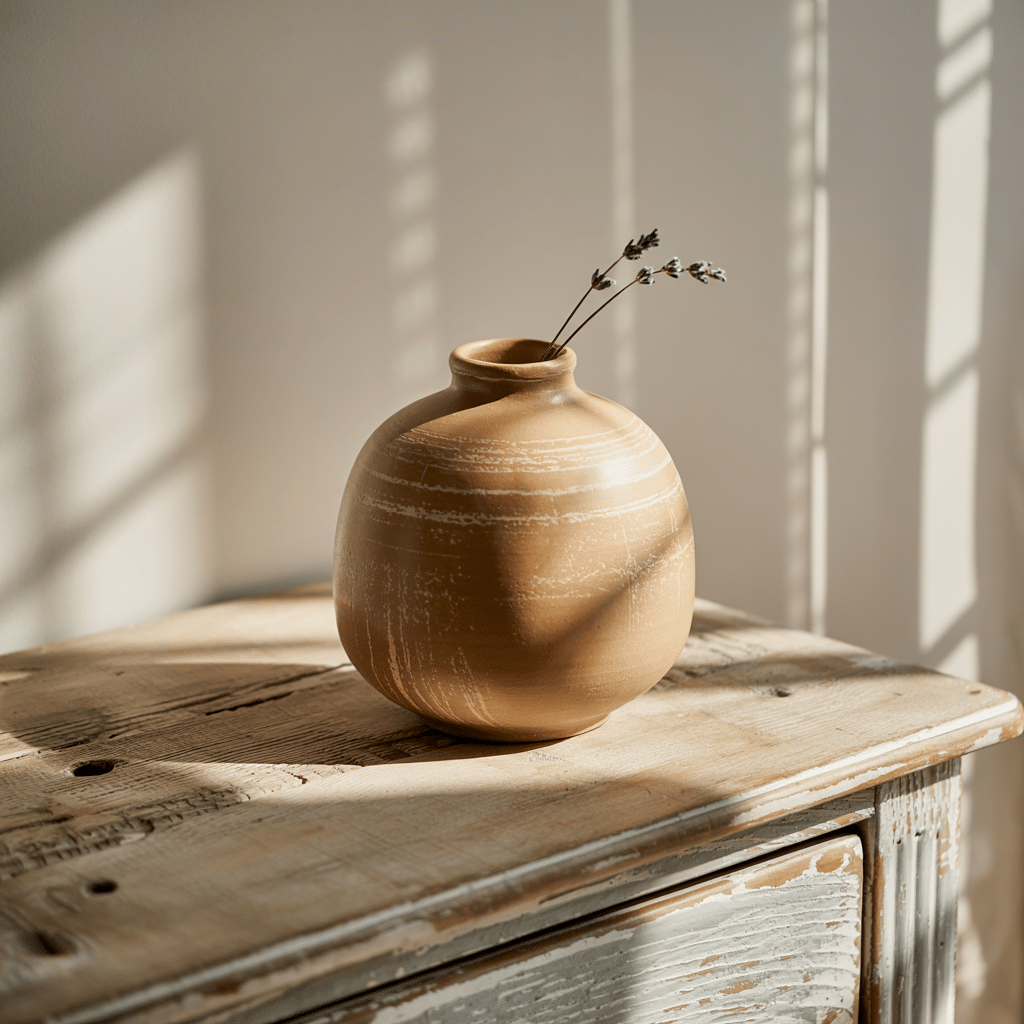
Chalk paint paired with baking soda gives your vase a rich, handmade ceramic look. It mimics pottery without needing a kiln. Perfect for earthy or minimal interiors.
- Where to Use This Idea: Sideboard or console table
- DIY difficulty level: Medium
- How to Achieve This Look: Mix chalk paint with baking soda and apply with a sponge brush.
6. Mosaic it with Broken Tiles or Glass
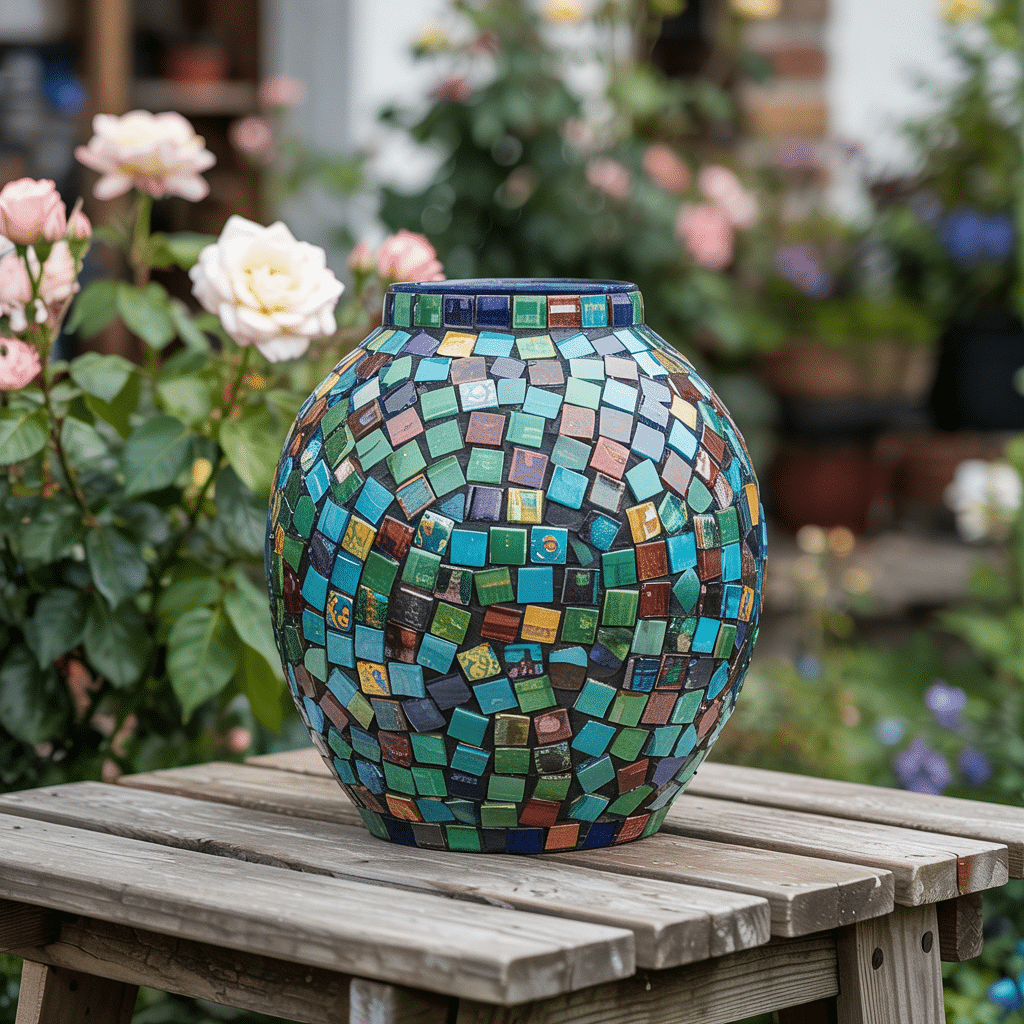
Smash old tiles or colored glass to create a mosaic masterpiece. It’s visually impactful and gives new life to fragments that might otherwise be discarded.
- Where to Use This Idea: Outdoor patio or sunroom
- DIY difficulty level: Advanced
- How to Achieve This Look: Use tile adhesive and grout to arrange pieces around the vase.
Like the idea? Check this out: Sagebrook Home Mosaic Glass Vase
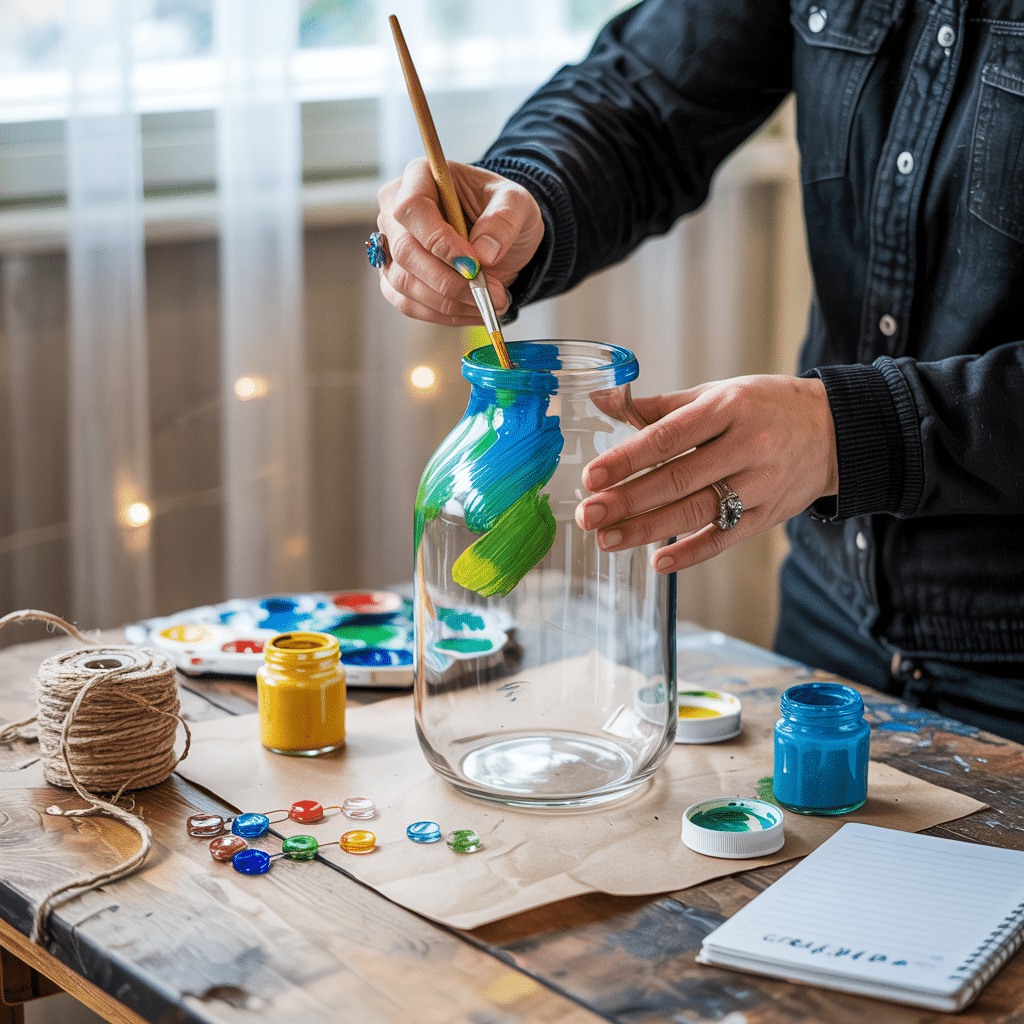
7. Create a Drip-Glazed Look with Acrylic Paint
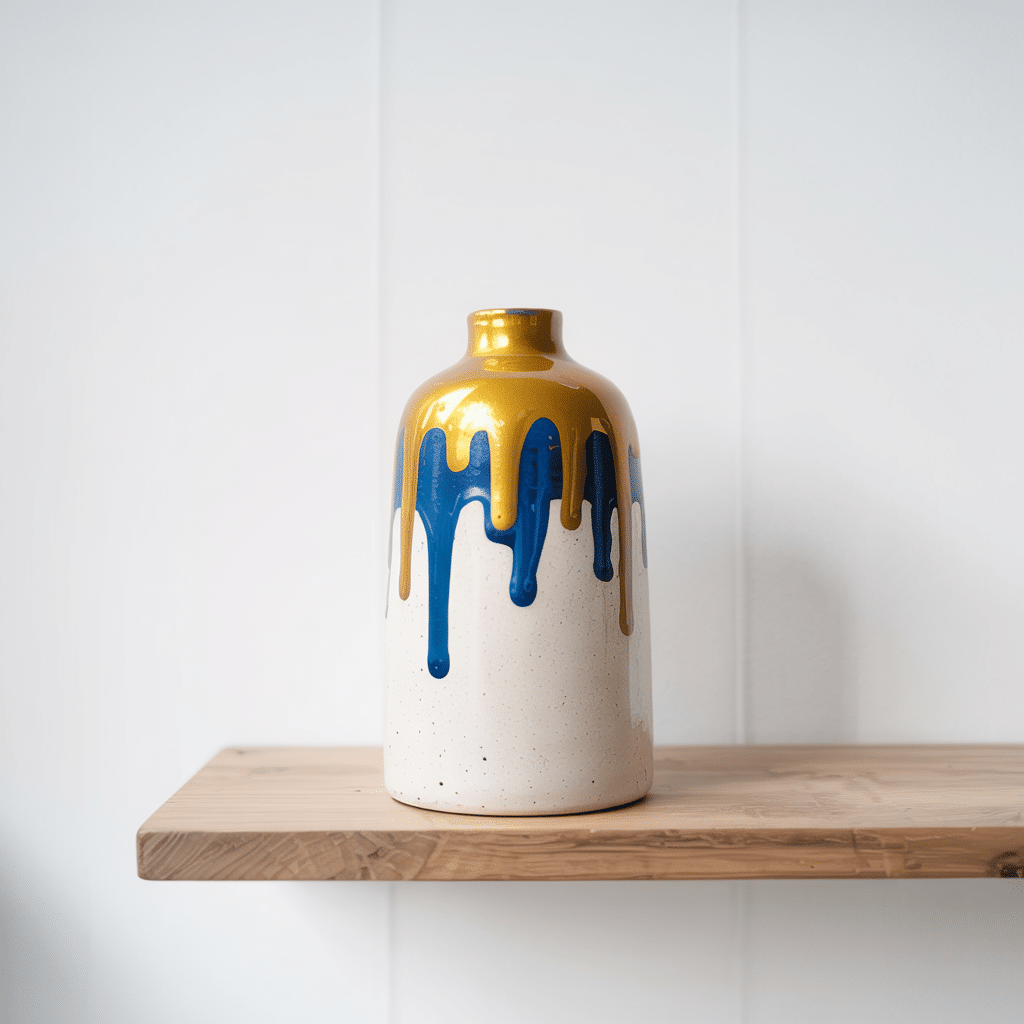
Recreate a designer drip-glaze effect using layers of acrylic paint. This modern art-style makeover looks high-end and dramatic. Use bold color contrasts for extra wow.
- Where to Use This Idea: Modern living room or studio
- DIY difficulty level: Medium
- How to Achieve This Look: Water down acrylic paint and let it run from the rim downward.
8. Wrap It in Macramé
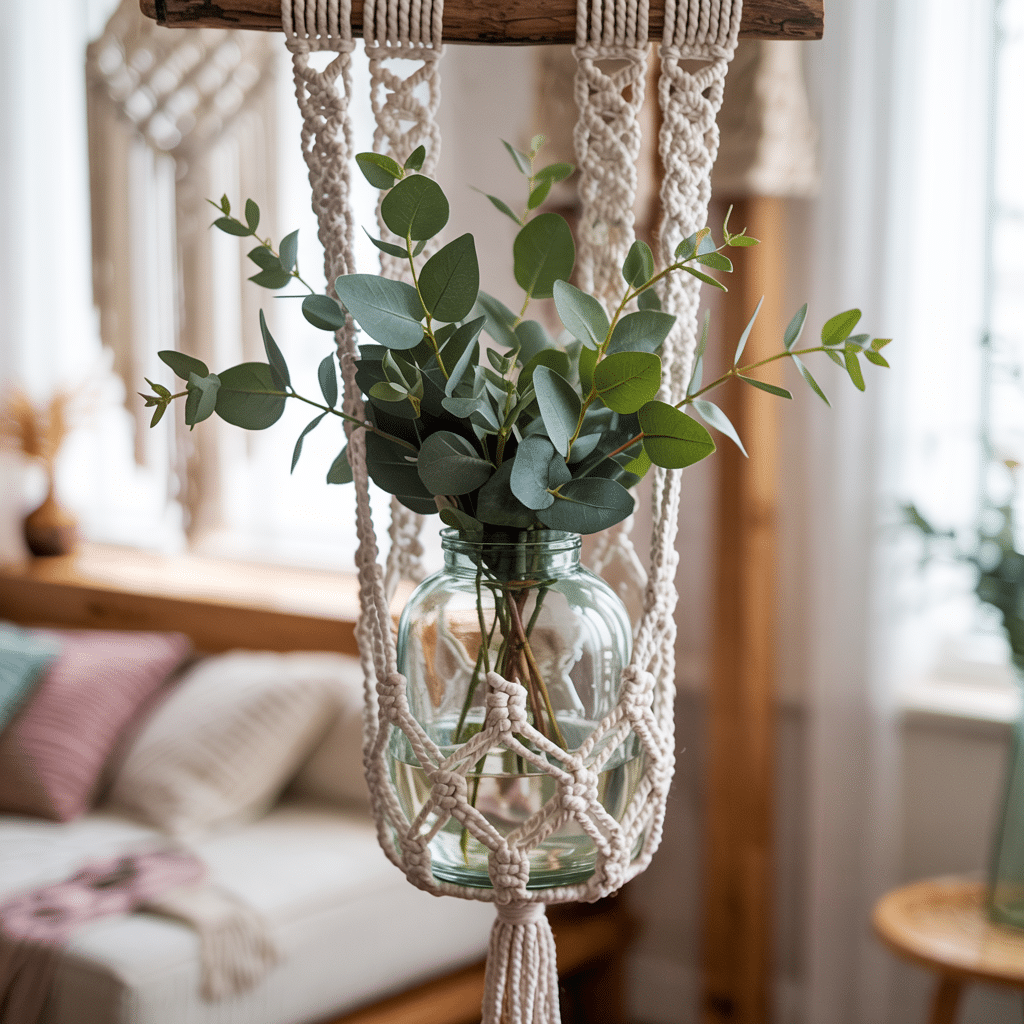
Add a touch of boho chic with macramé netting around your vase. It adds texture and handmade beauty – perfect for plant lovers.
- Where to Use This Idea: Hanging corner nook or shelf
- DIY difficulty level: Medium
- How to Achieve This Look: Use a macramé tutorial to create a slip-on cover for the vase.
9. Use Gold Leaf for a Luxe Touch
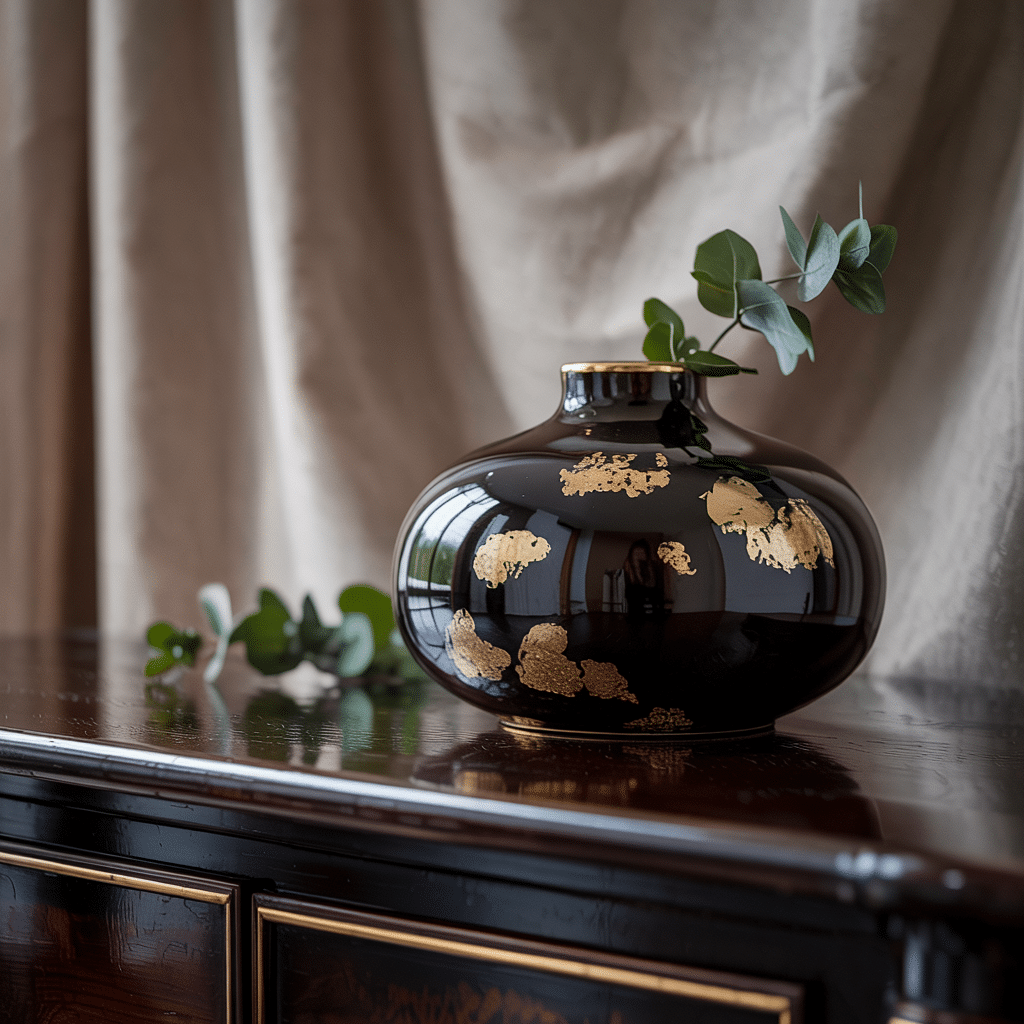
Bring glamour with gold leaf detailing – especially pretty on clear or dark vases. It reflects light beautifully and feels stylish.
- Where to Use This Idea: Dining table or formal entryway
- DIY difficulty level: Medium
- How to Achieve This Look: Apply adhesive, place gold leaf, and seal with a protective finish.
10. Dip Dye with Fabric Paint
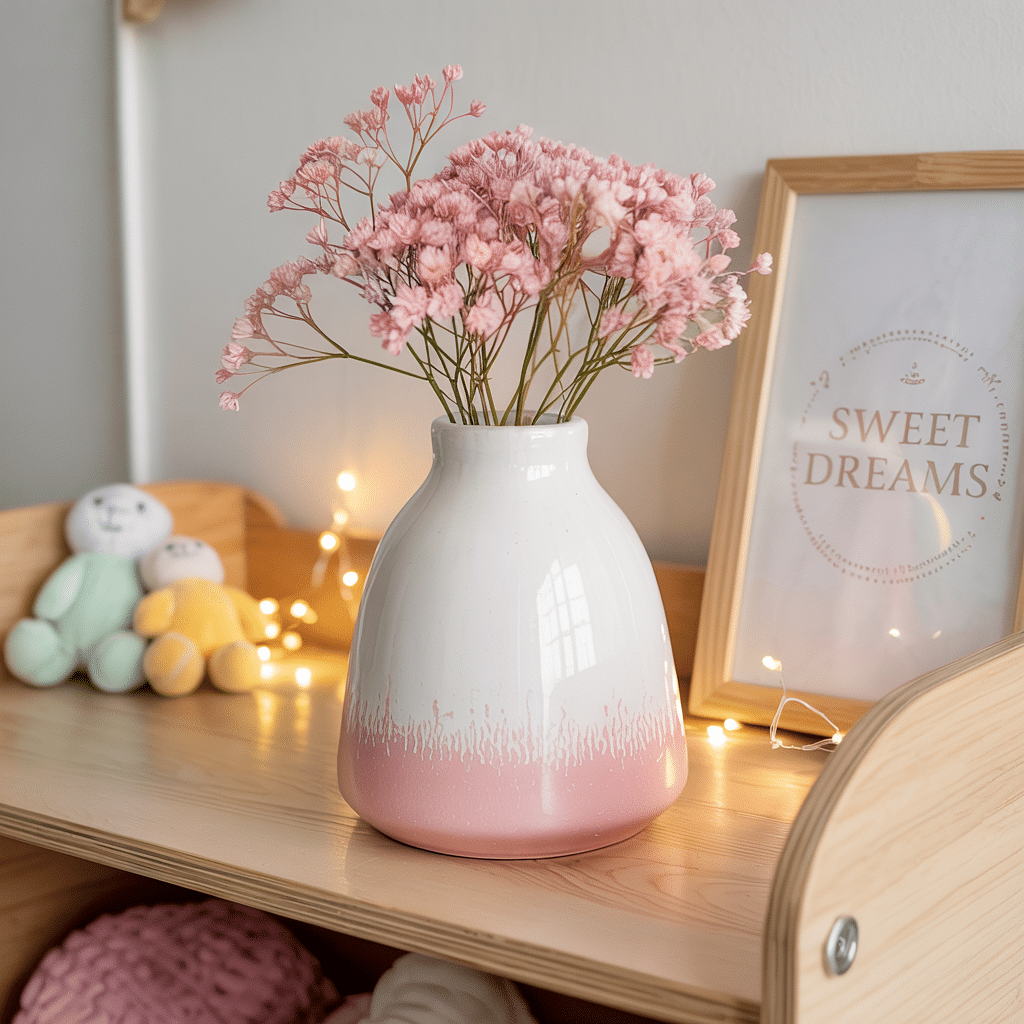
Fabric dye can add a lovely gradient or ombre effect to ceramic vases. Choose soft pastels or bold hues based on the season.
- Where to Use This Idea: Bedroom or nursery shelf
- DIY difficulty level: Medium
- How to Achieve This Look: Dip the vase slowly into fabric dye and let it sit at each level.
11. Wrap with Natural Twigs or Sticks
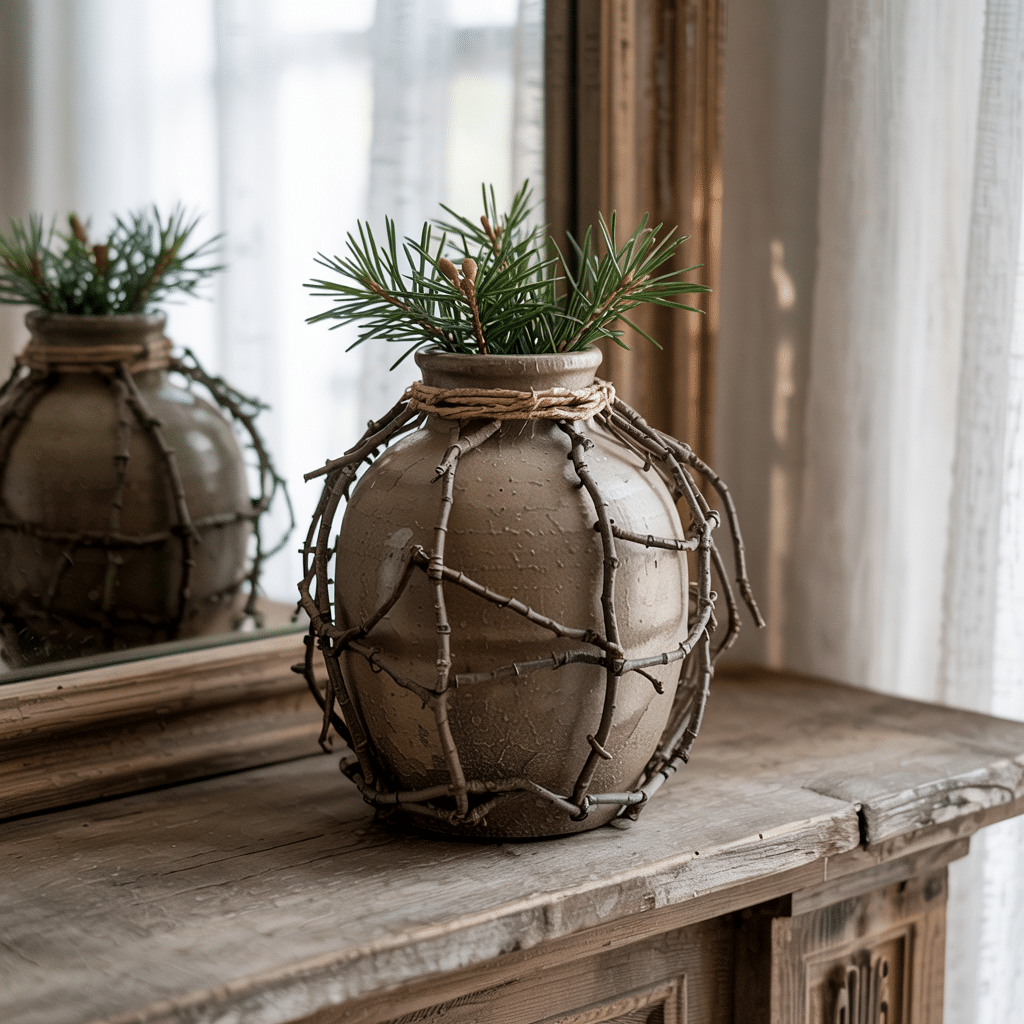
Use trimmed twigs to give your vase a forest-inspired, textural look. It’s eco-friendly and strikingly rustic.
- Where to Use This Idea: Fireplace mantel or garden-themed room
- DIY difficulty level: Easy
- How to Achieve This Look: Hot glue twigs vertically around the vase in close placement.
12. Add Beads or Shells for Coastal Flair
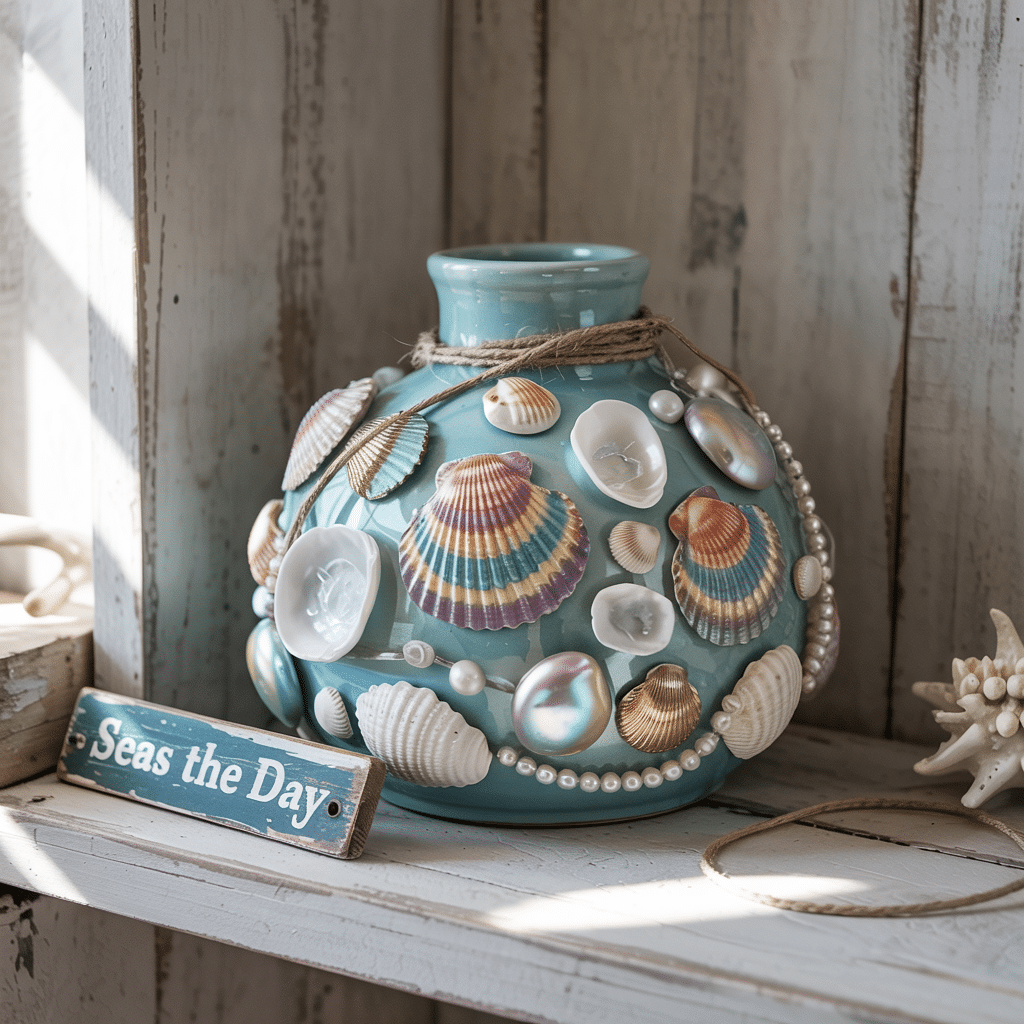
Channel beachy vibes by gluing beads, shells, or driftwood pieces onto your vase. Great for summer decor.
- Where to Use This Idea: Beach house, bathroom, or porch
- DIY difficulty level: Easy
- How to Achieve This Look: Use craft glue to attach decorations in patterns or freely.
13. Add Concrete Texture Paste
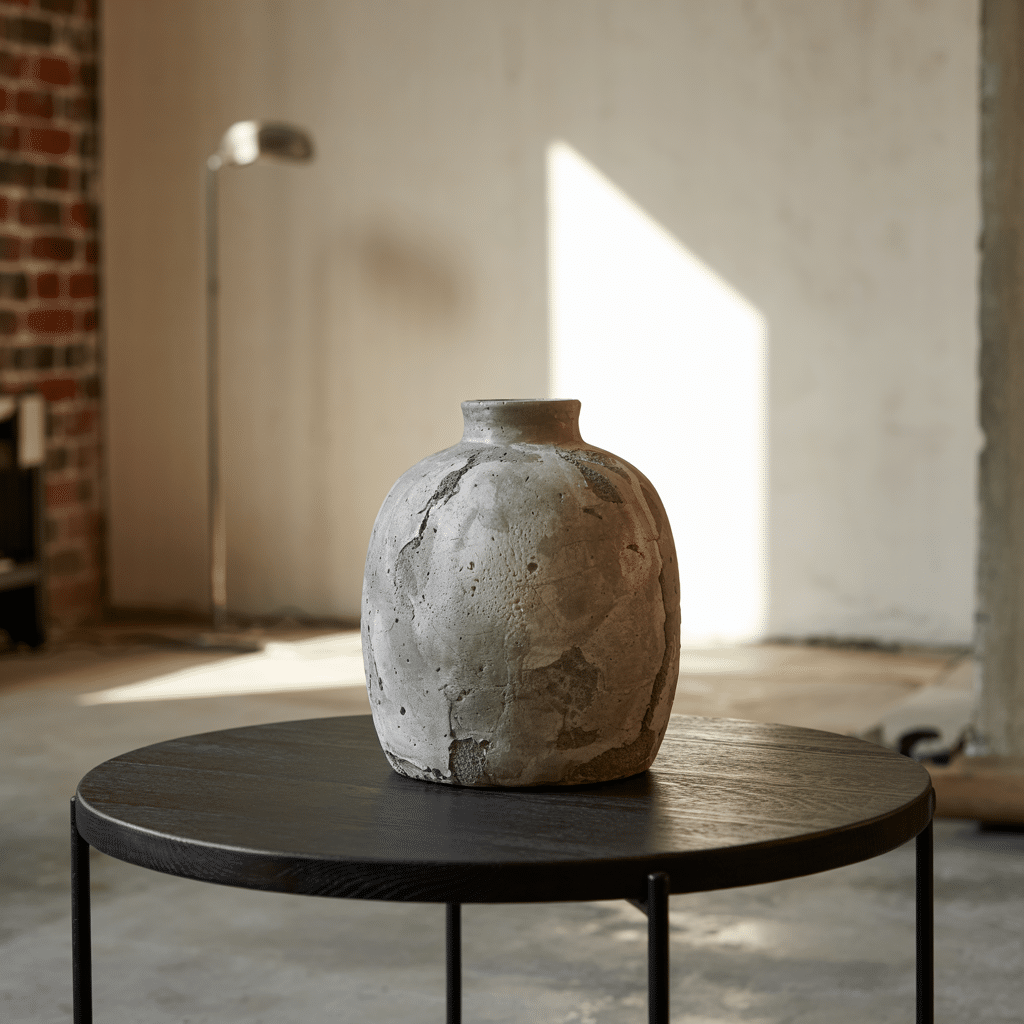
Concrete or cement-style paste adds a modern, raw industrial look. It’s bold and edgy.
- Where to Use This Idea: Loft, modern apartments, or office
- DIY difficulty level: Advanced
- How to Achieve This Look: Apply texture paste and pat with a sponge to simulate stone.
Like the idea? Buy it here: Royal Design Rustik Vase
14. Turn It into a Candle Holder
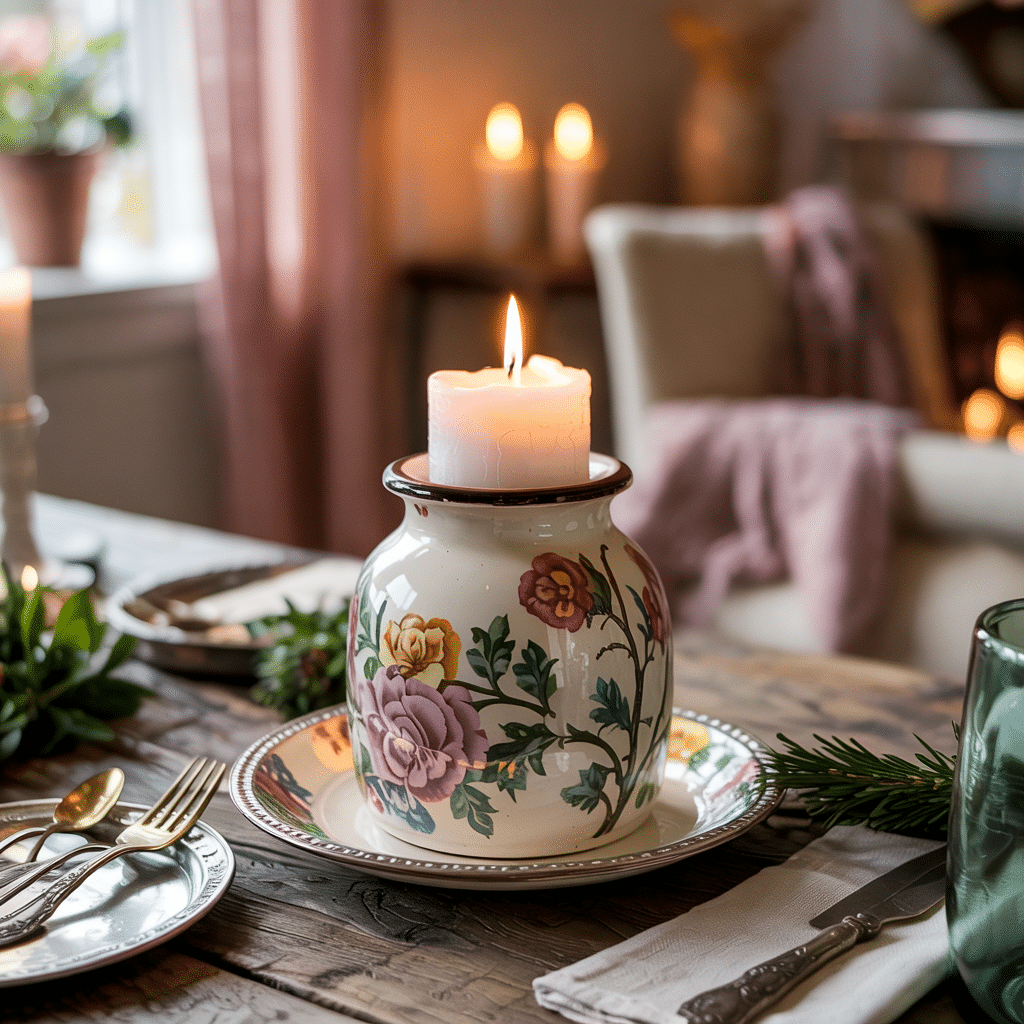
Modify your vase into a statement candle base – especially narrow or small ones. It’s practical and pretty.
- Where to Use This Idea: Dining table or bathroom shelf
- DIY difficulty level: Easy
- How to Achieve This Look: Insert candle inserts or pillar holders, and decorate as desired.
15. Wrap with Yarn for a Cozy Touch
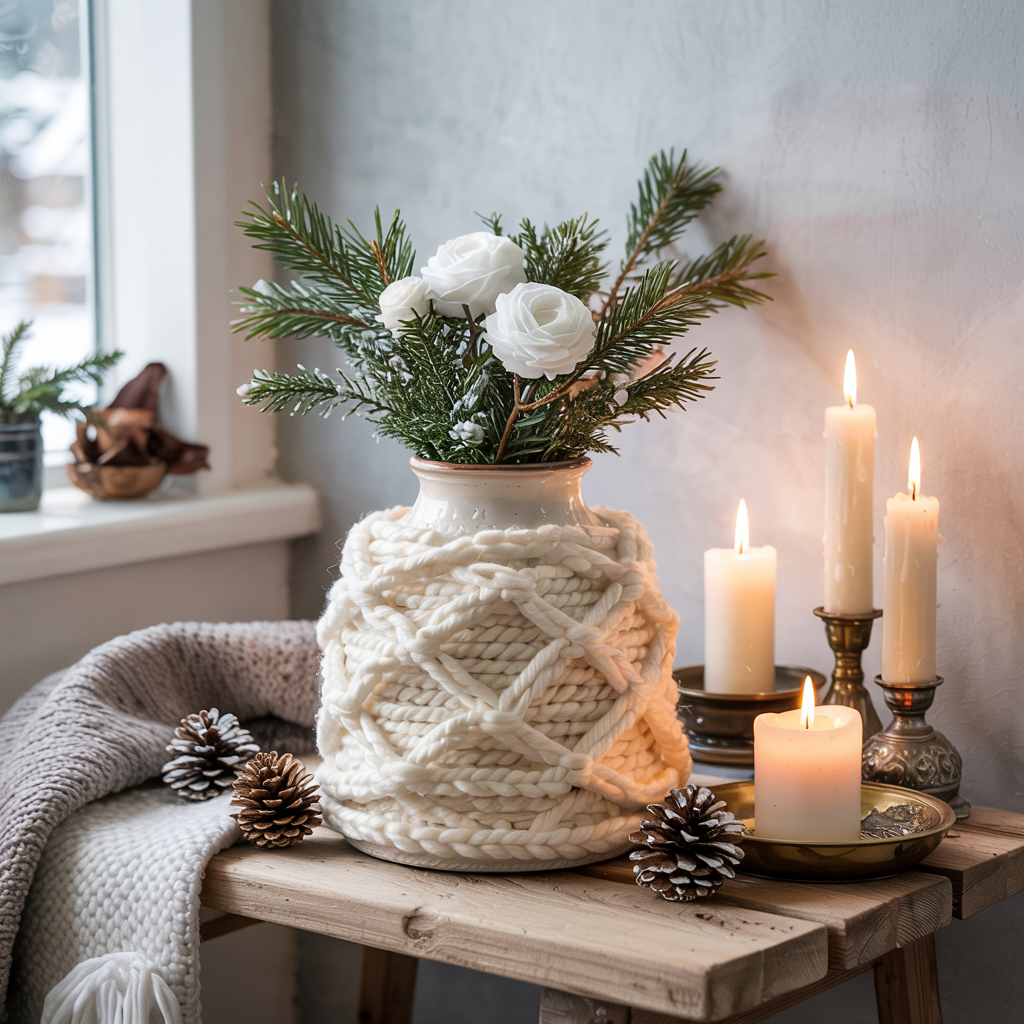
Thick yarn wrapped tightly gives your vase a fuzzy, winter-ready vibe. Great for warm seasonal setups.
- Where to Use This Idea: Winter tablescape or cozy reading corner
- DIY difficulty level: Easy
- How to Achieve This Look: Apply tacky glue and wrap yarn layer by layer around the vase.
And there you have it – versatile and creative ways to upcycle vase designs hiding in plain sight. With just a little imagination and a few materials, you can turn even the most basic vase into a decor statement piece!
Disclaimer: The products mentioned above are based solely on personal experience and are not sponsored or affiliated with any brands.
Wrapping It Up
You now have all the knowledge needed to turn ordinary containers into special pieces for your home. These methods work for any style and budget, making decorating more personal and less costly.
The next time you see a boring vase at a thrift store or hidden in your cabinet, remember these simple techniques.
What old containers will you upcycle vase designs from first? The glass one from your aunt? That ceramic piece from the garage sale? The options are endless!
Drop a comment below sharing which method you want to try first or any questions you might have.
I’d love to hear about your creative plans and help with any concerns!