Soil everywhere but in the pot? We’ve all been there – balancing plants, tools, and dirt while crouching uncomfortably. It’s frustrating and messy, and your back screams in protest after just a few minutes.
But here’s something surprising: your perfect potting bench is probably hiding in plain sight right now. That forgotten dresser in the garage or abandoned table by the curb? Garden gold.
In this guide, I’ll share my top two recommendations for transforming old furniture into amazing potting stations, plus creative ideas that big-box stores can’t match.
You’ll find out how to customize features specifically for your gardening style and space.
The best part? You’ll create something uniquely yours while keeping perfectly good materials out of landfills. Are you ready to convert your gardening experience and that old furniture?
Why Choose an Upcycled DIY Potting Bench for Your Garden?
Most store-bought potting benches look identical and come with identical $200+ price tags. But your garden deserves better than cookie-cutter solutions.
An upcycled potting bench tells a story. The weathered wood from Grandpa’s old workbench or the vintage dresser from your first apartment brings character that no big-box store can match.
Each ding and worn edge represents history with your gardening chapter just beginning.
Customize it perfectly for your needs. Love growing herbs? Add specialized shelving for small pots. Have lots of seedlings? Install a grow light underneath an upper shelf. With upcycling, you’re the designer.
The environmental impact is significant, too. Americans send over 12 million tons of furniture to landfills annually. Your project rescues a piece from that fate while creating something genuinely useful.
The best part? You’ll save hundreds while creating something uniquely yours that works better than expensive alternatives. Isn’t that what sustainable gardening is really about?
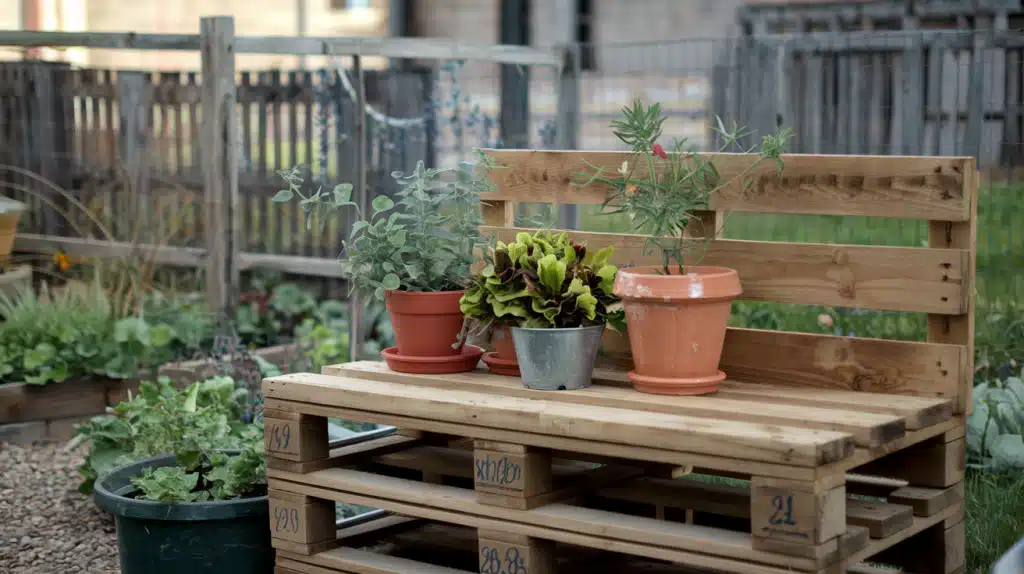
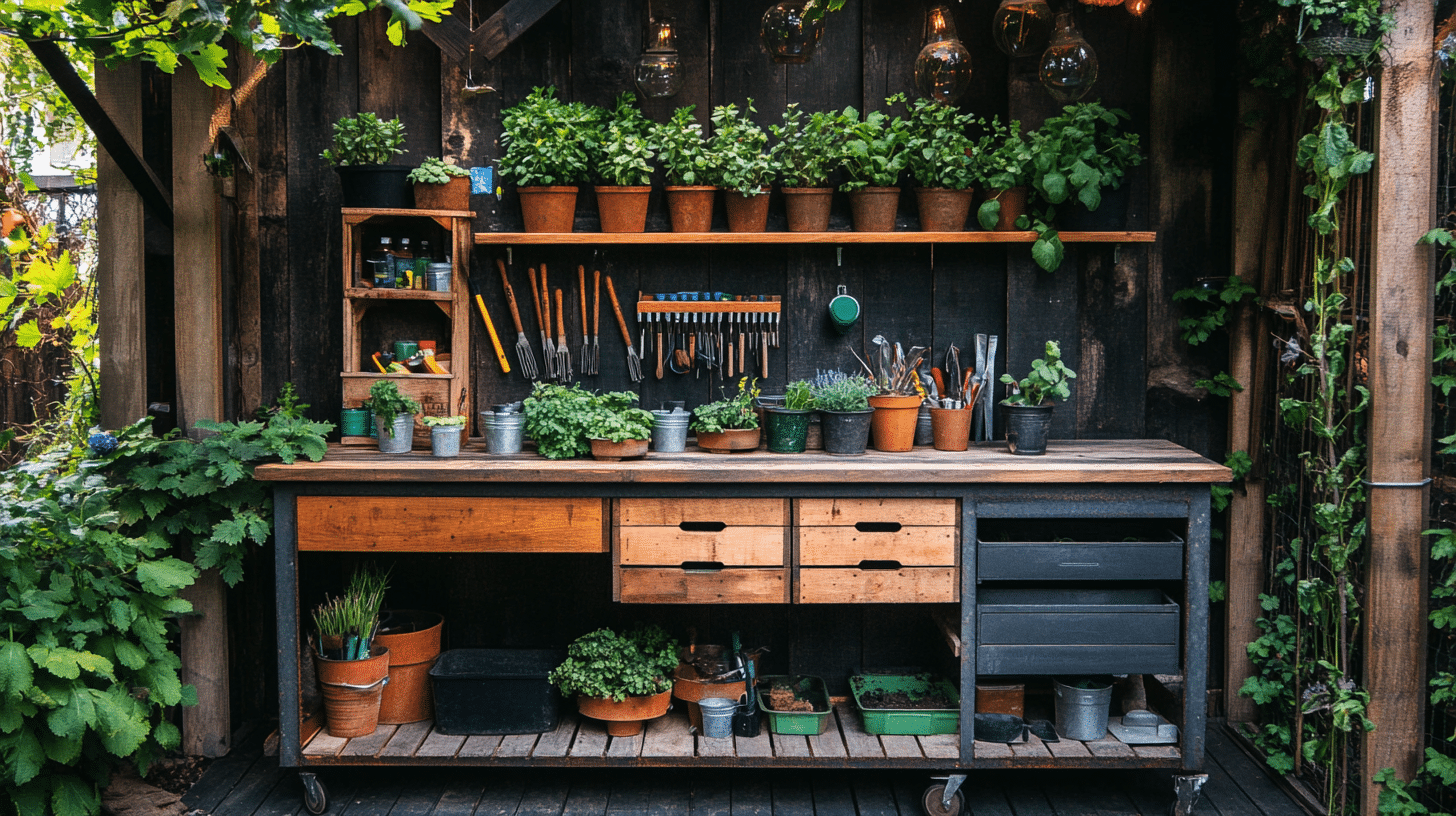
How I Have Upcycled My DIY Potting Bench
I upcycled an old cabin bed into a practical DIY potting bench. By repurposing its legs, side pieces, and slats, I created a compact workspace with added shelves for storage.
After sanding, assembling, and painting, it became a charming, functional addition to my garden. So, without wasting any further time, come with me for a magical change.
Supplies Required
Tools:
-
Hand saw or power saw
-
Drill and drill bits
-
Screwdriver or impact driver
-
Measuring tape
-
Sandpaper or sander
-
Clamps
Materials:
-
Old cabin bed or discarded furniture
-
Screws (for assembly)
-
Wood glue
-
Extra shelves or wood for additional storage
-
Paint or stain (optional)
-
Braces for added stability
Detailed Instructions for Building Your Upcycled DIY Potting Bench
1. Plan Your Potting Bench
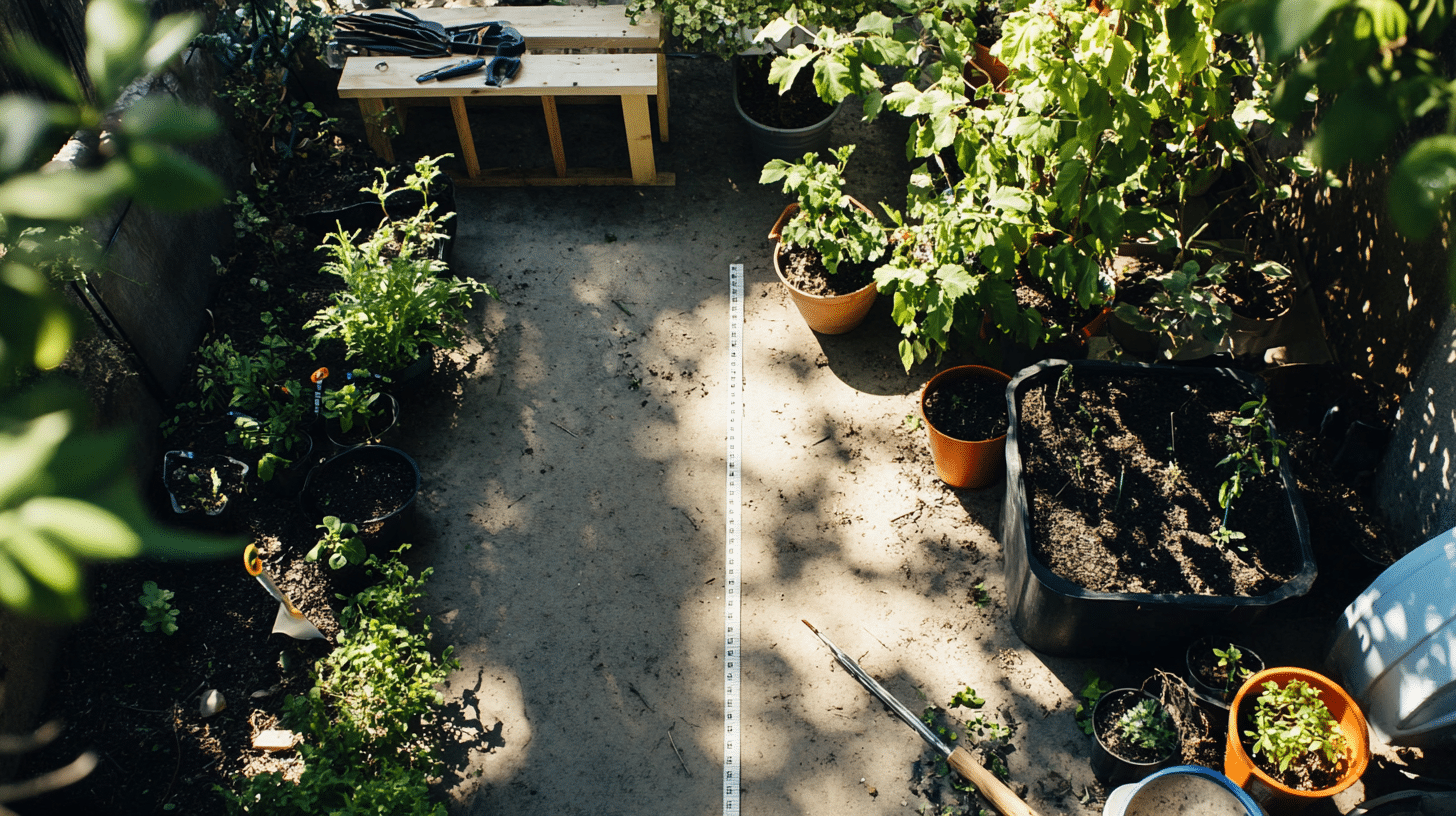
First, measure the space where you want to place your potting bench, ensuring it fits through doors and into your garden or greenhouse.
I decided to repurpose an old cabin bed, which is a great option because it’s sturdy and has multiple parts that can be used.
If you’re using a different piece of furniture or wood, make sure to plan accordingly so you can cut it to the desired size, typically about 1.5 feet deep for a compact potting bench.
2. Disassemble the Old Bed
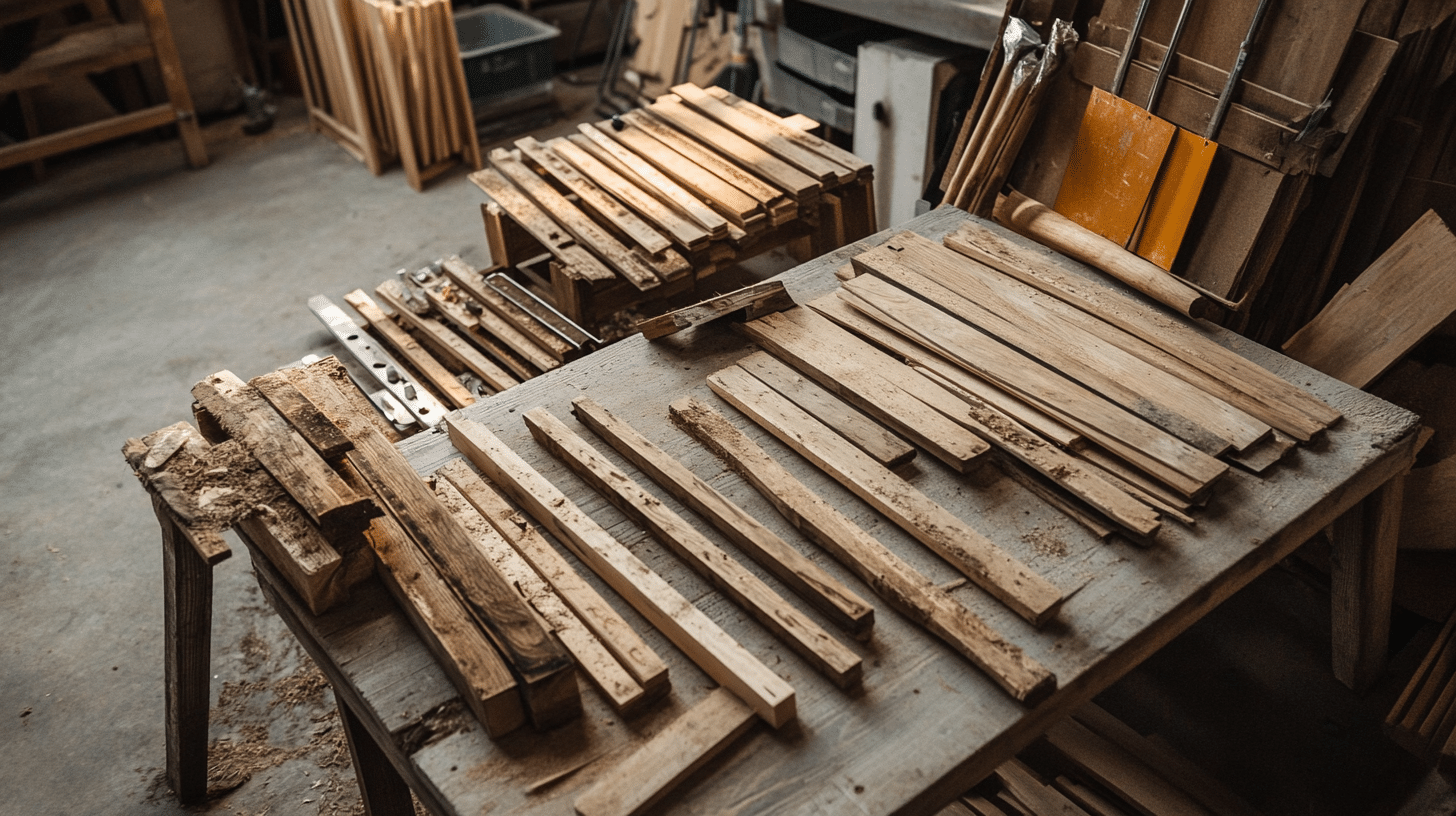
The next step is to carefully disassemble the bed. Keep all parts intact, as they will serve as the legs, side pieces, and shelves for your bench.
For this project, I used the legs, the side pieces that supported the bed slats, and the slats themselves.
After dismantling, set aside any extra parts, such as additional shelves, as they can be used for other projects or extra storage later.
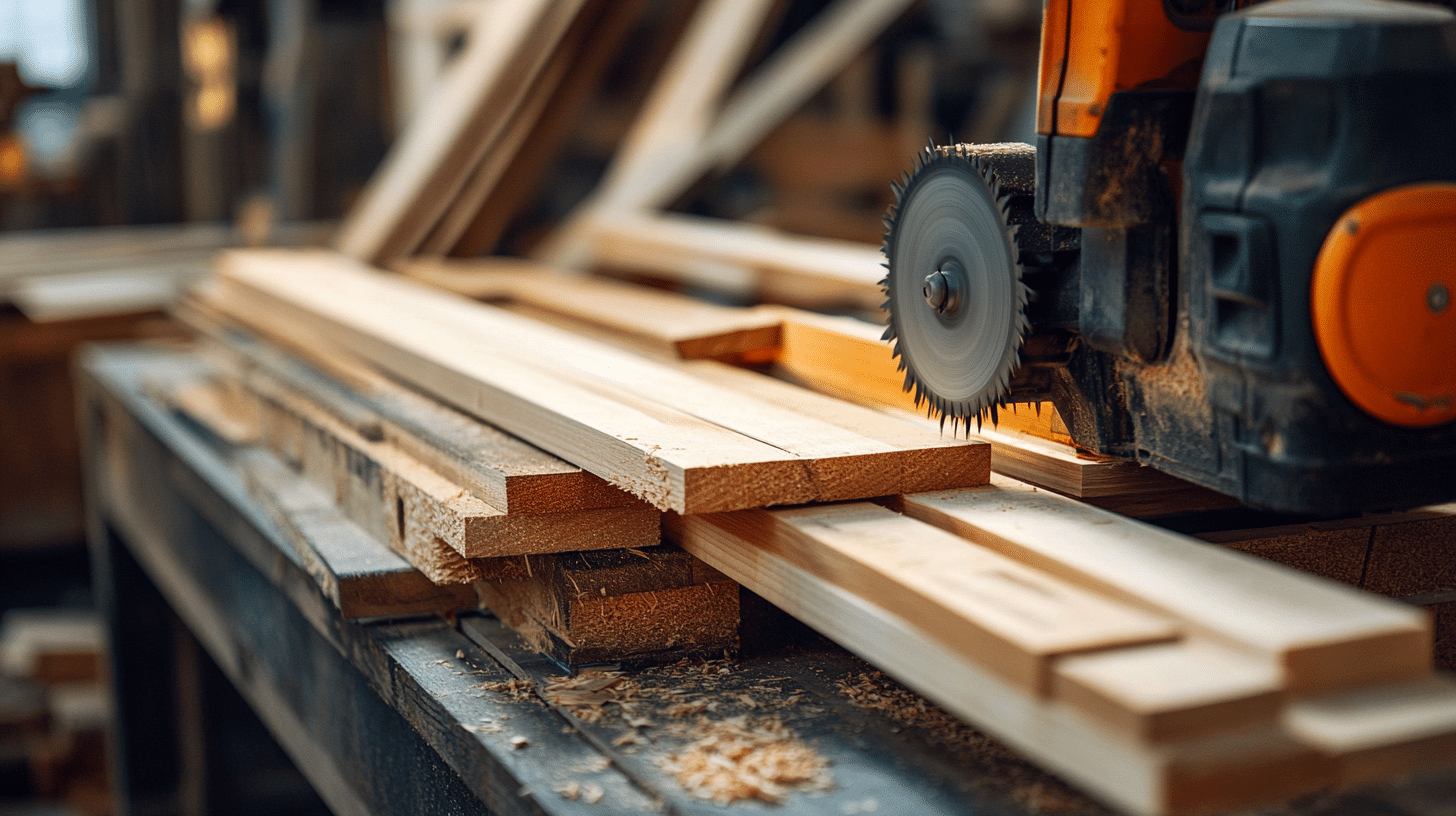
3. Measure and Cut the Slats

Now, measure your slats to the desired size. I cut mine to 18 inches in length to fit the space in my greenhouse.
You can adjust the measurements based on your available space and preferences. Be sure to measure twice before cutting, and use a hand saw or power saw for clean, straight cuts.
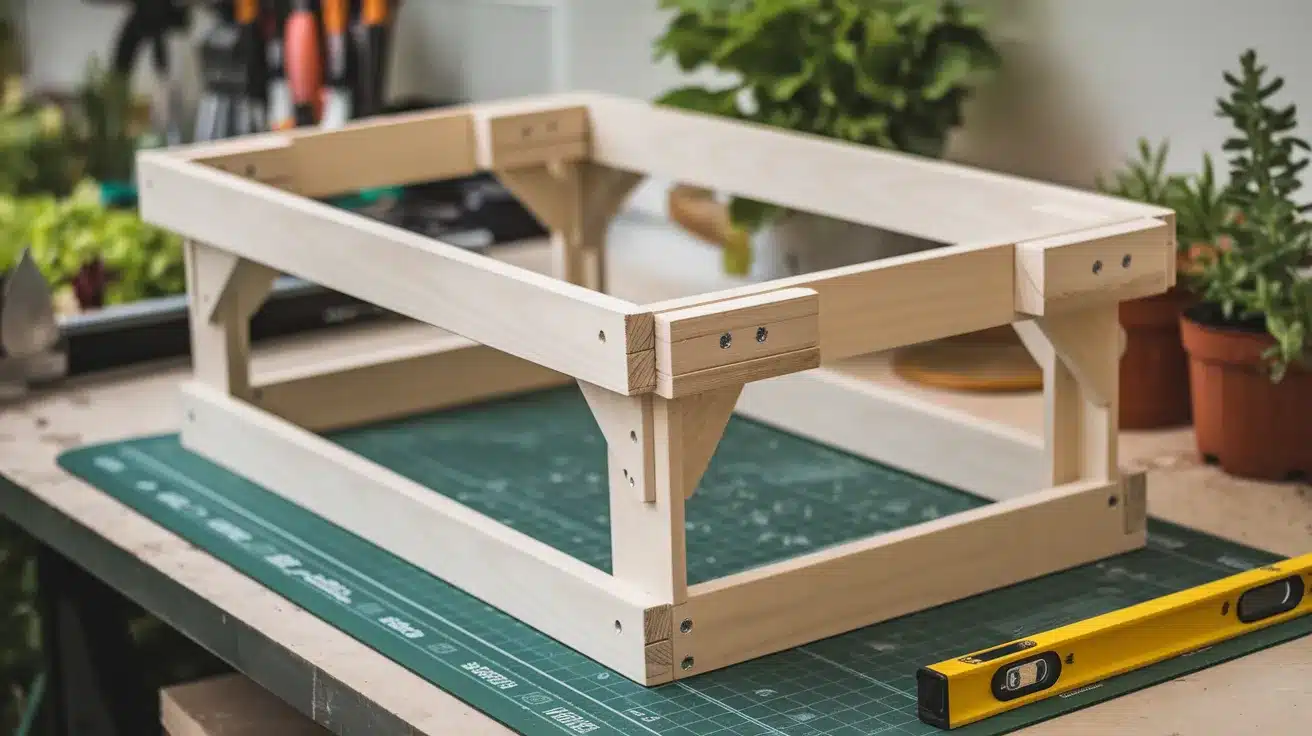
4. Assemble the Frame
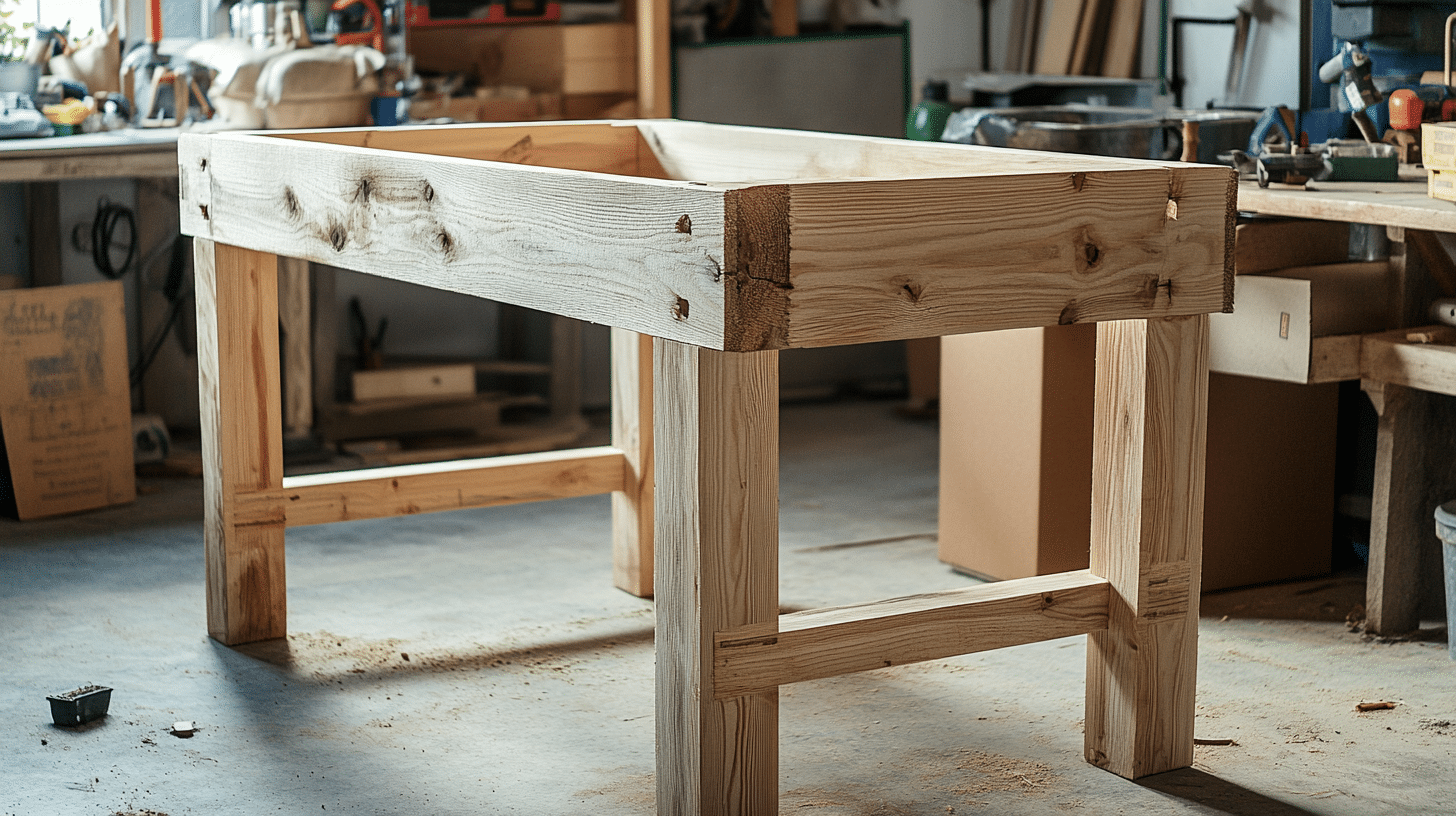
Once all the pieces are cut, it’s time to assemble the frame. Start by attaching the legs to the side pieces using screws.
Make sure the frame is square, and use wood glue for extra stability.
I also added braces to the legs to prevent them from splaying out over time, which adds strength and durability.
5. Attach the Shelves

For extra functionality, I used the extra bed slats to create shelves. You can add these on the sides or under the top frame to store pots, tools, or other gardening supplies.
Simply measure where you want the shelves to sit and secure them with screws.
Don’t forget to brace the legs to avoid sagging or shifting under the weight.
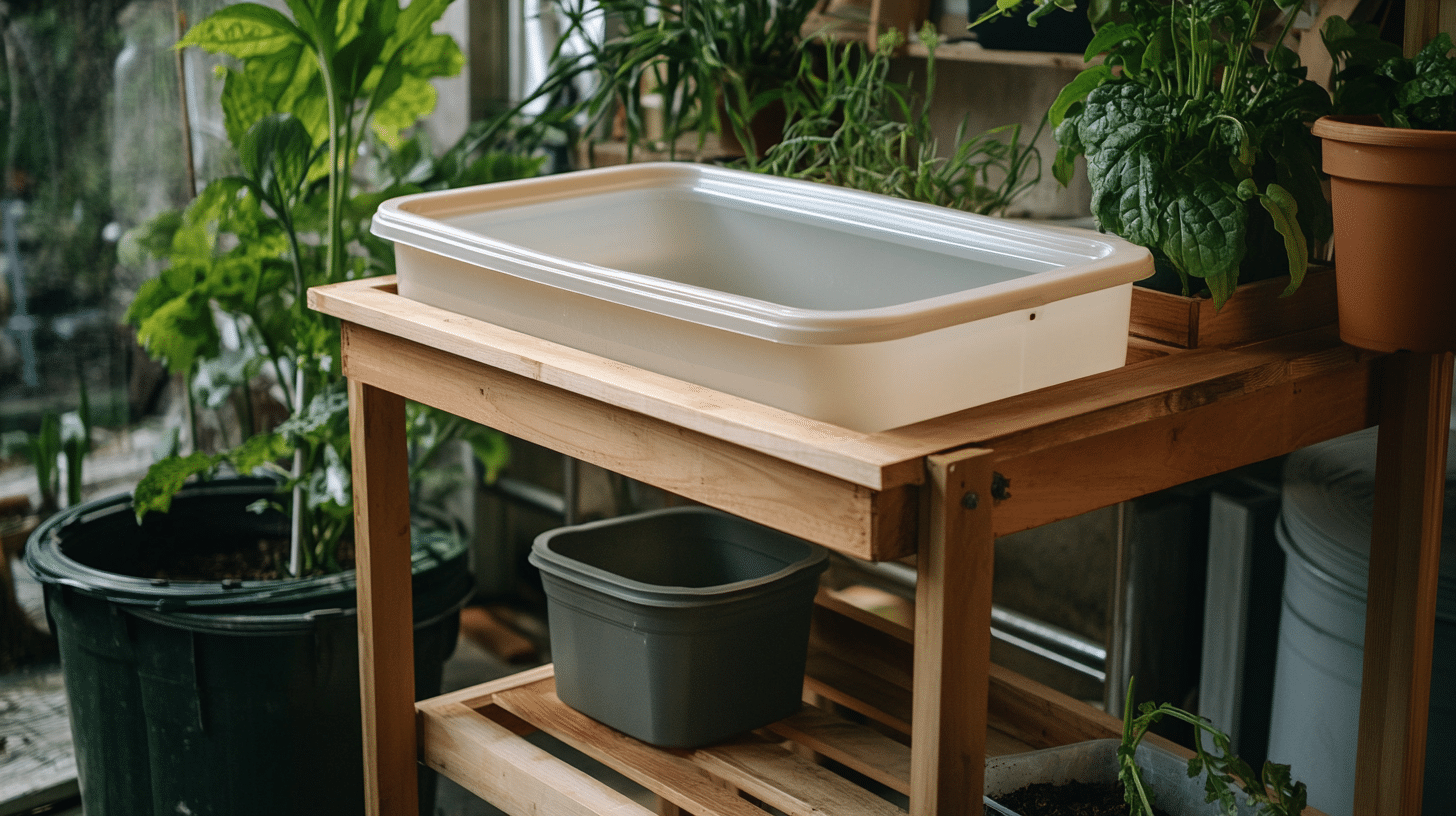
6. Add the Work Surface
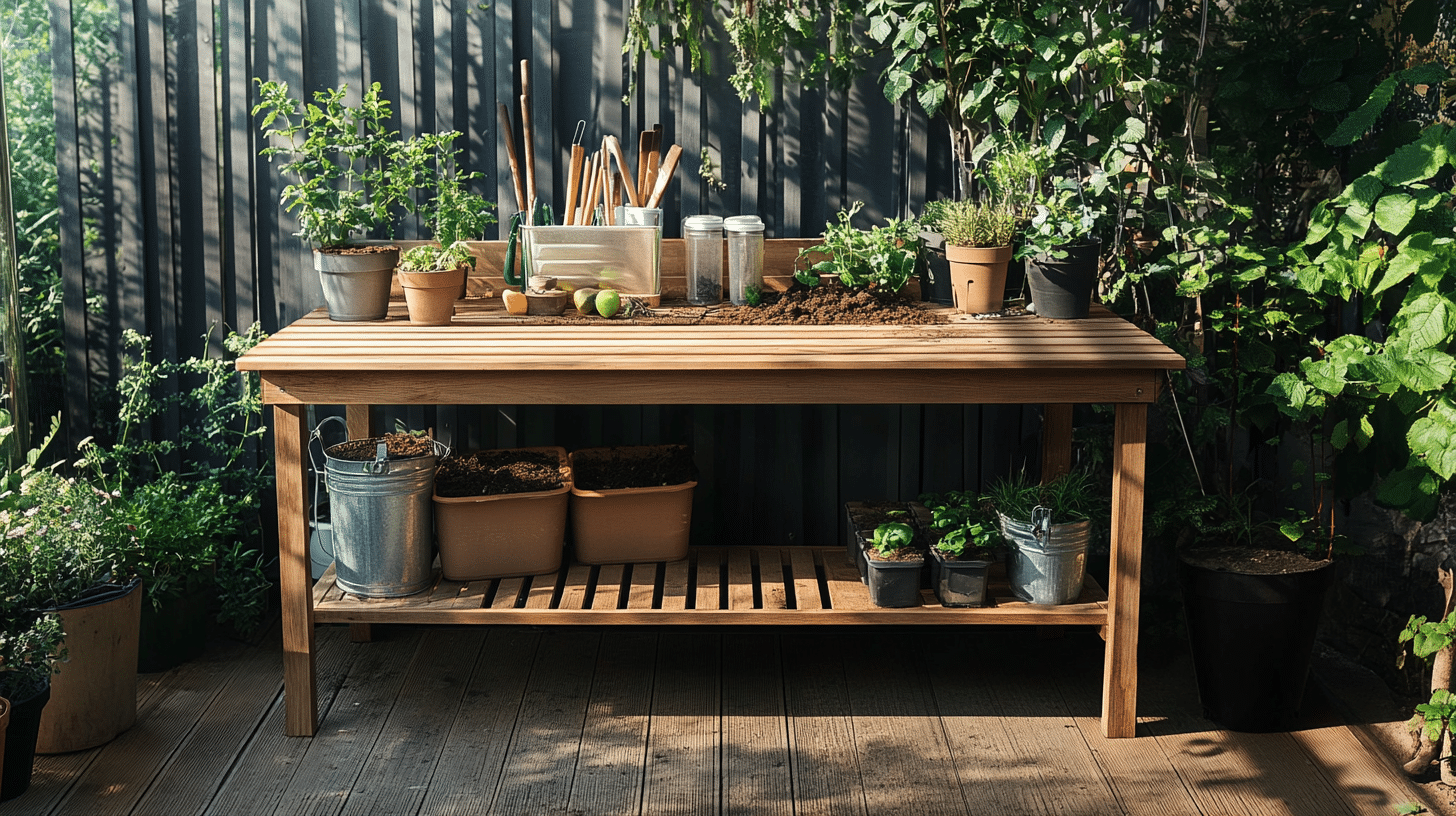
The top of the bench is essential for working with plants, so I made sure it was stable and spacious. Arrange the slats to create an even surface, leaving gaps for dirt to fall through.
The slats should be securely fastened with screws to ensure the surface holds up to heavy use.
If you want, you can also add a sink by creating a hole in the surface and securing a small tub or container underneath for water drainage.
7. Final Touches and Painting
After assembling everything, I sanded the edges to smooth out any rough spots.
You can also paint or stain the bench to give it a fresh look and to protect it from the elements.
If you’d like, add hooks or additional storage for tools or gloves, and place the bench in your greenhouse or garden. It’s now ready for planting and repotting!
For more details, refer to the YouTube video below:
Making from Scratch: Another Simple Potting Bench DIY
A simple potting bench can be made using basic woodworking techniques. Start by measuring and cutting wood for the frame, then add shelves for extra storage.
Secure everything with screws, ensuring stability. Finish the project with a smooth work surface and a coat of paint for a functional and stylish garden addition.
Supplies Required for Making Potting Bench
Tools:
-
Saw (for cutting wood)
-
Drill and drill bits
-
Screwdriver or impact driver
-
Measuring tape
-
Nails or screws (for back panel)
-
Level
-
Sandpaper or sander
-
Clamp
Materials:
-
1×4 cedar boards (for frame and surface)
-
Plastic tub (for sink)
-
Wood screws or decking screws
-
Wood glue
-
Hardware cloth (for back panel)
-
Wood for shelf and frame
-
Wood for legs and supports
-
Optional: Paint, stain, or sealant
Beginner’s Guide to Building Your Potting Bench
1. Plan and Measure
Begin by sketching a design of your upcycled diy potting bench. Measure the space where you plan to place the bench to ensure it fits properly.
Consider the height and width of the bench, as well as space for a sink or shelves if desired.
2. Gather Materials

Look for upcycled materials, such as wooden pallets, crates, or old furniture. Choose wood that is durable, like cedar, which resists decay, or any other sturdy, weather-resistant material.
You’ll need 1×4 cedar boards for most of the construction.
3. Cut Your Wood Pieces
Cut your wooden planks into the required sizes, ensuring you have enough pieces for the frame, work surface, and any shelves. Carefully measure for accuracy.
For the top section, leave gaps between boards to allow dirt to fall through easily while working with plants.
4. Build the Frame
Assemble the frame by creating a rectangular structure using the 1×4 cedar pieces. Start by creating the top and bottom frames and then attach the legs.
Pre-drill holes and use decking screws to securely fasten the parts together.
Ensure the structure is square and sturdy by checking with a level.
5. Install the Sink
If incorporating a sink, select a plastic tub and place it in the center of the bench’s work surface. Make sure the tub is fully supported by the wooden frame.
Drill a hole in the bottom of the tub for drainage and connect it to a water drainage system or a bucket for recycling the water.
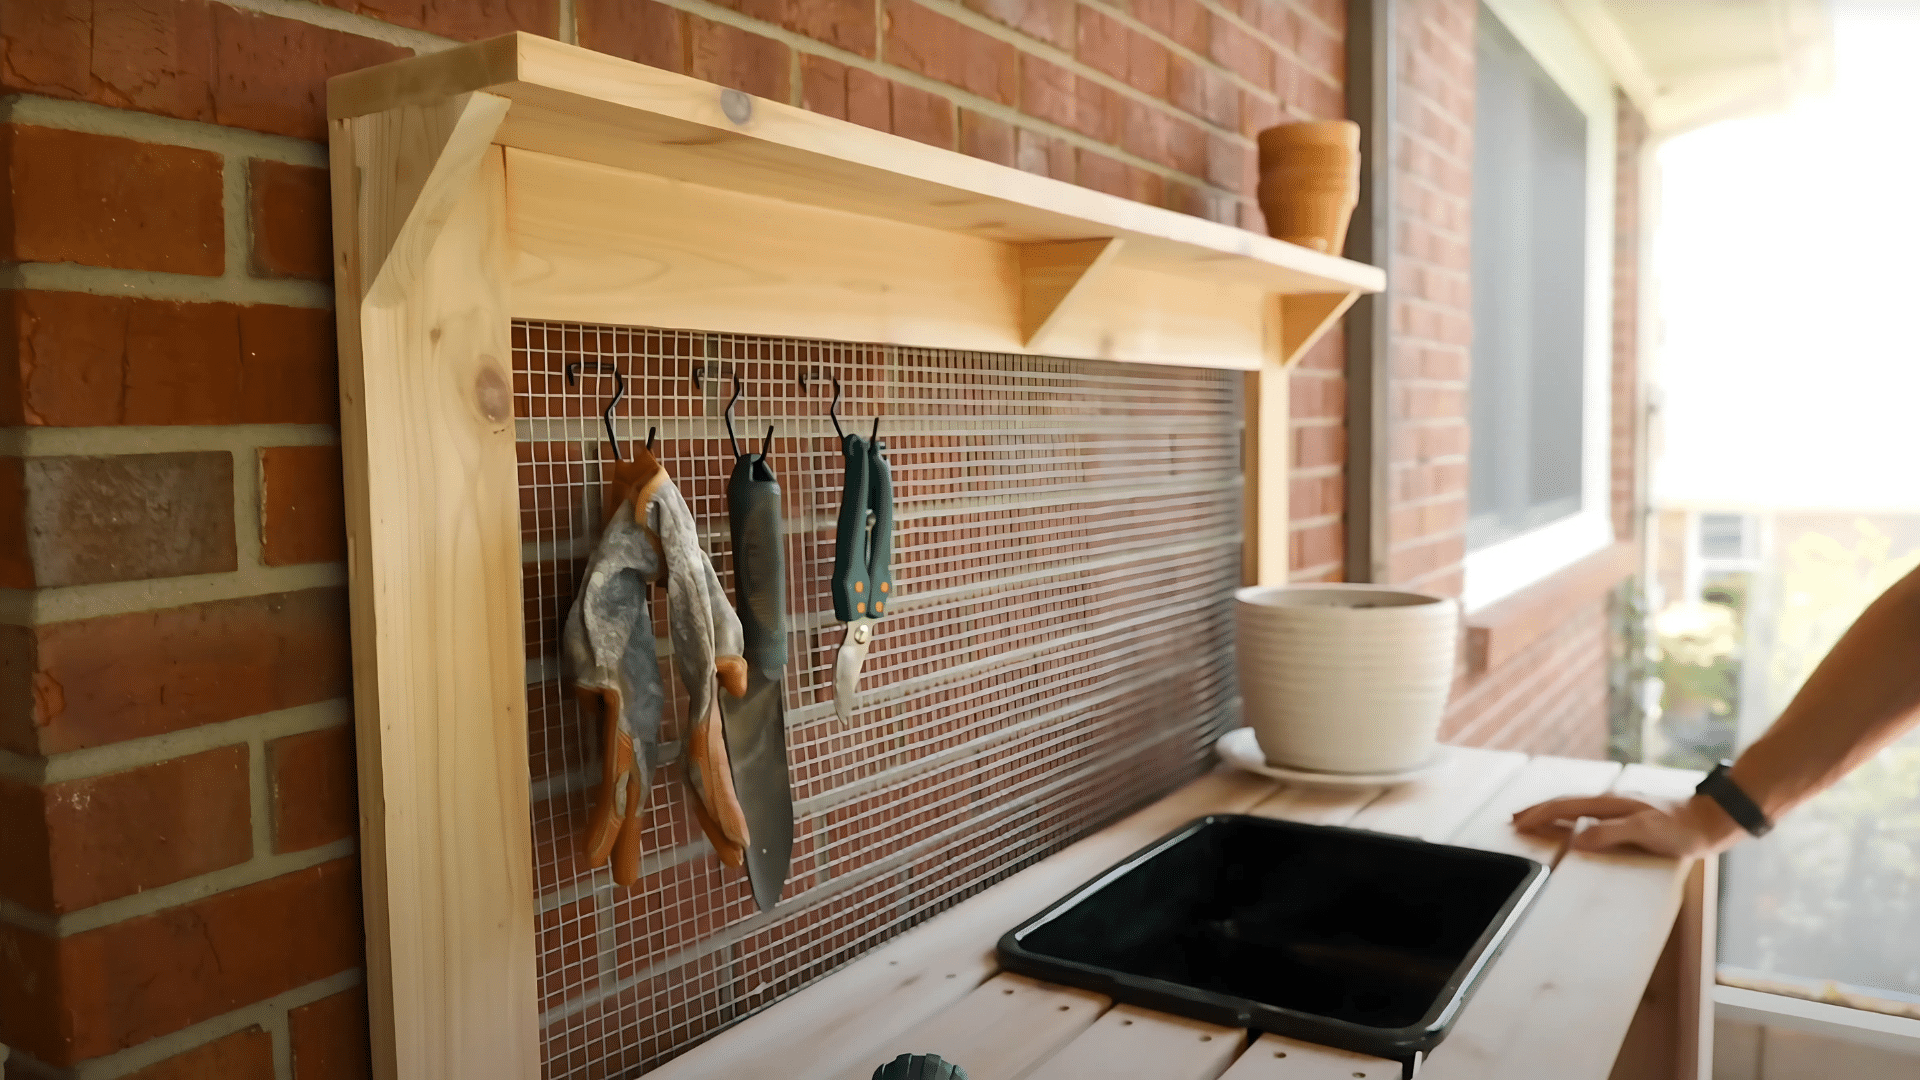
6. Add the Shelf and Back Panel
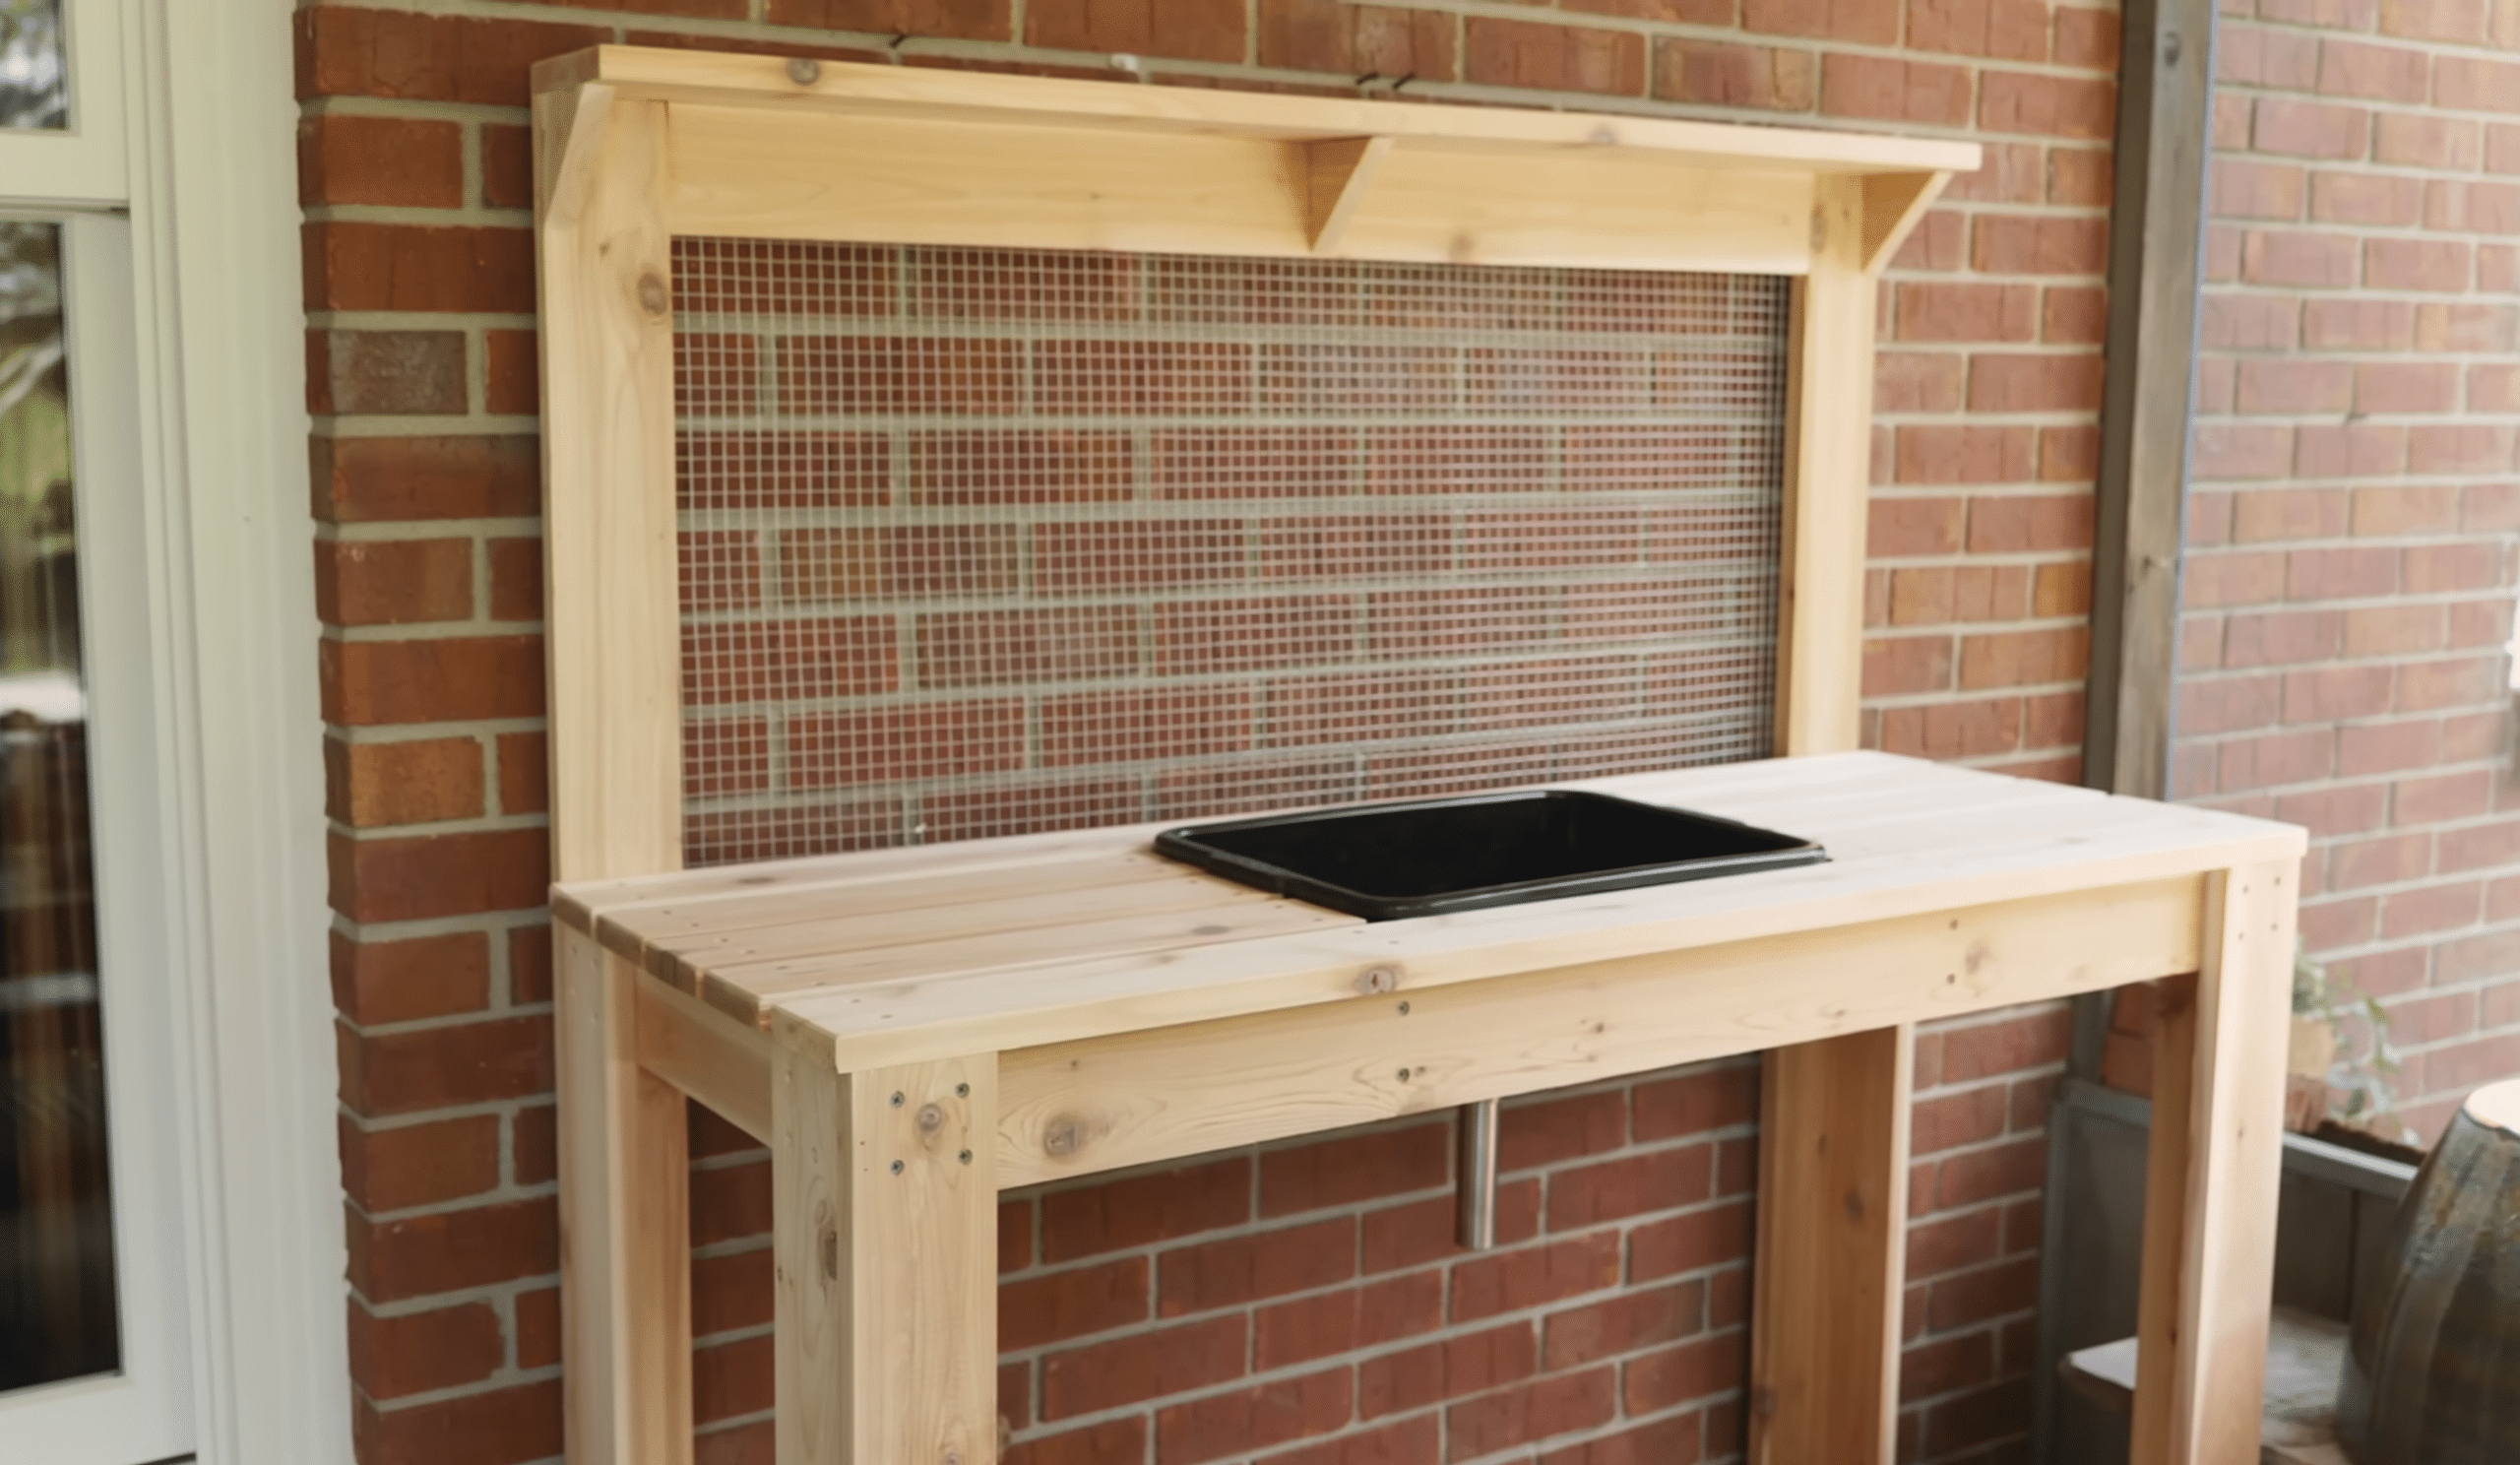
Add a shelf across the top section of the potting bench for extra storage.
Use pocket holes and screws to secure the shelf in place. Install a back panel using more upcycled wood or hardware cloth for hanging small tools and gloves.
This can be attached with screws or nails.
7. Final Touches
Once the frame, sink, and shelves are installed, focus on any finishing touches. Sand down any rough edges, and paint or stain the wood if desired.
Consider adding hooks or additional small shelves for extra storage. Place the bench in your garden or porch area, and it’s ready for use!
For more clarity and details, refer to the video below:
Customizing Your DIY Potting Bench in Creative Ways
1. Add a Built-in Sink
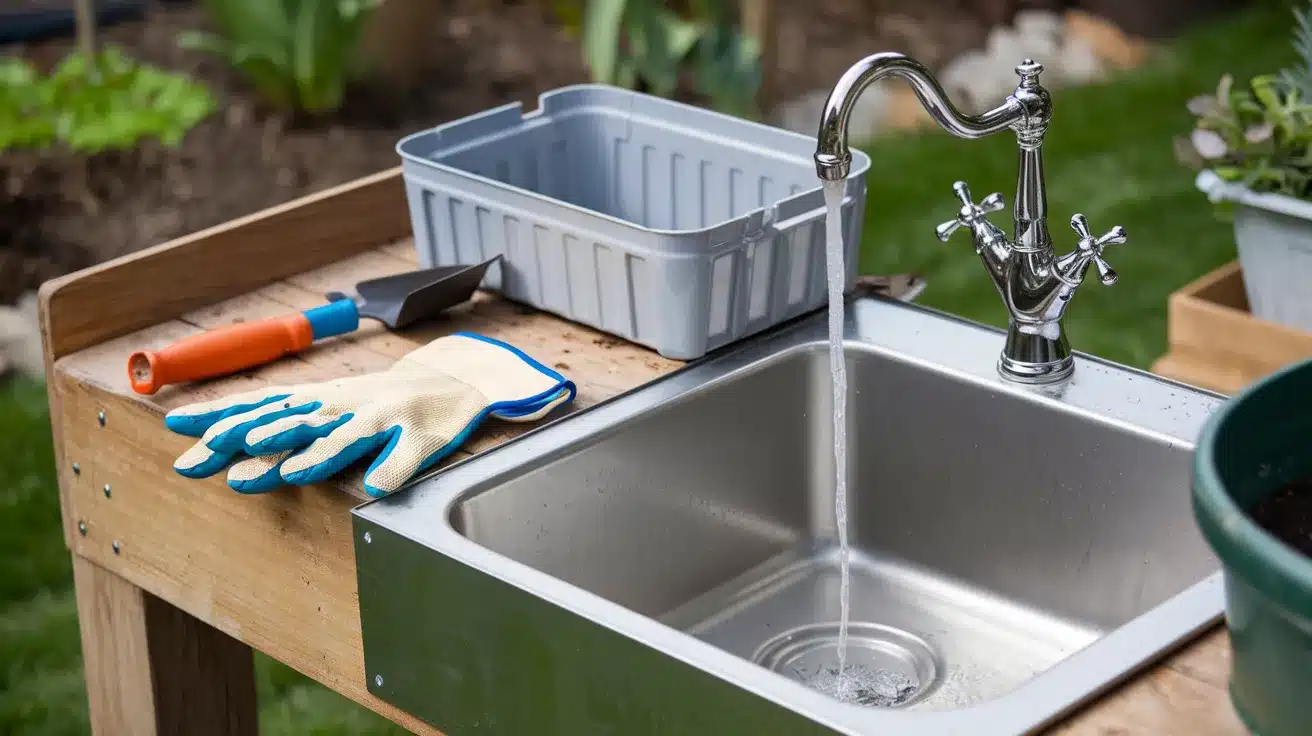
Cut a hole in the work surface and install a small plastic or stainless-steel sink; set up drainage to direct water to a container or external drain.
- Durability Factors: Use a waterproof basin and ensure sealed edges to prevent leaks.
- Budget Range: $30–$200
2. Incorporate a Rolling Cart or Drawer System
Add a rolling cart or drawer system beneath or beside the bench for additional storage.
- Durability Factors: Use heavy-duty wheels for mobility and strong materials for the drawers.
- Budget Range: $30–$200
3. Add a Herb Garden Shelf
Install a shelf on the top of the bench to hold herb pots or small plants.
- Durability Factors: Use weather-resistant materials for the shelf to handle moisture.
- Budget Range: $20–$75
4. Use Recycled Glass for the Work Surface
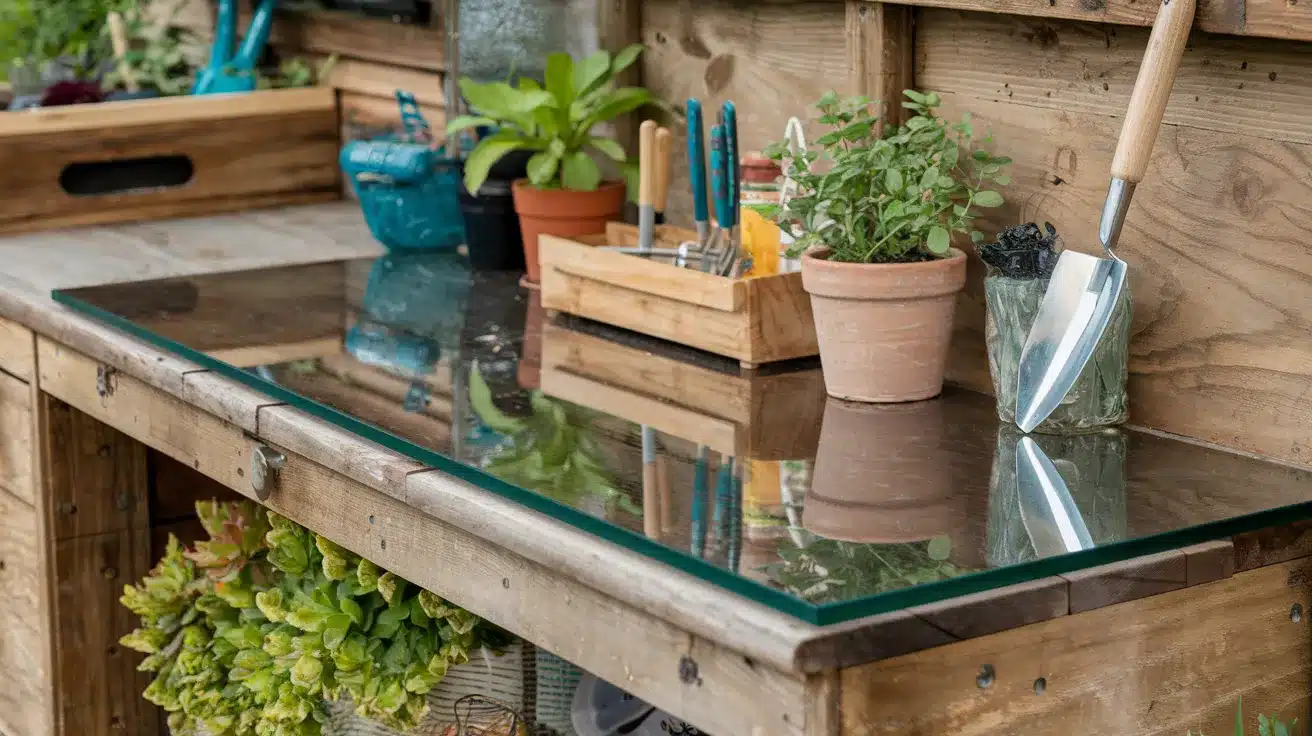
Use recycled glass from old furniture or windows as the work surface for a smooth, easy-to-clean top.
- Durability Factors: Ensure the glass is thick and tempered for strength.
- Budget Range: $50–$150
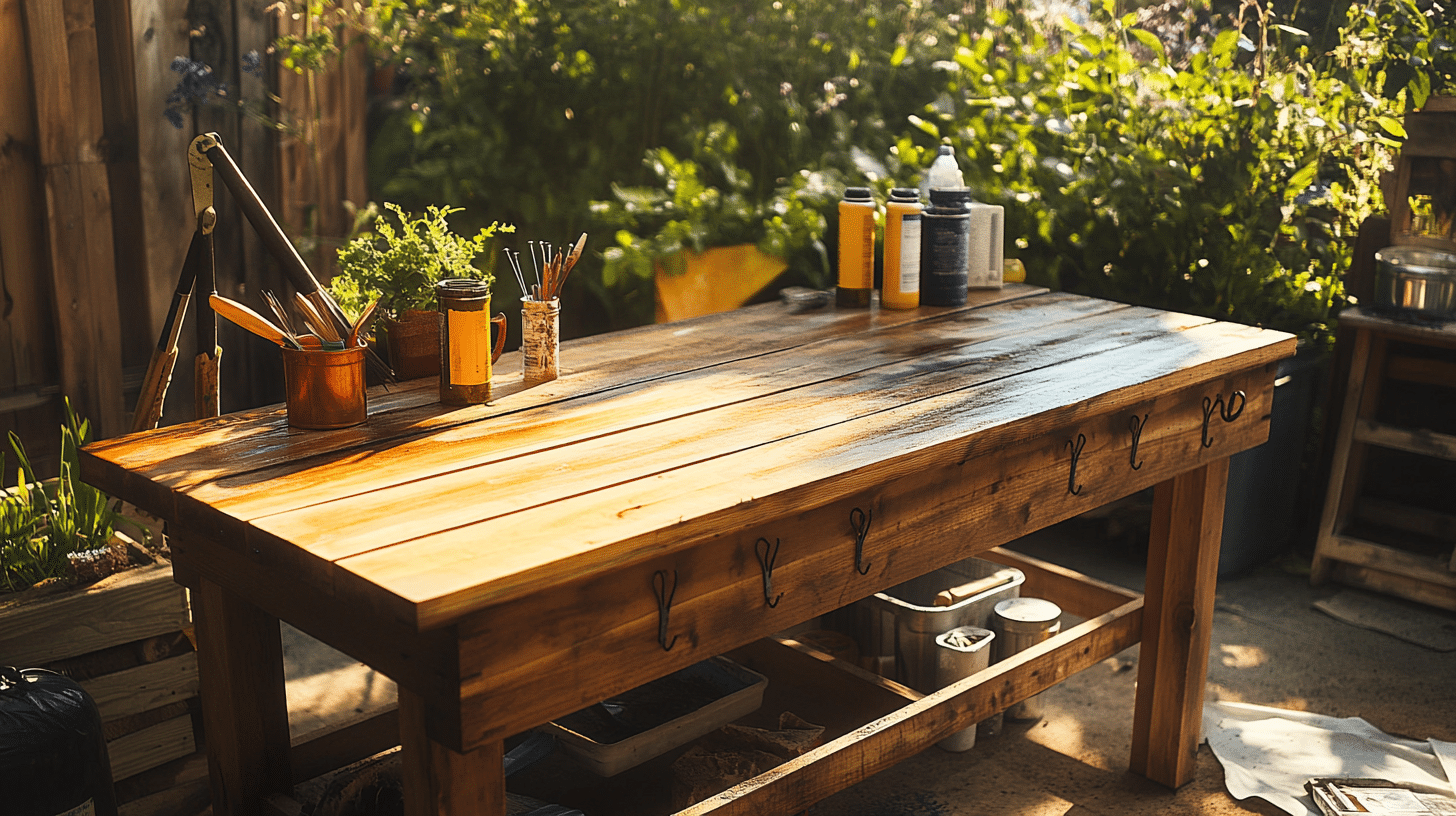
Maintenance Tips for Your Upcycled DIY Potting Bench
Your handcrafted potting bench is both a functional workspace and a garden showpiece. With proper care, it will serve you beautifully for many growing seasons.
These simple maintenance steps protect your upcycled creation from weather damage, daily wear, and the natural challenges of garden work.
- Clean after each use – Brush off soil and plant debris to prevent moisture-trapping buildup. A simple paintbrush works perfectly for quick cleanups.
- Apply outdoor sealant yearly – Water is wooden furniture’s worst enemy. Refresh your protective coating each fall before winter weather arrives.
- Check hardware monthly – Temperature changes and heavy pots can loosen screws and bolts. A quick tightening prevents wobbles and keeps everything stable.
- Protect decorative elements – Store cushions, fabric items, and non-weatherproof decorations indoors during rain or harsh weather.
- Cover during extreme seasons – In harsh climates, use a fitted cover or tarp for winter protection against snow and ice.
- Inspect for damage in spring – Before the busy growing season, check for any winter damage that needs repair.
- Keep tools clean before storing – Wipe down tools before hanging them on your bench to prevent rust stains and soil buildup.
- Refresh surfaces occasionally – Sand and refinish work surfaces every few years to remove stains and roughness from constant use.
Conclusion
My new upcycled potting bench is more than just a convenient gardening workspace; it’s my statement about sustainability and creativity in action.
By breathing new life into discarded materials, I’ve created something uniquely mine while keeping valuable resources out of the landfill.
As I organize my tools, pot my plants, and nurture my garden from this personalized station, I take pride in knowing I’ve crafted a solution that aligns with both my gardening needs and my environmental values.
The character and history in each repurposed piece add a story that no store-bought bench could tell.