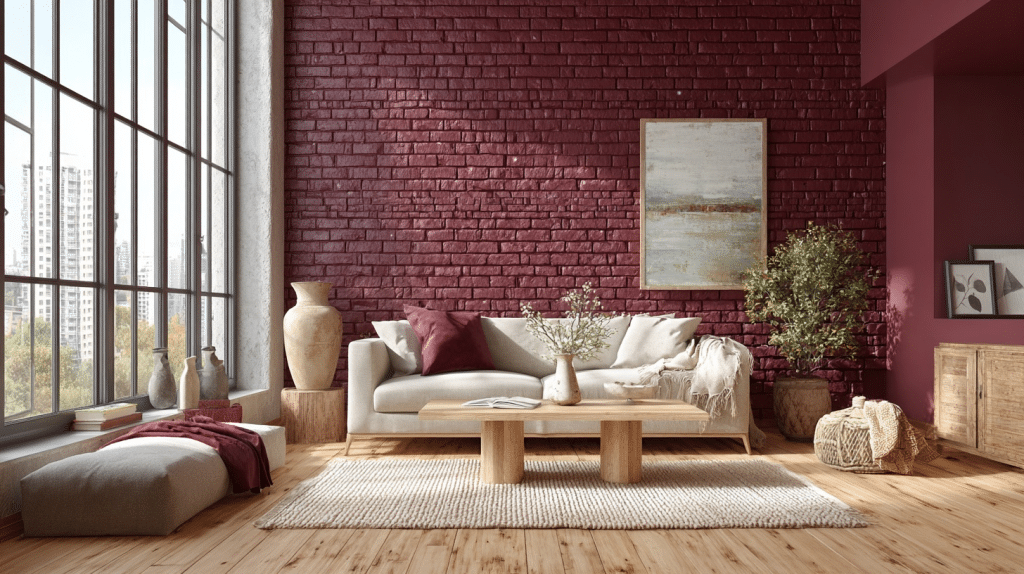
I know how frustrating it can be when you look at those old brick walls inside your home and feel stuck. They seem outdated, but you’re not sure if painting them is the right move.
I’m here to tell you that painting interior brick can completely transform your space. And yes, it’s doable with the right approach.
In this blog, I’ll walk you through everything you need to know about painting interior brick.
You’ll learn which paints work best, how to prep your walls properly, and get some creative ideas that’ll make your rooms look amazing. Plus, I’ll share some mistakes to avoid so your project turns out perfectly the first time.
Tools and Materials Required
Painting interior brick is a rewarding home project that adds warmth, texture, and charm to any space. However, to ensure a smooth and lasting finish, you’ll need the right tools and materials at every stage, from preparation work to final touch-ups.
| Stage | Tools Required | Materials Needed |
|---|---|---|
| Preparation | Drop cloths, painter’s tape, and a screwdriver | None |
| Cleaning | Wire brush, stiff scrub brush, bucket | Soapy water or trisodium phosphate (TSP) cleaning solution |
| Repairing | Putty knife | Flexible gap filler or acrylic caulk |
| Priming | Paintbrush (angled), thick-nap roller, paint tray | Masonry primer |
| Painting | Paintbrush (angled), thick-nap roller, extension pole (opt.) | Interior paint suitable for masonry (2 coats recommended) |
| Finishing Touches | Utility knife (for clean tape removal), cloth | Touch-up paint (optional) |
Easy Steps for Painting Interior Brick at Home
Painting interior brick can dramatically update your space, adding warmth and character. While the process is straightforward, it requires careful preparation and the right materials for a flawless, long-lasting finish.
Follow this detailed step-by-step guide to ensure professional results.
Step 1: Prepare the Area
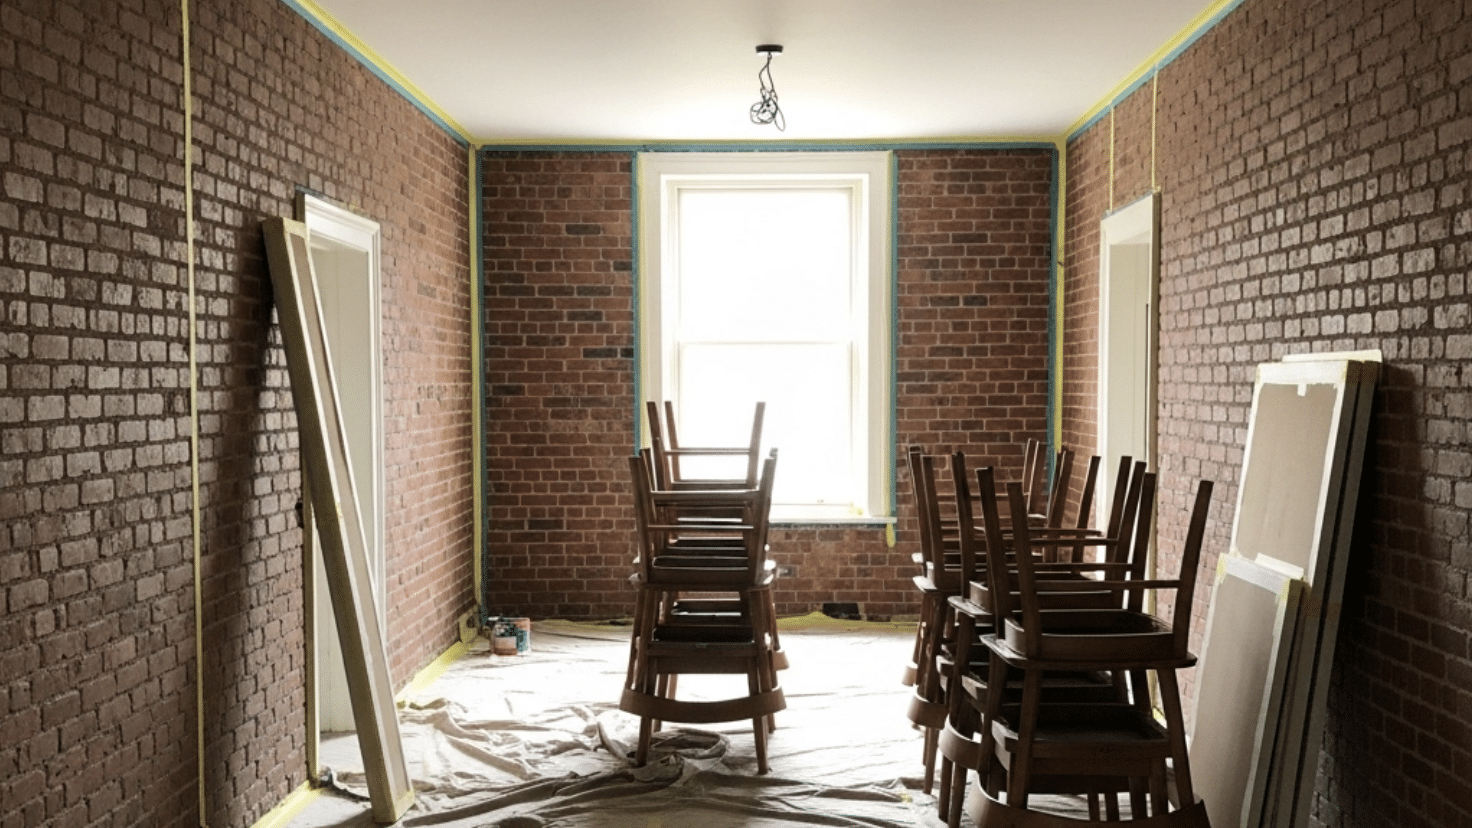
First, I move any furniture away from the brick wall and lay down drop cloths to protect the floors. I use painter’s tape to mask off any trim, ceilings, or adjacent walls to prevent accidental splatters. If there are fixtures or fittings on the wall, I remove them. This thorough preparation saves time and ensures a neat, professional result when I start painting.
Step 2: Clean the Brick Thoroughly
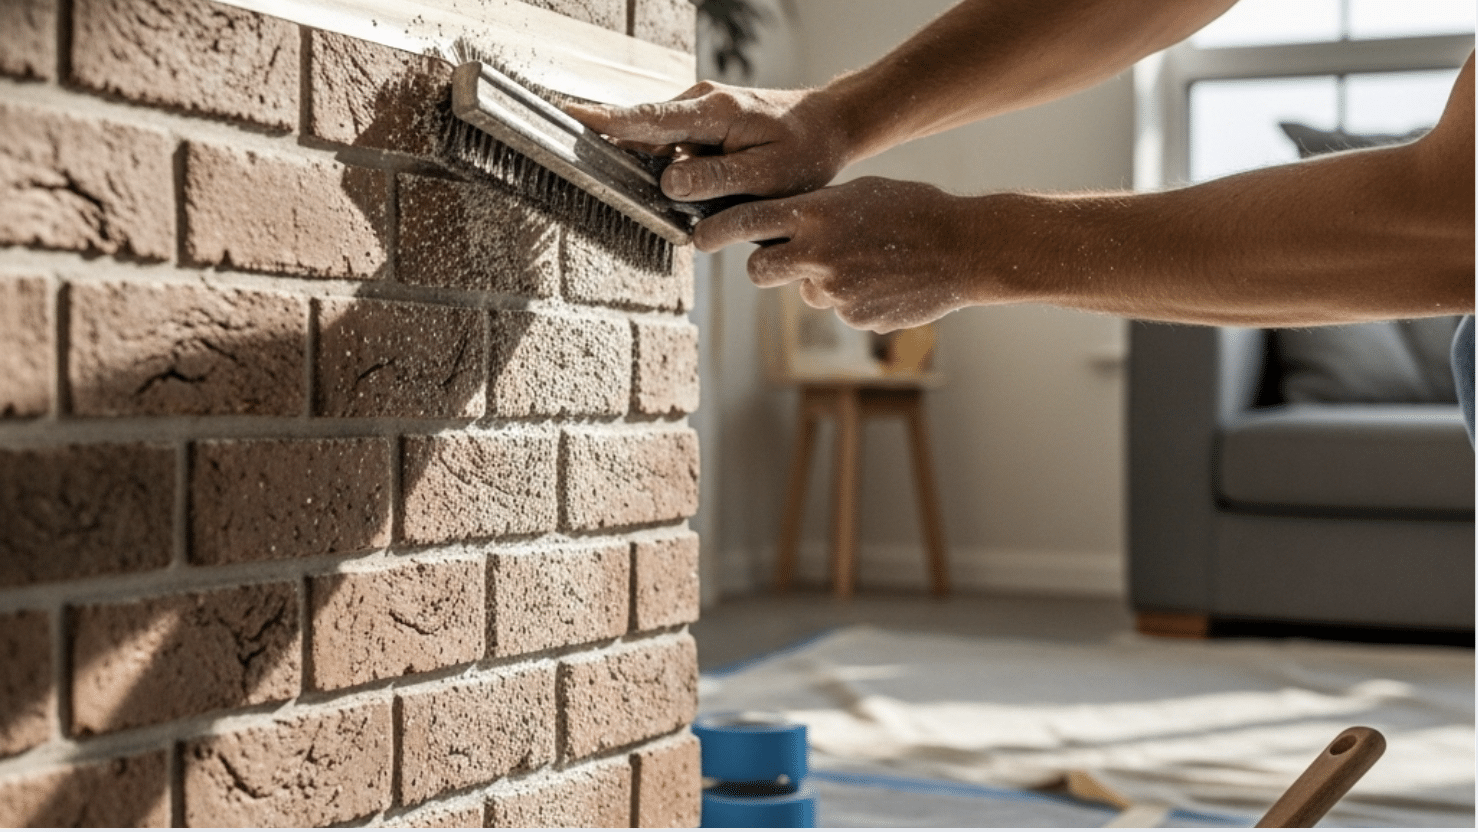
I start by brushing the brick surface with a wire brush to remove loose dust, dirt, and any efflorescence. For stubborn stains, I use soapy water or a cleaning solution like trisodium phosphate and scrub with a stiff brush. After cleaning, I let the brick dry completely, usually for at least 24 hours, to make sure no moisture is trapped, which could affect paint adhesion.
Step 3: Repair Cracks and Imperfections
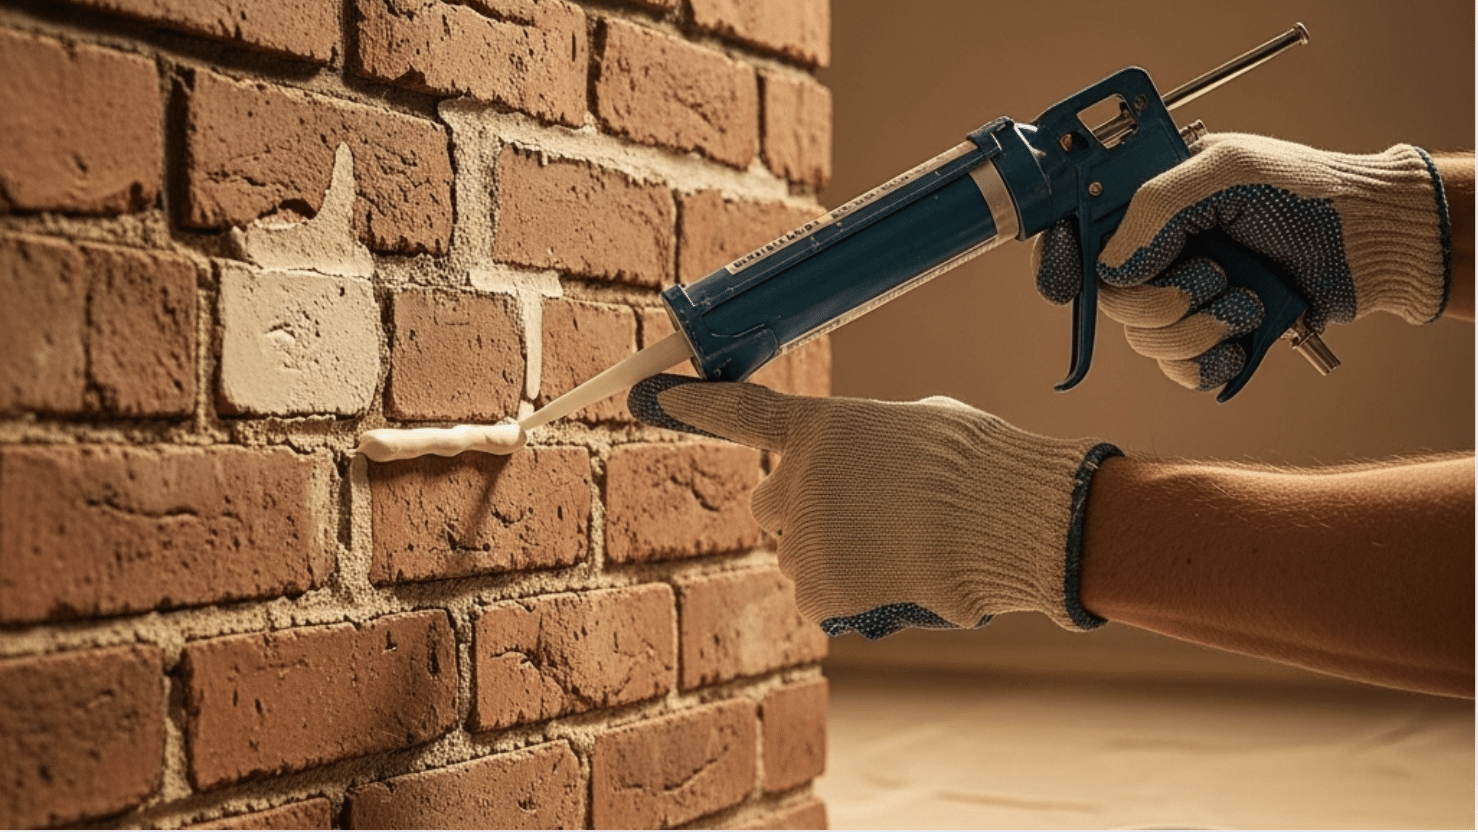
Next, I carefully inspect the brick for cracks or holes. Using a flexible gap filler or acrylic caulk, I fill in any imperfections, smoothing the surface with a putty knife. I allow the filler to dry as per the manufacturer’s instructions. This step is crucial because paint highlights flaws, and I want the finished wall to look smooth and even.
Step 4: Prime the Brick Wall
Once repairs are done, I apply a high-quality primer designed for masonry. I use a brush to cut in around the edges and along the mortar lines, then switch to a roller for the larger brick faces. Priming seals the porous surface, blocks stains, and helps the paint adhere better. I let the primer dry thoroughly, sometimes overnight, for the best results.
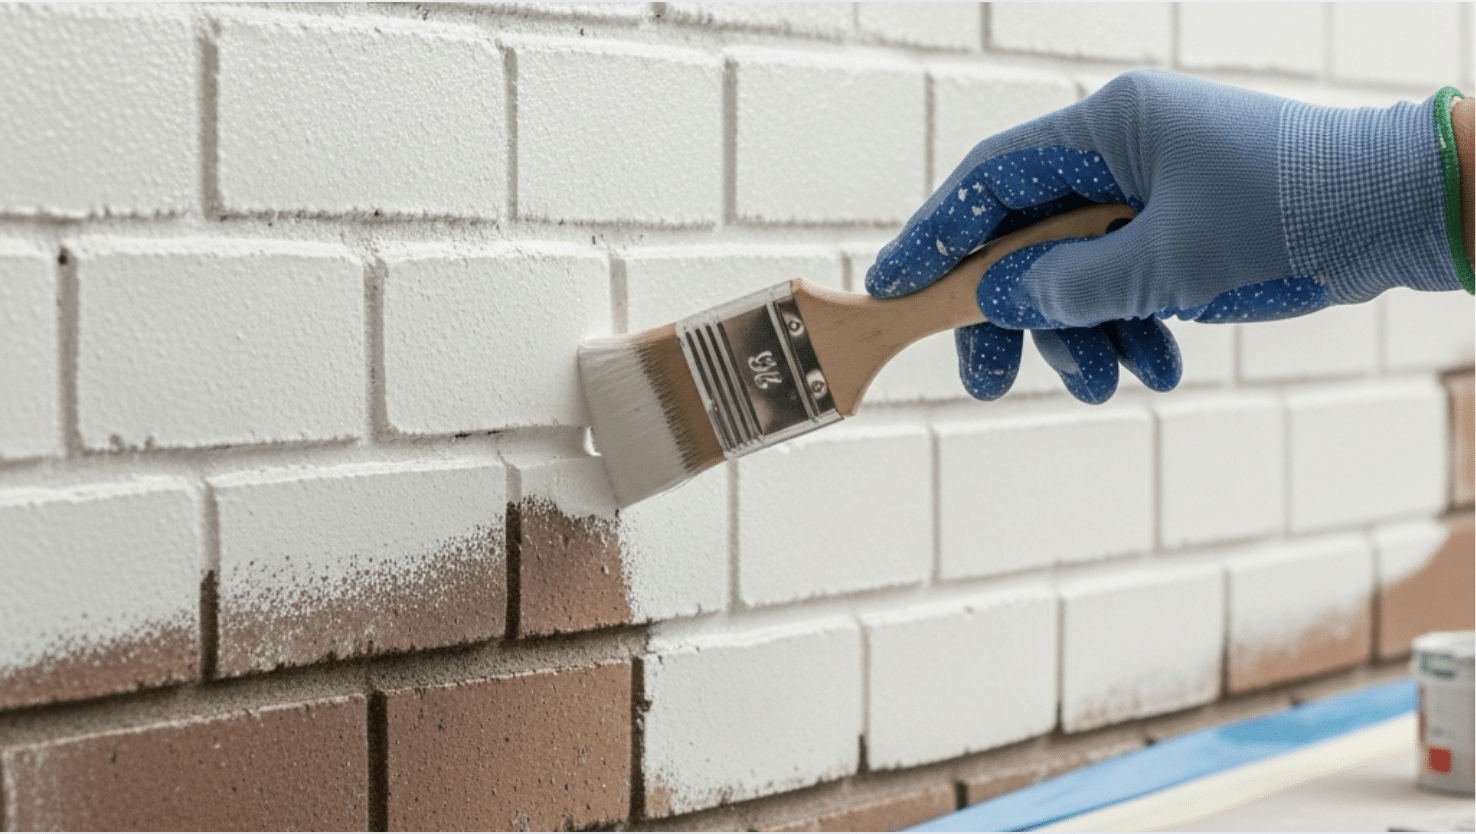
Step 5: Paint the Brick
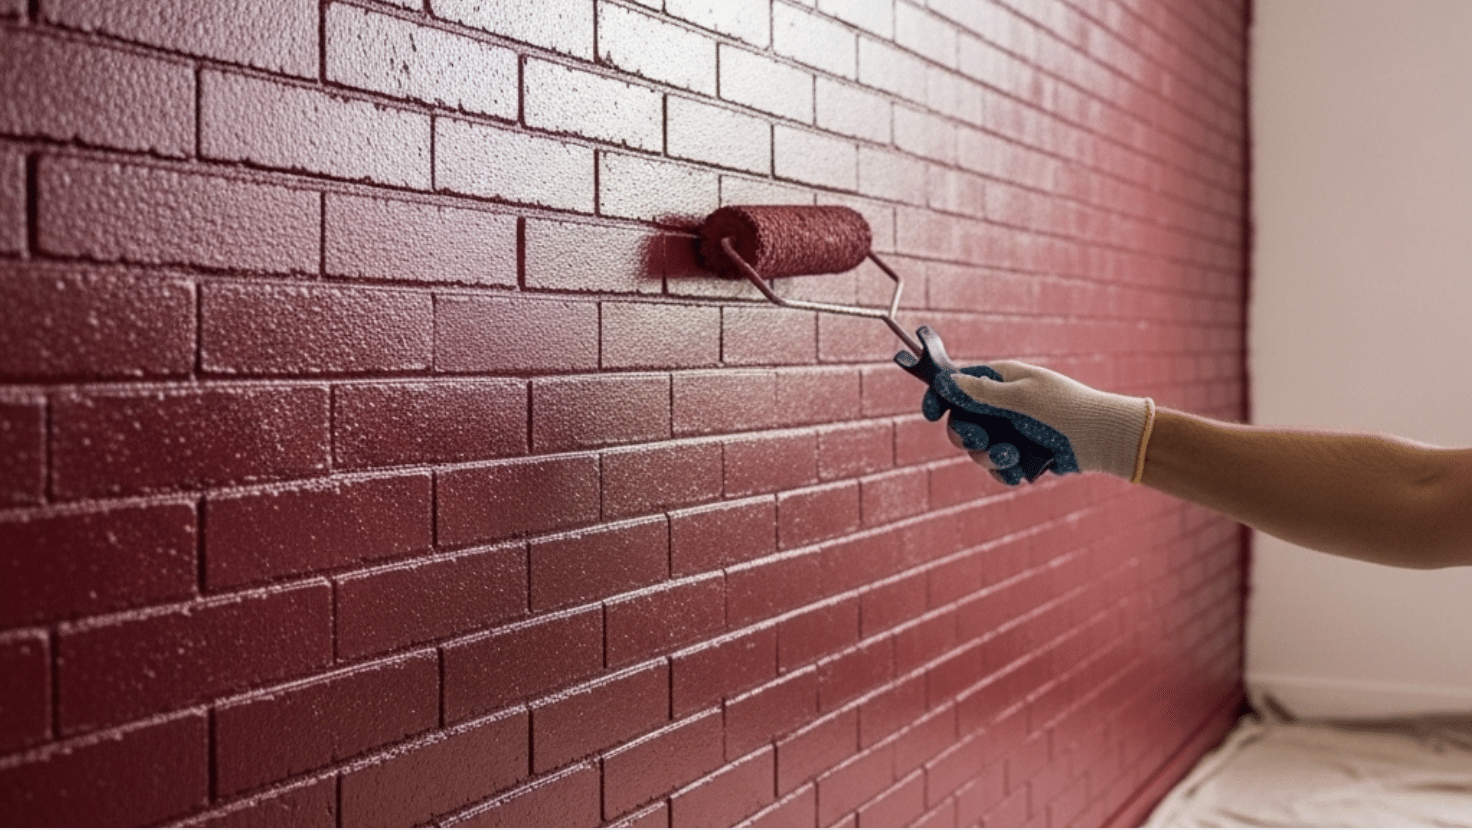
I begin painting by cutting in around the edges and mortar lines with a brush, ensuring every crevice is covered. Then, I use a thick-nap roller to apply paint to the brick faces, working in small sections for even coverage. I usually apply two coats, allowing the first to dry completely before adding the second. This approach gives me a rich, uniform finish that lasts.
Step 6: Apply a Second Coat

After the final coat is dry, I carefully remove the painter’s tape while the paint is still slightly tacky to prevent peeling. I reinstall any fixtures and move furniture back into place. Finally, I inspect the wall for any missed spots or touch-ups, ensuring the painted brick looks polished and fresh in my space.
Tips for Maintaining Interior Brick
Interior brick walls add character and warmth to your home, but they do require some basic care to keep them looking their best. With just a little routine attention, you can preserve their beauty and structural integrity for years.
- Dust or vacuum the brick regularly to remove loose dirt and debris.
- Wipe the surface with a damp cloth or use a mild soap and water solution for general cleaning. Avoid abrasive sponges and harsh chemicals.
- For tougher stains, use products formulated for unglazed tile or a poultice; always check if your brick is sealed and follow the sealer’s recommendations
- Address any cracks or damaged mortar promptly by filling them with flexible gap filler or fresh mortar to prevent further deterioration
- Conduct periodic inspections to catch issues like efflorescence, mold, or loose mortar early
- If mold or mildew appears, scrub gently with a solution of bleach and water using a fiber brush, ensuring the area is well-ventilated
- Consider applying a breathable masonry sealer if extra protection is needed, but avoid sealing bricks meant to remain exposed for their natural look.
- Ensure the room is well-ventilated and avoid excessive moisture buildup near brick walls to prevent mold and efflorescence.
- Never use a high-pressure washer indoors, as it can damage the brick and mortar.
- Avoid painting brick unless necessary, as it can trap moisture and lead to long-term damage
Wrapping It Up
Painting your interior brick walls doesn’t have to be scary or overwhelming.
I’ve shown you the steps, shared the best paint options, and given you ideas to make your space truly yours.
The key is taking your time with prep work. Clean those bricks well, prime them right, and choose quality paint. Trust me, it makes all the difference in how your finished walls will look.
Now it’s time to grab your brushes and start transforming those walls. Your home deserves that fresh, updated look you’ve been wanting.