When it comes to holiday traditions, few things bring the same charm as a wooden Advent calendar.
These beautifully crafted pieces not only help you count down the days to Christmas but also add a warm, rustic touch to your home.
Made to last for years, wooden Advent calendars are more than just a decoration; they’re a keepsake that becomes part of your family’s holiday story.
Regardless of the style you are looking for. Be it a vintage-style piece or something with a modern twist, the timeless appeal of these calendars is hard to resist.
In this blog, we’ll find out why these wooden calendars have remained so beloved and how they can improve your holiday experience.
What Makes Wooden Advent Calendars So Special?
Wooden advent calendars change the countdown to Christmas from a simple ritual into a meaningful tradition steeped in warmth and anticipation.
Unlike their mass-produced counterparts, these timeless treasures blend beauty with function, creating magical moments that families cherish year after year.
What truly sets wooden advent calendars apart:
- Tactile Experience – The satisfying sensation of opening small wooden doors or drawers creates a physical connection to the holiday season that digital or paper alternatives cannot match
- Sustainability – In an era of disposable everything, wooden calendars represent conscious consumption and environmental responsibility
From tiny trinkets to handwritten notes of affirmation, the possibilities for filling the 24 compartments are limited only by imagination. This allows the tradition to evolve as children grow and family structures change.
Materials Required to Create Your Wooden Advent Calendar
| Tools | Materials |
|---|---|
| Hot glue gun | 24 wooden boxes |
| Scissors | Gorilla Wood Glue |
| Paintbrush | White Craft Paint |
| Measuring tape | Wrapping paper (red and silver) |
| Clamp (optional) | Mod Podge |
| Beads or jingle bells | Number stickers |
| Paint tray | Glitter (optional) |
| Confetti (Christmas tree shape) | |
| Star ornament |
DIY Wooden Advent Calendar: A Complete Walkthrough
Creating a DIY Wooden Advent Calendar is a fun and rewarding project that adds a personalized touch to your holiday season.
It doesn’t matter if you’re a seasoned crafter or a beginner; this step-by-step guide will help you create a beautiful and functional calendar to count down the days until Christmas.
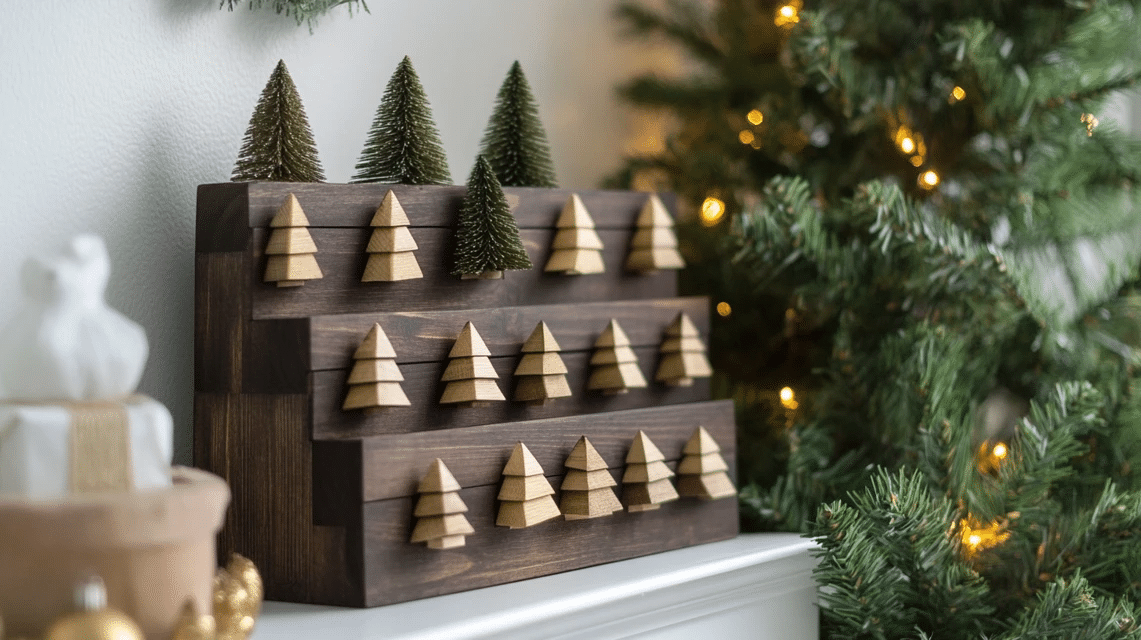
Step 1: Plan Your Tree Shape

A Christmas tree is the classic choice, but you can create any shape you prefer—perhaps a star or a simple stack of boxes.
- Consider the space you have available to display the calendar.
- Sketch a rough layout to visualize how the boxes will be stacked.
- The bottom section of the tree will need more boxes for stability.
Step 2: Attach the Boxes

Start with the tree’s trunk by gluing three boxes together. Apply a thin layer of Gorilla Wood Glue to the edges of the boxes, pressing them together.
Once the glue has dried, move on to the next row, continuing the stack with six boxes, then five, and so on.
After gluing each row, be sure to allow the glue to dry completely before stacking the next layer. Patience is essential—this ensures your structure is stable and the boxes stay aligned.
Step 3: Drying Time

Patience is key when working with glue. Gorilla Glue takes time to set, so after gluing each section, set it aside and let it dry completely. This prevents the pieces from shifting while you’re working on other sections.
- Drying time can vary, but generally, allow at least 1-2 hours for each layer to dry.
- Use clamps if necessary to hold the boxes in place while drying.
By the time all sections are dry, you’ll have a strong and sturdy foundation for your tree.
Step 4: Paint the Boxes

After the structure is completely dry, it’s time to paint. Apply white craft paint to the outside and front edges of the boxes to create a clean, crisp look. Avoid painting inside the boxes, as it could interfere with the drawers fitting properly.
If you want to speed up the process, spray painting the entire structure is a great option.
Step 5: Wrap the Drawers

Now it’s time to make your drawers festive! Cut squares of wrapping paper that fit the fronts of the drawers.
Attach the wrapping paper using Mod Podge, starting at the edges and working your way around the front of each drawer.
Once you’ve finished gluing all the paper, allow it to dry completely before applying the next layer of decoration.
Step 6: Add Numbers and Decorations

Once the Mod Podge is dry, it’s time to add the numbers to your drawers. These numbers will represent the days of December leading up to Christmas. You can use number stickers or paint them on.
- Stick the numbers in the center of each drawer, making sure they’re easy to read.
- Add a touch of fun with extra decorations like confetti, glitter, or small ornaments. For example, glue tiny Christmas tree-shaped confetti onto some drawers for an added festive flair.
My Suggestion: For a special touch, consider making box number 24 extra special with glitter or a unique design.
Step 7: Create Drawer Handles
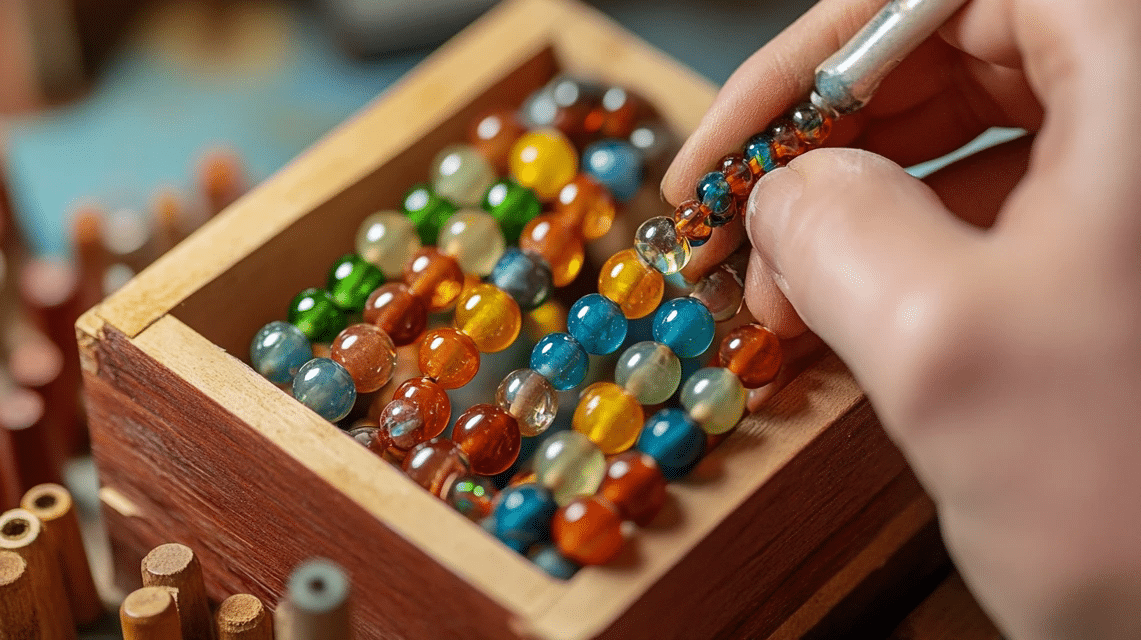
You can use a beaded necklace, a jingle bell, or any other decorative element you like. For a beaded handle, cut the necklace to the desired length and glue it to the top of each drawer.
Ensure that the handles are securely glued so they’re functional. This step adds a charming touch and makes it easier for your family to access the daily surprises.
Step 8: Final Touches

Now that the drawers are decorated and the handles are in place, it’s time to add the finishing touches. To complete the look, hot glue a star ornament to the top of your tree.
For a little extra sparkle, you can sprinkle some glitter or add additional confetti to the tree. Let everything dry completely before displaying your beautiful Advent calendar.
Now, our personal Wooden Advent Calendar is ready to bring joy and excitement to each day of December!
For a more detailed explanation, check out the YouTube link below:
Benefits of Using a Wooden Advent Calendar
Wooden advent calendars deliver lasting value through their exceptional durability.
Unlike paper calendars that tear or plastic versions that crack, wooden calendars withstand years of enthusiastic use.
The natural strength of wood—regardless, it’s sturdy pine, rich and neat oak, or rich walnut—creates a structure that holds up to daily handling by excited children, ensuring your investment continues to bring joy for decades.
- Versatility that grows with your family – Wooden calendars adapt to changing needs through adjustable compartment sizes. Many designs feature drawers large enough for meaningful gifts beyond tiny chocolates—small books, activity prompts, or handmade tokens can all find a home, allowing the tradition to evolve as children mature.
- Seasonal décor that actually enhances your home – Unlike garish character-themed paper calendars, wooden versions complement your existing décor with natural panache. The warm tones and organic textures of wood blend smoothly with both traditional and contemporary interiors, functioning as a statement piece rather than a temporary eyesore.
Financial savings materialize over time despite higher upfront costs. A quality wooden calendar priced at $75, used for 10 years, costs $7.50 annually—significantly less than purchasing ten $15 disposable calendars totaling $150.
This concrete economic benefit increases with each passing year as the wooden calendar continues serving your family while disposable alternatives continue requiring replacement.
Comparison Analysis Between Different Types of Advent Calendars
| Feature | Traditional Advent Calendar | Beauty Advent Calendar | DIY Advent Calendar |
|---|---|---|---|
| What’s Inside | Small chocolates, toys, or scriptures | Mini beauty products like skincare or makeup | Custom items (notes, treats, trinkets) |
| Target Audience | Kids, families | Teens, adults, beauty lovers | Creative individuals, gift givers |
| Design | Festive cardboard with numbered windows | Decorative box with drawers or doors | Handmade with pouches, envelopes, or boxes |
| Price Range | Budget-friendly ($5–$20) | Mid to high-end ($40–$200+) | Varies widely depending on contents |
| Personalization | Limited | Limited (some offer options) | Highly customizable |
| Reusable? | Usually disposable | Sometimes reusable | Often reusable |
| Best For | Daily holiday fun for kids | Treating yourself or gifting luxury | Thoughtful and creative gifting |
Ways to Care for And Maintain Your Wooden Advent Calendar
Proper maintenance of your wooden advent calendar ensures it remains a cherished holiday centerpiece for generations. These practical care strategies will preserve both its beauty and functionality year after year.
Regular Seasonal Maintenance
Before displaying your calendar each December, perform a thorough inspection and gentle cleaning. Wipe all surfaces with a soft, slightly damp cloth to remove dust and residue.
Apply beeswax to stiff drawer runners for smooth operation. Alternative: Rub a bar of paraffin or candle wax along the runners if beeswax isn’t available.
For calendars with hinged doors, check that all hinges remain secure. Tighten any loose screws to prevent stripping the wood. Example: The Kathe Wohlfahrt heirloom advent houses often need hinge checks after 5-7 years of use.
End-of-Season Protocol
Thorough cleaning before storage is crucial for longevity. Remove all traces of food items.
- Deep Cleaning Tip: For stubborn residue, use a cotton swab with diluted white vinegar. Alternative: A paste of baking soda and water works well for chocolate or candy stains.
- Freshness Hack: Place lavender or cedar sachets inside during storage to deter pests. Example: One crafty owner tucked cinnamon sticks inside their calendar’s larger compartments, which both repelled insects and imparted a subtle holiday scent the following year.
Proper Storage Technique
Store in a climate-controlled environment, away from extreme temperatures and humidity.
Wrap in acid-free tissue or cotton—never plastic, which traps moisture. Alternative: An old pillowcase works perfectly and allows the wood to breathe.
Avoid stacking items on top of your calendar to prevent pressure damage.
For example, a family in Vermont created a dedicated shelf in their attic specifically for storing their three-generation wooden advent calendar.
Handling Repairs
Address small issues promptly to prevent damage.
Quick Fix: For precision repairs, use furniture-grade wood glue applied with a toothpick. Alternative: For emergency fixes, a paste of sawdust mixed with school glue can temporarily fill small cracks until proper repairs can be made.
For scratches, rub walnut meat along the mark. Example: One collector restored a vintage 1950s German advent calendar using only walnuts and lemon oil, successfully disguising decades of handling marks.
Preserving Painted Surfaces
Protect painted designs from fading with periodic attention.
Apply a thin coat of clear, water-based polyurethane every few years. Alternative: Some traditionalists prefer natural carnauba wax polish for hand-painted designs on older calendars.
Other Wooden Advent Calendars you will love
Wooden Advent Calendar Christmas Cottage
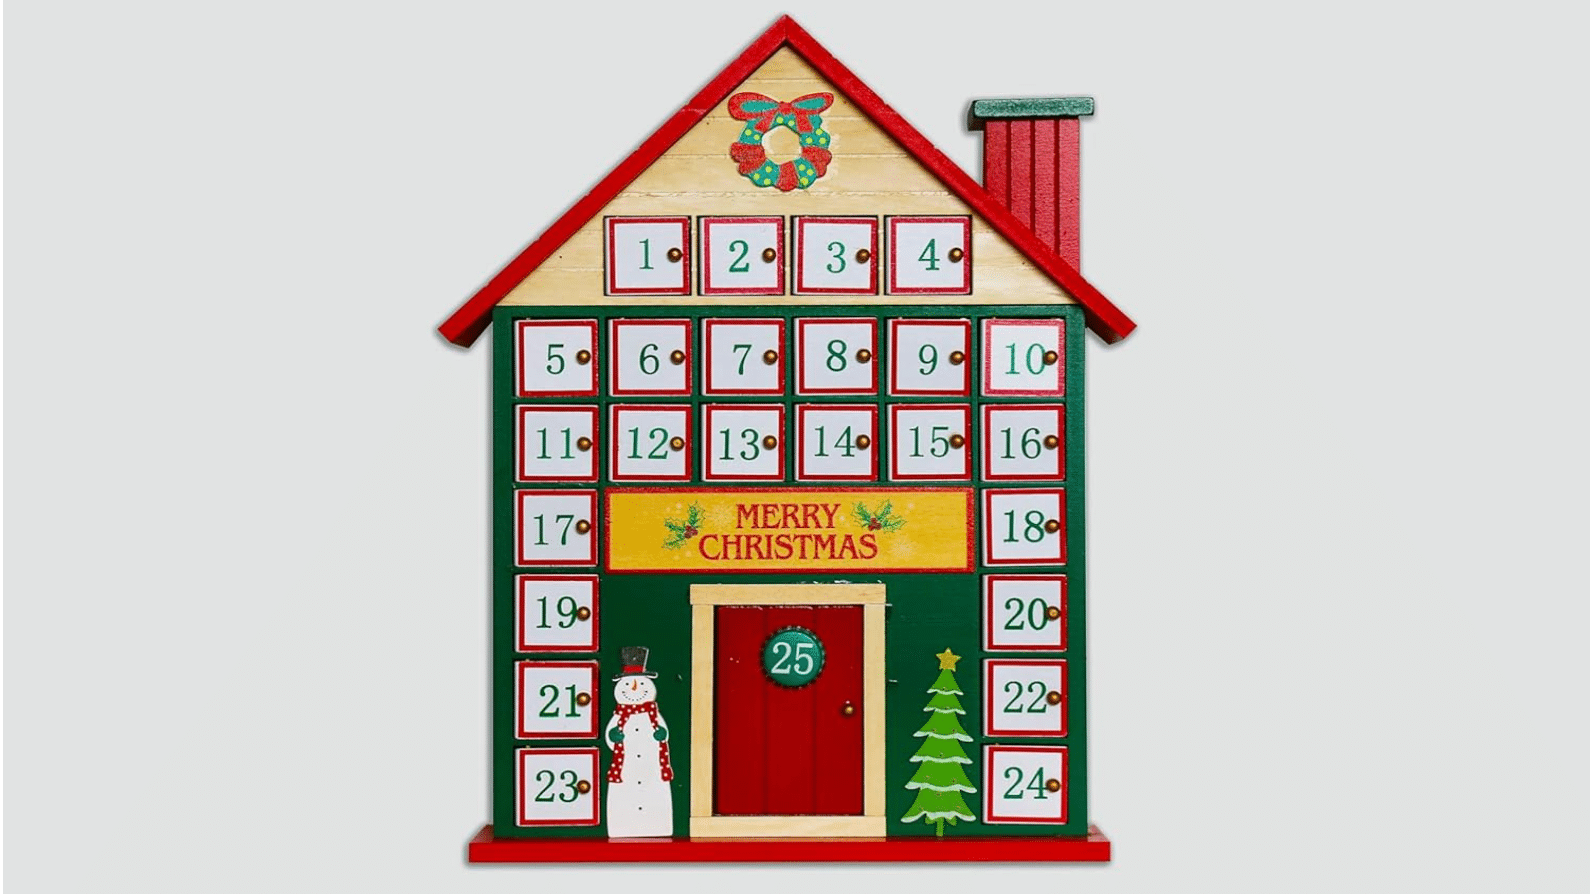
- Item weight: 1 Pounds
- Dimensions: 1 x 1 x 1 Inches
- Color: Christmas Cottage
Wood LED Christmas Shooting Star Advent Calendar
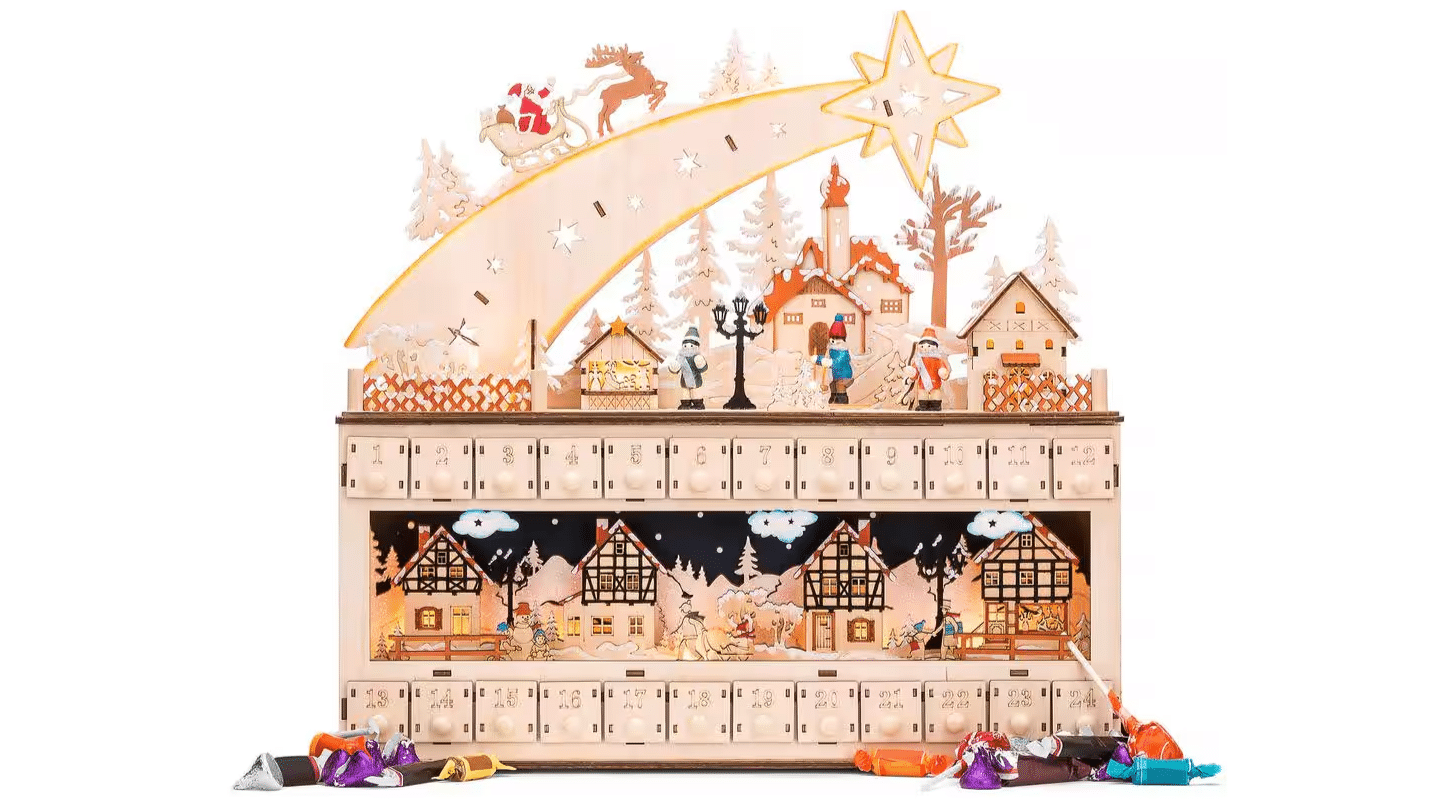
- Overall dimensions: 17.5″(L) x 4″(W) x 17″(H)
- Features: Light
- Material: Wood
- Product weight: 2.3 lb
Wooden Boxes Advent Calendar
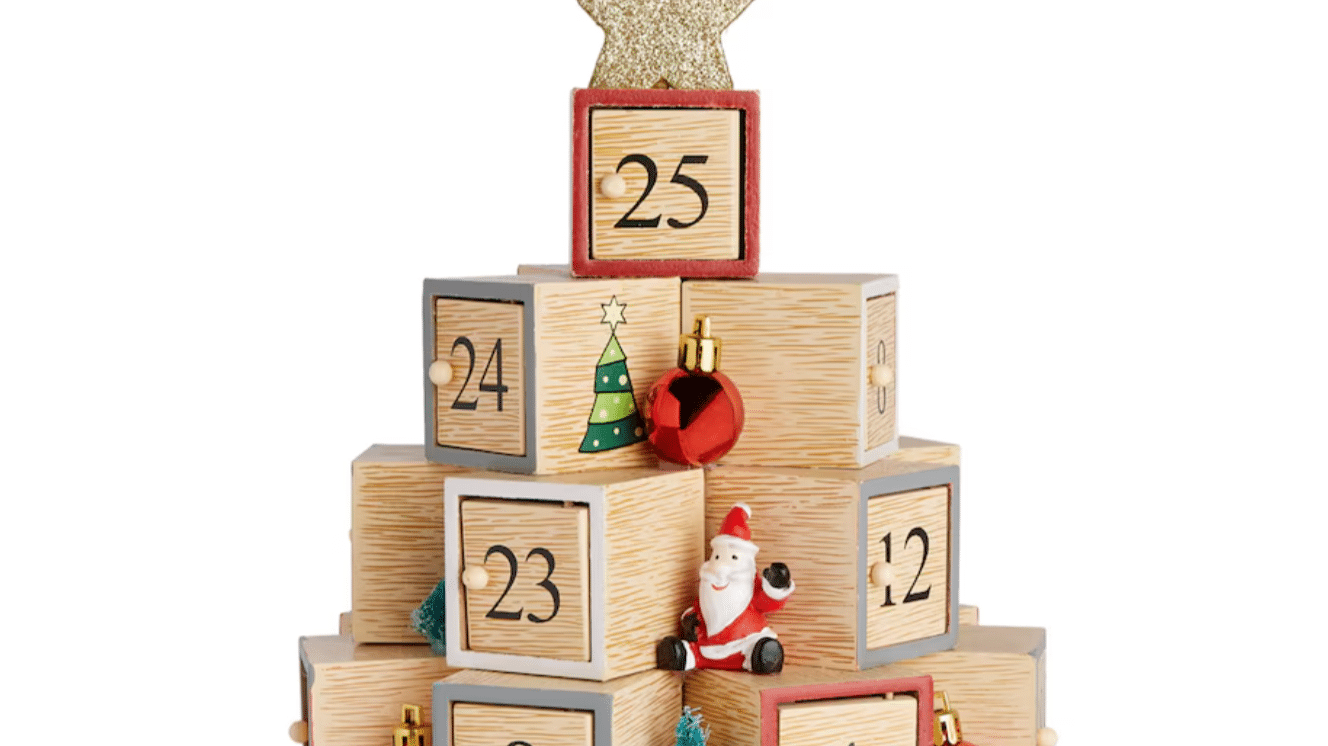
- Color: Multicolored
- Material: 100% Wood
- Size: One Size
Lit Wooden Christmas Advent Calendars
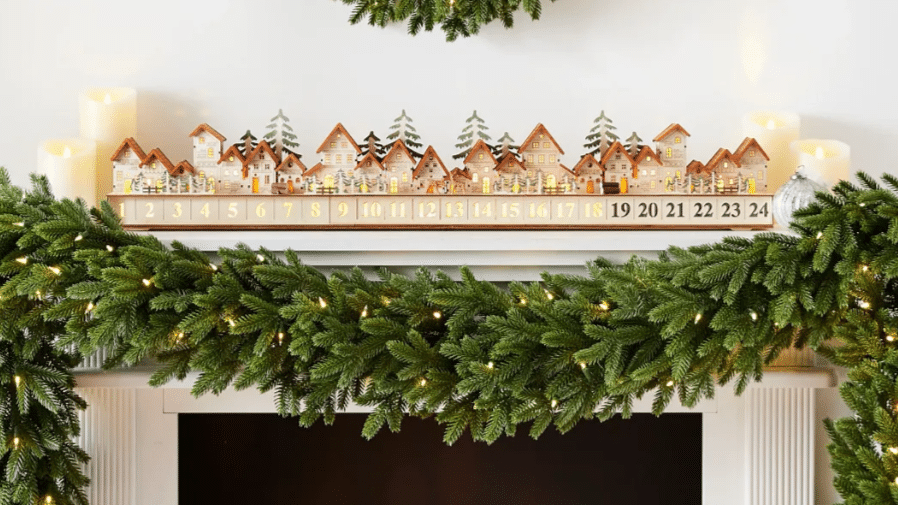
- Design: Village
- Material: Handcrafted from plywood
- Features: Amber LED lights, crafted and painted by hand
- Dimensions: 24″ long x 3.5″ wide x 9.8″ high
Christmas Tree Wooden Advent Calendar
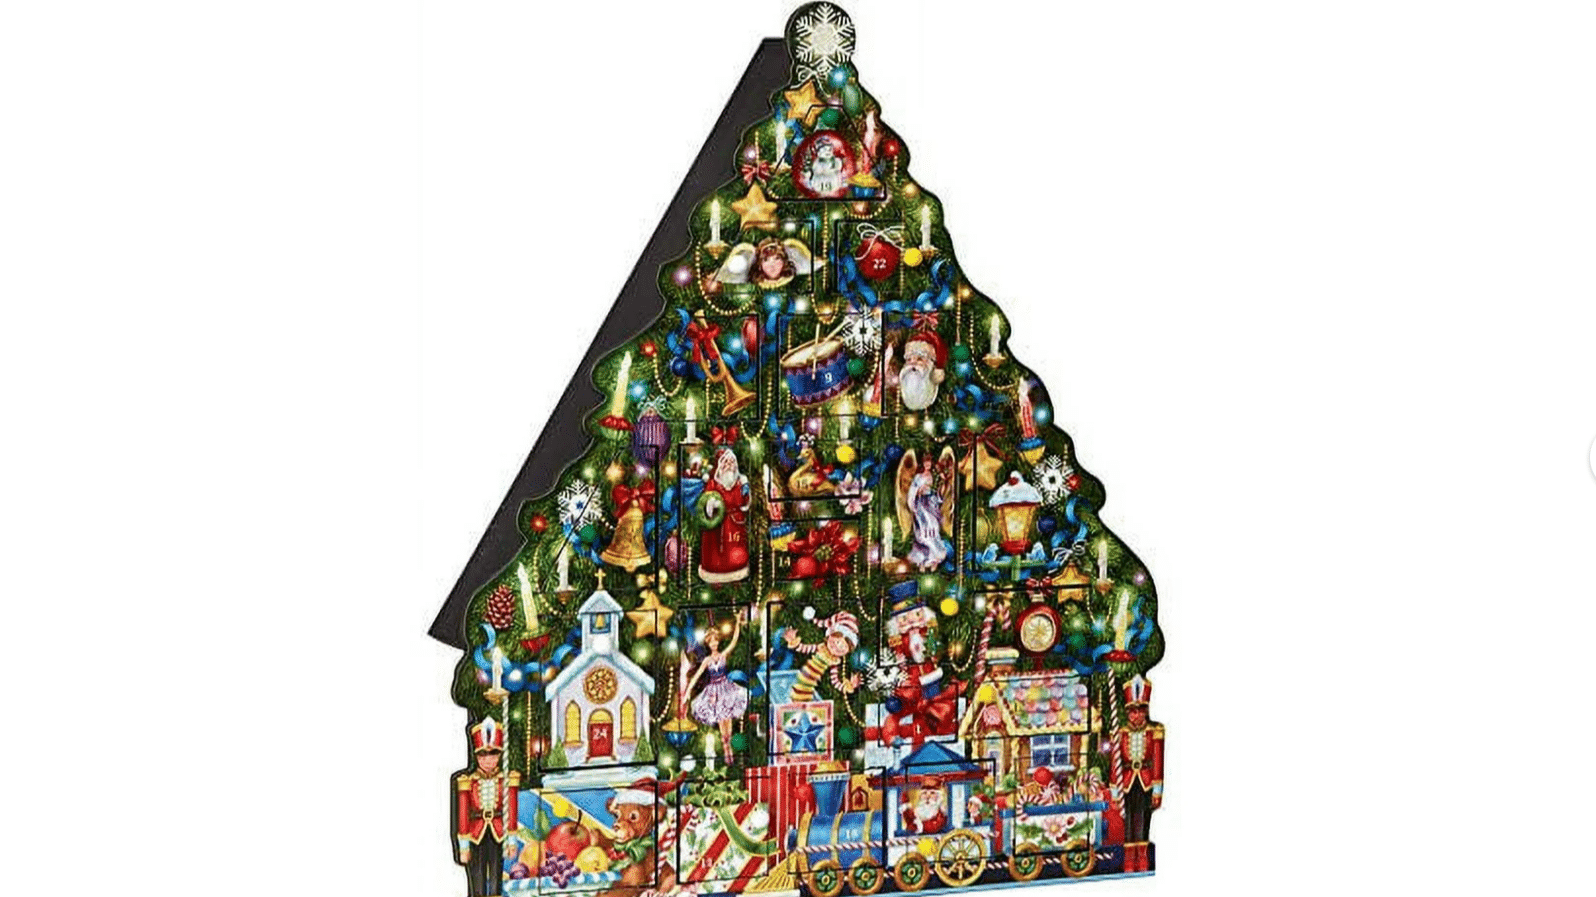
- Material: Wood
- Color: Black
- Assembled Product Weight: 5.85 lb
Wrapping It Up
In essence, a wooden Advent calendar is more than just a festive item; it’s a vessel of memories.
As a child, I recall the sheer joy of opening each tiny door, the anticipation building with every passing day. That simple act, now recreated with my own family, is a testament to their enduring magic.
It’s a tangible piece of tradition, a silent promise of joy.
Have you ever tackled the fun challenge of creating your own wooden advent calendar? We’d love to hear about your experience! Share your DIY experience in the comments below!
Did you like this DIY? Check out another idea in “Crafting Your Own DIY Obelisk: A How-To Guide.”