Taking care of post-bloom tulips is easier than you might think. With a few simple steps, you can help your tulips return next year even stronger.
In this blog, I’ll show you exactly what to do with tulips after they bloom. We’ll talk about proper deadheading, how to feed the bulbs, and when to cut back the foliage.
Key Reasons Why Post-Bloom Tulip Care is Crucial
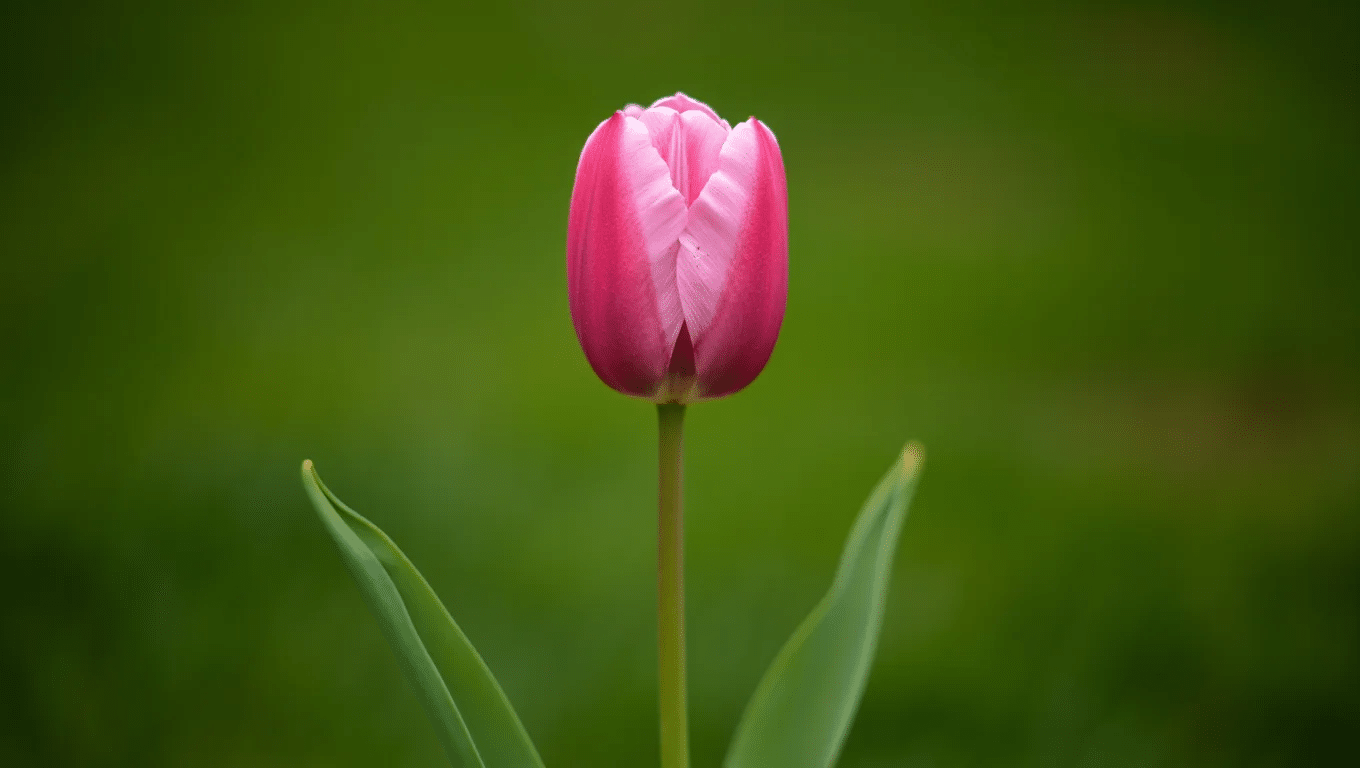
Tulips put on a stunning show each spring, but what happens after those colorful blooms fade is just as important as the flowers themselves.
Many gardeners don’t realize that post-bloom care can make or break next year’s display. By tending to your tulips after they flower, you’re setting the stage for healthier bulbs and even better blooms down the road.
- Helps bulbs store energy for next year’s flowers by preventing seed production through deadheading
- Allows leaves to photosynthesize, fueling the bulbs for a stronger comeback
- Reduces the risk of diseases and bulb rot by managing watering and letting foliage die back naturally
- Encourages perennial blooms, giving you colorful tulips year after year instead of just one season
- Supports the development of new bulbs and offsets, expanding your tulip collection
- Makes it easier to lift, clean, and store bulbs properly for replanting in the fall
- Ensures the soil conditions and nutrients are just right for healthy, robust tulips next season
Step-by-Step Intructions: What to Do With Tulips After They Bloom
When tulips finish blooming, it’s tempting to forget about them until next spring. But what you do now can make all the difference for next year’s flowers.
With a little attention and a few simple steps, you can keep your tulips healthy, colorful, and ready to impress again.
Here’s a straightforward guide on what to do with tulips after they bloom.
Step 1: Deadhead the Spent Flowers
Once the petals start to fall, snip off the faded flowers just below the head. This stops the plant from putting energy into seed production, redirecting it back to the bulb.
Be careful not to remove the leaves-just the flower stem. Deadheading is an easy way to help your tulips store up strength for next year’s blooms.
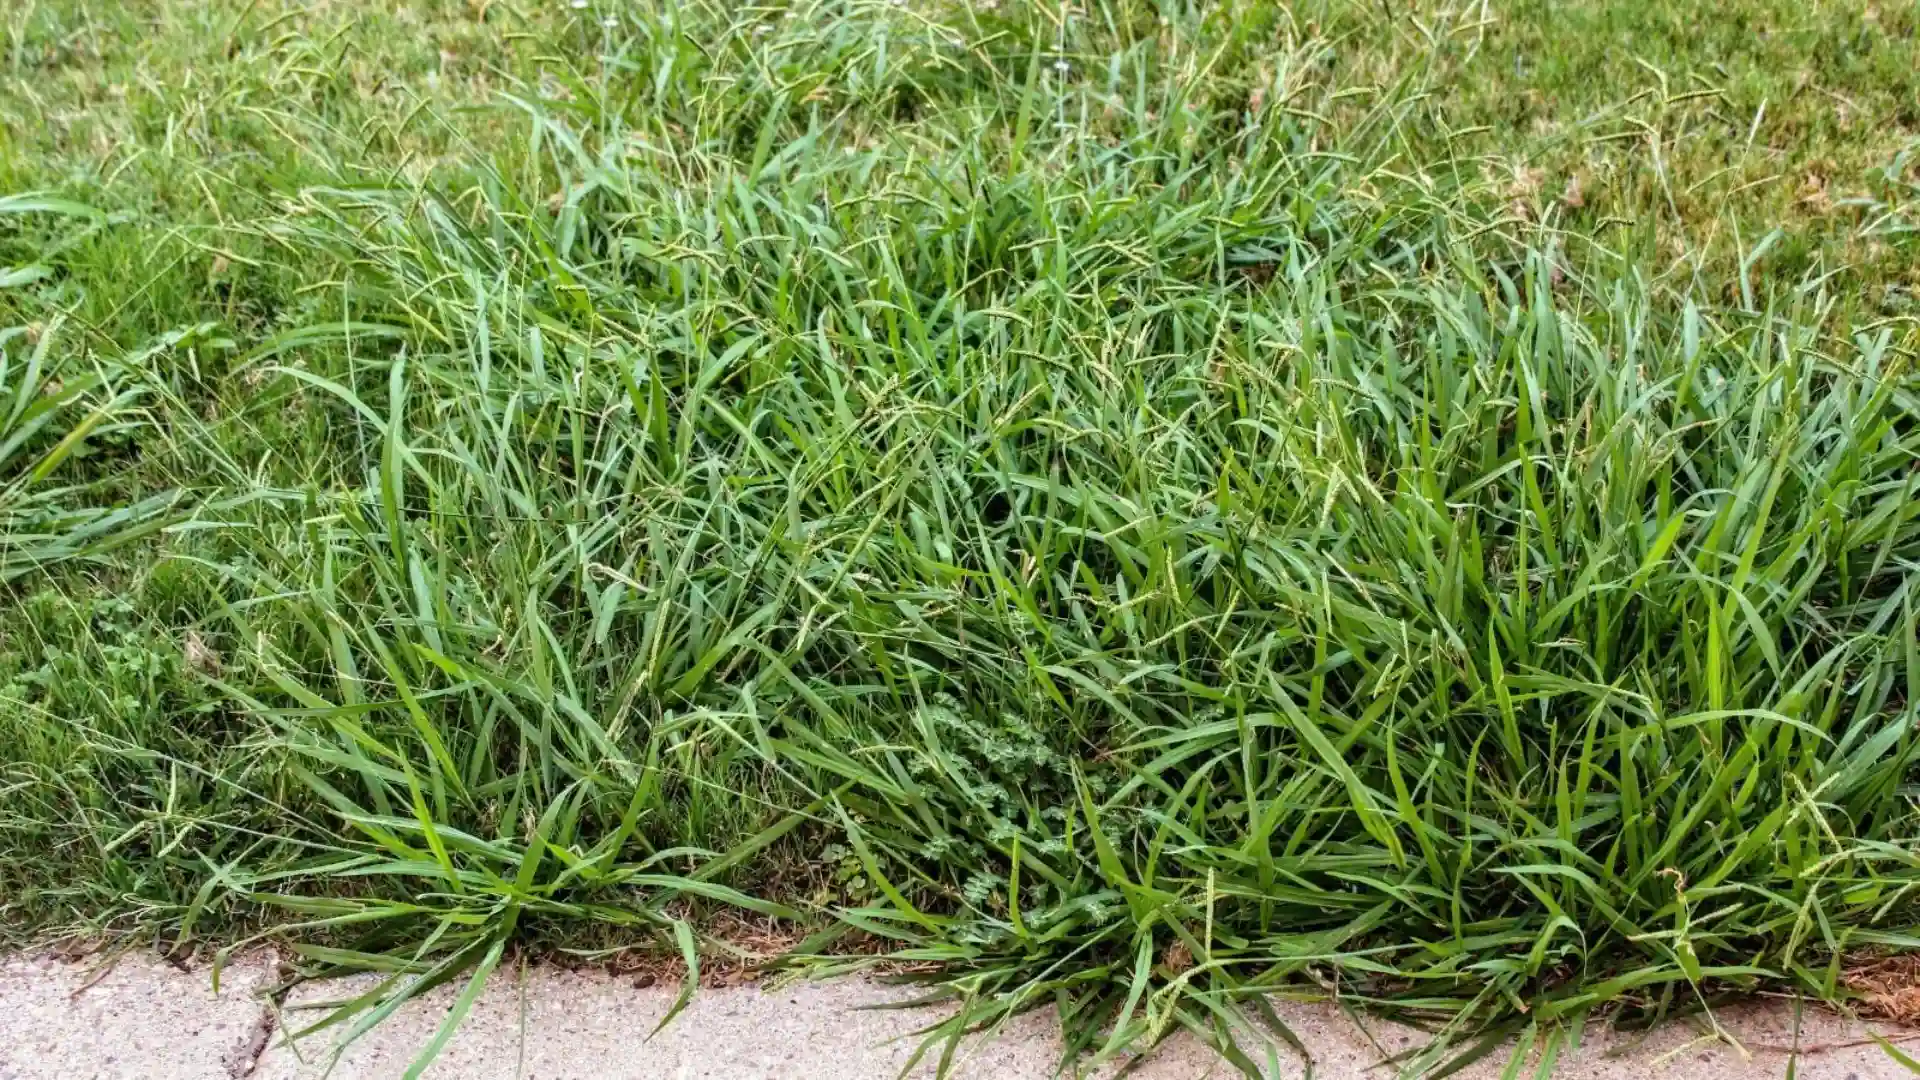
Step 2: Leave the Foliage Intact
Let the green leaves stay put until they turn yellow and wither. The leaves are busy soaking up sunlight and photosynthesizing, which feeds the bulbs below ground.
Removing them too early can weaken your tulips and result in fewer or smaller flowers next season. Patience here really pays off for a better spring display.
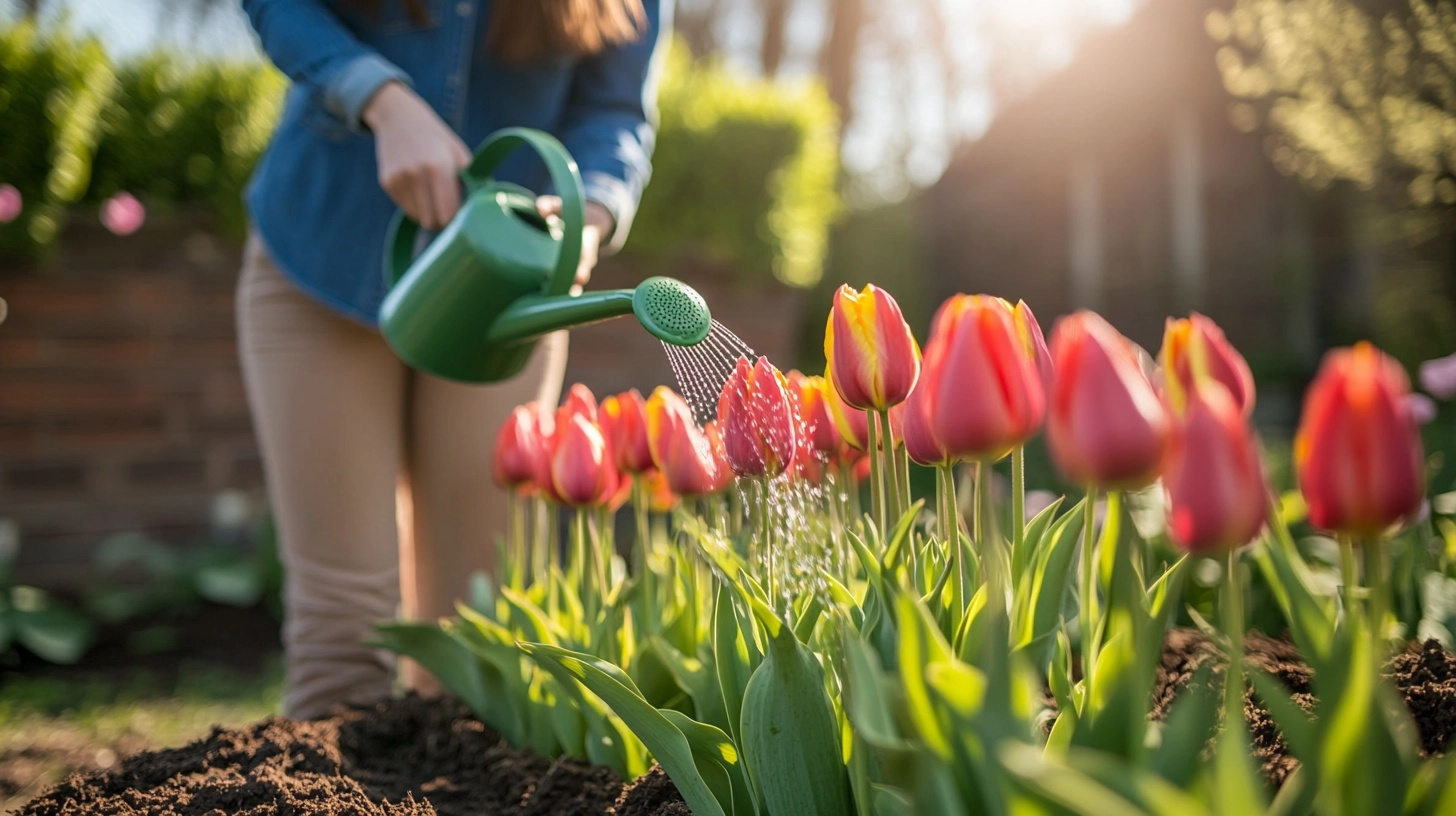
Step 3: Water as Needed
Keep the soil lightly moist while the foliage is still green and growing. Don’t overwater tulip bulbs don’t like soggy conditions, which can lead to rot.
If rainfall is scarce, give them a gentle drink once a week. As the leaves begin to yellow, gradually reduce watering and let the soil dry out naturally.
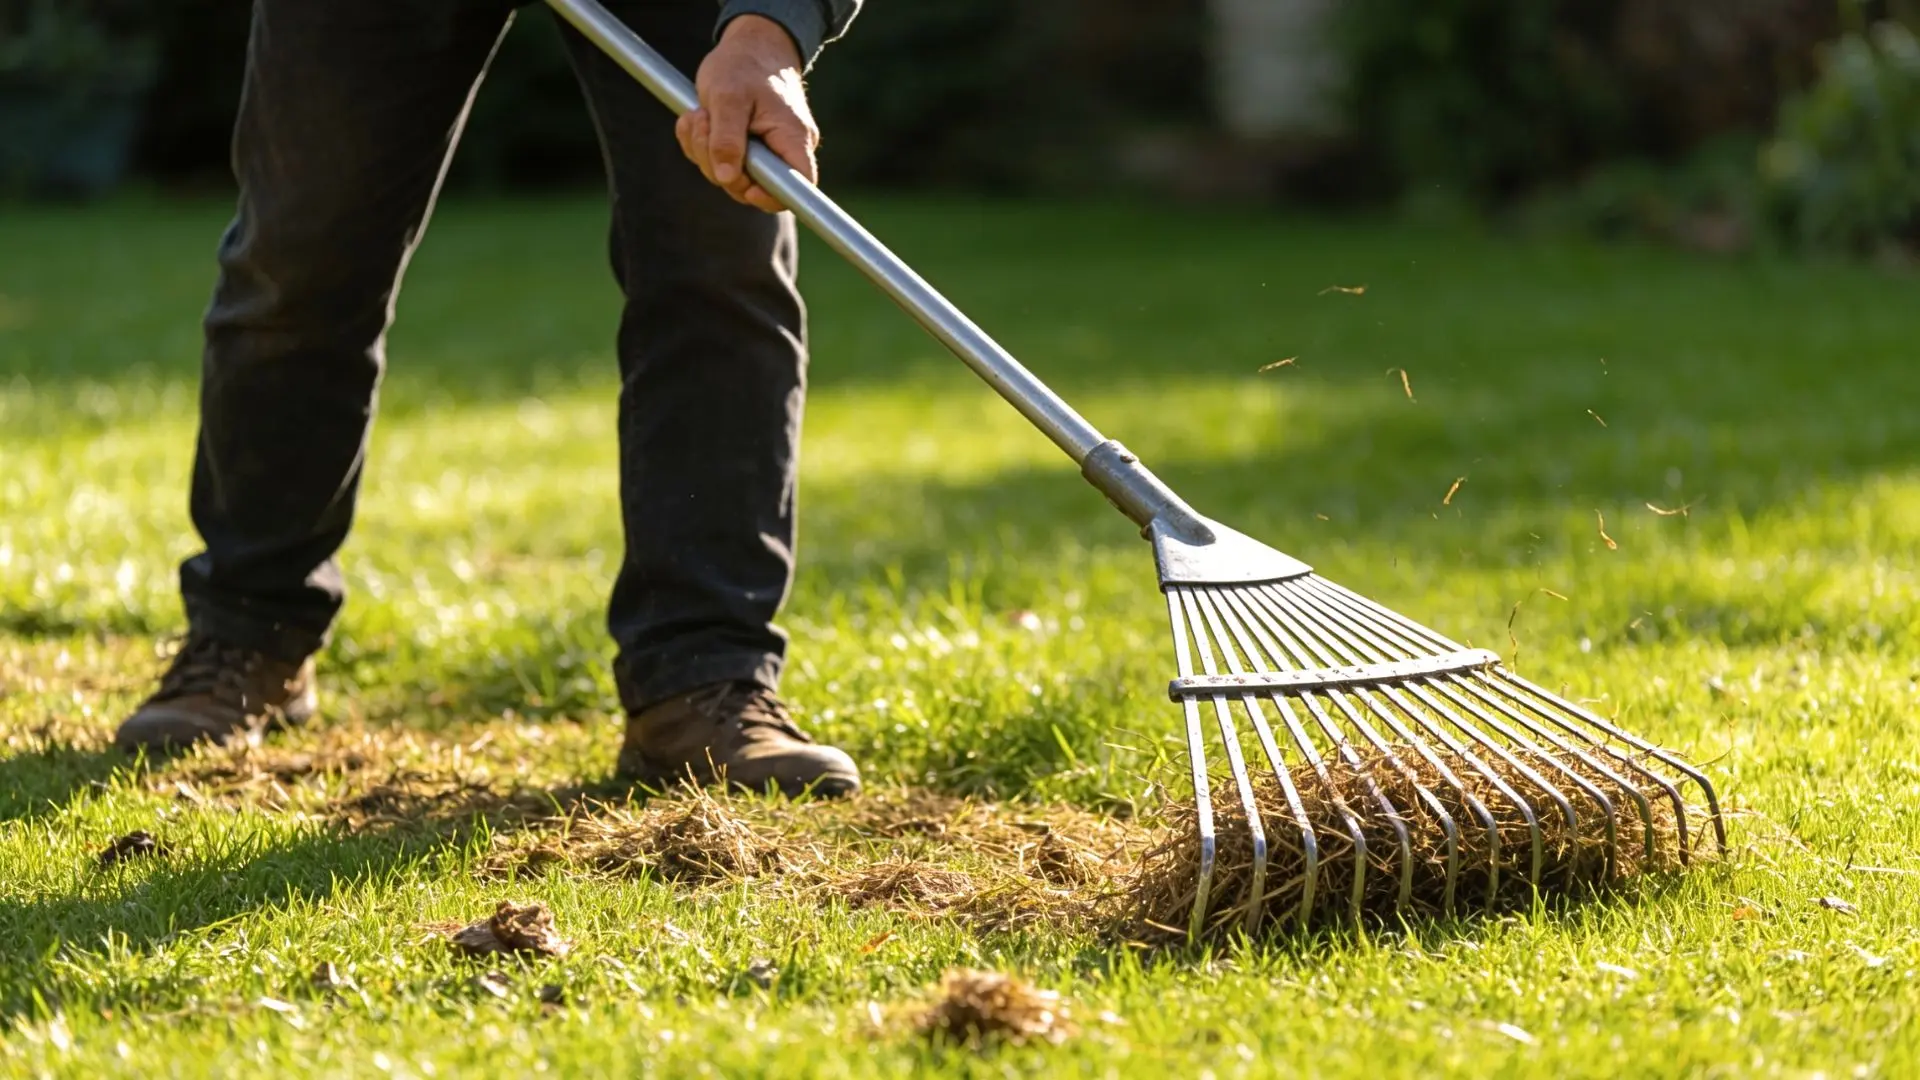
Step 4: Allow Foliage to Die Back Naturally
Wait until the leaves have fully yellowed and dried before removing them. This signals that the bulbs have absorbed all the energy they need.
Gently pull or cut away the dead foliage, being careful not to disturb the bulbs. This step helps ensure your tulips are well-fed and ready for dormancy.
Step 5: Lift and Store Bulbs (If Needed)
In warmer climates or if you want to rearrange your garden, dig up the bulbs once the foliage has died back. Brush off excess soil and let them dry in a cool, airy place for a few days.
Store the bulbs in a paper bag or mesh sack in a dry, dark spot until it’s time to replant in the fall.
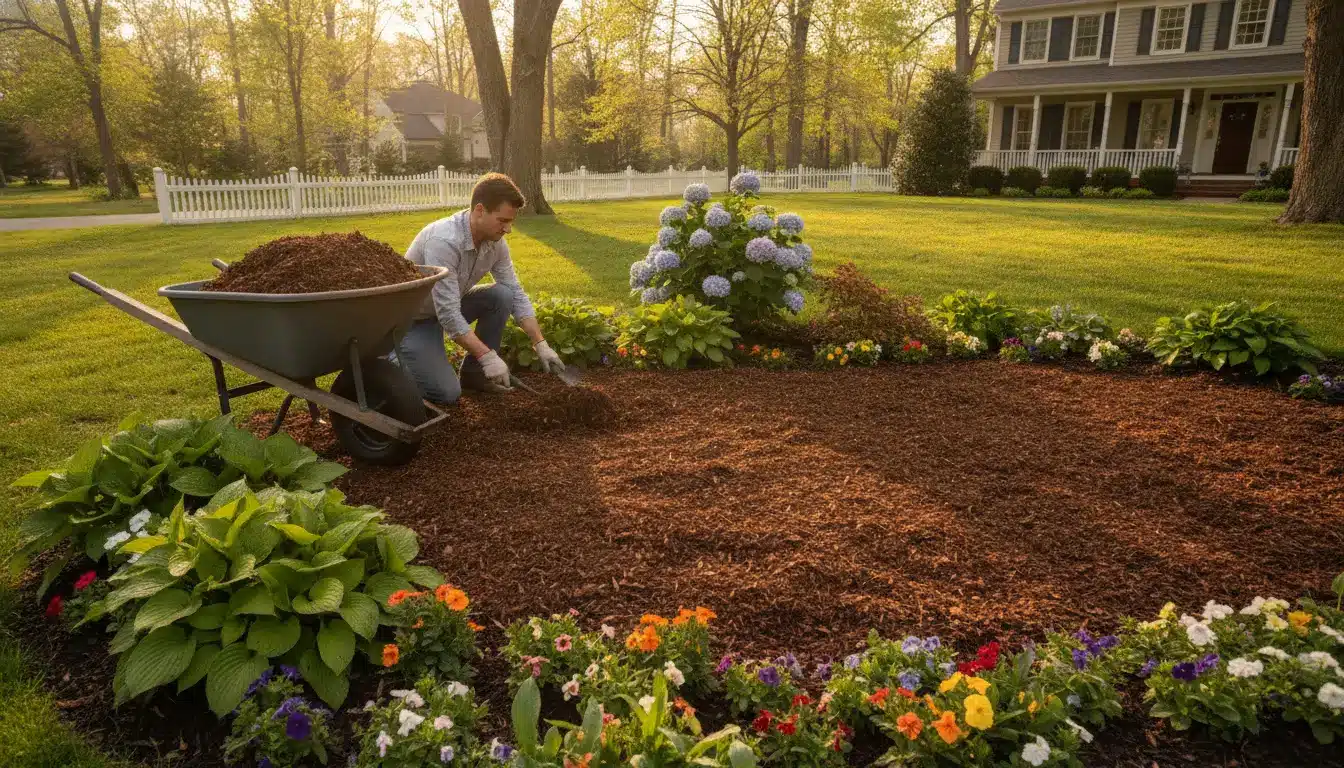
Step 6: Prepare the Soil for Next Season
If you’re leaving bulbs in the ground, loosen the surrounding soil and add a bit of compost or bulb food. This refreshes the soil and gives the bulbs a nutrient boost.
Good soil prep now means healthier roots and more vigorous growth when your tulips wake up next spring.
Tips for Long-Term Tulip Blooming Success
Tulips are a true spring highlight, but getting them to bloom beautifully year after year takes a bit of planning. With the right care and a few smart habits, anyone can enjoy those colorful flowers for seasons to come.
Here are some tried-and-true tips to keep your tulips thriving and blooming their best, year after year:
- Choose high-quality bulbs: Start with healthy, disease-free bulbs from a reputable supplier for the best results.
- Plant at the right depth: Place bulbs about 6-8 inches deep to protect them from temperature swings and hungry critters.
- Rotate planting spots: Change up where you plant tulips each year to avoid soil-borne diseases and pests.
- Avoid cutting foliage too soon: Let leaves die back naturally so bulbs store enough energy for next year’s blooms.
- Mulch in winter: Add a layer of mulch after planting to help insulate bulbs from extreme cold.
- Feed bulbs annually: Use a balanced fertilizer each fall and after flowering to promote strong growth and blooms.
- Watch for pests and diseases: Check regularly for signs of rot, fungus, or pests, and remove any affected plants quickly.
Wrapping It Up
I hope this blog has answered your question about what to do with tulips after they bloom. Taking good care of your tulips after they bloom isn’t hard, but it makes a big difference.
The small efforts you make now lead to a more amazing spring show next year. Your future self will thank you when those first colorful tips push through the soil!
Why not mark your calendar now for post-bloom care? A little attention to your tulips today means more flowers to enjoy tomorrow.