Learning fancy crochet stitches can feel tricky, and the braided pattern often looks too complex for beginners. I know the feeling! I once sat with my yarn for hours, trying to figure out those twists and turns.
I’m here to help you master this beautiful stitch without the stress. In this guide, I’ll break down the braided crochet method into simple, manageable steps anyone can follow.
You’ll also learn common mistakes to avoid and see clear photos of each stage.
Let’s get started with your next favorite crochet skill!
Types of Projects in Which Braided Crochet Stitch Can Be Used
The braided stitch adds texture and visual interest to many items. I’ve used this stitch in countless projects over the years.
Here are some of my favorite ways to use this technique:
- Cozy scarves and cowls that stand out from basic patterns
- Throw blankets and afghans that look complex but work up quickly
- Baby blankets with a special touch
- Decorative pillow covers that add dimension
- Stunning wall hangings that create a focal point
- Pot holders and hot pads with extra thickness for protection
- Headbands that stay in place thanks to the textured grip
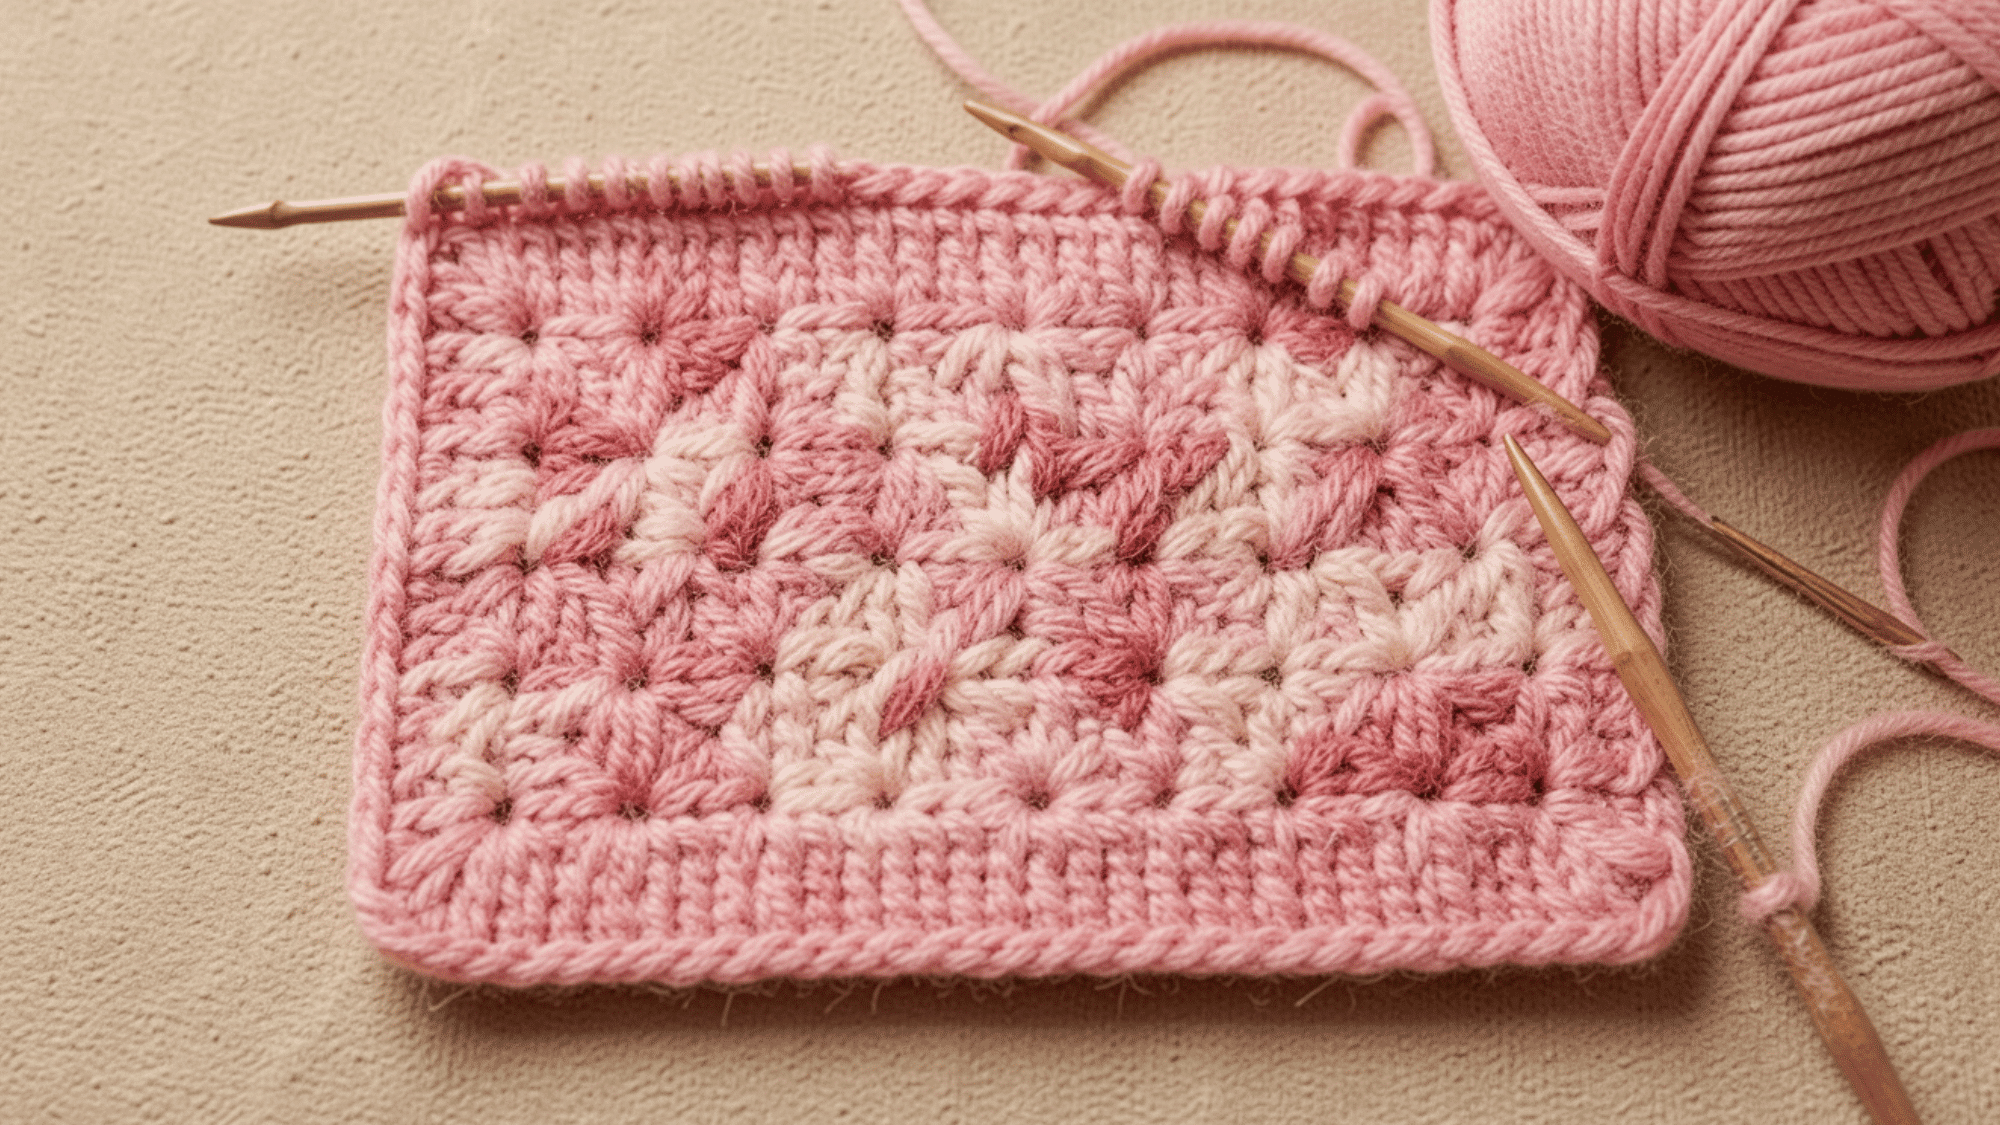
Step-by-Step on How to Braided Crochet Stitch
The braided stitch is a beautiful, textured pattern that’s perfect for scarves, blankets, or any project where you want both sides to look the same.
This stitch uses puff stitches and is based on a simple one-row repeat, making it accessible for beginners and satisfying for experienced crocheters.
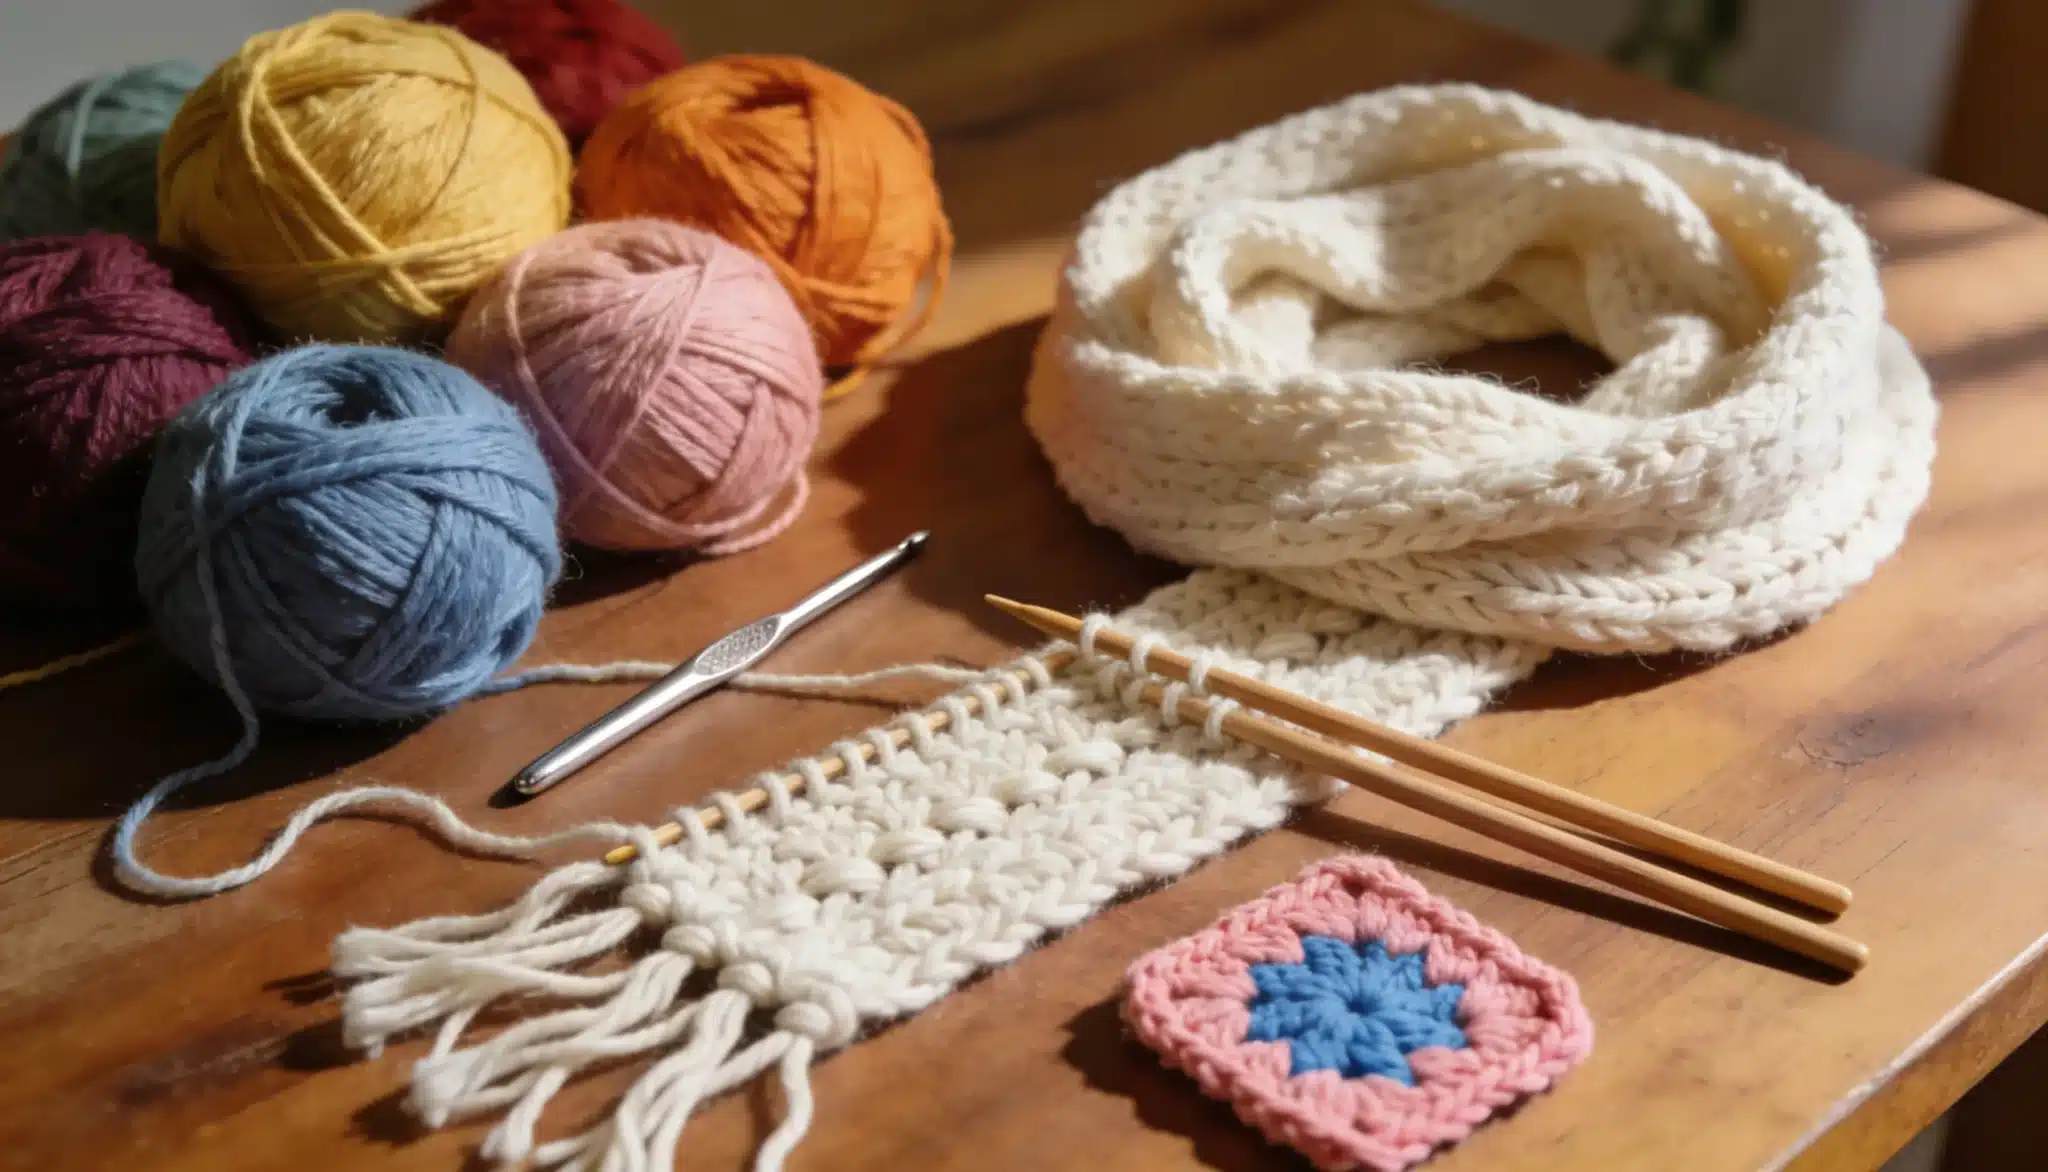
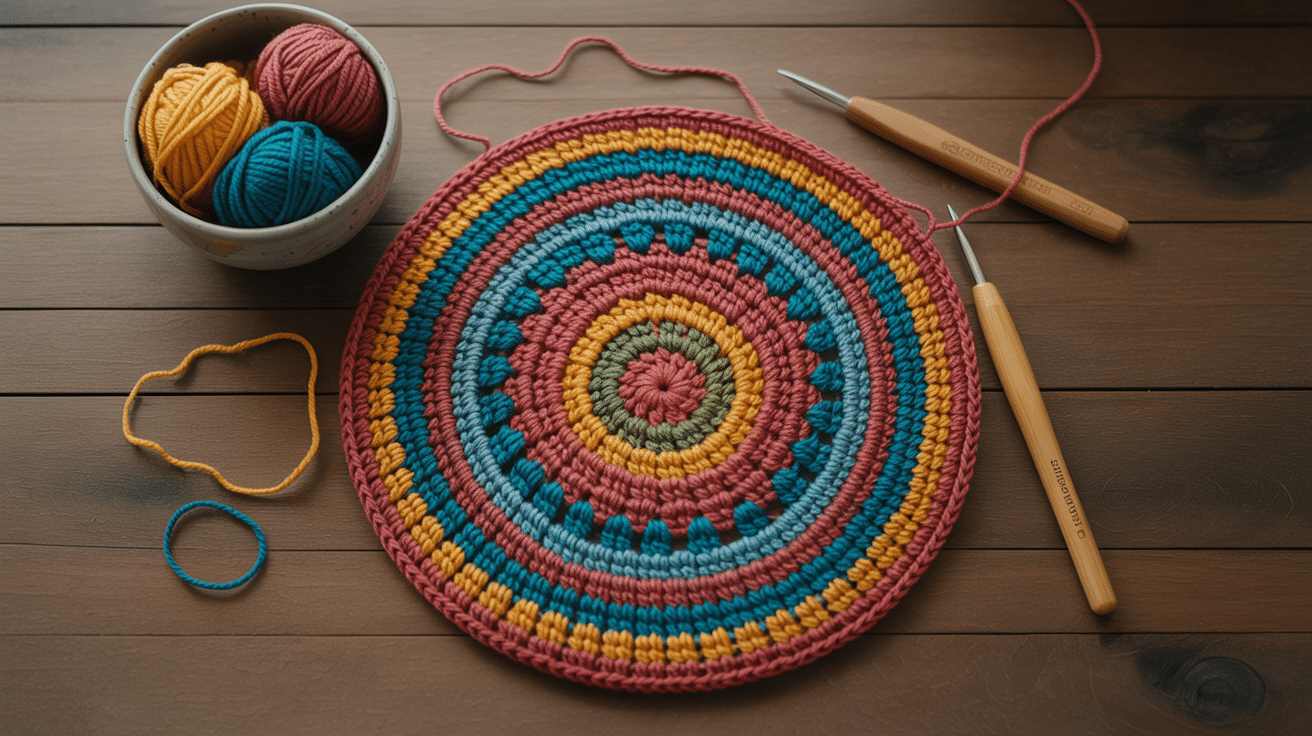
1. Gather Materials and Prepare Your Yarn
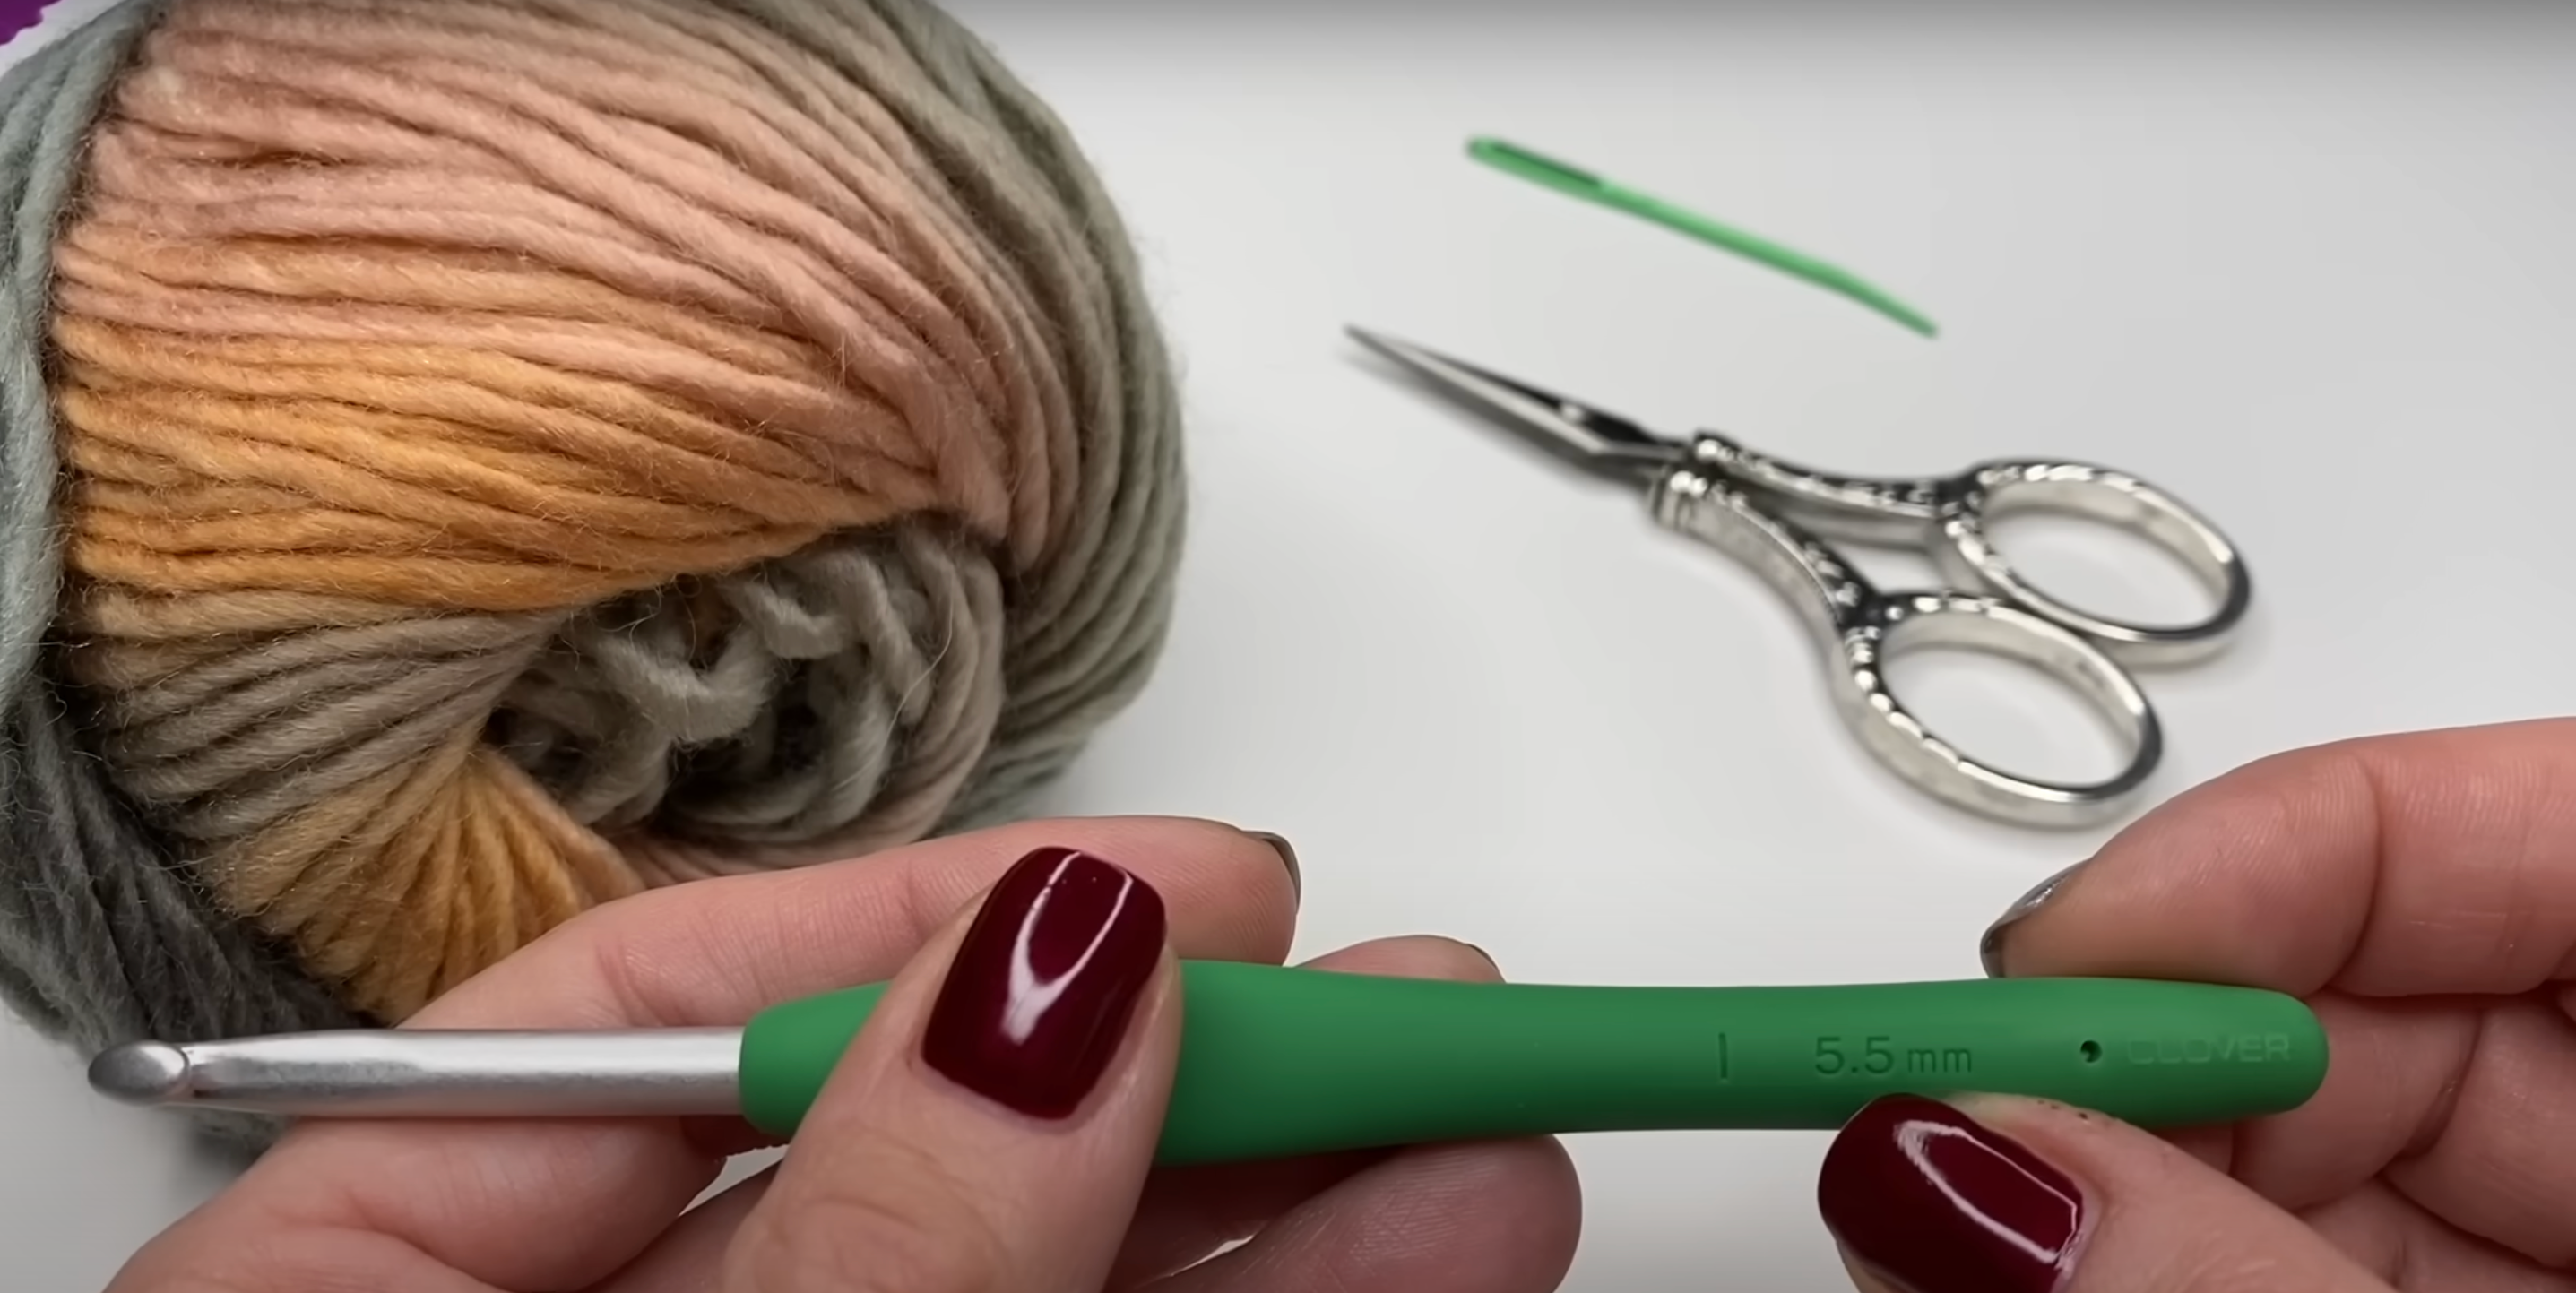
First, I gather all my supplies: a 5.5 mm crochet hook, chunky yarn (though any yarn works), scissors, and a yarn needle. I make sure my yarn is soft and easy to work with.
I also check that my hook size matches the yarn’s recommendation, ensuring my stitches will be even and the final fabric will have the right drape.
2. Make a Slipknot and Crochet the Foundation Chain
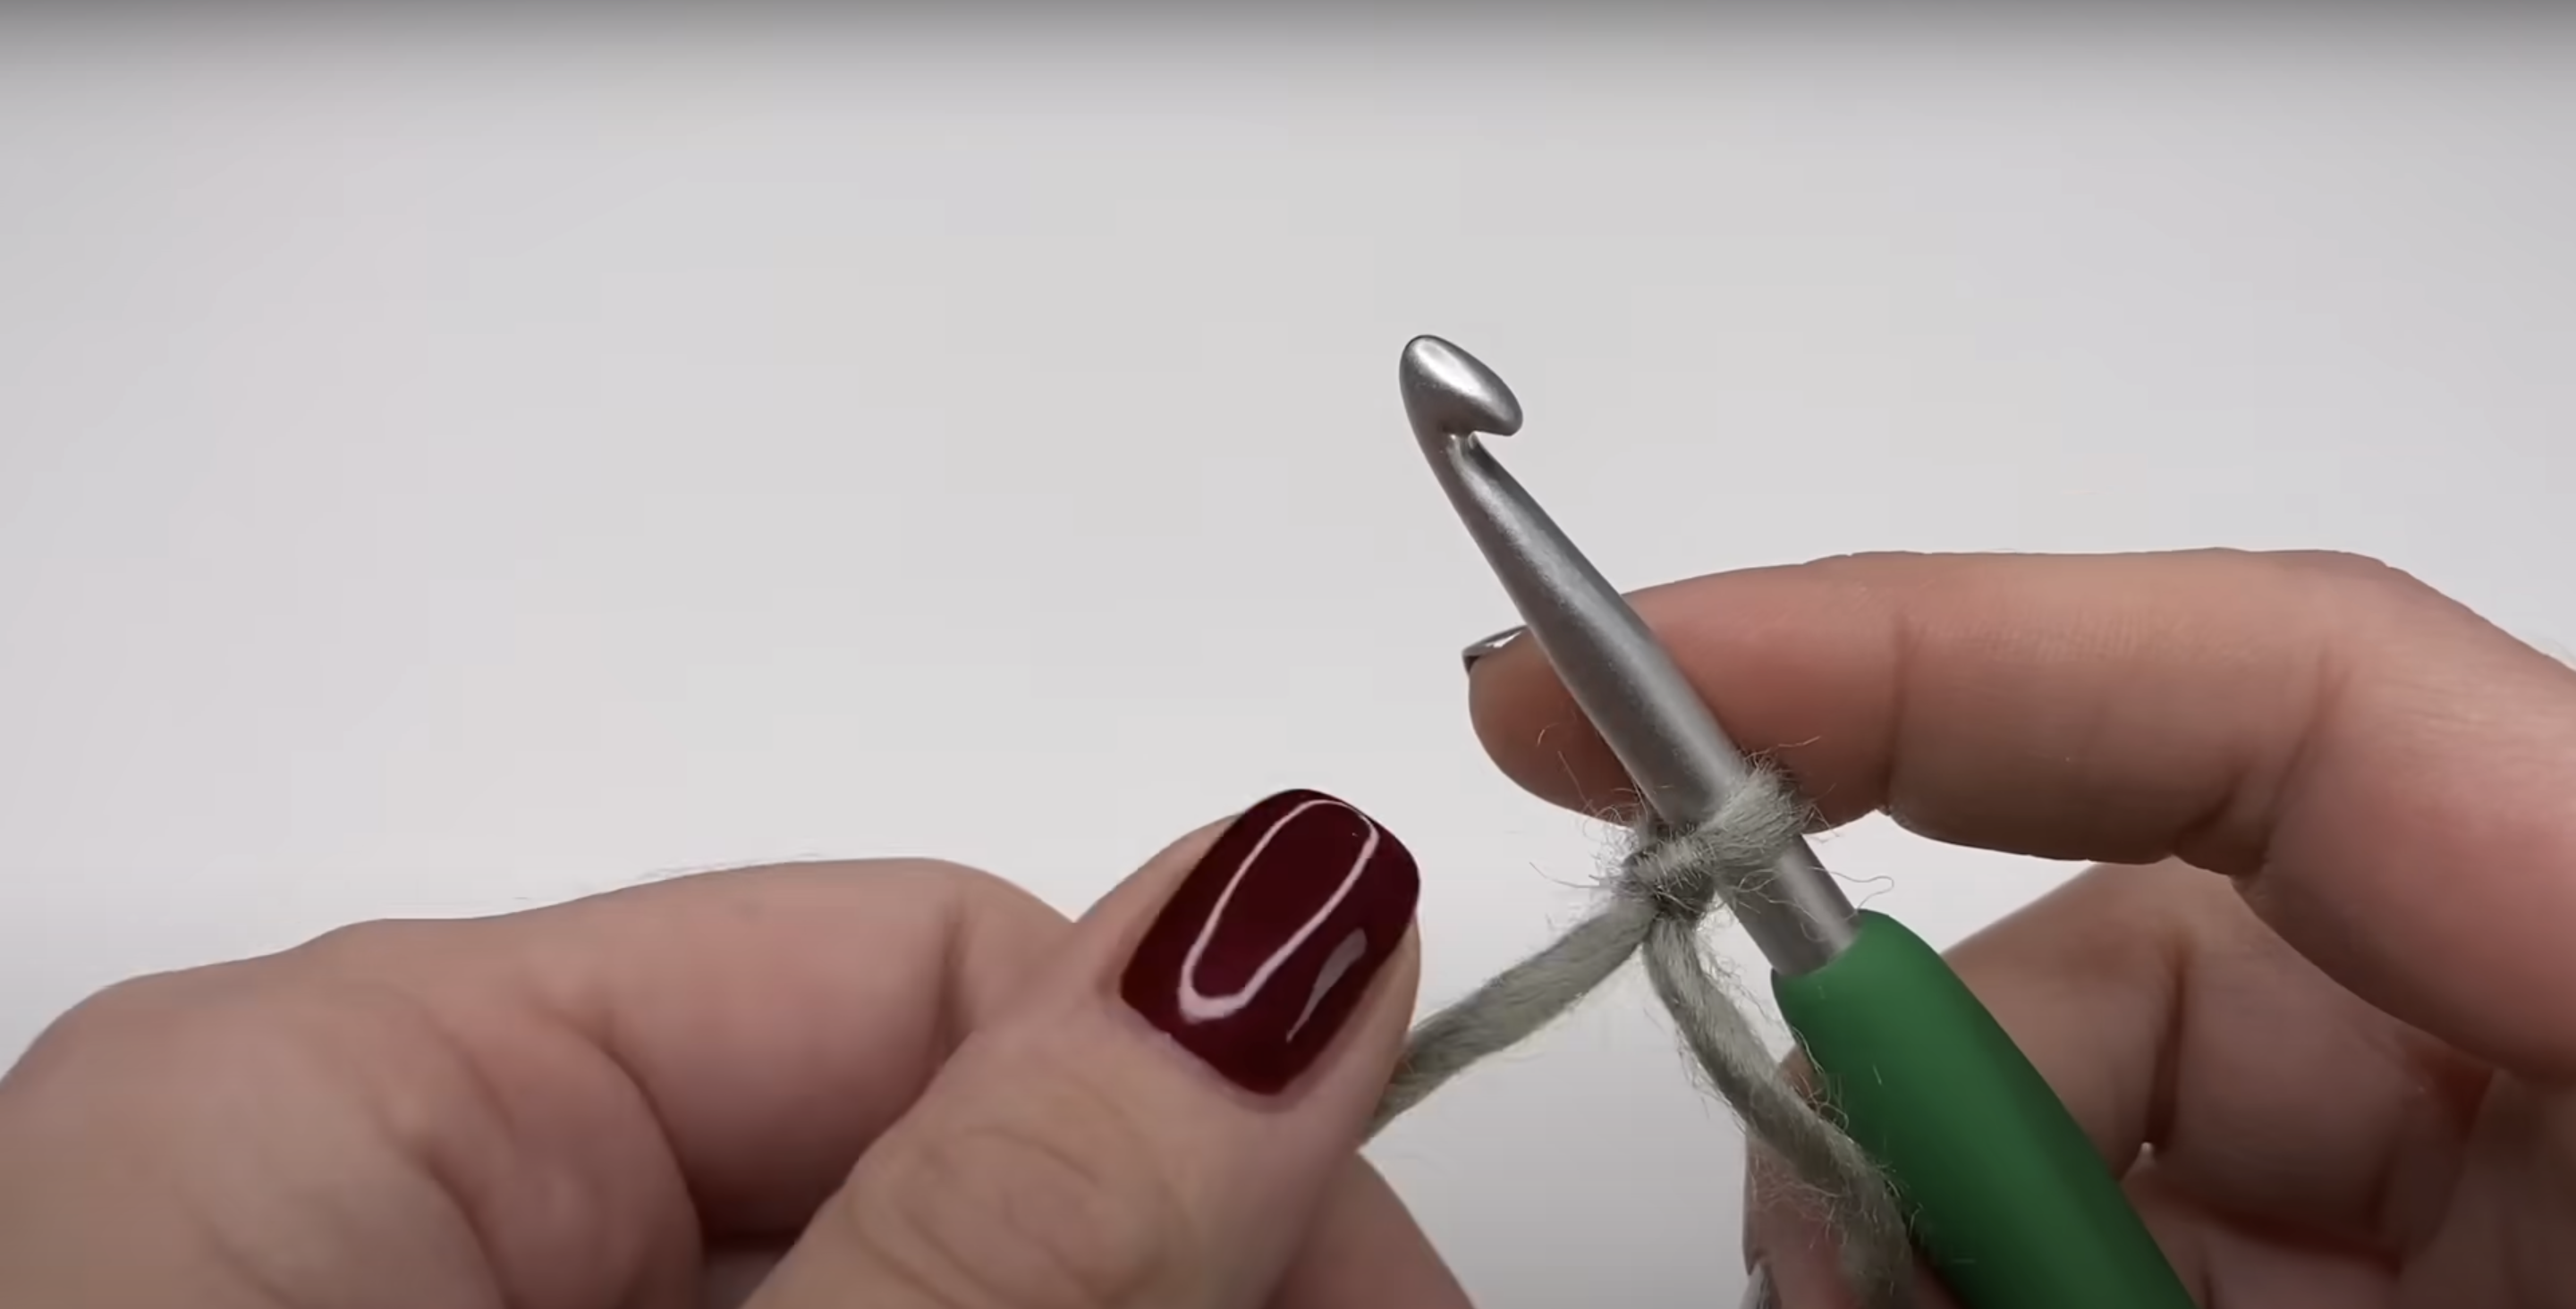
I begin by making a slipknot and placing it on my hook. Then, I crochet a foundation chain in multiples of two, depending on the width I want for my project.
For example, I might chain 20 for a small sample. I keep my chains loose to prevent the edge from curling and to make it easier to work into the stitches.
3. Start the First Row: Locate the Fifth Chain
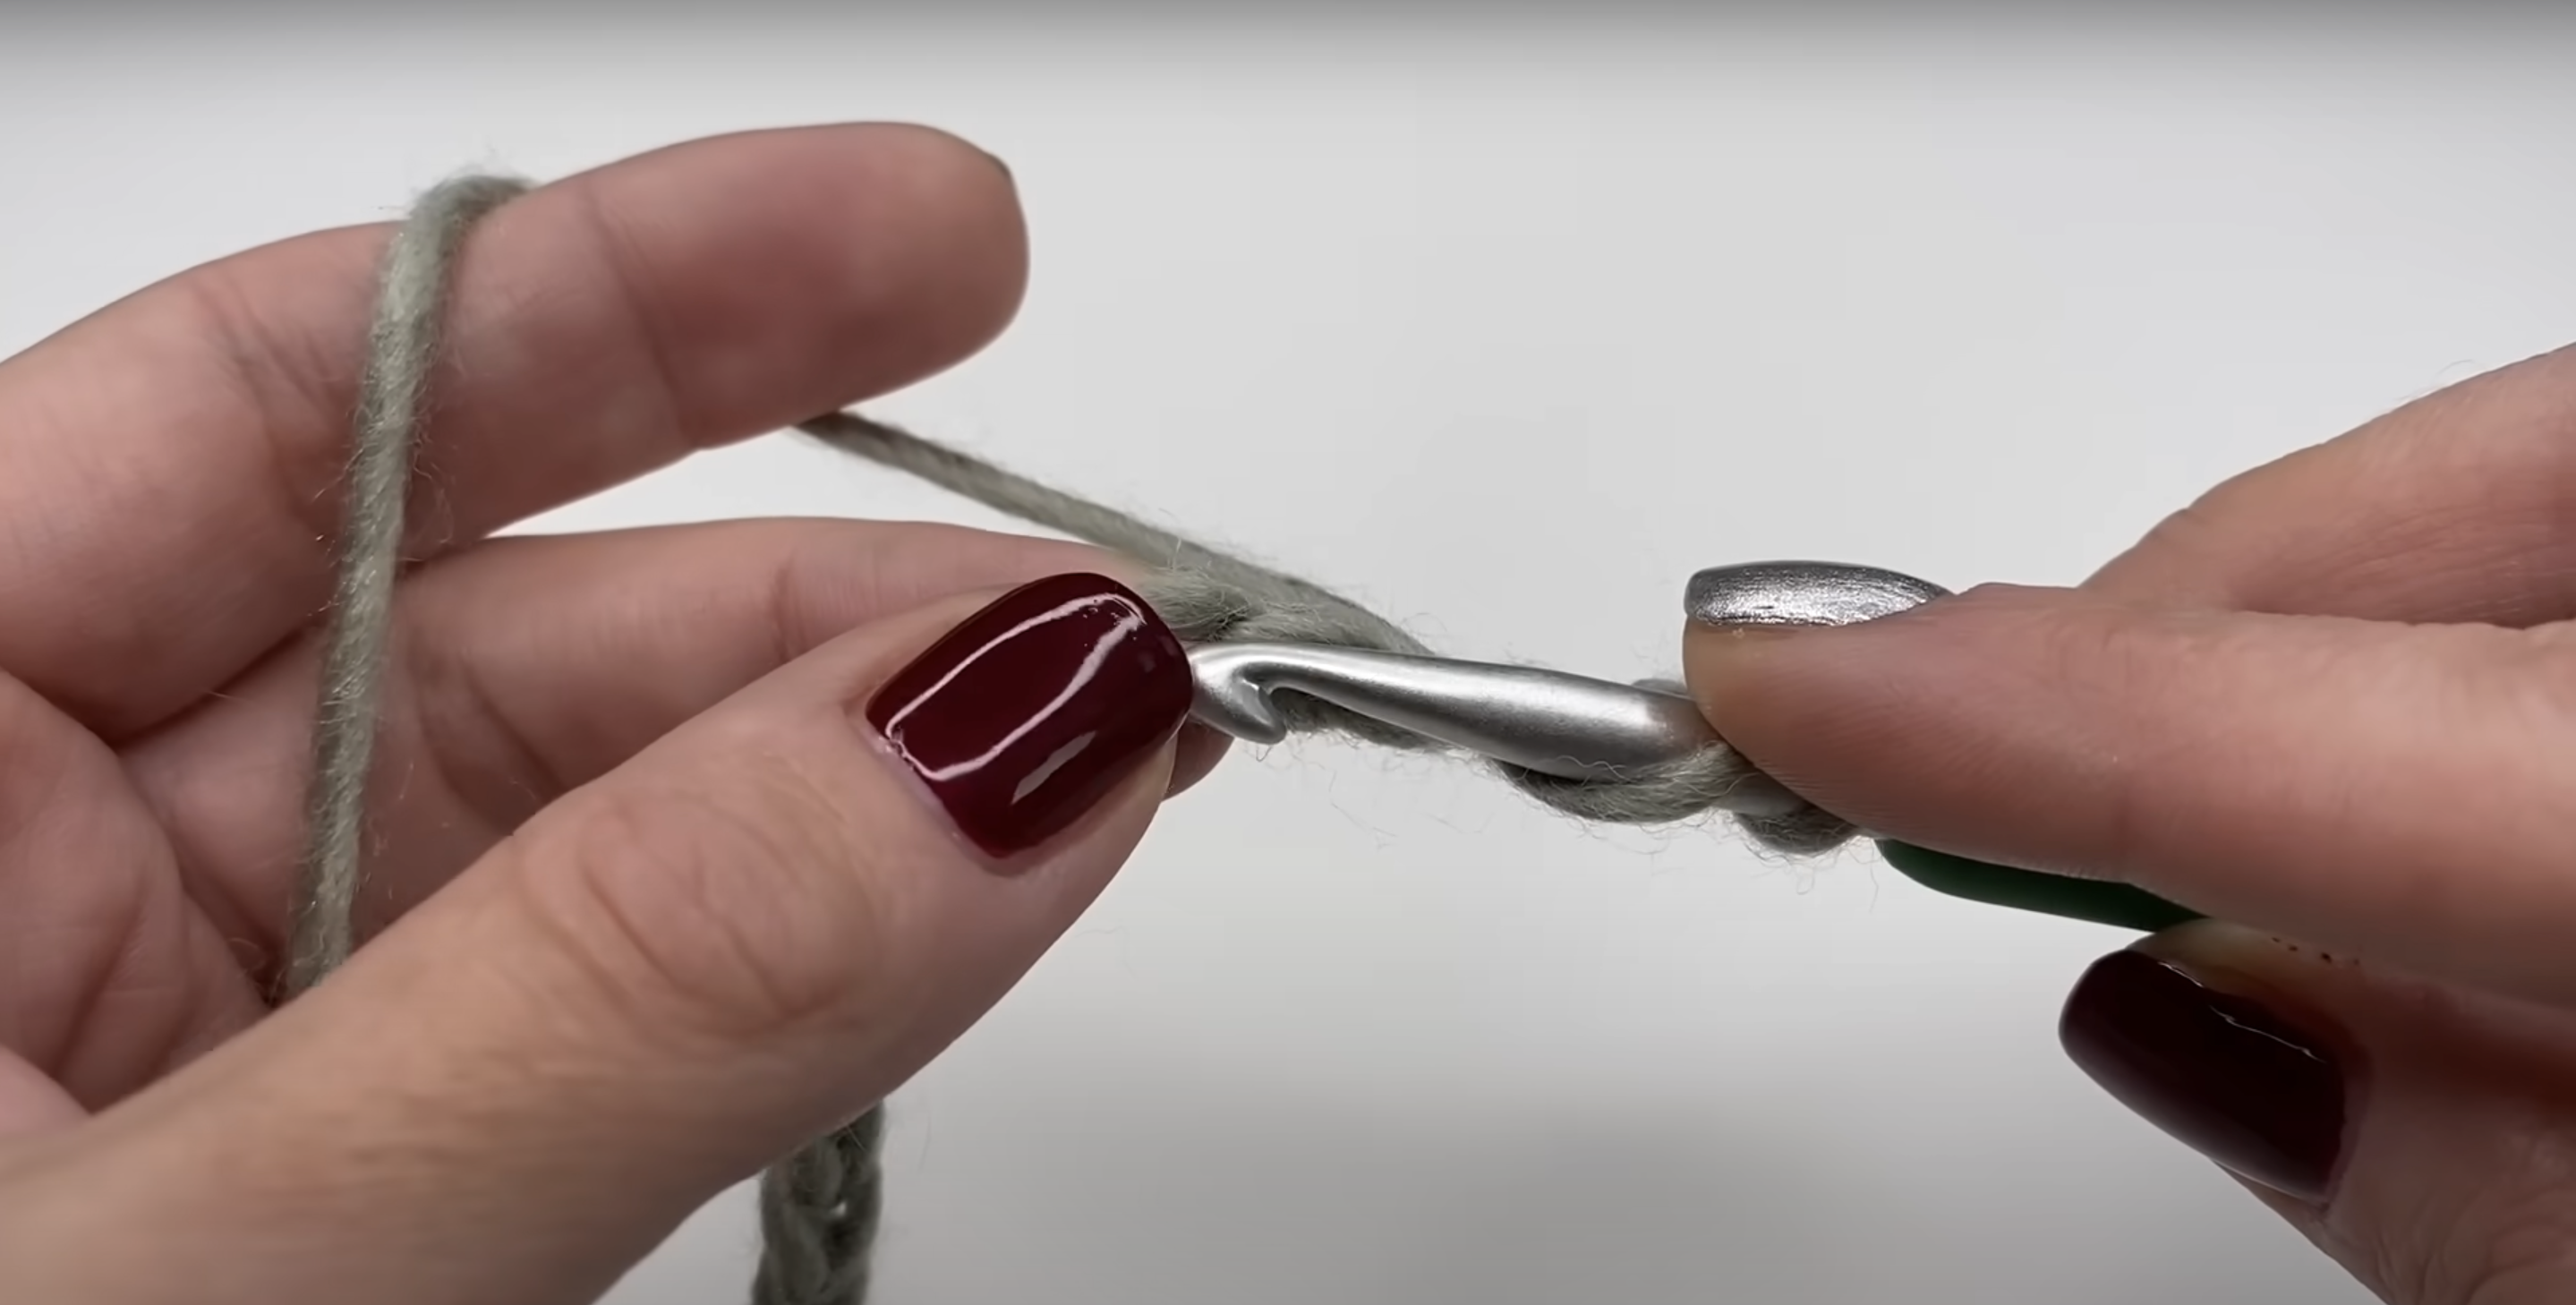
To start the first row, I skip the first four chains from my hook (the loop on the hook doesn’t count) and insert my hook into the fifth chain. This is where I’ll make my first double crochet.
Counting carefully here ensures my stitch pattern lines up correctly and the edges stay straight as I build the rows.
4. Work the First Double Crochet and Chain One
In the fifth chain, I yarn over, insert my hook, yarn over again, pull through, yarn over, pull through two loops, yarn over, and pull through the last two loops to complete my double crochet.
I then chain one. This forms the base for the braided effect and sets up the next step, where the puff stitch will go.
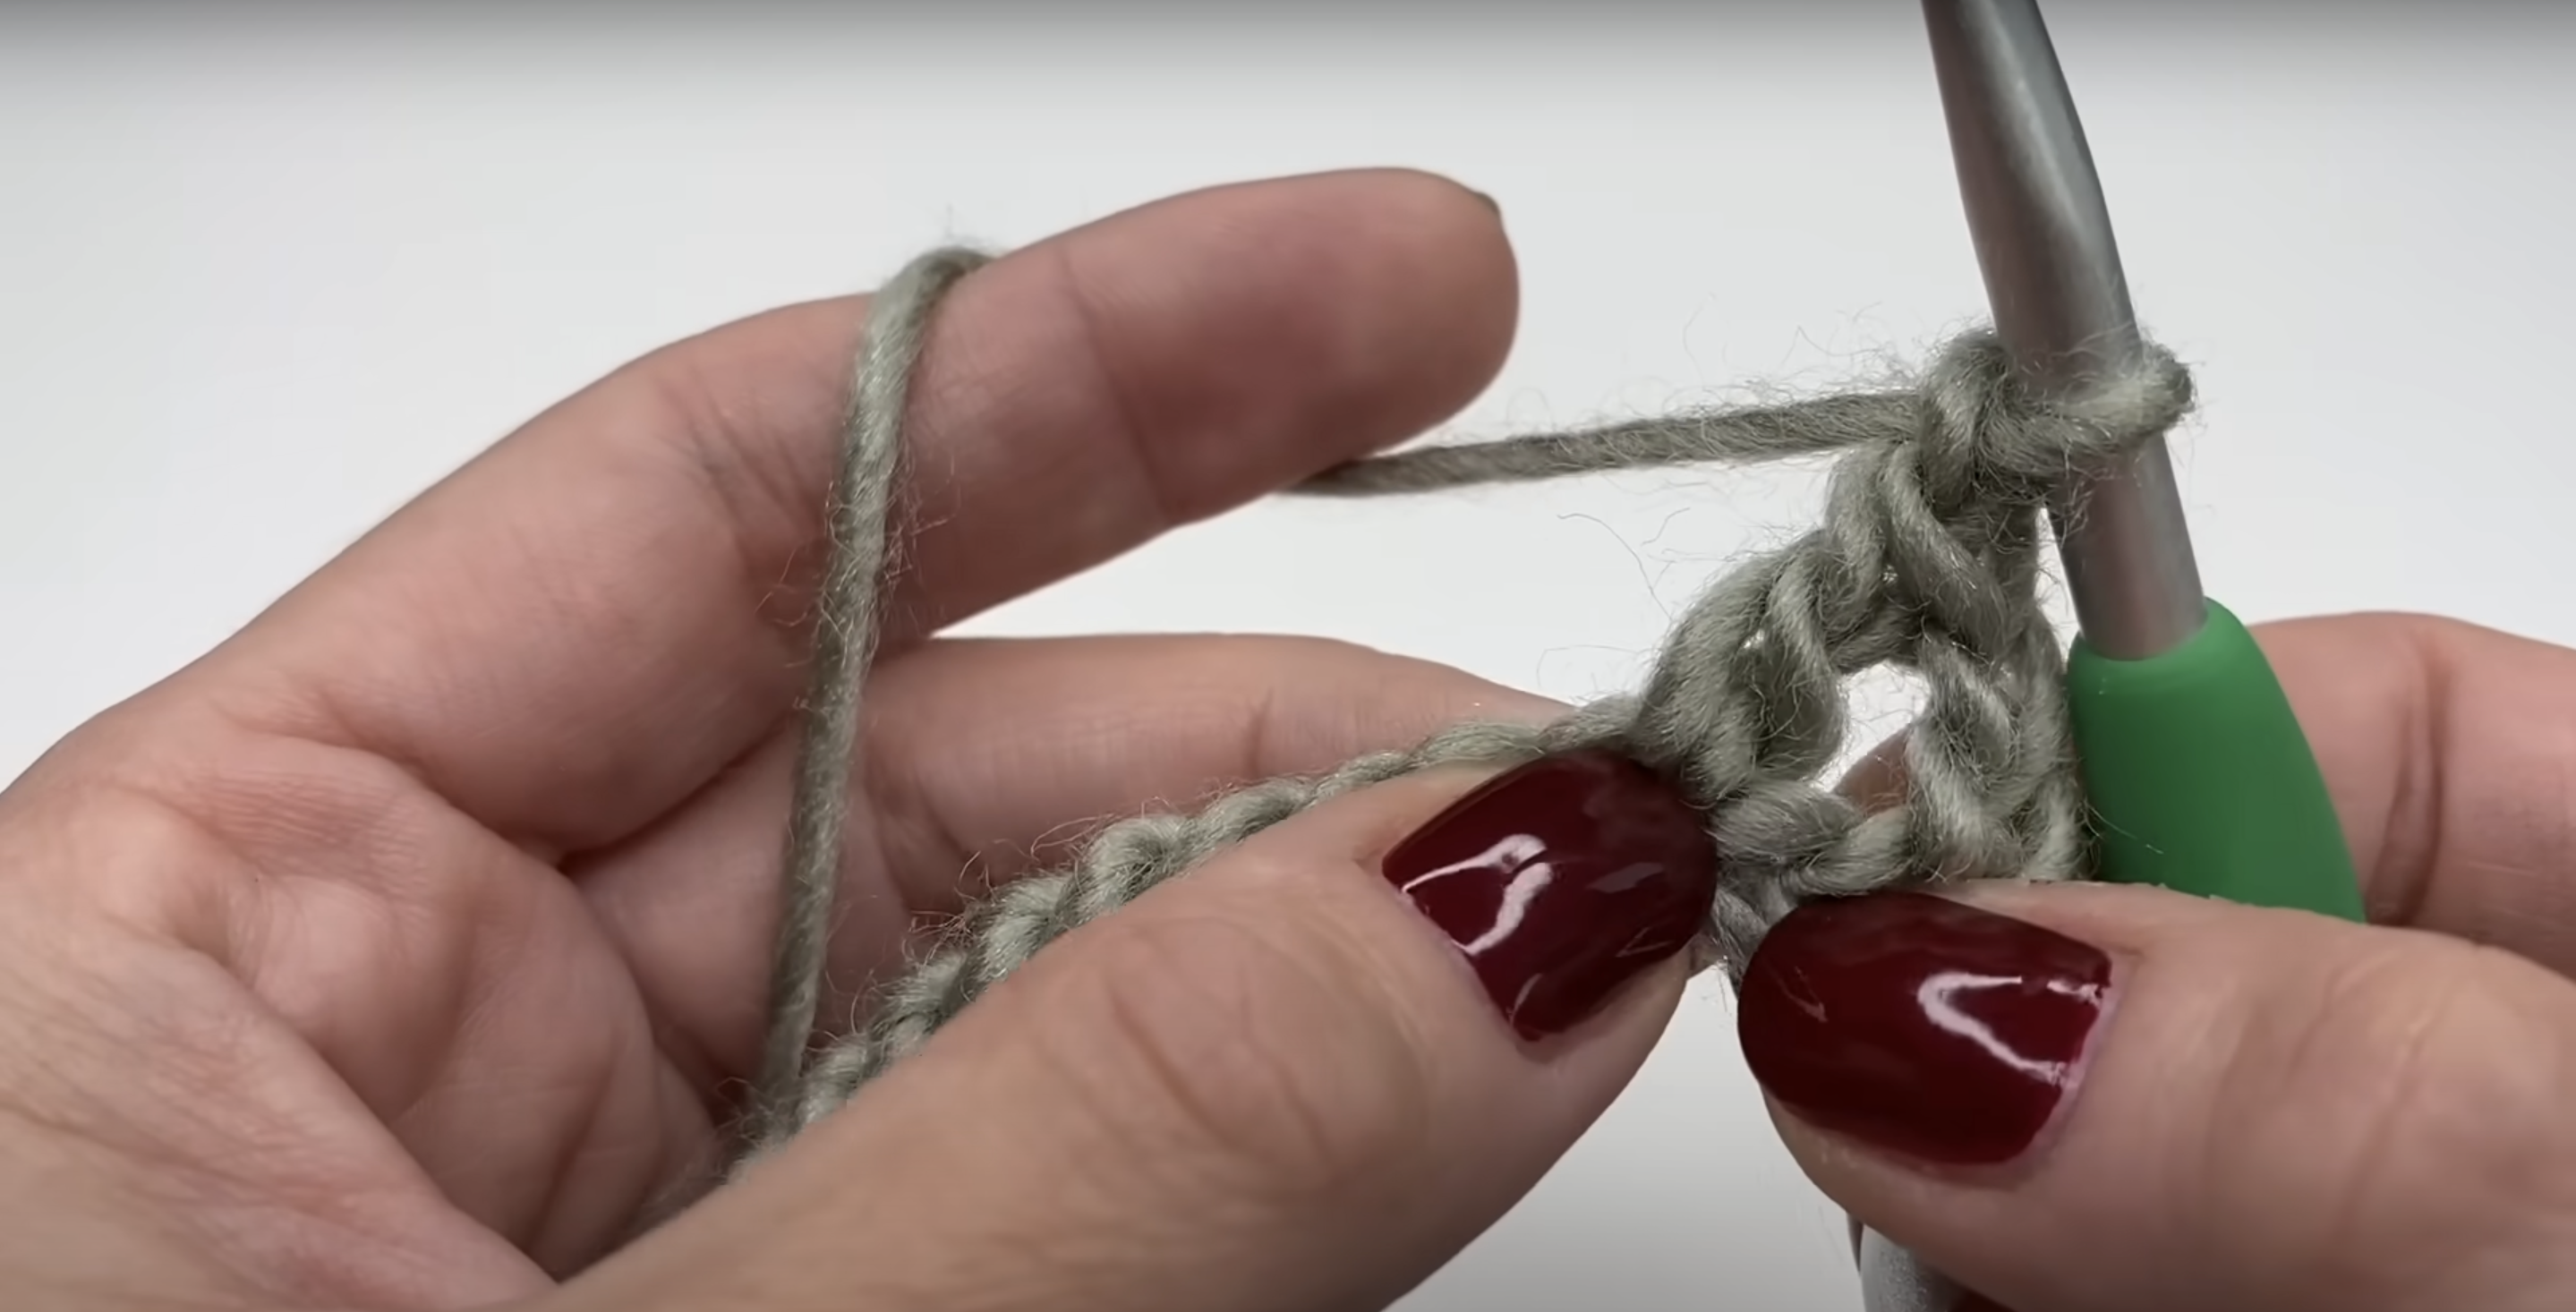
5. Create the First Puff Stitch
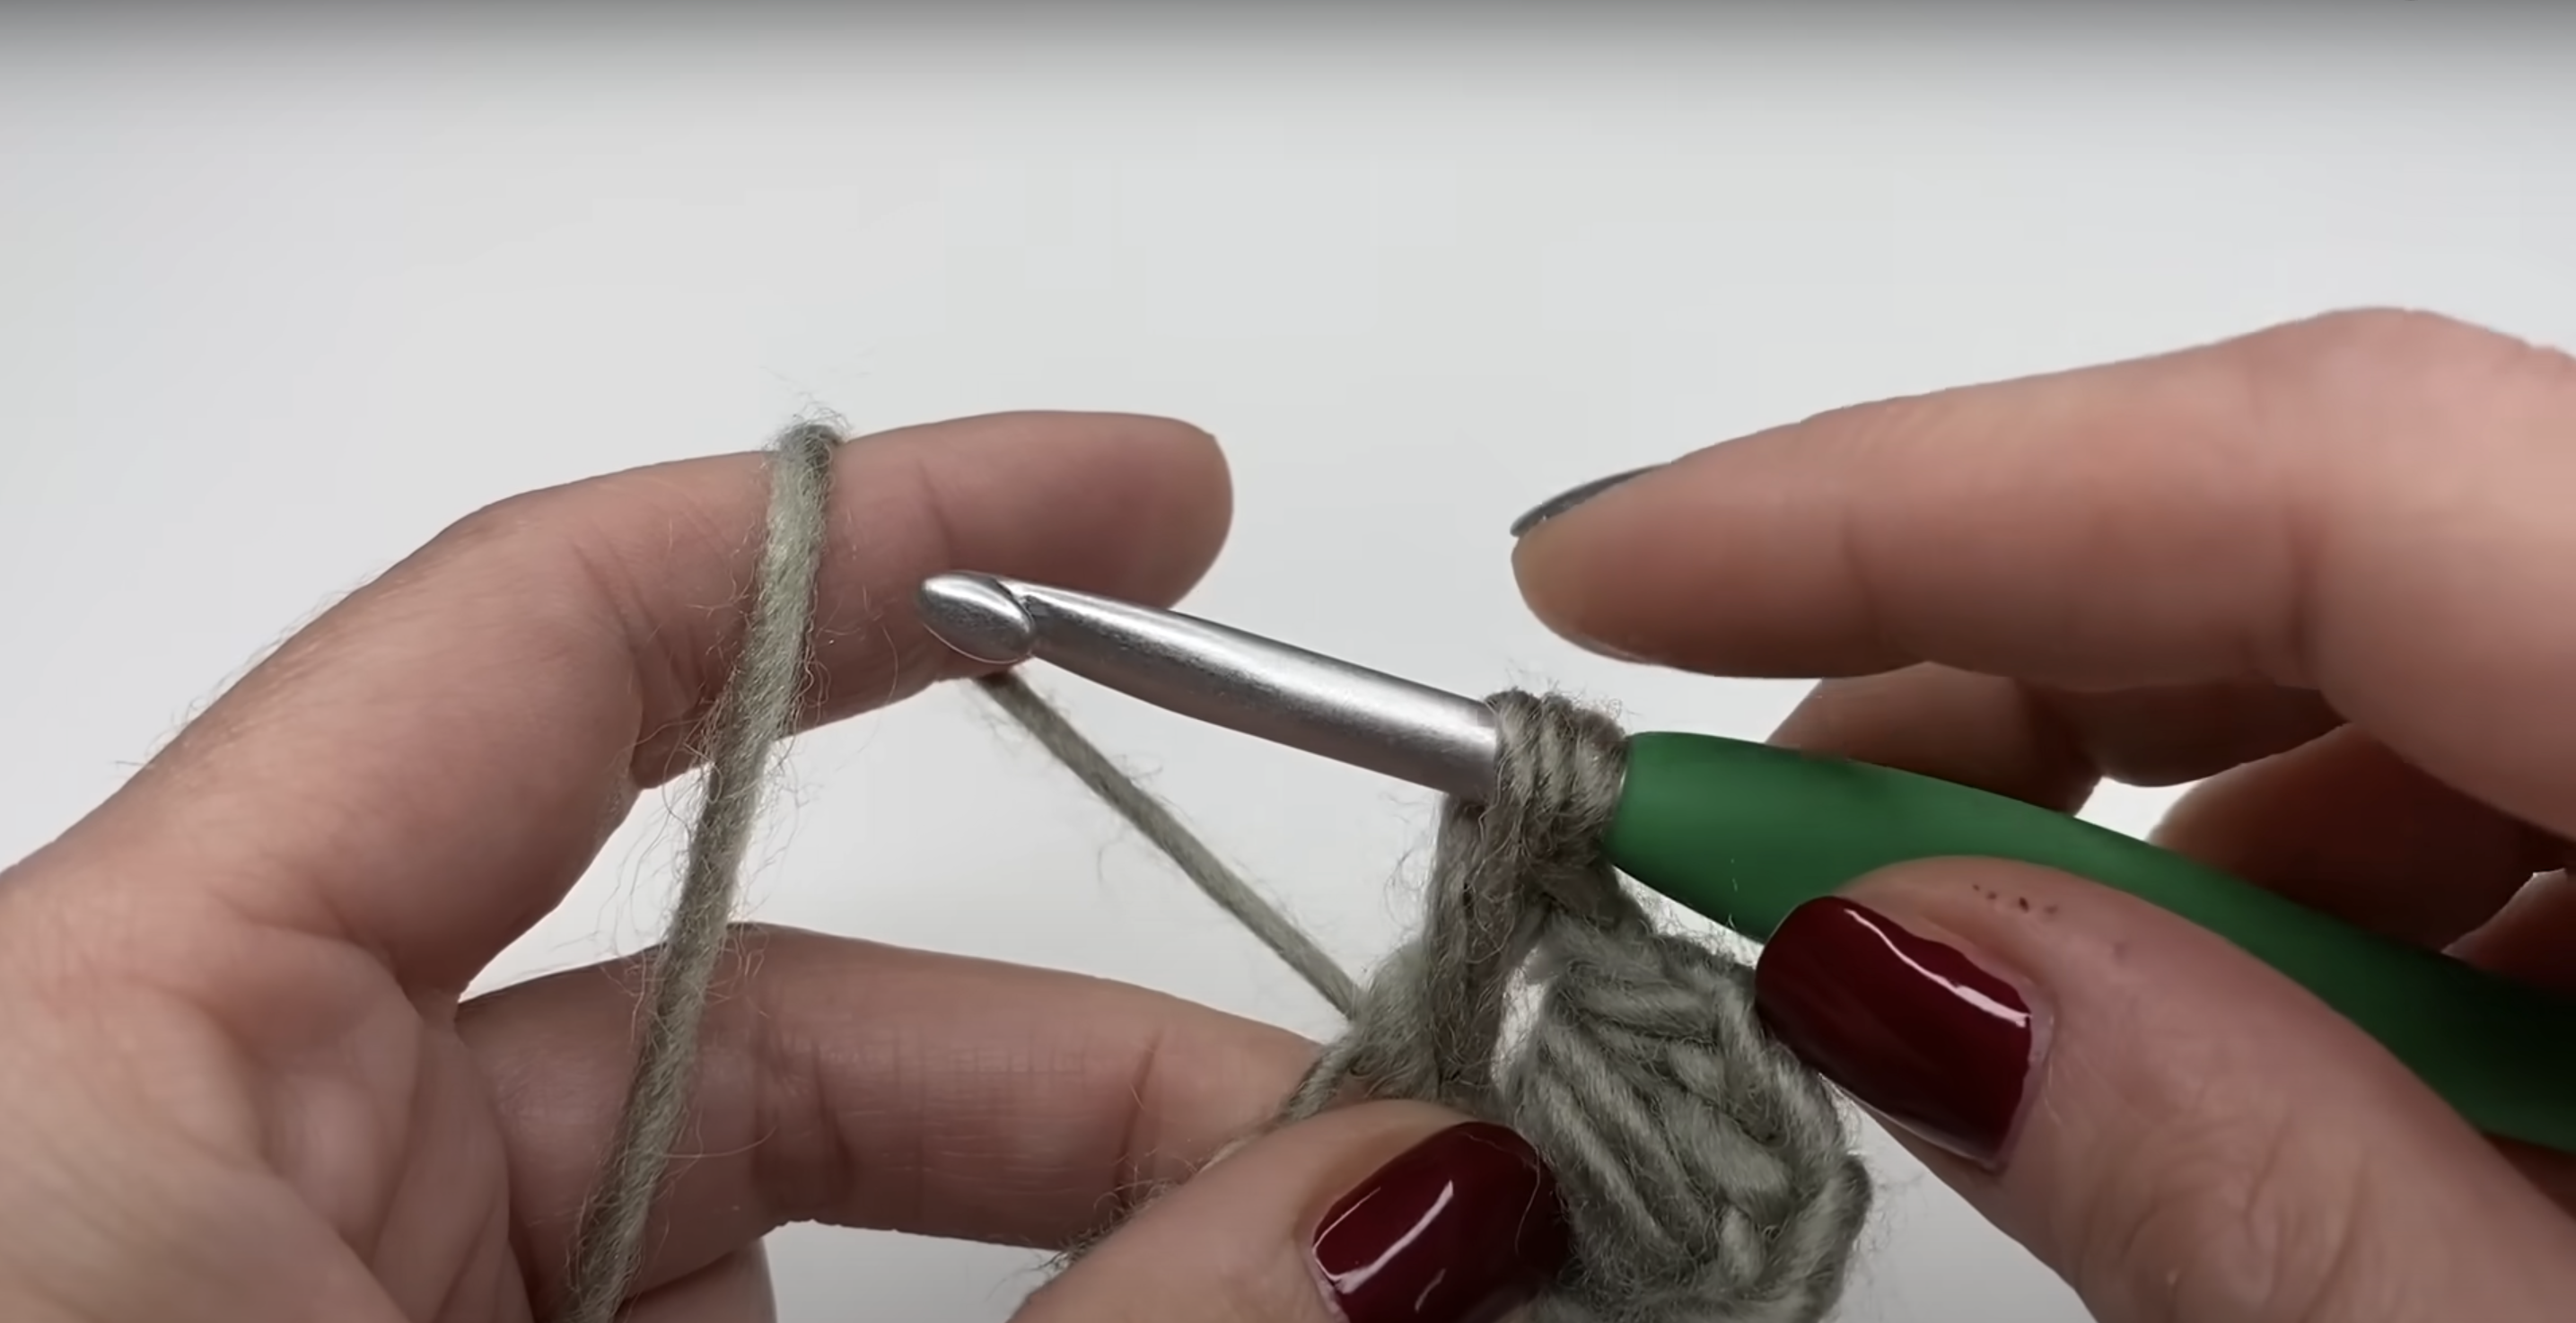
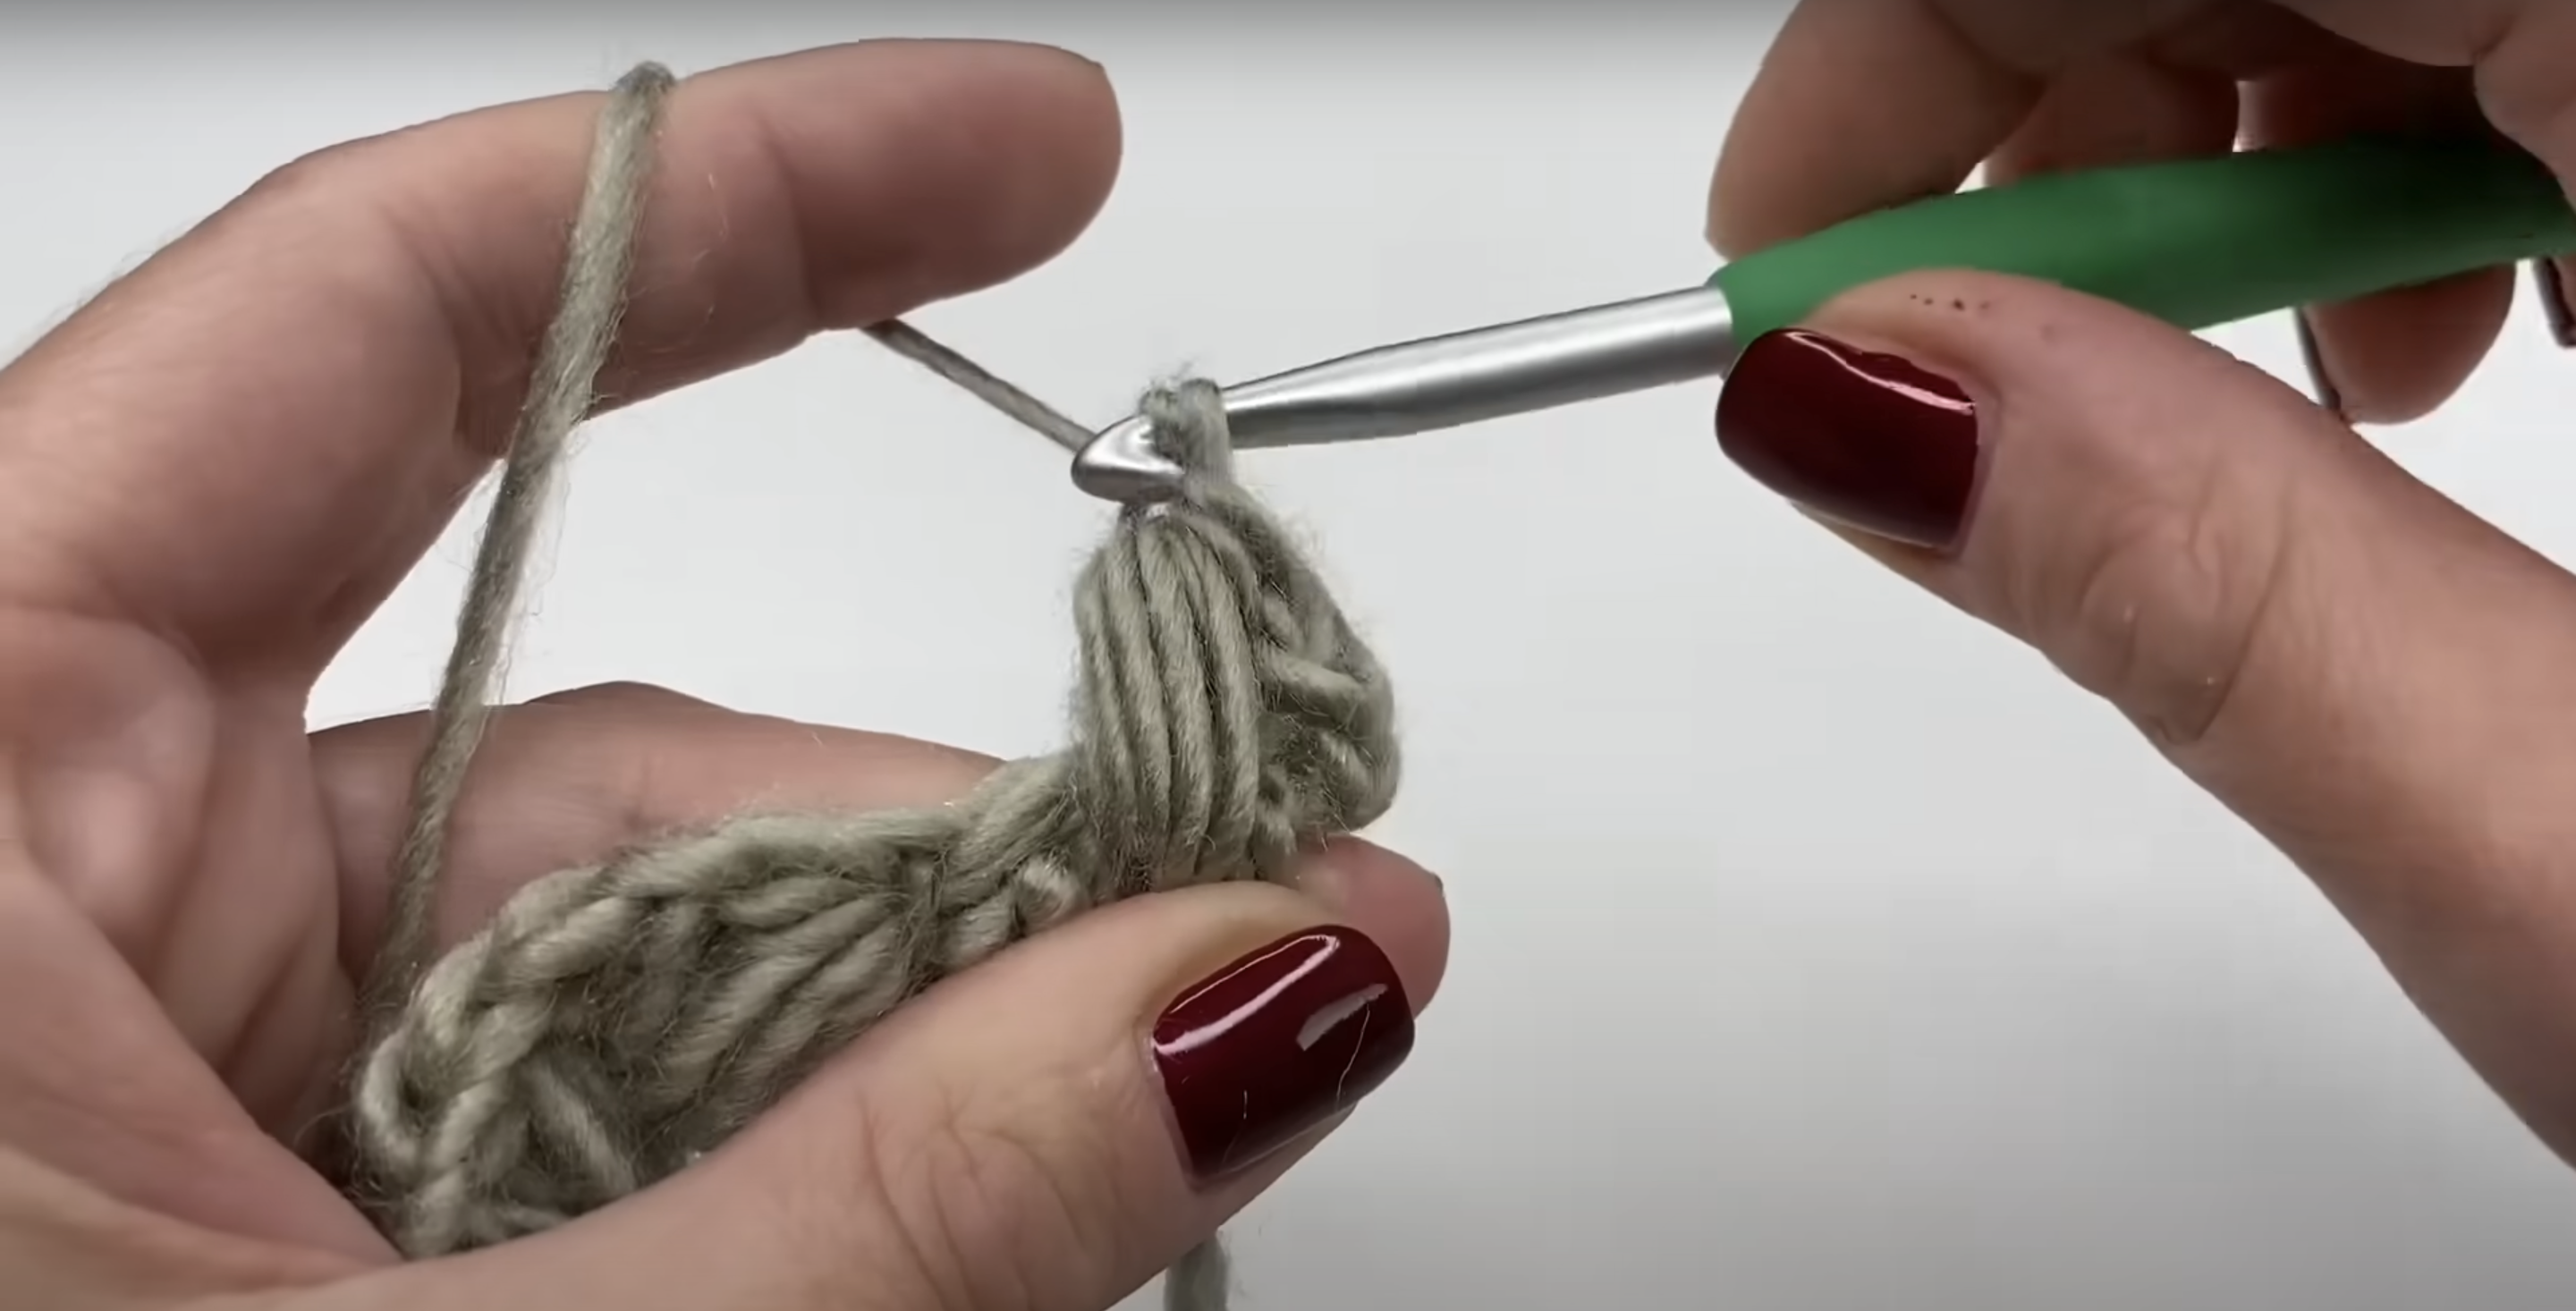
Now, I go back to the stitch just before the double crochet and work a puff stitch. I yarn over, insert my hook, pull up a loop, and repeat this five times (for five yarn overs), creating a thick, textured puff.
I yarn over and pull through all loops on the hook, then chain one to secure the puff. This creates the signature “braid” look.
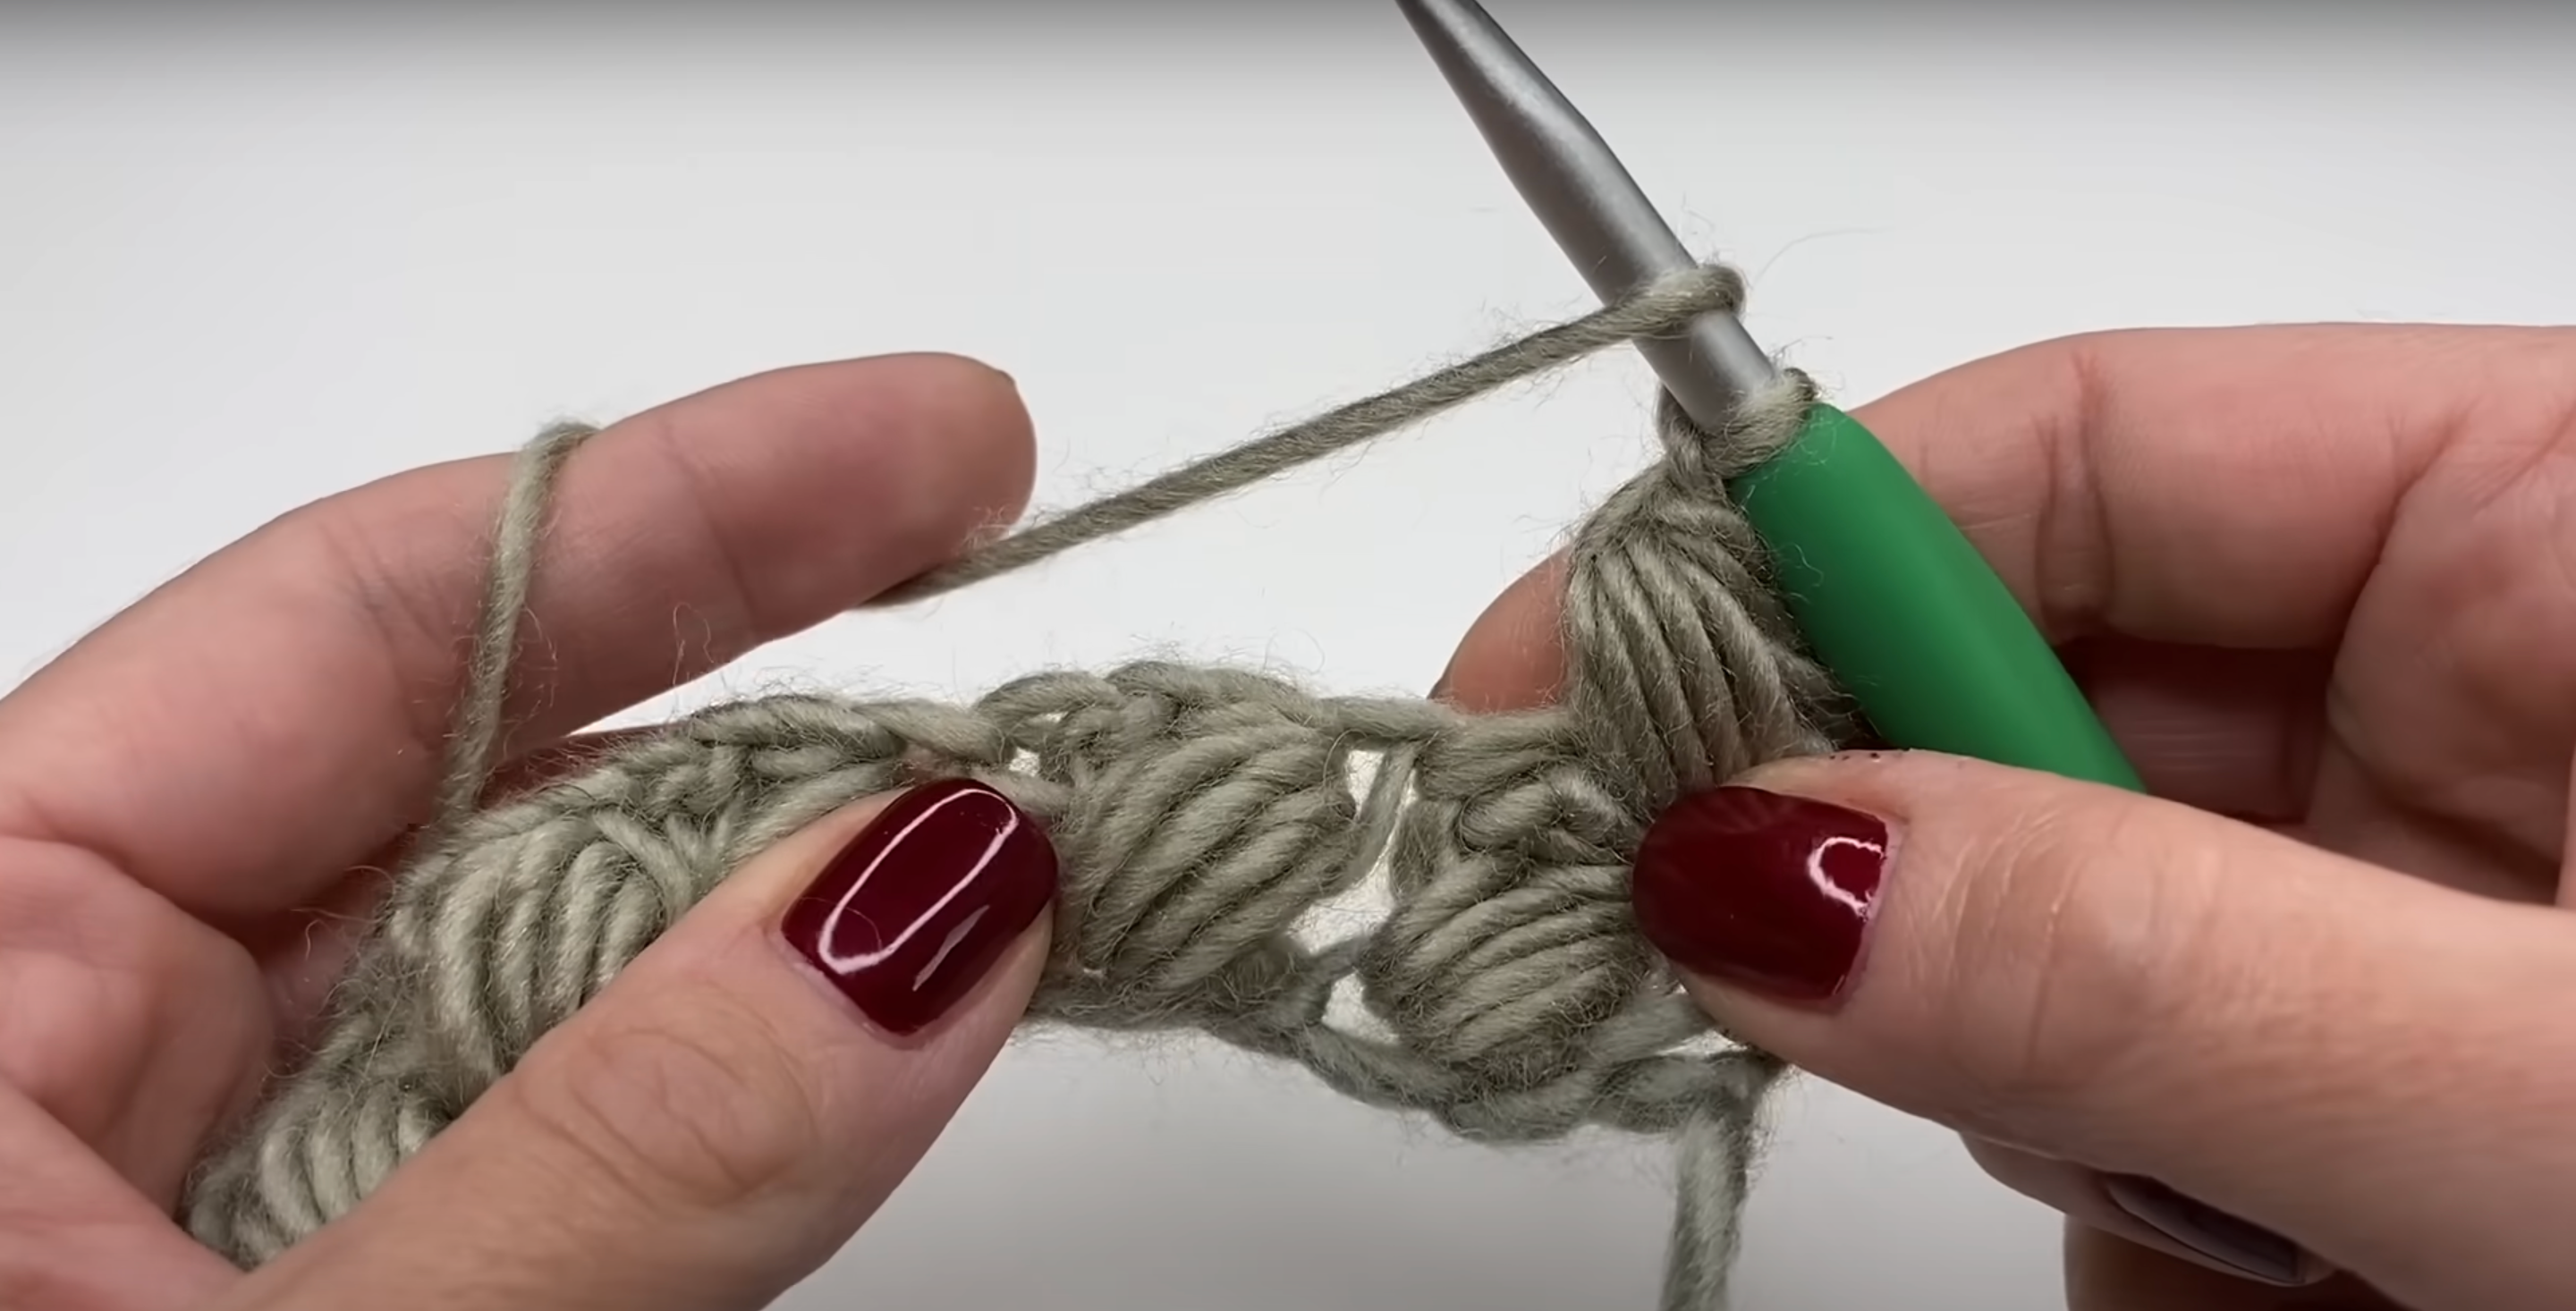
6. Repeat Double Crochet and Puff Stitch Across the Row

I skip the next chain (since it’s occupied by the double crochet) and work a double crochet and chain one in the following chain. Then, I return to the skipped chain and make another puff stitch.
I repeat this sequence-double crochet, chain one, puff stitch in the skipped stitch-all the way to the end of the row, always keeping my stitches loose.
7. Finish the First Row with a Double Crochet
When I reach the end of the row and have one chain left, I simply make a double crochet in that last chain. This helps keep the edge straight and neat.
The row might curl a bit at this stage, but I know it will flatten out as I add more rows. I make sure my tension is consistent throughout this step.
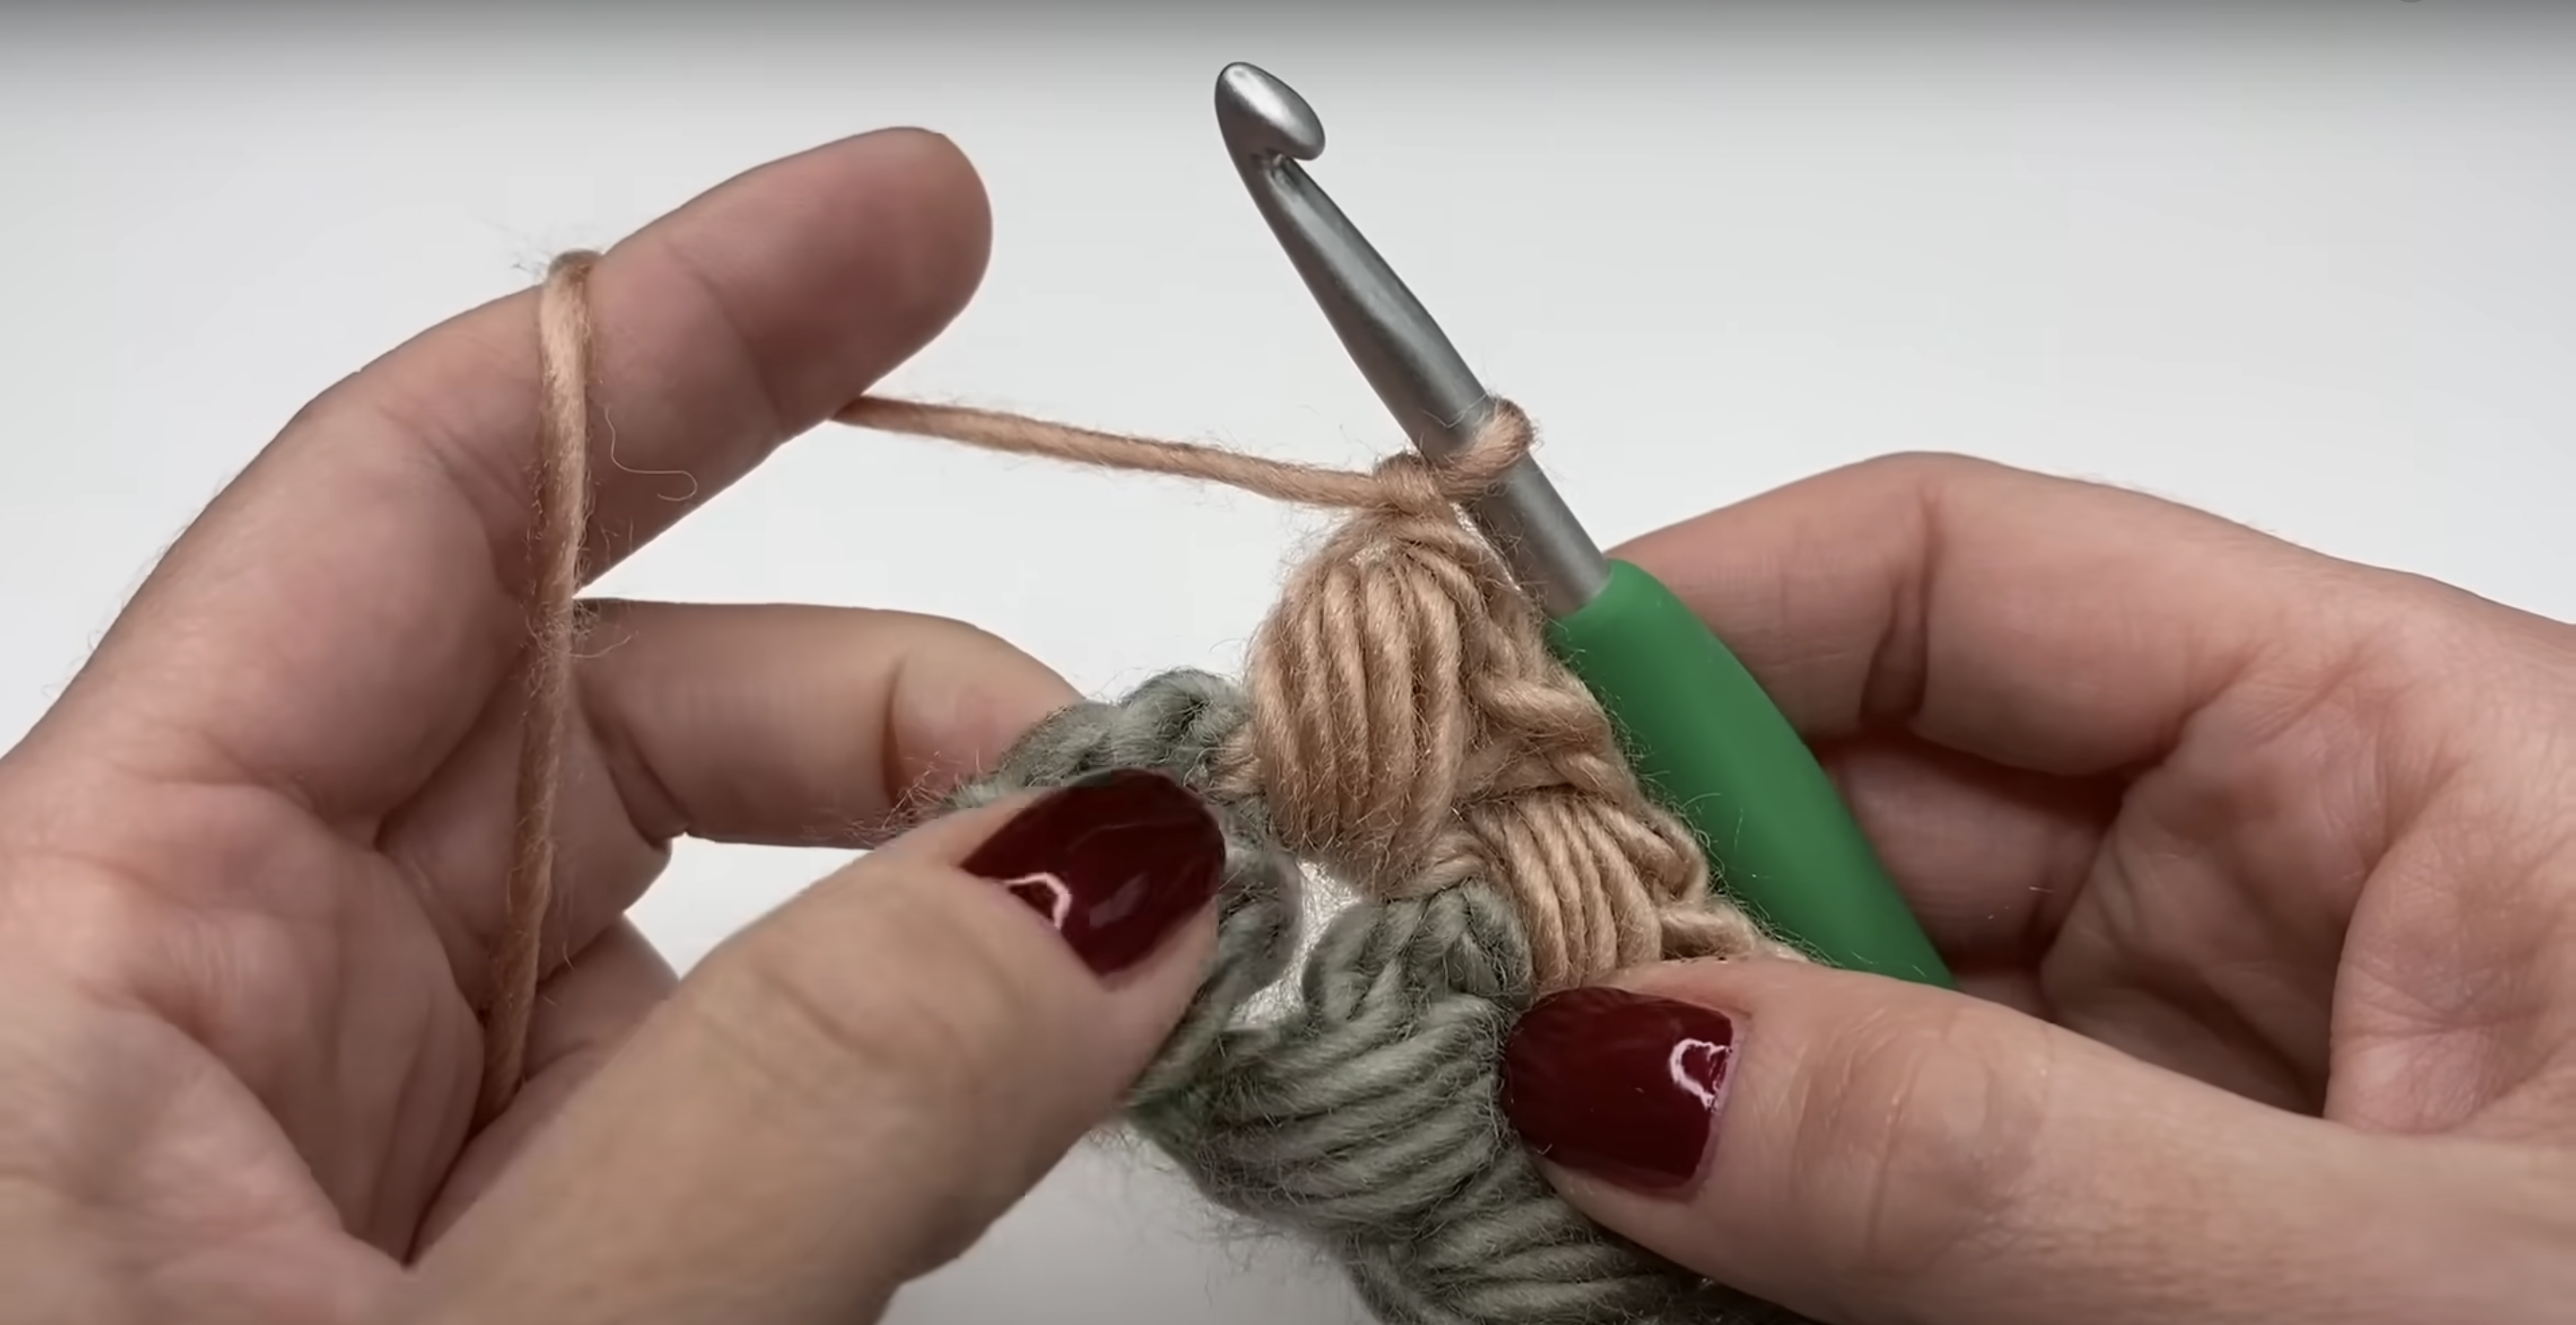
8. Start the Repeat Row: Chain Three and Turn
To begin the repeat row, I chain three and turn my work. I’ll now be working in the spaces between puff stitches. I skip the first space, insert my hook into the next space, and make a double crochet and chain one.
Then, I go back to the skipped space and make a puff stitch, just like before. This keeps the braided pattern going.
9. Continue the Pattern and Finish Off
I repeat the sequence-double crochet and chain one in the next space, puff stitch in the skipped space-across the row. At the end, I finish with a double crochet in the last space to keep the edge straight.
When my piece is the desired length, I chain one, cut the yarn, pull through, and use my yarn needle to weave in the ends, completing my project.
For a detailed tutorial on the braided crochet stitch, you can take a look at this video:
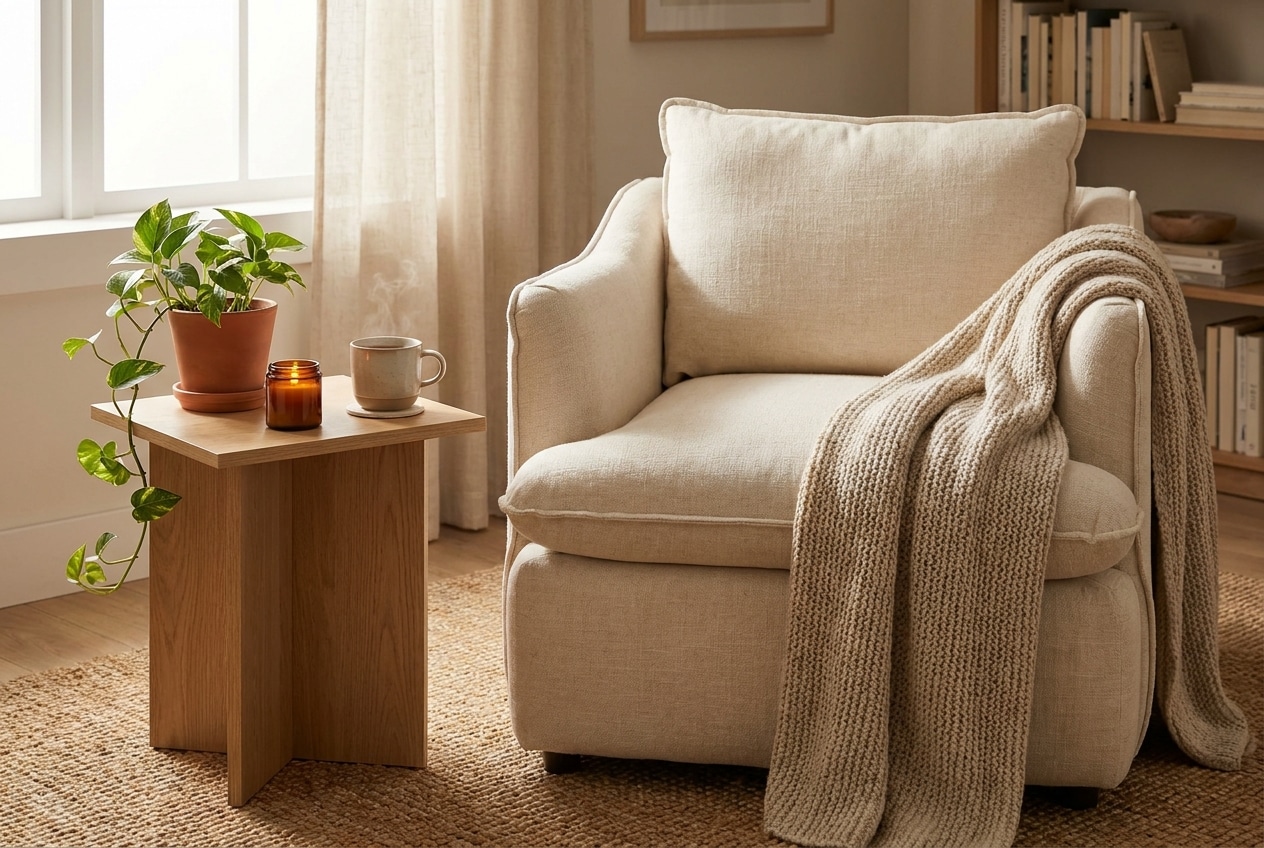
Creative Project Ideas Using the Braided Crochet Stitch
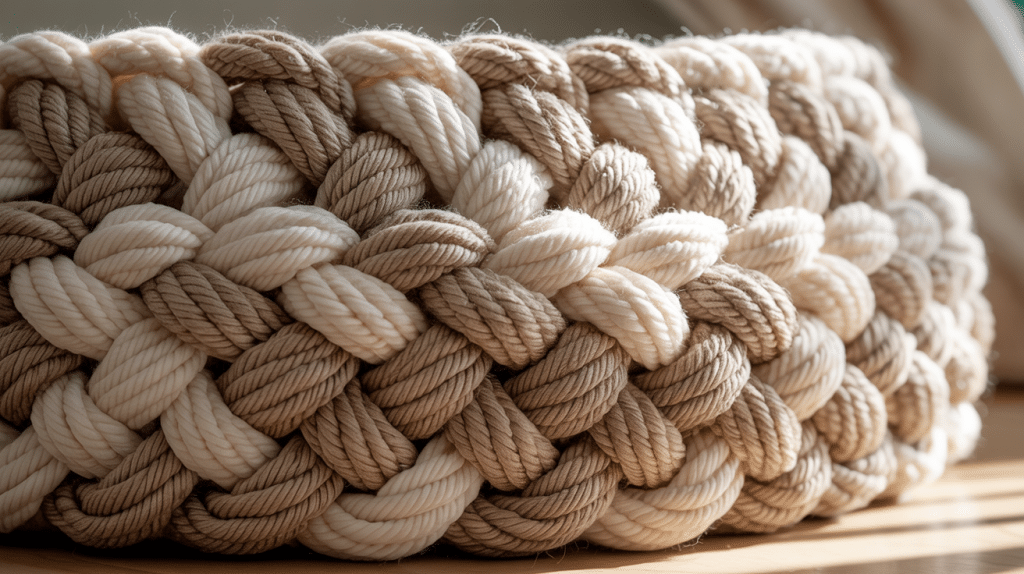
The braided stitch adds a beautiful, textured dimension to any project, making your creations stand out with a cozy, knitted look. Whether you’re crafting for warmth, decor, or fun, this stitch brings both style and substance.
Here are five creative project ideas to showcase the versatility of the braided crochet stitch:
1. Cozy Braided Crochet Blanket
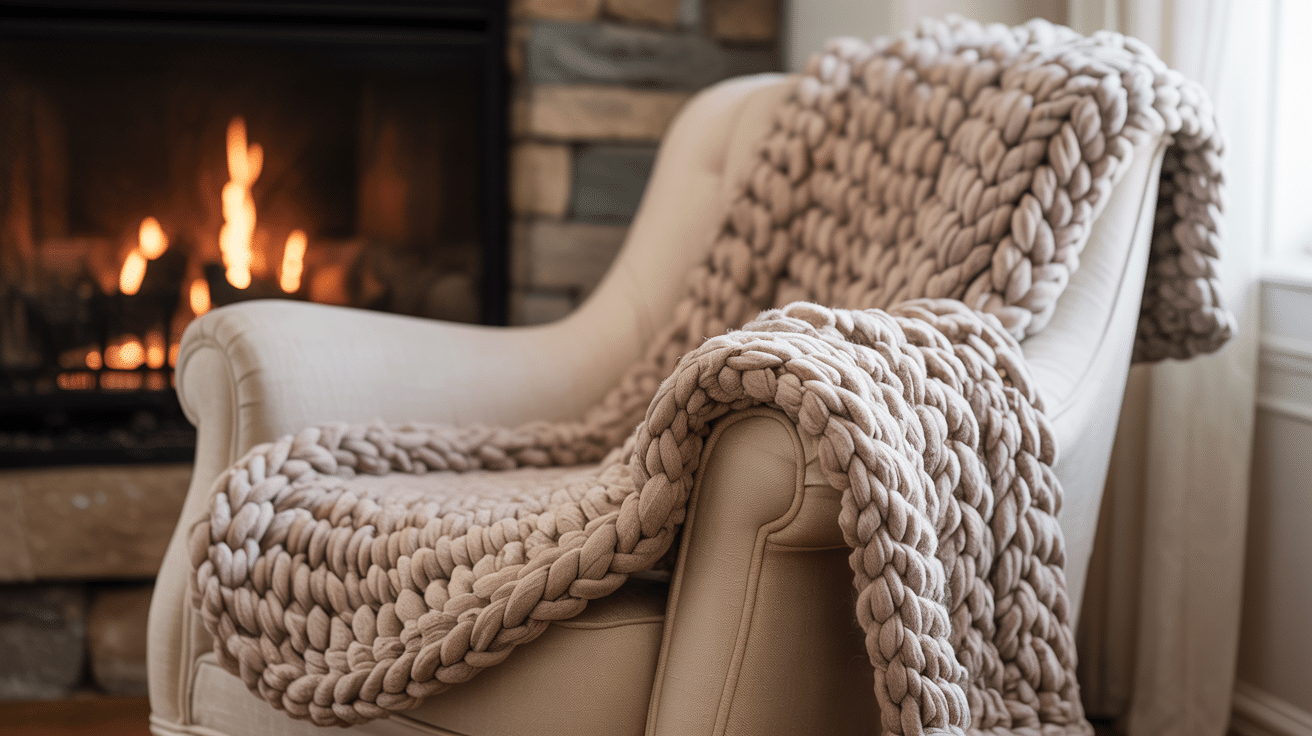
Create a warm and inviting blanket that features the rich texture of the braided stitch. Perfect for snuggling on chilly evenings, this blanket combines softness with stunning visual appeal, making it a beloved heirloom piece.
2. Textured Braided Crochet Scarf
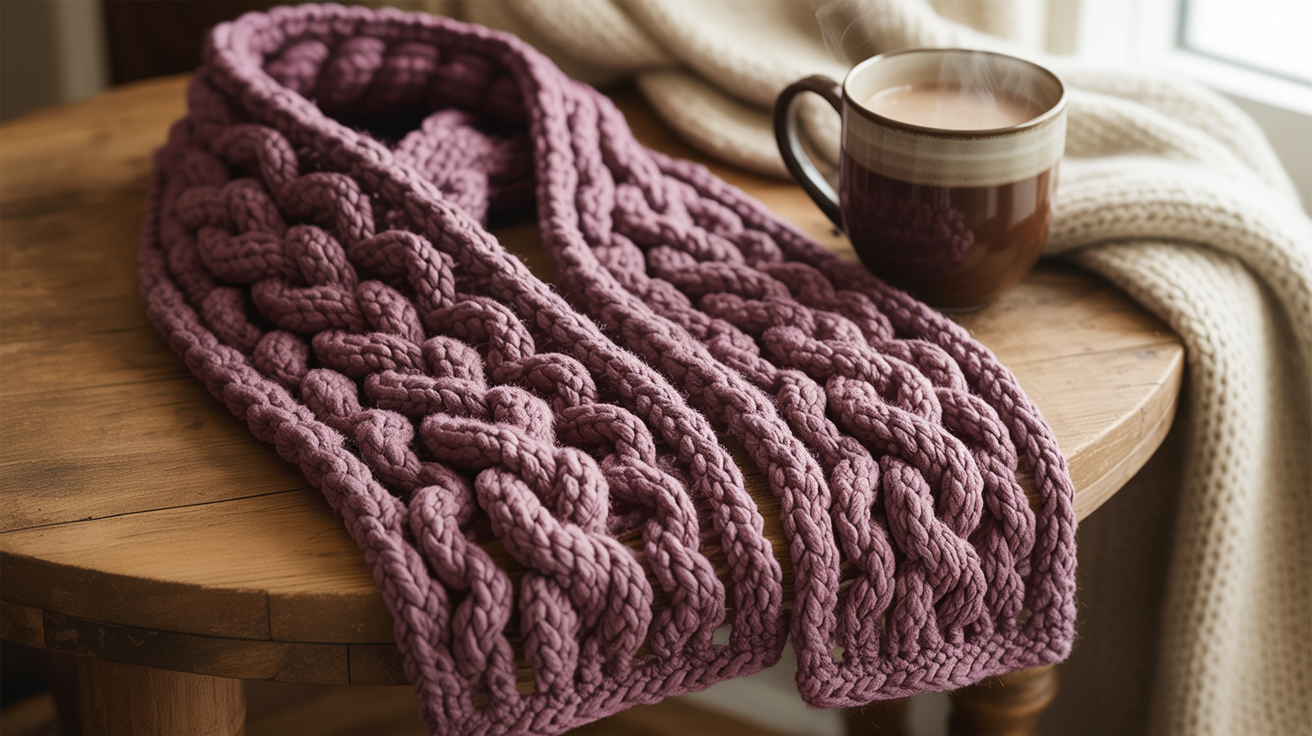
Elevate your winter wardrobe with a scarf that boasts a braided stitch pattern. Its thick, cushy texture provides extra warmth while adding a fashionable, cable-knit-inspired look without the fuss of knitting.
3. Braided Crochet Amigurumi Accents
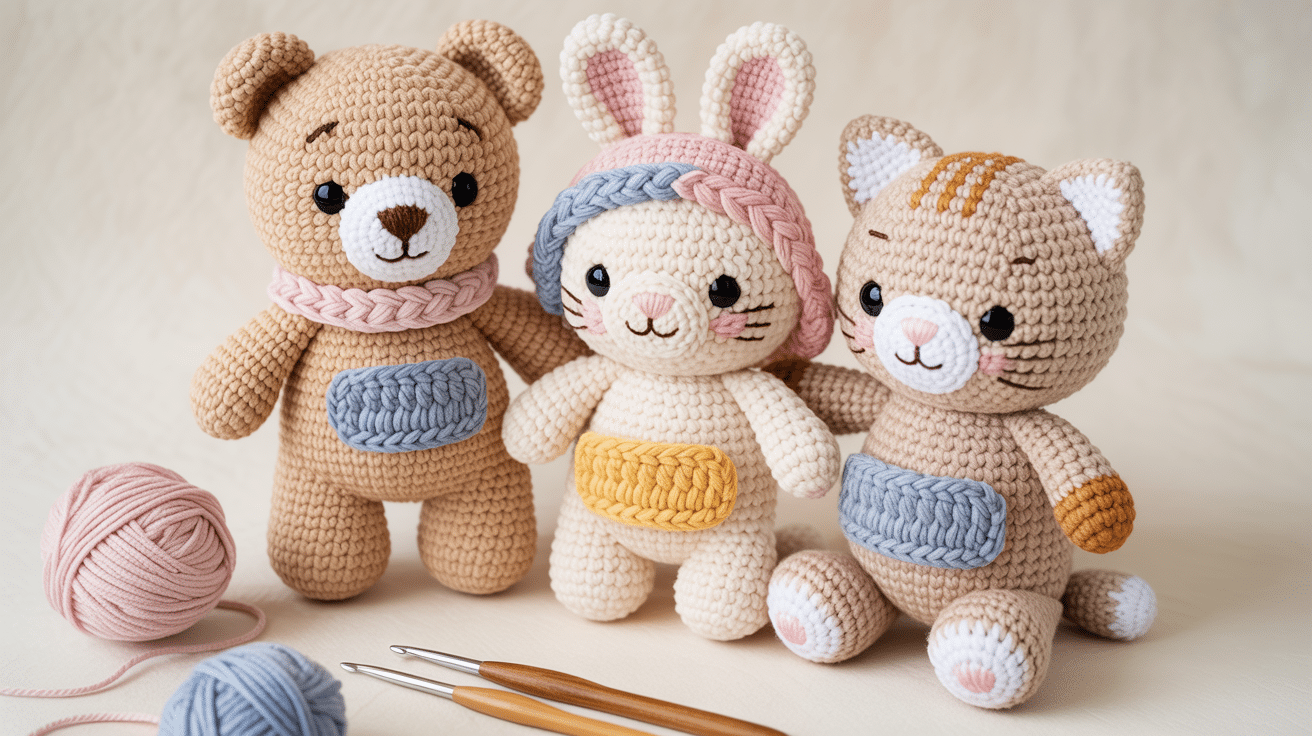
Add unique texture to your amigurumi toys by incorporating braided stitch panels or details. This stitch gives your stuffed animals and dolls a charming, tactile quality that makes them extra special and eye-catching.
4. Stylish Braided Crochet Pillow Covers

Modify plain pillows into statement pieces by crocheting covers with the braided stitch. The intricate pattern adds depth and sophistication to your home decor, perfect for couches, beds, or reading nooks.
5. Braided Crochet Tote Bag

Create a sturdy, fashionable tote bag using the braided stitch for a unique texture. This project combines durability with an eye-catching design, perfect for everyday use.
Best Types of Yarns for Braided Crochet Stitch
When I first tried the braided stitch, I realized how much the yarn choice affected the final texture.
Not every yarn holds that beautiful, interwoven look the same way. Over time, I found a few that really make those raised braids pop. Here’s a breakdown of the best types of yarn for the job:
| Yarn Type | Texture | Best For | Why It Works Well | Suggested Fiber Blends |
|---|---|---|---|---|
| Worsted Weight Yarn | Smooth with good stitch def | Blankets, bags, scarves | Holds the braid structure beautifully | Cotton, acrylic, cotton-acrylic |
| Cotton Yarn | Matte, firm, non-stretchy | Dishcloths, summer garments | Keeps braids crisp and well-defined | 100% cotton or mercerized cotton |
| Acrylic Yarn | Soft, resilient | Everyday accessories, home décor | Budget-friendly and holds structure well | 100% acrylic or blended |
| Bamboo Blend Yarn | Silky, soft, drapey | Lightweight tops, shawls | Adds a luxe sheen to braided designs | Bamboo-cotton or bamboo-acrylic |
| Wool Yarn | Springy, slightly fuzzy | Warm winterwear, textured pieces | Gives depth and bounce to the braids | Merino wool or superwash blends |
The Bottom Line
Now you have all the steps to create this gorgeous textured stitch! The braided pattern might take a bit of practice at first, but stick with it.
I promise the results are worth it.
I hope this guide has given you the confidence to add the braided crochet stitch to your next project.
Why not start with something small, like a headband, before moving to bigger items? I’d love to see what you create!