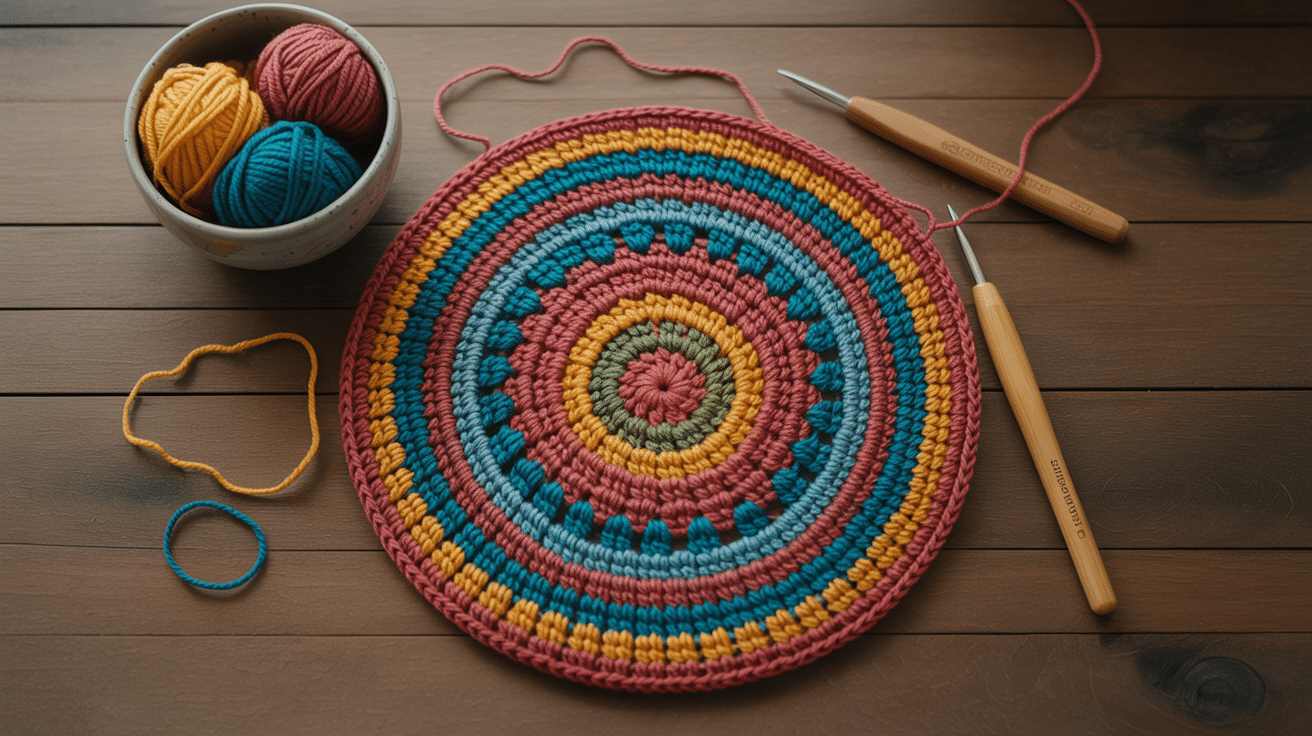
Making bags at home can feel tough when patterns get complex. I struggled too until I found this simple drawstring bag design.
You can create this cute and useful bag with basic crochet skills!
In this blog, I’ll show you how to make your crochet drawstring bag free pattern step by step. You’ll learn which materials work best, the stitches needed, and how to finish with a neat drawstring closure.
Perfect for beginners looking to try something new or experienced crocheters wanting a quick project. Let’s get started with this fun and practical bag that’s sure to become a favorite!
Why Crochet Drawstring Bag is the Bag You Need?
A crochet drawstring bag fits into your life in so many ways. I use mine daily for small items that would get lost in bigger bags. These bags are light but strong, holding plenty without adding weight.
What I love most is how easy they are to clean, just toss them in the wash! They cost almost nothing to make with yarn from your stash. The simple design means you can finish one in an evening while watching TV.
These crochet drawstring bag free pattern work great for gifts, shopping trips, and storing small craft items. Kids love them for their treasures and toys.
The drawstring keeps everything safe inside. With so many uses, it’s no wonder these little bags become must-haves!
Don’t forget to check out our other crochet designs for more inspiration and ideas 🙂
Step-by-Step Crochet Drawstring Bag Pattern
Making a crochet drawstring bag is a fun, quick project that’s perfect for beginners and experienced crafters alike. This pattern uses two heart granny squares, basic stitches, and simple assembly techniques.
Follow these nine main steps to create your charming crochet drawstring bag free pattern.
1. Make a Slip Knot and Crochet the Foundation Ring

Start your project by creating a slip knot and forming the initial ring, which is the base for your granny square. This step sets the foundation for all subsequent stitches.
Steps to follow:
- Place yarn over your palm with the tail at the bottom.
- Wrap yarn around two fingers to form an X and hook around your pinky.
- Insert the hook under one side of the X, over, and grab the other side.
- Pull through, remove fingers, and tighten the knot.
- Chain four and slip stitch into the first chain to form a ring.
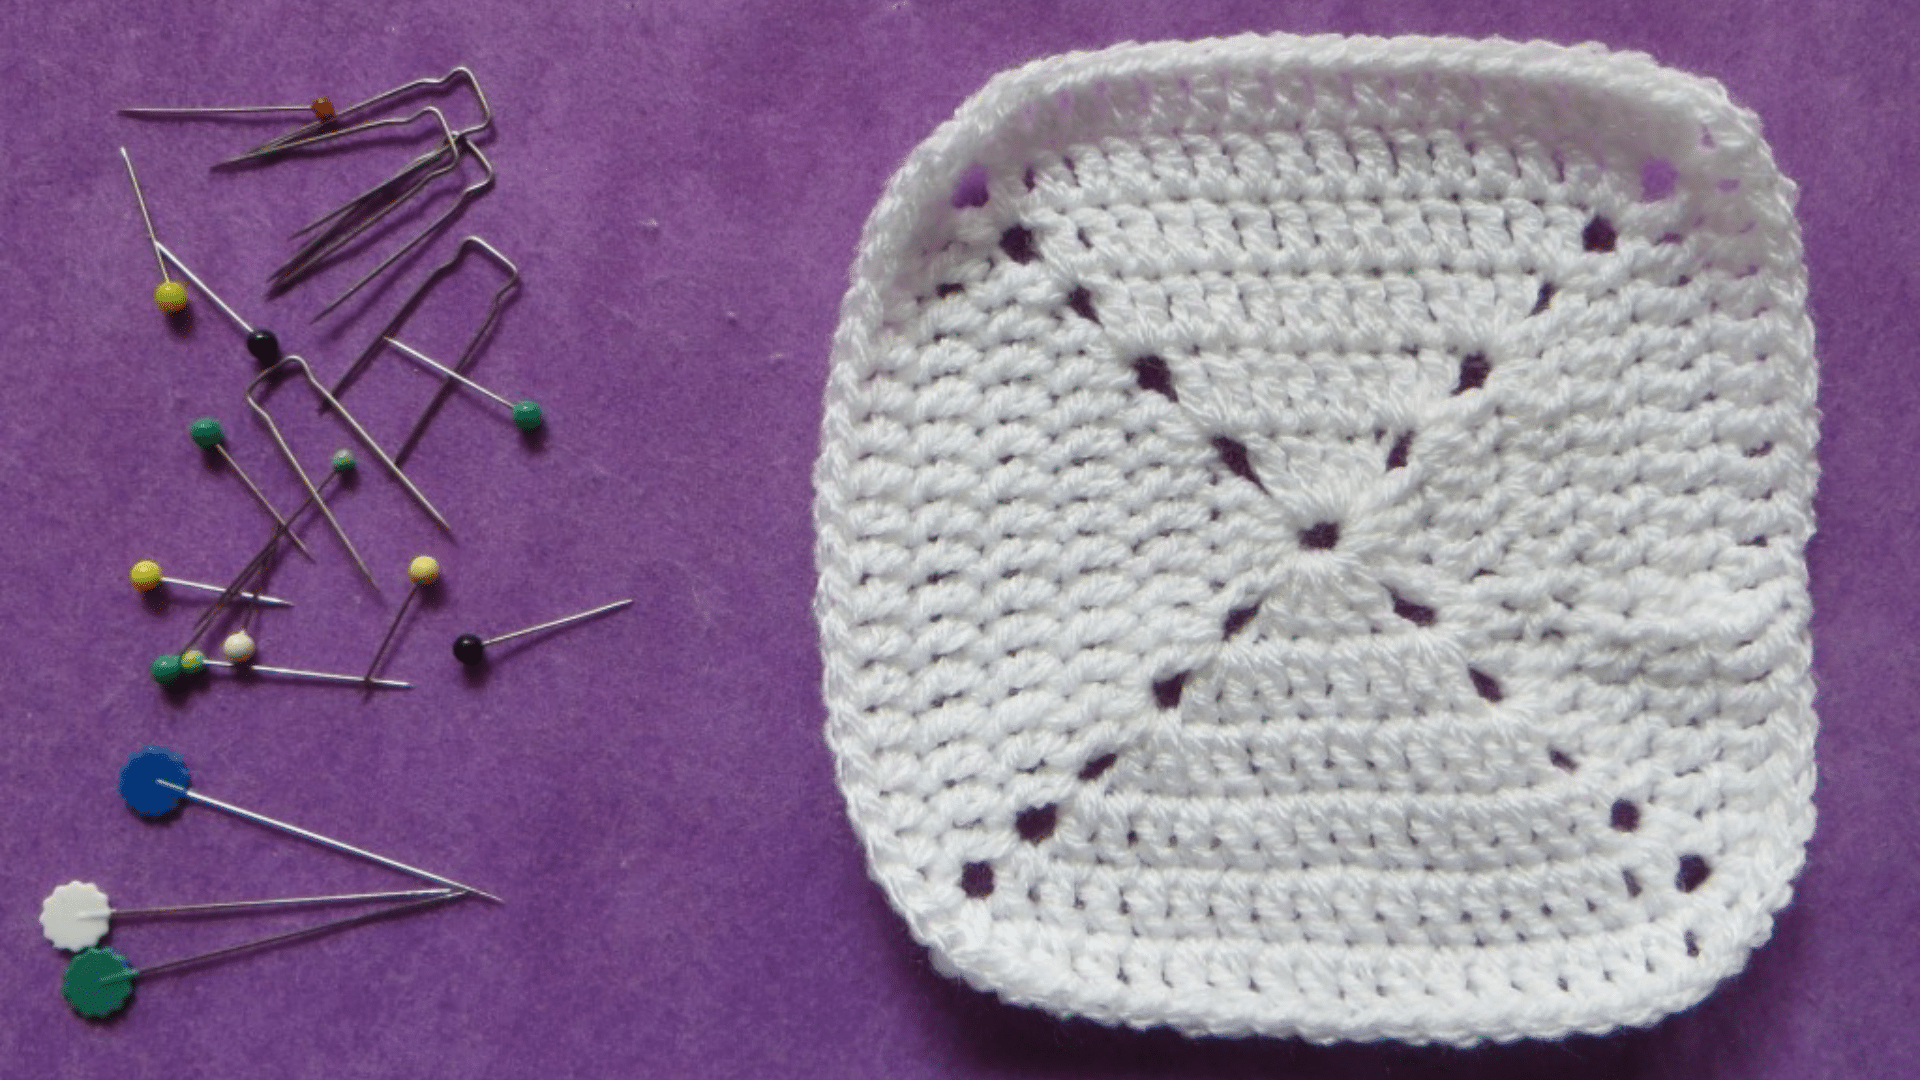
2. Crochet the Heart Motif in the Center
This step involves working double and treble crochets into the ring to create a heart shape. The heart motif adds a decorative touch to the center of your granny square.
Steps to follow:
- Chain three (counts as first double crochet).
- Work 11 more double crochets into the ring (12 total).
- Slip stitch to the top of the chain three to close the round.
- Pull the loose end to tighten the center.
- Follow the pattern to create the heart using treble and double crochets, mirroring stitches for symmetry.
3. Form the Square Around the Heart
Change the heart motif into a square by working stitches of varying heights around it. This creates the classic granny square shape needed for the bag panels.
Steps to follow:
- Attach contrasting yarn with a slip knot.
- Work double, half-double, single, and treble crochets as instructed.
- Form corners using two trebles, chain two, and two trebles in the same stitch.
- Mirror stitches on each side for symmetry.
- Slip stitch to join and complete the square.
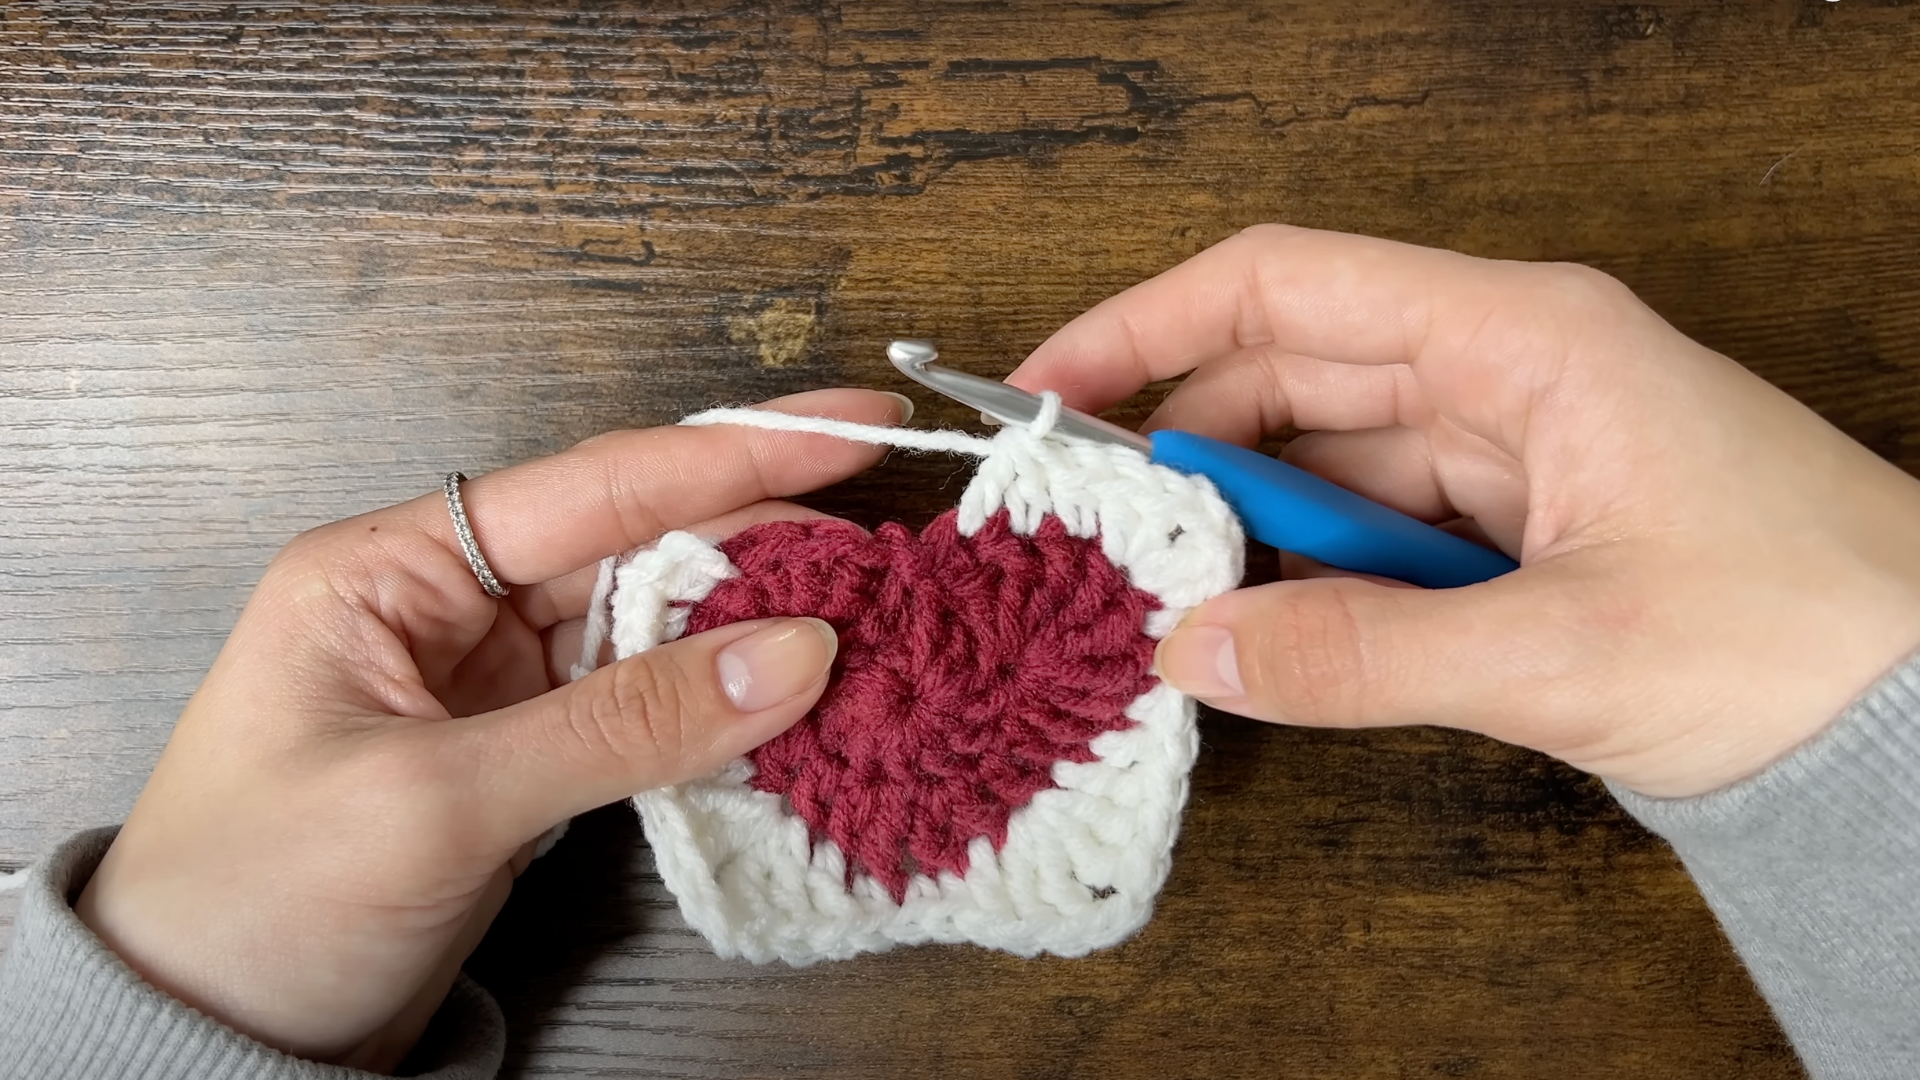
4. Add an Extra Round to Enlarge the Square
Increase the size of your granny square by adding another round of double crochets. This ensures your pouch has enough room for your essentials.
Steps to follow:
- Chain three, double crochet into the chain two corner space.
- Double crochet in each stitch along the side.
- In each corner, work two double crochets, chain two, and two more double crochets.
- Continue around all four sides.
- Slip stitch to finish the round and fasten off.
5. Make a Second Heart Granny Square
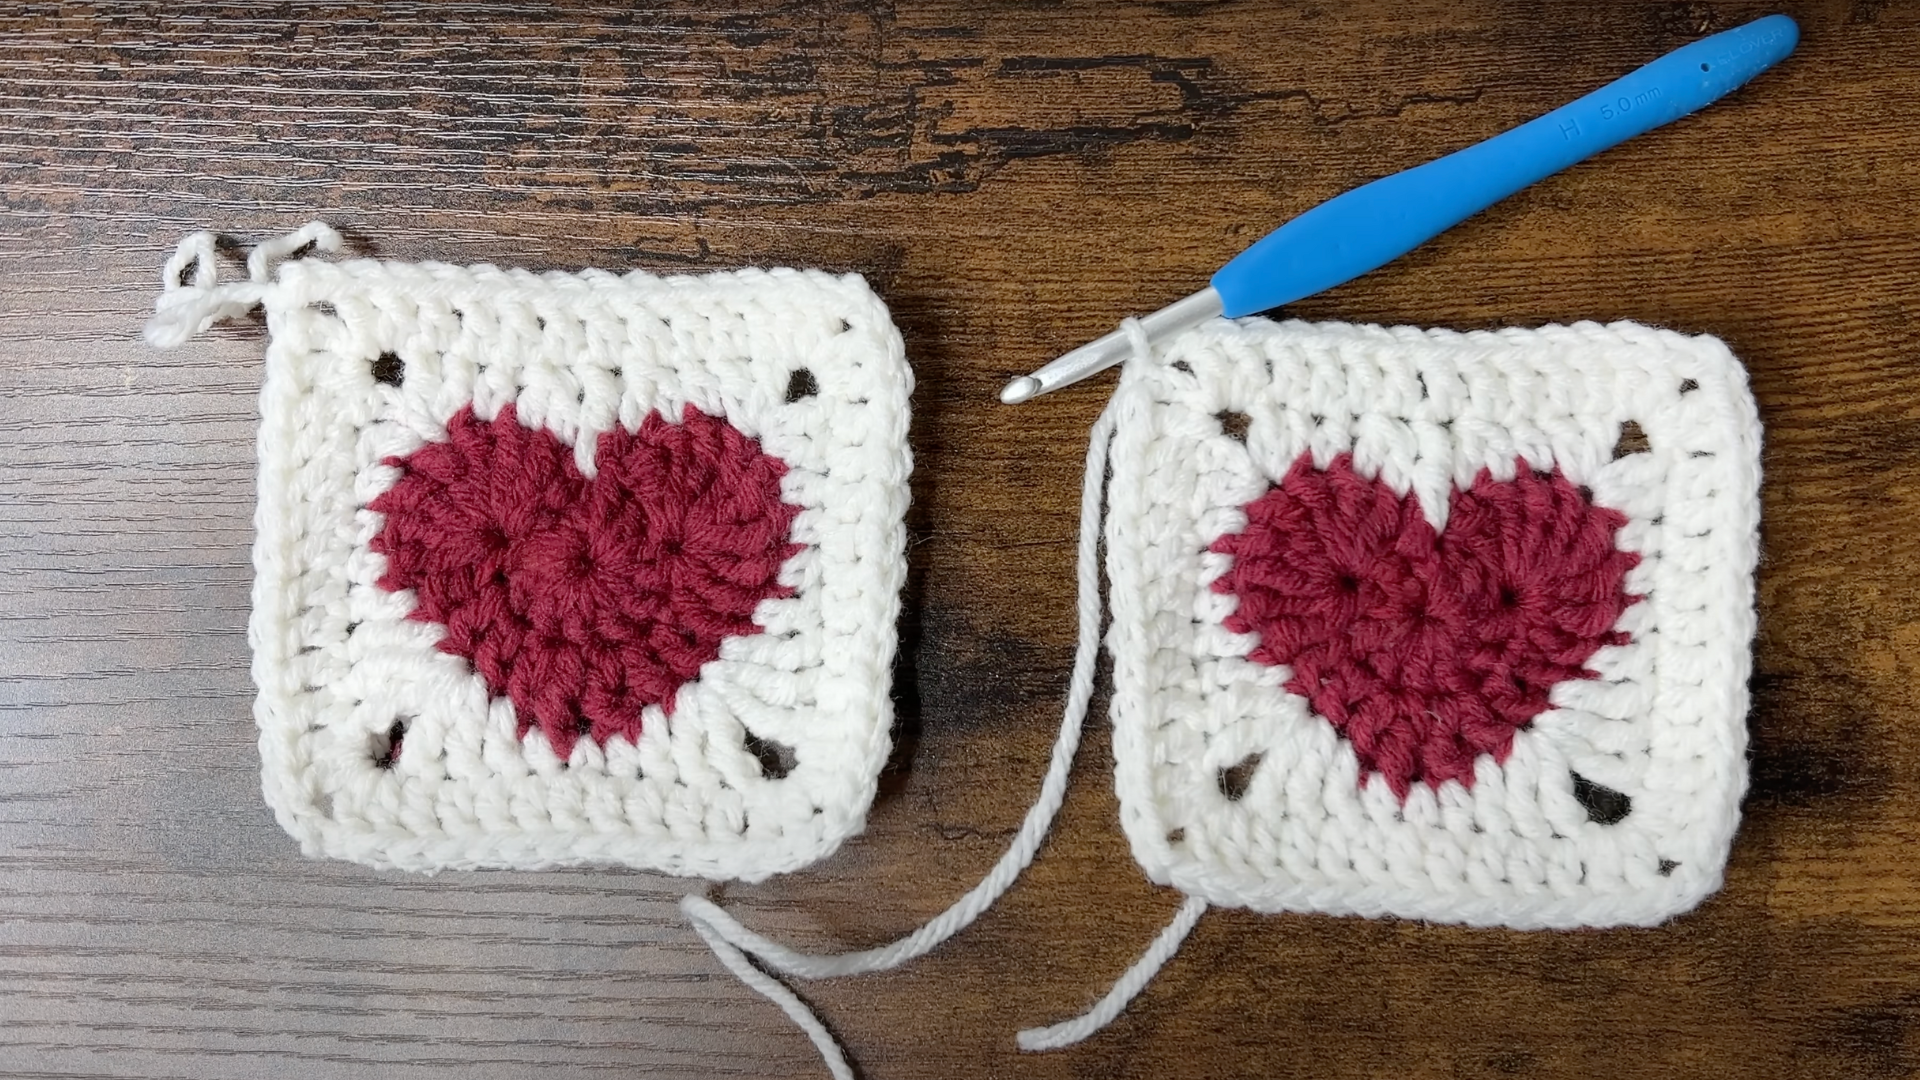
Repeat the previous steps to create a second identical granny square. These two squares will form the front and back of your drawstring bag.
Steps to follow:
- Follow steps 1–4 to make another granny square.
- Keep the yarn attached to the second square for joining.
- Ensure both squares are the same size and shape.
- Set aside the finished squares for assembly.
- Prepare to join the squares together in the next step.
6. Join the Squares Together
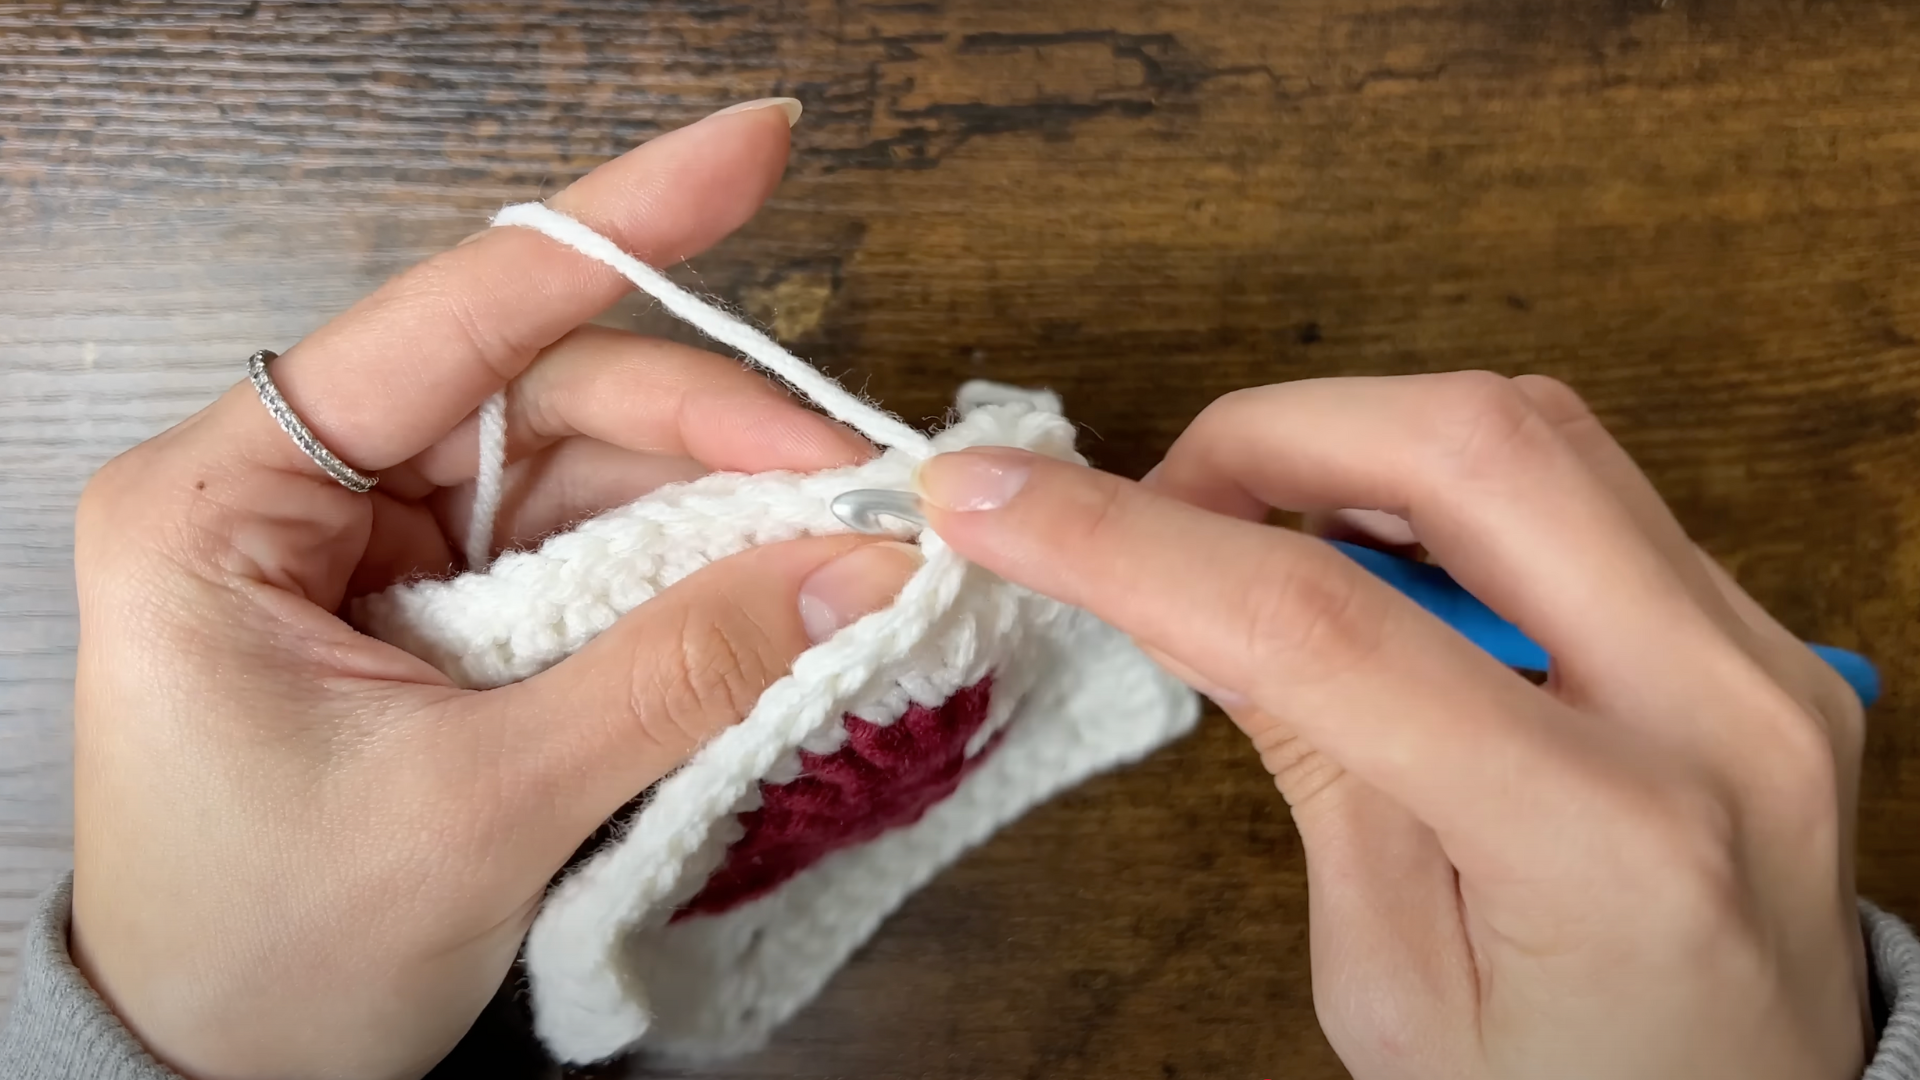
Connect the two granny squares using single crochet stitches along three sides, leaving the top open. This forms the main pouch of your bag.
Steps to follow:
- Place squares with right sides facing out, aligning edges.
- Insert hook through both corner spaces and single crochet to join.
- Continue single crocheting through both layers along three sides.
- Work four single crochets in each corner for structure.
- Leave the top edge open for the bag opening.
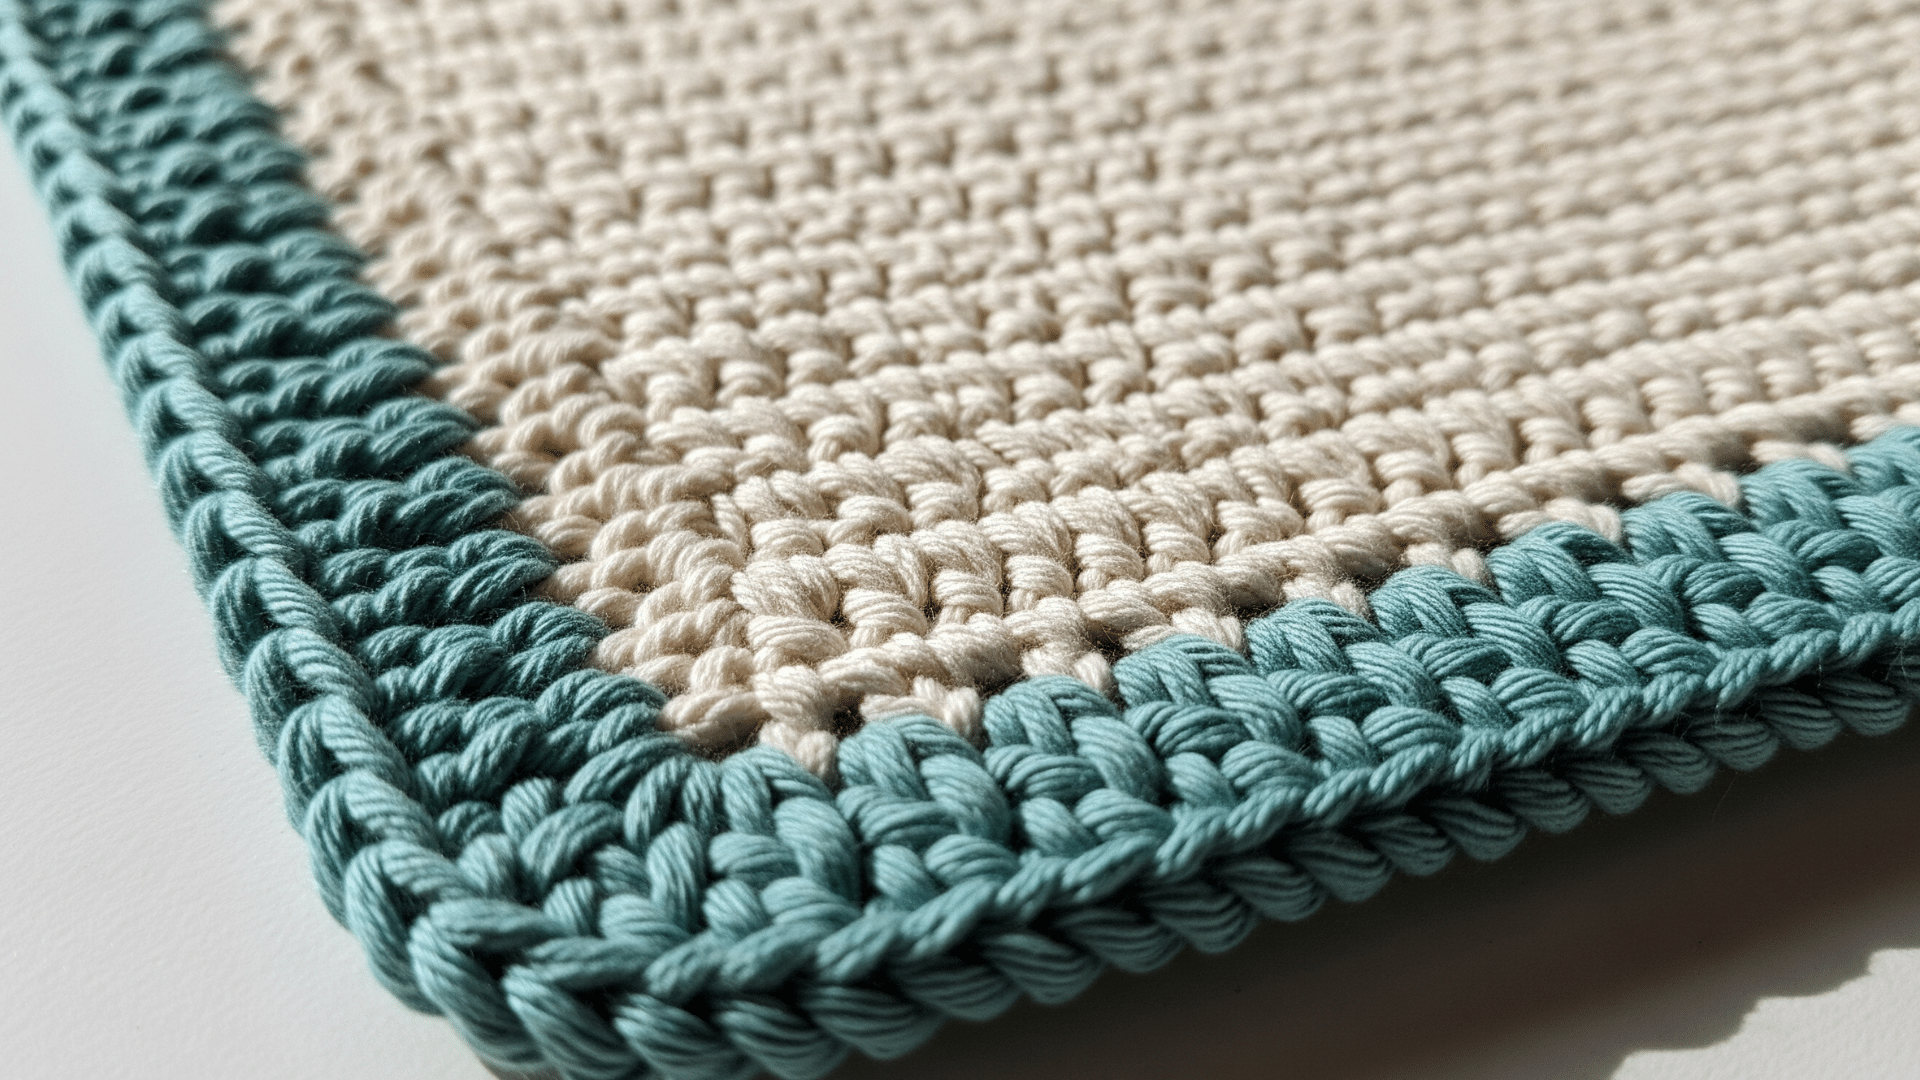
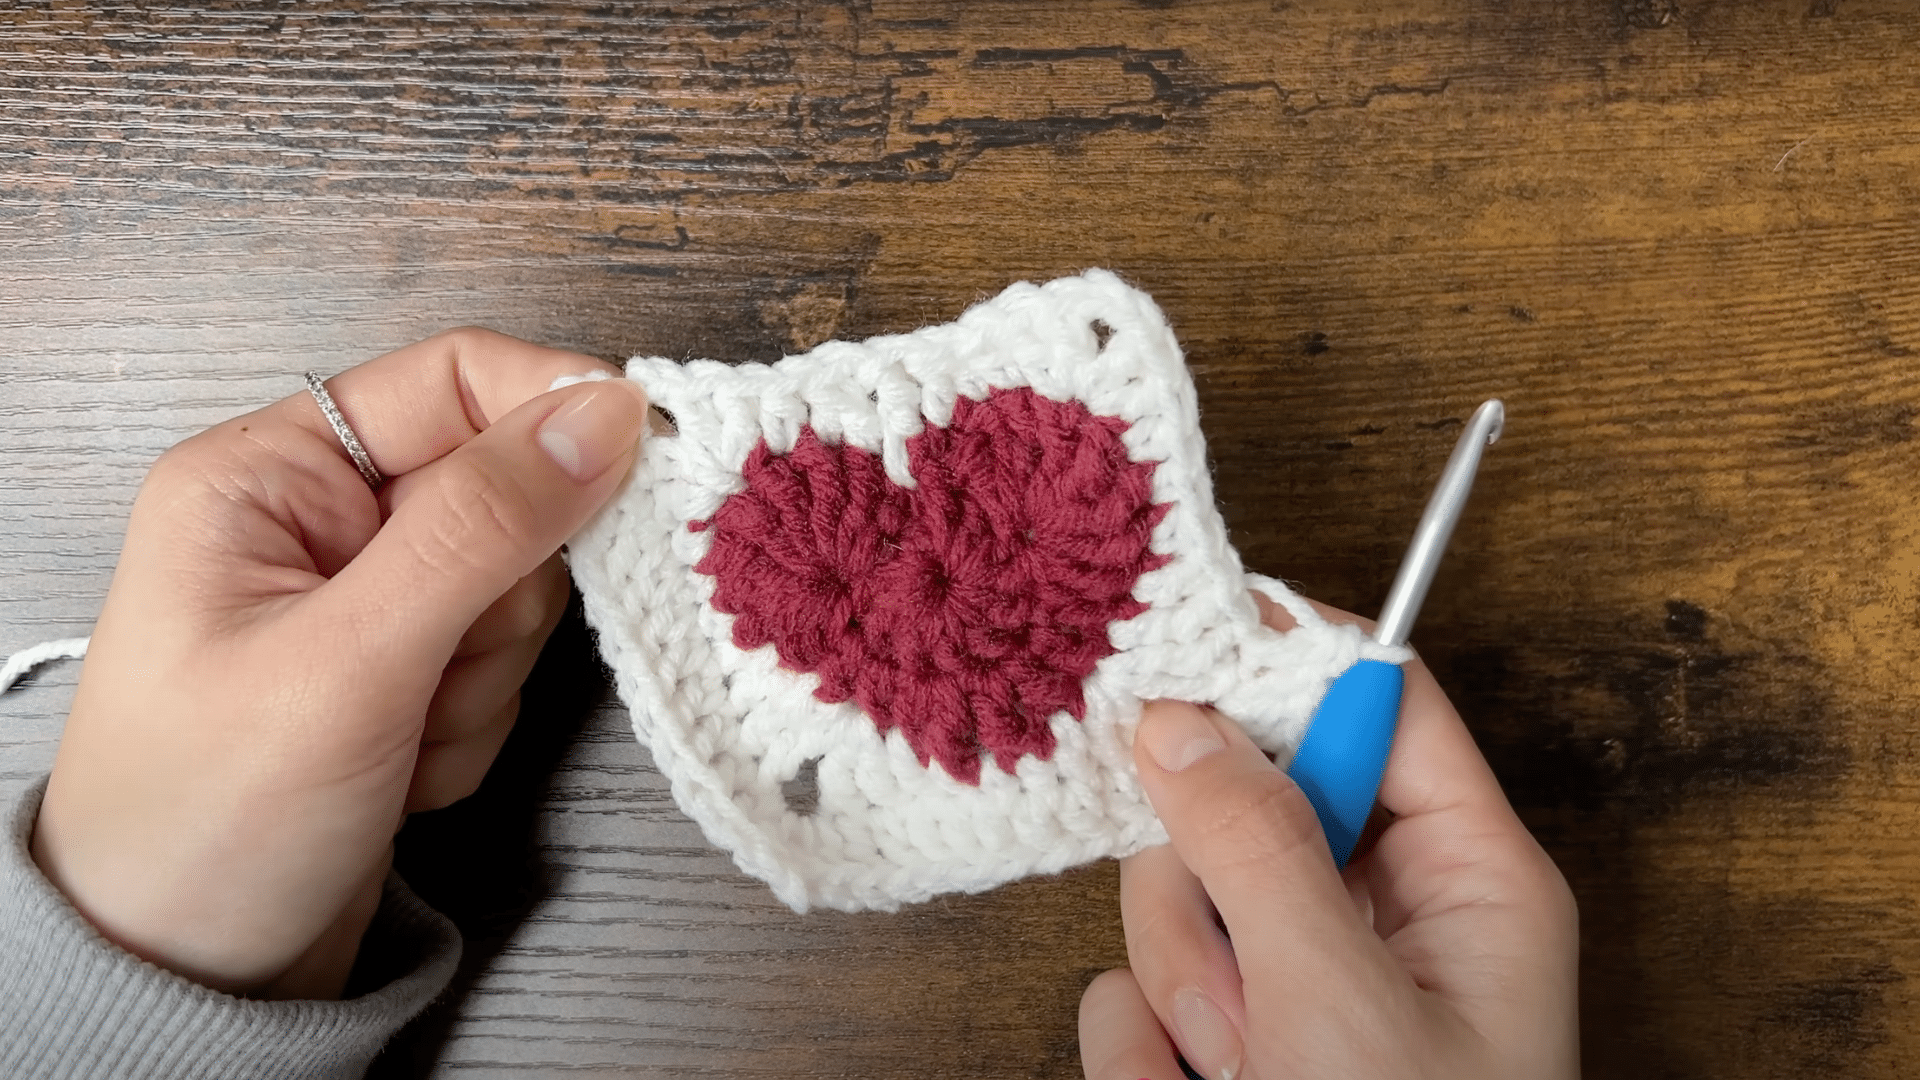
7. Crochet the Top Edge of the Bag
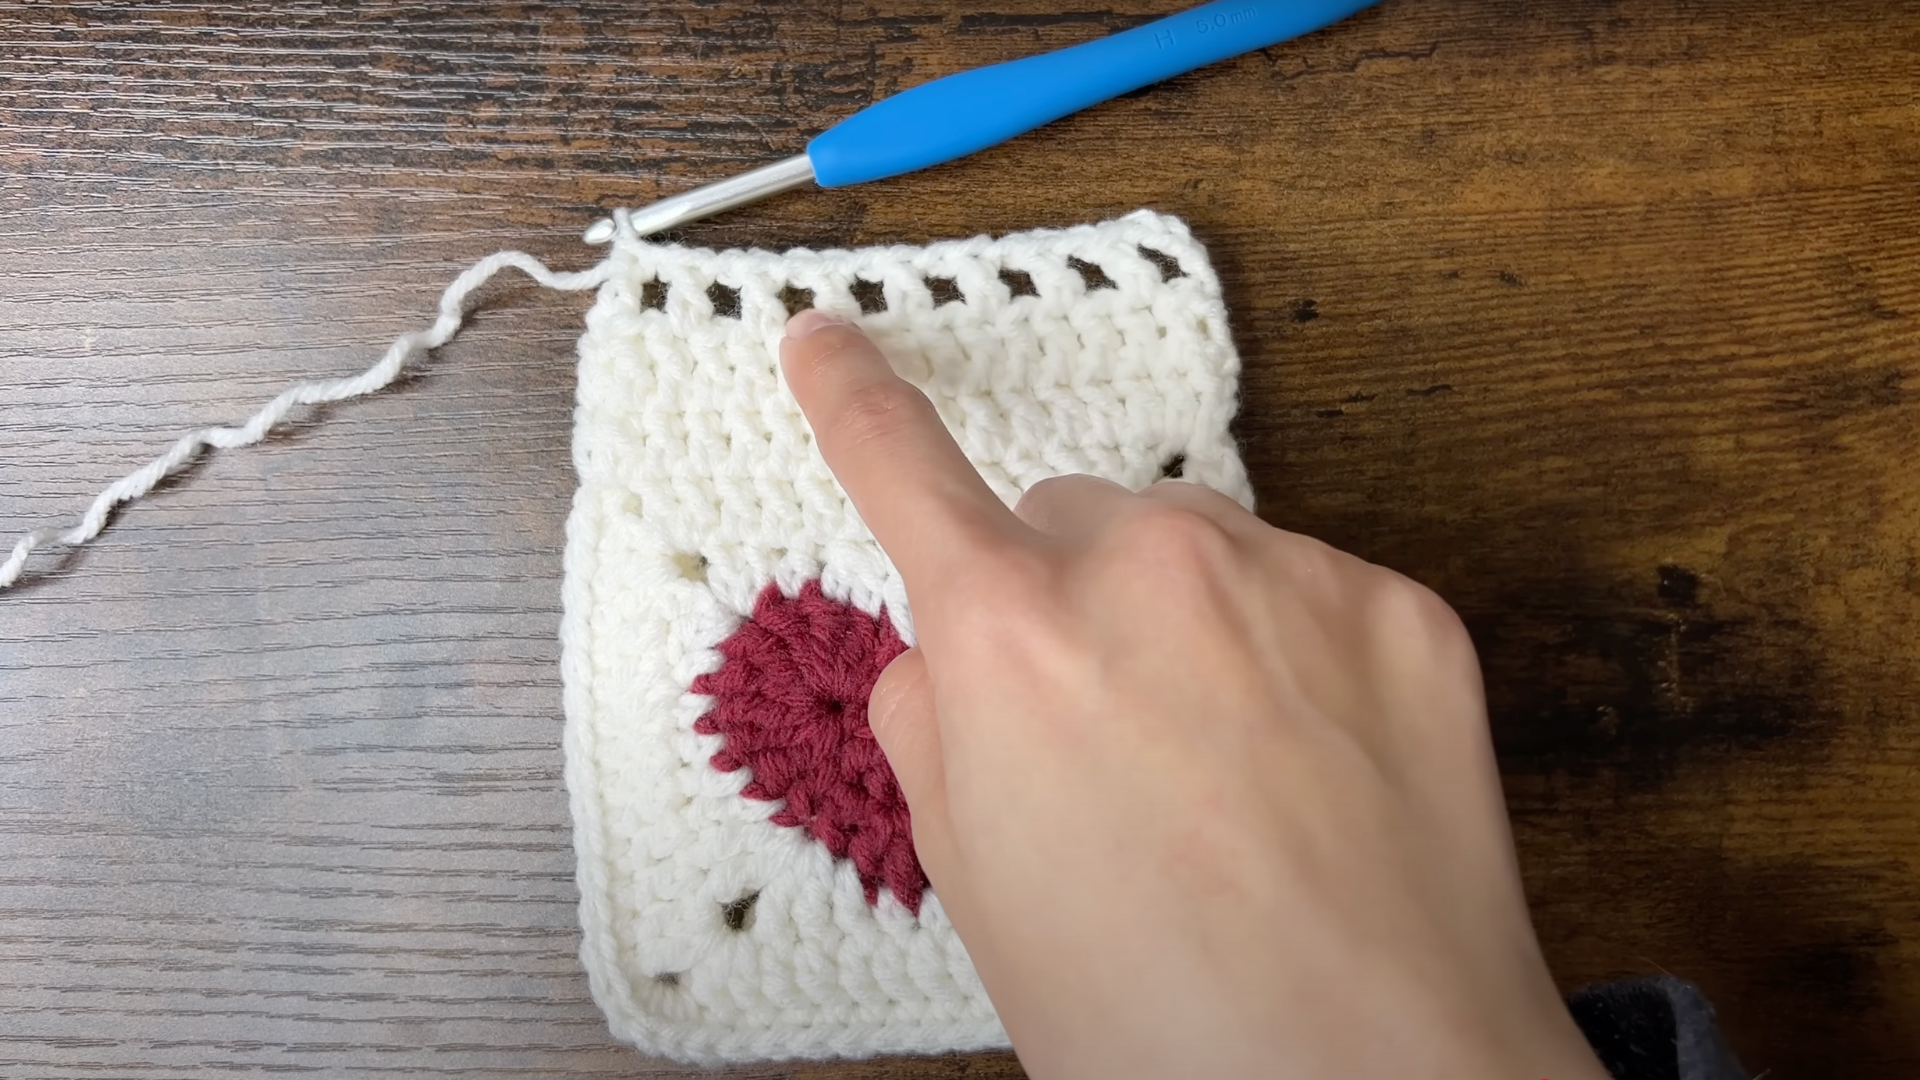
Add a neat border to the top of the pouch by working double crochets around the opening. This step prepares the bag for the drawstring casing.
Steps to follow:
- Slip stitch into the corner of the top square.
- Chain three, double crochet into the same space.
- Double crochet across the top edge, including corners.
- Turn and repeat for the other square’s top edge.
- Slip stitch to join, ensuring an even, sturdy edge.
8. Create the Drawstring Channel
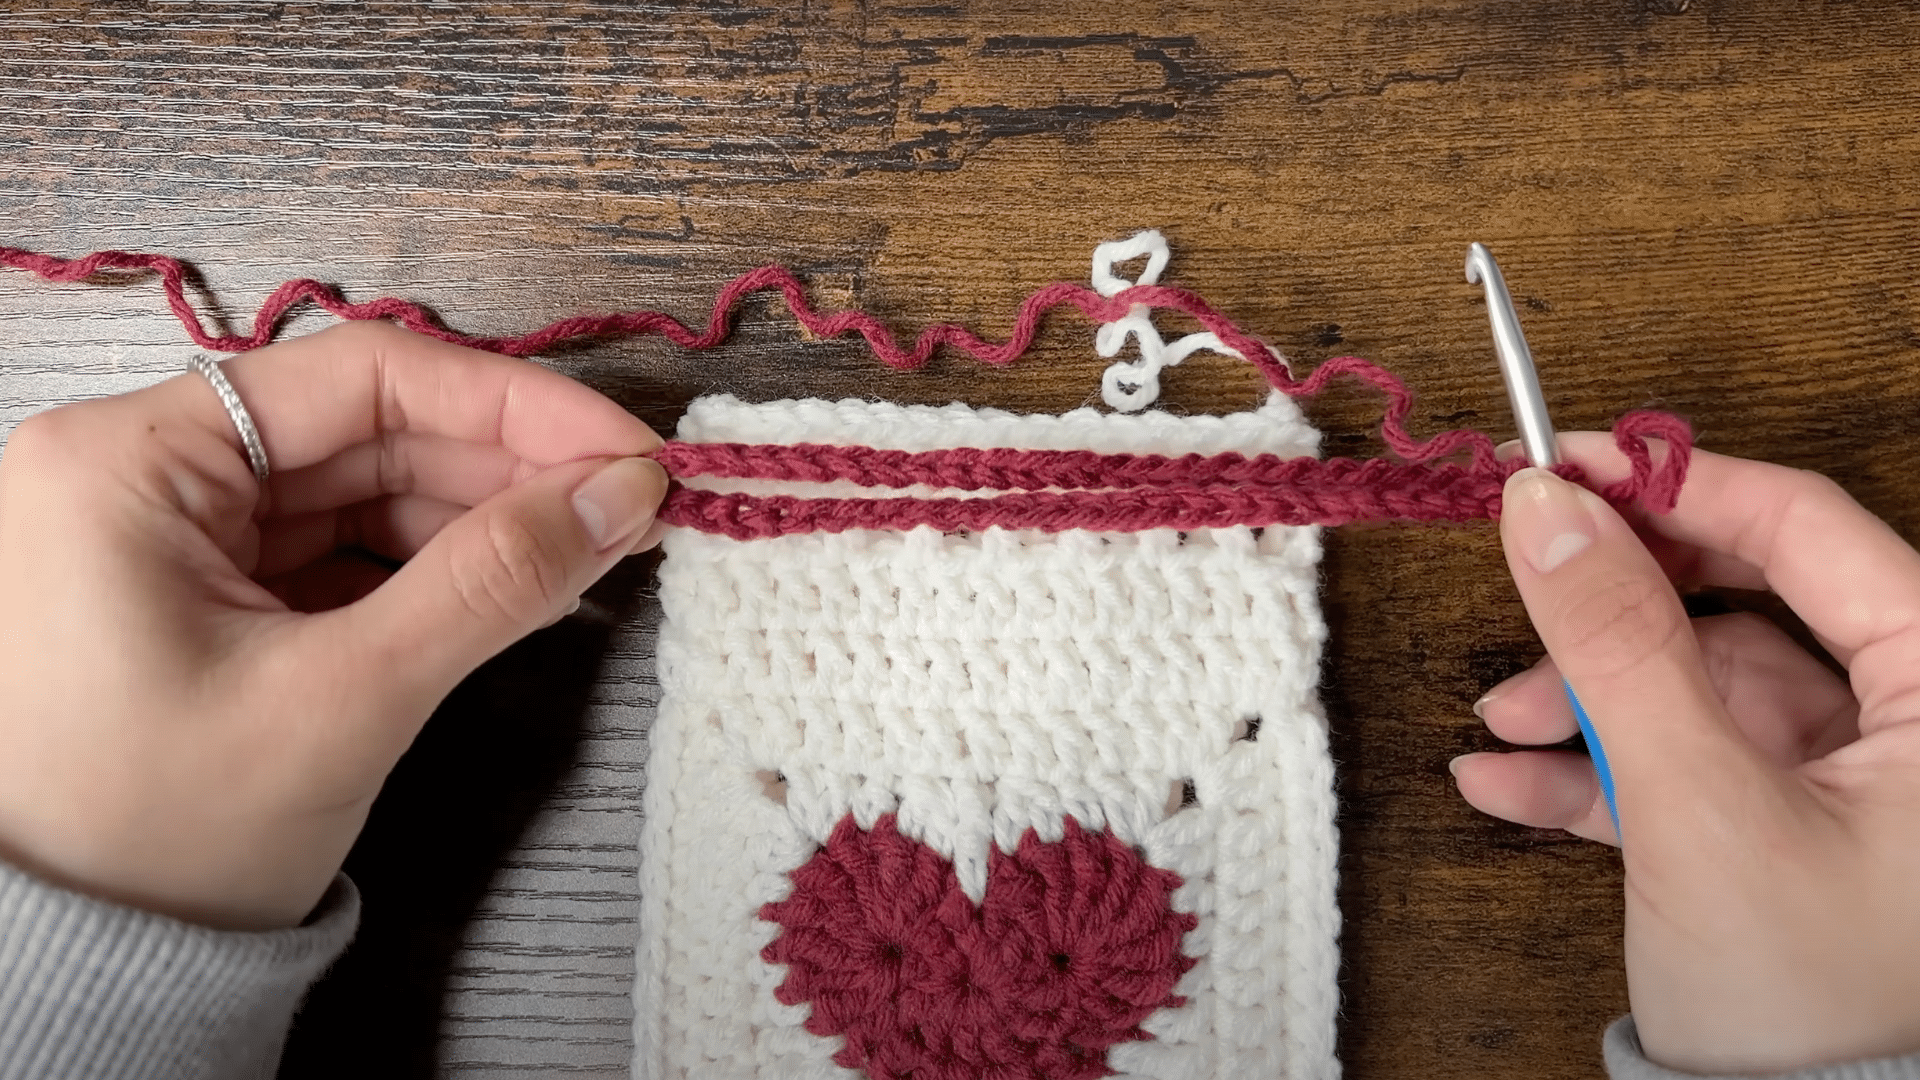
Work a round of double crochets and chain spaces to form holes for the drawstring. This channel allows the bag to be cinched closed easily.
Steps to follow:
- Chain four (counts as double crochet and chain one).
- Skip a stitch, double crochet in the next, chain one.
- Repeat: skip a stitch, double crochet, chain one, around the top.
- Ensure you have 16 chain spaces at the end.
- Slip stitch to close the round.
9. Make and Insert the Drawstrings

Finish your bag by creating two long chains for drawstrings and threading them through the channel. This step completes your functional and stylish pouch.
Steps to follow:
- Make a slip knot and chain 50 (or desired length) for each string.
- Fasten off and weave in loose ends.
- Turn the pouch inside out, hide yarn tails with a needle.
- Thread one string through half the holes from one side, and the other from the opposite side.
- Pull both ends to cinch the bag closed and tie as desired.
With these steps, you’ll have a beautiful, handmade crochet drawstring bag free pattern ready for gifting or everyday use!
Customization Ideas for Your Crochet Drawstring Bag

Crochet drawstring bags are not only practical but also a canvas for creativity. With just a few tweaks, you can personalize your bag to match any style or occasion.
Here are five unique customization ideas to make your crochet drawstring bag truly one-of-a-kind.
1. Color Blocking
Combine two or more contrasting yarn colors in bold sections for a modern, eye-catching effect. Color blocking adds visual interest and lets you use up leftover yarn in a stylish way.
2. Stripes and Patterns
Alternate rows of different colors or stitch patterns to create stripes, chevrons, or zigzags. This technique is simple yet effective for adding personality and playful charm to your bag.
3. Embellishments with Pom Poms or Tassels
Attach handmade pom poms or tassels to the drawstring ends or bag corners. These fun additions bring a whimsical touch and can be coordinated with your chosen color palette for extra flair.
4. Adding a Fabric Lining
Sew a fabric lining inside your crochet bag for added durability and a polished look. Linings also help prevent small items from slipping through the stitches and keep your bag’s shape intact.
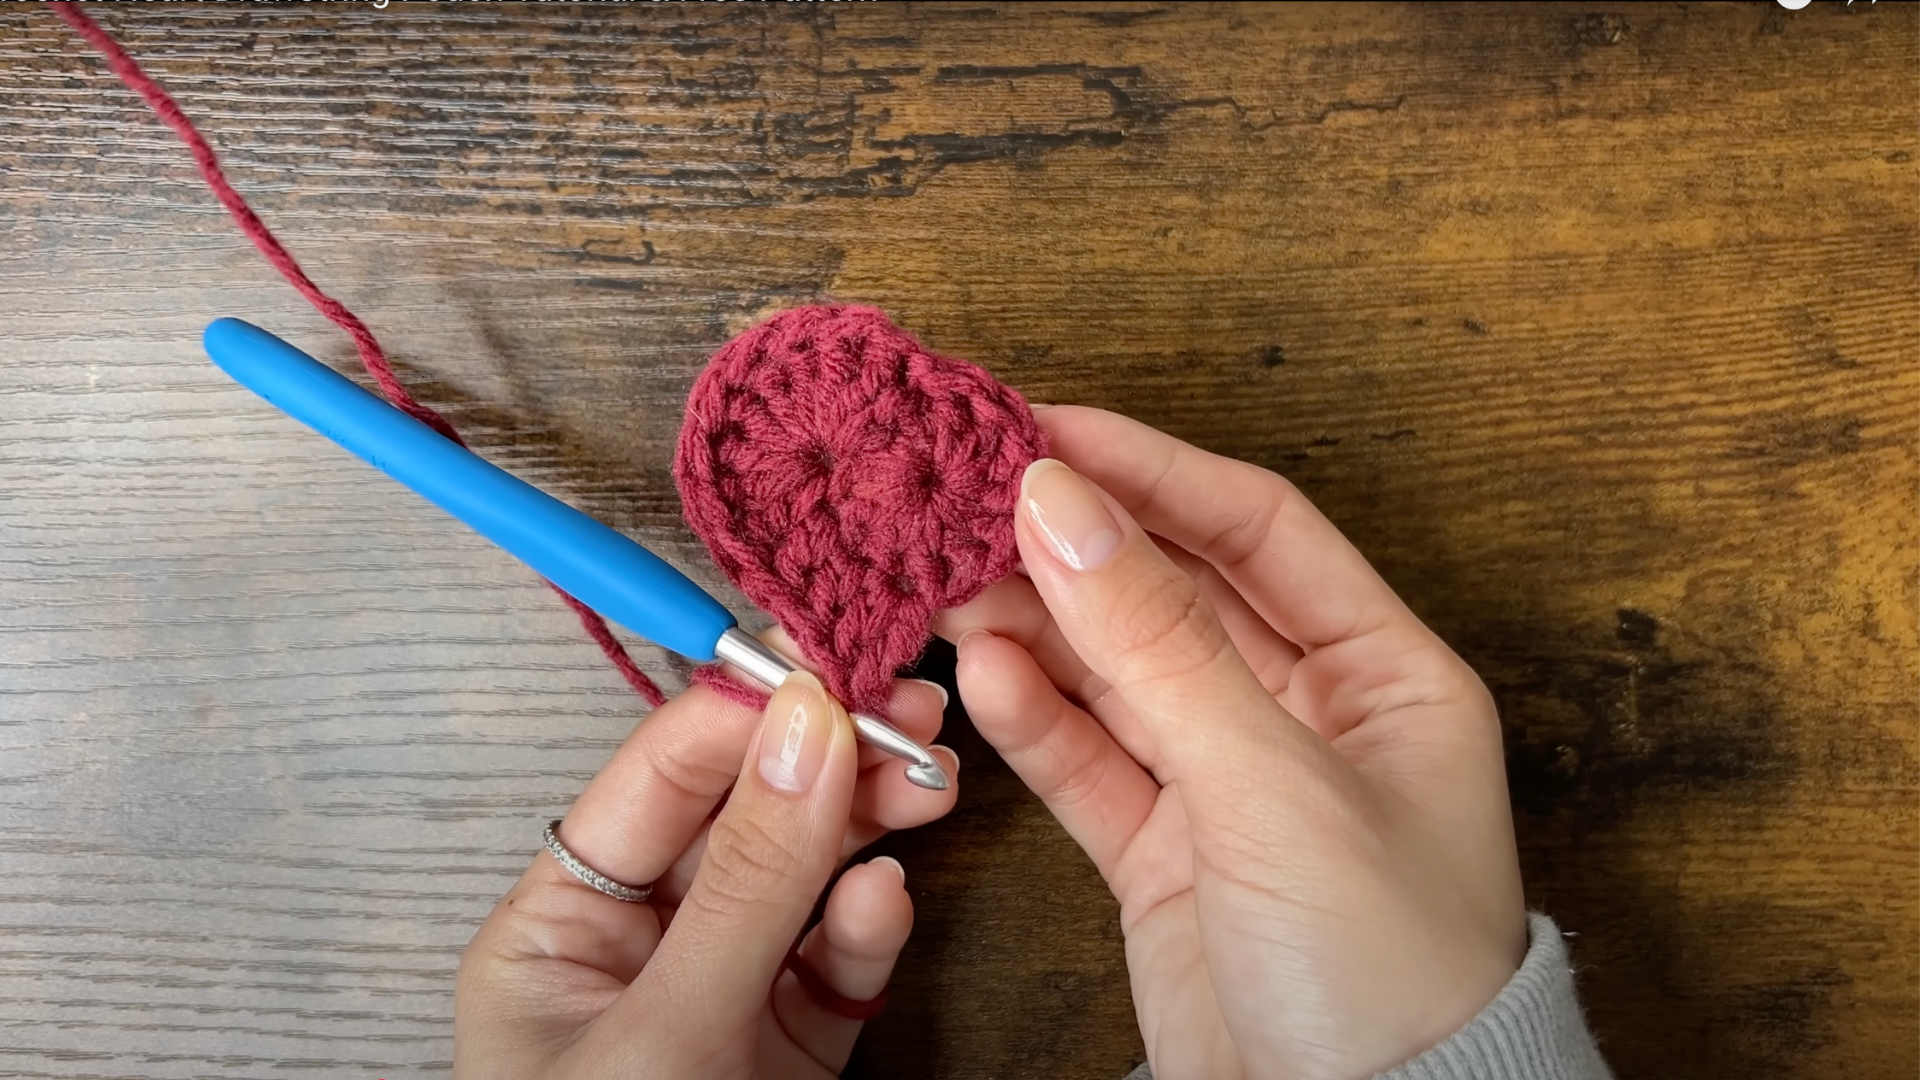
5. Decorative Appliqués or Patches
Sew or crochet floral motifs, hearts, or custom patches onto the bag’s exterior. Appliqués offer endless possibilities for personalization, making your bag a true reflection of your style and interests.
The Bottom Line
Finishing your crochet drawstring bag brings a real sense of achievement. The simple stitches come together to create something both pretty and practical for everyday use.
I hope this crochet drawstring bag free pattern has given you the confidence to try more crochet projects.
Remember, crochet is about enjoying the process, not just the final item. Your bag might have a few imperfections, but that’s what makes handmade items special.
Don’t forget to share your creations in the comments below! I’d love to see how your bags turned out and hear about any personal touches you added.