I used to think sewing curtains was impossible. Every attempt left me with crooked hems and wonky measurements.
What changed everything was learning the right techniques.
Once I understood the proper methods, my curtains went from disaster to professional-looking in just a few projects.
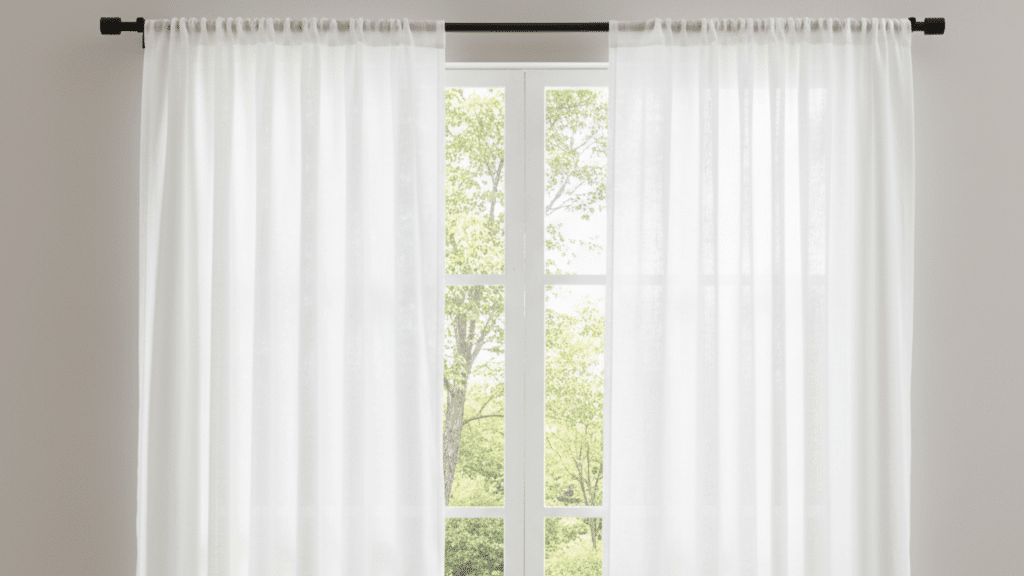
You can convert any room with custom curtains that fit perfectly and look amazing. Plus, you’ll save hundreds compared to store-bought options.
I’ll share the tools, steps, and beginner-friendly techniques that helped me turn shaky stitches into beautiful, professional-looking window treatments.
Different Curtain Styles You Can Choose From
I’ve worked with four main curtain styles, and each has its own personality:
- Rod pocket curtains are perfect for beginners. You simply create a pocket at the top for the rod to slide through. They gather naturally and give a soft, casual look.
- Grommet curtains have metal rings along the top. They slide smoothly and create clean, modern pleats. I love these for contemporary rooms.
- Tab top curtains use fabric loops instead of a pocket. They’re easy to make and add a relaxed, farmhouse feel to any space.
- Pleated curtains look the most formal. They require more skill but create that high-end, professional appearance.
How Fabric Choice Affects Look and Function
Your fabric choice makes or breaks your curtains. Here’s what I’ve learned:
Cotton: It works great for most rooms. It’s easy to sew, washes well, and comes in countless patterns. I use it for bedrooms and living areas.
Linen: It gives that breezy, natural vibe. However, it wrinkles easily and can be tricky for beginners.
Blackout fabrics: They completely block light. Perfect for bedrooms where you want total darkness. They’re usually heavier, so make sure your rod can handle the weight.
Sheer fabrics: They allow light to filter through beautifully. They’re delicate to work with but create an airy, light feeling in any room.
Tools and Materials You’ll Need
| Tools | Materials |
|---|---|
| Sewing machine | Fabric of choice (cotton, linen, blackout, or sheer) |
| Scissors or rotary cutter | Matching thread |
| Seam gauge or ruler | Curtain tape (shirring/pleating) |
| Pins or clips | Curtain hooks |
| Iron and ironing board | Optional lining fabric |
| Measuring tape | Curtain rod or track |
Step-by-Step Instructions on How to Sew Curtains
Now that you understand the basics, let me walk you through the actual sewing process. I’ll break down each step so you can create professional-looking curtains from start to finish.
Step 1: Measure and Cut the Fabric
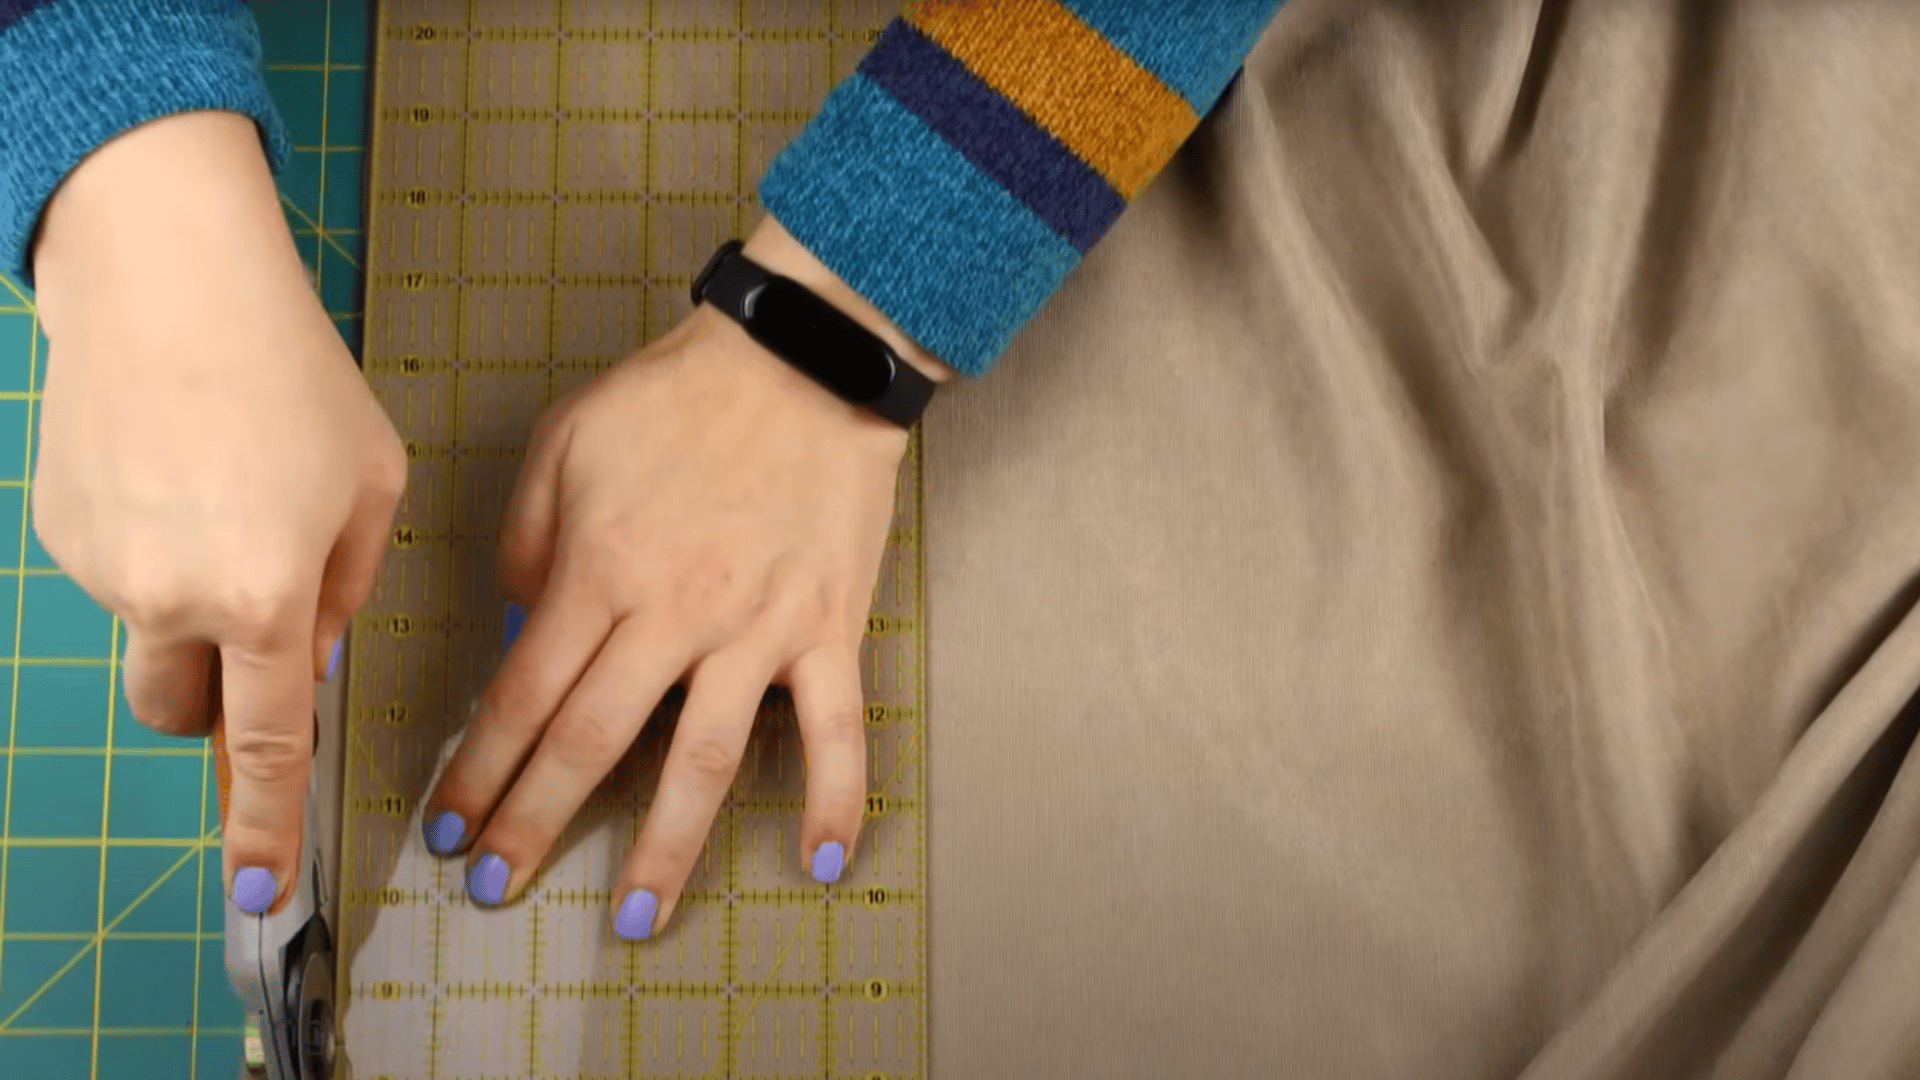
Start by measuring your window carefully, adding extra width for gathers and length for hems. Use scissors or a rotary cutter for a clean cut.
Accuracy here ensures your curtains hang evenly and look polished once complete.
Step 2: Prepare and Press the Side Seams
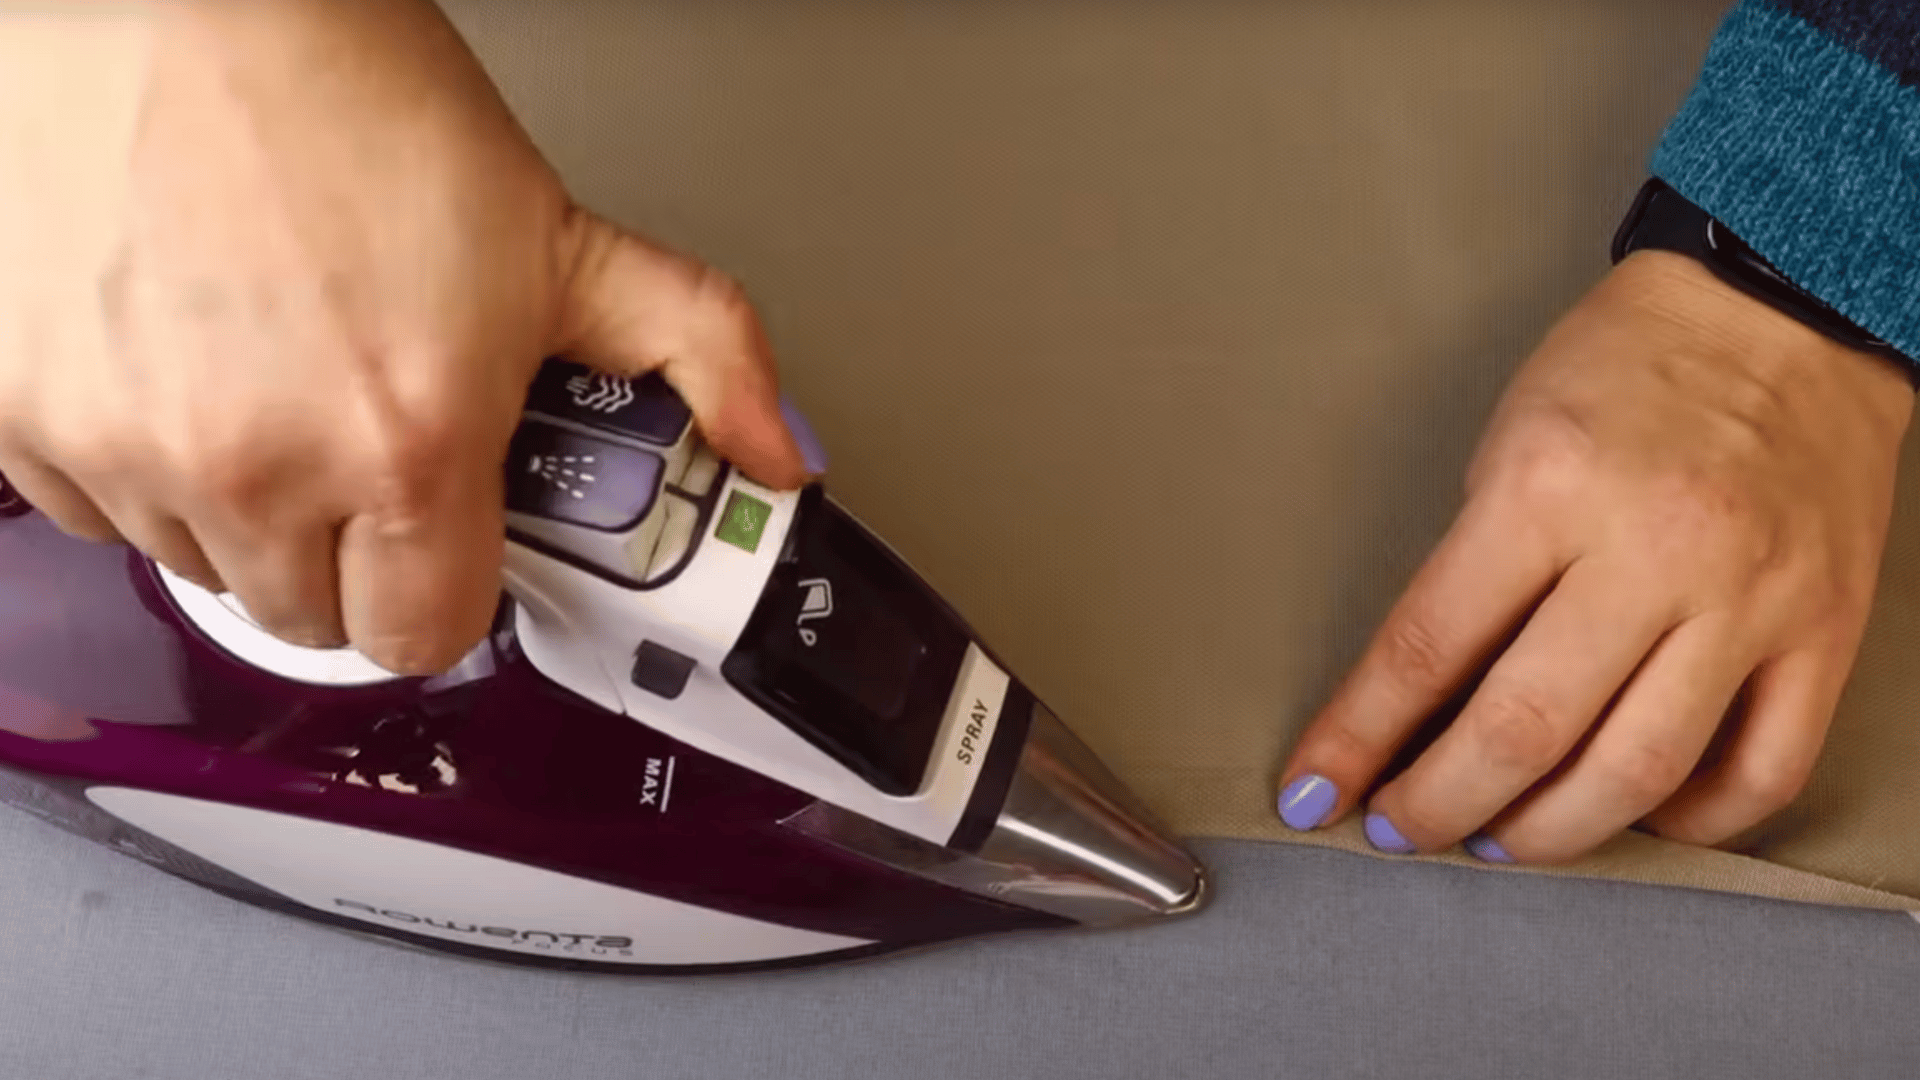
Fold the fabric sides over by half an inch twice, pressing firmly with an iron. This double fold hides raw edges and creates neat, durable sides.
If needed, pin the folds in place before proceeding to the stitching.
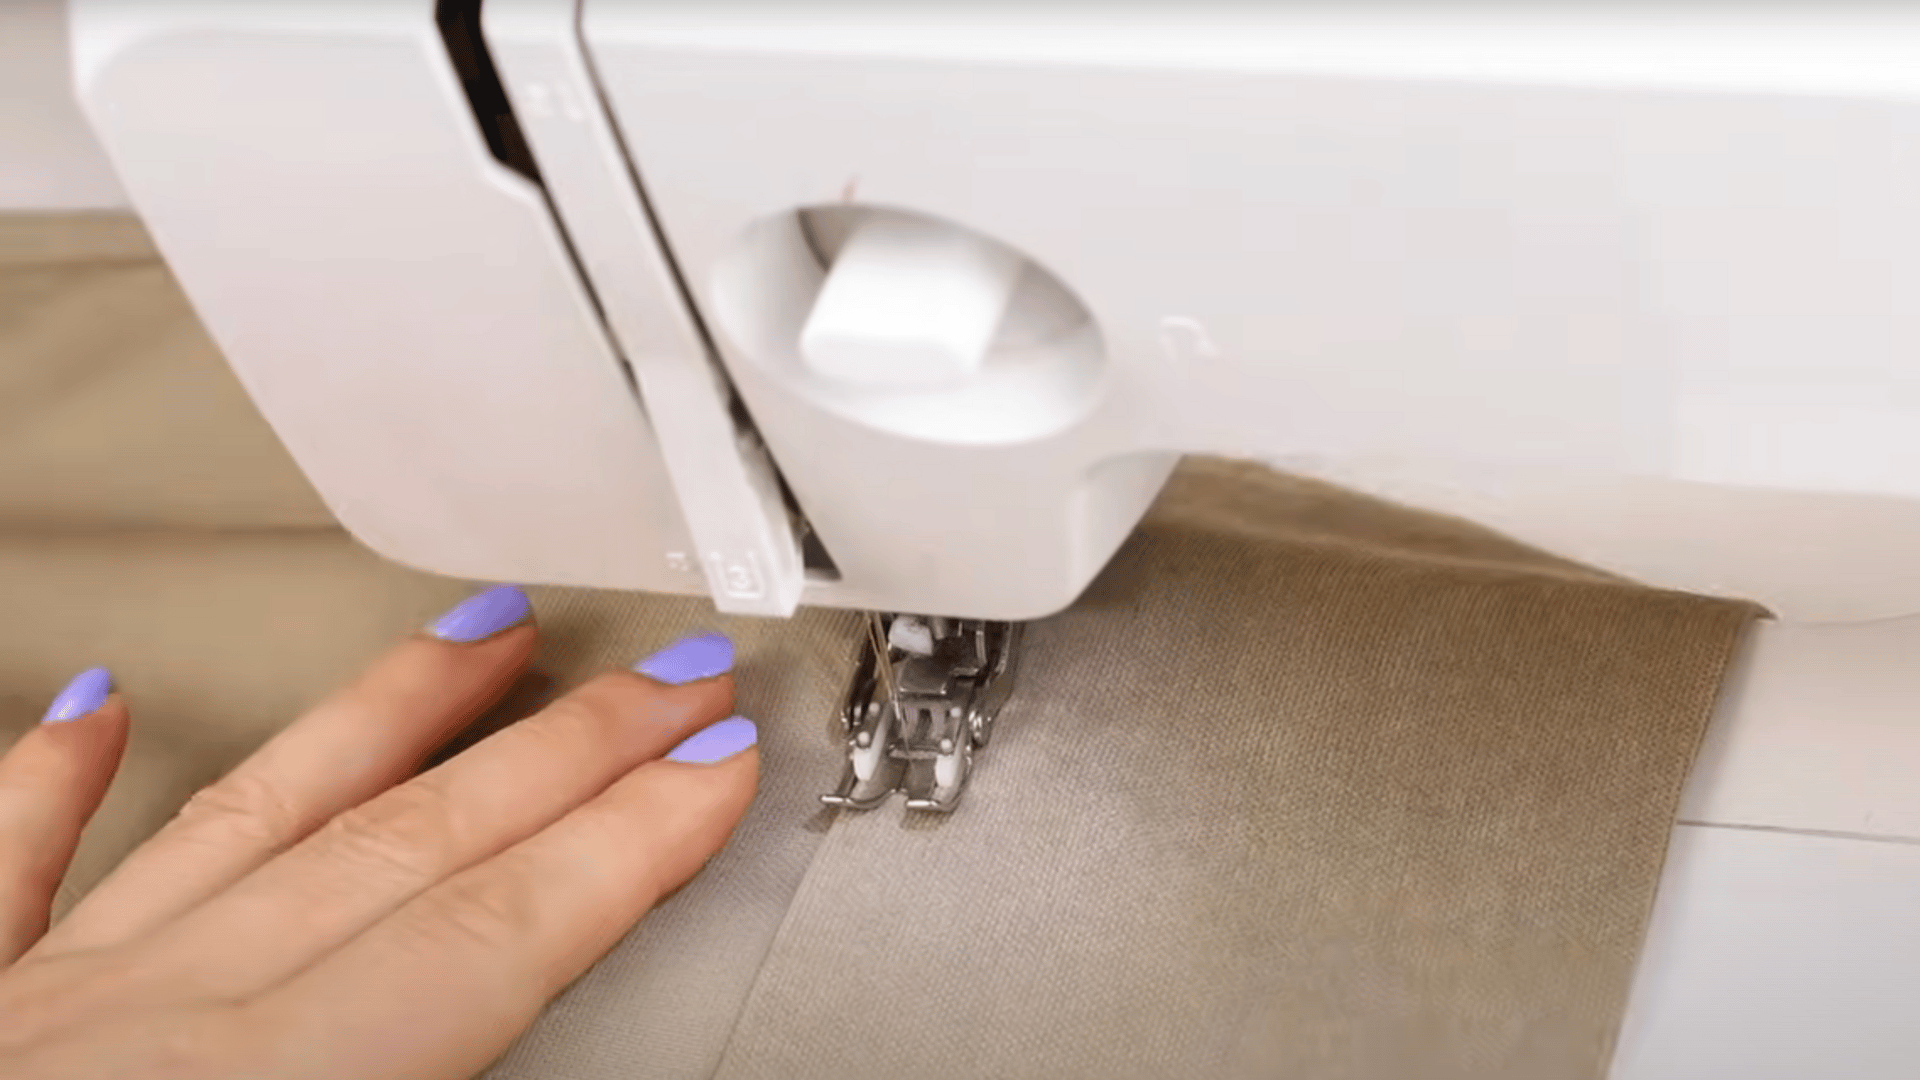
Step 3: Sew the Side Seams
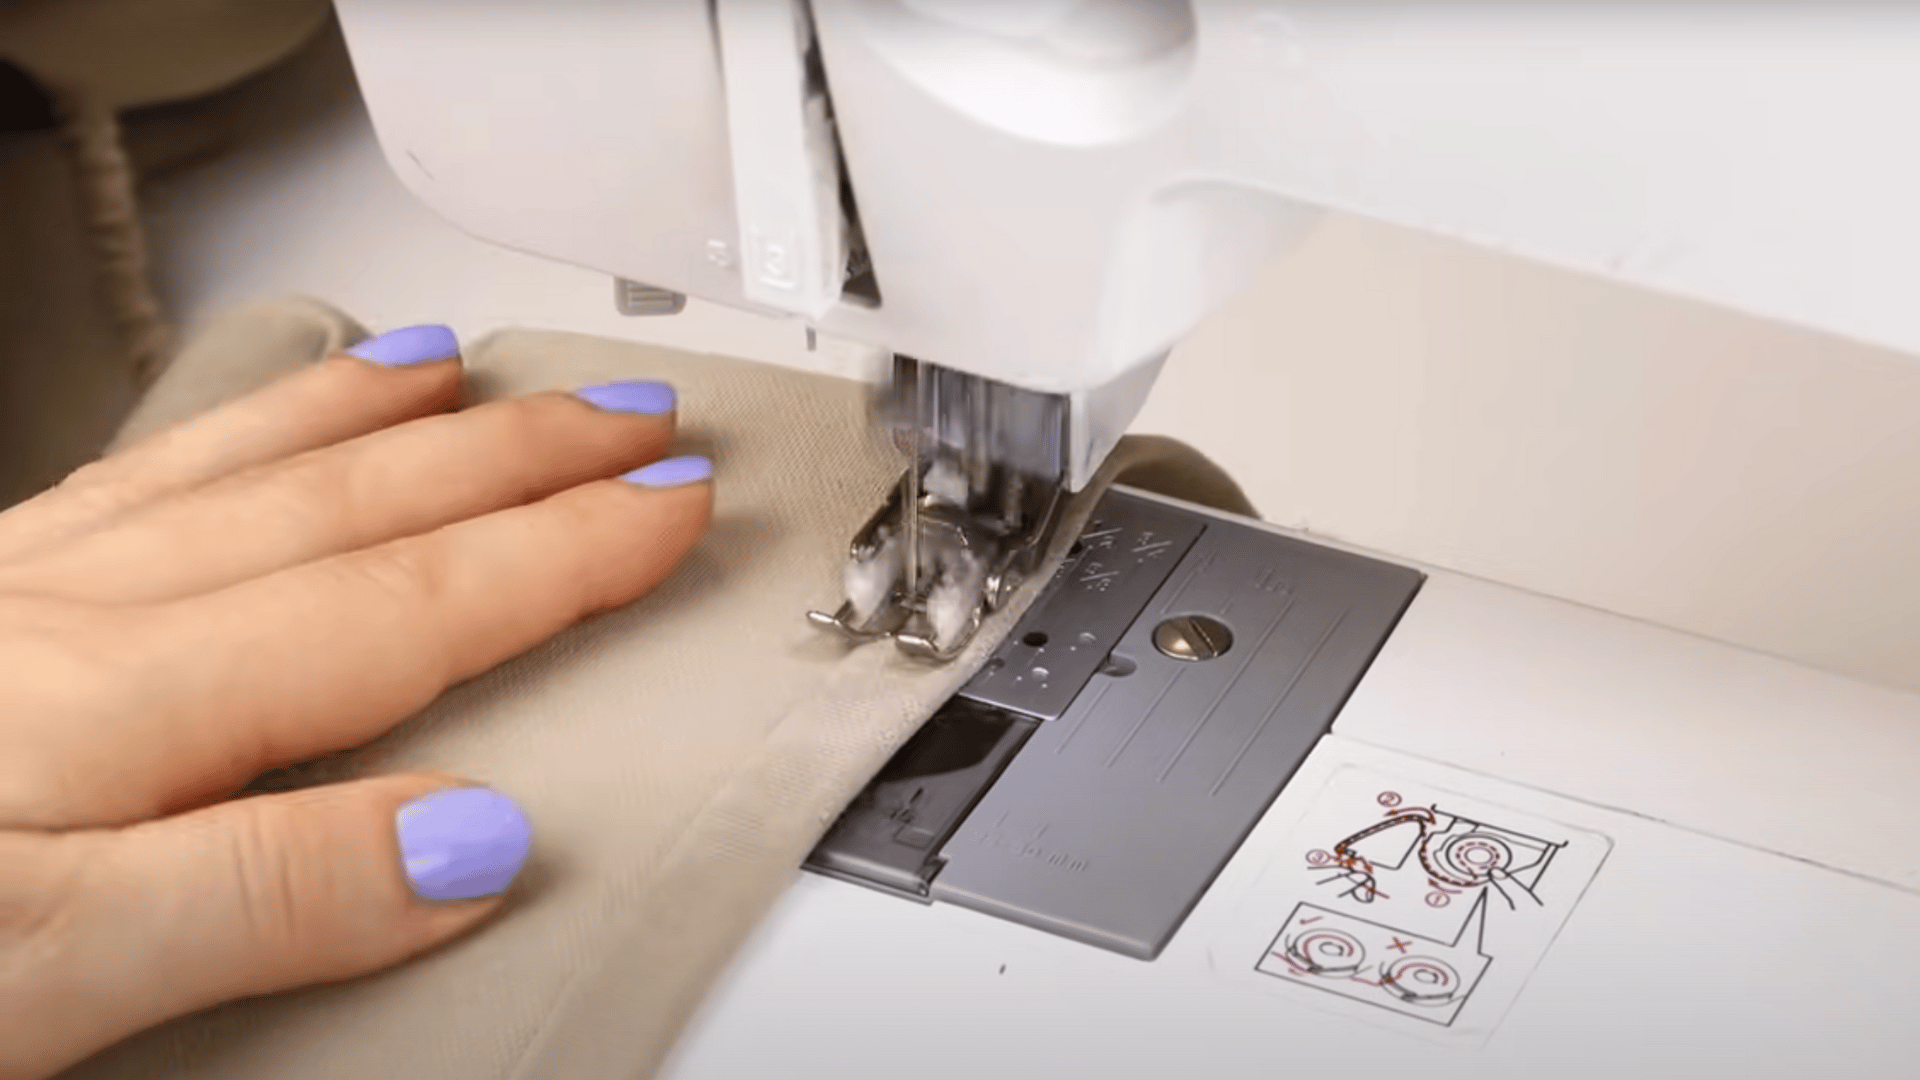
Set your machine to a medium stitch length and test on scrap fabric first. Stitch down each folded side, backstitching at both ends for strength.
Keep fabric straight and smooth to avoid puckers while sewing long panels.
Step 4: Create the Top Seam and Add Tape
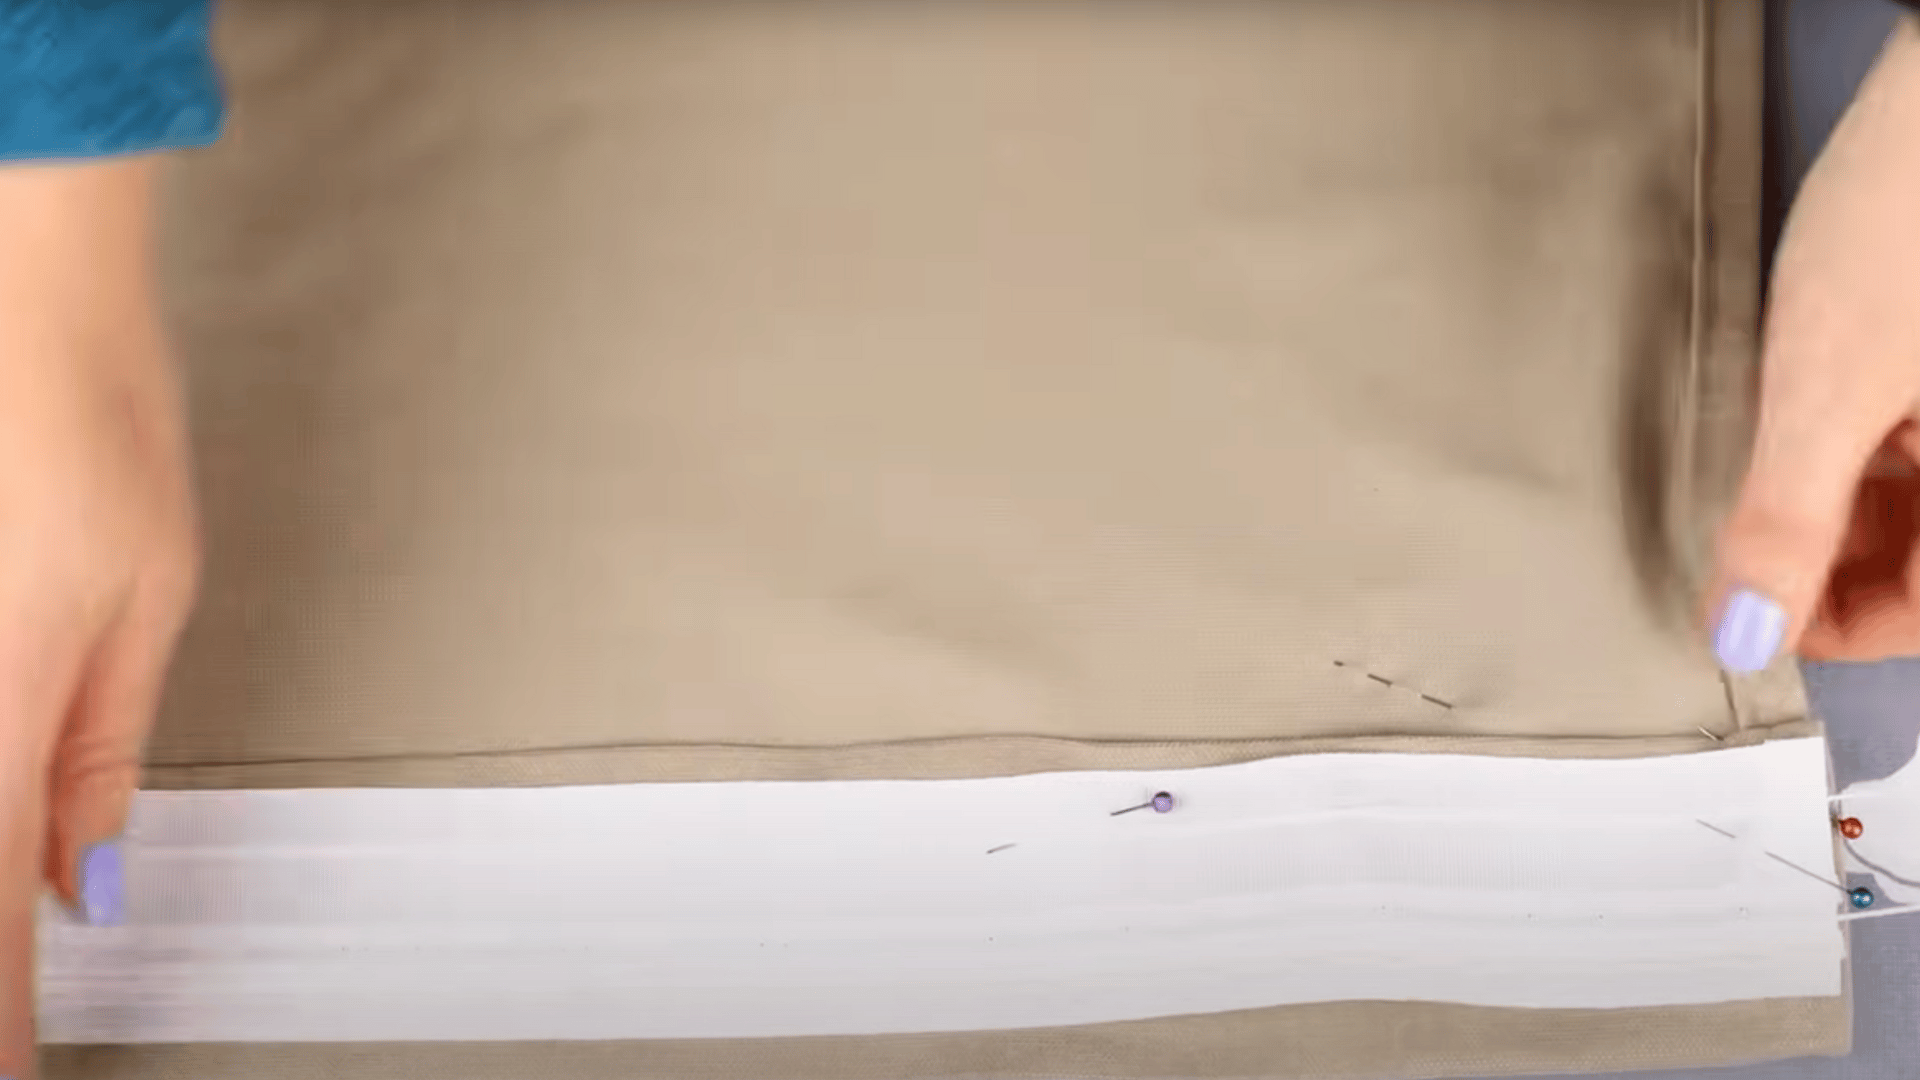
Fold the top edge over once by half an inch, then fold it again by about six inches (depending on the width of your tape).
Place the curtain tape on the back, pin it in place, and then sew it securely along both top and bottom edges.
Step 5: Hem the Bottom of the Curtain
Decide the length by either following your measurements or hanging the curtain to pin the hem. Fold twice for neatness, pressing each fold firmly.
Sew across the top of the folded hem, keeping stitches straight and consistent throughout.
Step 6: Gather the Fabric with Cords
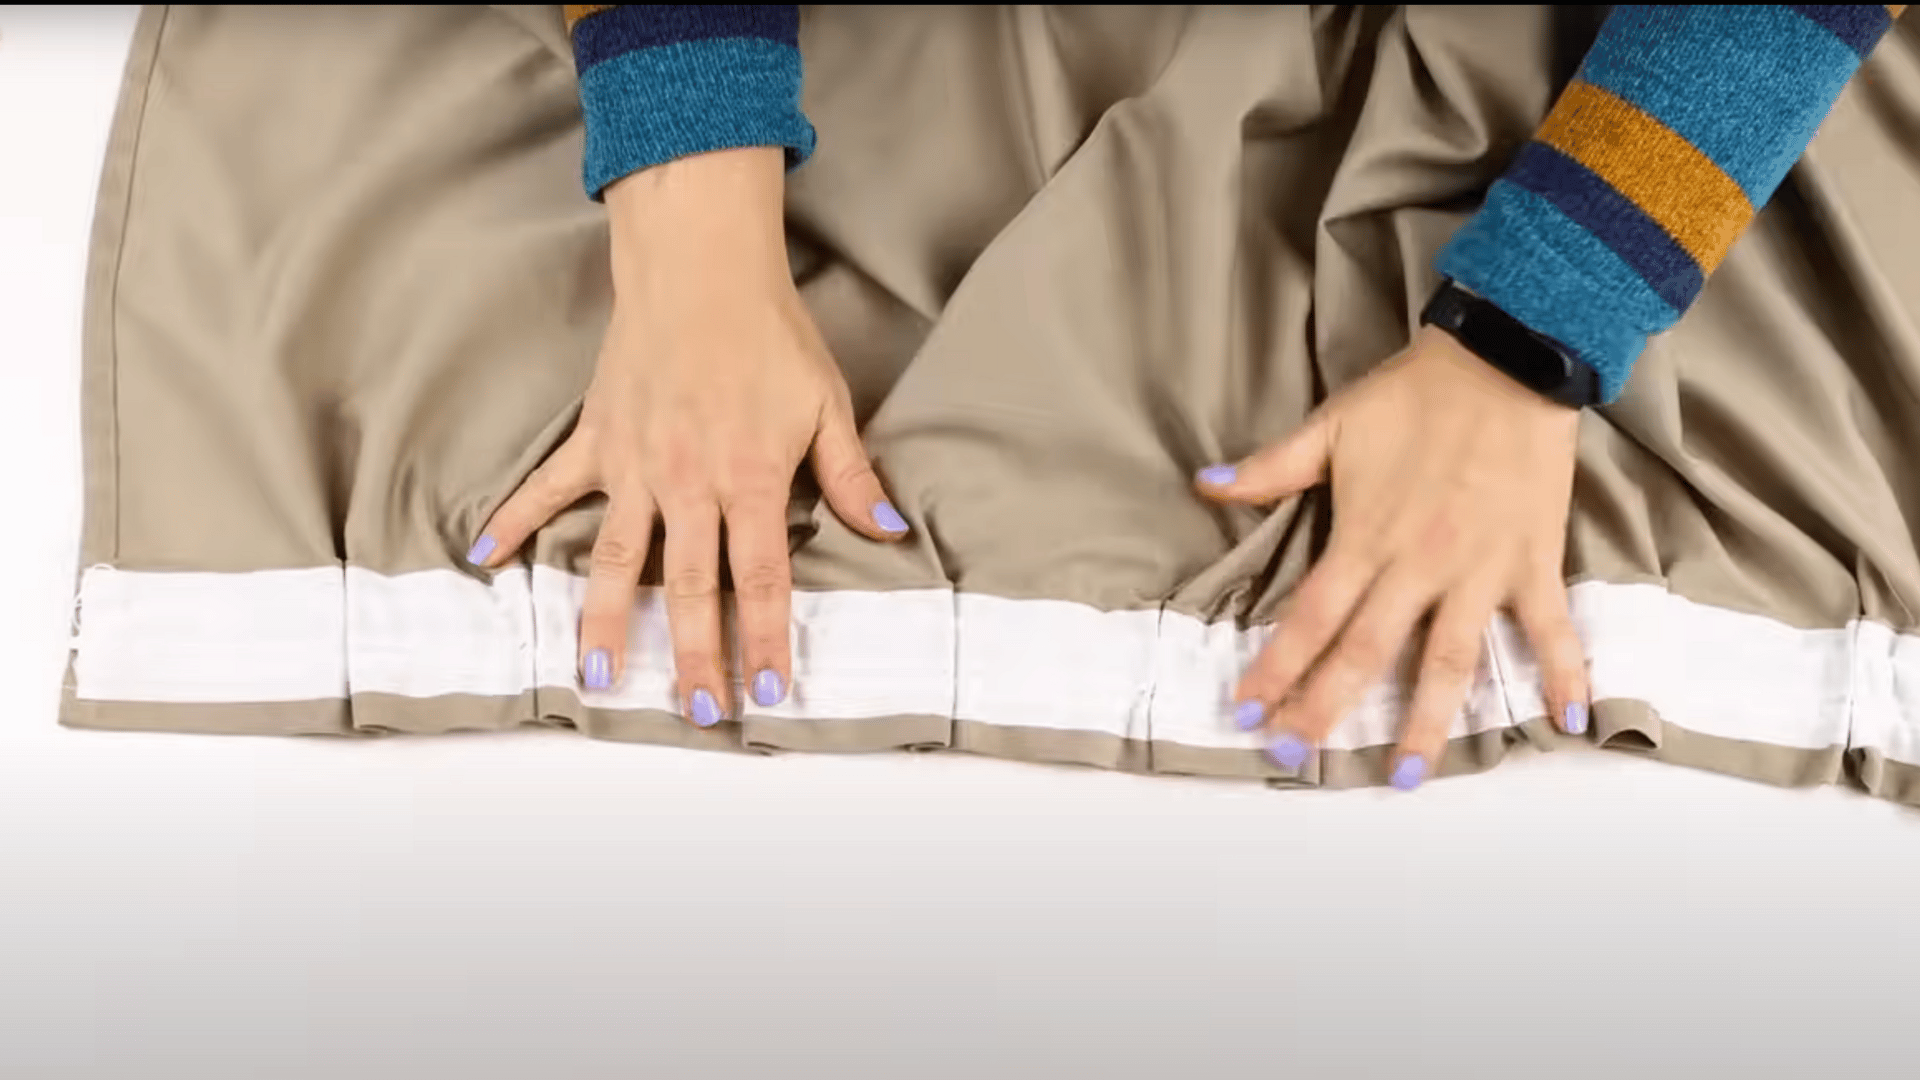
Tie the cords at one end of the curtain tape, then gently pull from the other side to gather fabric evenly. Adjust until the curtain fits snugly on your rod or track.
Leave cords tied but hidden inside the tape pocket.
Step 7: Attach Hooks and Hang
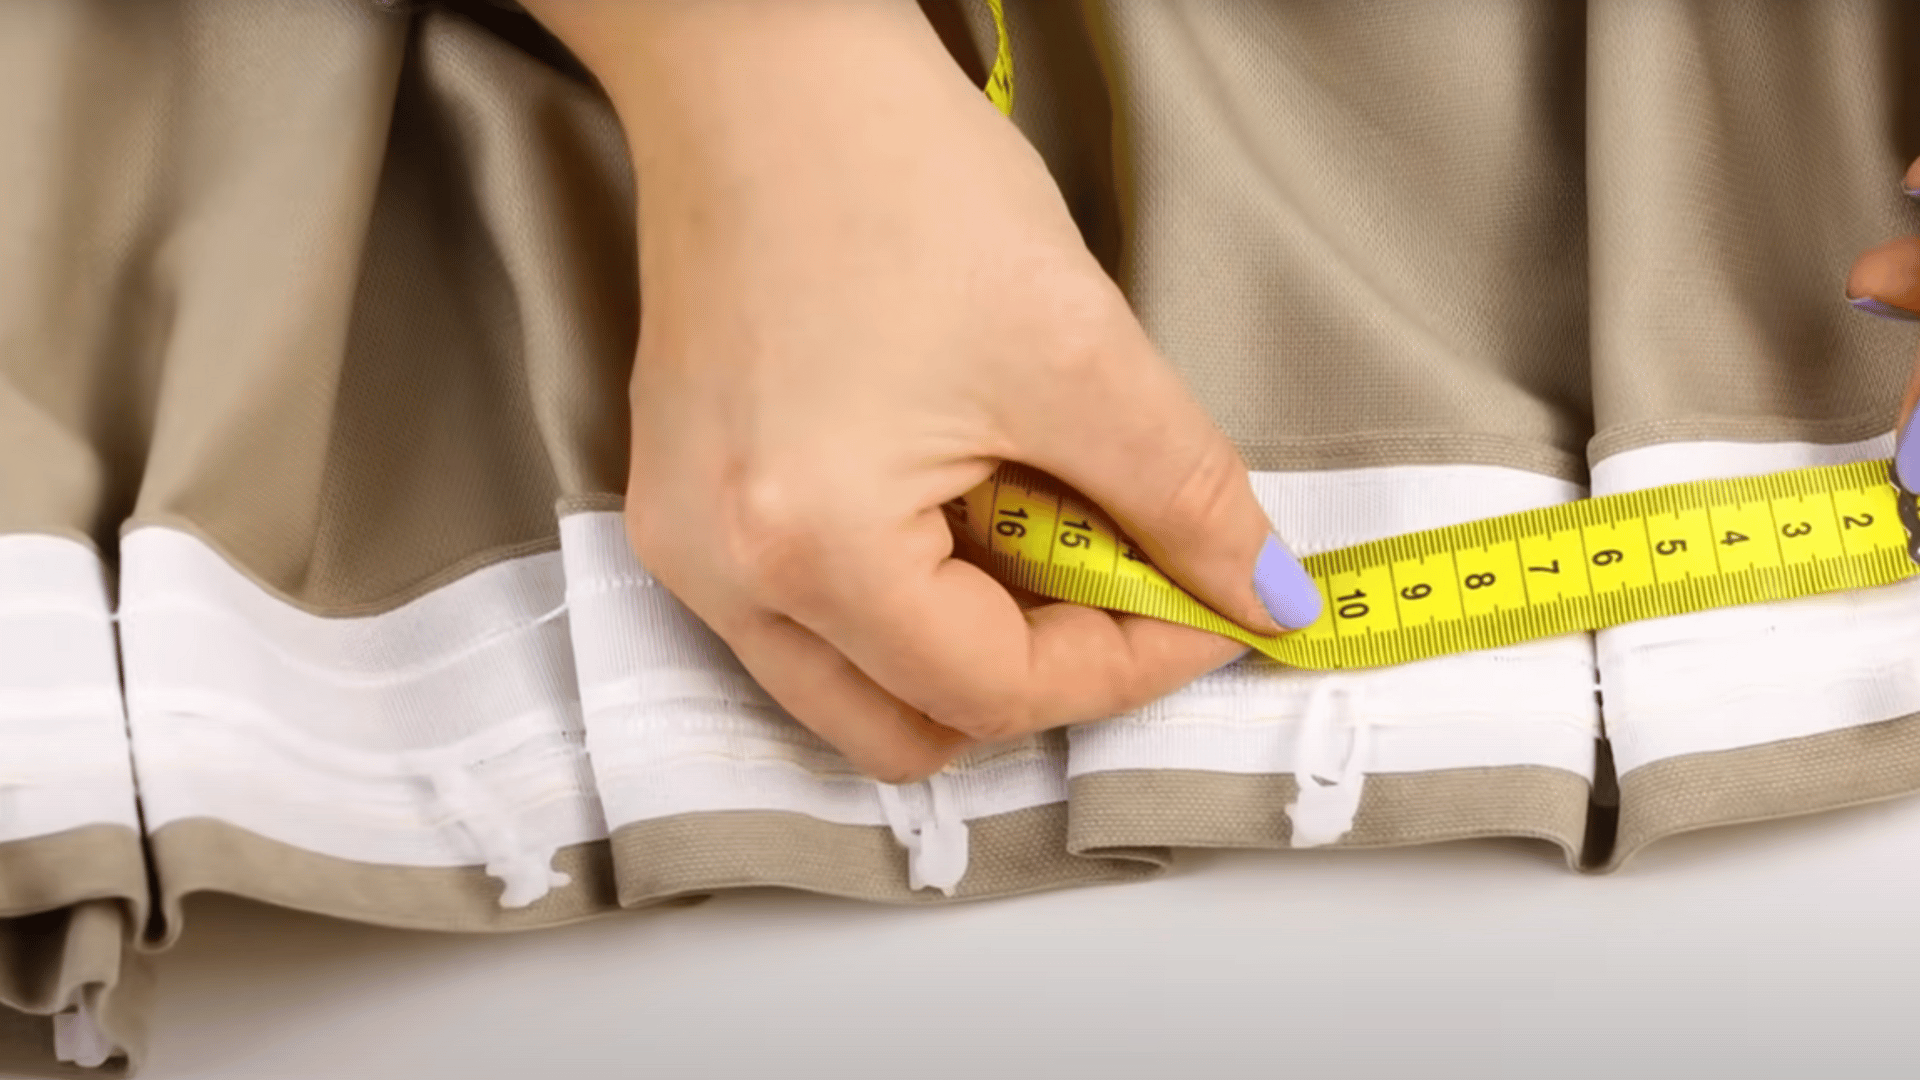
Insert hooks evenly across the tape, starting with one at each end and spacing the rest about four inches apart. Hang your curtain and step back to admire your work.
Adjust pleats or gathers until everything looks balanced.
For more details on how to sew curtains, check out the video given below:
Helpful Sewing Techniques and Tips for Beginners
By the way, these golden rules on how to sew curtains have saved me from countless sewing disasters:
- Always test stitch on scrap fabric first: I grab a leftover piece and test my settings before touching the real curtain. This catches problems before they ruin your project.
- Use the right needle for your fabric type: Heavy fabrics need heavy-duty needles, while delicate sheers require fine ones. I keep different sizes handy.
- Don’t rush, slow stitching ensures cleaner results: Quality always beats speed when learning how to sew curtains.
And these techniques changed my wobbly attempts into straight, professional results:
Use Your Machine’s Seam Guides
I line up my fabric edge with the throat plate markings and keep my eyes on the guide, not the needle.
This technique works because the fixed reference point eliminates guesswork – when your fabric edge consistently follows the ½” marking, you’re guaranteed a ½” seam allowance every time.
The throat plate’s etched lines don’t move, unlike a wandering needle that can mesmerize and mislead your eye.
Go Slow and Steady
Speed kills accuracy for beginners. I keep light foot pressure and maintain an even pace throughout each seam.
This measured approach gives you time to make micro-adjustments as the fabric feeds through, preventing the runaway train effect where momentum carries mistakes forward before you can stop them.
Clear a Large Workspace
I spread curtain panels on my dining table or floor. Cramped spaces always lead to crooked, frustrating results because unsupported fabric creates drag and tension that pulls your seam line off course.
When your entire panel lies flat and supported, gravity works with you instead of against you, allowing the fabric to feed smoothly without bunching or stretching.
Roll Excess Fabric as You Sew
This prevents pulling and keeps weight off your machine. I place a chair behind to catch the fabric as it feeds through.
By managing the fabric’s weight distribution, you eliminate the downward pull that can cause your machine to skip stitches or create uneven tension, resulting in puckered seams.
Pin Perpendicular to Seam Lines
For lightweight fabrics, I space pins 2-3 inches apart. For thick fabrics, clips are more effective than pins.
Perpendicular placement allows you to sew right over the pins (removing them just before the needle reaches them), maintaining fabric alignment without stopping to remove parallel pins that would break your needle.
The closer spacing on lightweight fabrics prevents shifting, while clips grip thick layers without distorting them like pins would.
Practice on Scraps First
Before touching good fabric, I always warm up on leftover pieces.
Think of it like stretching before exercise – these test runs reveal your machine’s current tension settings, help you find your rhythm, and identify any threading issues before they ruin expensive material.
Common Problems and Quick Fixes
Curtain sewing mistakes are common, but easy to fix.
Here are quick solutions to keep your panels looking polished.
1. Crooked hems: I measure and mark my hem line with a ruler before folding. Then I press it with an iron and pin every few inches. This extra step prevents wonky, slanted hems.
2. Uneven panel lengths: I always cut all panels at once using the first one as a template. I lay them on top of each other and trim them together for perfect matching.
3. Fabric puckering: Your tension is probably too tight, or you’re pulling the fabric. I let the machine feed naturally and check my thread tension settings.
4. Seams bunching up: I reduce my stitch length for heavy fabrics and use a walking foot if I have one. It grips both fabric layers evenly.
5. Curtain panels refusing to line up: I baste the top edges together first, then adjust until they’re perfectly even. It takes extra time but prevents major headaches later.
Conclusion
Learning how to sew curtains perfectly takes practice, but these techniques will get you there faster. I’ve shared my mistakes and the fixes that actually work because I want you to skip the frustration I went through.
Begin with simple rod pocket curtains made from cotton fabric. Learn the basics first, then move on to more complex styles. Every professional seamstress started exactly where you are now.
Your windows deserve custom curtains that fit perfectly and reflect your personal style. Plus, you’ll save money and gain a valuable skill that lasts a lifetime.
If you are ready to change your space, grab some fabric, clear your workspace, and start with your first panel.