Tiles have been used in homes for over 5,000 years and remain a staple of modern living. Choosing the right grout for handmade tiles requires a shift in perspective: stop viewing the filler as a utility and start seeing it as a design tool.
When dealing with the uneven edges and surface variations of artisanal ceramics, the best grout color is typically a tonal match, one shade lighter or darker than the tile itself. This approach softens the transition between units, allowing the natural undulating texture of the clay to take center stage rather than being framed by a harsh grid.
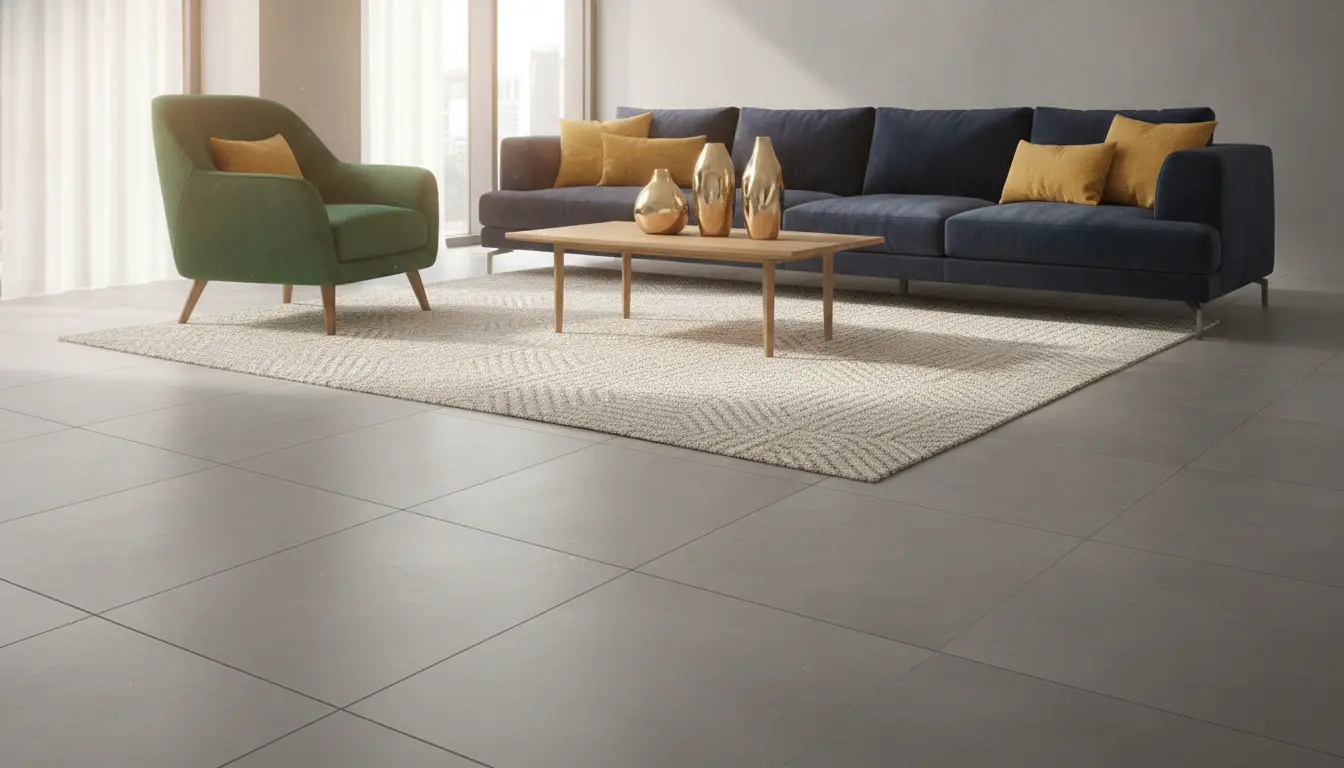
Handmade tiles are celebrated for their “perfect imperfections,” and a high-contrast grout can often make these charming irregularities look like installation errors. If you choose a stark white grout for a deep emerald tile, every slight variance in thickness or edge straightness is magnified. By leaning into warm mineral tones, you create a cohesive surface that feels organic and intentional.
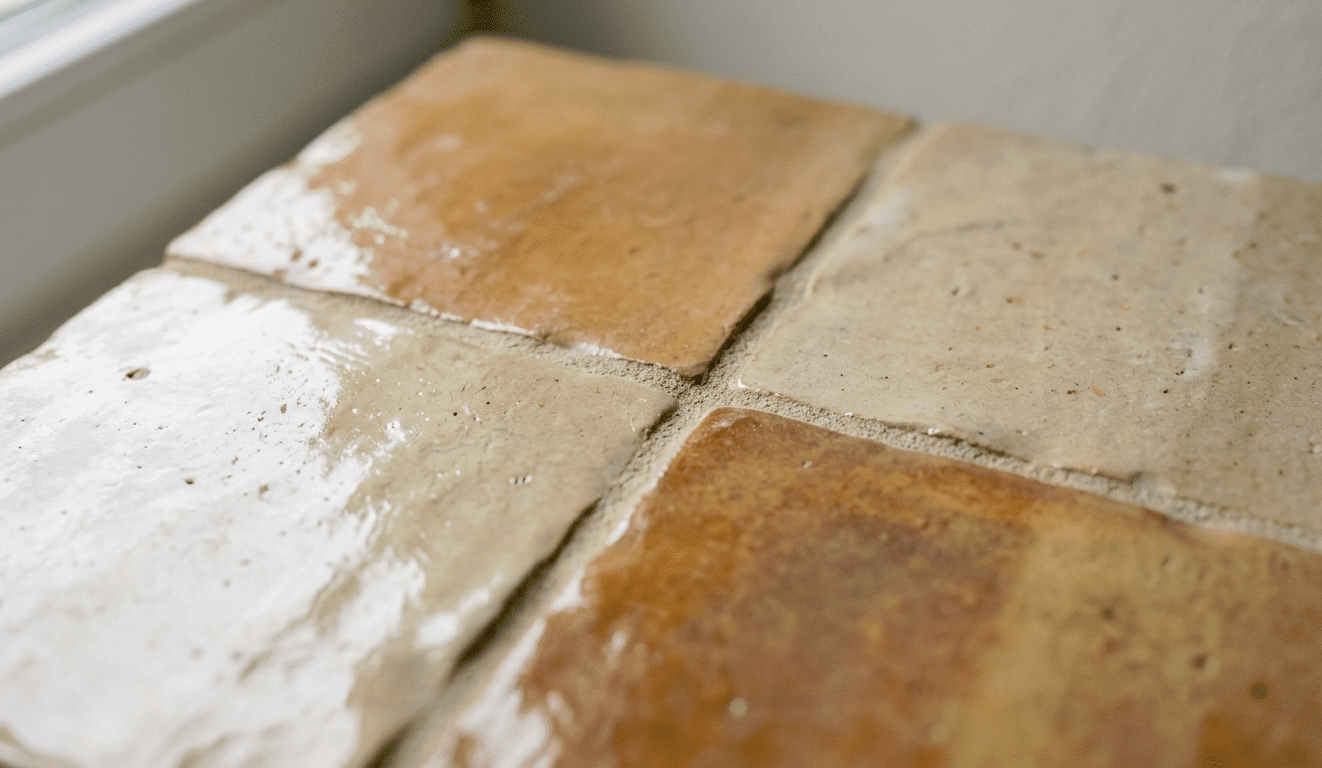
Image Source: Google Gemini
Texture and Joint Considerations
The physical properties of the grout protect the tile substrate, but with handmade products, the technical requirements are even more specific. Because handmade tiles often have “pillowed” or irregular edges, they usually require a wider grout joint of at least 1/8 inch to accommodate those size fluctuations.
Sanded grout is almost always the preferred choice for these wider gaps because the sand particles provide the structural “bridge” needed to prevent shrinking and cracking. While unsanded grout might feel smoother, it lacks the grit necessary to hold its shape in the larger joints required by bespoke ceramics.
When you are selecting a decorative mosaic tile for Mediterranean interiors you should consider how the grout grit will interact with the glaze. Getting samples to make comparisons without committing to a full order is wise in this context.
Expert installers often recommend the following steps to ensure your color choice holds up under real-world lighting:
- Apply a small amount of wet grout to a sample board and let it dry completely to see the true final pigment
- Check the sample at floor level and eye level to see how shadows hit the recessed joints
- Seal the grout immediately after the curing process to prevent the color from shifting due to moisture or oils
Balancing Maintenance and Aesthetics
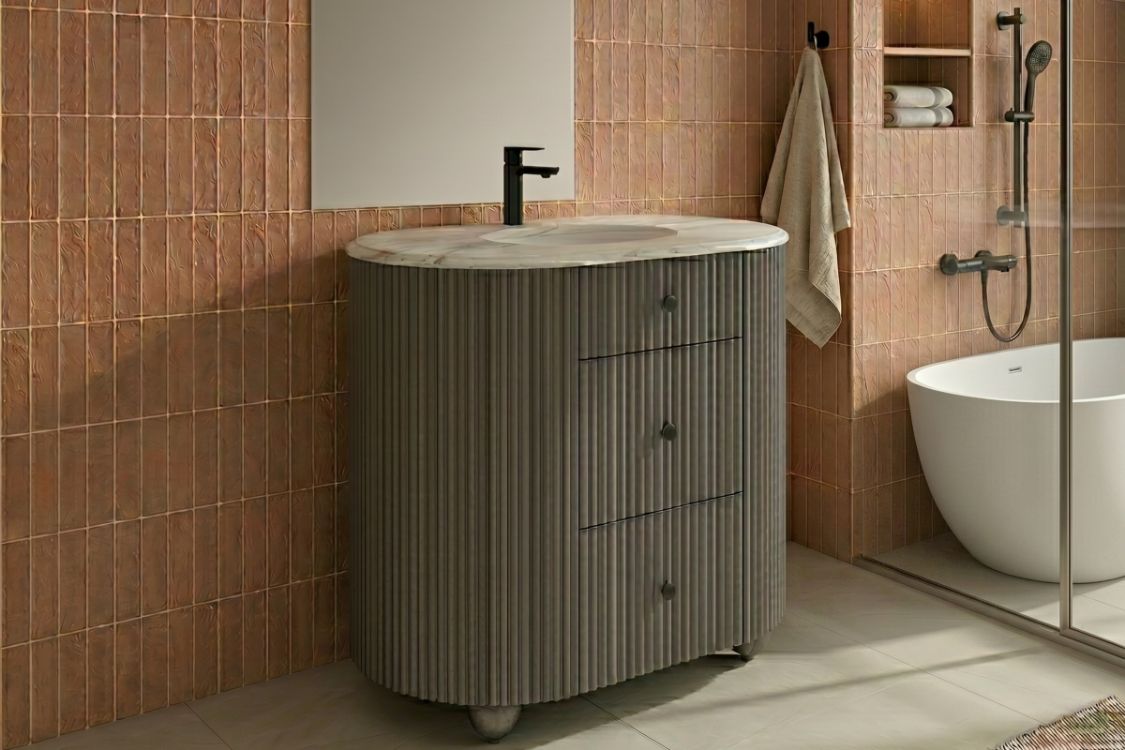
Light grout in a kitchen or bathroom is a notorious maintenance headache, yet it remains the gold standard for achieving a classic cottage or “Zellige” look. If you are worried about scrubbing, consider a “mushroom” or “putty” color. These mid-tones provide the airy feel of a neutral without the instant discoloration that plagues pure white in high-traffic wet zones.
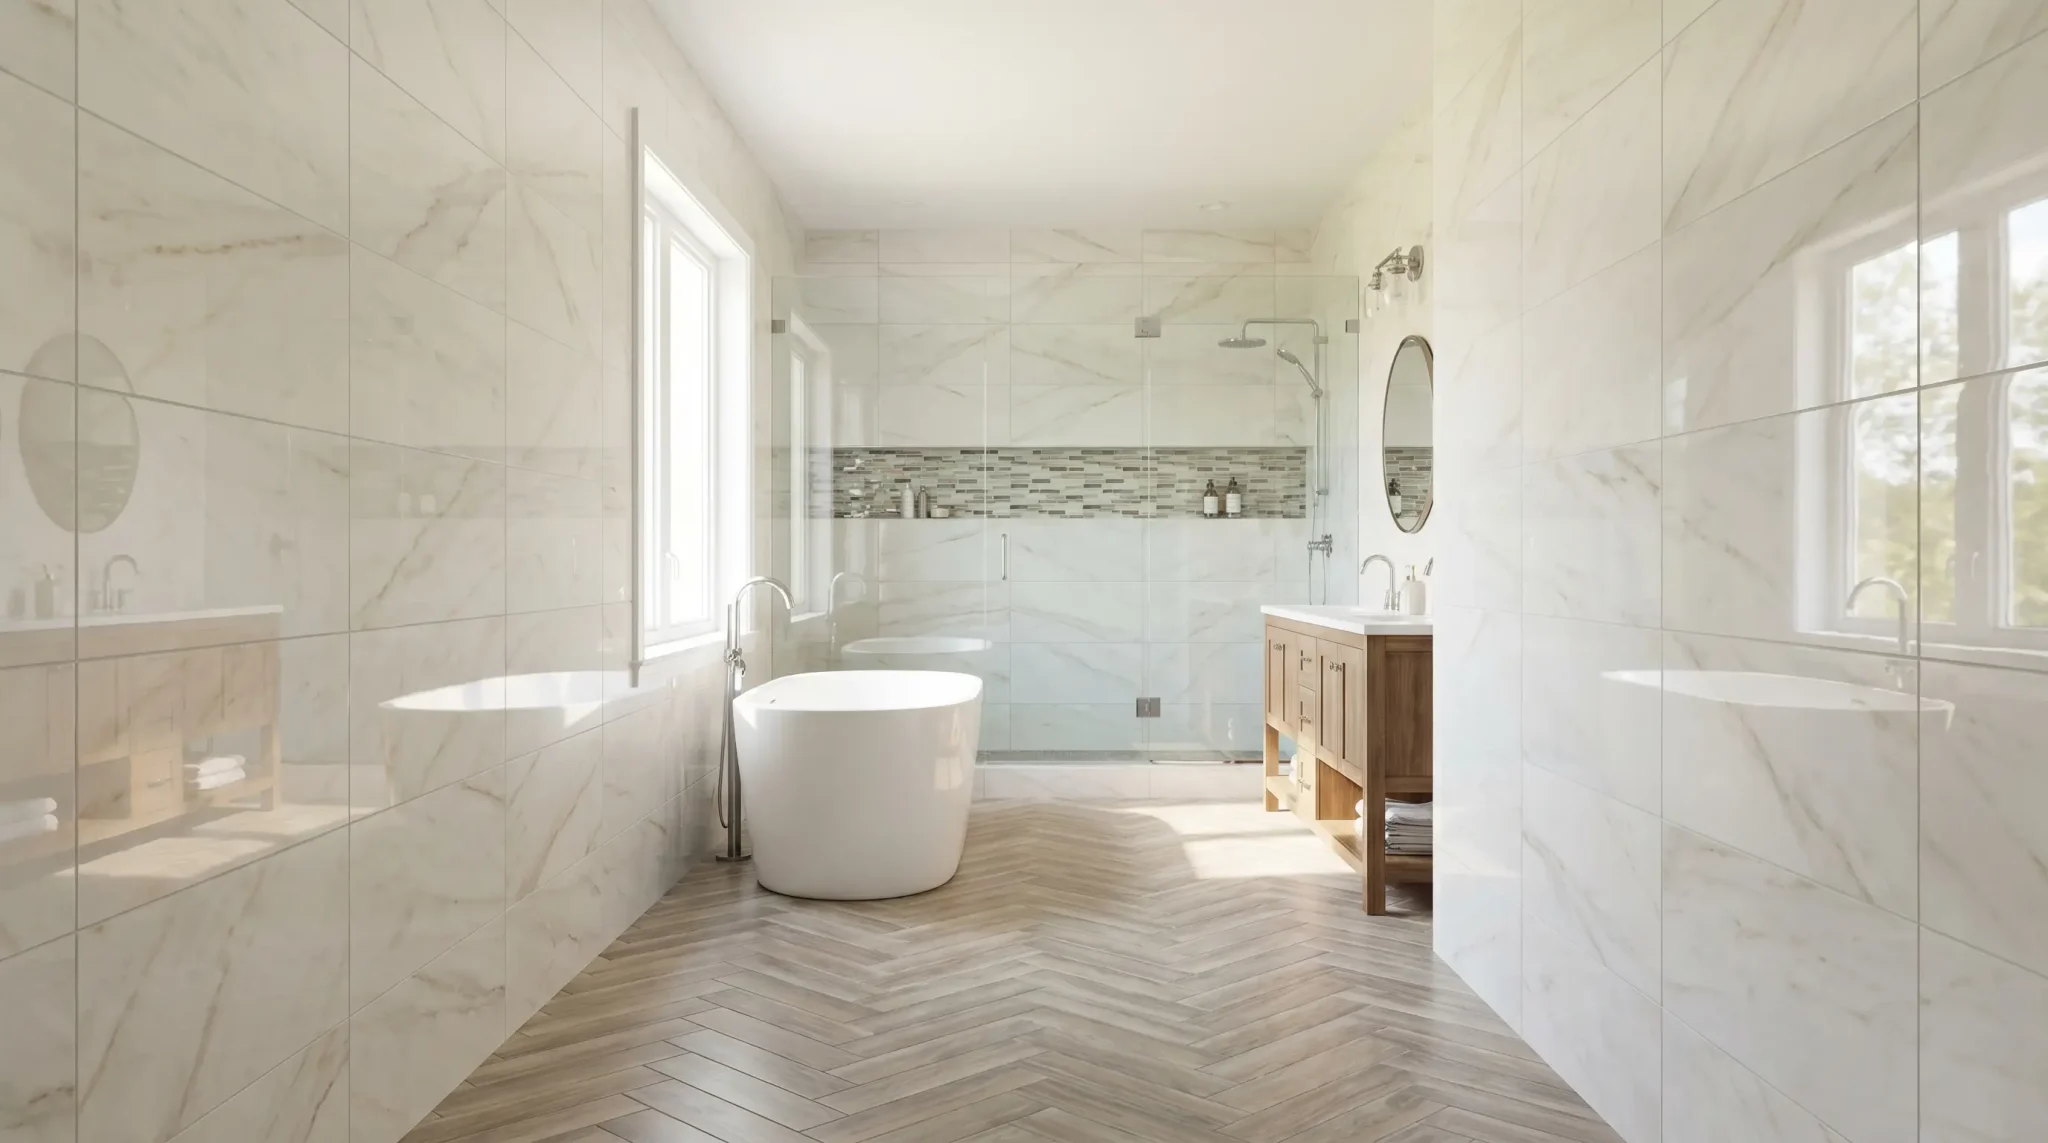
Matching the grout to the “body” of the clay, meaning the color visible on the side of the tile, creates the most seamless architectural finish. This technique is particularly effective for 2026 design trends which favor invisible neutrals over the cold, clinical grays of the last decade. A warm oatmeal or soft-sand grout bridges the gap between the tile and the surrounding wall, making the entire installation feel like a custom piece of masonry.
Testing Your Palette Under Light
Lighting changes everything about how a grout color is perceived. A neutral gray can turn violet under certain LED bulbs, and a warm beige can look yellowed if your room lacks natural sunlight. Before committing to a full bag of mix, take your tile and a grout swatch into the room where they will live.
Observe the colors at different times of day. You might find that the earthy pigment you loved in the showroom feels too heavy in a small, windowless powder room. For more design inspiration on mixing textures and tones, check out our other posts, which cover a wide range of design advice and trend coverage.