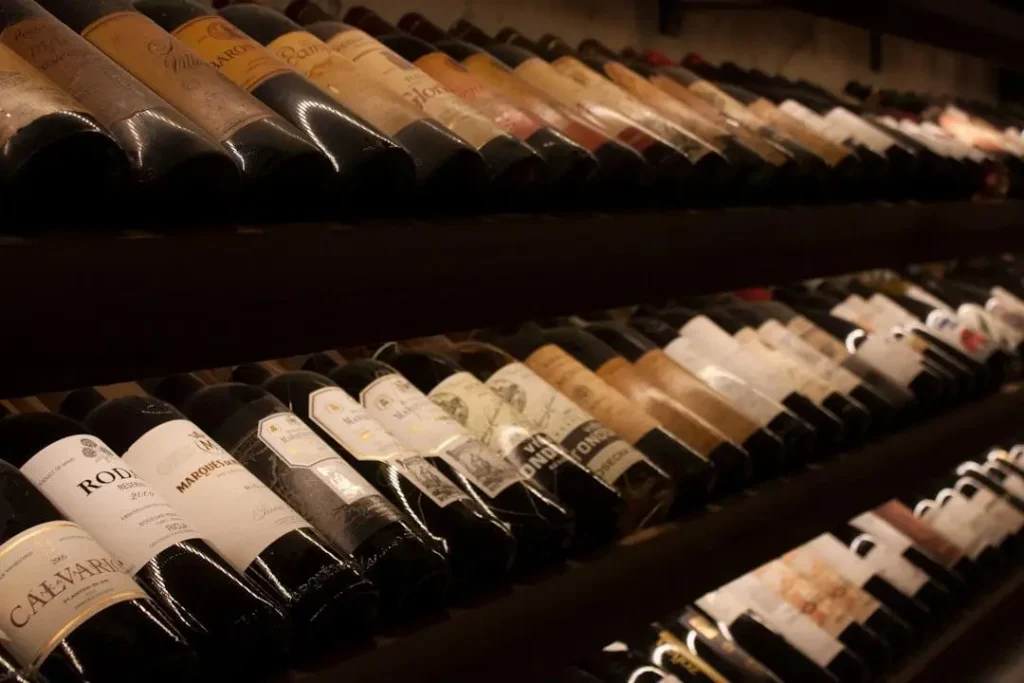
A growing wine collection has a way of outpacing the space you gave it. The bottles start on a countertop rack, move to a kitchen cabinet, then end up boxed in a closet or out in the garage, where the temperature climbs every afternoon and drops every night. Once you are storing wine you actually care about, a dedicated wine cellar is the fix, and it is a more achievable home project than most people expect.
Planning one comes down to four things: the conditions wine needs, where the cellar goes in your house, how the build stacks together, and what it costs. Get those right and the project stops feeling like a renovation gamble.
What a Home Wine Cellar Actually Needs

Wine keeps best in conditions that stay steady: a cool temperature, moderate humidity, darkness, and stillness. Get these right and every other decision in the build is there to protect them.
Temperature is the big one. The target is around 55°F, held steady. The exact number matters less than the consistency, because wine that warms and cools on a daily cycle ages unevenly and loses its aromatics. In one storage study, Riesling kept at room conditions developed a measurably different aroma profile from the same wine held at cellar temperature (source).
Humidity should sit around 60%. Too dry and the corks shrink, which lets air seep into the bottle and oxidize the wine. Too damp and you invite mold on labels and racking. Anywhere in the 50 to 70% range keeps corks sealed without the mold problem.
Darkness protects the wine from light-strike, a reaction that UV and strong visible light set off in the bottle. It produces off aromas often described as cooked cabbage or wet wool, and it does not reverse. White and sparkling wines are the most vulnerable, because their paler glass and lower tannin content give them less natural protection (source).
Stillness matters last but is easy to design in. Constant vibration, from a laundry room, a busy staircase, or a cooling unit mounted the wrong way, disturbs the sediment in older bottles. A cellar on a solid floor, away from daily foot traffic, avoids it.
Choosing the Right Space in Your Home

The best spot is an interior room that already runs cool and steady: a basement corner, an under-stairs nook, an interior closet, or a spare room on the north side of the house. You are looking for the space with the fewest temperature swings before you build anything, because every swing is work the cooling system has to undo later.
Watch out for the tempting spots that fight you:
- Garages and attics, which bake in summer and chill in winter
- Rooms with big west-facing windows, where afternoon sun loads heat straight through the glass
- Exterior walls on the hot side of the house, which pull the room’s temperature up all afternoon
Size the space to your collection and where it is heading. A few hundred bottles fit inside a large closet. A cellar with room to grow into a real collection wants something closer to the footprint of a small bedroom, so plan for the collection you will have in ten years, not the one on the counter now.
The Build, Step by Step
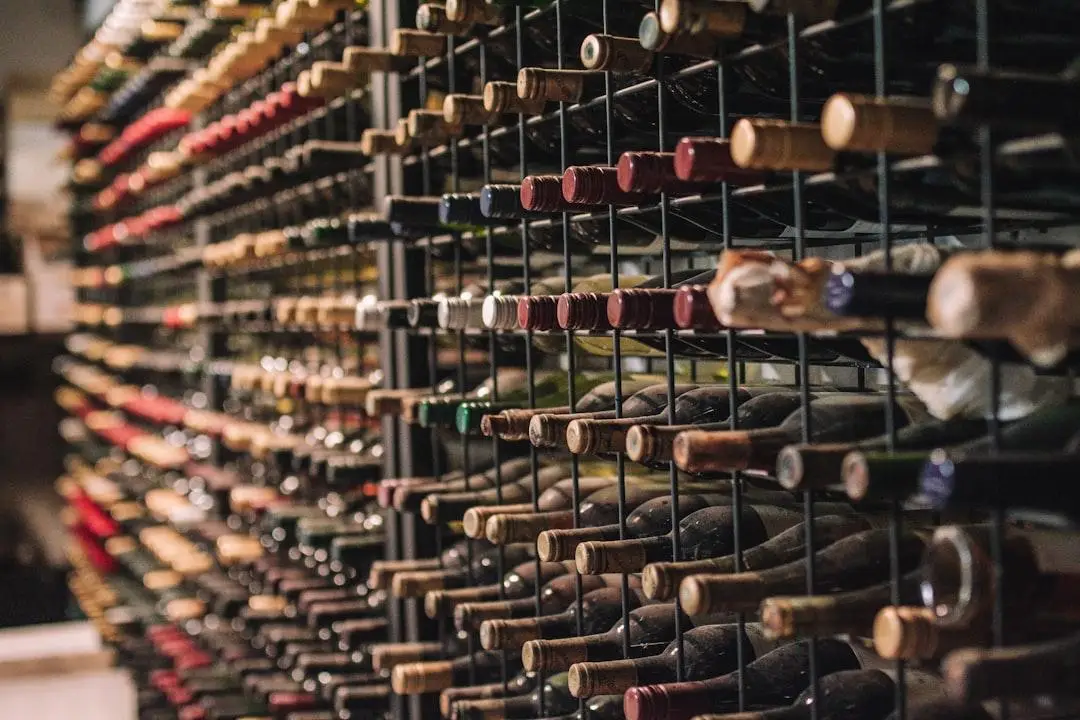
A wine cellar goes together in a set order, and the order is not optional. Each layer protects the one before it.
1. Seal the room. Close every gap around the door, outlets, and ceiling. A cellar that leaks air cannot hold temperature or humidity.
2. Add a vapor barrier. This is plastic sheeting run across the walls and ceiling on the warm side, before insulation. It stops humid air from moving through the wall, condensing inside it, and rotting the framing. It is the step DIY builders skip most often, and the one that causes the most expensive damage when it is missing.
3. Insulate. A cellar needs a higher insulation value than a normal room, because it is holding 55°F against the rest of the house year round.
4. Install the cooling unit. Use a purpose-built wine cellar cooling unit, not a household air conditioner, and size it to the room’s heat load: its volume, how well it is insulated, and how much glass and door it has.
5. Finish the surfaces. Choose flooring, wall, and ceiling materials that tolerate steady humidity, such as sealed tile, stone, or treated wood.
6. Install the racking. Racking goes in last, once the environment is set, so you are fitting shelves into a finished, stable room.
What It Costs, and Whether It Adds Value
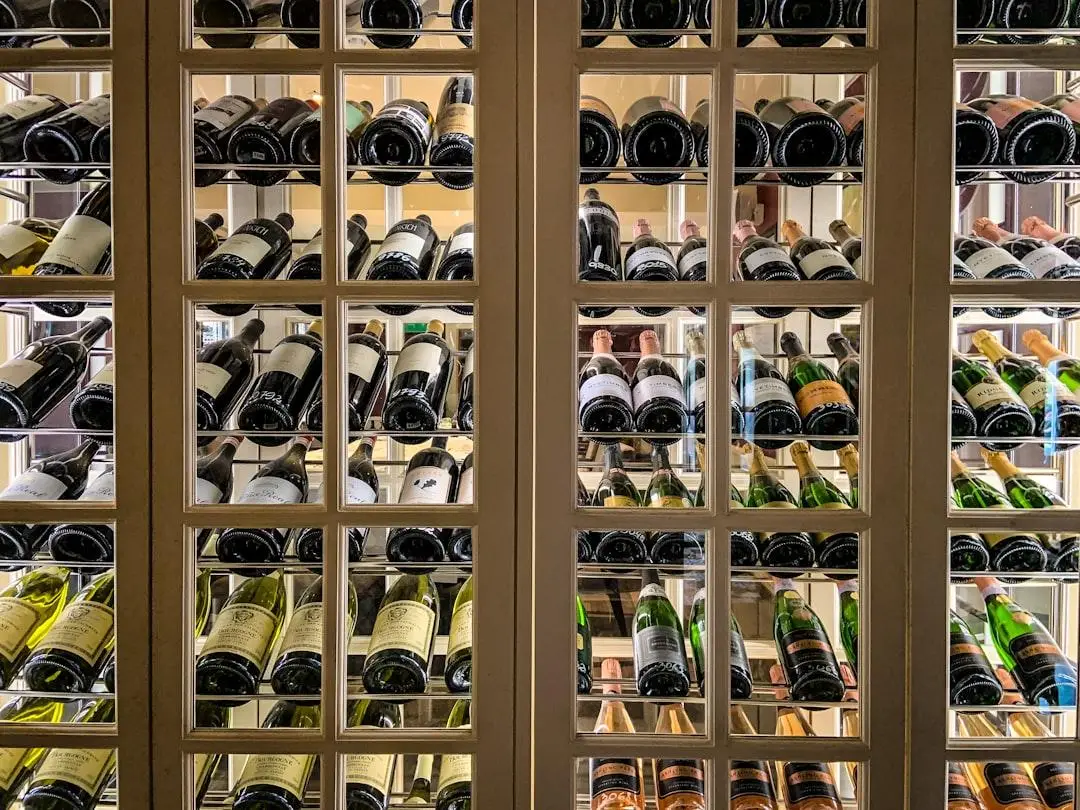
A home wine cellar runs anywhere from a couple of thousand dollars for a small closet conversion to $50,000 or more for a custom room with high-end cooling and cabinetry. The cooling unit, the racking material, the size of the room, and the finishes are what move the number.
Does it add to your home’s value? For the right buyer, a well-built cellar reads as a genuine amenity, the same way a finished basement or a built-in wine fridge does. It is not a guaranteed dollar-for-dollar return, and a buyer who does not drink wine will not pay extra for it. But in the kind of home where buyers are likely to collect, a proper cellar is a feature that helps the house stand out rather than a quirk they plan to rip out.
Getting the Cooling and Racking Right
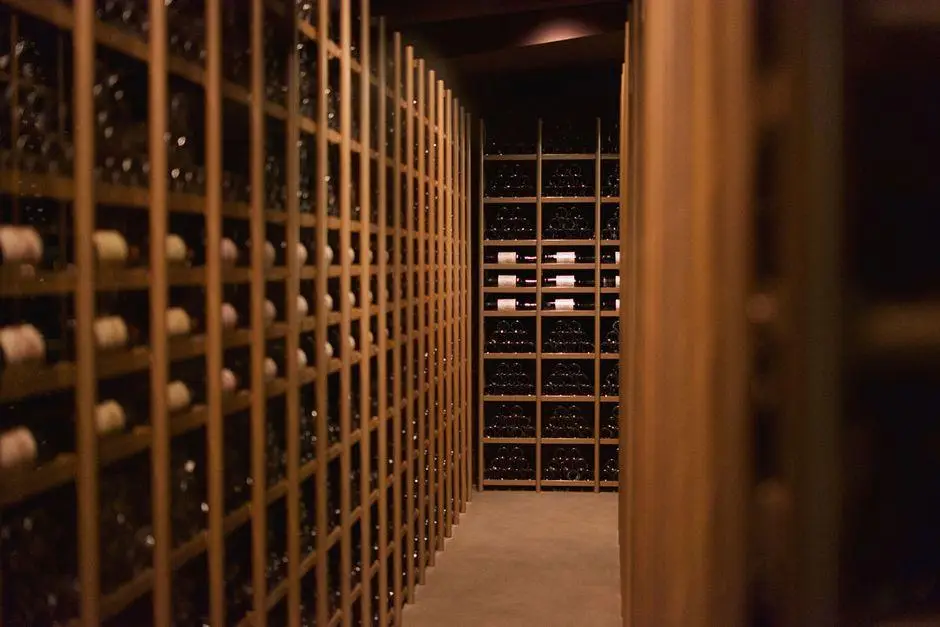
Two parts of the build are where home cellars most often go wrong: sizing the cooling unit and laying out the racking. Both reward getting the numbers straight before you spend anything. An undersized cooling unit runs constantly and still loses the battle in July; an oversized one short-cycles and struggles to hold humidity. Racking has the same trap. Lay it out around the bottle counts you actually have and the wall you are working with, and you fit 400 bottles into the space; guess at it and you waste a third of the wall.
Wine storage specialist Wine Cellar HQ has a step-by-step guide to how to build a home wine cellar that works through cooling-unit sizing and rack layouts, and the company runs free design consultations that include the heat-load math if you would rather not run the numbers yourself. It is worth reading through before you settle on either one.
Frequently Asked Questions
How cold should a home wine cellar be? Around 55°F, held as steady as you can. Consistency protects the wine more than hitting an exact degree, so a cellar that stays at 57°F all year is better than one that swings between 52°F and 60°F.
Do I really need a vapor barrier? Yes. Without one, humid air works its way into the wall cavity, condenses against the cooler cellar side, and slowly rots the framing and ruins the insulation. Install it on the warm side of the walls before you insulate.
Can I build a wine cellar in a closet? Yes, and an interior closet is one of the easiest conversions there is. It is small, already sealed on most sides, cheap to cool, and usually sits away from windows and exterior walls.
Start with the space and the conditions wine needs, get the vapor barrier and cooling unit right, and the racking and finishes become the satisfying part at the end. Build it once and build it properly, and you’ll thank yourself every time you pull a bottle that tastes exactly the way it should.