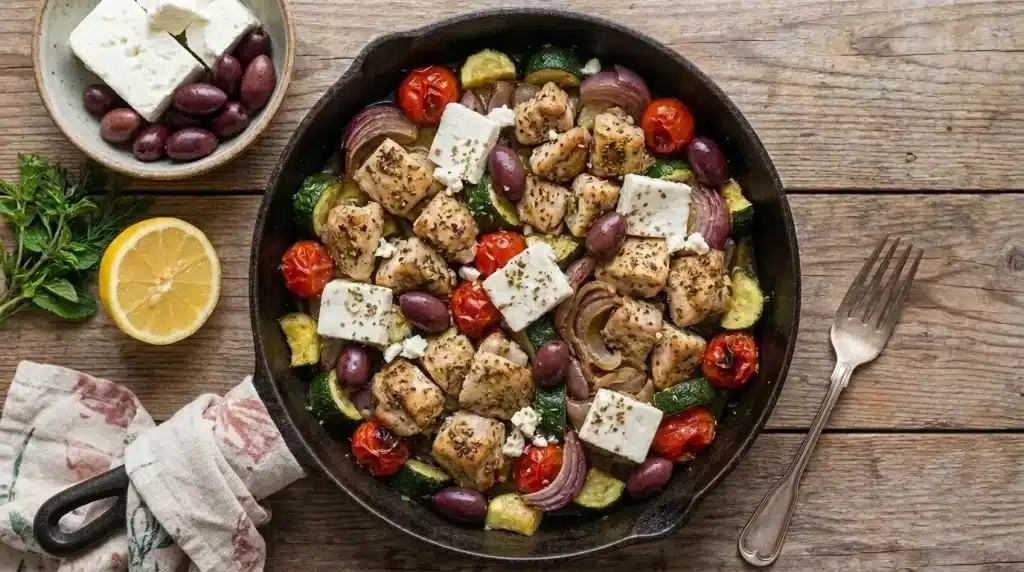
Some nights, you just want dinner on the table fast, and this Greek chicken with feta and olives comes together in thirty minutes flat.
Juicy chicken meets salty feta and briny olives in one skillet, while a squeeze of fresh lemon ties everything together.
Grab a pan, turn up the heat, and get ready for a dinner that feels special without the wait. Whether it’s a rushed Tuesday or a lazy Sunday, this one-pan dish fits right in.
Nutritional Value
This dish keeps things light on carbs while packing in a good amount of protein from the chicken. Feta and olives add healthy fats without piling on extra calories.
| Nutrient | Amount per Serving |
|---|---|
| Calories | 320 kcal |
| Protein | 34 g |
| Total Fat | 18 g |
| Saturated Fat | 6 g |
| Carbohydrates | 6 g |
| Fiber | 1 g |
| Sugar | 3 g |
| Sodium | 620 mg |
| Cholesterol | 105 mg |
These values are estimates based on standard ingredient data and may shift slightly depending on brands and portion sizes used.
Ingredients You’ll Need
- 700 g boneless chicken breast
- 300 g cherry tomatoes, halved
- 100 g Kalamata olives, pitted
- 150 g feta cheese, crumbled
- 3 tbsp olive oil
- 3 garlic cloves, minced
- 1 lemon, juiced and zested
- 1 tbsp dried oregano
- 2 tbsp fresh parsley, chopped
- 1/2 tsp salt
- 1/4 tsp black pepper
- 1 tbsp caper
Let’s Make Greek Chicken with Feta and Olives
Difficulty level: Easy | Serves: 4 (based on 700g chicken breast) | Estimated time: About 30 minutes total | Prep time: ~10 minutes (plus 10 min marinating) | Cook time: 18–20 minutes
Follow the steps below to get this dish on the table in about 30 minutes.
Step 1: Preheat the Oven
Turn the oven to 220°C (425°F). Let it heat up for a good 10 to 15 minutes before the tray goes in.
A hot oven from the start means the chicken cooks evenly and gets that nice golden color on the outside.
Step 2: Season the Chicken
Cut the chicken breast into even-sized cubes. Add the pieces to a large mixing bowl and pour in the olive oil, minced garlic, dried oregano, salt, and black pepper.
Use your hands or a spoon to toss everything together until every piece of chicken is fully coated in the oil and spices.
Let the bowl sit on the counter for about 10 minutes so the chicken can soak up the flavors before it goes into the oven.
Step 3: Arrange Everything on a Tray
Line a large baking tray with parchment paper or lightly grease it with oil. Spread the seasoned chicken cubes across the tray in a single, even layer, leaving a little space between each piece.
Scatter the halved cherry tomatoes around the chicken, cut side up.
Add the Kalamata olives in between the chicken and tomatoes so everything gets a chance to roast together.
Keep some space between the chicken pieces as crowding the tray traps steam and stops the chicken from browning.
Step 4: Roast until Golden
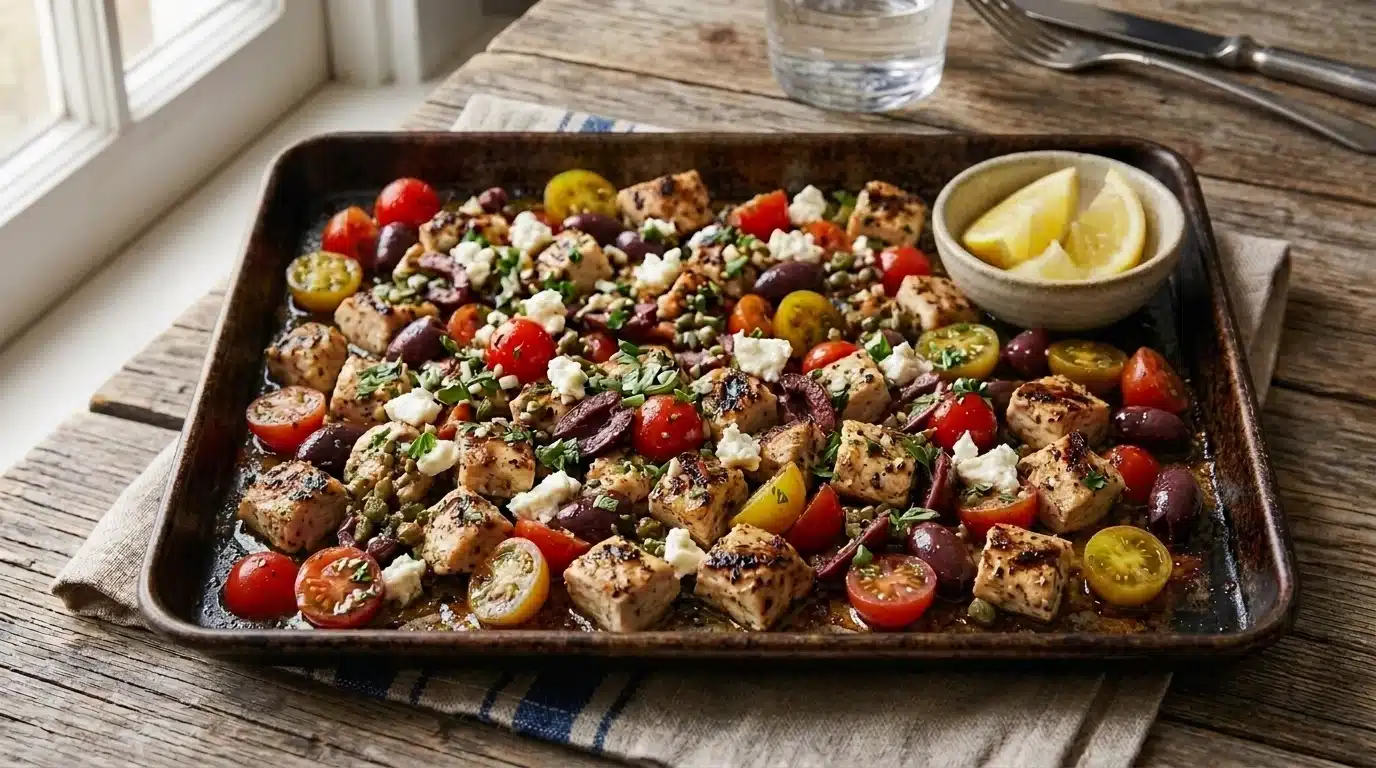
Slide the tray into the preheated oven and set a timer for 18 to 20 minutes.
Halfway through, give the tray a gentle shake or flip the chicken pieces with tongs so both sides cook evenly.
The chicken is done once it turns golden brown on the outside and shows no pink in the middle. The tomatoes should look soft and slightly blistered by this point.
Always check the thickest piece of chicken before pulling the tray out, as undercooked chicken is a common slip-up with quick bakes like this one.
Step 5: Add the Finishing Touches
Carefully remove the tray from the oven and set it on a heatproof surface. Sprinkle the crumbled feta cheese evenly across the top, followed by the capers.
Cut the lemon in half and squeeze the juice over the entire tray. Use a zester or fine grater to add a bit of lemon zest on top for extra brightness.
Step 6: Garnish and Serve
Chop the fresh parsley finely and scatter it generously over the whole dish. Let the tray sit for a couple of minutes so the residual heat softens the feta slightly.
Serve it warm straight from the tray, with warm pita bread, steamed rice, or a simple green salad on the side.
Things You Can Do for A Twist
These are a few variations you can try to make it in your own way.
Swap the protein
Try shrimp instead of chicken for a quicker cook time. Shrimp only needs about 8 to 10 minutes in the oven, so watch it closely.
Add more veggies
Toss in bell peppers, zucchini, or red onion along with the tomatoes. They roast well alongside the chicken and add extra color to the tray.
Make it spicy
Sprinkle in a pinch of red pepper flakes or a dash of smoked paprika before roasting. It adds a warm kick without overpowering the dish.
Try a different cheese
Swap the feta for goat cheese or even fresh mozzarella. Each brings a slightly different flavor while keeping the dish creamy and rich.
Turn it into a wrap
Stuff the finished chicken, tomatoes, and olives into warm pita bread. Add a spoonful of tzatziki for a quick handheld meal.
To Wrap Up
One tray, thirty minutes, and a plate that tastes like a Mediterranean getaway. Chicken, tomatoes, and olives do the heavy lifting, while feta and lemon tie it all together at the end.
Next time dinner feels like a chore, pull this one out. Try swapping in different veggies or adding a handful of spinach for a twist.
Frequently Asked Questions (FAQs)
1. Can I Use Chicken Thighs Instead of Chicken Breast?
Yes, chicken thighs work great here. They stay juicier during roasting and can handle a few extra minutes in the oven without drying out.
2. Can This Recipe Be Made Ahead of Time?
Yes, season the chicken a day ahead and store it in the fridge. Roast everything fresh when ready to eat for the best texture.
3. Is This Recipe Gluten-Free?
Yes, this recipe is naturally gluten-free. Just double-check the labels on capers and olives, since some brands add gluten-based preservatives.