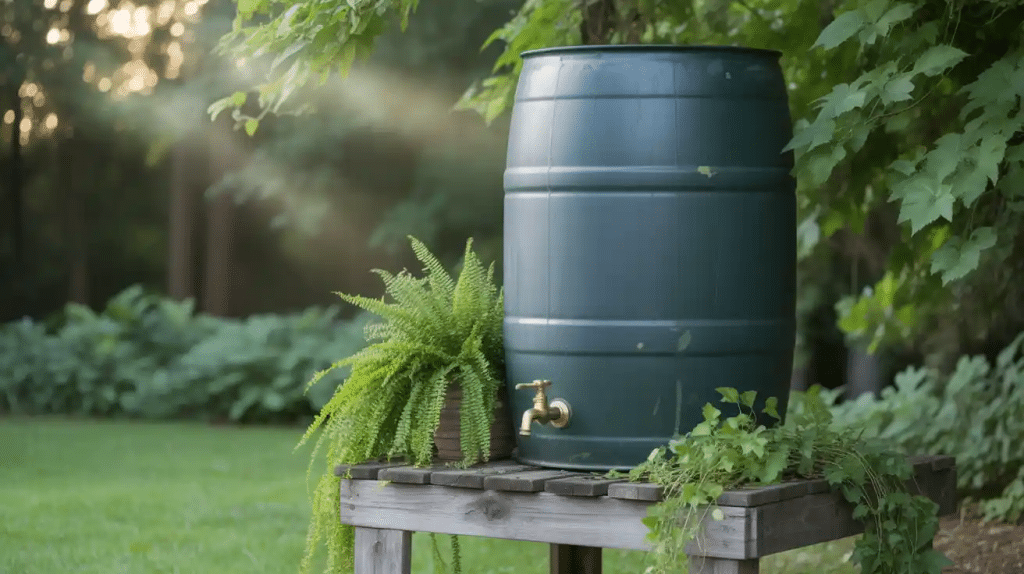
Water is our most precious resource, and rainwater harvesting offers a simple yet powerful solution to water conservation.
A DIY rain barrel represents an affordable, eco-friendly approach that can significantly reduce water bills while minimizing environmental impact.
By capturing rainfall from your roof, you can easily collect hundreds of gallons of free water for gardening, landscaping, and other non-potable uses.
This blog will walk you through creating your own rain barrel system- a project that is not only cost-effective.
Why Build a DIY Rain Barrel?
DIY rain barrels change an overlooked resource, rainwater, into a valuable asset for homeowners and the environment.
By capturing rainwater that typically runs off roofs and driveways, these ingenious containers provide a sustainable solution to water management.
The primary benefits of a DIY rain barrel extend far beyond simple water collection. Homeowners can significantly reduce their water bills by using harvested rainwater for gardening, landscaping, and outdoor cleaning tasks.
Moreover, these barrels play a crucial role in environmental conservation by reducing stormwater runoff, minimizing erosion, and decreasing the strain on municipal water systems.
With minimal investment and simple construction, a DIY rain barrel becomes a powerful tool for both personal savings and ecological responsibility.
Tools and Materials for Your DIY Rainwater System
By setting up a rainwater collection system, you can conserve water and reduce your environmental footprint. Below are the tools and materials you’ll need to complete this project.
-
Trash cans or large containers – Used to collect and store rainwater.
-
Universal hose diverter kit – Essential for diverting rainwater from the downspout into your containers.
-
Quarter-turn spigots – Used to control the flow of water out of the containers.
-
PVC pipes – Necessary for connecting the containers to allow water to flow from one barrel to another.
-
Uniseals – These create a water-tight seal between the barrels to prevent leaks.
-
3-inch hole saw – Used to drill holes in the containers for the pipe connections.
-
Sediment filter (optional) – Helps keep the water clean by filtering out debris before it enters the barrels.
-
Water pump (optional) – Useful for improving water pressure, especially if the water needs to be pumped uphill in your garden.
After completing the steps outlined, you can enjoy the benefits of clean, free rainwater for your garden. Happy building!
Step-by-Step Guide: How to Build a DIY Rain Barrel
Building a DIY rain barrel is a simple and cost-effective way to harvest rainwater for your garden or outdoor needs.
This guide walks you through each step of the process, ensuring you can create your own rain barrel DIY setup.
Step 1: Prepare Your Containers
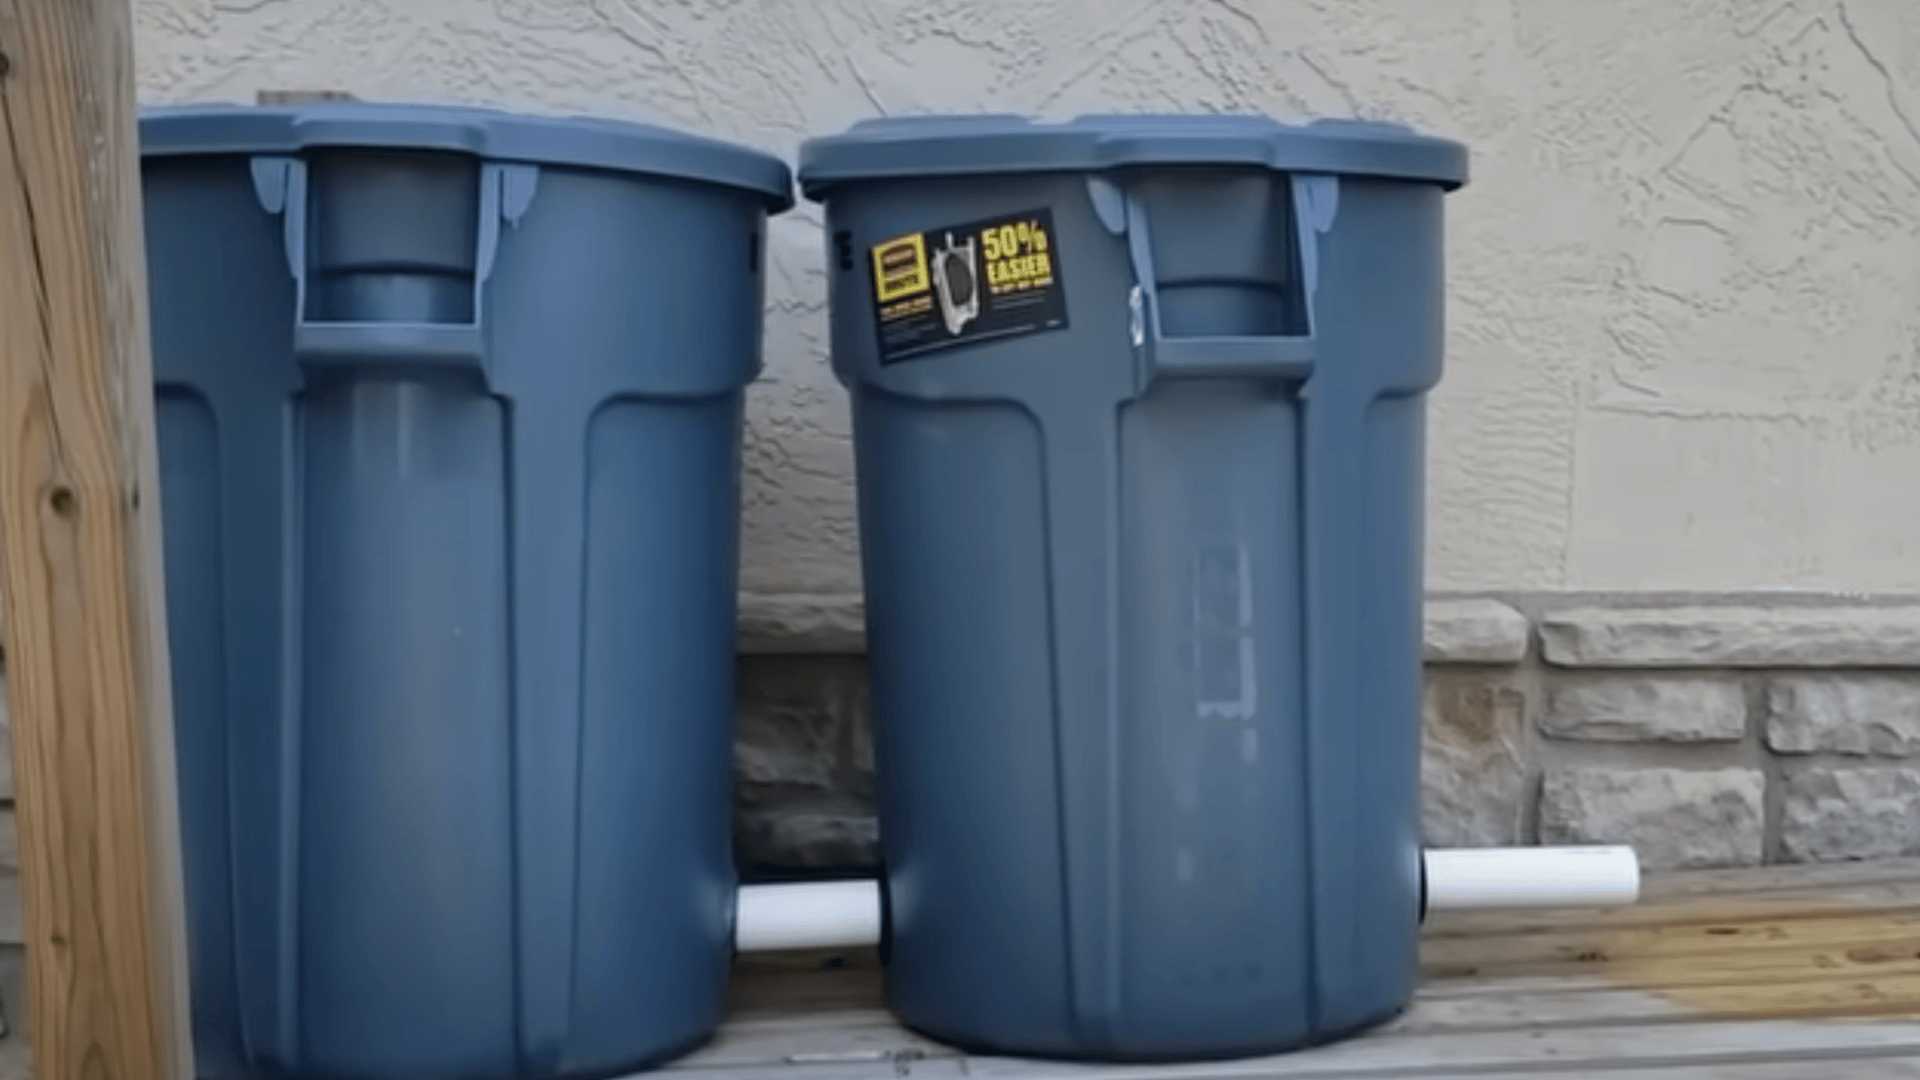
The next step is setting up your barrels or trash cans. Ensure that the containers are opaque, as this will prevent sunlight from entering, thus avoiding algae growth inside the barrels.
Also, make sure the tops of the containers are removable for easy cleaning and maintenance. This setup will help you store clean rainwater for later use in your garden while making the system easy to manage.
Step 2: Install the Hose Diverter Kit

Attach the universal hose diverter to your downspout. The diverter redirects rainwater into your containers. Follow the instructions to ensure it’s positioned properly.
You’ll want the top of your container to be slightly higher than the outlet from the downspout, allowing the water to flow smoothly into the barrel.
Ensure that the diverter’s cup is securely installed inside the downspout for optimal water collection.
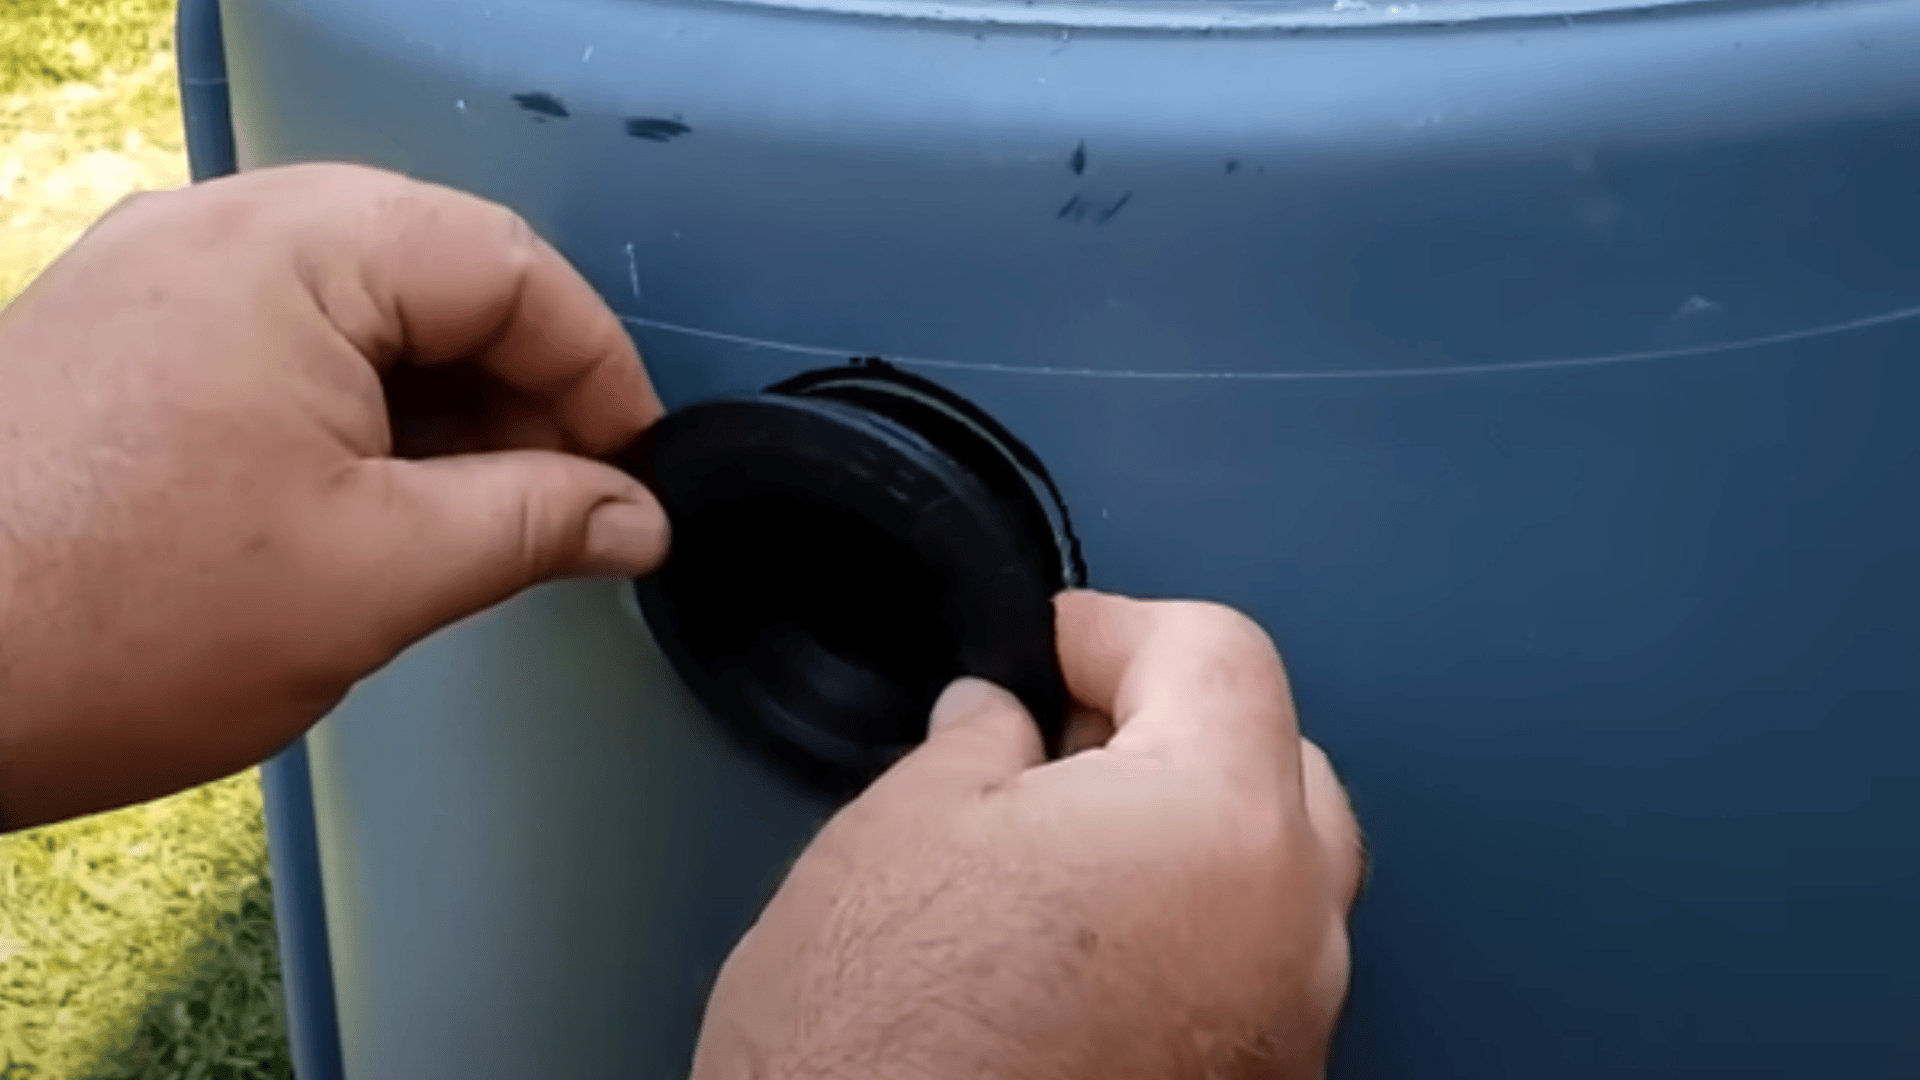
Step 3: Cut Holes for Pipe Connections
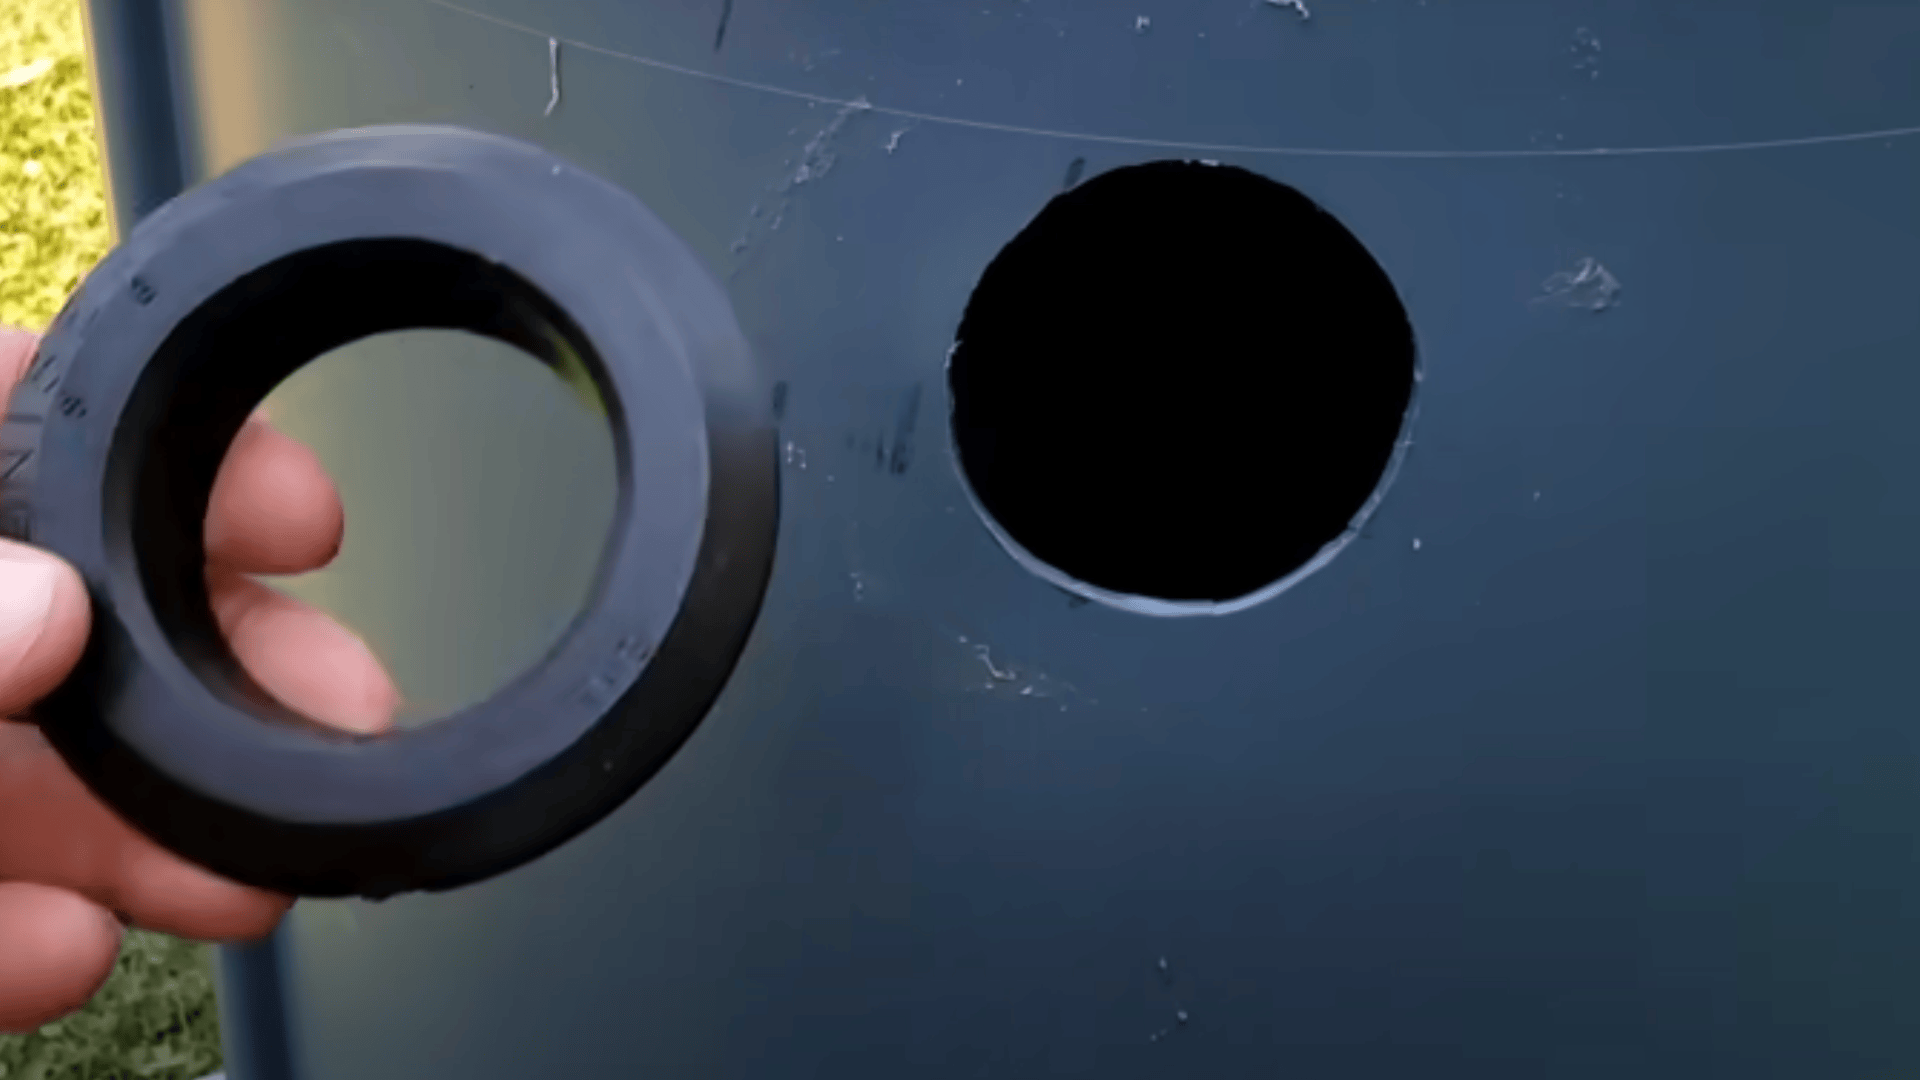
Once your containers are set up, it’s time to drill holes for connecting the barrels together. Use a 3-inch hole saw to make accurate holes, ensuring a tight fit for your two-inch uniseals and PVC pipes.
The uniseals create a water-tight seal between the barrels, preventing leaks.
Precision is key here, so take your time to make sure the holes are clean and the pipe fits snugly inside.
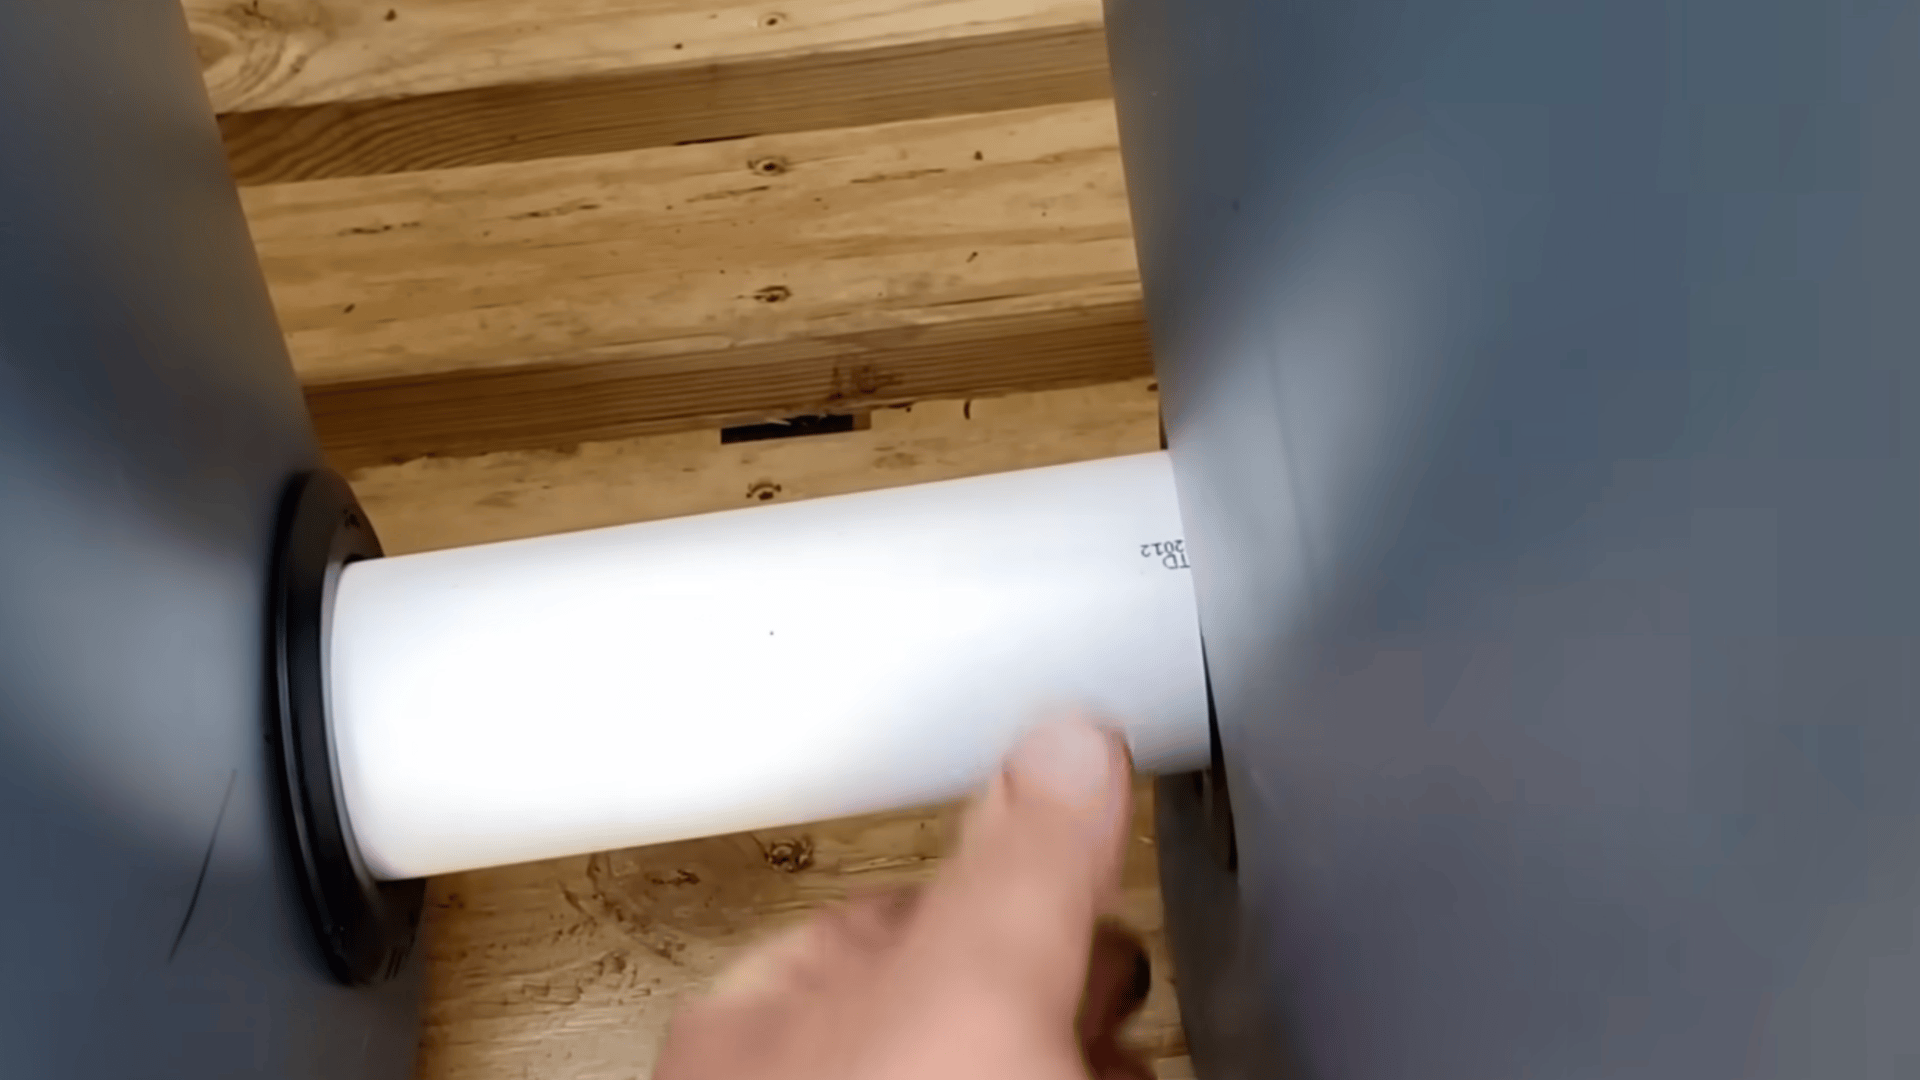
Step 4: Connect the Barrels
Now that you’ve drilled the necessary holes, connect the barrels by inserting the PVC pipe through the uniseals. The best method is to connect the barrels at the bottom to ensure they fill up at the same rate.
This setup helps maintain an equal water level across all barrels.
You’ll want to make sure that the pipe connection is secure and watertight to avoid any leaks when the system fills.
Step 5: Test and Add Final Touches
Once all barrels are connected and the system is set up, it’s time to test for leaks. Fill the barrels with water and inspect the connections, ensuring there’s no leakage around the uniseals.
If everything looks good, you’re done with the setup. For further efficiency, consider adding a sediment filter and a pump to enhance the system’s water pressure.
This can help, especially if you’re using the water uphill in your garden.
How Much Rainwater Can You Save?
With a rain barrel DIY setup, you can collect and repurpose hundreds of gallons of rainwater each year, right from your rooftop.
On average, a 1,000 square foot roof can yield over 600 gallons of water from just one inch of rain.
That’s a significant amount of water you can use for gardens, lawns, or even outdoor cleaning. Installing a homemade rain barrel system is not only eco-friendly but also cost-effective.
It reduces your utility bills while supporting sustainable living. Even if you’re in a dry zone or just want to conserve resources, building your rain barrel is a smart step.
The more barrels you install, the greater your water savings and environmental impact will be.
Step-by-Step Instructions for Rain Barrel Stand
Building a sturdy rain barrel stand is essential for maximizing water pressure and maintaining stability. A raised barrel allows gravity to help with water flow, making it easier to use your collected rainwater.
This DIY guide walks you through creating a reliable, elevated base. Follow these simple steps to build your own functional and durable stand.
1. Choose a Level Spot Near a Downspout
Pick a flat, sturdy surface close to your gutter downspout. This ensures easy water flow into your barrel and stable support for the stand.
2. Measure the Barrel Base
Measure the width of your rain barrel to determine the size of the stand. Add a few inches for stability and space around the edges.
3. Cut Wood for the Frame
Use pressure-treated wood or durable lumber to cut four legs and support beams. Ensure all cuts are even to create a balanced frame.
4. Assemble the Stand Frame
Screw the legs to the beams in a square or rectangular frame. Reinforce with cross supports for added strength and to prevent wobbling.
5. Add a Top Platform
Secure wooden planks across the top of the frame to hold the barrel. Make sure it’s level and strong enough to support the full weight.
6. Test for Stability
Place the empty barrel on the stand and fill it halfway with water. Check for wobbling or sinking. Adjust or reinforce if needed.
Difference Between DIY Rain Barrel and Store-Bought Barrel
Choosing between a DIY rain barrel and a store-bought version depends on your budget, time, and customization needs. Each option has its own benefits and drawbacks.
Here’s a quick comparison to help you decide which suits your rainwater harvesting goals best:
| FEATURE | DIY RAIN BARREL | STORE-BOUGHT BARREL |
|---|---|---|
| Cost | Low – uses recycled materials | Higher – ranges from $50 to $200+ |
| Customization | Fully customizable | Limited designs and sizes |
| Installation Time | Requires more setup and tools | Ready to use or minimal assembly |
| Durability | Depends on materials used | Generally weather-resistant and sturdy |
| Aesthetics | Rustic or repurposed look | Sleek and polished designs |
Whether you prefer creativity and cost-saving or convenience and polish, both options can effectively support your rainwater harvesting efforts.
Different Ways to Use Rain You Stored
Collecting rainwater with a DIY rain barrel is just the first step—using it efficiently can make a big impact on your water bills and environmental footprint.
Here are several smart and sustainable ways to put that stored rain to good use:
-
Water your garden or lawn during dry spells.
-
Irrigate indoor or outdoor plants without tapping your tap.
-
Wash cars, bikes, or outdoor furniture without using treated water.
-
Clean walkways, patios, and windows with a hose connected to the barrel.
-
Top off ponds or fountains naturally and affordably.
-
Use it for composting to keep your pile moist and active.
Maximizing your rainwater usage helps conserve resources while keeping your surroundings green and clean.
How Much Can You Save With a DIY Rain Barrel?
Creating a DIY rain barrel can save you money both upfront and in the long term. Not only is the initial cost much lower than purchasing a pre-made system, but the long-term savings from reduced water bills make it an even more worthwhile investment.
Below is a cost comparison for DIY materials versus store-bought systems, along with an estimate of annual water savings.
| Item | DIY Rain Barrel Cost | Store-Bought Rain Barrel Cost |
|---|---|---|
| Barrel/Container | $20 – $50 | $100 – $200 |
| Hose Diverter Kit | $20 – $30 | $30 – $50 |
| Quarter-Turn Spigots | $5 – $10 | $10 – $20 |
| PVC Pipes & Uniseals | $10 – $15 | $15 – $30 |
| Total Initial Cost | $55 – $105 | $155 – $300 |
Plus, the satisfaction of building your own system adds to the overall value of the project!
Common Mistakes to Avoid
When building your DIY rain barrel, it’s important to avoid some common mistakes that could hinder the system’s efficiency.
Here are key points to keep in mind:
-
Choosing non-food-grade barrels: Non-food-grade barrels can contain harmful chemicals, contaminating the rainwater. Always opt for food-grade barrels.
-
Poor placement: Position your barrel where the downspout directs water properly and where it won’t cause drainage issues.
-
Ignoring overflow needs: Without an overflow system, excess rainwater can spill and damage surrounding areas. Ensure you have a proper overflow setup to handle heavy rainfall.
By avoiding these mistakes, you’ll ensure a more effective and safe rainwater collection system for long-term use. Proper planning is key to success!
Conclusion
Rainwater harvesting through DIY rain barrels is a powerful way to contribute to water conservation and sustainability.
By investing a modest amount of time and resources, homeowners can create an eco-friendly water collection system that reduces water bills, minimizes environmental impact, and provides a free water source for gardening and outdoor needs.
This simple yet effective project empowers individuals to take meaningful action towards responsible water management.